

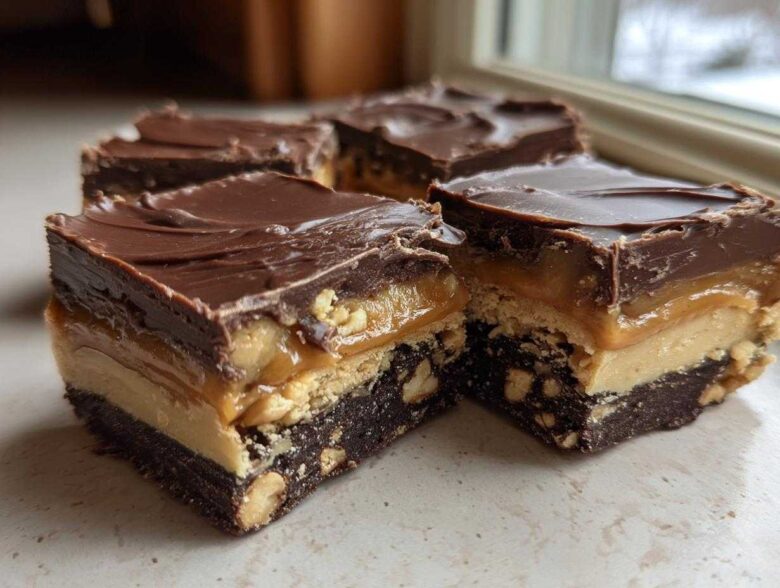
If you’ve ever stared longingly at a Snickers bar and thought, “I wish I could have that gooey, salty-sweet perfection in a giant, easy-to-eat square,” then oh honey, you are talking to the right person! Forget complicated candy making; my mission has always been to bring those decadent flavors home with zero fuss, and I finally nailed this homemade fudge. This **Snickers Fudge** recipe isn’t just fudge; it’s practically a candy bar exploded into creamy, layered glory using an incredibly simple, no-bake method. I spent *way* too many afternoons testing the ratios of condensed milk to peanut butter to make sure the texture was absolutely perfect—smooth, never grainy, and always holding those beautiful layers. Trust me, your candy cravings don’t stand a chance against this.
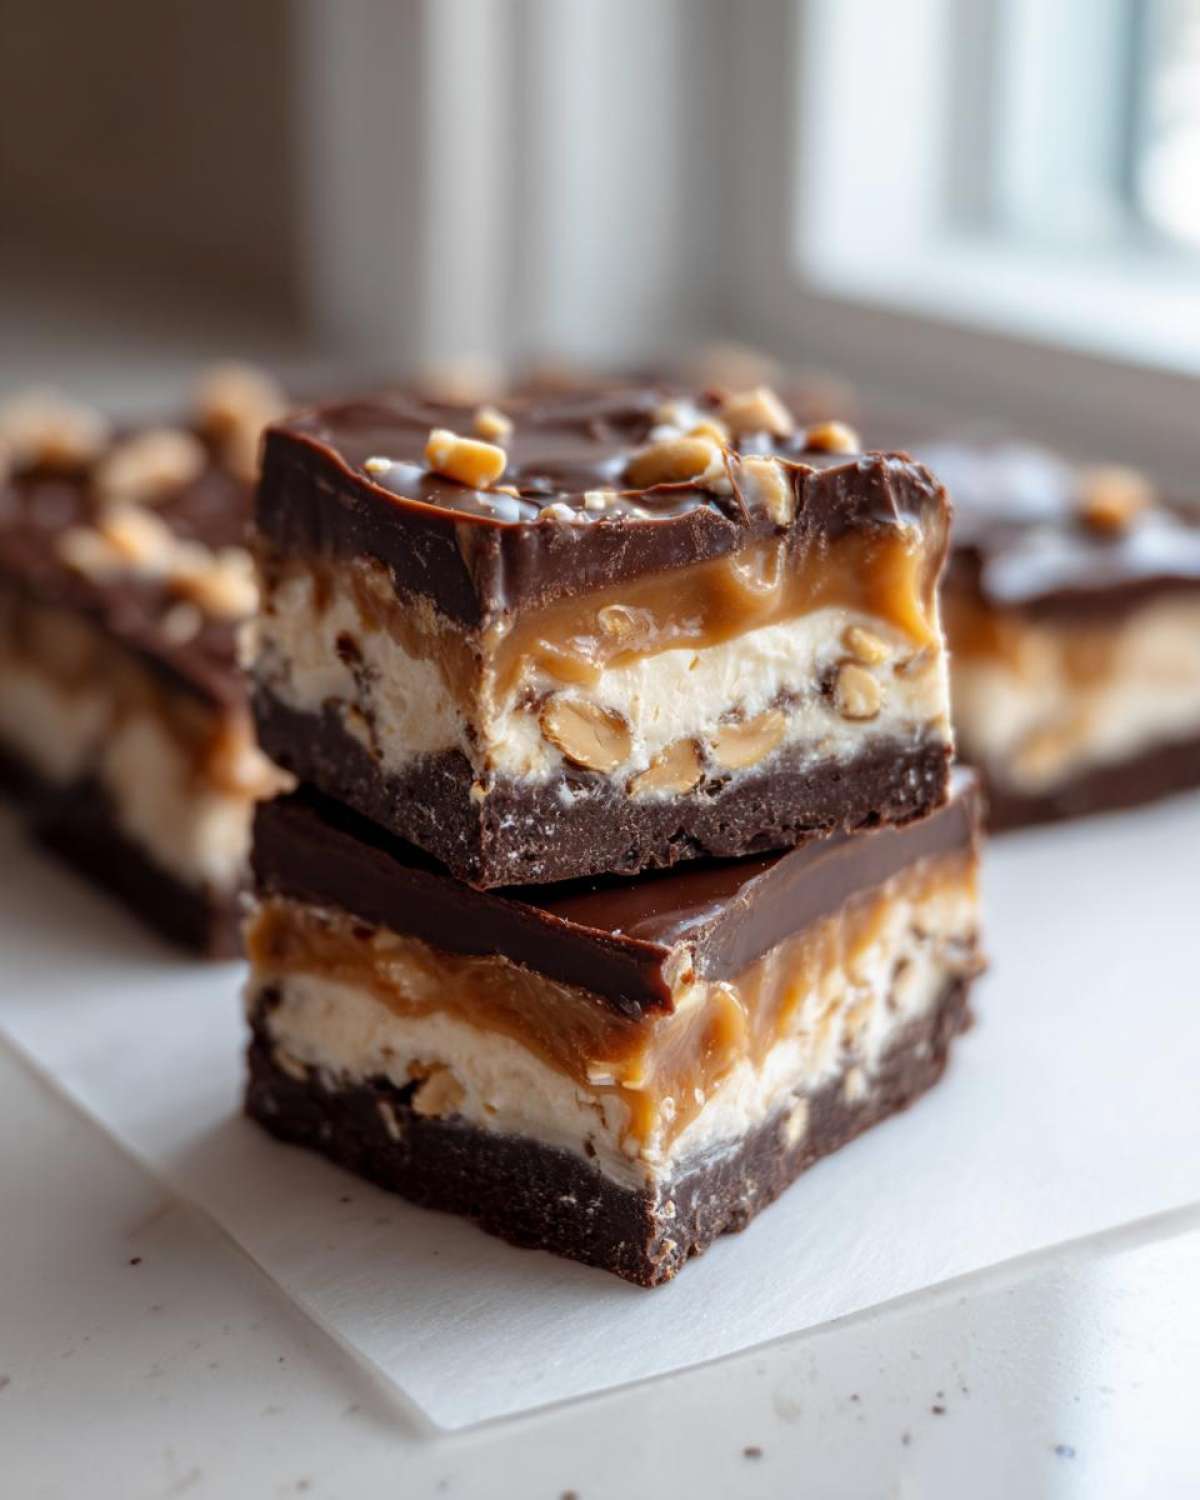
Why This Easy Homemade Fudge Recipe Works for Snickers Fudge
I know you’ve seen recipes that look tricky, but this is seriously the easy homemade fudge recipe you need. The beauty of this no-bake approach is pure simplicity combined with maximum payoff. It’s designed to be quick!
- This is hands-down the best no bake fudge for capturing that candy shop quality without turning on your oven.
- Every layer sets up beautifully because we use the magic trio: condensed milk, chocolate, and peanut butter, which locks in the moisture.
- It creates those gorgeous, distinct layers we love in a real Snickers bar, giving you true chocolate caramel peanut goodness in every bite.
Achieving Creamy Layered Fudge Texture
The secret to making sure this fudge stays smooth and never gets that dreaded sandy texture is simple: you must stir constantly over low heat, but you absolutely cannot let it boil. Boiling changes the sugar structure, leading to graininess. The sweetened condensed milk is your stabilizer here! It melts down perfectly with the chocolate to form that luscious, creamy base.
Gathering Ingredients for Perfect Snickers Fudge
Okay, let’s talk about what goes into this masterpiece. When you are making something this decadent, you can’t just throw anything in there—the ingredients are what make this taste exactly like your favorite candy. You need to be precise, especially with the caramel and the mix-ins!
Lay everything out before you even think about turning on a burner. I usually jot down the prep needed next to each item on my list so I don’t forget anything once the chocolate starts melting. Remember that gorgeous 7-layer dip we made last month? It needs that same organized chaos!
Ingredient Notes and Substitutions for Snickers Fudge
For the base, I always reach for creamy peanut butter because it melts in seamlessly, but if you truly love a crunch (you know, beyond the added peanuts), feel free to use crunchy—just know the nougat layer won’t be quite as smooth. Also, don’t skimp on the salted peanuts! The salt is crucial to cut through all that sweetness. If you are out of actual Snickers bars, you can mimic the texture by chopping up some caramel chews with peanuts and a bit of marshmallow fluff, though I really think the store-bought bars give you that authentic *pop* of flavor.
Step-by-Step Instructions for Rich Fudge Squares
Now we get to the fun part: putting it all together to create those incredible rich fudge squares! Trust me, the first time you pour that warm, luxurious batter into the pan, you’ll feel like a professional candy maker. The steps are straightforward, but paying attention during the melting phase is key to avoiding a grainy disaster.
Creating the Caramel Swirl Dessert Base
First things first, get your 8×8 pan lined with parchment paper so it’s hanging over the sides like handles—you’ll thank me later when you need to lift this heavy goodness out! Next, combine the condensed milk, semi-sweet chips, and peanut butter in a saucepan. Keep the heat low, super low, and stir it until it’s just one smooth, melted dream. I mean constant stirring! As soon as it’s uniform, yank it off the heat immediately; boiling is the enemy! Stir in the vanilla, peanuts, and chopped Snickers bars right away. Now, dollop half that fudge into your prepared pan. Take half of your caramel sauce and drizzle it right over that base layer. Pour the rest of the fudge on top, and finish with the remaining caramel drizzle. Take a butter knife and just *gently* swirl that caramel for a beautiful effect.
Setting and Topping Your Snickers Fudge
This part requires nap time, so be patient! Pop the pan into the fridge for at least two hours until it’s nice and firm. You want it chilled so the caramel swirl layers stay put when we add the top coat. Once it’s set, melt your milk chocolate chips—use short bursts in the microwave, stirring well between each 30-second interval, so they don’t seize up on you! Spread that glorious melted chocolate evenly over the chilled base layer. Back into the fridge for just another 30 minutes until that top layer is firm to the touch. That’s what keeps our no-bake layers structure perfect!
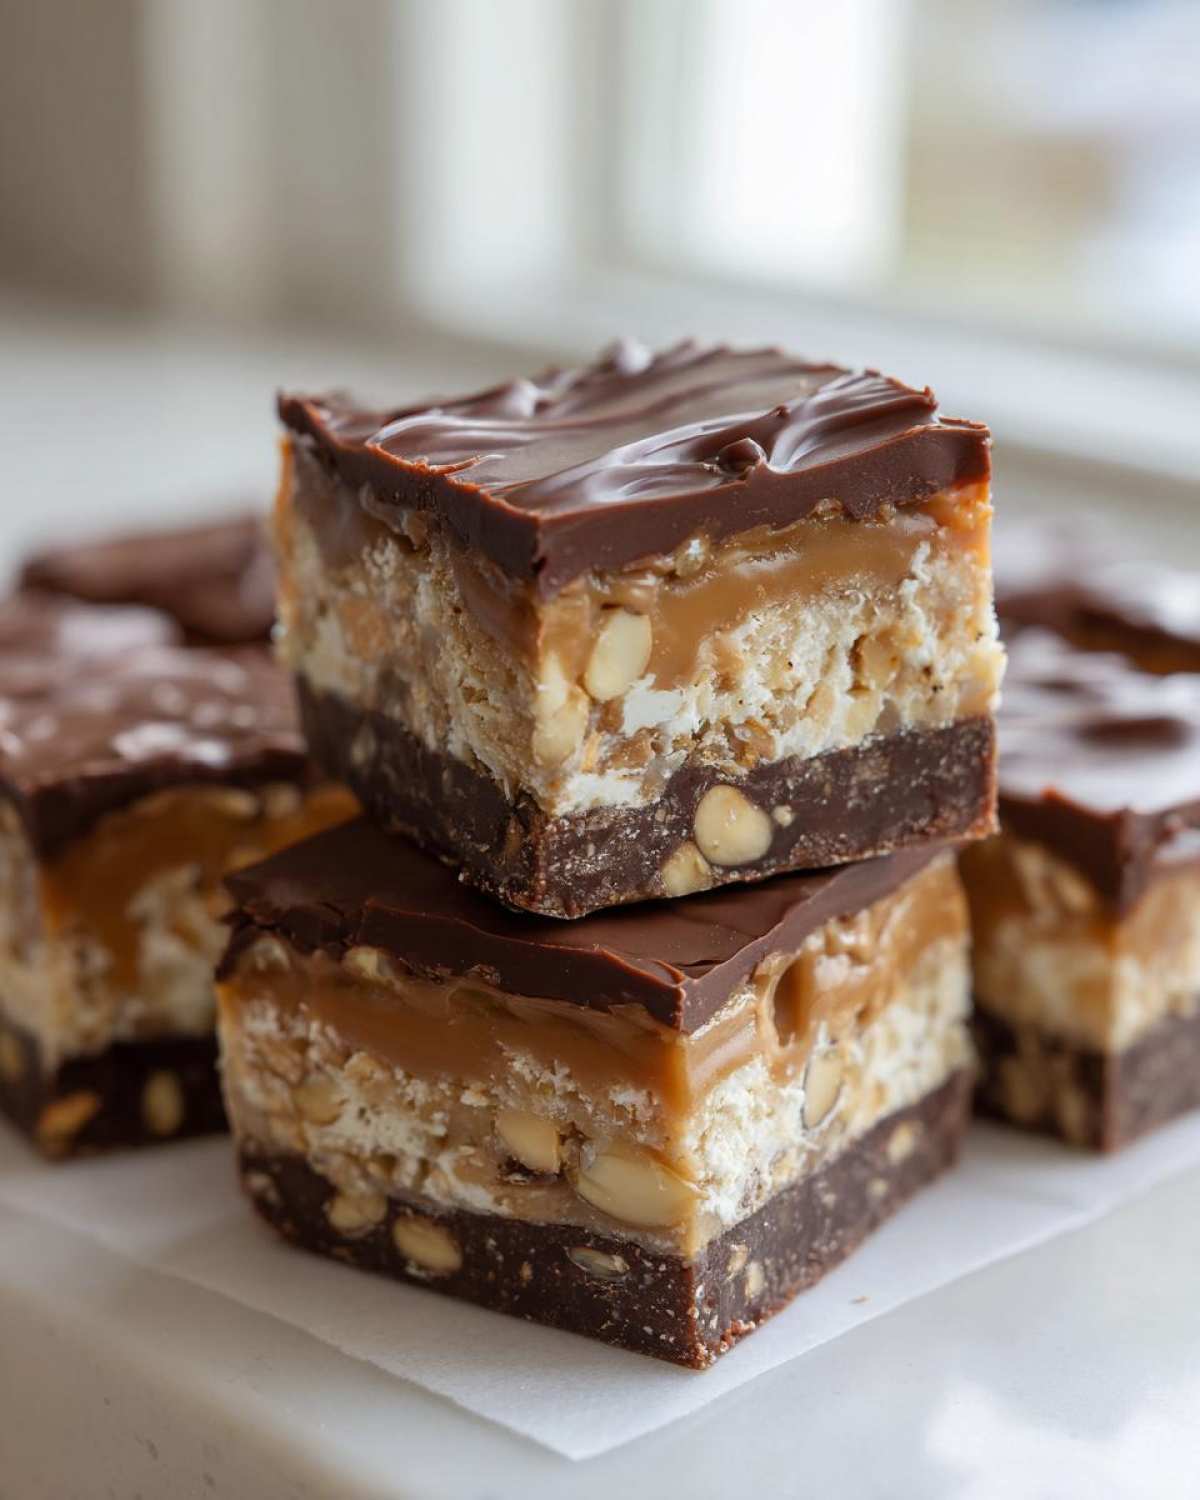
Tips for Success Making Gourmet Fudge Tutorial
Making this **Snickers Fudge** feel like a true gourmet fudge tutorial is all about the finishing touches. Seriously, a little planning prevents a big mess later on. If you follow these little tricks, your squares will look professional every time, even though they are ridiculously easy!
- The biggest potential pitfall is overheating the final chocolate topping. Use short bursts in the microwave and stir well, or gently melt it over a double boiler, so you don’t burn the milk chocolate goodness. It should flow like silk!
- For the absolute cleanest cuts—you know, the edges you want to show off when gifting—take the pan out of the fridge about 10 minutes before slicing. Let it warm up just slightly.
- Use a long, sharp, thin knife dipped in hot water and wiped dry between each cut. This prevents the sticky caramel layers from dragging and smashing your perfect squares.
- Don’t try to speed up the chilling time by putting it in the freezer for too long. That can sometimes make the texture a little too brittle instead of delightfully soft.
Variations on Your Snickers Fudge Recipe
Listen, once you master the base recipe for this amazing **Snickers Fudge**, you should totally feel free to start experimenting. Candy making is all about making it *yours*! If semi-sweet chocolate in the base is just a little too dark for your sweet tooth, switch right over to milk chocolate chips—it makes for an even sweeter experience. I love occasionally throwing in some chopped Heath bars along with the peanuts for an extra buttery crunch, creating a fun little hybrid candy square. If you want to pivot away from nuts entirely, you can substitute toasted coconut for a totally different texture profile. Or, if you’re feeling wild, try adding a teaspoon of espresso powder when you mix the base for a subtle mocha kick! You might even try replacing some of the chopped Snickers with crushed chocolate dipped Lucky Charms for a super colorful addition!
Storage and Reheating Instructions for Snickers Fudge
These gorgeous rich fudge squares are best kept cold. Since they have caramel and chocolate layers, they hold their shape much better in the fridge. Pop your sliced pieces into an airtight container; you can separate the layers with parchment squares if you plan on stacking them high, which I always do! They stay perfectly fresh and gooey for up to a week stored this way. Honestly, I haven’t tried leaving them out on the counter overnight because they disappear too fast!
Common Questions About Copycat Candy Recipes
When diving into making copycat candy recipes like this **Snickers Fudge**, I always get a ton of questions about technique and timing. It’s totally normal, especially when dealing with multiple layers! Here are the things people ask me most often when they are aiming for those picture-perfect results.
Can I make this Snickers Fudge in the microwave?
You absolutely can adapt this for microwave fudge instructions, though I love the gentle heat of the stovetop for the base. If you microwave, stick to 30-second bursts for the condensed milk/chocolate/peanut butter mixture. Stir well after every blast! The biggest risk is overheating, which leads to that grainy texture we are trying to avoid in these rich fudge squares.
How do I get the perfect peanut butter chocolate squares?
Achieving those beautiful peanut butter chocolate squares comes down to chilling time! Make sure your fudge base is completely firm before adding that final top layer of melted chocolate. If the base is still soft when you pour the topping on, the layers will smear together when you try to cut them. Patience during the chilling phase is truly the secret ingredient! If you let it sit the full two hours on the first chill, you’ll be golden.
Estimated Nutritional Data for Snickers Fudge
Look, I bake with love, not spreadsheets, so these numbers are just my best guess based on standard ingredient sizes—think of this as a guideline! Every square of this **Snickers Fudge** delivers serious flavor impact. For example, we are looking at around 180 calories per square, with about 11 grams of fat. Since this is candy, expect the sugar content to be sweet, around 18 grams.
- Calories: 180
- Fat: 11g (5g saturated)
- Carbs: 19g
- Protein: 3g
Keep in mind that exact values can shift depending on which brand of chocolate chips or caramel cause you to drizzle just a *little* extra! You can check out our general nutritional disclaimer here, just in case you’re counting macros!
Share Your Snickers Fudge Creations
Now that your kitchen smells like the absolute best part of the candy store, I really, truly want to hear how it went! Did you manage to score a swirl that looked like marble? Did your family even wait long enough for it to set before diving in? You absolutely have to come back here and drop a comment letting me know your thoughts. Honestly, seeing your creations—especially when you tweak something minor or try one of the variations—makes all the testing worth it.
If you snapped a photo of your glorious, **Snickers Fudge** squares before they disappeared, tag me! I love seeing how this recipe translates to your kitchen. And hey, if you think this is the best candy making for beginners recipe out there, give it a star rating so others can find this chocolate caramel magic easily. Happy making, friends!
PrintEasy Homemade Snickers Fudge
Make rich, layered Snickers fudge at home using this simple no-bake recipe that captures the classic chocolate, caramel, peanut, and nougat flavors.
- Prep Time: 15 min
- Cook Time: 10 min
- Total Time: 160 min
- Yield: About 64 small squares
- Category: Dessert
- Method: No Bake
- Cuisine: American
- Diet: Vegetarian
Ingredients
- 1 (14 ounce) can sweetened condensed milk
- 1 (12 ounce) package semi-sweet chocolate chips
- 1 cup creamy peanut butter
- 1 teaspoon vanilla extract
- 1 cup chopped salted peanuts
- 1 cup chopped Snickers candy bars
- 1/2 cup caramel sauce, divided
- 1 cup milk chocolate chips (for topping)
Instructions
- Line an 8×8 inch baking pan with parchment paper, leaving an overhang for easy removal.
- In a medium saucepan over low heat, combine the sweetened condensed milk, semi-sweet chocolate chips, and peanut butter. Stir constantly until the mixture is completely smooth and melted. Do not let it boil.
- Remove the mixture from the heat and stir in the vanilla extract, chopped peanuts, and chopped Snickers bars.
- Pour half of the fudge mixture into the prepared pan and spread evenly. Drizzle half of the caramel sauce over this layer.
- Pour the remaining fudge mixture over the caramel layer. Drizzle the remaining caramel sauce on top. Use a knife to gently swirl the caramel into the top layer.
- Chill the fudge in the refrigerator for at least 2 hours, or until firm.
- Melt the milk chocolate chips in a microwave-safe bowl in 30-second intervals, stirring until smooth.
- Pour the melted milk chocolate over the chilled fudge and spread evenly to create the top layer.
- Refrigerate the fudge for another 30 minutes, or until the chocolate topping is set.
- Lift the fudge out of the pan using the parchment paper overhang. Cut into 1-inch squares before serving or storing.
Notes
- For a cleaner cut, allow the fudge to sit at room temperature for 10 minutes before slicing.
- Store leftover fudge in an airtight container in the refrigerator for up to one week.
- You can substitute milk chocolate chips for the semi-sweet chips if you prefer a sweeter base.
Nutrition
- Serving Size: 1 square
- Calories: 180
- Sugar: 18
- Sodium: 75
- Fat: 11
- Saturated Fat: 5
- Unsaturated Fat: 6
- Trans Fat: 0
- Carbohydrates: 19
- Fiber: 1
- Protein: 3
- Cholesterol: 15