

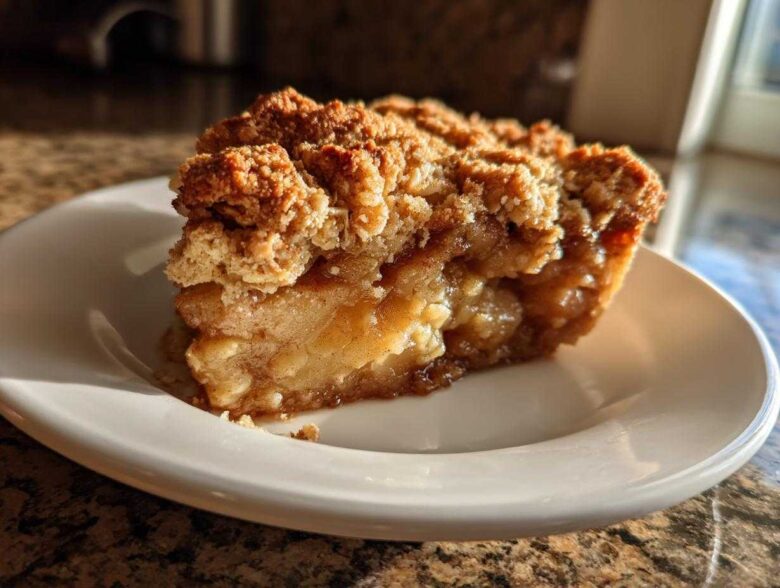
Oh my gosh, when those first chilly breezes start hitting, you know what I immediately crave? Something warm, sweet, and deeply comforting that smells like pure happiness. For our house, that means digging out the apples and making my absolute go-to Apple Crisp. Forget fussy lattice tops; this **Apple Crisp** is the real deal. It’s the easiest, most reliable dessert I have in my arsenal, and trust me, everyone always asks for the recipe!
I’ve made this **Apple Crisp** hundreds of times since I first learned how to make it from scratch back in college. It’s perfect for a Tuesday night treat or when you need a quick showstopper for guests. We’re talking tender, spiced apples swimming in their own sweet juices, topped with the crunchiest, butteriest topping you can imagine. Seriously, you won’t believe how fast this simple fruit crisp comes together!
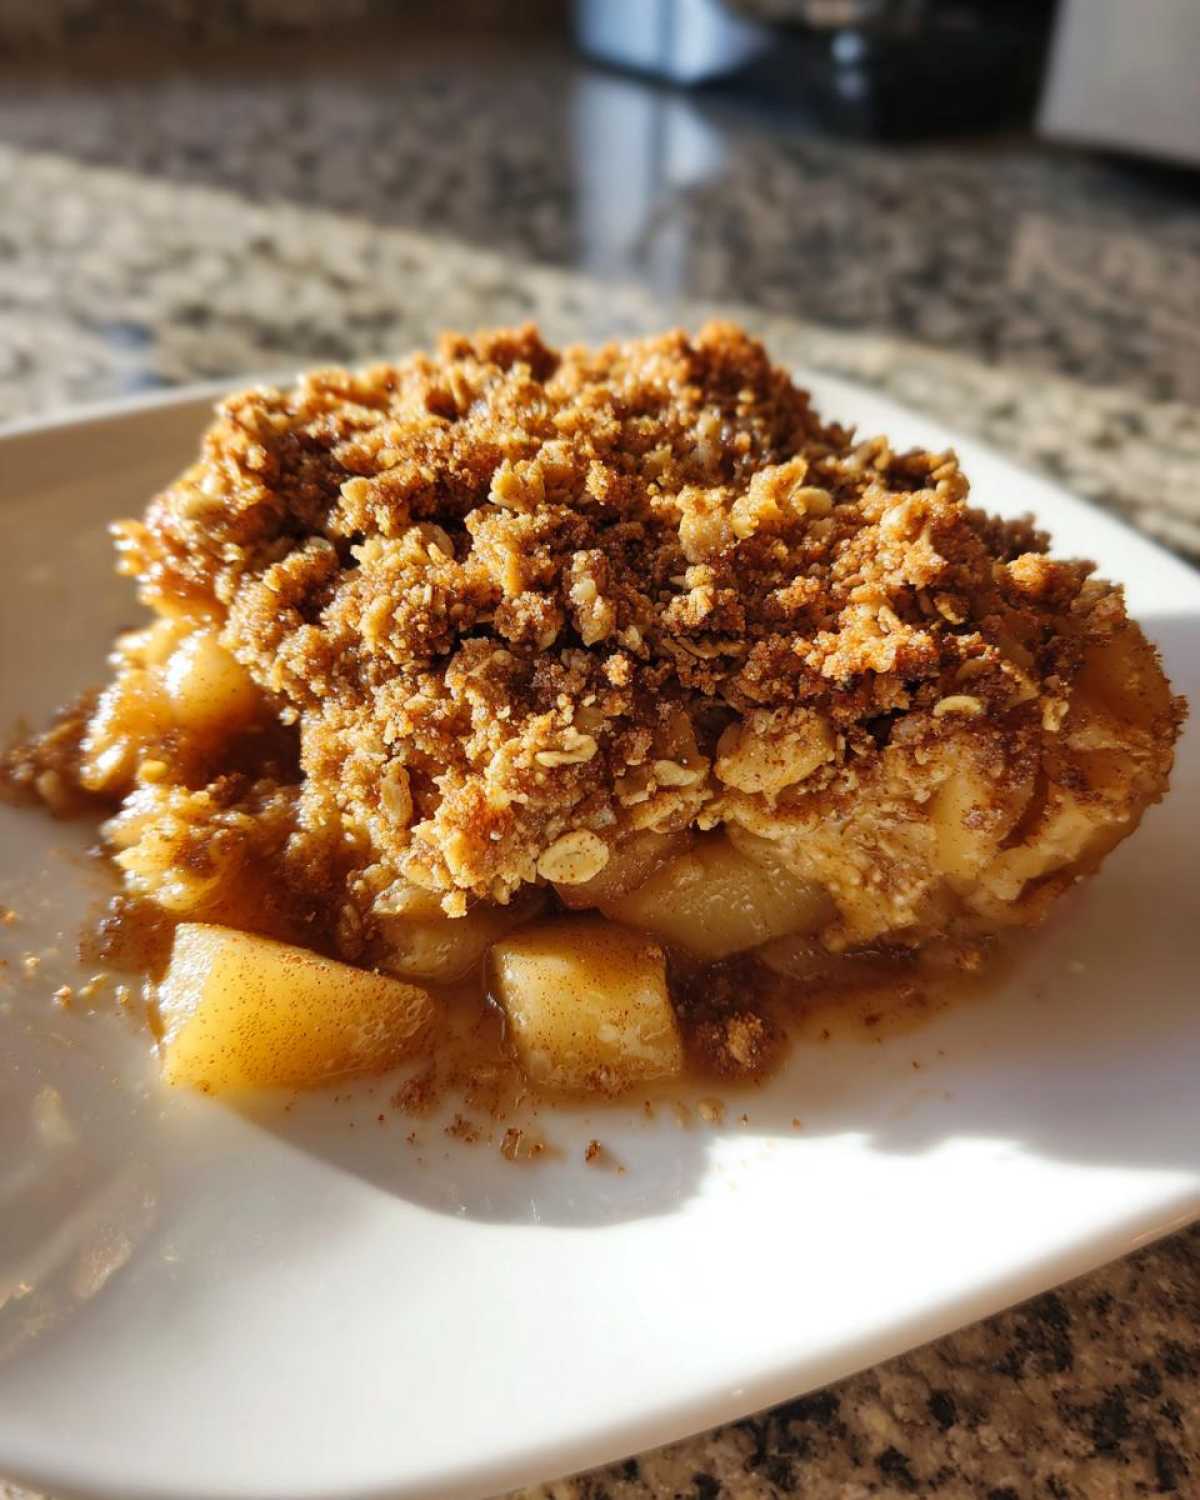
Why This Is the Best Homemade Apple Crisp Recipe
If you’re looking for the ultimate easy apple crisp recipe, stop scrolling right now. This is it! I promise the results are absolutely amazing every single time.
- It’s a true classic fall dessert—pure comfort in a dish.
- The topping gets unbelievably golden and crisp; NO soggy bottoms here!
- It comes together in under 15 minutes of prep time.
- I’ve even included a little tip using sharp cheddar (you have to see my cheddar apple cider fondue post for inspiration someday!).
Ingredients Needed for Your Perfect Apple Crisp
Okay, gathering your materials is the most important part of any baking adventure, right? For this simple fruit crisp, we keep things incredibly straightforward. Having everything measured out before you start mixing saves so much stress—especially when you’re already excited to get this into the oven. Don’t skimp on the quality of your butter here, since it makes up the majority of that incredible texture!
We’re going to divide these into two easy groups so you don’t mix up the filling stuff with the topping stuff. Trust me, I’ve done it before, and it requires starting over!
For the Apple Filling
- 6 medium apples (Granny Smith or a mix)
- 1/4 cup all-purpose flour
- 1/4 cup granulated sugar
- 1 teaspoon ground cinnamon
- 1 tablespoon lemon juice
For the Buttery Oatmeal Topping Recipe
This is where the magic happens for that incredible crunch! Making an oatmeal topping recipe like this is foolproof.
- 1/2 cup all-purpose flour
- 1/2 cup rolled oats
- 1/2 cup packed light brown sugar (don’t pack it too tightly!)
- 1/4 teaspoon ground nutmeg
- 1/4 teaspoon salt
- 1/2 cup cold unsalted butter, cut into small pieces
How to Make Apple Crisp From Scratch: Step-by-Step Instructions
Making this from scratch is so much easier than you might think! The key to success is layering properly and making sure that topping gets that perfect crumble texture. We’re starting fast since this is designed to be a quick apple dessert.
Preparing the Apples for Your Apple Crisp
First things first: get your oven humming at 375 degrees F (190 degrees C) and make sure you grab that 8×8 baking dish and give it a little grease, okay? Now, about those apples—I always recommend using tart ones like Granny Smith, or mixing them with something sweeter like Honeycrisp if that’s what you have. Peel them, core them, and chop those beauties into nice, even 1/4-inch slices. You want them thick enough to hold their shape but thin enough to get tender. Toss the slices in a big bowl with the small amounts of flour, sugar, cinnamon, and lemon juice until everything is coated. Spread those gorgeous spiced apples evenly across your prepared dish.
Achieving the Perfect Crispy Apple Crisp Topping
This step is crucial if you want that killer crispy apple crumble texture and not just mush on top. In a separate bowl, whisk together the topping flour, oats, brown sugar, nutmeg, and salt. Now, take your cold butter pieces and drop them right into the dry mix. You need to ‘cut’ that butter in. I use my fingers for this—it feels more accurate than gadgets! You’re squishing the butter into the dry ingredients until you get coarse crumbs. Seriously, stop when it looks like rough sand with some pea-sized butter chunks still visible. Don’t overmix it! Those little fat pockets are what guarantee the crispy topping upon baking.
Baking and Resting the Warm Baked Apples
Evenly sprinkle that amazing topping mixture all over your apples. Pop it into the preheated oven. You’re looking for 35 to 45 minutes of baking time. The visual cues are your best friend here: the filling underneath should be bubbling really happily, and the topping must be golden brown and crisp. When they’re done, pull that dish out, but here’s the hard part: you *must* let it rest for 15 minutes. This helps the juices settle. If you cut right into it, it’ll run everywhere! Grab my latest baking tips later if you want to see how I guarantee the crispest texture.
Tips for Success When Making Apple Crisp
Listen, even an easy apple crisp recipe can go sideways if you skip a couple of tiny details. I’ve learned these things through trial and, frankly, some slightly sad, soggy batches!
The biggest thing is the apple choice. Remember I said Granny Smith? They hold their shape so much better than softer varieties. If you only use something like a McIntosh, you’ll end up with apple sauce instead of crisp filling!
And speaking of texture, if you are wondering exactly how to get crispy topping on crisp, it comes down to the butter temperature. Make absolutely sure that butter is rock-hard cold before you cut it into the dry mix. Those firm chunks melt slowly in the oven, creating those perfect, crunchy layers on top. Don’t compromise on that!
Variations for Your Apple Crisp
This base recipe is amazing, but sometimes you want to shake things up, right? Since you mastered the basic cinnamon apple crisp, let’s talk upgrades. For the topping, if you want a nutty hit, just toss in about 1/4 cup of chopped pecans or walnuts with the dry ingredients. They toast up beautifully in the oven!
If you happen to be out of oats and wondering how to make apple crisp topping without oats, you can sometimes replace the oats with an equal amount of extra flour or finely ground almonds, though the texture will definitely change. Also, for an ultimate classic comfort food baking recipe twist, try adding a few thin slices of sharp cheddar cheese right on top of the topping just before baking. Trust me; it melts into the brown sugar and it’s phenomenal!
Serving Suggestions for This Quick Apple Dessert
We’ve baked those warm baked apples until they are bubbling perfectly, so don’t let them sit around naked! This easy apple crisp begs to be served warm. Nothing beats that contrast of hot, spicy apples and cold, creamy richness.
My absolute favorite, the one I insist on, is a big scoop of good quality vanilla ice cream melting right over the top. If you want something slightly lighter, a drizzle of heavy cream works beautifully too. The sweetness of the dessert really shines when paired with something simple. If you’re looking for other simple fruit crisp ideas, check out some of my other simple dessert ideas!
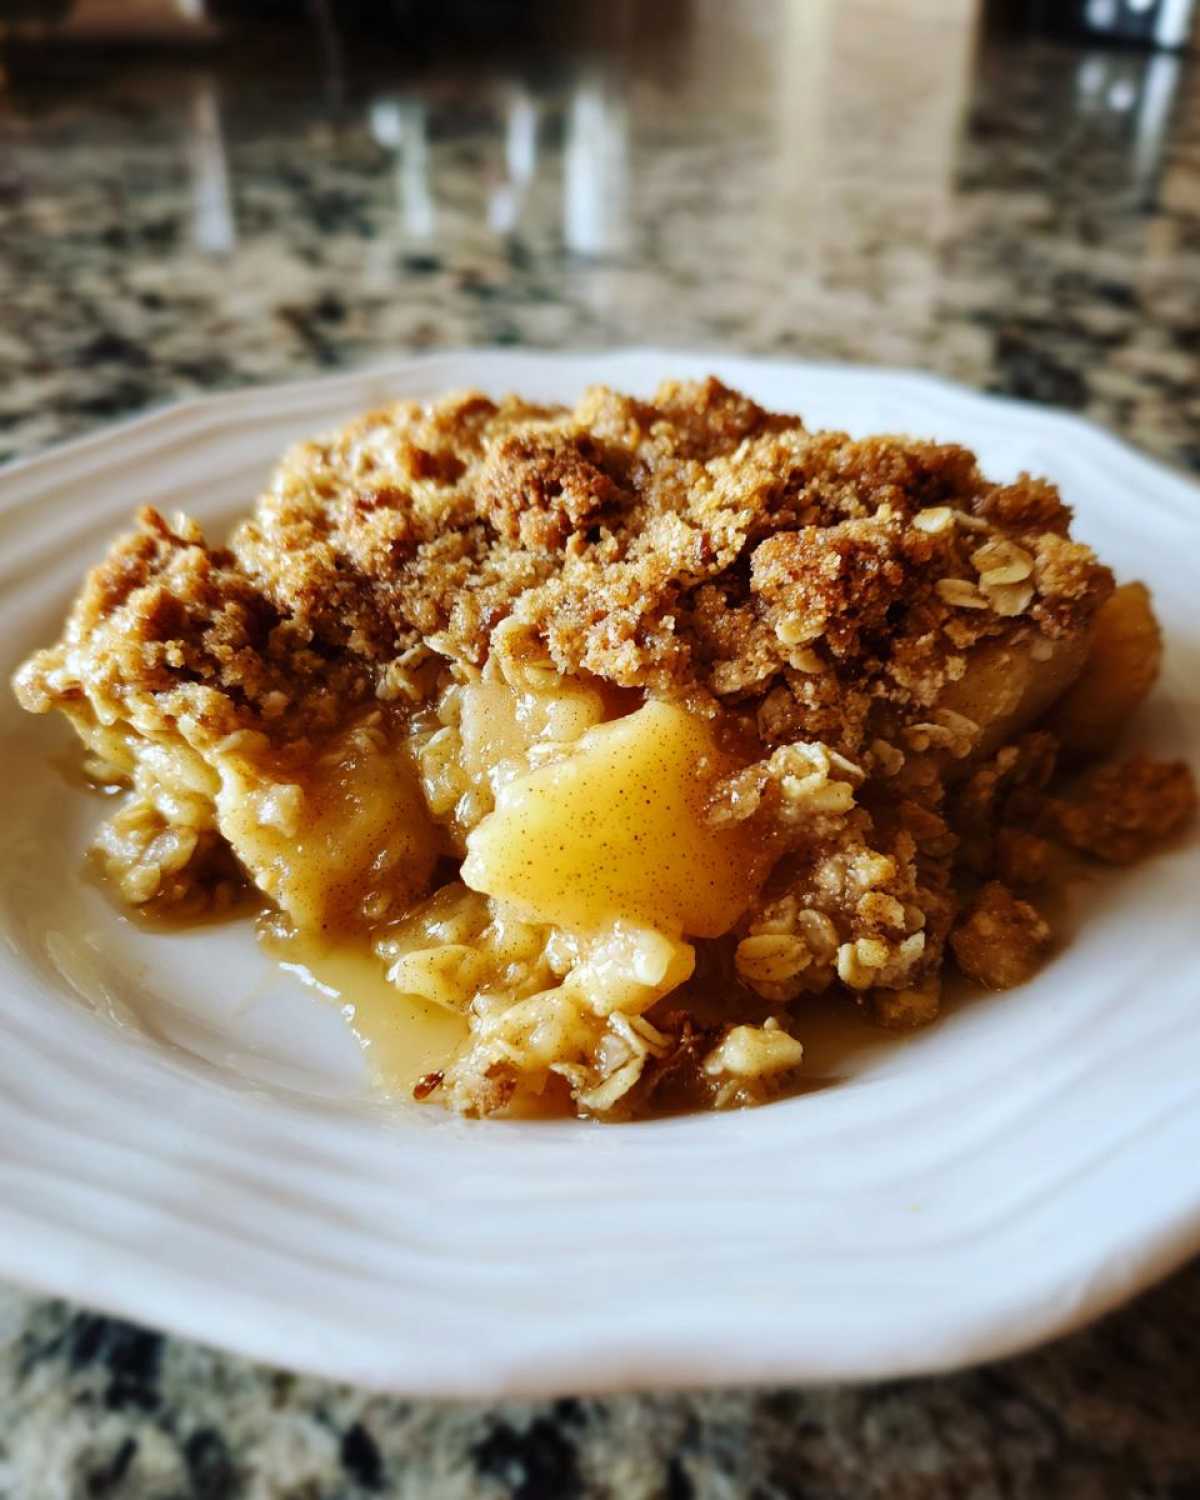
Storage and Reheating Instructions for Apple Crisp
Now, assuming you actually have leftovers—which is a miracle because this usually disappears in one night—you want to store it properly so you can enjoy it again tomorrow! When it comes to leftovers, always let the crisp cool down completely before trying to put it away. If you cover it while it’s still warm, you’re just trapping steam, and that ruins the whole point of having a crispy topping, right?
Once cool, cover the baking dish tightly with plastic wrap or foil, or just scoop the portions into an airtight container. It should hang out on the counter at room temperature for about a day if your kitchen isn’t too warm. If you think it will last longer than that, pop it into the fridge where it keeps happily for up to four days.
To reheat, please, please, please skip the microwave! The microwave is the enemy of crispness; it turns that beautiful topping soggy in seconds. A better way to handle reheating is to put individual servings on a baking sheet or place the whole dish back into a 350-degree oven for about 10 to 15 minutes. That blast of dry heat revives the topping beautifully, bringing back that fresh-from-the-oven texture. Serve it up again with a fresh scoop of ice cream—perfection!
Estimated Nutritional Information for Apple Crisp
I always want to give you guys a rough idea of what you’re diving into, especially with comfort food baking recipes like this one. Remember, since we are making this apple crisp from scratch with real butter and brown sugar, these figures are definitely an estimate!
But for a generous serving, you’re looking at around 350 calories. It has about 18 grams of fat, 48 grams of carbs, and 4 grams of protein. Since this is a homemade classic fruit crisp and not a diet recipe, I’m happy with those numbers when that topping is involved! For the full breakdown, you can always check my standard nutritional disclaimer page.
Share Your Experience Making This Apple Crisp
I seriously cannot wait to hear what you think once you pull this gorgeous dessert out of your own oven! Try this recipe out this week for an easy autumn baking win. Did you stick with Granny Smith apples, or did you try mixing in a sweeter kind? How did your buttery oatmeal topping turn out—were those crispy edges everything you dreamed of?
Let me know in the comments below! It means the world to me when you tell me how our shared kitchen creations turned out. If you have any questions while you’re making it, especially about getting that crisp perfectly golden, please drop them in the comments too. If you have feedback or want to send me a picture of your warm baked apples, you can always reach out through my contact page. Happy baking, friend!
PrintClassic Apple Crisp
A straightforward recipe for a warm, comforting apple dessert with a buttery, crisp topping.
- Prep Time: 15 min
- Cook Time: 40 min
- Total Time: 55 min
- Yield: 6 servings
- Category: Dessert
- Method: Baking
- Cuisine: American
- Diet: Vegetarian
Ingredients
- 6 medium apples (Granny Smith or a mix)
- 1/4 cup all-purpose flour
- 1/4 cup granulated sugar
- 1 teaspoon ground cinnamon
- 1 tablespoon lemon juice
- 1/2 cup all-purpose flour (for topping)
- 1/2 cup rolled oats
- 1/2 cup packed light brown sugar (for topping)
- 1/4 teaspoon ground nutmeg
- 1/4 teaspoon salt
- 1/2 cup cold unsalted butter, cut into small pieces
Instructions
- Preheat your oven to 375 degrees F (190 degrees C). Grease an 8×8 inch baking dish.
- Peel, core, and slice the apples into 1/4-inch thick pieces. Place them in a large bowl.
- In the bowl with the apples, toss the 1/4 cup flour, 1/4 cup granulated sugar, cinnamon, and lemon juice until the apples are coated.
- Spread the coated apples evenly into the prepared baking dish.
- Prepare the topping: In a separate medium bowl, combine the 1/2 cup flour, rolled oats, brown sugar, nutmeg, and salt.
- Cut in the cold butter using a pastry blender or your fingers until the mixture resembles coarse crumbs. Do not overmix; some pea-sized pieces of butter are fine.
- Sprinkle the topping mixture evenly over the apples in the baking dish.
- Bake for 35 to 45 minutes, or until the topping is golden brown and the apple filling is bubbly and tender when pierced with a fork.
- Let the crisp cool for at least 15 minutes before serving warm.
Notes
- For the best texture, use firm, slightly tart apples like Granny Smith.
- To get a very crispy topping, chill the butter pieces before mixing them into the dry topping ingredients.
- Serve immediately with vanilla ice cream or a drizzle of heavy cream.
- For a nuttier topping, add 1/4 cup of chopped pecans or walnuts to the topping mixture.
Nutrition
- Serving Size: 1 serving
- Calories: 350
- Sugar: 30g
- Sodium: 150mg
- Fat: 18g
- Saturated Fat: 11g
- Unsaturated Fat: 7g
- Trans Fat: 0g
- Carbohydrates: 48g
- Fiber: 4g
- Protein: 4g
- Cholesterol: 45mg