

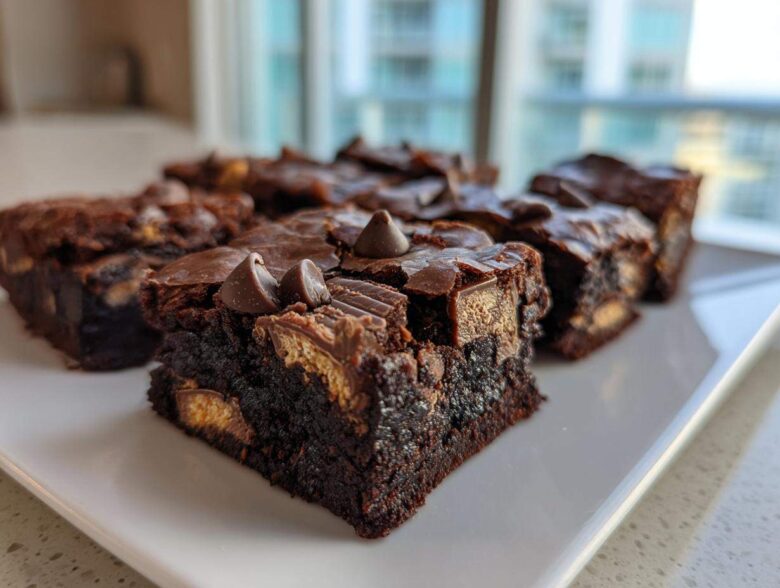
Okay, sweet friend, if you are looking for a dessert that screams ‘over the top’ without using a million complicated steps, you’ve come to the right place. Forget those dry, cakey bar recipes you see floating around—we are making fudgy Kit Kat Brownies today, and they are the real deal!
I spent an entire weekend wrestling with ratios because every time I added candy, my brownies went stiff, which drove me absolutely nuts. But I finally cracked the code! The secret is how we treat the batter and, most importantly, how we layer those wonderful chocolate wafer bars right in the middle. Trust me, incorporating those chopped Kit Kat wafers both inside and just under the top layer gives these the ultimate crunch contrast against the gooey interior.
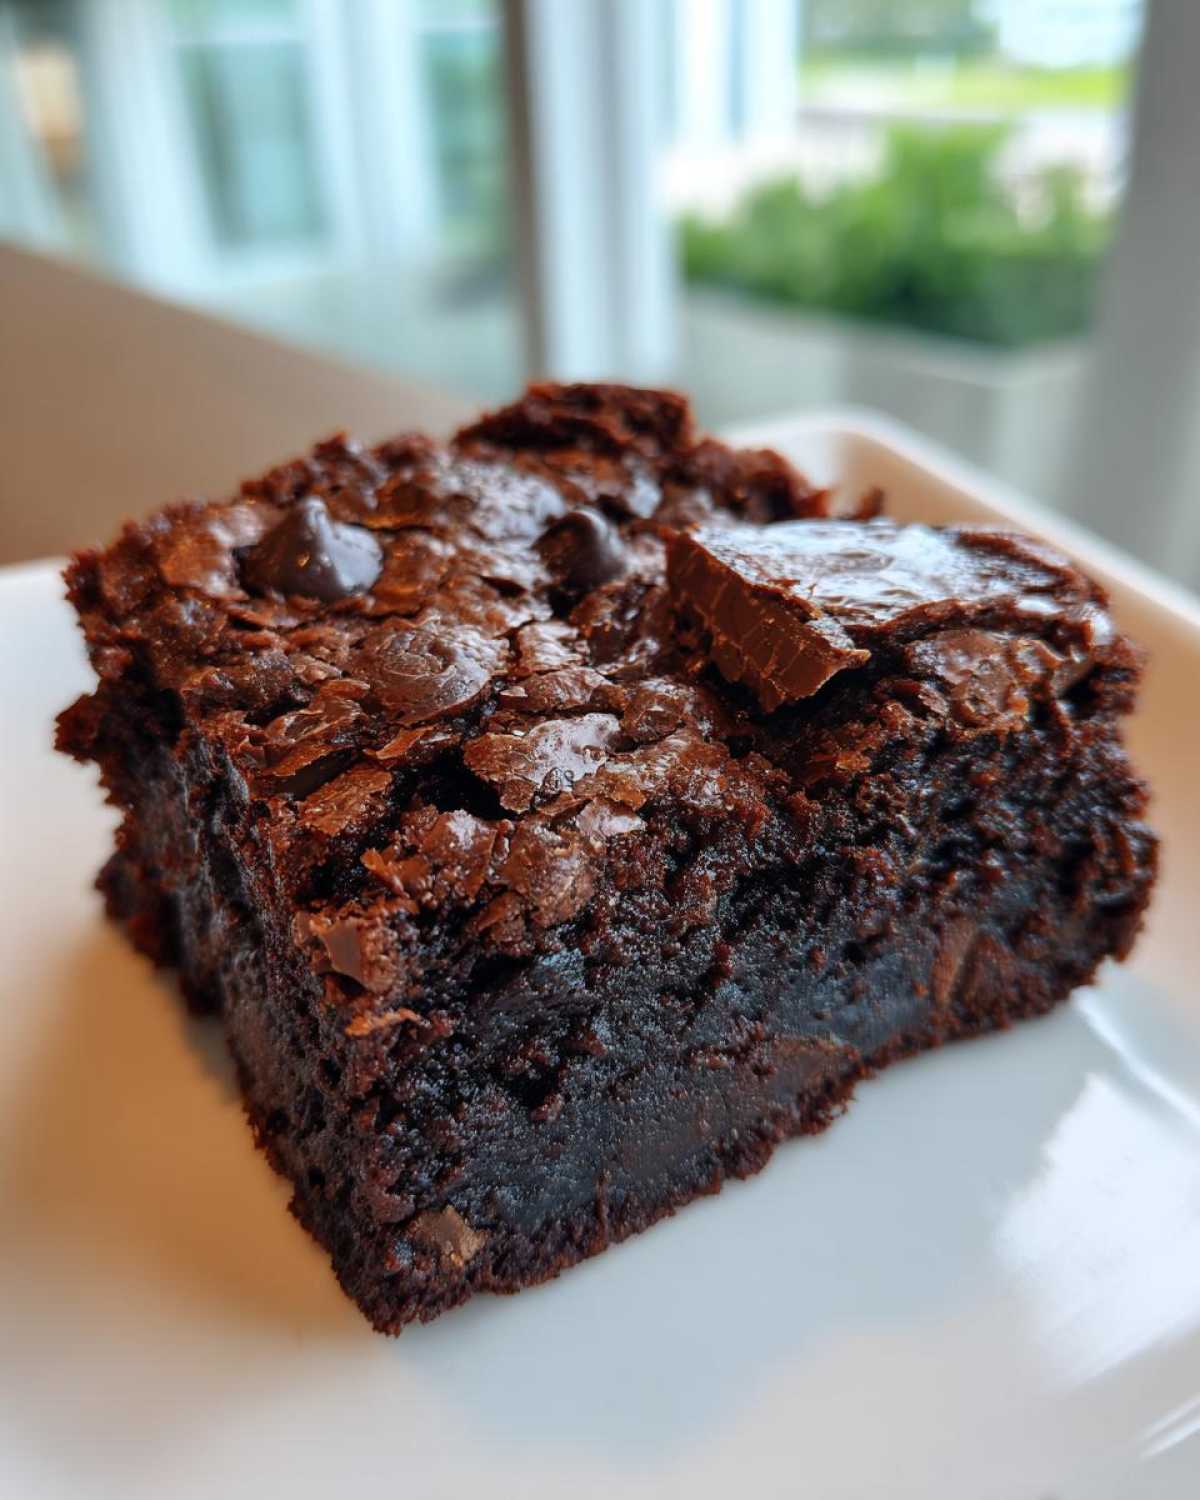
The texture we are chasing is that perfect, slightly underbaked, intensely rich center. When you pull those out of the oven, they smell like heaven, and once they cool, they slice beautifully. You are going to want to make a double batch of these rich decadent dessert bars; one batch won’t last five minutes, I promise you that! Plus, you can use that recipe for our amazing 7-layer dip if you need another crowd-pleaser later!
Why You Will Love These Kit Kat Brownies
Seriously, these are my new go-to when I need a showstopper dessert without spending all day whipping things up. You won’t believe how simple they are!
- The texture is 100% pure fudge—no cake allowed here! That’s the magic of these fudgy brownie recipes.
- They use just one bowl for the main batter, making cleanup ridiculously easy. It’s truly an easy candy bar brownies recipe.
- You get that fantastic crunch from the wafer inside, contrasting beautifully with the soft chocolate.
- These look so overloaded and fun, making them the ultimate party centerpiece. They’re pure indulgence, darling.
When you’re done, certainly check out how I use the same minimal-fuss attitude for my marshmallow bars!
Essential Ingredients for Fudgy Kit Kat Brownies
Okay, gather everything up before you start. Since we’re aiming for the fudgiest texture possible, the quality of the chocolate really matters here. Don’t substitute the butter, please—it has to be real, unsalted butter for this recipe to set up right!
Here is what you need for your ultimate overloaded brownies:
- 1 cup (which is two whole sticks!) of unsalted butter. Don’t cheat on this!
- 1 1/4 cups of unsweetened cocoa powder—make sure it’s unsweetened for that rich chocolate punch.
- 2 cups of granulated sugar to keep things sweetly dense.
- 4 big, beautiful large eggs.
- 1 teaspoon of good vanilla extract for warmth.
- 1 cup of all-purpose flour, measured carefully.
- Just 1/2 teaspoon of salt—it enhances the chocolate flavor like crazy.
- 1 cup of semi-sweet chocolate chips—I use these mixed into the batter for extra meltiness.
- And the star: 12 standard size Kit Kat bars, which you need to roughly chop right before you use them.
If you want to explore other delicious bar styles, my salted caramel red velvet brownies are another showstopper!
Expert Tips for Perfect Kit Kat Brownies Texture
Getting that perfect texture is everything when you’re making an ultimate overloaded brownies recipe like this. If you mix too much, you end up with cake, and nobody wants a cake when they asked for a fudgy bar! The meltiness of the butter combined with the limited amount of flour is what keeps these soft and rich.
Achieving the Best Fudgy Brownie Recipes Base
The key to that deep, gooey center lies in how little we touch the flour. Once you add the dry stuff (flour and salt), you only mix until you see zero streaks of dry powder left. Honestly, stop stirring when it looks like there are still tiny lumps. That’s the magic way to keep gluten development low, which equals maximum fudge factor in your fudgy brownie recipes.
How to Bake with Kit Kats Effectively
Now, the candy! You don’t want all your precious chopped chocolate and wafer pieces sinking straight to the bottom of the pan, right? That’s why we split them up. Mixing half (about six bars!) right into the batter helps distribute flavor throughout the bar. Then, we sprinkle the other half right on top of the first layer of batter before adding the second. This gentle layering keeps the candy bars suspended well enough so they don’t burn but don’t disappear entirely either. It’s the best way for how to bake with Kit Kats!
After you mix your batter, take a peek at my recipe for Nutella swirl brownie hearts—it uses a similar layering trick to keep textures distinct!
Step-by-Step Instructions for Layered Candy Brownies
Alright, we’ve done the prep work, and now it’s time to assemble these glorious layered candy brownies! The process is super straightforward, but paying attention to when you add those Kit Kats is key to getting the perfect melt and crunch combo. Don’t rush the cooling, though; that’s perhaps the hardest step!
Preparing the Pan and Melting Chocolate Base
First things first: get that oven roaring at 350°F (175°C). Next, grab your 9×13 inch pan, and trust me on the parchment paper here—you need that overhang! Leave a few inches sticking up on the sides so you can use the paper as handles later. That’s your secret tool for getting these beauties out in one piece. Now, gently melt your butter in a saucepan over low heat. Once it’s liquid, take it off the burner and whisk in that cocoa powder until it’s smooth as silk. We don’t want any lumps!
Mixing the Batter for Ultimate Overloaded Brownies
To that smooth chocolate base, stir in the sugar until everything looks incorporated. Then, beat in your eggs one at a time—don’t dump them all in at once! Follow that with your vanilla. In a separate bowl, quickly whisk your flour and salt together. Now, switch to gentle folding! Gradually add the dry mix to the wet—just mix until you can barely see any white streaks. Remember what I said? No overmixing! At this stage, fold in your chocolate chips and half of your roughly chopped Kit Kats. Spread half of this amazing batter into your prepared pan. Sprinkle the remaining chopped bars right over that first layer, and then gently spread the rest of the batter right on top. That layering is how you make the best Kit Kat dessert ideas!
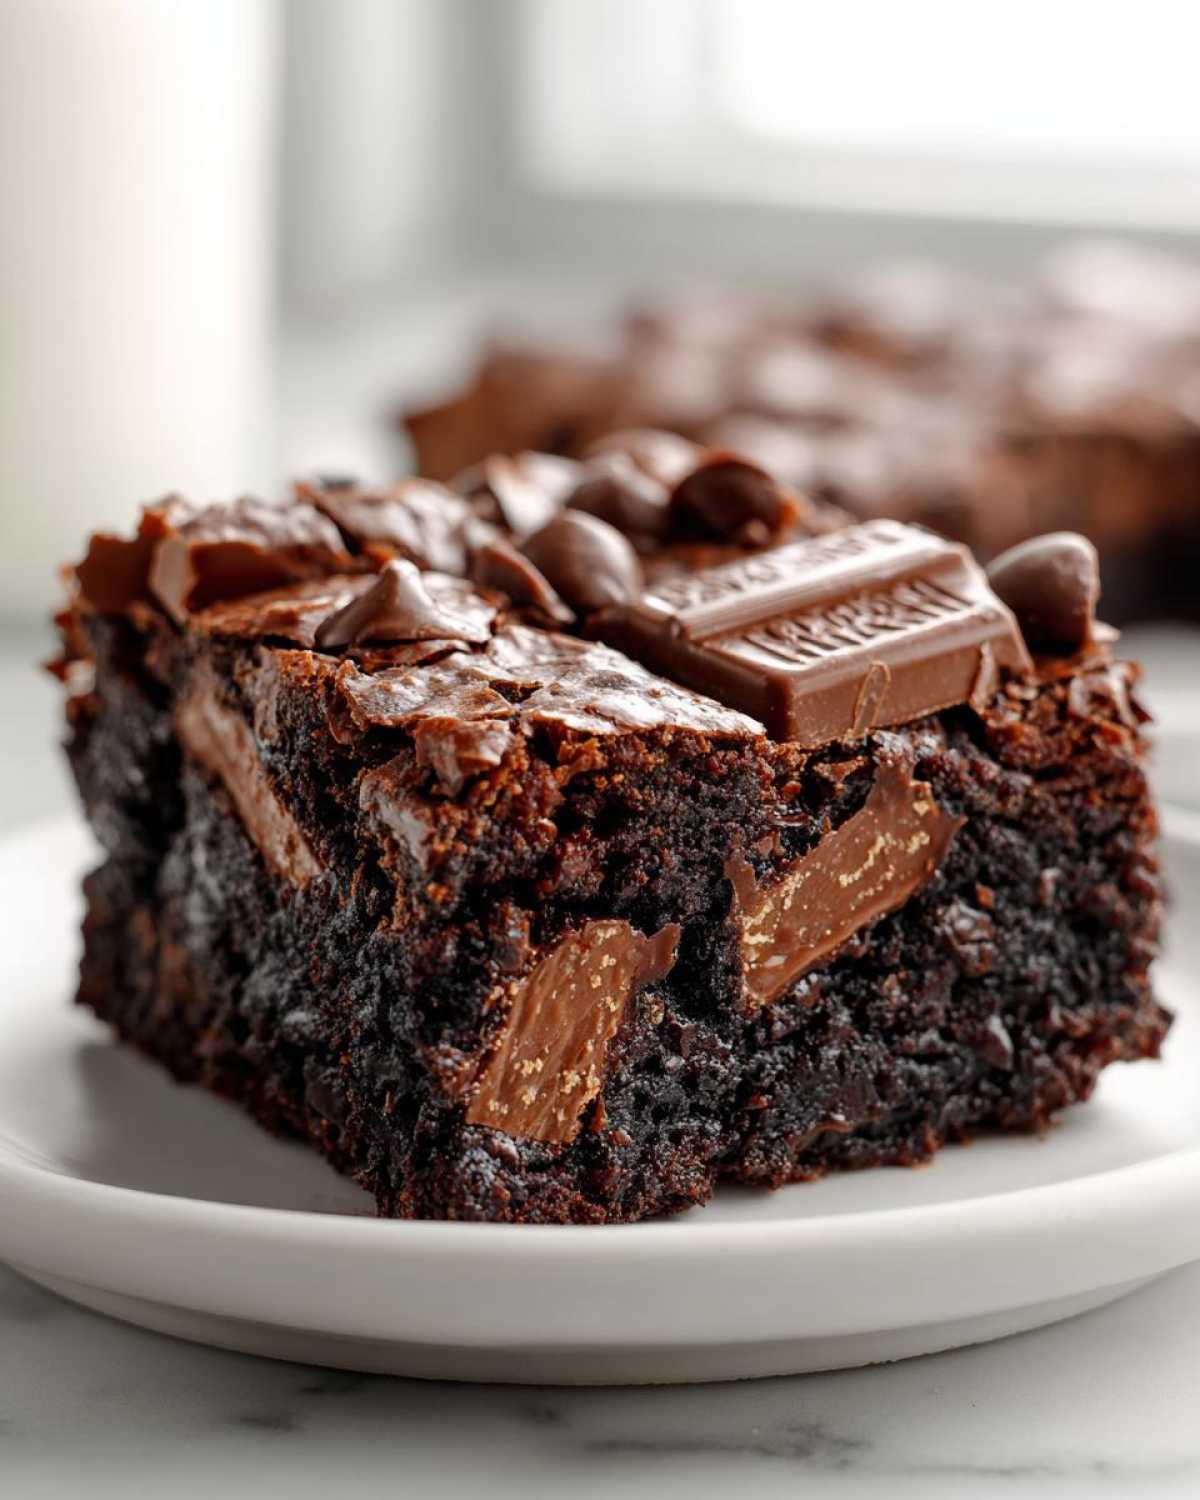
Pop them in the oven for about 25 to 30 minutes. You’re looking for moist crumbs when you test the center—that means you nailed the fudgy result for these Kit Kat Brownies! Check out my recipe for dark chocolate cherry brownies if you need another gooey fix while these cool down!
Variations: Making Your Kit Kat Dessert Inspiration Unique
Now that we have the perfect fudgy base, we can have some real fun with these! These chocolate candy brownies are begging to be customized. Don’t feel stuck with just the classic milk chocolate wafer, either.
If you can find them, the Kit Kat Dark Chocolate bars work beautifully, adding an extra layer of bittersweet depth. Or maybe try the Kit Kat White for a fun contrast! For extra richness, I sometimes swirl a ribbon of melted caramel sauce right over the top layer of batter before it goes into the oven. It makes these Kit Kat dessert inspiration batches even more decadent.
You could also mix in some toasted pecans or those peanut butter chips if you’re feeling wild, but honestly, they shine brightest when it’s just chocolate, wafer, and that gooey batter. If you love playing around with different bar flavors, you absolutely have to try my white chocolate raspberry blondies next!
Storing and Reheating Your Chocolate Candy Brownies
The hardest (and best) part of making these chocolate candy brownies is waiting for them to cool down enough to slice! But once you get them cut, storing them properly is crucial if you want to keep that signature fudgy texture. I use an airtight container, and I place a small piece of wax paper between the layers so the sticky bottoms don’t glue themselves together. They actually taste even better the next day—that extra day lets those chocolate flavors really deepen!
If you manage to save any (ha!), they stay fresh on the counter for about three days in the sealed container. If you need them to last longer, the fridge works fine for up to a week, though they might firm up a smidge too much for my liking.
When you want to bring them back to that perfect gooey state, do not just microwave them straight from the fridge! Warm them up for about 10 to 15 seconds max. That little blast of heat reactivates the butter and makes the chocolate inside nice and melty again. It brings them right back to that perfect texture, just like when they first came out of the oven! For a real treat, warm one slightly and serve it with a scoop of vanilla bean ice cream—it’s like my fudge brownie field cake, but in bar form!
Frequently Asked Questions About Kit Kat Brownies
When you’re making a project like this, you usually end up with a few lingering questions. I totally get it! I wanted to cover the main things people ask about making these chocolate lover brownies—especially if you are new to this style of candy mix-in baking.
Can I make these brownies without baking them?
That’s a great question, especially if you’re looking for a no bake Kit Kat dessert alternative! Unfortunately, to get that fudgy, rich base and properly melt the chocolate and set the eggs, we absolutely need to bake this batter. If you just mixed the ingredients cold, you’d end up with a chocolatey dip, not a bar! However, if you are pressed for time, you can make the base fudgy batter, skip the baking, and just melt white chocolate over the top, mixing in chopped Kit Kats right before it sets in the fridge. It’s cheating a little, but delicious!
What is the best way to cut these rich decadent dessert bars?
Cutting these requires patience, which is probably the hardest ingredient to measure! Remember how I mentioned letting them cool completely? That step is vital here. If you try to slice while they are warm, the fudgy center will ooze out, and those lovely Kit Kat pieces will drag across the knife. Wait until they are totally cool—preferably after chilling in the fridge for an hour. Then, wipe your knife clean between every single cut. This keeps your slices neat and makes your rich decadent dessert bars look truly professional!
Is this considered an easy candy bar brownies recipe?
Totally! Once you get the hang of melting the butter and cocoa first, the rest is just mixing—no whisking eggs into cold butter or complicated creaming required. It comes together really fast! I think of it as one of the very easy baked goods with candy because the complexity is hiding inside the candy bar itself. It’s truly my top pick for an easy candy bar brownies recipe when company shows up unexpectedly!
If you’ve got more questions, cruise over to my main recipe index for more details on baking tips!
Nutritional Estimates for These Chocolate Lover Brownies
Now, I always hate to dwell on numbers when the focus should be on pure chocolate enjoyment, but some folks need the details! So, here is a snapshot of the nutritional breakdown for these Chocolate Lover Brownies based on my standard ingredient batches. Remember, this is just an estimate, you know how counting calories goes when you’re baking with this much joy!
The figures below are based on cutting the whole batch into 16 squares, which keeps the portions reasonably sized—though who eats just one, really? Please know that if you use different chocolate chips or different sized Kit Kats, these numbers can shift a bit! For full information regarding my testing standards, you can always check out my official disclaimer page.
- Serving Size: 1 square
- Calories: 350
- Sugar: 35g (Yes, that’s expected in a masterpiece!)
- Sodium: 150mg
- Fat: 21g (Mostly the good, buttery kind!)
- Saturated Fat: 12g
- Unsaturated Fat: 9g
- Trans Fat: 0g
- Carbohydrates: 40g
- Fiber: 2g
- Protein: 5g
- Cholesterol: 70mg
Share Your Homemade Chocolate Treat Recipes
Seriously, I had such a blast developing these homemade chocolate treat recipes, and now that you’ve made them, I want to know everything! Did they turn out perfectly fudgy? How did your friends and family react to finding those crispy wafers baked right in?
Please, please leave me a star rating right down below the recipe card—it helps me know if I nailed the texture for you, or if you’re one of those people who needs them slightly more baked! I read every single comment.
And if you took a picture of your beautiful, messy, glorious pan of Kit Kat Brownies, tag me on social media! Seeing your creations, especially those colorful variations we talked about, totally makes my day. Send your snaps over to my contact page so I can share some love!
PrintFudgy Kit Kat Brownies
Make rich, fudgy brownies loaded with chopped Kit Kat bars mixed into the batter and layered on top.
- Prep Time: 20 min
- Cook Time: 30 min
- Total Time: 50 min
- Yield: 16 servings
- Category: Dessert
- Method: Baking
- Cuisine: American
- Diet: Vegetarian
Ingredients
- 1 cup (2 sticks) unsalted butter
- 1 1/4 cups unsweetened cocoa powder
- 2 cups granulated sugar
- 4 large eggs
- 1 teaspoon vanilla extract
- 1 cup all-purpose flour
- 1/2 teaspoon salt
- 1 cup semi-sweet chocolate chips
- 12 standard size Kit Kat bars, roughly chopped
Instructions
- Preheat your oven to 350°F (175°C). Grease and line a 9×13 inch baking pan with parchment paper, leaving an overhang on the sides for easy removal.
- In a medium saucepan over low heat, melt the butter. Remove from heat and whisk in the cocoa powder until smooth.
- Add the sugar to the cocoa mixture and mix well. Beat in the eggs one at a time, then stir in the vanilla extract.
- In a separate bowl, whisk together the flour and salt. Gradually add the dry ingredients to the wet ingredients, mixing until just combined. Do not overmix.
- Fold in the chocolate chips and half of the chopped Kit Kat bars.
- Spread half of the batter evenly into the prepared baking pan. Sprinkle the remaining chopped Kit Kats over this layer. Top with the remaining batter, spreading gently.
- Bake for 25 to 30 minutes. A toothpick inserted near the center should come out with moist crumbs attached for a fudgy texture.
- Let the brownies cool completely in the pan on a wire rack before lifting them out using the parchment paper overhang.
- Cut into squares before serving.
Notes
- For an extra decadent topping, press a few whole or halved Kit Kat bars onto the top of the batter during the last 5 minutes of baking.
- If you prefer a cakey brownie, add 1/4 cup of milk to the batter and bake for 5 minutes longer.
- You can substitute milk chocolate chips for dark chocolate chips for a different flavor profile.
Nutrition
- Serving Size: 1 square
- Calories: 350
- Sugar: 35
- Sodium: 150
- Fat: 21
- Saturated Fat: 12
- Unsaturated Fat: 9
- Trans Fat: 0
- Carbohydrates: 40
- Fiber: 2
- Protein: 5
- Cholesterol: 70