

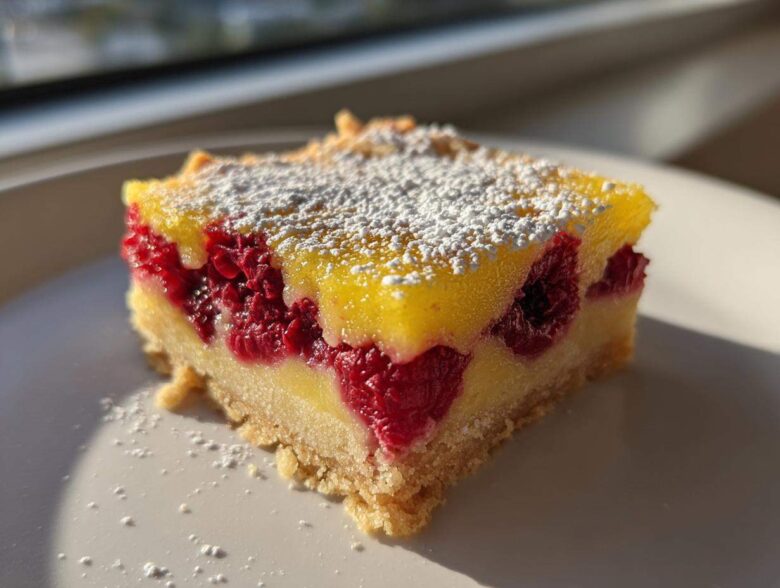
When summer hits, my kitchen just screams for everything bright and zingy! Forget heavy chocolate; my absolute favorite thing to make when the weather warms up is a batch of these incredible Lemon Raspberry Bars. Wow, they are the perfect marriage of flavors, truly. You get that sharp, mouth-watering tartness from the lemon filling, which just sings when it meets the little bursts of sweet-tart flavor from the fresh raspberries strewn throughout. Trust me, finding that sweet spot in the filling took me ages, but the real secret weapon here is the base.

I spent an entire weekend just perfecting the shortbread crust. It had to be crumbly, melt-in-your-mouth buttery, and sturdy enough to hold up all that glorious filling without turning into soggy mush. Once you nail that base, you’ve got the **best raspberry lemon dessert** in your back pocket forever. I’m so excited for you to try this recipe! You can explore more baking adventures right here on the blog if you want!
Why You Will Love These Lemon Raspberry Bars
Honestly, these are going to become your new favorite summer obsession. They are just so simple to throw together, but they look and taste like you spent hours on them. Here is why I think you’ll adore this recipe as much as my family does:
- They’re unbelievably easy! The crust mixture comes together in minutes—perfect even if you’re new to baking these tart and sweet raspberry squares.
- The flavor payoff is huge: intensely bright lemon balanced against the raspberries.
- We nailed the texture! You get a flaky, buttery shortbread base that never disappoints.
- These are the definition of easy lemon raspberry bars—perfect for summer gatherings.
Seriously, you need these fresh raspberry lemon dessert bars in your life!
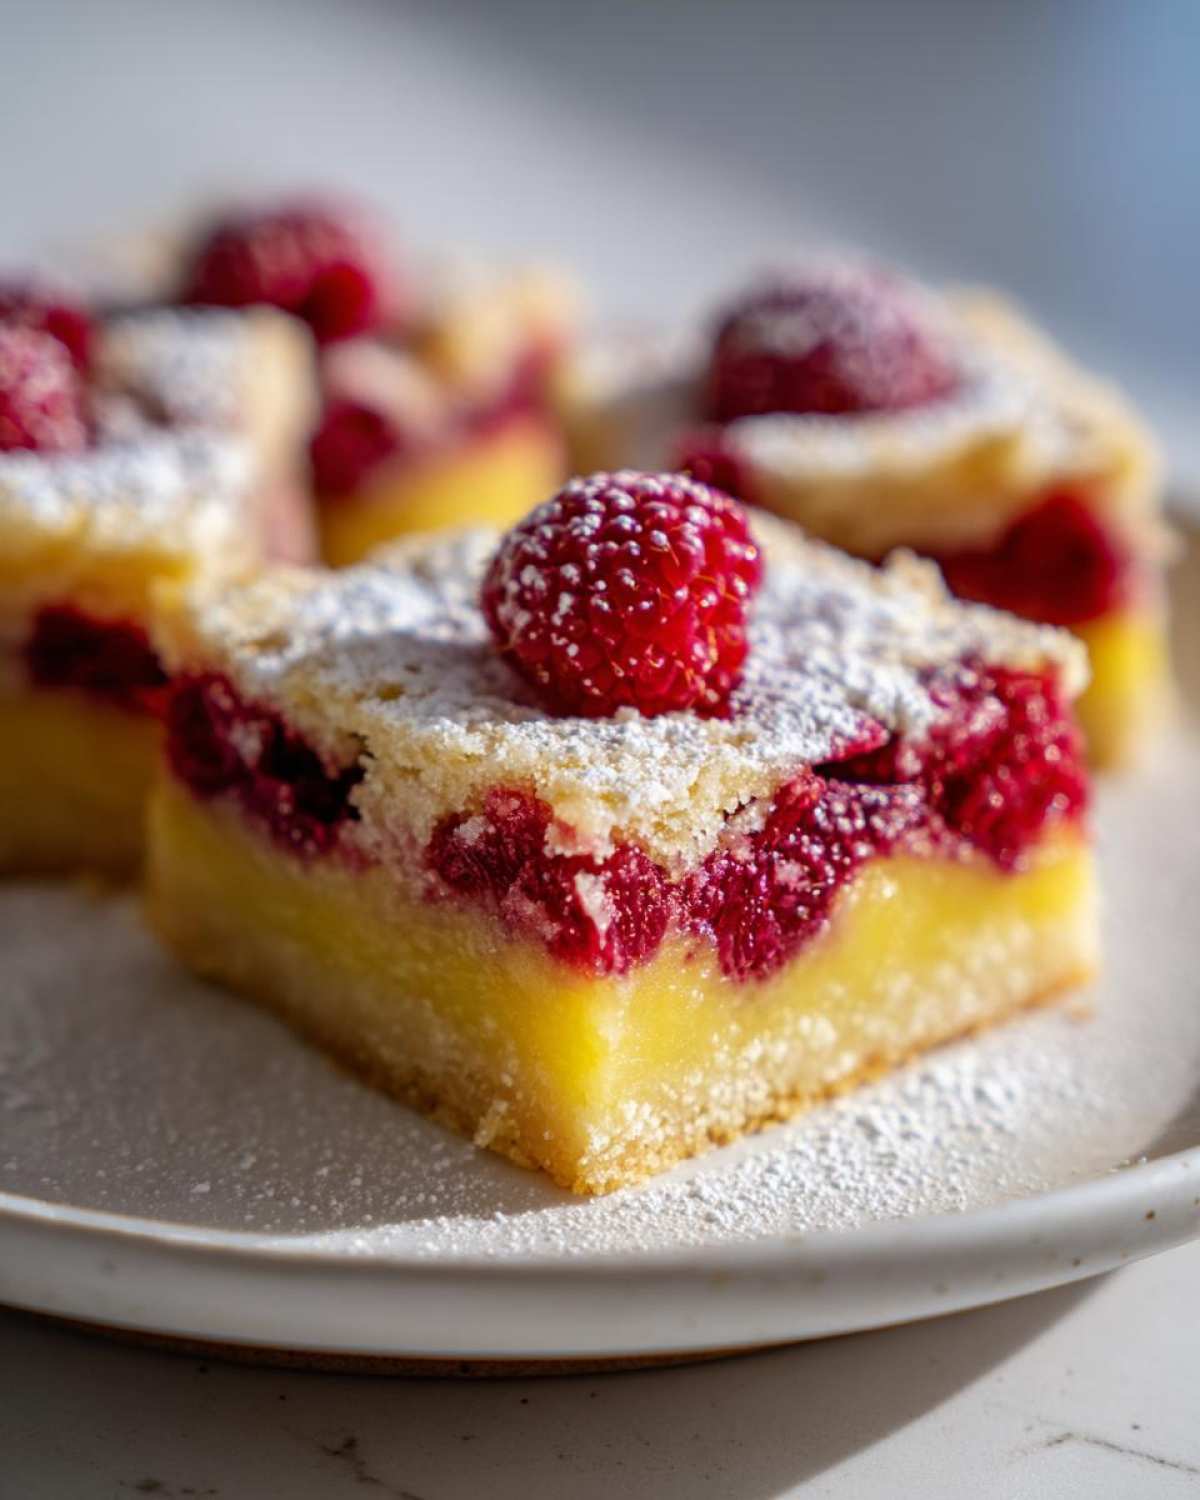
Essential Ingredients for Perfect Lemon Raspberry Bars
Okay, for these Lemon Raspberry Bars to really shine, you can’t just toss in whatever is handy. Grandma always said good baking starts with respecting ingredients, and she was right! We need quality for that amazing buttery texture and sharp lemon zing. I’ve broken down exactly what you need below. Keep that butter COLD for the base, that’s a huge point I stress!
For the Buttery Shortbread Crust
This is the sturdy foundation we talked about! You’re going to need 1 cup of all-purpose flour, half a cup of that secret weapon—cold unsalted butter, cubed—a quarter cup of granulated sugar, and just a tiny pinch of salt to balance everything out.
For the Tart and Sweet Lemon Filling
This is where we get the bright flavor! We’ll whisk together two large eggs, 1 cup of granulated sugar, a quarter cup of flour, and here’s the key: a quarter cup of fresh lemon juice and a tablespoon of lemon zest. Don’t even think about grabbing the bottled stuff; the fresh juice makes all the difference in how tart these raspberry lemon squares turn out!
Then, we gently tuck in about half a cup of your raspberries—they can be fresh or even straight from the freezer—and we finish it all off with just a light dusting of powdered sugar once it chills.
Baking Buttery Shortbread Base for Your Lemon Raspberry Bars
Now that we have our ingredients ready, let’s talk about that glorious shortbread. This is arguably the most critical part of the whole process because if the base fails, the whole bar sinks, right? So pay close attention to how we prepare the baking buttery shortbread base here.
First things first: get that oven cranked up to 350°F (175°C). Seriously, preheat warnings are my favorite because it means we are getting down to business! Grab your 8×8 inch pan—and please, line it well with parchment paper first, leaving those lovely little ‘slings’ hanging over two opposite sides. That parchment is your best friend for lifting these out later; I learned that lesson the hard way once!
In your bowl, mix the crust flour, the quarter cup of sugar, and the salt. Then comes the cold butter, cubed. You need to work that butter in until it looks like coarse, wonderful crumbs. I usually use my pastry blender for this, but honestly, messy fingers work just as well if you move fast! Press that crumb mixture evenly into the bottom of your prepared pan. It needs to bake solo for about 15 minutes until it’s just lightly golden. Don’t overbake it! We just want it set before we add the wet filling. If you are feeling cheesy after this, I have a great cheddar thing you might want to check out, but stay focused for now!
How to Make Lemon Bars with Raspberries: The Filling Stage
Now that your crust is perfectly golden and smells amazing, it’s time to jump into the fun part: learning exactly how to make lemon bars with raspberries that are perfectly tart. While that crust is still warm—yes, warm is important!—we start assembling the filling right away.
In a clean bowl, we are going to whisk together all our filling components for that signature zip. Grab your two eggs, the cup of sugar you measured out, the quarter cup of flour, the fresh lemon juice, and that zest. Whisk it all together until it looks completely smooth, like a pale yellow silk. Don’t leave any lumps of flour hanging around!
This is where we add the fruit. You’ll gently scatter your raspberries right over the surface of the just-baked crust. Whether you used fresh ones or grabbed them frozen from the freezer—don’t thaw them, by the way, trust me on that!—just distribute them evenly. Then, pour that smooth lemon custard mixture right over the top of everything. Be gentle so you don’t disturb that buttery base too much. I sometimes use a silicone spatula to help guide the filling to the corners. I also have a super fun chocolate dessert recipe if you’re looking for another sweet treat later on!
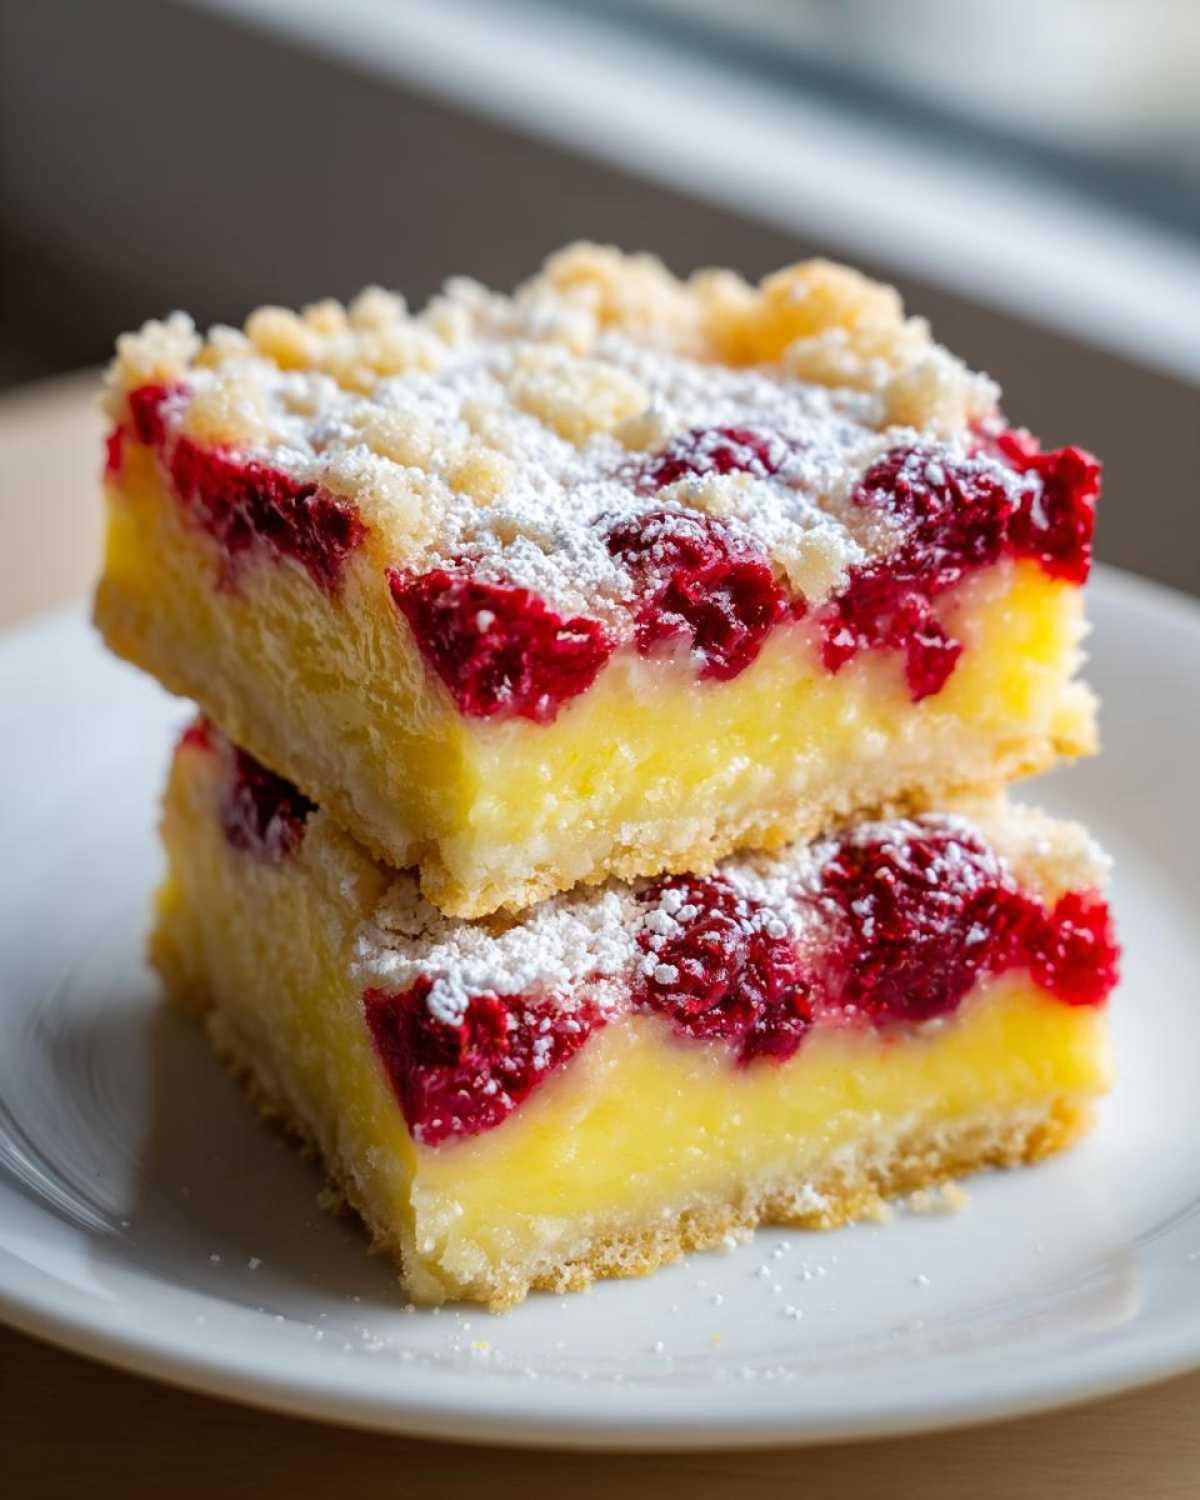
Baking and Setting the Best Raspberry Lemon Dessert
Okay, the batter is poured, the raspberries are nestled in, and we are ready for the final bake! This step locks in all that amazing tangy flavor and sets the texture of our tart and sweet raspberry squares. Pop the whole pan back into that 350°F oven. You’re looking at about 20 to 25 minutes for this final bake. It goes surprisingly fast after that initial crust bake, so don’t wander too far!
How do you know when they are done? That crust edge should look lightly browned, but the filling is the real giveaway. You want to give the pan a super gentle nudge—if the center wobbles like unset Jell-O, it needs a few more minutes. If it shivers a tiny bit but mostly holds firm, you’re golden. That’s the sign of a perfectly cooked lemon custard!
And here is my biggest piece of advice for presentation: You MUST let these cool completely. I know, I know, the smell is intoxicating, and you want to dive right in! But if you try to cut them warm, you’ll have lemon raspberry soup. Let them cool on the wire rack until they are just room temperature, and then pop them into the fridge for at least two hours. That chilling time is what gives you those clean, beautiful squares when you finally lift them out!
Tips for Success with Your Lemon Raspberry Bars
Look, making the best Lemon Raspberry Bars involves a few tiny things that make a gigantic difference. First, let’s circle back to that crust, because nobody wants a soggy bottom on their favorite summer treat! Remember how I told you to bake it until it’s *lightly* golden? That pre-bake sets the flour and butter just enough so the wet filling can’t sneak underneath and turn it mushy. It’s non-negotiable, folks!
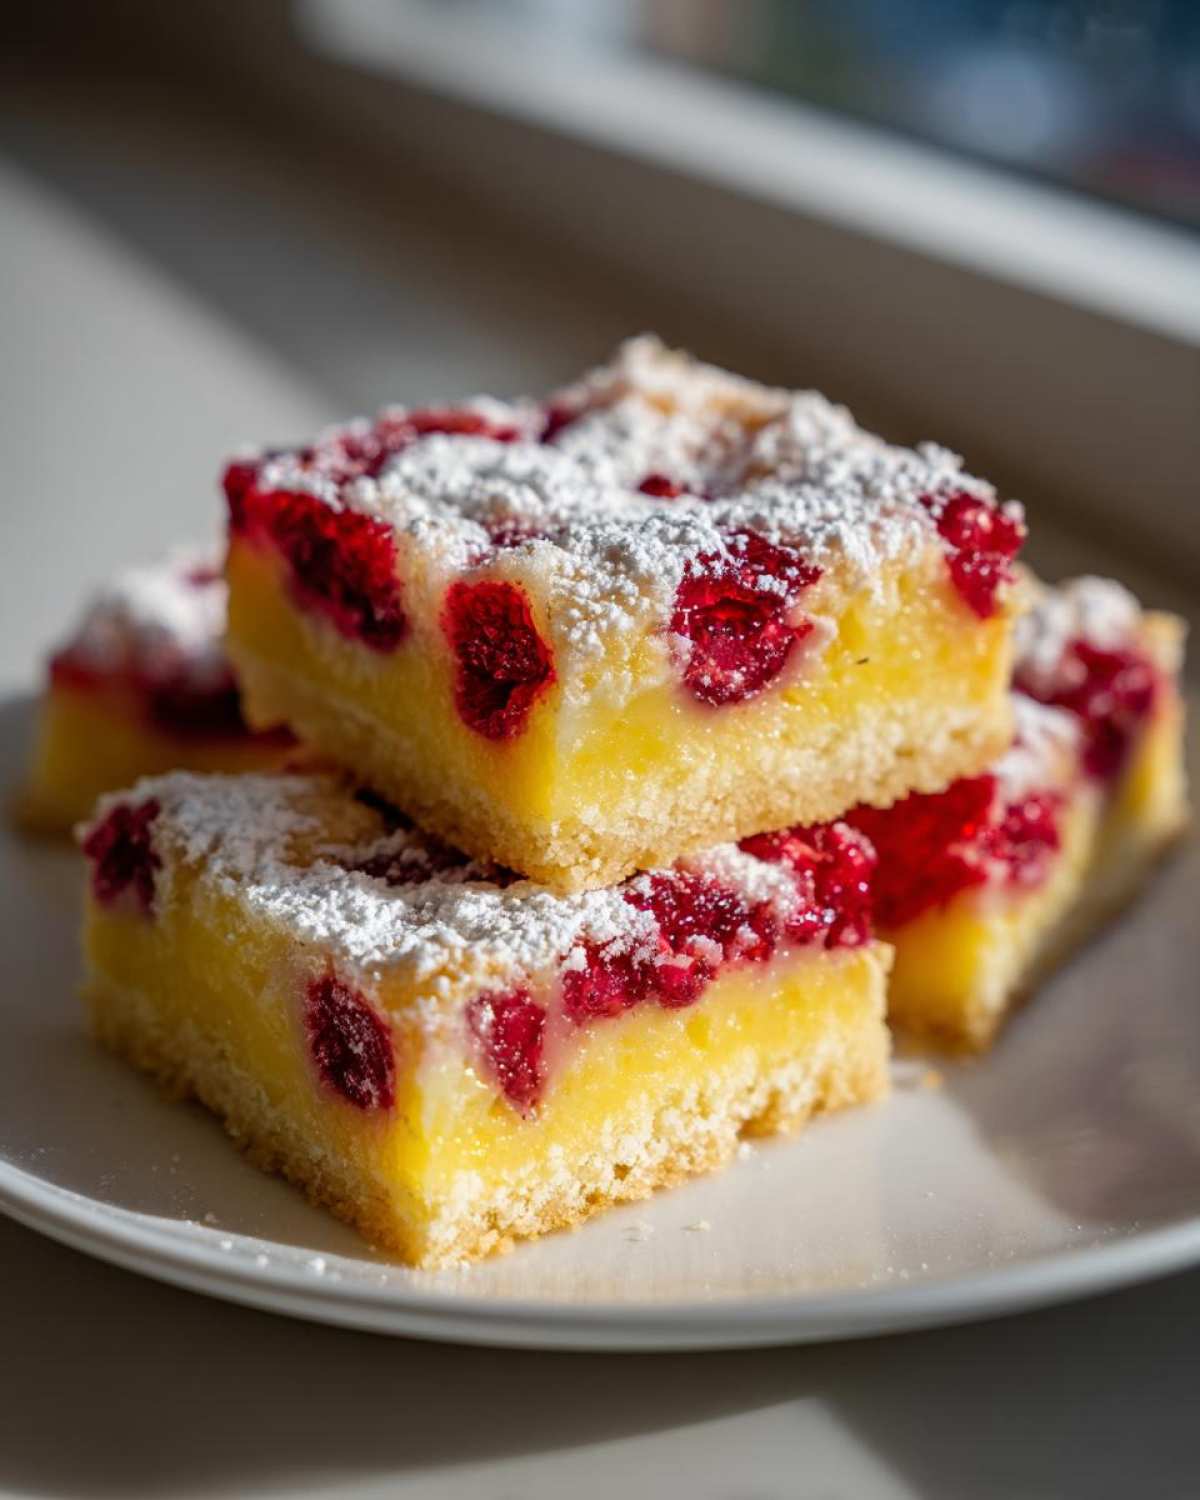
Second, talk to your lemons! You absolutely must use fresh juice. Bottled lemon juice contains preservatives that mess with how the custard sets up, giving you a weeping mess instead of that perfect, firm top layer. If you want true tartness, squeeze your own. It takes an extra two minutes, but flavor-wise, it’s like driving a Ferrari instead of a tractor.
Finally, patience! Seriously, cool them completely. I know you want to cut them immediately, but if you slice them warm, they fall apart. If you want your bars to look as perfect as the ones floating around online, that long cool-down time is your final baking step. We put so much care into the flavor and texture, so don’t rush the finish line! If you’re curious about the person behind all these tips, you can always read more about me here.
Storage and Make Ahead Lemon Raspberry Dessert Options
The best part about these incredible Lemon Raspberry Bars is that they hold up wonderfully, which makes them the ultimate make ahead lemon raspberry dessert! After you refrigerate them until they are completely firm, I usually store them in an airtight container in the fridge. They taste delicious cold, too, which is perfect for those scorching summer raspberry lemon treats.
You can easily keep them good for about four or five days, though honestly, they rarely last that long in my house! If you are worried about them sticking together after cutting, place small pieces of parchment paper between the layers before you stack them in the container. This protects them wonderfully. If you want to know more about how I run this kitchen, I always share my update policies here!
Frequently Asked Questions About Lemon Raspberry Bars
I get so many great questions whenever anyone tries these, and I love hearing how yours turn out! Since we want everyone to succeed in making these amazing easy lemon raspberry bars, I pulled together the top things people usually ask me right here. Don’t be shy if your question isn’t listed; just reach out through my contact page!
Can I use frozen raspberries instead of fresh in these Lemon Raspberry Bars?
Yes, absolutely! I mentioned it briefly during the directions, but I want to stress this: If you’re using frozen ones, do not thaw them first. Just toss them straight onto the batter before the final bake. If you thaw them, they release too much water too early, and you end up with messy pink streaks instead of nice, defined pockets of flavor in your raspberry lemon squares.
How do I prevent the shortbread crust from becoming soggy?
This is the number one source of worry, and I get it! The trick is making sure that crust is at least lightly set before the wet custard goes on top. So, you absolutely must pre-bake that shortbread for the full 15 minutes until it just starts looking pale gold. That little bit of early baking protects the flour and butter from getting completely saturated by the lemon filling.
Are there any alternatives to this baked recipe, perhaps a no bake lemon raspberry bars option?
That’s a fair question! When you’re looking for a true no bake lemon raspberry bars alternative, you usually need gelatin or a lot more cream cheese to help things set up without the oven. This recipe, however, relies on that beautiful egg custard that needs the heat to achieve that perfect firm set. While you can chill these bars really well after baking, they won’t fully firm up without going into the heat first. This recipe is all about that baked, tangy goodness!
Estimated Nutritional Data for Lemon Raspberry Bars
I always feel a little guilty sharing the numbers because, well, these are dessert, and butter is involved! But just so you know what you’re dealing with when enjoying these wonderful summer raspberry lemon treats, here is the ballpark estimate. Remember, these numbers are calculated based on the standard ingredients listed for one single bar serving, and they are just an approximation. Always check the specific brands you use if you are counting critically!
- Serving Size: 1 bar
- Calories: 210
- Total Fat: 11g
- Carbohydrates: 27g
- Protein: 3g
- Sugar: 18g
For more details on how I calculate these figures or general kitchen policies, please peek at my disclaimer page. Enjoy in good health!
PrintLemon Raspberry Bars with Shortbread Crust

A recipe for tart and sweet dessert bars featuring a buttery shortbread base, a bright lemon filling, and fresh raspberries.
- Prep Time: 15 min
- Cook Time: 35 min
- Total Time: 50 min
- Yield: 16 bars
- Category: Dessert
- Method: Baking
- Cuisine: American
- Diet: Vegetarian
Ingredients
- 1 cup all-purpose flour
- 1/2 cup cold unsalted butter, cubed
- 1/4 cup granulated sugar
- 1/4 teaspoon salt
- 2 large eggs
- 1 cup granulated sugar
- 1/4 cup all-purpose flour
- 1/4 cup fresh lemon juice
- 1 tablespoon lemon zest
- 1/2 cup fresh or frozen raspberries
- 1/4 cup powdered sugar for dusting
Instructions
- Preheat your oven to 350°F (175°C). Line an 8×8 inch baking pan with parchment paper, leaving an overhang on two sides for easy removal.
- Prepare the crust: In a medium bowl, combine 1 cup flour, 1/4 cup sugar, and salt. Cut in the cold butter using a pastry blender or your fingers until the mixture resembles coarse crumbs.
- Press the crumb mixture evenly into the bottom of the prepared pan. Bake the crust for 15 minutes until lightly golden.
- While the crust bakes, prepare the filling: In a separate bowl, whisk together the eggs, 1 cup sugar, 1/4 cup flour, lemon juice, and lemon zest until smooth.
- Pour the lemon mixture over the hot, pre-baked crust. Gently scatter the raspberries over the top of the filling.
- Return the pan to the oven and bake for an additional 20 to 25 minutes, or until the filling is set and the edges are lightly browned. The center should not jiggle significantly when gently shaken.
- Let the bars cool completely in the pan on a wire rack. Cooling fully helps the filling set properly.
- Once cool, lift the bars out of the pan using the parchment overhang. Cut into squares. Dust with powdered sugar before serving.
Notes
- To prevent a soggy crust, bake the crust until it is lightly set before adding the liquid filling.
- Use fresh lemon juice for the best tart flavor. Bottled juice may alter the set of the filling.
- If using frozen raspberries, do not thaw them before scattering them over the filling.
Nutrition
- Serving Size: 1 bar
- Calories: 210
- Sugar: 18
- Sodium: 45
- Fat: 11
- Saturated Fat: 7
- Unsaturated Fat: 4
- Trans Fat: 0
- Carbohydrates: 27
- Fiber: 1
- Protein: 3
- Cholesterol: 55