

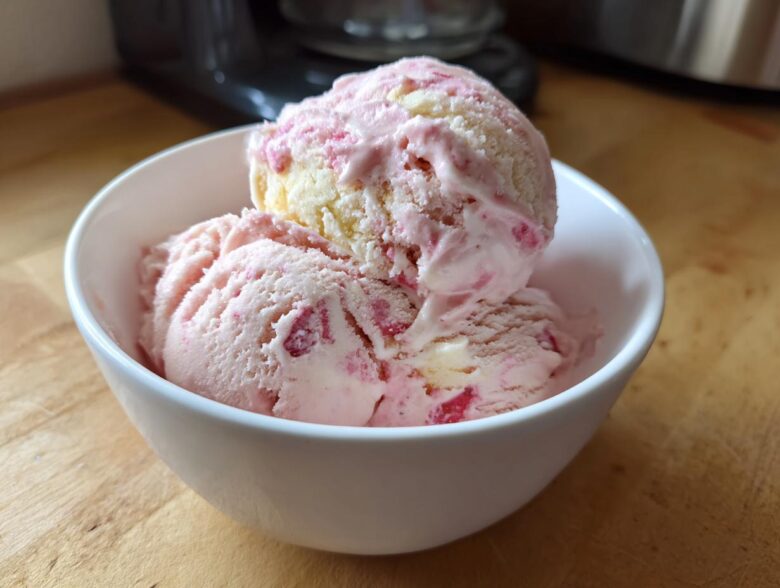
Oh, when summer hits, there is just nothing better than digging into a bowl of ice cream where the fruit is the star, right? Forget those overly sweet, artificial-tasting tubs at the store! I’m letting you in on my absolute favorite way to use up those perfect, speckled bananas and vibrant strawberries lying around: my recipe for Simple Strawberry Banana Ice Cream.
This isn’t some fussy recipe that demands a special freezing contraption either—though you *can* use one if you have it. Trust me, this homemade strawberry banana ice cream comes out unbelievably creamy whether you churn it or just freeze-and-stir it on the counter. It’s the best fruit ice cream I know, and it tastes like sunshine!
I always use fresh berries here. If you want to check out how I make other fun summer treats, hop over to my main blog index!
Why This Strawberry Banana Ice Cream Recipe Stands Out
Okay, so why should you bother making my recipe instead of grabbing a store-bought tub? Simple: texture and freshness win every single time. This Strawberry Banana Ice Cream is the perfect balance of sweet and tart, and it’s designed to be foolproof.
- It’s incredibly creamy, even if you skip the churning step!
- We only use fruits—no weird stabilizers necessary.
- The process is hands-off once everything is combined.
Quick Banana Berry Ice Cream Prep Time
You barely have to *cook* anything here! The prep time is just 20 minutes of slicing and stirring. Since the ‘cook time’ is zero minutes, the whole bulk of the waiting time is just for freezing. It’s perfect for a spontaneous summer treat when you need something quick!
Creamy Fruit Ice Cream Without Machine Option
This is a huge win, especially if you don’t own an ice cream maker collecting dust in the garage. The no-churn method I outline works like a charm. Just remember that little stirring trick we do every 45 minutes? It makes all the difference in stopping those big ice crystals from forming, giving you that lovely texture.
Gathering Ingredients for Your Strawberry Banana Ice Cream
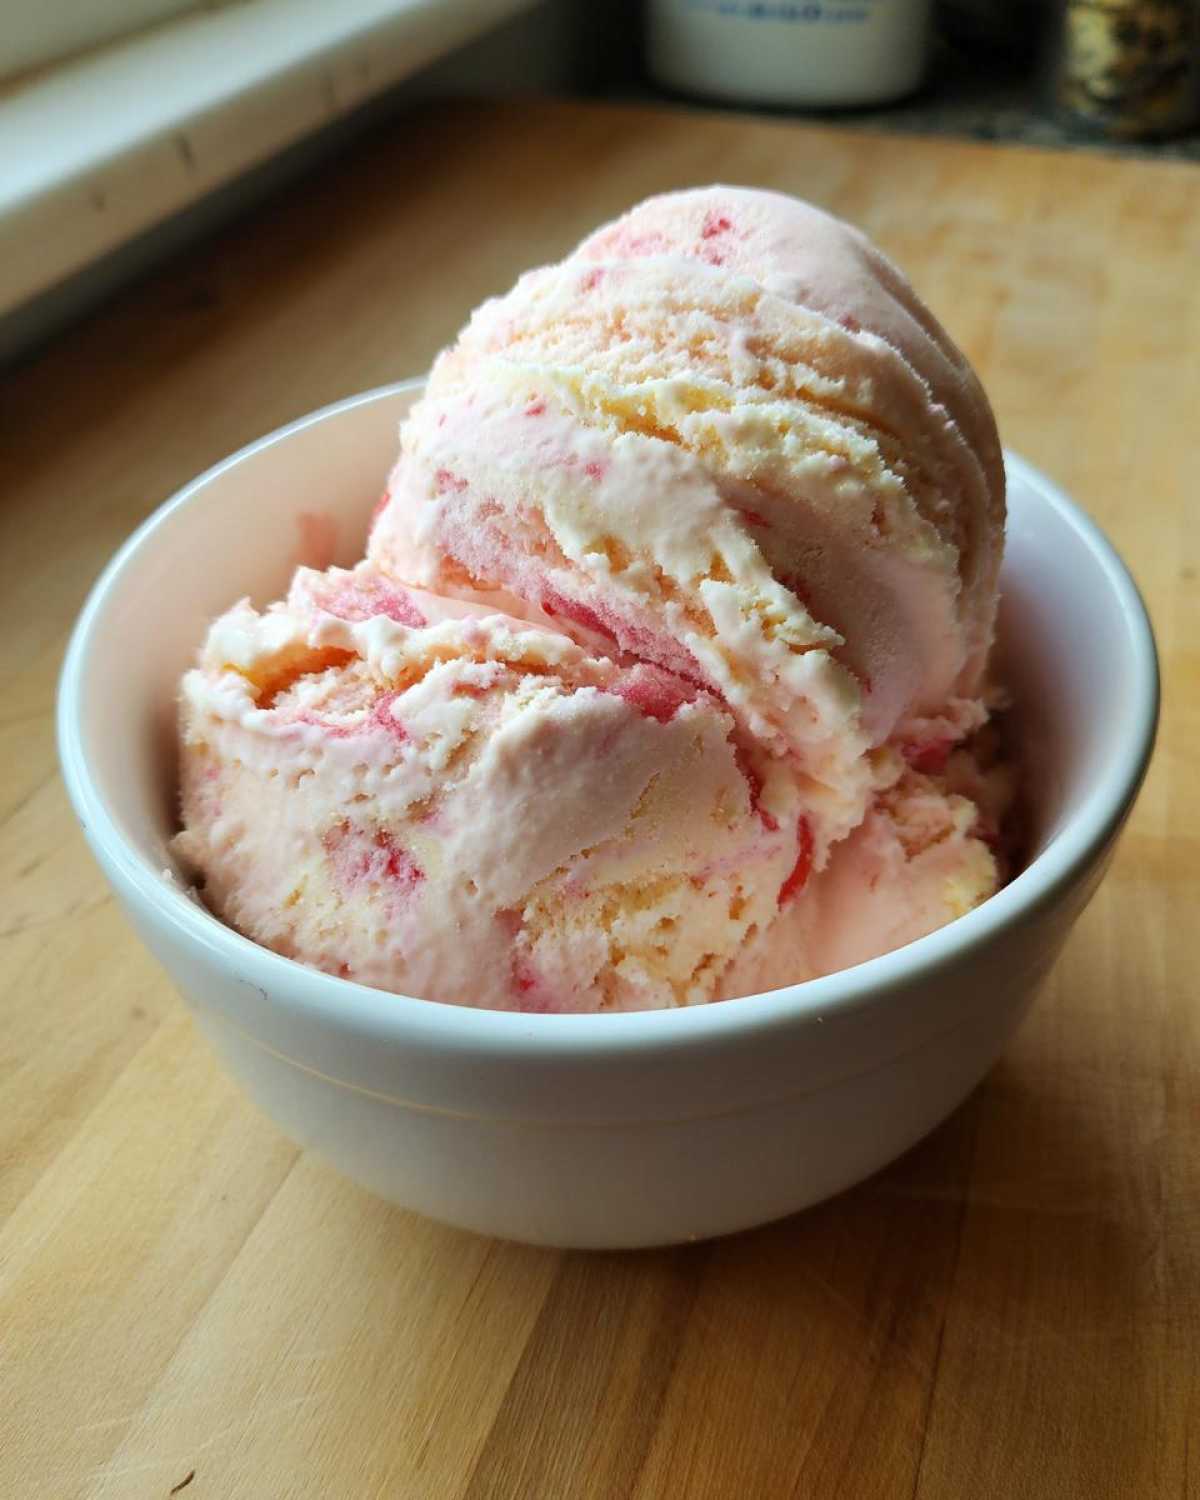
Alright, let’s talk about what you need to make this incredible Strawberry Banana Ice Cream. The beauty of this recipe is that it relies on really simple, whole ingredients. We aren’t dealing with weird gums or stabilizers here, just fresh produce and basic dairy!
For about a quart of ice cream, you’ll need:
- 2 cups fresh strawberries, hulled and sliced—make sure they look plump!
- 2 large ripe bananas, peeled and sliced—this is key, don’t use green ones!
- 1 cup heavy cream
- 1/2 cup whole milk
- 1/2 cup granulated sugar (we split this up later)
- 1 teaspoon vanilla extract
That’s the whole list! Quick, right? You’ll want to pay attention when we get to the bananas because their quality heavily impacts the final taste.
Ingredient Notes and Substitutions
The absolute most important thing you need for this recipe is RIPE bananas. I mean, brown spots all over them! Those spots mean the starches have converted to sugar, giving you the maximum sweetness and that deep, true banana flavor in your Strawberry Banana Ice Cream base. If your bananas aren’t quite there, wait another day!
If you want to make it lower in sugar, you can try swapping half the granulated sugar for something like coconut sugar, but taste the puree first—the bananas might already be enough for you. For that dairy-free route we sometimes talk about, you can often substitute the heavy cream with full-fat canned coconut cream, but you might need a touch more sugar to balance that coconut flavor.
Step-by-Step Instructions for Homemade Strawberry Banana Ice Cream
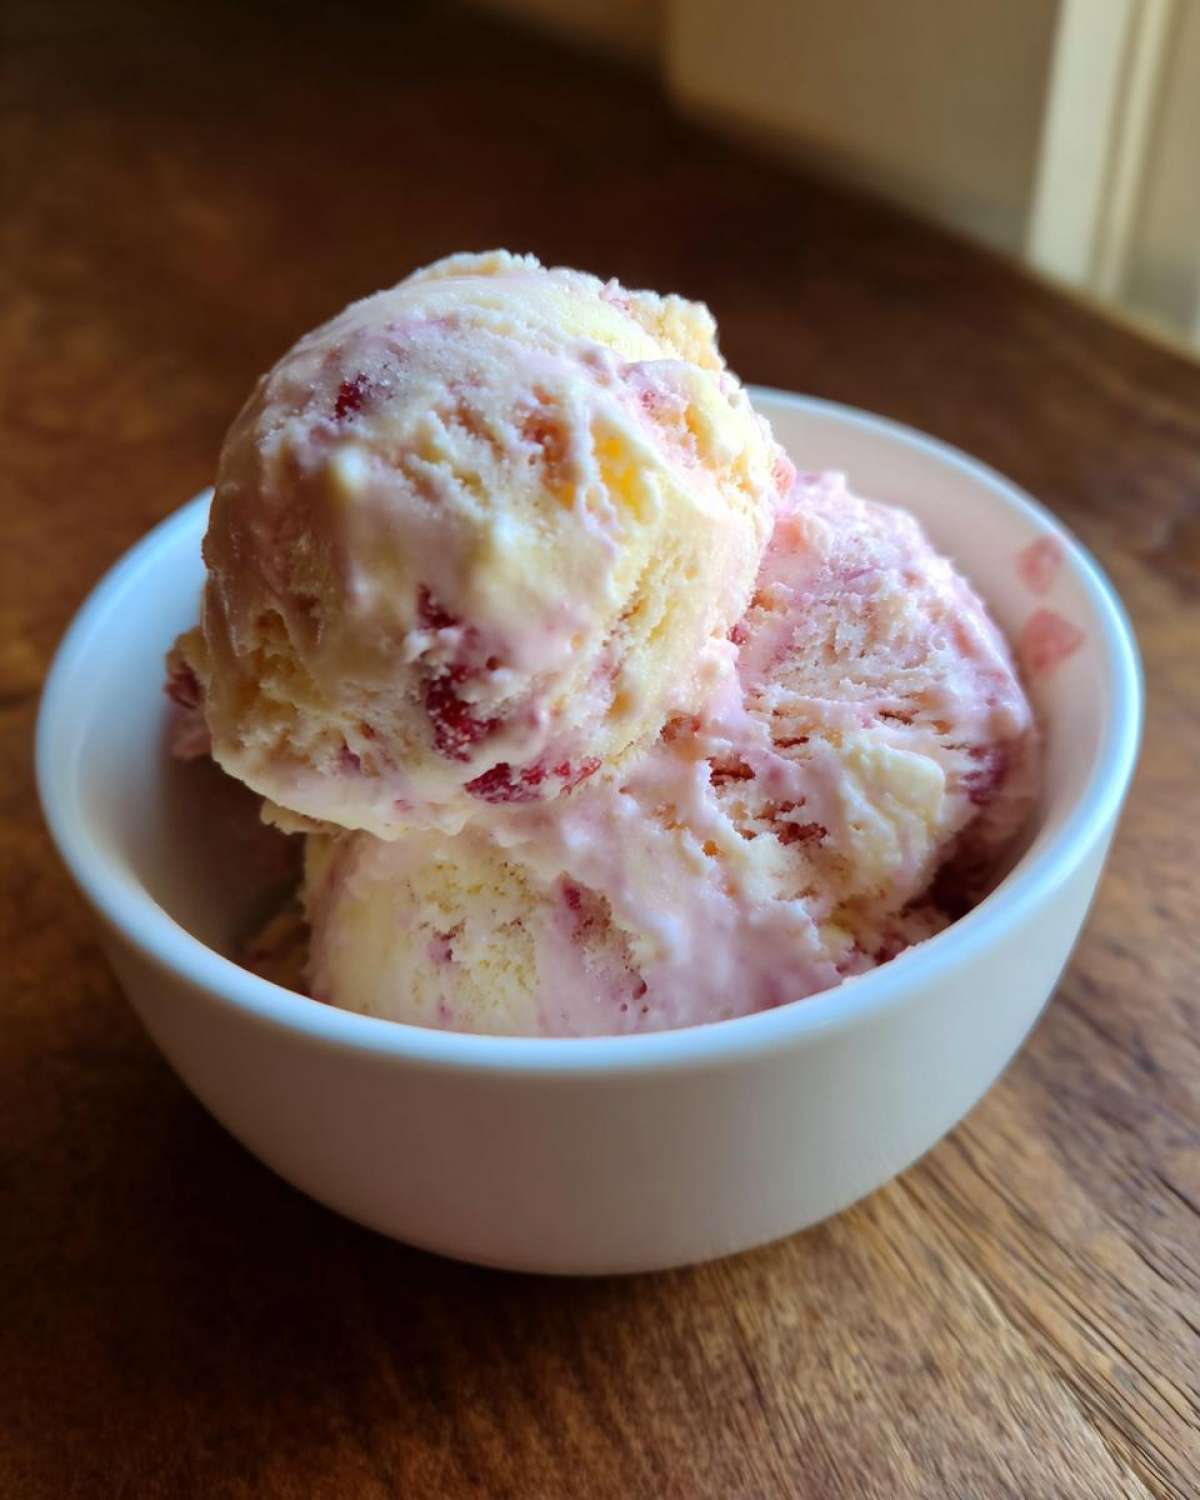
Okay, it’s time to put it all together! This is where you see the magic happen in your kitchen. Don’t worry about the steps being complicated; they are just very specific. We want that fantastic, smooth Strawberry Banana Ice Cream texture, and following these simple stages gets you there.
First things first, we let the fruit do some work on its own. Combine those sliced strawberries and half of your sugar in a bowl. This lets the sugar draw out all the beautiful, flavorful juices from the berries, which is step one. You want those sitting there for about 15 minutes. Don’t rush this bit; it adds depth!
Preparing the Fruit Base
Once the strawberries have softened up a bit, it’s blender time! Toss the sugared strawberries, including all that lovely juice that collected, along with your pre-sliced bananas into your food processor or a powerful blender. Blend this until it’s completely smooth. If you hate seeing any little seeds or fibers from the strawberries, now is the time to push it through a fine-mesh sieve, though I actually love the tiny bits myself!
Combining the Strawberry Banana Ice Cream Base
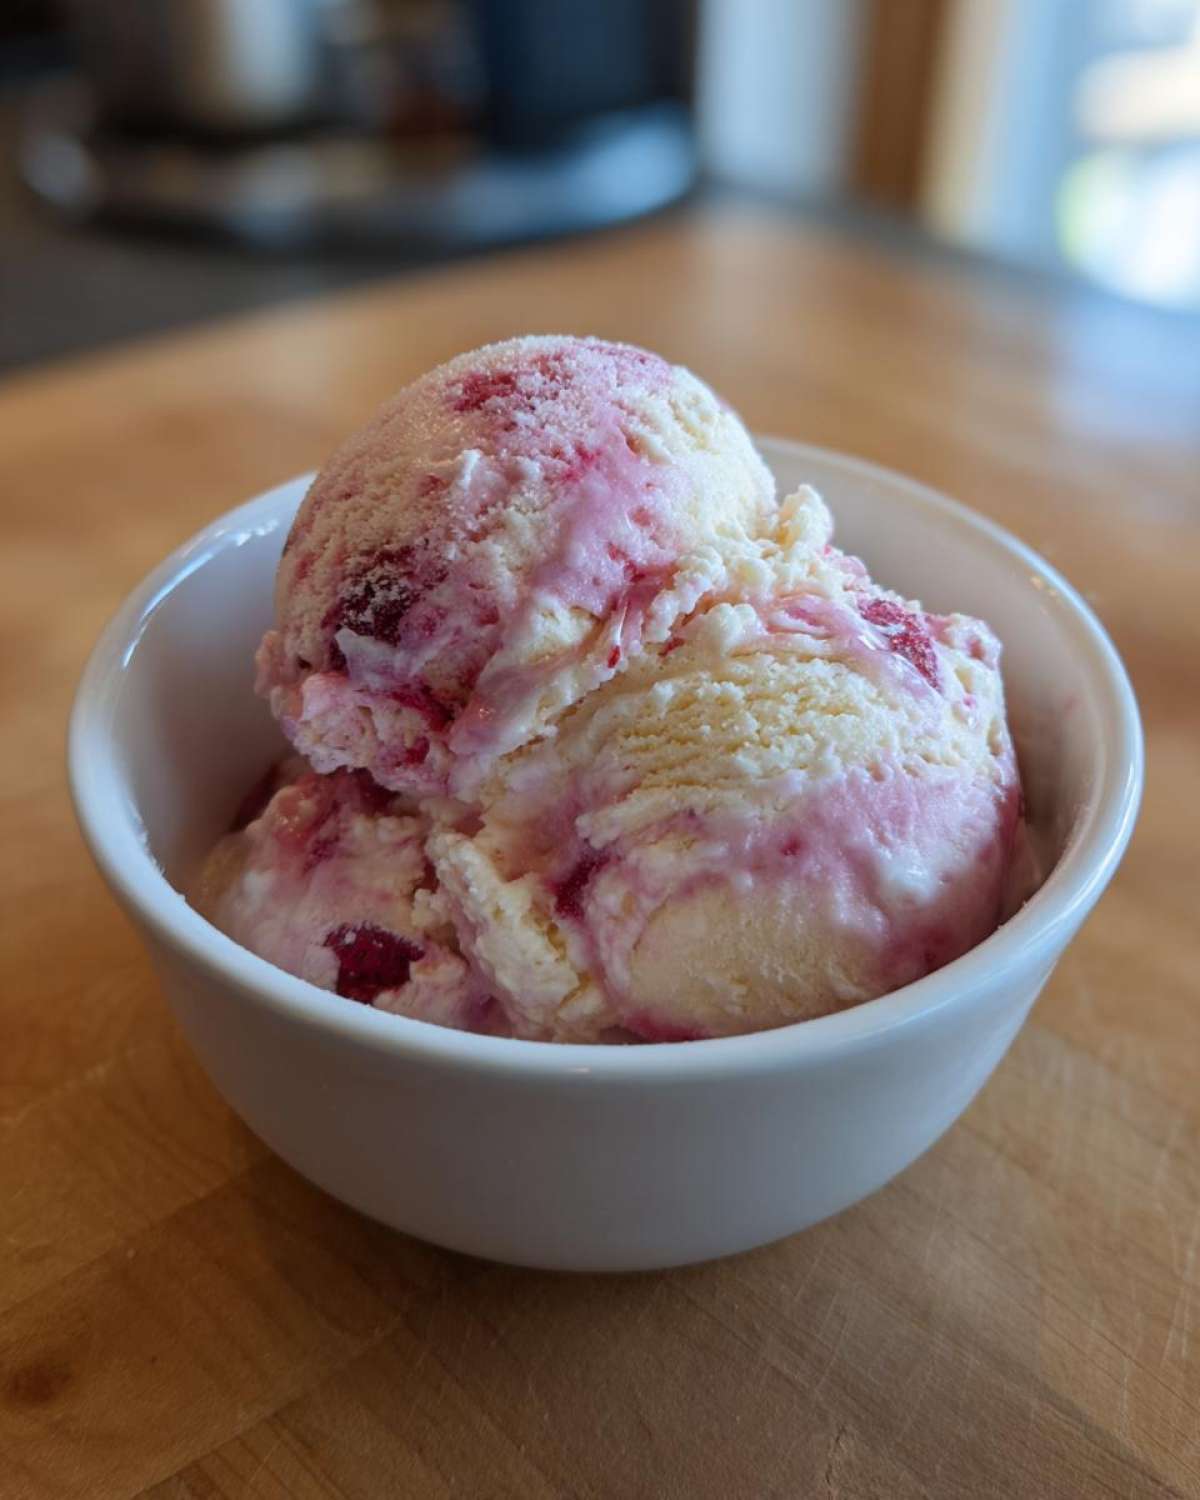
While the fruit is pureed, grab a big bowl for the dairy component. Whisk the heavy cream, whole milk, the rest of your sugar, and that vanilla extract together. You need to whisk it until you can no longer feel any grit—make sure that sugar is completely dissolved before moving on. Once dissolved, gently fold in your strawberry-banana puree until everything is one beautiful pinkish-yellow color. Give it a little taste test here; it should be slightly sweeter than you want the final ice cream to be!
Churning or No Churn Method for Your Dessert
Now we decide its fate! If you have an ice cream maker—great! Pour the whole base in and churn away according to its instructions until it looks like soft-serve. That’s step five, done!
If you’re doing the no-churn method (my favorite for ease!), pour the mixture into a freezer-safe dish. Don’t just walk away, though! After about an hour, pull it out and stir it really hard to break up any ice crystals forming at the edges. Keep doing that vigorous stir every 45 minutes for about three hours total. This repetitive stirring is what guarantees you avoid hard, icy pockets in your final Strawberry Banana Ice Cream.
Tips for the Best Strawberry Banana Ice Cream Texture
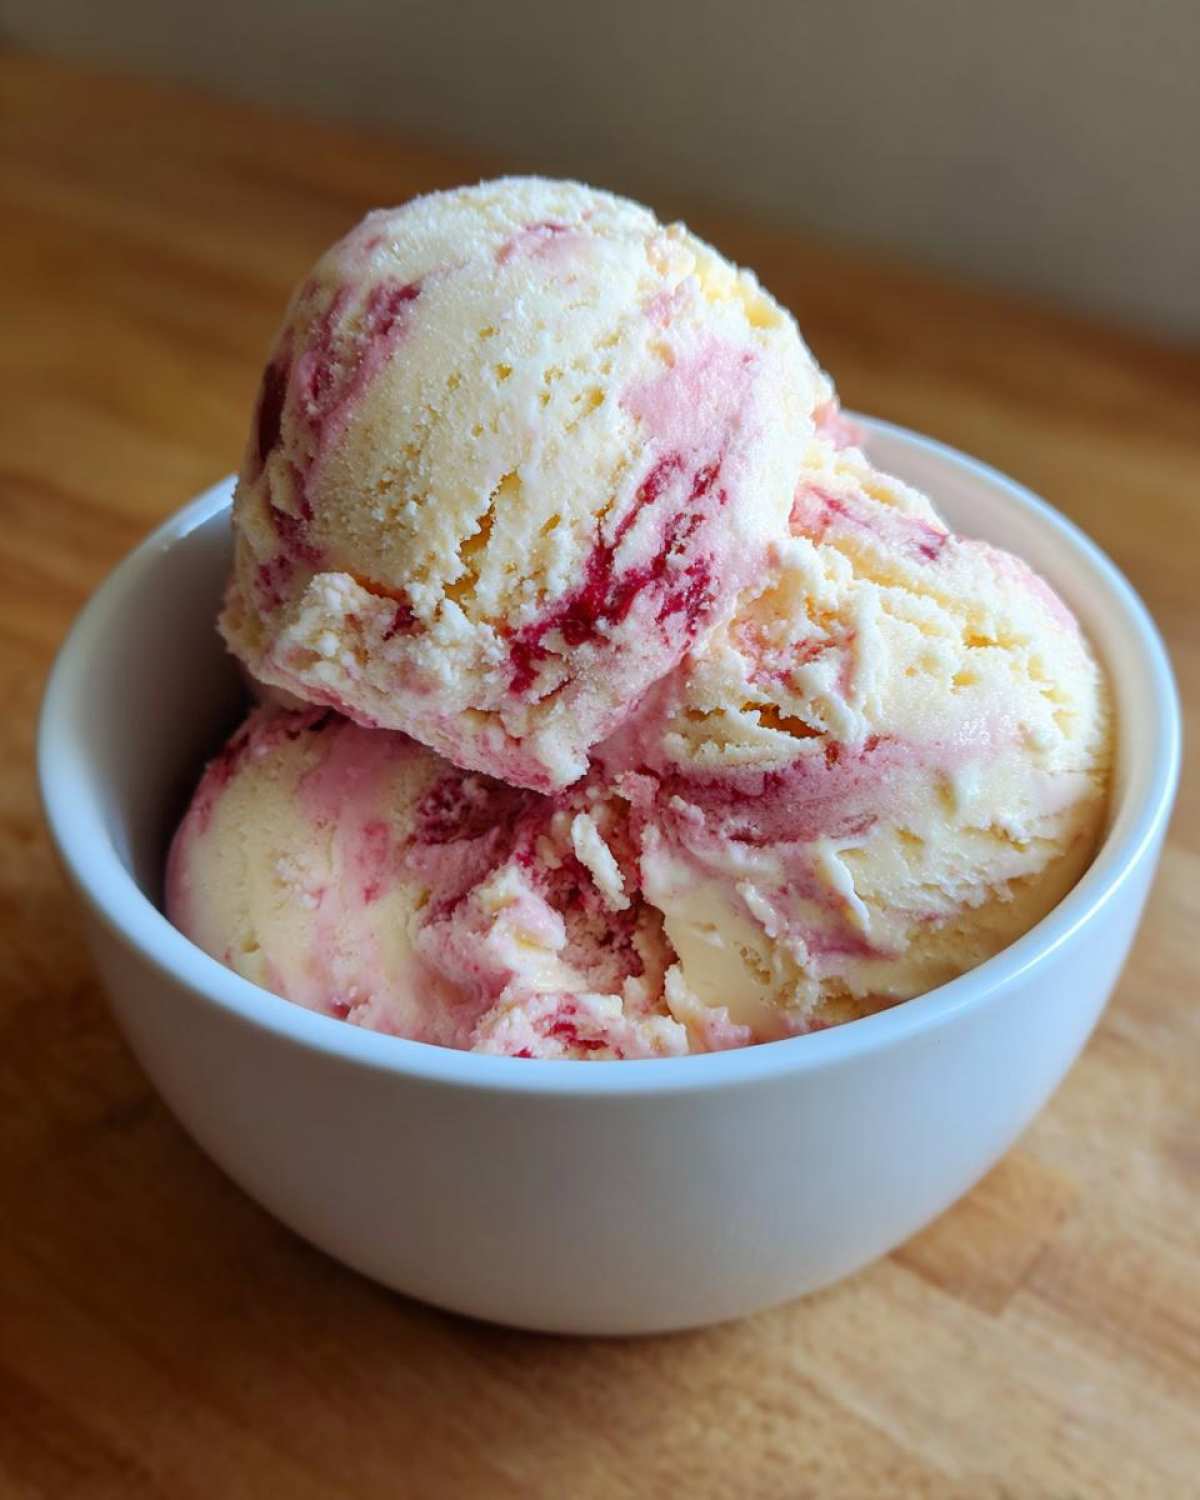
Getting that perfect scoopable texture in your homemade Strawberry Banana Ice Cream is all about minimizing ice and maximizing air and fat content. If you used truly ripe bananas, you are already ahead of the game because their natural softness helps tremendously!
If you are using a churner, stop churning the *second* it hits that soft-serve stage—don’t over-churn it, or you’ll break down the final texture.
For the no-churn crew, those timed stirs are non-negotiable! They introduce the air back into the hardening base. Also, remember my note about storage: use a shallow dish rather than a deep one. Why? Because shallow pans freeze faster and more evenly, giving you that lovely scoopability right from the freezer without having to wait 20 minutes on the counter for it to soften up!
Serving Suggestions for This Easy Fruit Ice Cream
This Easy Fruit Ice Cream is wonderful all by itself, scooped straight from the container—it truly doesn’t need anything else! But if you’re feeling fancy, I love serving it alongside a warm, slightly salty element to contrast the fruity sweetness.
Try drizzling just a touch of melted dark chocolate over the top. The slight bitterness cuts through the sweet banana perfectly. A sprinkle of tiny, toasted coconut flakes is also divine! If you’re making a dessert spread, you absolutely have to check out my ridiculously decadent layered chocolate dessert dip—scoop this ice cream alongside it for a truly epic pairing!
Storage and Make-Ahead Tips for Strawberry Banana Ice Cream
Storing your beautiful batch of Strawberry Banana Ice Cream correctly is crucial for keeping it creamy. Once it hits that firm stage, transfer it immediately into a shallow, airtight container—I keep saying shallow because it freezes faster! You want as little air contact as possible to fight freezer burn.
This recipe should last about two weeks in the deep freezer before the texture starts changing a bit too much. Remember to let it sit on the counter for about 10 minutes before you try to scoop it! It’s best made the day before you plan to serve it, but you can totally make it up to a week ahead of time!
Frequently Asked Questions About Making Frozen Treats
I know you guys probably have a few questions about this process! It’s always the little tweaks that make the difference between good ice cream and the best ice cream. I’ve gathered the ones I get asked the most when I bring this Strawberry Banana Ice Cream Recipe to parties.
Can I use frozen strawberries and bananas for this Strawberry Banana Ice Cream Recipe?
That is a great question! Yes, you absolutely can use frozen fruit, especially if you’re leaning toward the no-churn method. If you do, you can skip that initial 15-minute maceration step. However, I find that using frozen fruit makes your blender work much harder, and you might need to add a tiny splash more milk to get the puree moving smoothly. If you use frozen fruit, your mixture will be much thicker almost immediately, so be prepared to stir those no-churn batches more frequently!
How do I make a Vegan Strawberry Banana Nice Cream?
That’s always a fun experiment! To make this recipe dairy-free and achieve something close to a Vegan Strawberry Banana Nice Cream, swap out the heavy cream and milk for an equal amount of high-fat, full-fat coconut cream—the stuff that chills on top of a can of coconut milk. It gives you the fat content needed to keep things creamy. You might want to slightly boost the sugar, too, just to counter the coconut flavor, but you’ll end up with a surprisingly rich, healthy frozen treat!
If you have any more burning questions, feel free to send them over on my contact page!
Estimated Nutritional Data for This Frozen Dessert
I always love showing you guys exactly what’s in my food! Remember, these numbers are just an estimate based on using all the standard ingredients listed in the recipe—Option A, if you will. This data is meant as a general guide, not a strict nutritional contract! If you swap out the cream for coconut milk or change the sugar amount, these numbers will shift, of course.
For context, this is calculated per half-cup serving:
- Calories: Around 245
- Total Fat: About 13 grams
- Carbohydrates: Roughly 32 grams
- Protein: 3 grams
- Total Sugar: 28 grams
We’ve got good amounts of fat from that heavy cream, which is exactly what makes this ice cream so delightfully rich and scoopable. If you’re swapping ingredients, especially dairy or sweeteners, I highly recommend checking out my disclaimer page for more info on how these estimates work!
Share Your Homemade Strawberry Banana Ice Cream Creations
I swear, seeing your pictures of this Strawberry Banana Ice Cream is my favorite part of all this! This recipe is so simple, but nothing compares to seeing it churn up perfectly in someone else’s kitchen or seeing the gorgeous swirl you create in a no-churn loaf pan!
Seriously, I want to know how it went for you. Did you use churned, or did you stick to the freezer-and-stir method? Did you get those berries perfectly ripe? Please, please leave a rating right here—out of five stars—so I know what you thought of this batch!
If you had any major successes or maybe even a funny little oops moment (we all have them!), drop a comment below. I read every single one, and if you want to send me a photo of your beautiful results, you can always reach out through my contact page. Now go get scooping!
PrintSimple Strawberry Banana Ice Cream
Make creamy, homemade ice cream using fresh strawberries and ripe bananas. This recipe works well with or without an ice cream maker.
- Prep Time: 20 min
- Cook Time: 0 min
- Total Time: 4 hr 20 min
- Yield: About 1 quart
- Category: Dessert
- Method: Churning or Freezing
- Cuisine: American
- Diet: Vegetarian
Ingredients
- 2 cups fresh strawberries, hulled and sliced
- 2 large ripe bananas, peeled and sliced
- 1 cup heavy cream
- 1/2 cup whole milk
- 1/2 cup granulated sugar
- 1 teaspoon vanilla extract
Instructions
- Combine the sliced strawberries and half of the sugar in a bowl. Let them sit for 15 minutes to draw out the juices.
- In a blender or food processor, combine the sugared strawberries (with their juices) and the sliced bananas. Blend until smooth.
- In a separate large bowl, whisk together the heavy cream, milk, remaining sugar, and vanilla extract until the sugar dissolves.
- Stir the strawberry-banana puree into the cream mixture until fully combined.
- If using an ice cream maker, pour the mixture into the machine and churn according to the manufacturer’s directions until it reaches a soft-serve consistency.
- If making no-churn ice cream, pour the mixture into a freezer-safe container. Freeze for 1 hour, then remove and stir vigorously. Return to the freezer and repeat this stirring process every 45 minutes for about 3 hours, until firm.
- Transfer the ice cream to an airtight container and freeze for at least 4 hours before serving.
Notes
- For a richer flavor, use very ripe bananas.
- If you prefer a smoother texture without visible fruit pieces, strain the puree before mixing it with the cream.
- Store the finished ice cream in a shallow, freezer-safe container for faster freezing and easier scooping.
Nutrition
- Serving Size: 1/2 cup
- Calories: 245
- Sugar: 28g
- Sodium: 15mg
- Fat: 13g
- Saturated Fat: 8g
- Unsaturated Fat: 5g
- Trans Fat: 0.5g
- Carbohydrates: 32g
- Fiber: 2g
- Protein: 3g
- Cholesterol: 45mg