

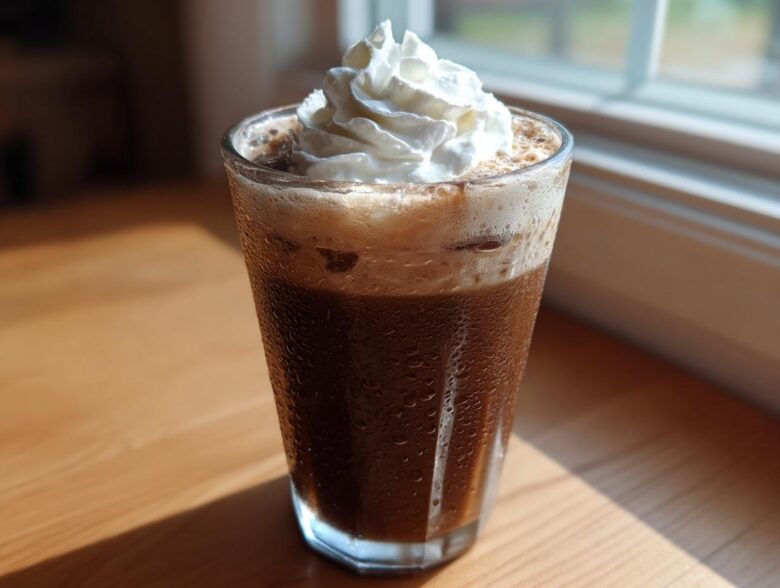
Is it blazing hot outside, and the thought of another cup of lukewarm drip coffee just isn’t cutting it? I totally get it! For years, I was spending way too much money trying to replicate that rich, chilled chocolate-coffee dream from the local cafe. My attempts at making an Iced Mocha at home were flops—either too watery, too gritty, or way too sweet. But I cracked the code, and trust me, this is the absolute easiest way to get cafe perfection right in your kitchen. After way too many messy kitchen experiments (sometimes involving spilled chocolate syrup everywhere, oops!), I found the trick that makes this Iced Mocha recipe work perfectly every single time. Forget the complicated steps; we’re just mixing, stirring, and chilling out! If you love simple, refreshing drinks, you should check out my recipe for Hibiscus Iced Tea with Honey too.
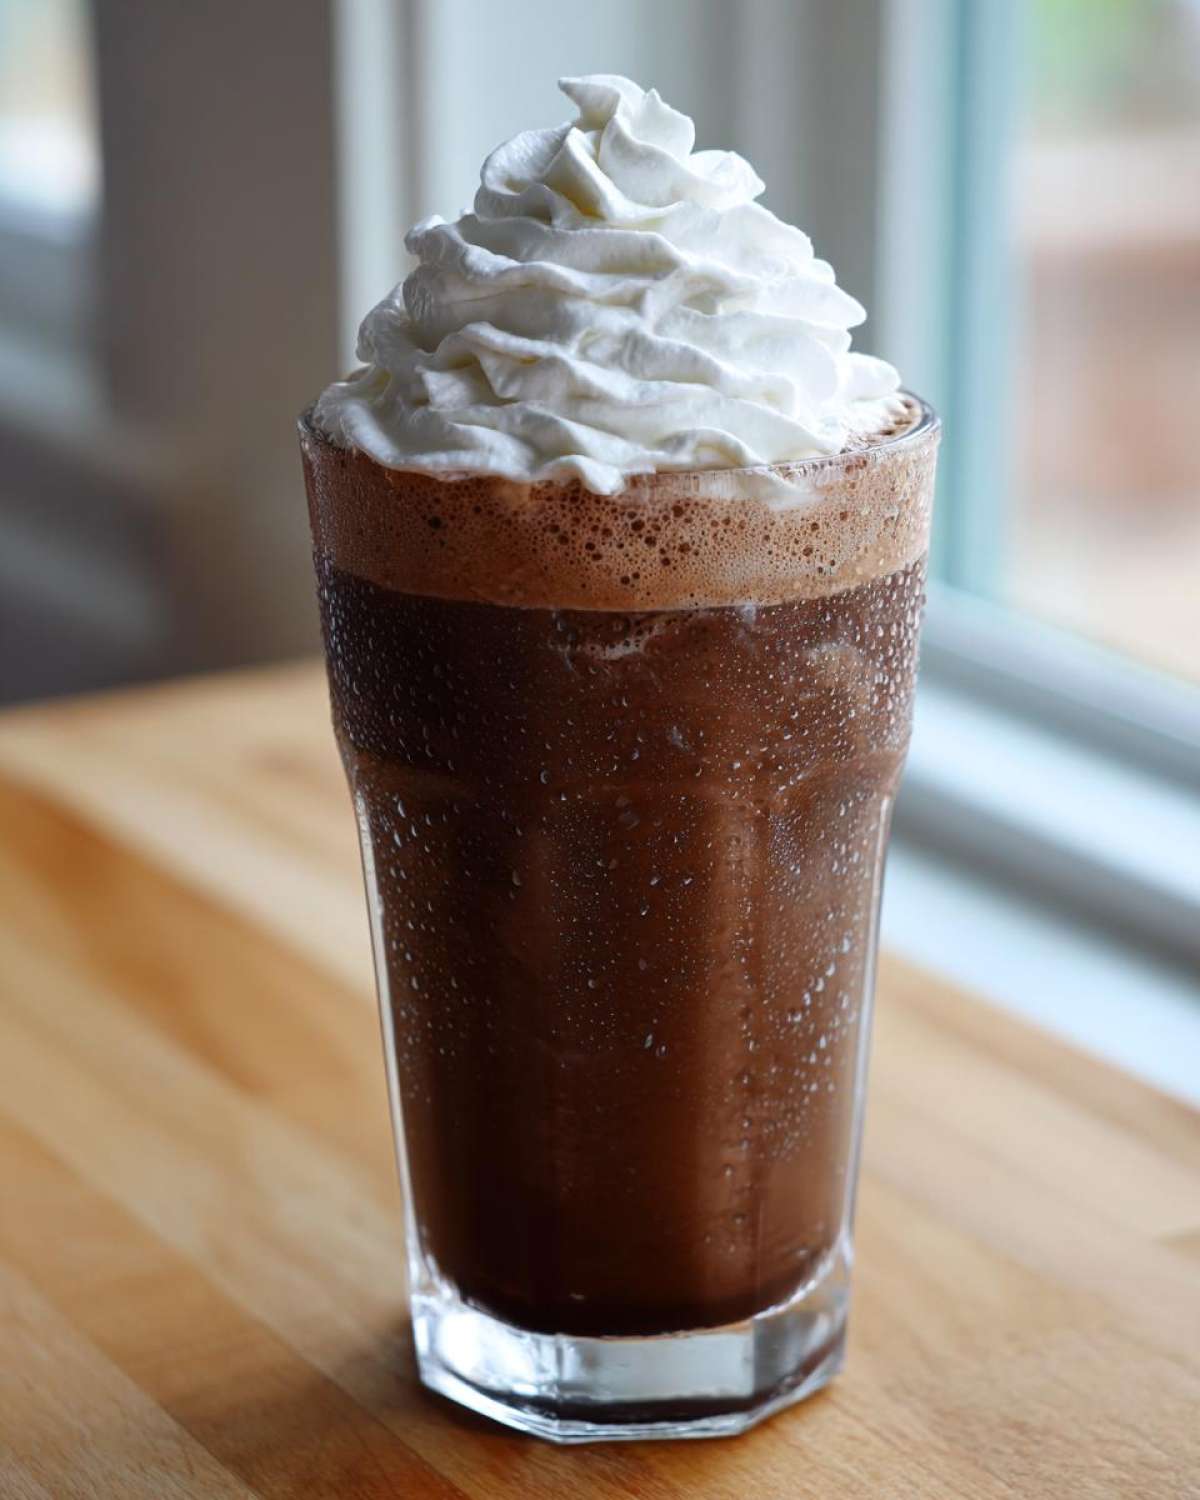
Why This Homemade Iced Mocha Recipe is Your Best Choice
Honestly, why bother going out when you can whip this up faster than waiting in line? This Iced Mocha recipe is designed for speed and quality. It’s genuinely superior because everything you need is probably already in your pantry right now. We skip the fancy equipment, too!
- Ready in less than 10 minutes—pure hydration heaven!
- Uses simple chocolate syrup or powder; no complicated sauce making required.
- Perfectly balanced flavor that you can easily tweak to your liking.
Quick Iced Mocha Recipe Details
I timed myself making this recipe—it’s ridiculously fast. It’s so efficient, I hardly ever make coffee any other way during the summer months.
Prep Time: 5 min
Cook Time (Brewing): 5 min
Total Time: 10 min
Yield: 1 amazing drink
Gathering Ingredients for Your Iced Mocha
Okay, let’s talk ingredients! You can’t make a delicious Chocolate Coffee Iced Drink without the right stuff, but I promise this list is super manageable. We’re keeping it straightforward so you can start sipping ASAP. The coffee part is non-negotiable; you need strength here to stand up to the chocolate and the ice dilution!
- You’ll need two shots of seriously strong espresso, or if you’re using a regular brewer like me some mornings, make about 1/2 cup of coffee that’s brewed double-strength.
- For the chocolatey goodness, grab 2 tablespoons of your favorite chocolate syrup—mine is usually a dark roast variety—or if you prefer powder, use 3 tablespoons.
- For milk, I usually stick to whole dairy milk, but use whatever you prefer. We need about 1 cup.
- If you like it sweet, grab 1 teaspoon of sugar or your preferred sweetener. This is totally optional now, though!
- And of course, load up on ice cubes—you need a full cup to keep this thing cold until the last drop.
Ingredient Notes and Substitutions for Iced Mocha
This is where we customize! My pantry is full of options, so I rarely make the exact same Iced Mocha twice. If you’re heading down the Dairy Free Iced Mocha Ideas path, you have fantastic options now. Oat milk is currently my favorite for giving that creamy, rich mouthfeel without any dairy products. Almond milk works great too, it’s just a little thinner, so maybe use a touch less!
If you’re cutting back on sugar, don’t sweat it. Stevia or monk fruit drops work perfectly fine in place of the sugar. Just stir them in when you dissolve that chocolate, same as you would with the sugar.
Speaking of coffee strength, if you don’t have an espresso machine, don’t panic! Just use instant espresso powder mixed with a tiny bit of hot water, or brew your coffee using the pour-over method but use half the water you normally would. That kick is crucial!
How to Make the Best Iced Mocha at Home
Alright, this is where the magic happens! Making the Iced Mocha is basically assembling cold components, but the order you do things in makes a huge difference between a silky drink and one with chocolate sludge at the bottom. Follow these steps exactly, and you’ll nail that cafe texture!
- First things first, get your coffee ready. Brew those two strong espresso shots or your super-concentrated coffee base. Let it cool down for just a minute or two—we don’t want scorching hot coffee melting all our ice immediately.
- Now, pay close attention here! This is critical for an amazing Iced Mocha. Take your serving glass and mix your chocolate syrup (or powder) right in there with just a tiny splash of that warm coffee. You need the warmth to liquefy that chocolate completely. Stir, stir, stir until it’s perfectly smooth and glossy. No clumps allowed!
- If you decided to add sugar or any sweetener, mix that in with the chocolate base now so it dissolves perfectly.
- Time to combine the liquids! Pour in the rest of your cooled coffee and then add your cup of milk. Give it a good swirl around the glass to mix everything thoroughly.
- Fill that glass all the way to the top—and I mean *all* the way—with ice cubes.
- If you’re feeling fancy, maybe dollop some whipped cream on top and enjoy immediately. Welcome to your new favorite coffee indulgence!
Expert Tips for Perfect Iced Mocha Mixing
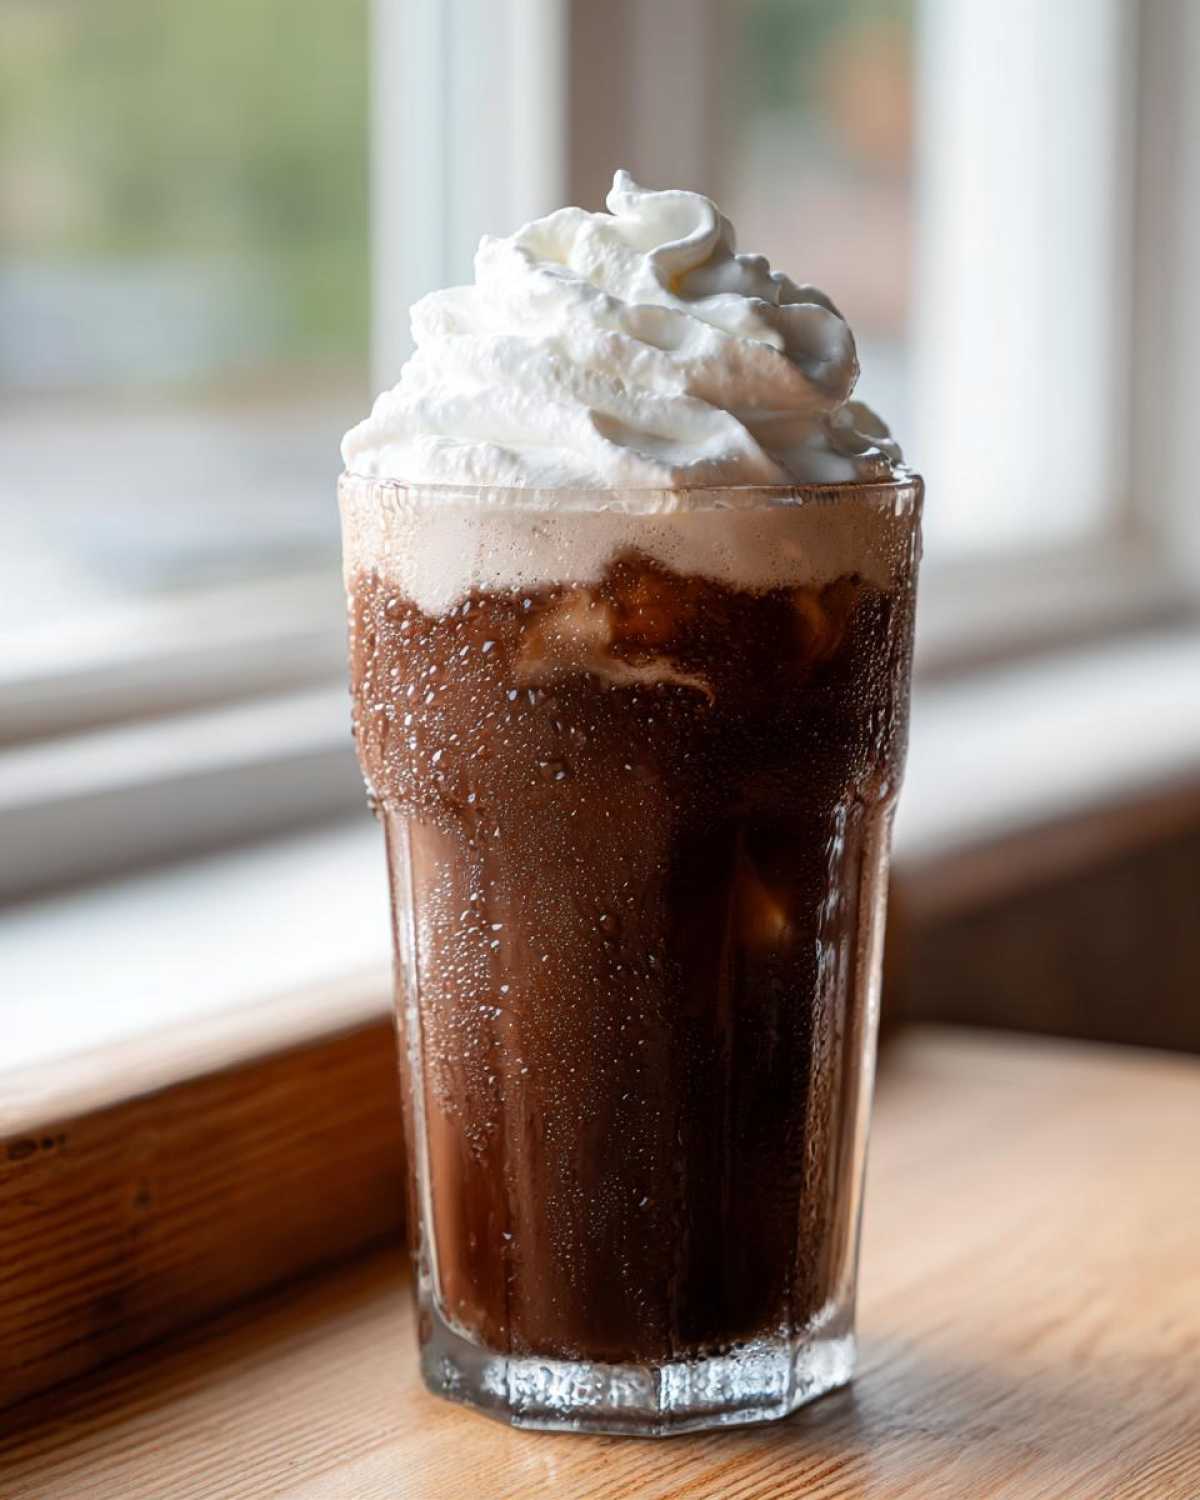
There are a few little secrets that take your drink from good to, “Wow, did you buy this?” The biggest one, which I mentioned above, is making sure that chocolate dissolves perfectly. If you dump it straight into cold milk, it seizes up, and then you’re stuck trying to stir thick chocolate sludge while juggling ice—no thanks! That little bit of warm coffee acts like a solvent.
Also, don’t skip cooling the coffee slightly! If your coffee is boiling when you add the milk, it can actually scald the milk a bit, changing the flavor profile of your How to Make Iced Mocha Better project. A slight cool-down keeps everything tasting fresh and bright. Trust me on this one; little details really enhance the flavor!
Customization: Making Your Gourmet Iced Mocha at Home
One of the best parts about making your own Iced Mocha is that you are the boss of flavor! You get to decide exactly how minty, how sweet, or how caffeinated you want this gorgeous beverage to be. I love experimenting with different syrups, but getting the texture just right is key, whether you like it layered or totally smooth.
If you’re feeling like something extra special, I highly recommend trying a little peppermint extract—it turns this into a delightful little holiday treat even in the middle of July! You can mix it right in with that chocolate base we made earlier. For a richer variation, check out my notes on pairing dark chocolate with mint over in my post about chocolate mint smoothies.
Blended Iced Mocha Tutorial
Sometimes you don’t want to gently sip; sometimes, you need a spoon! If you’re leaning toward a thick, frozen treat—perfect for a really hot day—we can totally turn this into a frozen delight. This is where the magic of the Blended Iced Mocha Tutorial comes in handy, and it’s just as easy as the stirring version.
Forget using just one cup of ice. For the blended version, we are going to toss our coffee, milk, chocolate base, and about 1.5 cups of ice right into the blender jar. Blend it on high until it looks totally smooth. If you used syrup, it should blend right away, but if you used powder, give it an extra 30 seconds just to make sure every speck is incorporated. Be careful when you open the lid, it tends to explode a bit! Pour it into a tall glass; it’s totally satisfying!
Choosing the Best Coffee for Iced Mocha
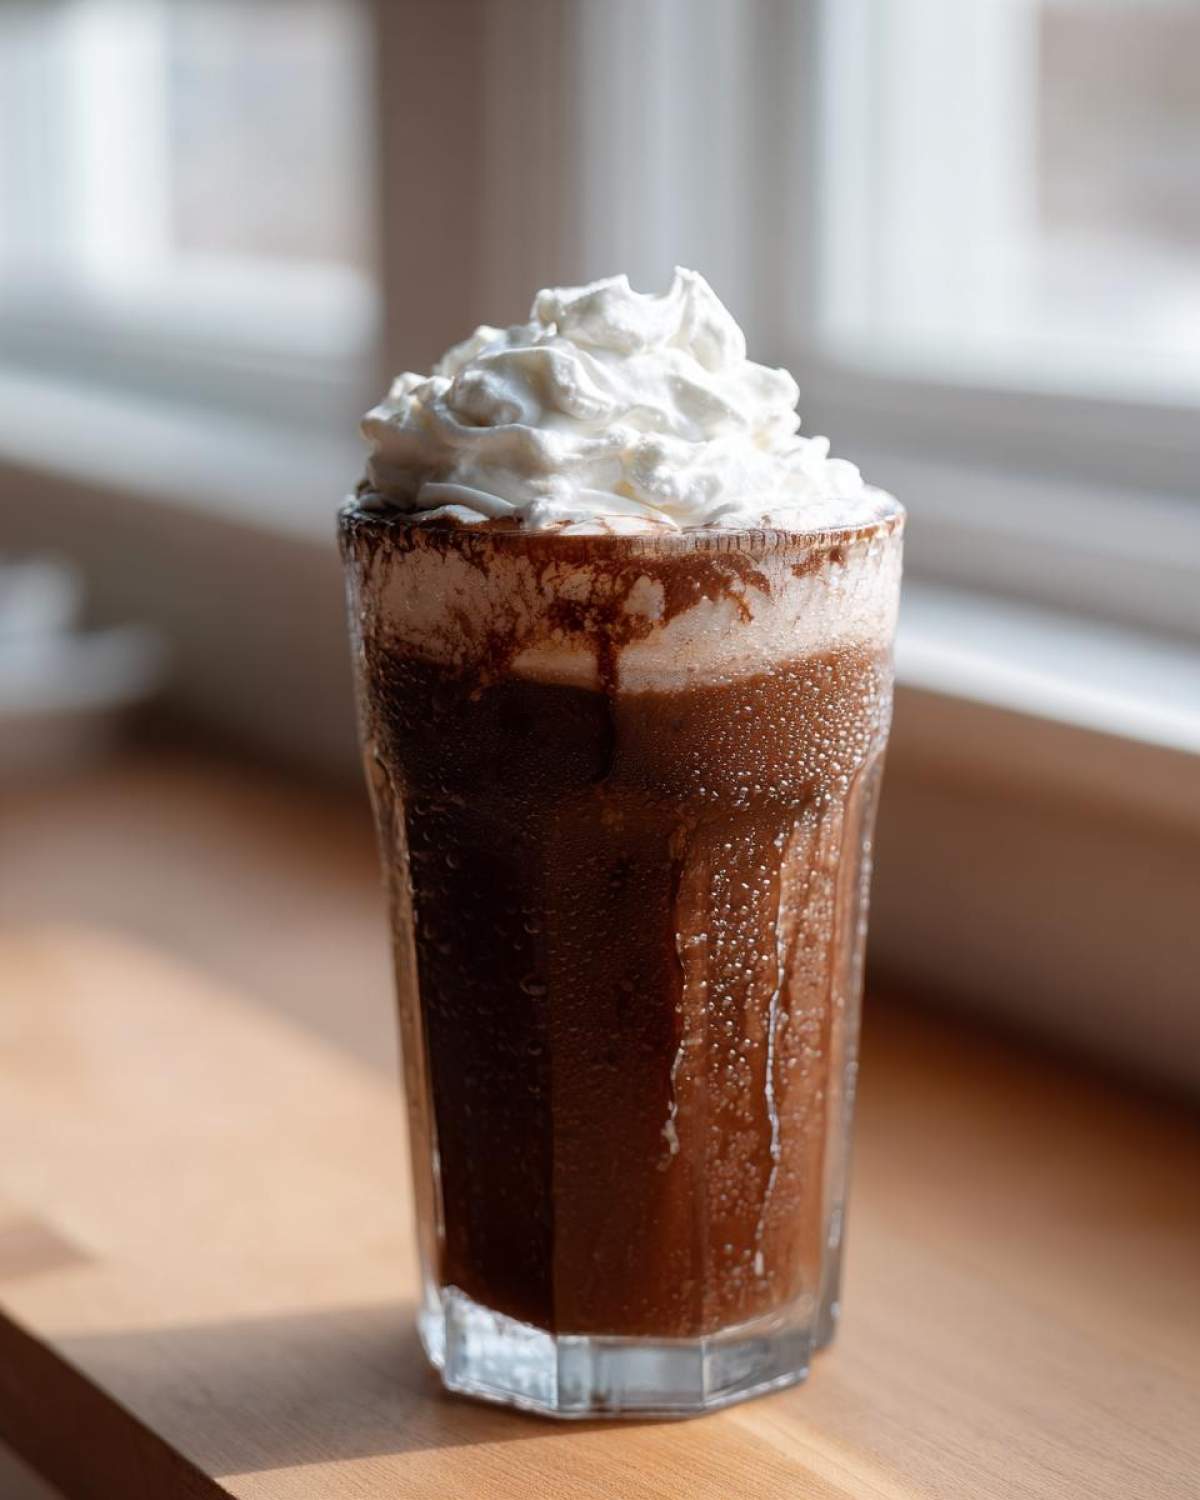
I know that when you’re making something so rich and delicious, you don’t want the coffee flavor to just get totally lost in the chocolate and the milk, right? That’s why coffee selection is where we build our authority here. We want that chocolate coffee drink to have personality!
When it comes to roasting, stay away from very light roasts. They tend to have too much acidity that clashes with the chocolate. My personal sweet spot? A solid medium roast or going a little darker, straight into the dark roast territory. These roasts have those deep, slightly smoky, chocolatey notes already built in, so they marry beautifully with the syrup.
Now, let’s talk about brewing. If you have an espresso machine, use it! Two good, strong shots give you the most concentrated flavor without adding much extra water, which is perfect for fighting off dilution from ice. If you’re brewing drip coffee like I sometimes do on busy mornings, you absolutely must brew it double-strength. It sounds like you’re making a concentrated batch for an Easy Iced Coffee Drink, but trust me, that strength is what carries the flavor through the whole beverage.
If you’re using a French press, use a slightly finer grind than normal, though not quite powdery. A medium-coarse grind works well, but don’t let it steep for too long, or it will get bitter when it cools down. The goal is always concentration, whatever your brewing method is!
Serving Suggestions for Your Cafe Style Iced Mocha
We’ve made the perfect drink—now it’s time to make it look as good as it tastes! Even though this is a quick drink, treating yourself to a beautiful presentation makes it feel like a real indulgence. Serving up a Cafe Style Iced Mocha is super easy once you have your base ready.
The topping is where you can really show off, and whipping cream is my go-to. You don’t even have to make your own! Just a fresh swirl of the canned stuff works wonders. If you want to elevate that whipped cream, try shaking just a tiny bit of unsweetened cocoa powder right over the top. It cuts the sweetness perfectly and gives it that authentic cafe look.
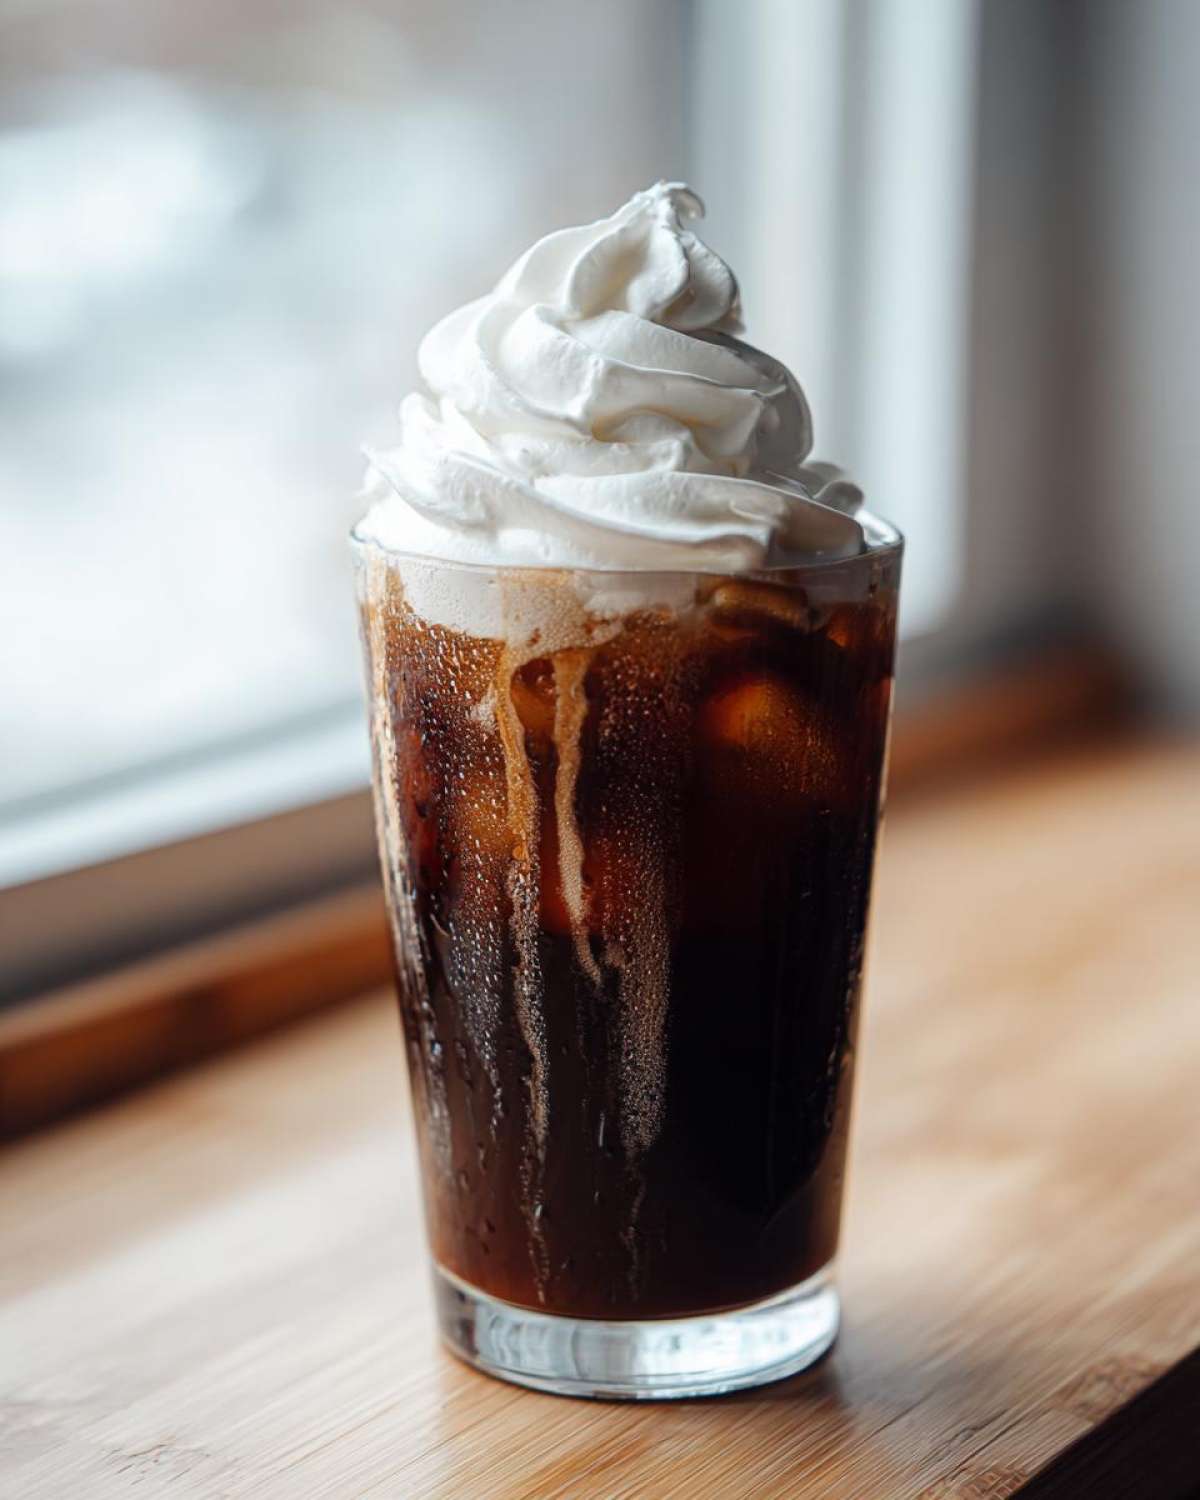
Another easy drizzle trick that I love for making a Gourmet Iced Mocha at Home is taking a little extra chocolate syrup and drizzling it slowly down the inside walls of the glass *before* you add the ice. It creates these gorgeous, marbled streaks as you pour the coffee mixture in. It looks so fancy but takes three seconds!
If you want to go all out and have something sweet to go alongside, a little chocolate treat is always the answer. I often serve this with something simple, like a small biscotti for dipping, or if I’m feeling ambitious, I’ll whip up a batch of my Salted Caramel Chocolate Fondue to have on the side. It’s decadent, but hey, you deserve a treat when you make amazing coffee at home!
Storage and Reheating Instructions for This Cold Coffee Drink
Okay, listen, this is important: I want you to make the best iced coffee possible, and that means drinking this fresh! Once you’ve added all that lovely ice and stirred that cold milk in, the clock starts ticking on dilution. As the ice melts, your beautiful, strong coffee mixture turns into… well, brown water. Sad!
So, if you absolutely must make a batch ahead of time—maybe for that morning rush—don’t assemble the whole thing! Stick to making your chocolate syrup base ahead of time, which is heavenly and keeps great in the fridge for weeks. If you have leftover coffee, just store it right in the sealed container in the fridge so it gets nice and cold.
The rule is: Never mix the milk, coffee, and ice until you are ready to drink. If you mix the coffee and milk and store it overnight, it’s certainly drinkable the next day, but it loses that bright, crisp flavor we worked so hard to achieve.
Reheating? Absolutely not! This is a beautiful, cold refreshment. Trying to heat up an iced coffee that already has milk and a tiny bit of melted water in it just results in warm, slightly sad milk coffee. If you want hot coffee later, just brew a fresh, smaller batch of strong coffee in the morning instead!
Frequently Asked Questions About Your Iced Mocha
I know you might have a few lingering questions before you run off to the kitchen, so let’s clear up the most common things folks ask me about making their perfect Iced Mocha. If you want to know more about me and why I obsess over these recipes, you can always check out my About Us page!
Can I make a DIY Iced Mocha Syrup instead of using store-bought?
Absolutely, you totally can! If you’re trying to cut down on high-fructose corn syrup or just want that incredible homemade flavor, making your own is super simple. You basically take good quality cocoa powder, whisk it with sugar—usually equal parts water and sugar for a simple syrup base—and then heavily stir in that chocolate powder until it dissolves wonderfully when heated gently. You make the syrup first, let it cool completely, and then use it just like the store-bought stuff in the recipe! It makes your drink taste even more gourmet, honestly.
How do I adjust the caffeine level in my Iced Mocha?
This is an easy one! Since we start with two shots of espresso, that gives us a pretty decent caffeine kick. If you are sensitive to caffeine, you have two simple choices. First, you can switch to decaf espresso beans or use decaf grounds to brew your strong coffee—that keeps the flavor profile exactly the same, just without the buzz. Second, if you’re using drip coffee, you can simply use less coffee overall, maybe only 1/3 cup instead of a full 1/2 cup, and make up the rest of the liquid volume with extra milk.
What are the secrets to making a Starbucks Copycat Iced Mocha?
Ah, the siren call! The secret to mimicking that giant chain’s Iced Mocha is twofold, and it mostly comes down to the chocolate. They use a specific dark chocolate sauce that is both sweet and slightly bitter. If you want to get super close, try finding a liquid dark chocolate baking sauce, or if you only have the syrup, add just a tiny splash of high-quality vanilla extract to your chocolate mix—it often mimics that richer flavor profile. Also, they use *a lot* of ice, so make sure your glass is crammed full!
Can I use different types of milk that don’t have sugar added?
Yes, most definitely! If you are grabbing almond, soy, or oat milk, just make sure you are looking for the “unsweetened” version if you are trying to keep the sugar content down, or if you are sweetening it yourself with your preferred alternative. All of these work really well, though I still think oat milk gives the creamiest result for the overall texture of the Iced Mocha.
What’s the best way to keep my Iced Mocha from getting watery?
This is the eternal summer coffee struggle! The absolute best technique, besides drinking it really fast, is to use **frozen coffee cubes** instead of regular ice cubes. You make a batch of your strong coffee, let it cool, and freeze it in an ice tray. When you make your Iced Mocha, you use those frozen coffee cubes instead of water ice. As they melt, they just add more coffee flavor instead of diluting what you already made. It changes the game entirely!
Sharing Your Quick Iced Mocha Recipe
Whew! Now you have everything you need to ditch the coffee shop drive-thru line forever. I really, really want to know what you think of this Quick Iced Mocha Recipe! Did you stick to the syrup method, or did you try making a homemade base? And seriously, tell me about your favorite milk substitution!
Please leave a rating for the recipe right below this section so I know you successfully made your own perfect cold drink. It helps other people find this recipe when they are needing a quick summer fix!
Don’t forget to snap a picture of your beautiful, frosty creation—especially if you went crazy with the whipped cream—and tag me on social media! It makes my day to see all your amazing cold coffee creations come to life in your kitchens. If you ever have questions or just want to chat about coffee (or anything else, really!), you can always reach out through my Contact Page. Happy sipping!
PrintSimple Homemade Iced Mocha

Follow these steps to make a refreshing, cafe-style iced mocha at home using simple ingredients.
- Prep Time: 5 min
- Cook Time: 5 min
- Total Time: 10 min
- Yield: 1 serving
- Category: Beverage
- Method: Mixing
- Cuisine: American
- Diet: Vegetarian
Ingredients
- 2 shots strong brewed espresso or 1/2 cup strong brewed coffee
- 2 tablespoons chocolate syrup or 3 tablespoons chocolate powder
- 1 cup milk (dairy, almond, or oat work well)
- 1 teaspoon sugar or sweetener (optional)
- 1 cup ice cubes
- Whipped cream (optional topping)
Instructions
- Prepare your coffee: Brew two shots of espresso or 1/2 cup of very strong coffee. Let it cool slightly.
- Mix the chocolate: In the bottom of your serving glass, combine the chocolate syrup (or powder) with a small splash of warm coffee. Stir until the chocolate is fully dissolved and smooth.
- Add sweetener: If you are using sugar or sweetener, stir it into the chocolate mixture now.
- Combine liquids: Pour the remaining cooled coffee and the milk into the glass. Stir well to combine all ingredients.
- Add ice: Fill the glass completely with ice cubes.
- Serve: Top with whipped cream if desired and serve immediately.
Notes
- For a richer flavor, use dark chocolate syrup.
- If you prefer a blended mocha, combine all ingredients (except ice) with 1.5 cups of ice in a blender and process until smooth.
- To make this dairy-free, use oat milk or almond milk.
- For a peppermint mocha, add 1/4 teaspoon of peppermint extract to the chocolate mixture.
Nutrition
- Serving Size: 1 drink
- Calories: 250
- Sugar: 30
- Sodium: 100
- Fat: 8
- Saturated Fat: 4
- Unsaturated Fat: 4
- Trans Fat: 0
- Carbohydrates: 35
- Fiber: 1
- Protein: 10
- Cholesterol: 30