

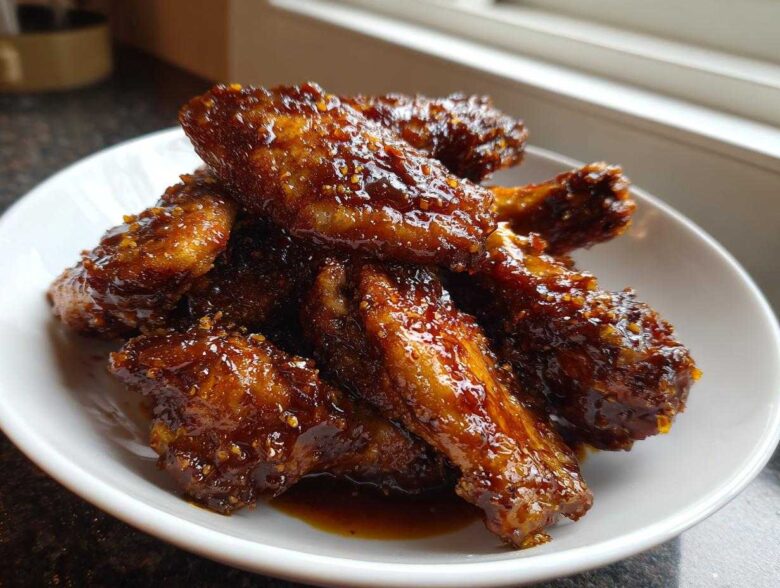
Oh my gosh, have I got a secret for you today! I swear, I used to think incredible, takeout-quality wings meant diving into a vat of hot oil, which, let’s be honest, is just too much cleanup for a Tuesday night. But I cracked the code. I finally nailed the technique to get those perfect, melt-in-your-mouth, deeply flavorful Honey Garlic Chicken Wings Sticky Oven Baked results right on my own baking sheet.
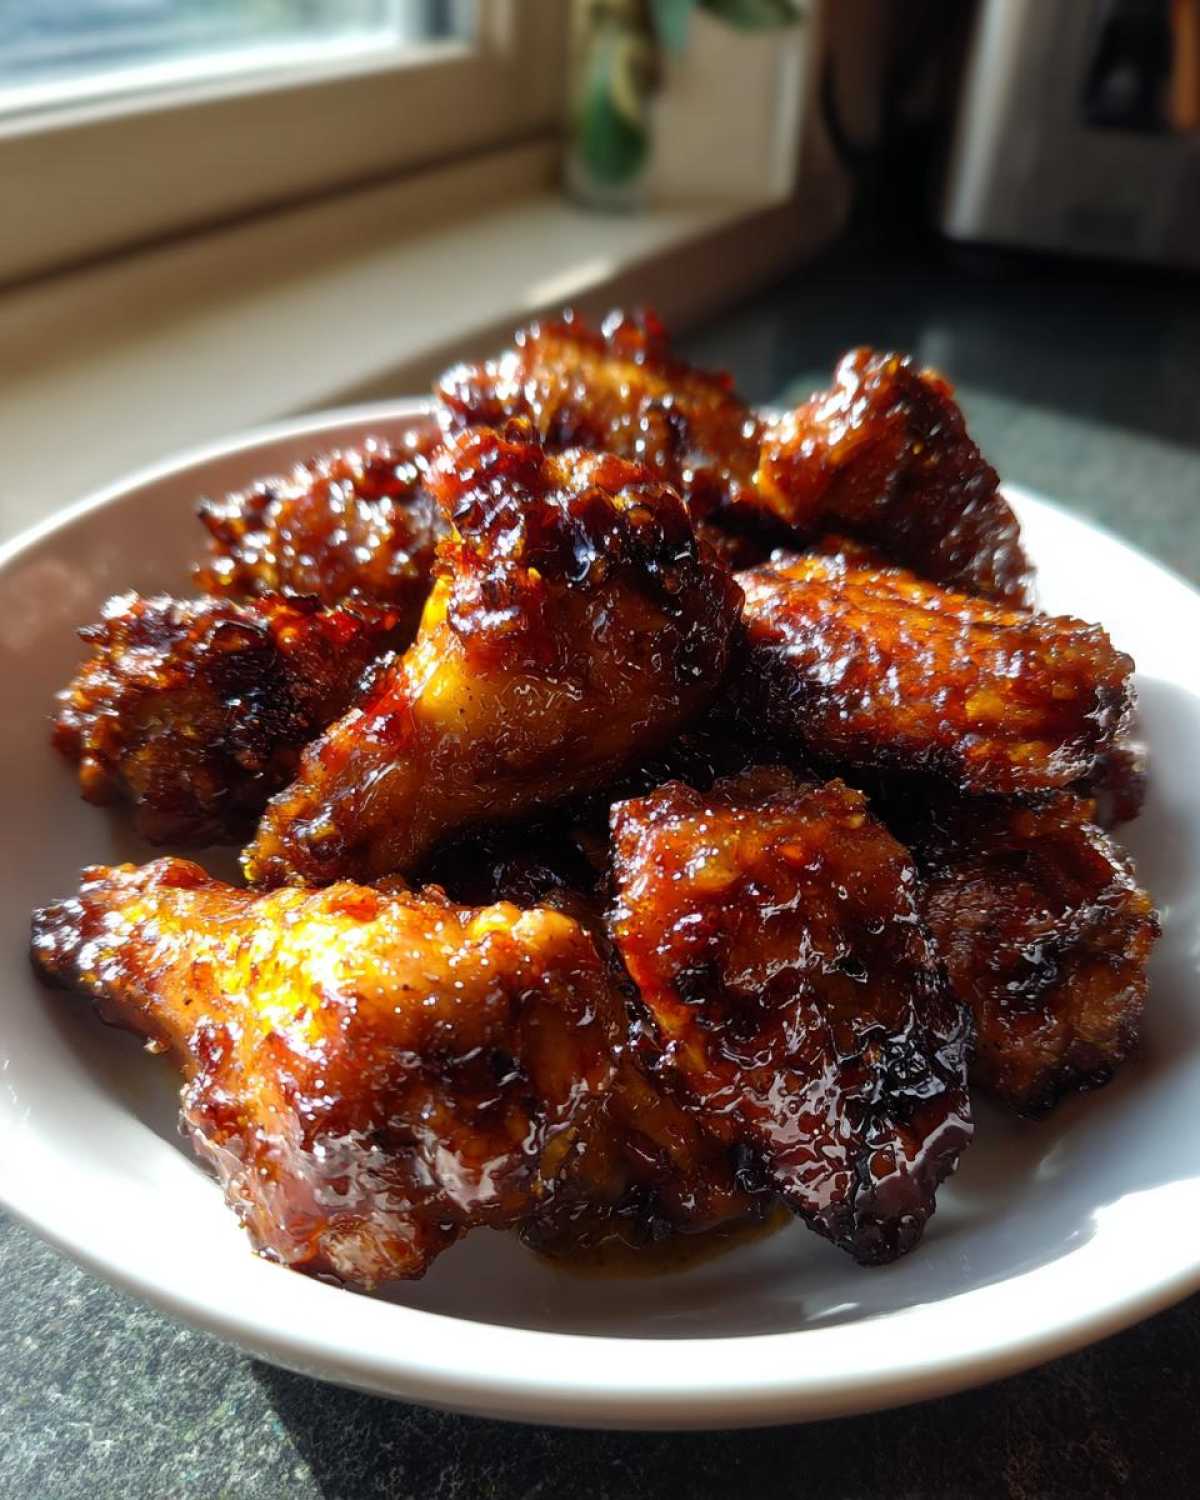
For years, my wings came out either a little tough or just plain soggy after coating them in sauce. It was heartbreaking! But trust me when I say that mastering the double-glaze method changes everything. This isn’t just some quick toss-in-a-bowl situation; this specific process builds up the stickiness layer by layer. You get incredible flavor from the garlic and honey combined with perfectly rendered, crispy skin underneath it all—all baked and beautiful. Seriously, I think these are the Sweet and Sticky Wings you’ve been dreaming about!
I’ve got the full rundown for you below, from how to dry those wings properly to exactly when to apply that gorgeous glaze. If you’re looking for an amazing Weeknight Chicken Wing Dinner that tastes like you waited in line for wings, this is it. You can definitely check out more of my kitchen adventures over at my main recipe page while you wait for your oven to preheat!
Why You Will Love These Honey Garlic Chicken Wings Sticky Oven Baked
These aren’t your average baked wings, not even close! I promise that once you try this method, you’ll be making them weekly. They hit every mark—super easy prep, maximum flavor, and that absolute perfect texture we all crave.
- The incredible sweet and savory burst of garlic and honey in every bite.
- No deep fryer needed! We get amazing results right in the oven.
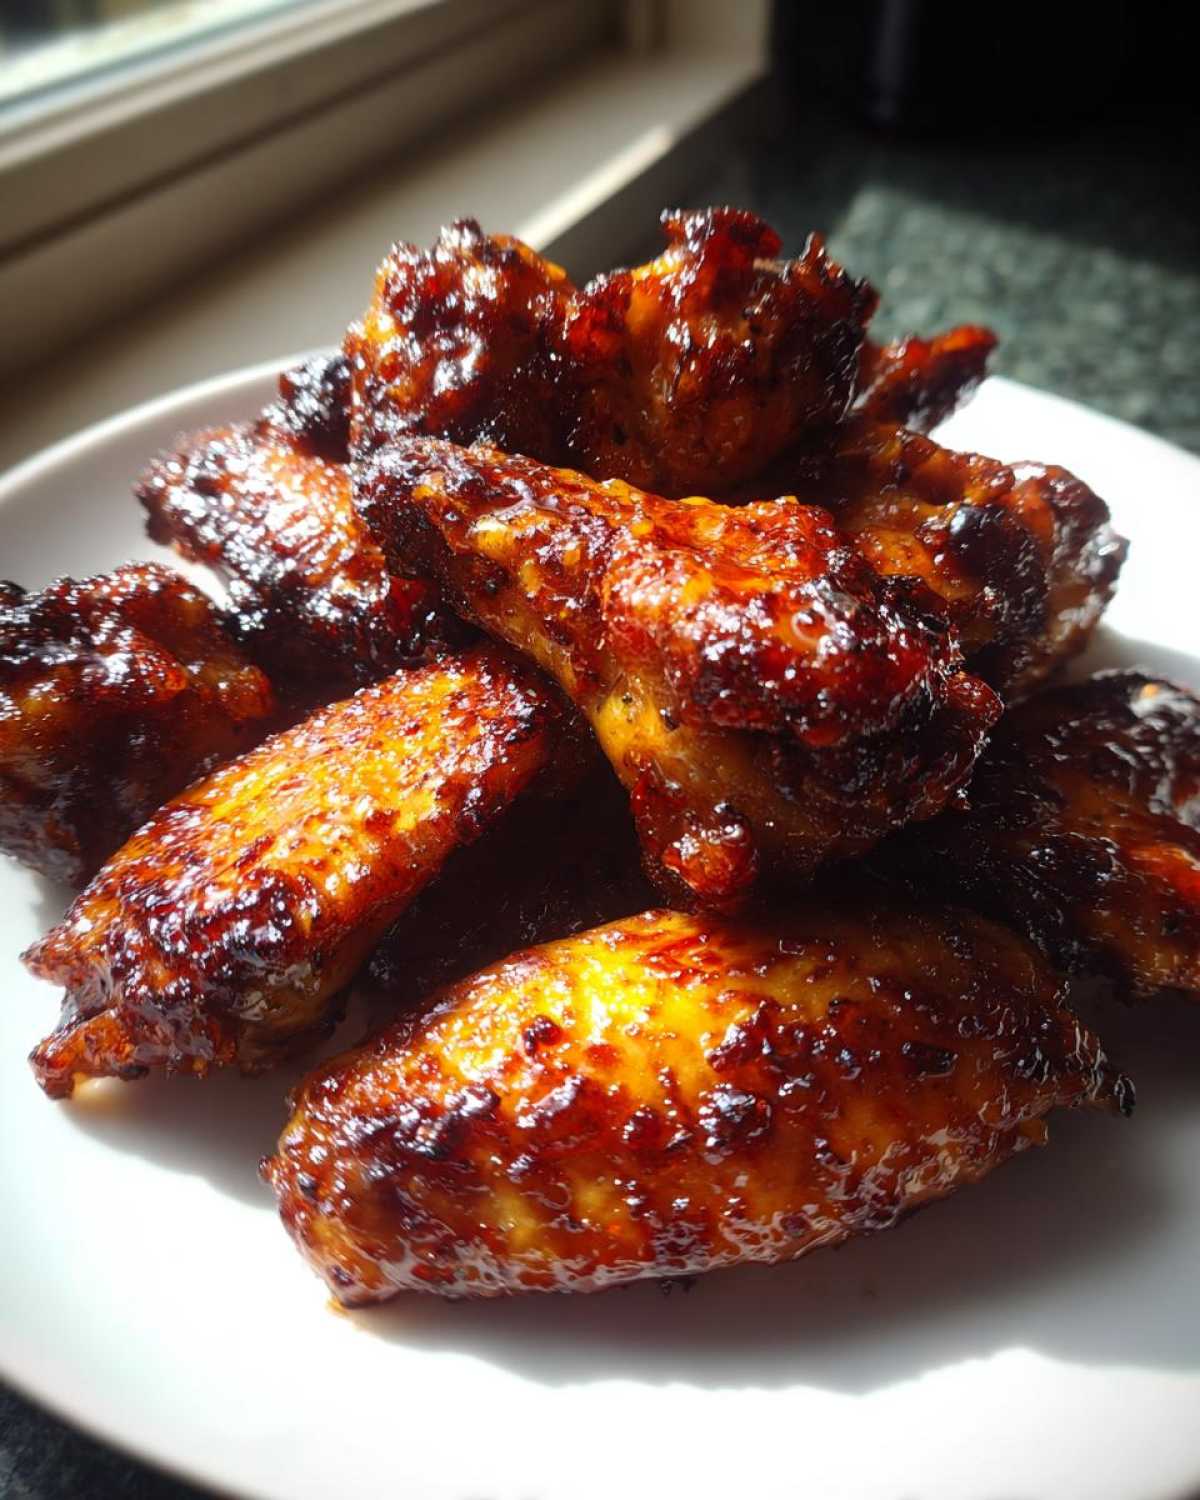
- The final product achieves that wonderful, saucy texture characteristic of Honey Garlic Chicken Wings Sticky Oven Baked.
Achieving Ultimate Stickiness
The secret sauce really is the double-glazing technique. We hit the wings with half the sauce while they’re still cooking, let it set a bit, and then hit them with the final coat right before those last few minutes in the heat. That’s what locks in the tacky, utterly sticky sweetness!
Crispy Skin Without Frying
Don’t worry about soggy skin! We combat that moisture by patting the wings completely dry, seasoning them well, and baking them on a wire rack. That rack lets the heat circulate completely underneath, and cranking the heat up at the very end gives you that beautiful crispness you expect from the Best Baked Chicken Wings.
Ingredients for the Best Honey Garlic Chicken Wings Sticky Oven Baked
Okay, getting the ingredients right is half the battle, especially when we’re aiming for maximum flavor payoff from our Sticky Honey Garlic Wings Recipe. I keep everything separated—the rub for the actual wing and the glaze ingredients—because timing matters when we start cooking!
For the Chicken Wings
You’ll need about two pounds of chicken wings, and please, separate them into flats and drumettes if you haven’t already! I find separating them helps them cook evenly. Then, we have our simple seasoning mix for coating them before they even see the oven. Remember that crucial step: pat them bone-dry with paper towels! Moisture is the enemy of crispiness!
- 2 lbs chicken wings, separated into flats and drumettes
- 1 teaspoon salt
- 1/2 teaspoon black pepper
- 1/2 teaspoon garlic powder
For the Easy Honey Garlic Glaze Recipe
This is where the magic happens! The combination of sweet honey and sharp garlic creates that incredible sauce. This mix reduces down beautifully into our signature Easy Honey Garlic Glaze guaranteed to make these wings sticky.
- 1/4 cup honey
- 1/4 cup soy sauce
- 4 cloves garlic, minced (don’t use the jarred stuff, please!)
- 2 tablespoons ketchup (Yes, ketchup! It thickens things up nicely.)
- 1 tablespoon rice vinegar
- 1 teaspoon sesame oil
Essential Equipment for Oven Baked Chicken Wings
You don’t need a thousand fancy gadgets for this Simple Oven Chicken Wing Recipe, but having the right tools makes the difference between wings that stick to the pan and wings that come out perfect every time. If you’re planning to master these Garlic Glazed Chicken Wings, you absolutely need three specific things to ensure max crispiness and easy cleanup.
First up is the baking sheet. I always use a big, sturdy one. But here’s the real trick: you need a wire rack that fits right on top of that sheet. That rack is golden! It lifts the wings off the direct heat and lets all that wonderful chicken fat drip away while the hot air circulates around the bottom skin. No sad, soggy bottoms here!
Next, you’ll want a small saucepan. This is non-negotiable because we have to simmer down that Sticky Wing Sauce Recipe to get it thick and glossy enough to truly cling to the meat. Don’t try to thicken it in the microwave; you need that steady, gentle heat from the stovetop to let the honey and soy sauce concentrate properly. Trust me on this one—sauce reduction needs attention!
Step-by-Step Instructions for Honey Garlic Chicken Wings Sticky Oven Baked
Alright, here is the moment of truth! Following these specific steps is how we transform simple baked wings into the show-stopping Honey Garlic Chicken Wings Sticky Oven Baked masterpiece that tastes just like your favorite wing joint. The timing between the sauce reduction and the multiple glazing steps is absolutely everything here. And when you need to make something equally amazing that isn’t wings, check out how I use a similar flavor profile for my Garlic and Parsley Crab Leg Bake!
Prep and Initial Bake for Crispy Baked Wings
First things first, blast that oven! We need it screaming hot at 400°F (200°C). Get your baking sheet lined with foil—this saves scrubbing later—and set that wire rack right on top. Next, take your wings and pat them down until they feel desert dry. I mean it; dry wings equal crispy wings!
Toss those dry wings with the salt, pepper, and garlic powder. Now, if you want that extra next-level crispiness that rivals fried wings, this is where you add the teaspoon of baking powder to the seasoning mix before tossing. It works like magic! Lay them out neatly on the rack, making sure they aren’t touching at all. Then, bake them for a solid 25 minutes to get them started.
Making the Sticky Wing Sauce Recipe
While those wings are rendering fat and getting happy in the oven, we make the star of the show: our Sticky Wing Sauce Recipe. Grab a small saucepan and toss in the honey, soy sauce, minced garlic, ketchup, vinegar, and sesame oil. Whisk it up over medium heat until it just starts to bubble gently.
Let this simmer for about 3 to 5 minutes, just stirring now and then until you see it starting to cling to the back of your spoon. If you want an *extra* thick, almost taffy-like glaze, simmer it for a couple of minutes longer, but watch it closely so the honey doesn’t burn! Once it’s reduced just right, take it off the heat.
Glazing and Caramelizing the Honey Garlic Chicken Wings
This is the critical part for achieving that glossy, sticky coat. When the 25 minutes are up, pull those wings out carefully. Brush about half of the warm glaze all over every single wing. Don’t be shy! Pop them back into the 400°F oven for exactly 10 more minutes. This sets the first layer.
Pull them out again, and now slather on the rest of that glorious sauce. For the final push—the caramelization that locks in the glaze—you must crank the heat up to 425°F (220°C). Bake them for a final 5 to 7 minutes. Watch them closely! They should look deeply golden and wonderfully sticky when they come out. Serve them right away!
Expert Tips for Truly Sticky Wing Sauce Recipe Results
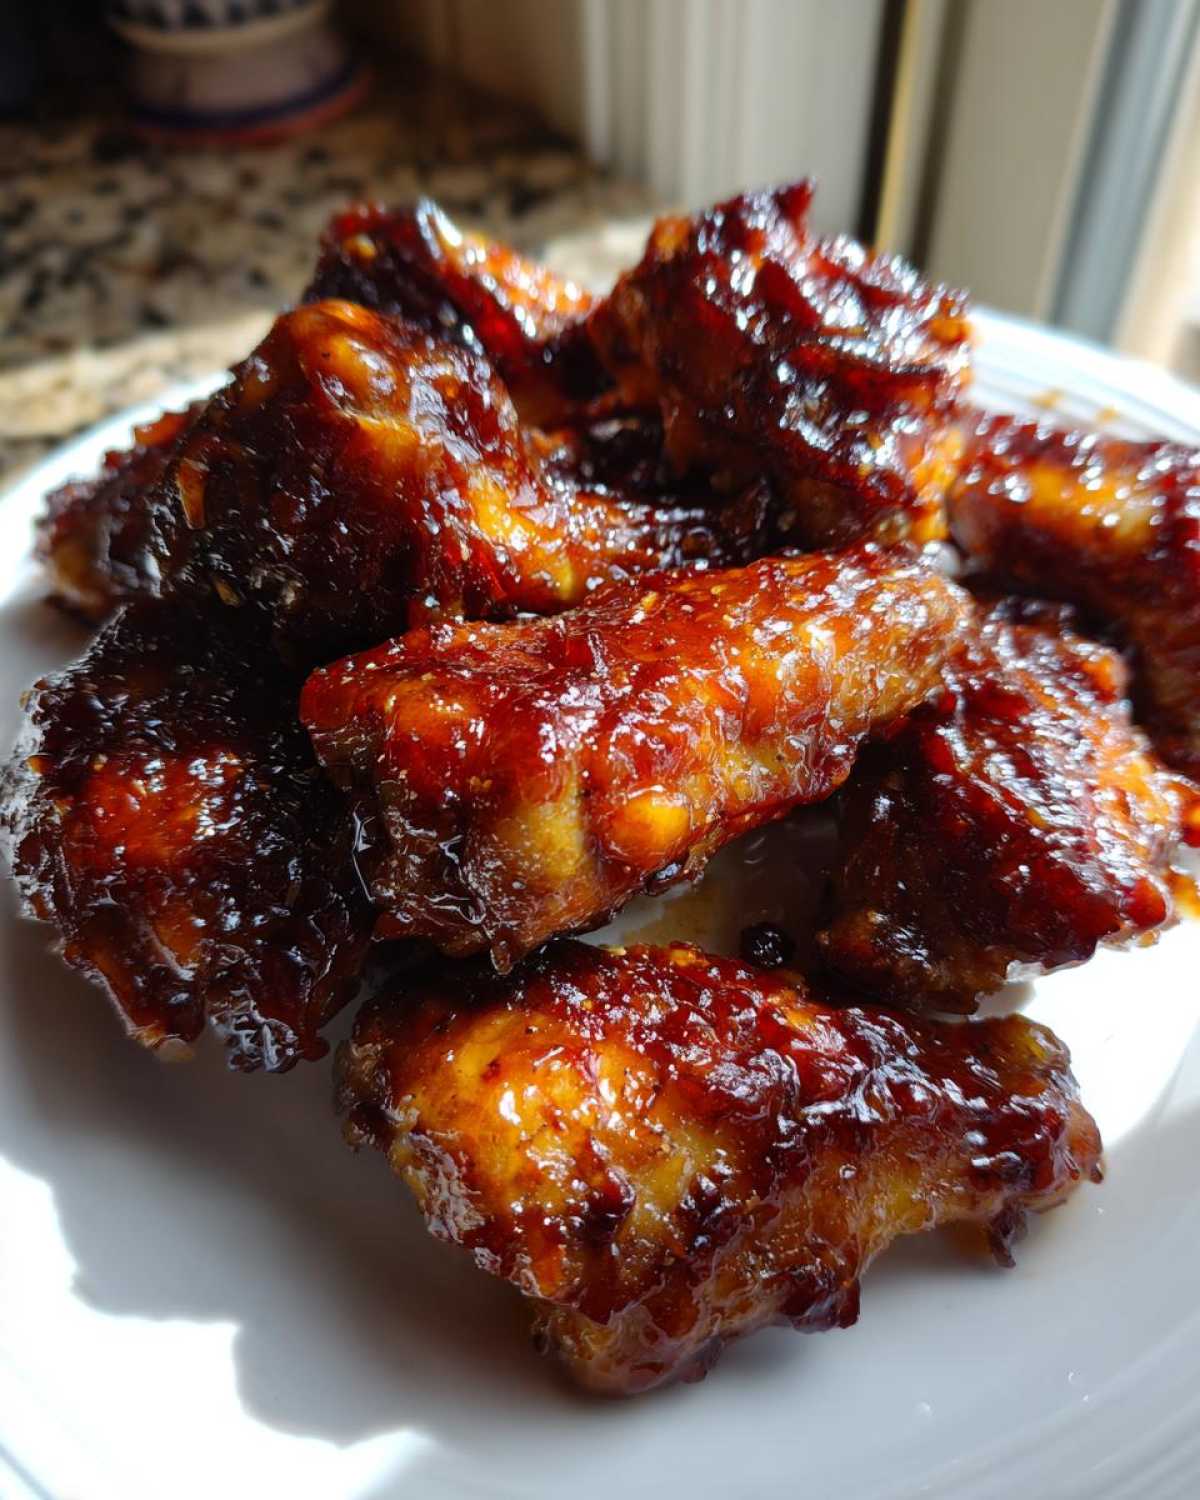
I feel like I badger my readers about this constantly, but getting that perfect, clingy, takeout-style coating is 100% about how you handle the sauce *after* the initial baking. If you just dump room-temperature sauce on hot wings, it slides right off! We want adherence, people!
The golden rule, which I mentioned in the instructions but needs repeating until it’s tattooed on your brain, is to toss those wings immediately upon removal from that final blast in the oven. The residual heat of the wing combined with the thickness of the hot glaze is what creates that signature tackiness. If you let them sit for even five minutes, they cool down, and the sugars in that Sticky Wing Sauce Recipe harden up before they can really grab onto the skin.
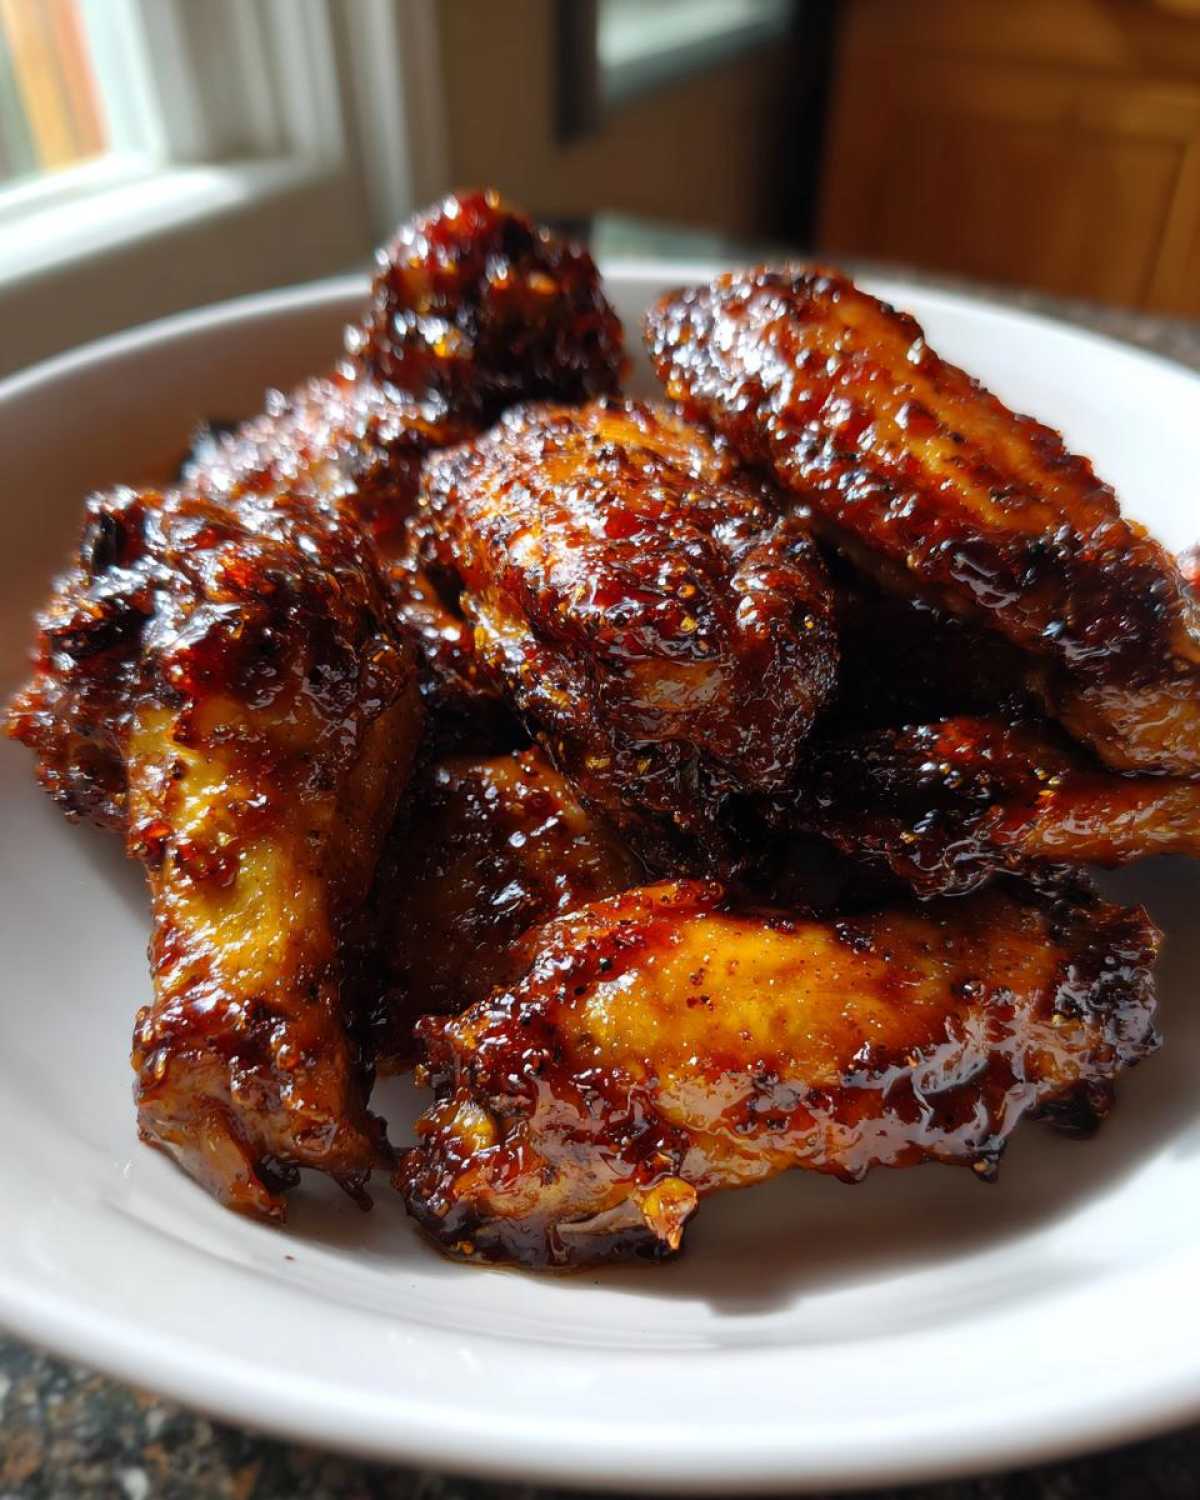
Also, don’t fight the thickness! If you simmered your sauce a bit longer like I suggested for a thicker glaze, you might have to work quickly to spread it evenly. Use a silicon brush instead of a spoon for the final coat if you’re dealing with a very thick glaze—it lets you paint on the sauce right before they go back in for that final minute. This attention to detail is what separates sad, slightly damp wings from the truly amazing Takeout Style Wings at Home!
If you enjoyed this sticky flavor combination, you absolutely have to check out my recipe for dipping into Korean flavors next! I use a similar glazing technique for my Korean Fried Chicken Wings recipe, which achieves that same addictive coating.
Storage and Reheating Instructions for Garlic Glazed Chicken Wings
Now, I know these Garlic Glazed Chicken Wings don’t usually last long around my house—they tend to disappear faster than I can get them on a plate! But if, by some miracle, you have leftovers, you definitely want to store them correctly so you don’t lose that hard-earned crispiness.
Pop any extras into an airtight container as soon as they are completely cooled down. Don’t just seal them up while they are warm, or you’ll end up steaming the skin inside the container, and we absolutely don’t want that sticky mess turning soggy overnight!
When you’re ready for round two, do yourself and your tastebuds a favor: skip the microwave entirely! Microwaving leftover wings is a culinary crime, in my opinion; they just turn into little rubbery sponges.
Instead, you need to bring back that beautiful texture. The very best way to reheat these is either back in the oven or, if you have one, the air fryer. If you’re using the oven, lay those chilled wings out on a fresh, clean wire rack set over a baking sheet. Slide them into a 375°F oven for about 8 to 10 minutes. You just want to heat them through and let that sweet honey glaze re-tackify a little bit. If you use the air fryer, just hit them at 350°F for about 5 minutes. They’ll be just as sticky and nearly as crispy as the first time around!
Frequently Asked Questions About Honey Garlic Chicken Wings
I get so many random questions about this recipe because everyone wants their wings to turn out perfect, just like mine! It’s usually the finer details that trip people up. Here are a few things I hear all the time when people are trying to make the Sticky Honey Garlic Wings Recipe for the first time.
How to Make Crispy Baked Wings Without Baking Powder?
Don’t you worry if you skip the baking powder! It’s a great trick, yes, but if you don’t have it or forgot it, the real key to How to Make Crispy Baked Wings remains aggressive drying of the skin. Seriously, take an extra minute and use two or three paper towels per wing to blot away all that surface moisture. If the skin is dry when it hits the heat, it *will* crisp up, even if you just use the salt and pepper rub.
Can I use this Honey Garlic Sauce for Wings on other meats?
Oh my gosh, yes, you absolutely can! This Honey Garlic Sauce for Wings is so versatile. It’s amazing tossed with chicken breast pieces before baking, drizzled over salmon right before it hits the broiler, or even used as a glaze for meatballs. Just keep an eye on the simmering time—for thicker meats, you might need a slightly longer reduction to make sure it really adheres well. You can find more ideas for snack recipes, including some great dipping sauces, over in my snacks section!
Estimated Nutritional Data for Simple Oven Chicken Wings
Even though these Simple Oven Chicken Wings taste like something you’d order in a restaurant, they are actually pretty reasonable nutritionally, especially since we skip the deep fryer! I always like to give you guys an idea of what you’re working with, but remember, this is just an estimate based on the ingredients I used.
The exact values can always shift based on the brands you buy, the size of your specific wings, or if you use a different type of honey—and hey, if you happen to drizzle on, say, an extra teaspoon of sauce because you just can’t help yourself (I totally get it!), that will factor in too. For the full picture, always check out my official disclaimer page.
Here is the breakdown per serving (which I set at about 4 wings for this recipe):
- Serving Size: 4 wings
- Calories: 350
- Fat: 18g
- Saturated Fat: 5g
- Trans Fat: 0g
- Cholesterol: 110mg
- Sodium: 650mg (See? That soy sauce adds up, so be mindful!)
- Carbohydrates: 20g
- Sugar: 18g
- Protein: 28g
See? A solid amount of protein! That 18 grams of sugar is mostly from the honey and ketchup, which is what makes them so beautifully sticky and caramelized. I think that trade-off is definitely worth it for game day or a fun dinner!
Share Your Weeknight Chicken Wing Dinner Success
Honestly, that’s the whole point, right? I put so much love and testing into figuring out the perfect balance for these Honey Garlic Chicken Wings Sticky Oven Baked so you guys can have a stress-free, incredibly delicious meal. Now that you know the secrets to the crisp skin and the ultimate sticky glaze, I want to see what you whip up!
Did you manage to get that glaze caramelized perfectly in the final five minutes? Did you try the baking powder trick for extra crispiness? Don’t keep the good news to yourself!
Drop a rating below—five stars if these became your new favorite Wing Night Ideas! And if you snapped a picture, tag me on social media! I absolutely love seeing these sticky delights lighting up your kitchen counters. Hearing about your success with this recipe truly makes my day.
PrintSticky Oven Baked Honey Garlic Chicken Wings
Follow these steps to make sticky, flavorful honey garlic chicken wings baked in your oven.
- Prep Time: 10 min
- Cook Time: 40 min
- Total Time: 50 min
- Yield: 4 servings
- Category: Appetizer
- Method: Baking
- Cuisine: American
- Diet: Low Fat
Ingredients
- 2 lbs chicken wings, separated into flats and drumettes
- 1 teaspoon salt
- 1/2 teaspoon black pepper
- 1/2 teaspoon garlic powder
- 1/4 cup honey
- 1/4 cup soy sauce
- 4 cloves garlic, minced
- 2 tablespoons ketchup
- 1 tablespoon rice vinegar
- 1 teaspoon sesame oil
Instructions
- Preheat your oven to 400°F (200°C). Line a baking sheet with foil and place a wire rack on top of the foil.
- Pat the chicken wings completely dry using paper towels. This helps achieve crispier skin.
- In a bowl, toss the wings with salt, pepper, and garlic powder until evenly coated.
- Arrange the wings in a single layer on the wire rack.
- Bake for 25 minutes.
- While the wings bake, prepare the sauce: Combine honey, soy sauce, minced garlic, ketchup, rice vinegar, and sesame oil in a small saucepan.
- Bring the sauce mixture to a simmer over medium heat. Cook for 3 to 5 minutes, stirring often, until the sauce thickens slightly into a glaze. Remove from heat.
- After the initial 25 minutes of baking, remove the wings from the oven. Brush half of the prepared sauce evenly over all the wings.
- Return the wings to the oven and bake for another 10 minutes.
- Remove the wings again. Brush the remaining sauce over the wings.
- Increase the oven temperature to 425°F (220°C). Bake for a final 5 to 7 minutes until the glaze is very sticky and slightly caramelized.
- Serve immediately.
Notes
- For extra crispiness, toss the raw wings with 1 teaspoon of baking powder before seasoning and baking.
- If you prefer a thicker glaze, simmer the sauce longer until it coats the back of a spoon heavily.
- Toss the wings in the sauce immediately after removing them from the final bake to maximize stickiness.
Nutrition
- Serving Size: 4 wings
- Calories: 350
- Sugar: 18
- Sodium: 650
- Fat: 18
- Saturated Fat: 5
- Unsaturated Fat: 13
- Trans Fat: 0
- Carbohydrates: 20
- Fiber: 0
- Protein: 28
- Cholesterol: 110