

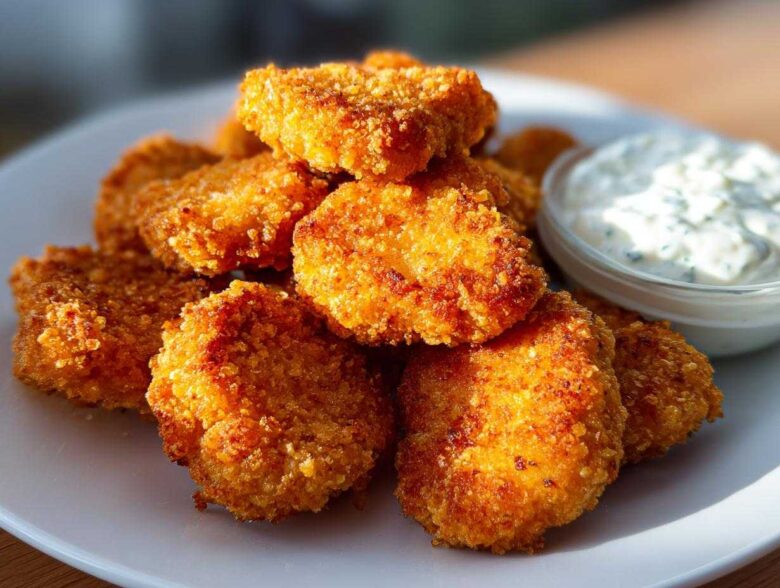
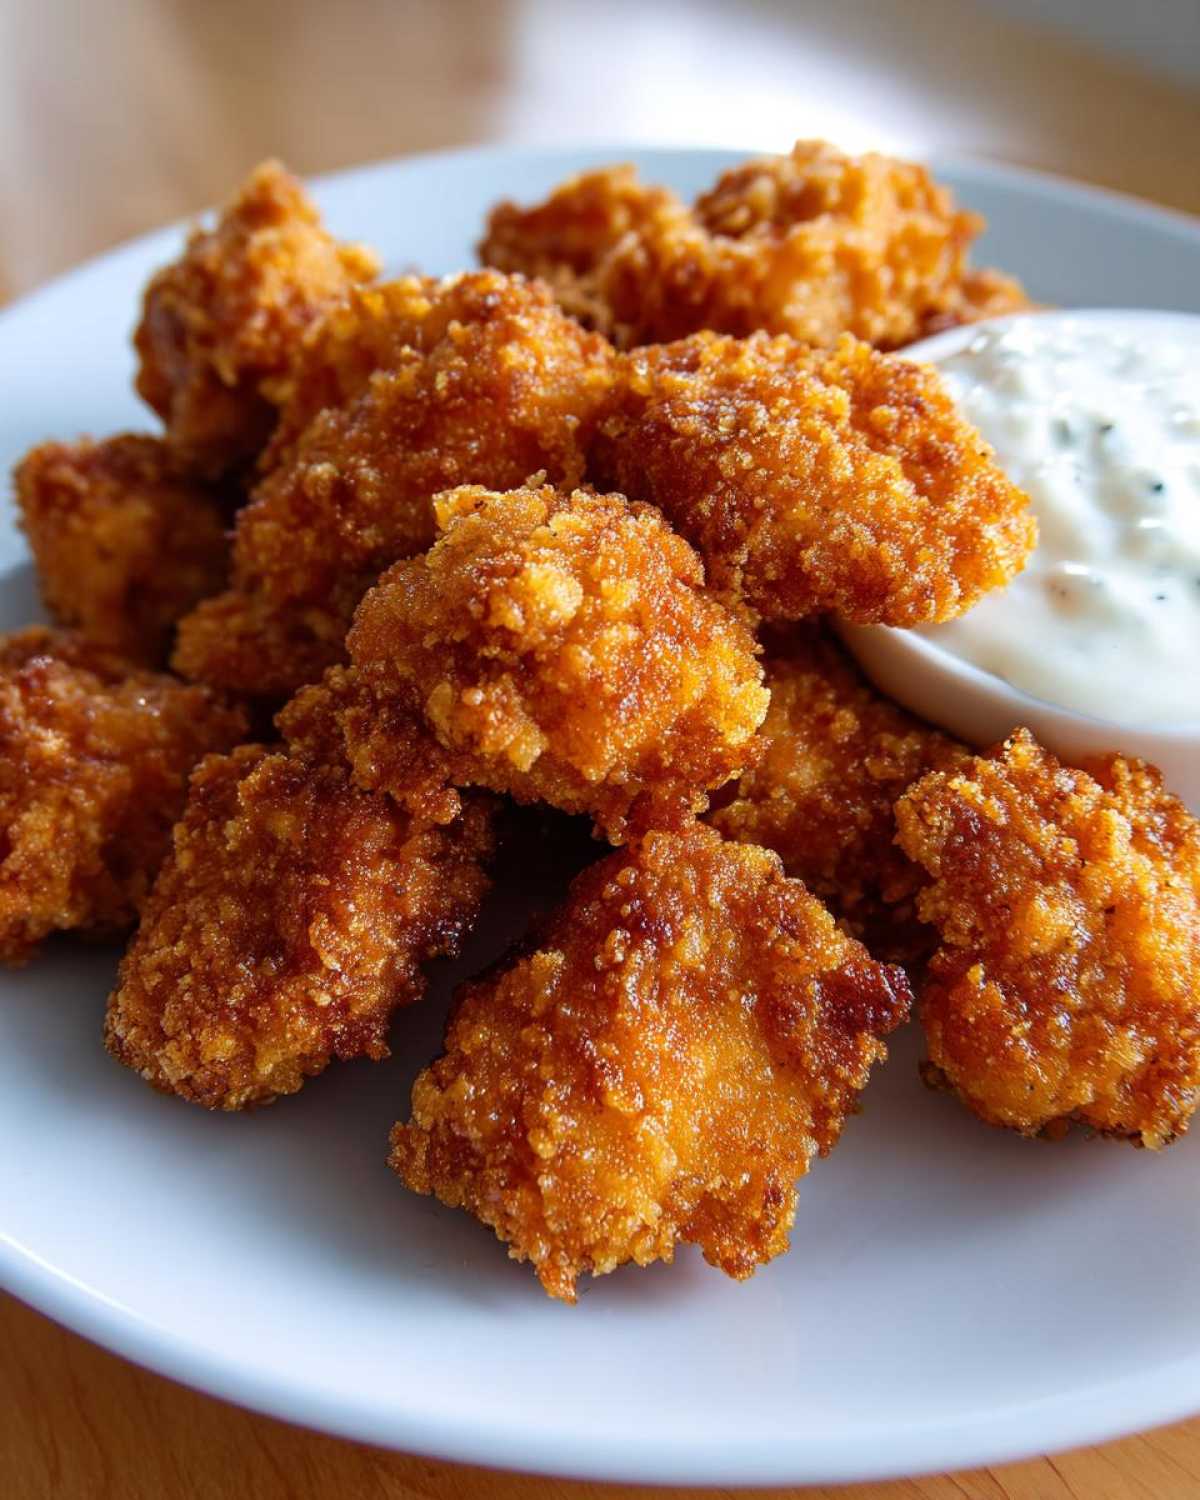
Oh my gosh, you know those days when only a perfect, salty, ridiculously crispy chicken nugget will do? Me too! Forget digging out that takeout menu because I finally cracked the code for making the best crispy chicken nuggets at home. Seriously, you won’t believe how crunchy we get these beauties without drowning them in oil. I’ve spent ages tweaking the breading—it’s all about technique, trust me—to get that amazing crunch you crave in our Crispy Chicken Nuggets with Ranch Dip.
I was sharing some of my other kitchen wins over on the blog, if you want to take a peek, but this nugget recipe needs its own moment! Once you nail this simple breading process, you’ll be making these weekly. And since we’re going homemade, we absolutely *have* to make that dreamy, herby ranch dip, too. Grab your chicken, we’re making dinner magic!
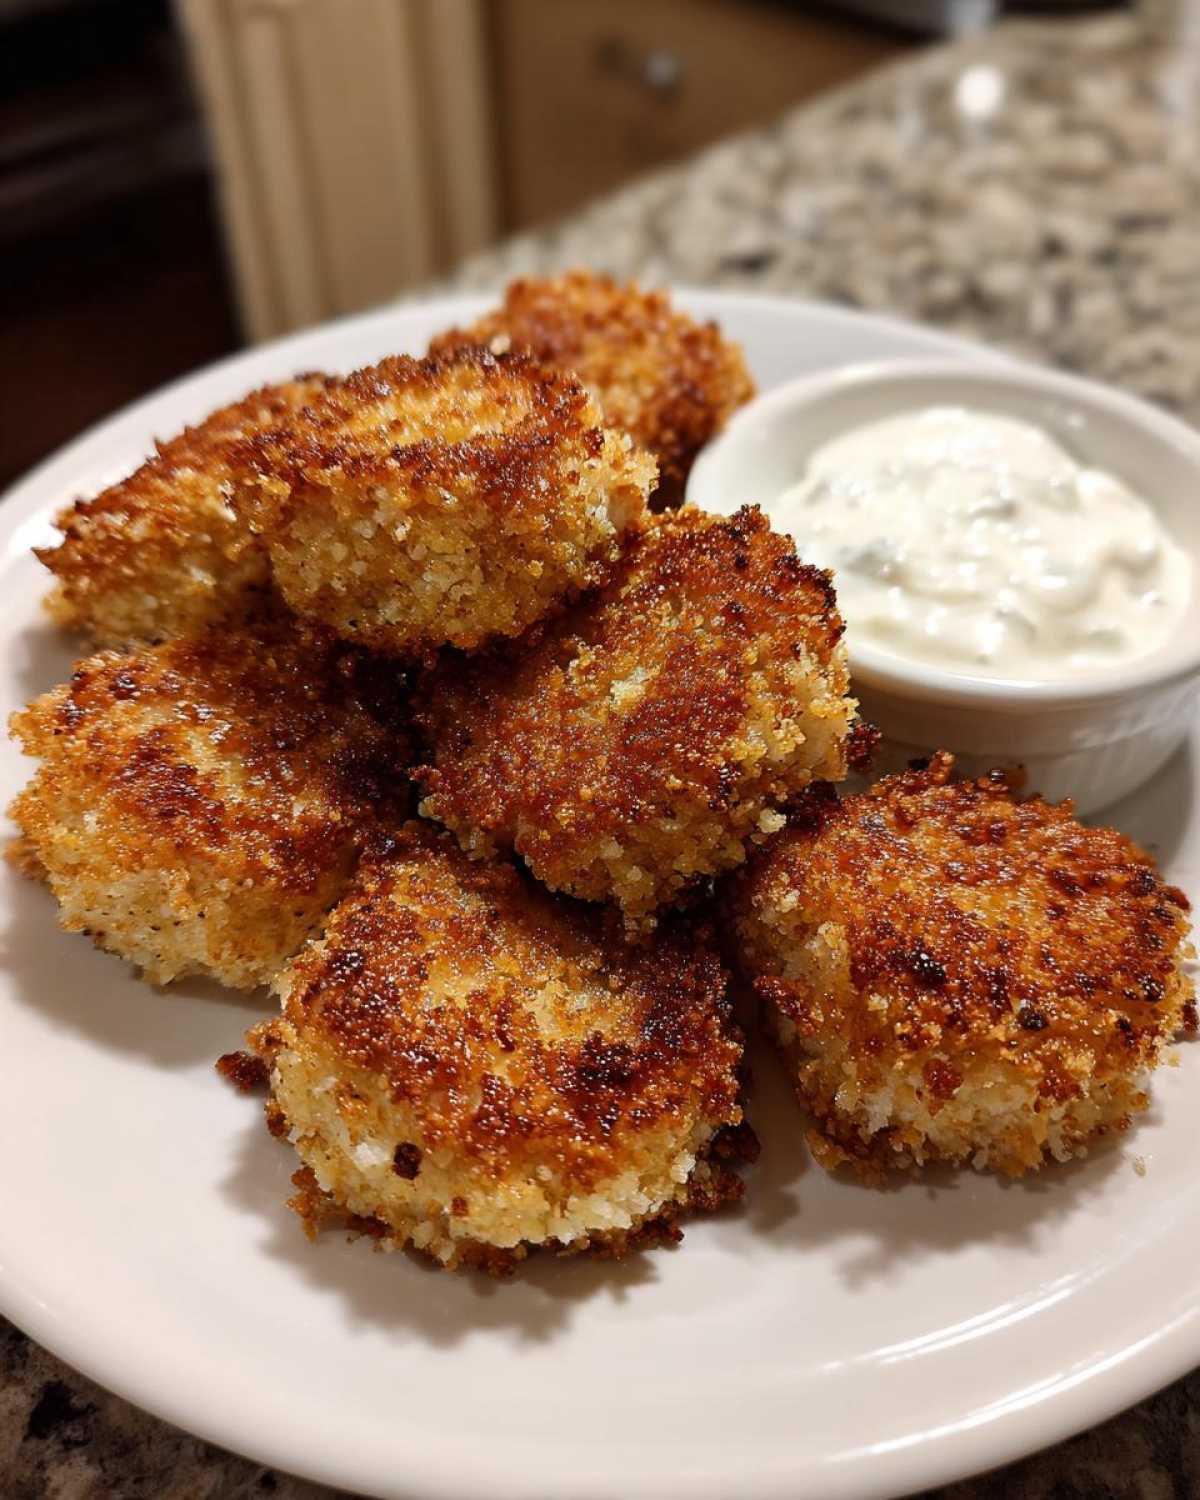
Why You Will Make Crispy Chicken Nuggets with Ranch Dip Again and Again
Listen, I know there are a million ways to make chicken for dinner, but these nuggets hit different. They are pure comfort food, elevated! Once you try them, I promise you won’t want to go back to the frozen bag. Here’s why this recipe is about to become your weeknight MVP:
- That Unbeatable Crunch Factor: We’re using Panko and a special trick that gives these oven-baked nuggets a crispiness that rivals the deep-fried stuff. No soggy bottoms here!
- Incredibly Easy Setup: Even though we have three dredging stations, it comes together so fast. This is definitely a wonderful Quick weeknight chicken dinner solution when you need to get food on the table pronto.
- Flavor You Can Control: You know exactly what’s on them—no weird additives or mystery ingredients! Plus, you can adjust the garlic powder or make them extra spicy if that’s your thing.
- The Homemade Ranch Dip is Non-Negotiable: Seriously, the fresh dill and chives in the dip elevate the whole experience. It’s so much creamier and brighter than anything you buy in a bottle.
- Kid-Approved (and Parent-Approved!): If you have picky eaters—or if you yourself are just a big kid at heart—these are totally Toddler approved chicken nuggets quality, but gourmet enough for us adults!
Essential Ingredients for Crispy Chicken Nuggets with Ranch Dip
Okay, this is where we set ourselves up for success! Making truly crispy chicken nuggets means taking care when prepping your ingredients—it’s not just about throwing things in a bowl. You need three distinct stations for our breading magic to work. Make sure everything is laid out before you start cutting the chicken. Don’t skip the Parmesan if you want that extra salty kick; it helps everything brown beautifully!
For the chicken, I always use breasts because they stay nice and white, but you can certainly try chicken thighs for a richer flavor if you prefer. Just be sure they are roughly the same size so they all cook evenly.
- 1.5 lbs boneless, skinless chicken breasts, cut into 1-inch pieces
- 1 cup all-purpose flour
- 1 teaspoon salt (divided, some for flour, some for ranch)
- 1/2 teaspoon black pepper
- 1/2 teaspoon garlic powder (divided, some for flour, some for ranch)
- 2 large eggs, beaten
- 1 tablespoon water
- 2 cups Panko breadcrumbs
- 1/2 cup grated Parmesan cheese (Totally optional, but wow, it helps the crisp!)
- Cooking spray (Use generously—this is our secret to oven-browning!)
For the Homemade Ranch Dip Recipe
This dip is half the fun, so don’t skimp on the fresh herbs! If you have to use dried herbs in a pinch, just reduce the amount by about half. But please, try the fresh dill and chives at least once. It makes this a truly superior Homemade ranch dip recipe!
- 1 cup buttermilk or plain yogurt (Buttermilk gives it that classic tang.)
- 1/2 cup mayonnaise
- 1/4 cup fresh dill, chopped
- 2 tablespoons fresh chives, chopped
- 1 teaspoon onion powder
- 1/2 teaspoon garlic powder
- 1/4 teaspoon salt
Mastering the Crispy Breading Technique for Chicken Nuggets
This is it. This three-step process is the gatekeeper to achieving truly amazing, crunchy, best crispy chicken nuggets right in your own oven. If you skip a step or don’t do it properly, you risk softer coatings. Remember how I talked about Grandma’s precision? It applies here!
We are doing what’s called a double dredge, which is essential for making sure the breading sticks and puffs up when it hits the heat. Step one is the dry coat (flour). This gives the egg wash something to grab onto. Step two is the egg wash—this is the glue. Step three is the glorious Panko breadcrumbs, which are inherently crispier than regular breadcrumbs because of how they’re processed.
The real secret here isn’t just layering, but commitment! Once the chicken is in that final Panko bowl, you need to press it. Don’t just gently roll it; use your hands to *press* the crumbs onto the surface of the chicken piece. This ensures maximum surface coverage, which translates directly into maximum crunch later on. Think of it like giving each nugget a tight little hug of Panko!
If you’re feeling ambitious and want next-level flavor and texture, check out how I use different coatings for my air-fried chickpeas—that concept of layering texture applies perfectly here too!
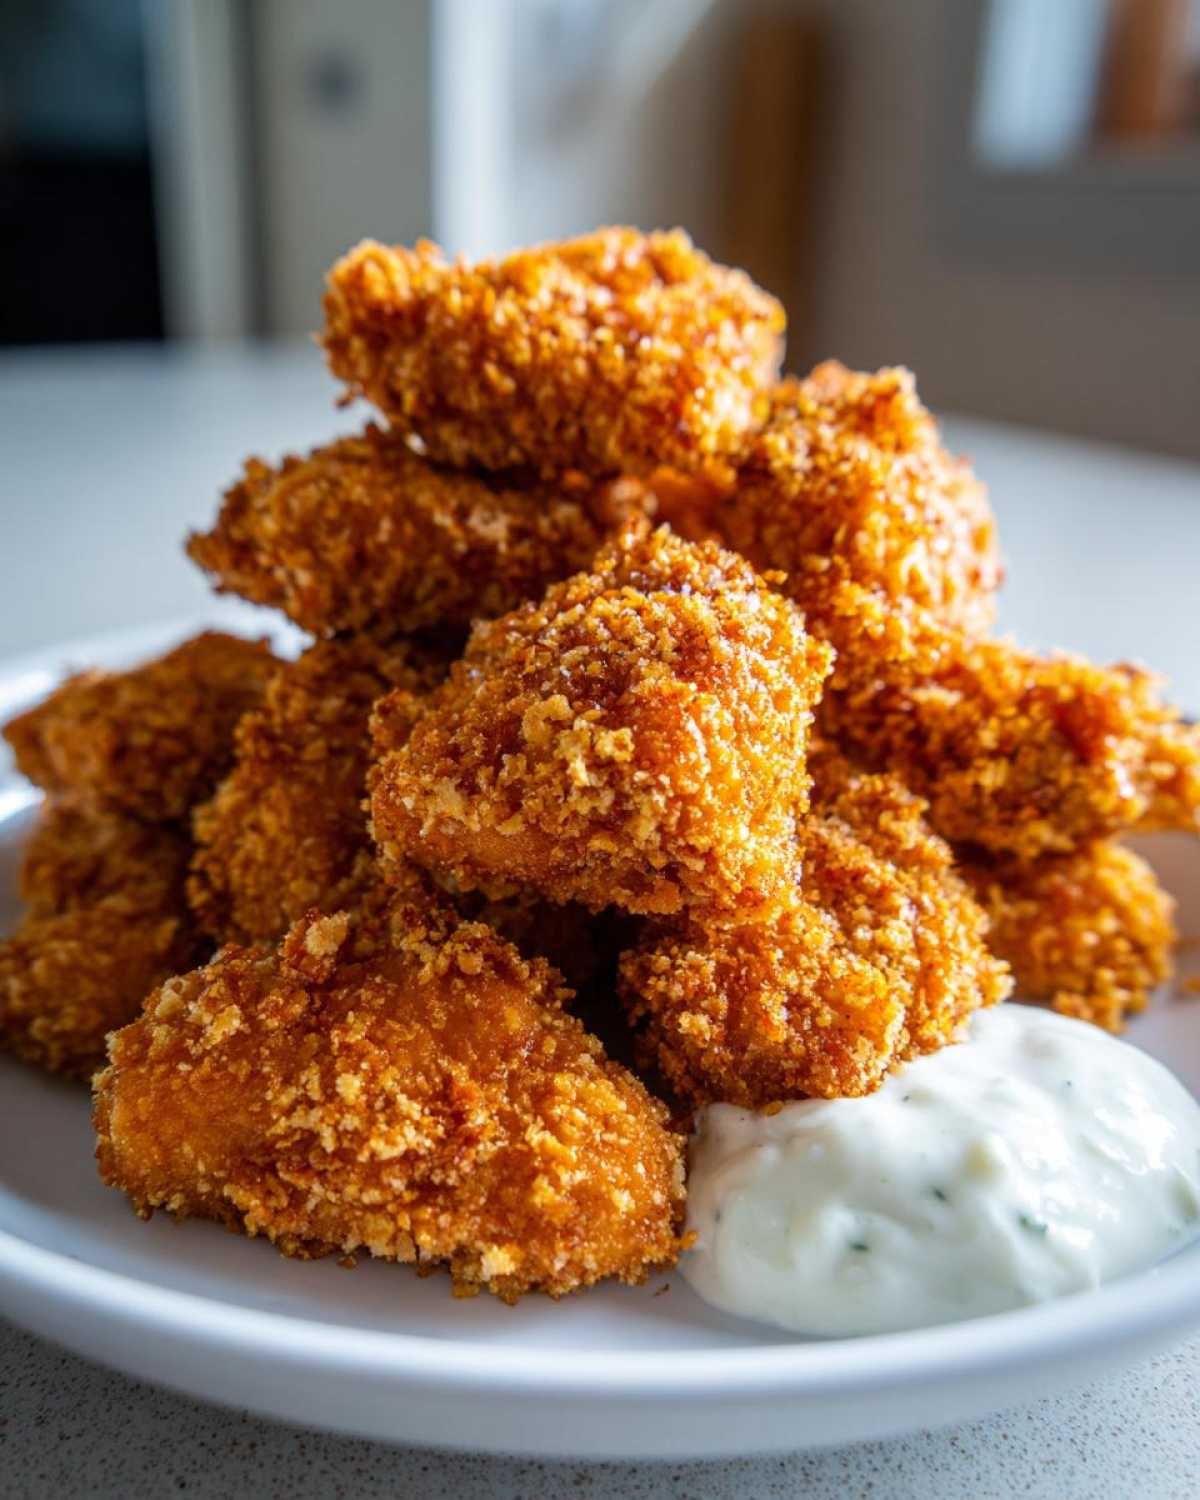
Tips for the Ultimate Crispy Breading Technique for Chicken
To really boost the textural payoff, you have to treat your dry ingredients well. First, make sure that flour mixture isn’t just bland! It needs salt and garlic powder so the outside tastes good, not just crunchy. Seasoning every layer matters!
Second, if you’re using the Parmesan cheese, mix it right into your Panko. The cheese crisps up beautifully in the oven, adding tiny, savory little nuggets of crunch all over. This is the best technique if you are aiming for those perfect Panko crusted chicken nuggets.
My absolute final tip for the coating is temperature. Keep your egg wash cool and your chicken cold. Cold chicken hitting that warm coating creates a slight temperature difference that helps the breading set faster when it hits the hot baking sheet. It’s science, folks, delicious science!
Step-by-Step Instructions for Baking Crispy Chicken Nuggets
Alright, now that everything is breaded and looking beautiful—seriously, go look at those crunchy little pieces!—it’s time for the oven. We’re aiming for high heat to get that fast, crispy exterior without drying out the inside. Preheat your oven to a nice hot 425°F (220°C) and make sure your baking sheet is greased or lined with parchment paper. We don’t want any sticking!
Lay those nuggets out on the sheet, but here’s a pro-tip: give them space! They need room to breathe so the hot air circulates and crisps up all sides. Spray the tops generously with cooking spray—this mimics the oil from frying. Bake for about 12 to 15 minutes. Then, carefully flip them over, give the second side a quick little spray too, and bake for another 10 to 12 minutes. Cook them until they hit 165°F internal temperature. Safety first, especially if little hands are waiting!
Making the Creamy Ranch Dipping Sauce for Chicken
While those nuggets are getting golden, whip up your Homemade ranch dip recipe. Honestly, this is the easiest part of the entire meal. Just grab a bowl and toss in everything: the buttermilk (or yogurt if you prefer it thicker!), mayo, and all those lovely fresh herbs and powders. Then you just whisk, whisk, whisk! Keep going until it’s completely smooth and creamy. Taste it after a minute—if it needs more salt, now’s the time to adjust. This dip is utterly fantastic with the nuggets!
Air Fryer Chicken Nuggets Perfection: A Healthier Method
I totally get it; sometimes you want that crispy goodness, but you’d rather skip the full oven cycle, or maybe you just want to shave off a few calories. That’s where my air fryer comes in! This little machine is absolutely brilliant for achieving Air fryer chicken nuggets perfection.
The air fryer is fantastic because it blasts hot air all around the food, essentially giving us that deep-fried texture using just a light spray of oil. It cooks faster and traps that crispiness way better than the oven, in my opinion. It’s my go-to when I need something fast that still satisfies that deep craving for crunch.
If you’re making these in the air fryer, you skip the initial long bake time. Instead, make sure your air fryer basket isn’t crowded—give those little guys space, just like in the oven! Set your temperature to 400°F (200°C). Since the circulating heat is so intense, they cook a bit quicker. I find 10 to 12 minutes is usually the sweet spot to get them golden brown and fully cooked through (remember, 165°F internal!).
The key here, just like in the oven method, is that cooking spray! Don’t skip spraying the tops before you put them in, and definitely pause halfway through cooking to give that basket a good shake or flip the nuggets over, then spray the second side lightly. This ensures you get that even browning and prevents them from tasting bland or dry on one side. Honestly, once you see how crispy they get in that high heat, I think you’ll agree this is the best way to make a slightly healthier batch of chicken nuggets!
Tips for Success Making Crispy Chicken Nuggets
I’ve made batches of these that ended up sort of steamed on the bottom, and let me tell you, it’s a tragedy! Soggy nuggets are the ultimate letdown, especially when you put so much effort into that beautiful Panko crust. Preventing sogginess is all about air flow and contact management, which I learned the hard way that first time I tried to rush them in the oven.
I remember the first tray I ever made—I overlapped a few pieces because I was trying to fit them all on one pan since I was making a double batch for leftovers. Big rookie mistake! When I pulled them out, the ones touching were pale and sad, almost chewy. It took me another 10 minutes to flip them all and cook the bottoms separately! Since then, I’ve learned that spacing is your best friend when you’re baking anything meant to be crispy.
You absolutely must treat your baking sheet like a parking lot with designated spaces, not a traffic jam. Make sure there is at least half an inch of space between every single nugget. This allows that hot 425°F air to circulate completely around the breading. That constant flow of dry, hot air is what cooks the crust and firms it up before the moisture inside has a chance to escape and ruin your hard work.
Another small detail that made a HUGE difference is cutting the chicken consistently. If you have some cubes that are tiny and others that are chunky, the small ones will dry out while you wait for the big ones to cook through. Try to keep them all to that beautiful 1-inch size. If you are patient with the spacing and size, you’ll get that perfect, uniform crunch across the whole batch. You can find some of my other kitchen learning moments over on the blog if you want a good chuckle at my early cooking mistakes!
Make Ahead Freezer Friendly Nuggets Storage
One of the absolute best things about this recipe—besides the crunch, of course—is that these nuggets are fantastic for meal prep! If you’re looking for that perfect grab-and-go option or want to save time later in the week, you can absolutely prepare these as Make ahead freezer friendly nuggets. This saves so much time when a craving hits late on a Tuesday!
The absolute key here is that you must freeze them *before* you bake them. Once they are breaded (flour, egg, Panko, pressed firmly!), lay them out on your parchment-lined baking sheet—the same one you would use for baking. You need to make sure they aren’t touching at all. Think of it like they are socializing, but maintaining a healthy 6 inches of distance!
Now, pop that entire tray into the freezer. Let them sit there undisturbed for at least two hours, or until they are rock hard. This flash-freezing step is vital because it locks that beautiful, crisp breading in place. If you try to bag them up while they are still soft, they’ll all stick together into one giant, unappetizing chicken brick. Nobody wants that!
Once they are completely frozen solid, you can gently transfer all those beautiful, perfectly coated little nuggets directly into a heavy-duty, airtight freezer bag. Make sure you squeeze out as much air as you can before sealing them up tight. Label the bag with the date!
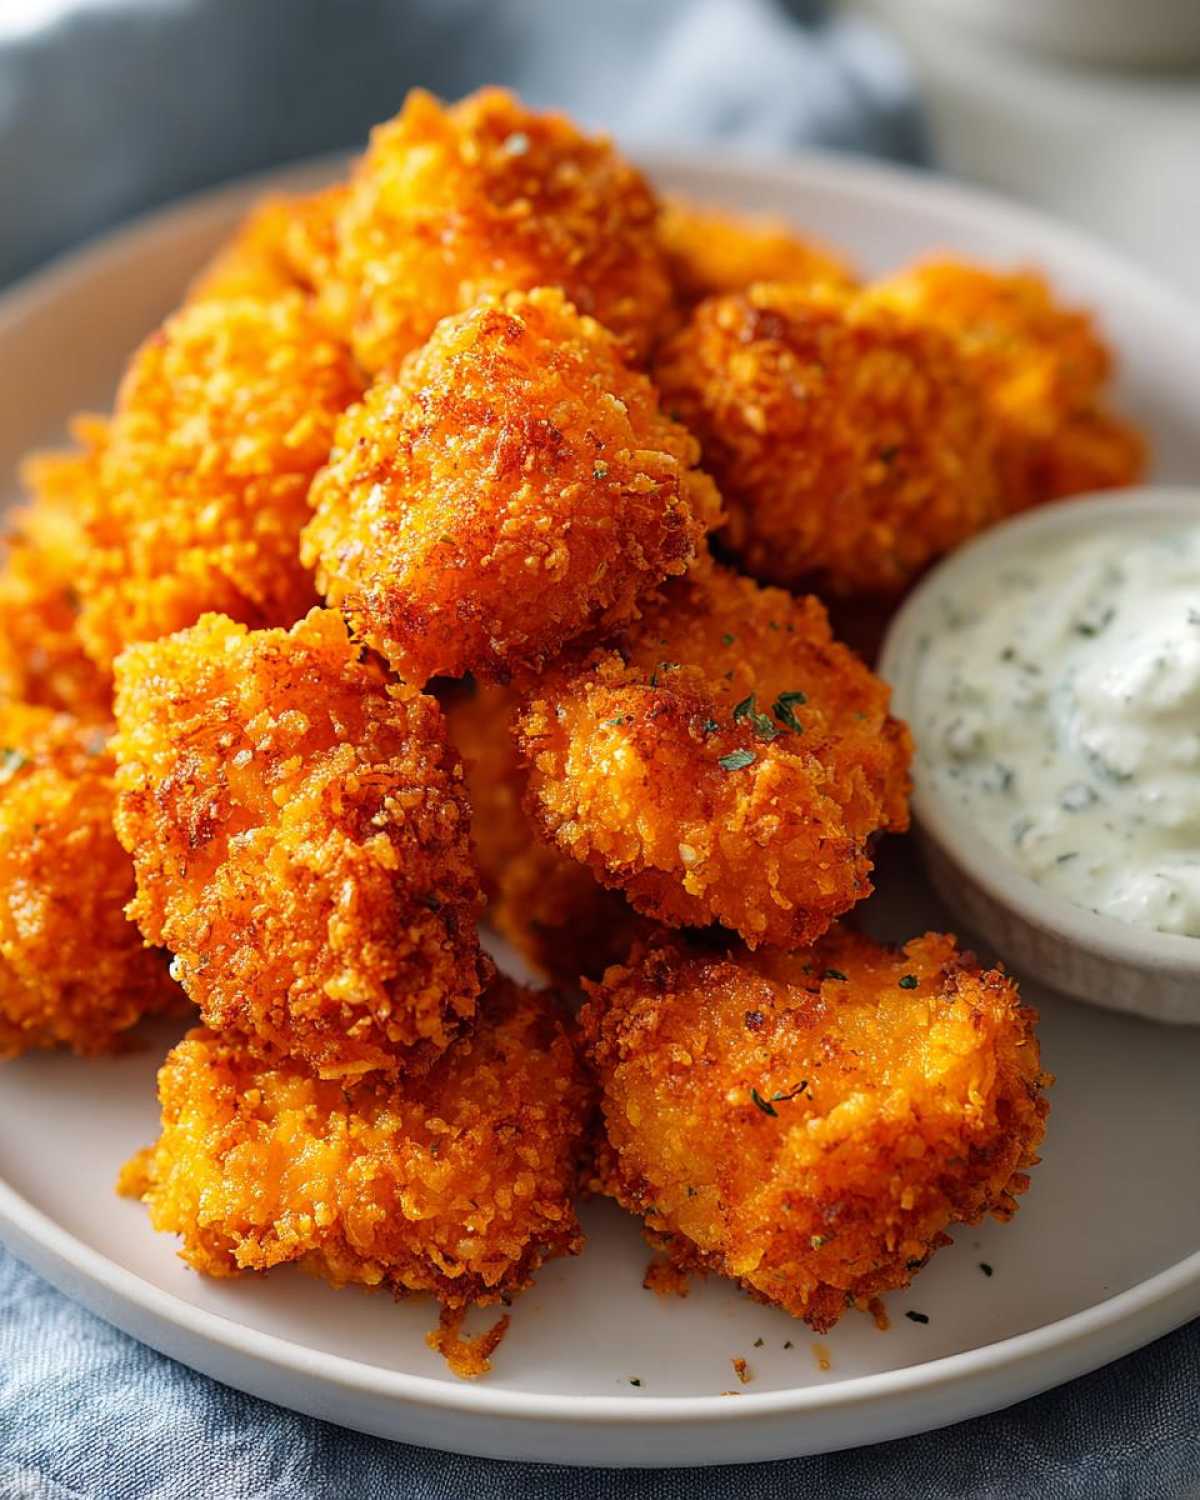
How to Cook Frozen Crispy Chicken Nuggets
The best part? You don’t even need to thaw them! You can cook them straight from the freezer using either the oven or the air fryer, although the total cook time will be longer. Don’t try lowering the oven temperature when cooking from frozen, or the breading might get soggy before the inside thaws.
If you’re using the oven, preheat to the usual 425°F (220°C). Place the frozen nuggets on your lined sheet, leaving plenty of space between them, and give them that initial cooking spray. They will probably need about 20 to 25 minutes total—keep an eye on them, flipping them halfway through and spraying again. You are looking for that internal temperature of 165°F reading on your thermometer.
For the air fryer method, stick to 400°F (200°C). Pop them in the basket (again, don’t crowd it!), spray them, and cook for about 15 to 17 minutes, shaking often. These come out unbelievably good, almost as crispy as the fresh ones! It’s such a lifesaver knowing I have a stash of these ready for a true comfort food emergency.
Frequently Asked Questions About Crispy Chicken Nuggets
I know you’ve got questions! Whenever I develop a recipe that needs this much technique—like getting that perfect crust—I end up having to answer the same queries over and over again for my family. Don’t worry, I’ve got simple, clear answers for you right here so your batch turns out flawlessly.
We want everyone to be able to enjoy these, whether you’re making a speedy lunch or planning ahead for snacks. I’ve even got links to more quick snack ideas if you’re planning a huge batch!
Can I use chicken thighs instead of breasts for this recipe?
Absolutely, yes! If you love dark meat, go for it. Chicken thighs are already a bit more tender and have a richer flavor profile. Just make sure you trim off any excess fat or sinew before you cut them into nuggets. Because they are fattier, they might brown slightly differently than the breasts, but they are fantastic in these Copycat crispy chicken bites.
How can I make these Gluten-Free Chicken Nugget Options?
This is a common adjustment! To make these Gluten free chicken nugget options, you simply need to swap out the regular all-purpose flour and the Panko breadcrumbs for gluten-free versions. There are some great texture-specific GF Panko alternatives out there now that are specifically designed to mimic that crunch. Just ensure your replacement breading is pressed on firmly, the same way we press the traditional Panko!
How do I keep homemade chicken nuggets warm before serving?
This is tough when you’re cooking for a crowd! Since we’re making these in the oven or air fryer, they lose heat faster than deep-fried ones. The best trick is to keep your oven set to its lowest setting—usually around 170°F (75°C)—and place the finished, cooked nuggets on a wire cooling rack set over a baking sheet. Don’t stack them up, or they’ll steam! This keeps them warm and lets the air circulate so they stay crispy while you finish the rest of the batch.
Can I use store-bought ranch dressing instead of making the Homemade Ranch Dip Recipe?
Look, I’m all about making life easier when you need a Quick weeknight chicken dinner! If you are really pressed for time, yes, you can use your favorite jarred ranch. However, I have to warn you: the flavor is vastly different. Our homemade dip is bright and herby because of that fresh dill and buttermilk; the store-bought stuff is often much thicker and tangier in a different way. It’s an acceptable shortcut, but trust me, taking five extra minutes for the homemade version is what takes these nuggets from good to truly exceptional.
Frequently Asked Questions About Crispy Chicken Nuggets
Can I use store-bought ranch dressing instead of making the Homemade Ranch Dip Recipe?
Look, I’m all about making life easier when you need a Quick weeknight chicken dinner! If you are really pressed for time, yes, you can use your favorite jarred ranch. However, I have to warn you: the flavor is vastly different. Our homemade dip is bright and herby because of that fresh dill and buttermilk; the store-bought stuff is often much thicker and tangier in a different way. It’s an acceptable shortcut, but trust me, taking five extra minutes for the homemade version is what takes these nuggets from good to truly exceptional.
Nutritional Estimates for Your Chicken Nuggets Meal
Now, I know that for some of us, knowing what’s in our food is just as important as how it tastes! I did my best to calculate the estimates for what goes into this recipe, focusing on one of our standard serving sizes. I want to be super clear though: these numbers are just estimates based on the ingredients listed and standard brand averages. Things like how much fat stays in your baking sheet, or the specific brand of mayonnaise you use for the ranch, can change the final count!
If you want all the super official fine print details about how I calculate these figures, you can always check out my general disclaimer page right here. But for a satisfying, crunchy meal that still feels relatively light, look at what we’ve managed to pack in!
Here’s the breakdown based on a serving size of 6 nuggets plus 2 tablespoons of that amazing dip:
- Calories: 380
- Protein: 30g (Wow, that’s great for a chicken dinner!)
- Fat: 18g (This includes the fats from the Panko crusting process)
- Saturated Fat: 4g
- Carbohydrates: 25g
- Sugar: 3g (Mostly natural sugars from the spices and any buttermilk)
- Sodium: 550mg
- Fiber: 1g
Considering how incredibly satisfying and crispy these Crispy Chicken Nuggets with Ranch Dip are, I think that profile looks pretty fantastic. It’s a great way to get a solid hit of protein and still enjoy that nostalgic comfort food we all love, without feeling weighed down later!

Crispy Chicken Nuggets with Homemade Ranch Dip
Follow this recipe to make homemade, oven-baked chicken nuggets with a very crispy coating, served with a simple ranch dipping sauce.
- Prep Time: 20 min
- Cook Time: 27 min
- Total Time: 47 min
- Yield: 4 servings
- Category: Main Course
- Method: Baking
- Cuisine: American
- Diet: Low Fat
Ingredients
- 1.5 lbs boneless, skinless chicken breasts, cut into 1-inch pieces
- 1 cup all-purpose flour
- 1 teaspoon salt
- 1/2 teaspoon black pepper
- 1/2 teaspoon garlic powder
- 2 large eggs, beaten
- 1 tablespoon water
- 2 cups Panko breadcrumbs
- 1/2 cup grated Parmesan cheese (optional, for extra crisp)
- Cooking spray
- For the Ranch Dip: 1 cup buttermilk or plain yogurt
- 1/2 cup mayonnaise
- 1/4 cup fresh dill, chopped
- 2 tablespoons fresh chives, chopped
- 1 teaspoon onion powder
- 1/2 teaspoon garlic powder
- 1/4 teaspoon salt
Instructions
- Preheat your oven to 425°F (220°C). Lightly grease a baking sheet or line it with parchment paper.
- Prepare the dredging stations. In the first shallow dish, combine the flour, salt, pepper, and garlic powder.
- In the second dish, whisk the eggs and water together.
- In the third shallow dish, mix the Panko breadcrumbs and Parmesan cheese, if using.
- Dredge each chicken piece first in the flour mixture, shaking off excess.
- Dip the floured chicken into the egg wash, letting excess drip off.
- Press the chicken firmly into the Panko mixture to coat completely. This double coating helps achieve crispiness.
- Place the coated nuggets on the prepared baking sheet. Spray the tops generously with cooking spray.
- Bake for 12 to 15 minutes, flip the nuggets, spray the other side lightly, and bake for another 10 to 12 minutes, or until golden brown and cooked through (internal temperature reaches 165°F or 74°C).
- While the nuggets bake, prepare the ranch dip. Combine the buttermilk (or yogurt), mayonnaise, dill, chives, onion powder, garlic powder, and salt in a small bowl. Whisk until smooth.
- Serve the hot, crispy nuggets immediately with the homemade ranch dip.
Notes
- For the crispiest result in the oven, ensure the nuggets are not touching on the baking sheet.
- If you use an air fryer, cook at 400°F (200°C) for 10 to 12 minutes, shaking the basket halfway through.
- You can freeze uncooked, breaded nuggets on a tray; once frozen solid, transfer them to a freezer bag for later use.
Nutrition
- Serving Size: 6 nuggets plus 2 tbsp dip
- Calories: 380
- Sugar: 3
- Sodium: 550
- Fat: 18
- Saturated Fat: 4
- Unsaturated Fat: 14
- Trans Fat: 0
- Carbohydrates: 25
- Fiber: 1
- Protein: 30
- Cholesterol: 110