

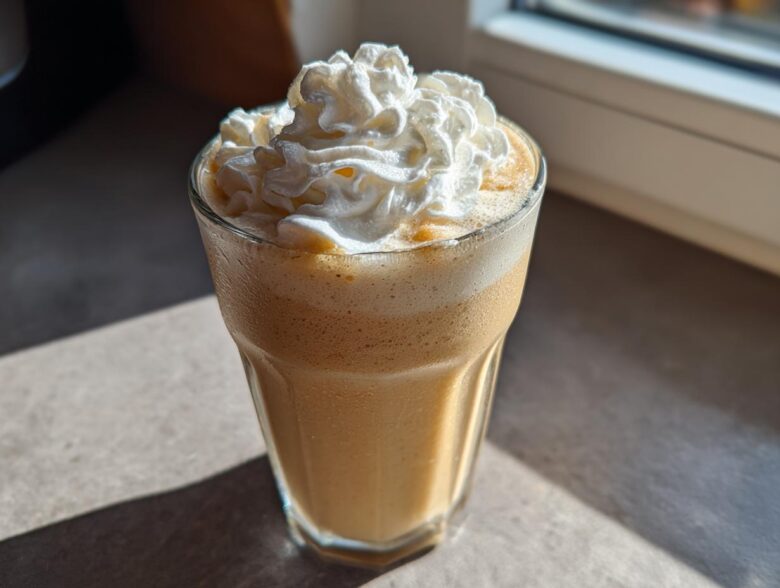
I don’t know about you, but sometimes the expense of grabbing a fancy drive-thru drink just isn’t worth it, especially when I want that perfect, cold blast of creamy vanilla. I spent what felt like weeks trying to nail the exact flavor and texture you get at the big coffee chains. Seriously, I felt like a mad scientist in my kitchen! But folks, I cracked the code! This recipe for the **Homemade Vanilla Bean Frappuccino** is my absolute favorite because it hits that perfect sweet spot—it’s ultra-creamy, deeply vanilla-flavored, and has that signature thick, icy texture.
Forget watery, icy sludge! This version actually tastes like the real deal, and the best part is that you can whip it up in about five minutes flat when that craving hits. I’ve refined this specific copycat recipe over many trial runs, ensuring every sip feels like a treat, not a compromise. Trust me, once you see how easy it is to get this rich vanilla blended drink right at home, you won’t look back!
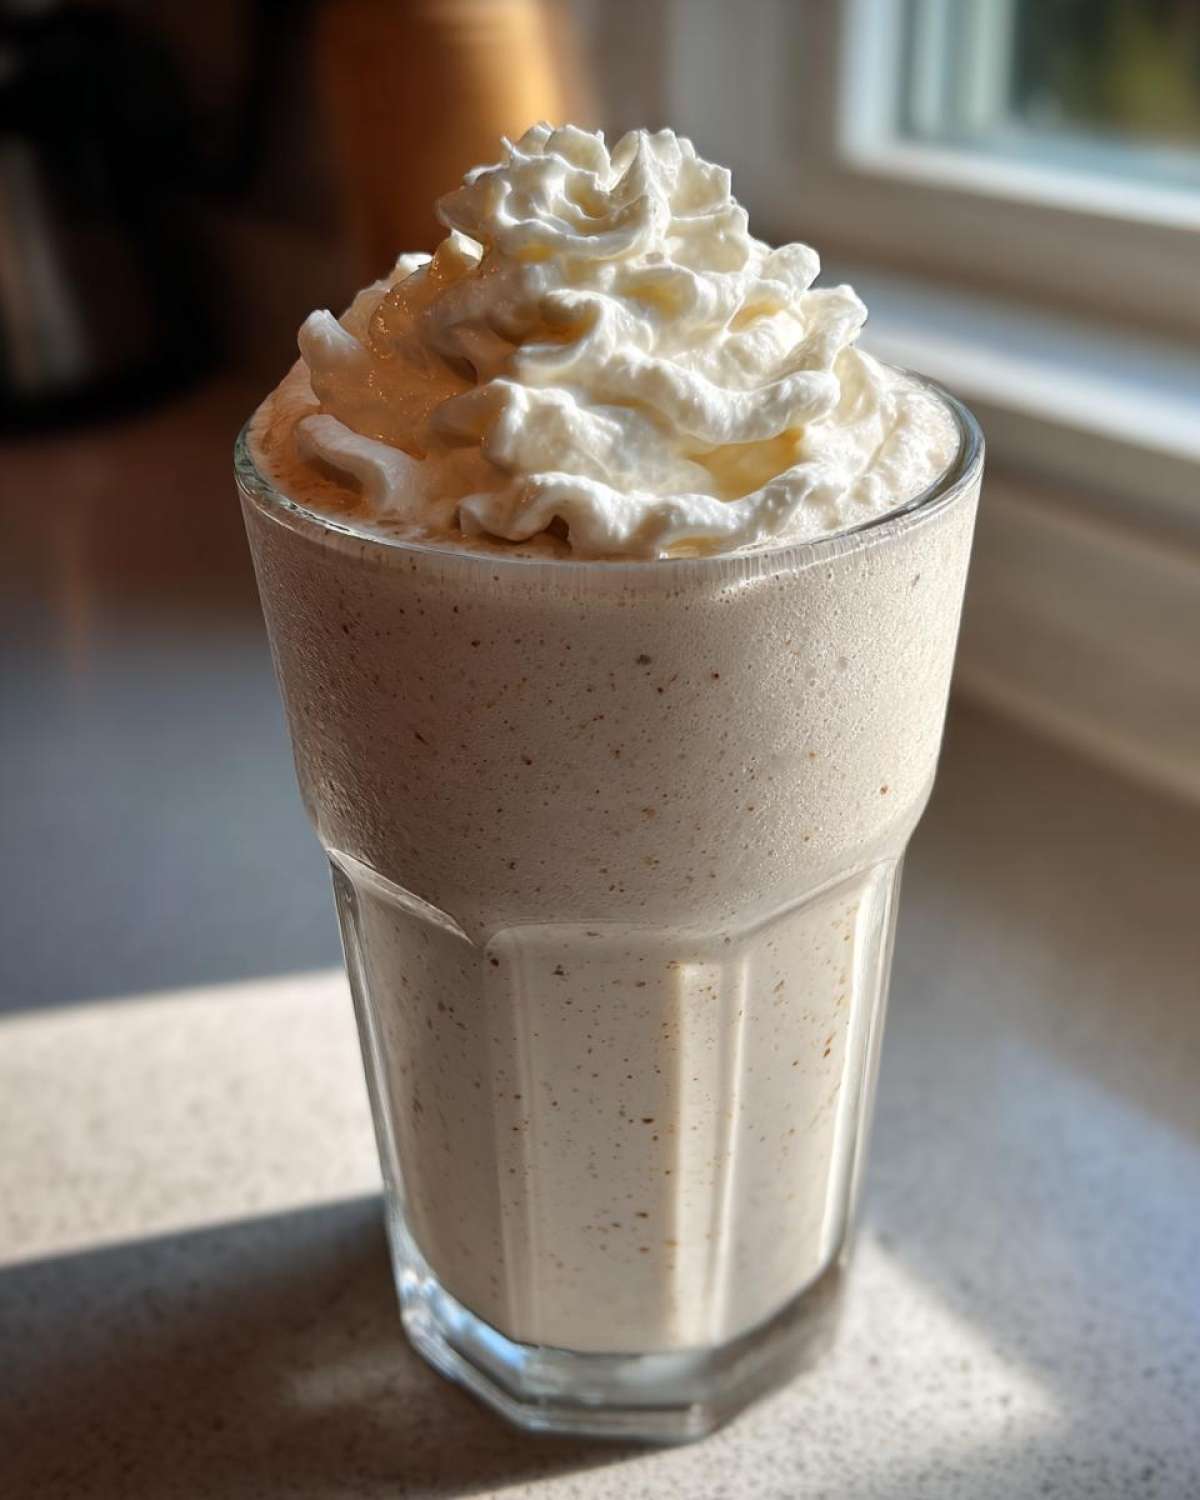
Why This is the Best Vanilla Bean Frappuccino Recipe
I promise you, this recipe stands out from all the noisy online versions because I obsessed over two things: the texture and that authentic vanilla punch. If you want that true **Copycat Starbucks Vanilla Bean** experience, you can’t cut corners on the blend quality. A lot of homemade blended drinks end up being too runny, which is just awful! My method ensures you get that thick, luxurious mouthfeel every single time, making it the **Best Vanilla Bean Frappuccino Recipe**, hands down.
We’re aiming for a **Creamy Vanilla Bean Frappuccino** that holds its shape for more than two seconds. It’s all about using the right building blocks to make this an **Easy Vanilla Frappe at Home** that genuinely rivals your coffee shop favorite. The magic seriously lies in the details!
Achieving Perfect Frappuccino Texture Secrets
Listen, ice quality matters more than you think. You don’t want those flimsy, half-melted cubes; use hard, fresh ice straight from your freezer. They blend up much better and give you that signature icy structure without watering down the flavor.
Now for the secret sauce—or should I say, the secret powder? That tiny bit of xanthan gum is totally optional, but wow, does it work wonders! It keeps everything emulsified beautifully, meaning your **DIY Iced Blended Beverage** won’t separate while you’re taking your first glorious sip. If you skip it, just be sure to blend longer until it looks almost like soft-serve ice cream. For more ideas on making similar drinks, check out my thoughts over here!
Essential Ingredients for Your Homemade Vanilla Bean Frappuccino
Okay, let’s talk about what goes into making this perfect **Homemade Vanilla Bean Frappuccino**. Since we are aiming for that spot-on coffee shop taste, the quality of these ingredients really shines through. Seriously, don’t just grab any old vanilla—we want that real depth!
You’re going to need:
- One whole cup of milk (and trust me, whole milk is your friend here for that amazing creaminess).
- About half a cup of coffee that’s already brewed strong or cold brew concentrate—make sure it’s chilled!
- A quarter cup of plain sugar—we need that sweetness to balance everything out.
- The star: just one teaspoon of vanilla bean paste, or if you can only find extract, go for about half a teaspoon of good, pure vanilla extract.
- If you have it, a tiny hint—a quarter teaspoon—of xanthan gum. This is optional, but I highly recommend it for that amazing, stable texture!
- Two solid cups of ice cubes.
- And, of course, whipped cream for the finish, if you’re feeling fancy!
Ingredient Notes and Substitutions
I want everyone to be able to make this, so let’s chat substitutions. If you want to take this to the next level and make it truly decadent, swap out half of that regular milk for heavy cream. Wow factor immediately goes up! This makes it the ultimate **Creamy Vanilla Bean Frappuccino**.
Now, about the coffee. You don’t have to use it, but if you skip it, the drink will be lighter and sweeter without that little coffee kick. If you skip the coffee, just add a splash more milk. Regarding the vanilla, if you can find vanilla bean paste, please use it! You get those little black specks, which make it look authentic. Cheap extract just won’t give you the same flavorful punch.
How to Prepare Your Easy Vanilla Frappe at Home
Are you ready? This is where the magic happens, and trust me, it’s lightning fast! Since everything is pre-measured from the ingredient list, this whole process takes maybe five minutes total. You are going to be sipping on your **Easy Vanilla Frappe at Home** before you can even find a clean dish towel!
First things first, grab your blender—and please, if you have a high-powered one, use it! Getting that super smooth, uniform blend needs some serious muscle. You don’t want chunky ice bits in your coffee shop-style drink, right? It’s time to layer everything up.
- Start by pouring in all your liquids first: the milk, that chilly coffee, your sugar, the vanilla bean paste (or extract), and, if you’re using it, that little bit of xanthan gum. Getting the liquids in first helps the blades move freely at the start.
- Next, dump in those two full cups of ice cubes right on top of the liquids.
- Secure that lid TIGHTLY! We are going to start this on a low setting and then crank it up to high speed. You need to run this blender until the mixture is completely smooth and looks thick—almost like a very soft snow cone.
- Don’t be afraid to stop the machine once or twice if things get stuck. Use a spatula to push down anything on the sides, then put the lid back on and keep blending!
- Once it looks perfect and scoopable, stop the blending. Give it a quick taste test. If you think it needs a little extra sweetness to match your craving, add a tiny sprinkle more sugar and blend for just five more seconds.
- Pour that beautiful, frosty drink right into your tall glass. Then, top it high with that whipped cream if you’re treating yourself! Serve it immediately for the perfect result. If you want even more tips on making frozen drinks, you can check out this guide!
Blending Technique for Rich Vanilla Blended Drink
The blending phase is truly the secret to achieving those magnificent **Frappuccino Texture Secrets**. You are aiming for zero visible ice chunks. If you blend long enough, the friction from the blades actually helps slightly melt the very outer layer of the ice, binding it all together with the sugar and milk.
When you think it’s smooth, blend it for ten more seconds—I’m serious! That extra time ensures the stabilizer (if you used it) is fully activated, making sure your **Rich Vanilla Blended Drink** stays perfectly combined while you enjoy it. It should barely pour out of the blender; you should mostly have to scoop it or let gravity work slowly.
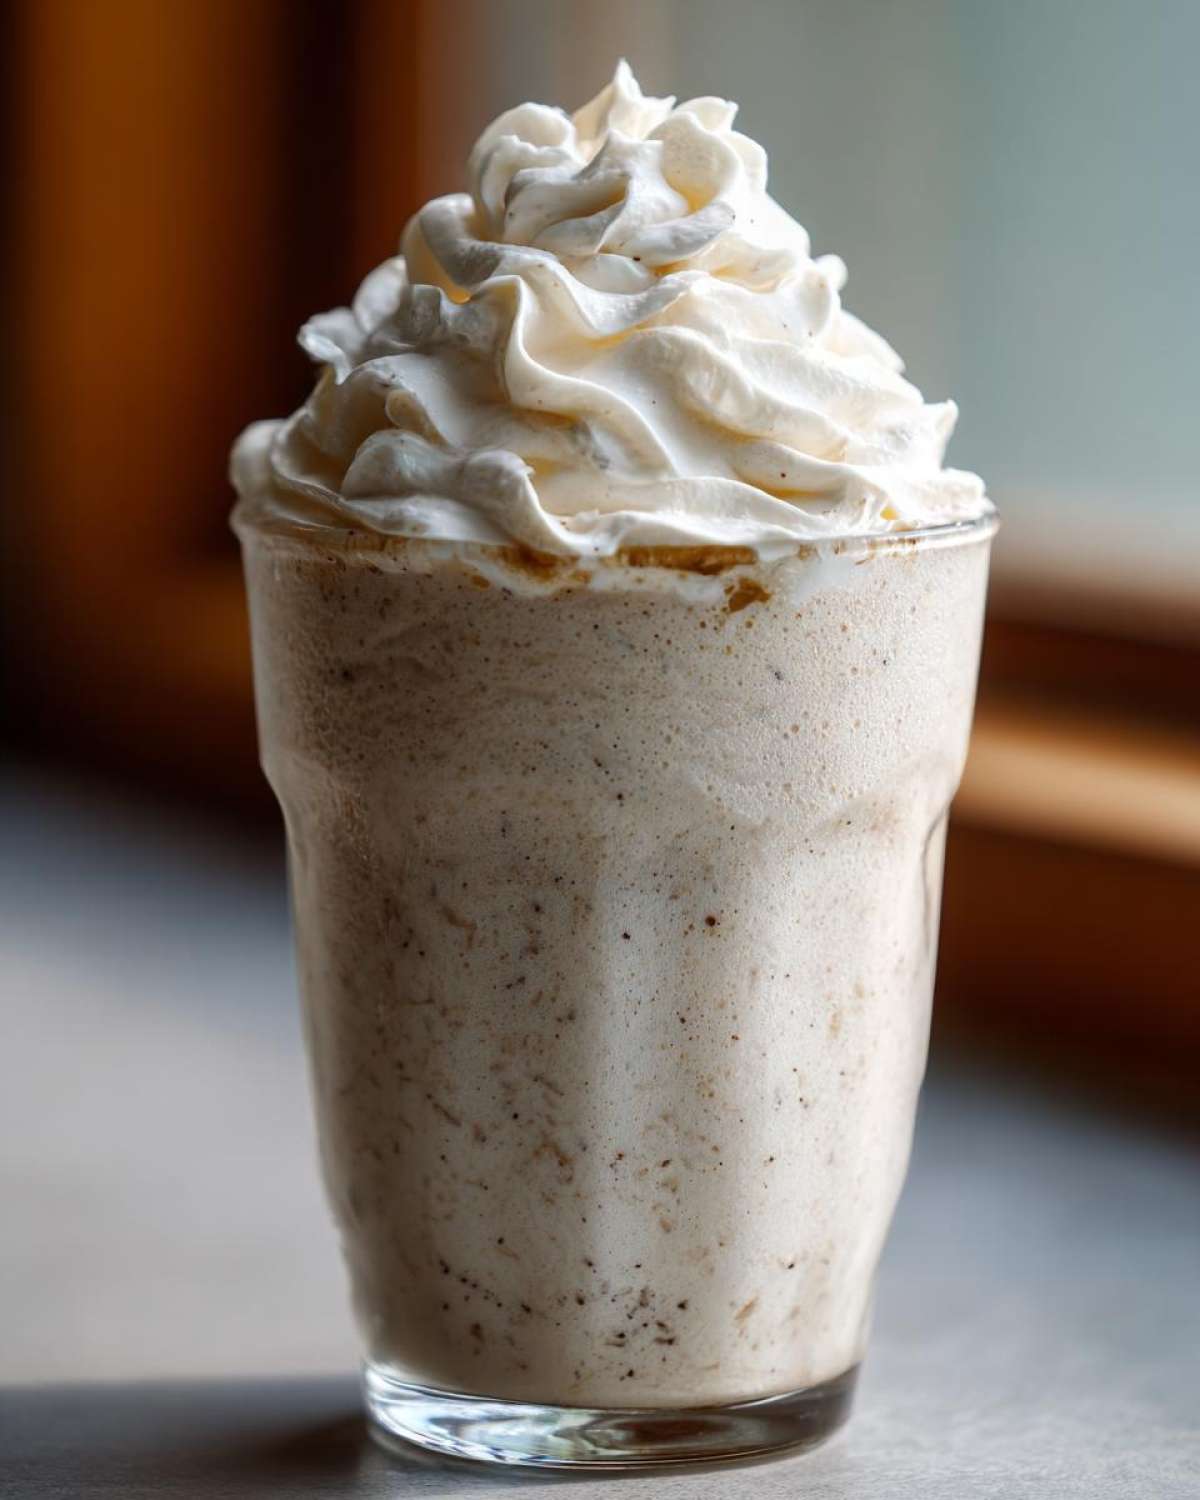
Tips for Success Making a Homemade Vanilla Bean Frappuccino
I’ve learned a few little tricks over the years that really bump this up from a decent homemade drink to a true **Coffee Shop Style Frozen Drink**. The first thing I always do, no matter what, is chill my coffee concentrate way down first. Pouring warm liquid into the blender with ice is a recipe for disaster; it immediately starts melting the ice before you get any blending done!
Also, and this is probably obvious, but use the best blender you have. If your machine struggles, the ice doesn’t break down tiny enough, and you end up with slush instead of that perfectly smooth, **Homemade Vanilla Bean Frappuccino** texture we’re dreaming of. Don’t be afraid to let it run a little longer than you think you need to—that extra 15 seconds is the difference between creamy perfection and slightly chunky disappointment. A little effort here pays off huge in the final product!
Customizing Your Frozen Vanilla Drink
While the basic **Homemade Vanilla Bean Frappuccino** recipe is fantastic, I love playing around with swirls and extras once I’ve mastered the base. Think of this recipe as your canvas for an epic **DIY Iced Blended Beverage**! If you want to turn it into something a little different, adding an extra flavor shot alongside that vanilla is super easy.
For example, if you’re craving something richer, try drizzling a teaspoon of caramel sauce directly into the blender before you mix everything up. Or maybe you want a mocha twist? Add a tablespoon of chocolate syrup right in the cup before you pour the blended drink over it. You can even add a splash of peppermint extract during the holidays for a seasonal treat. It’s so much fun to personalize it exactly how you like it! Check out my vibrant fruit slushie recipe sometime if you want more icy inspiration!
Serving Suggestions for Your Frappuccino
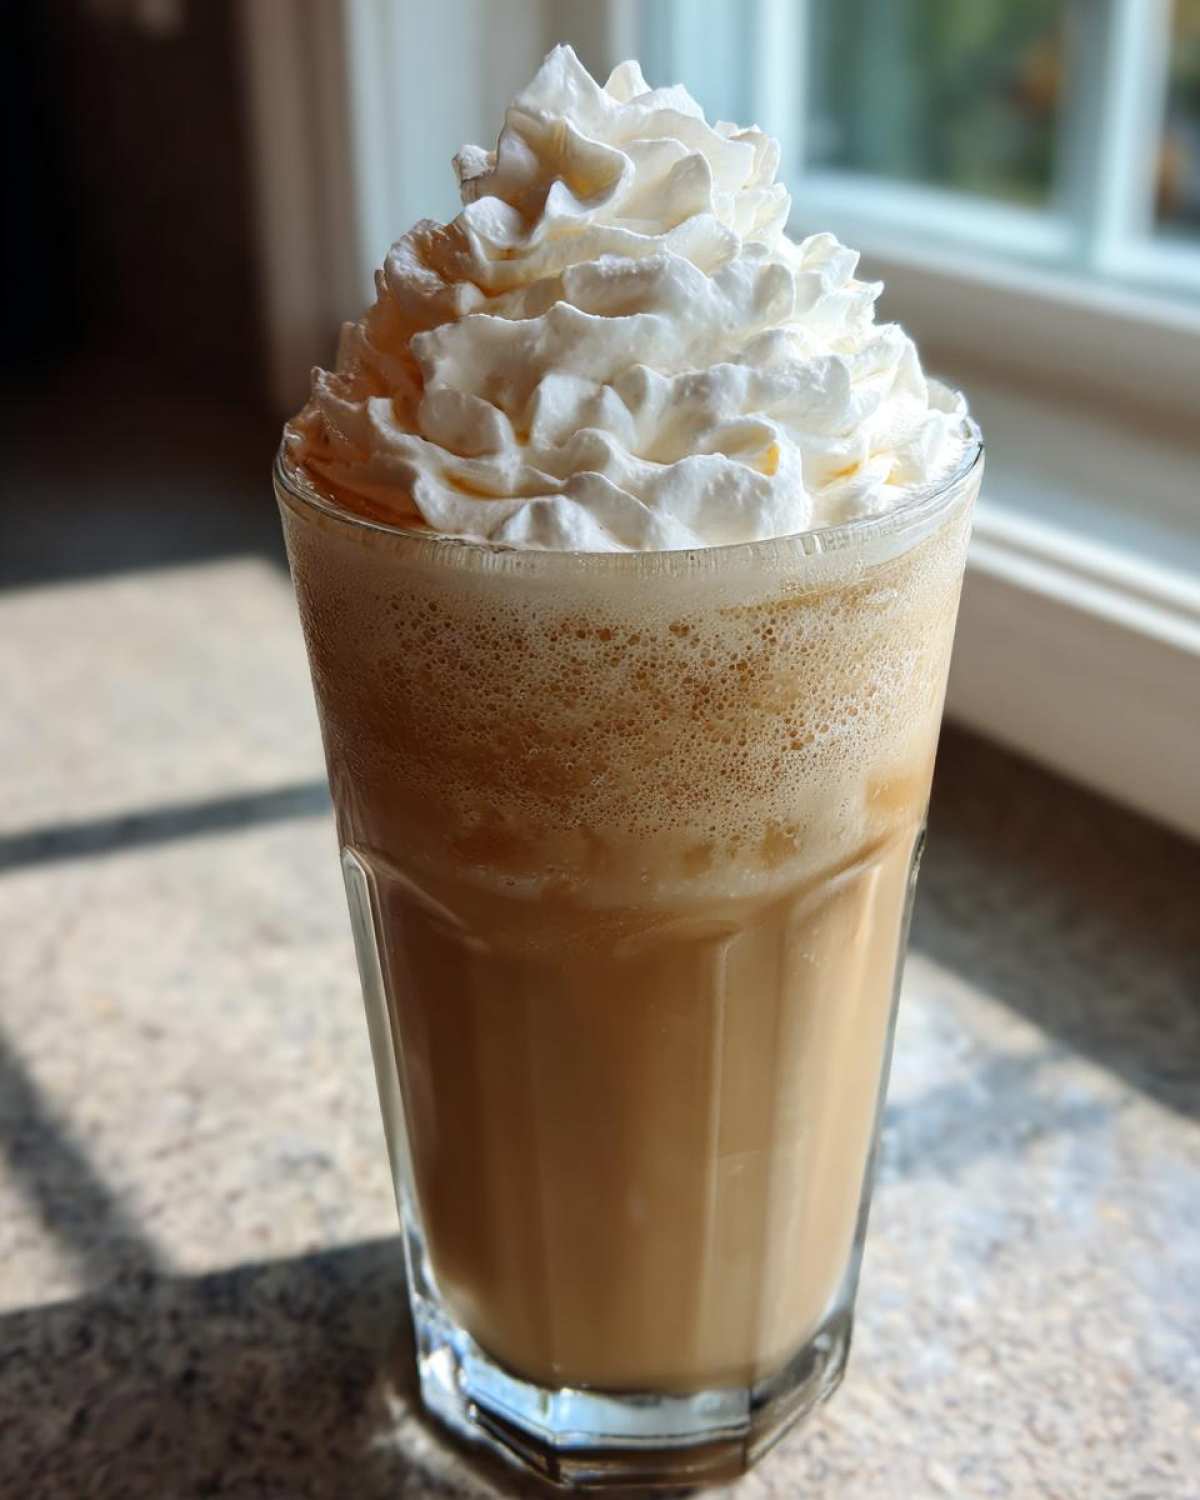
Presentation is half the fun when you’re making something this special! For the best experience, you absolutely have to serve this drink right away. Seriously, these beverages deflate faster than a sad party balloon once they stop blending. Get yourself a tall, clear glass because you want to see those beautiful icy layers.
The topping is what really sells the coffee shop vibe. Homemade whipped cream is the ultimate winner. It’s just heavy cream, a tiny bit of powdered sugar, and a drop of vanilla, whipped until stiff peaks form. Pile it high! If you want extra flair, finish it with a few sprinkles or a thin drizzle of melted chocolate on top of the cream. It just makes everything feel more complete, you know?
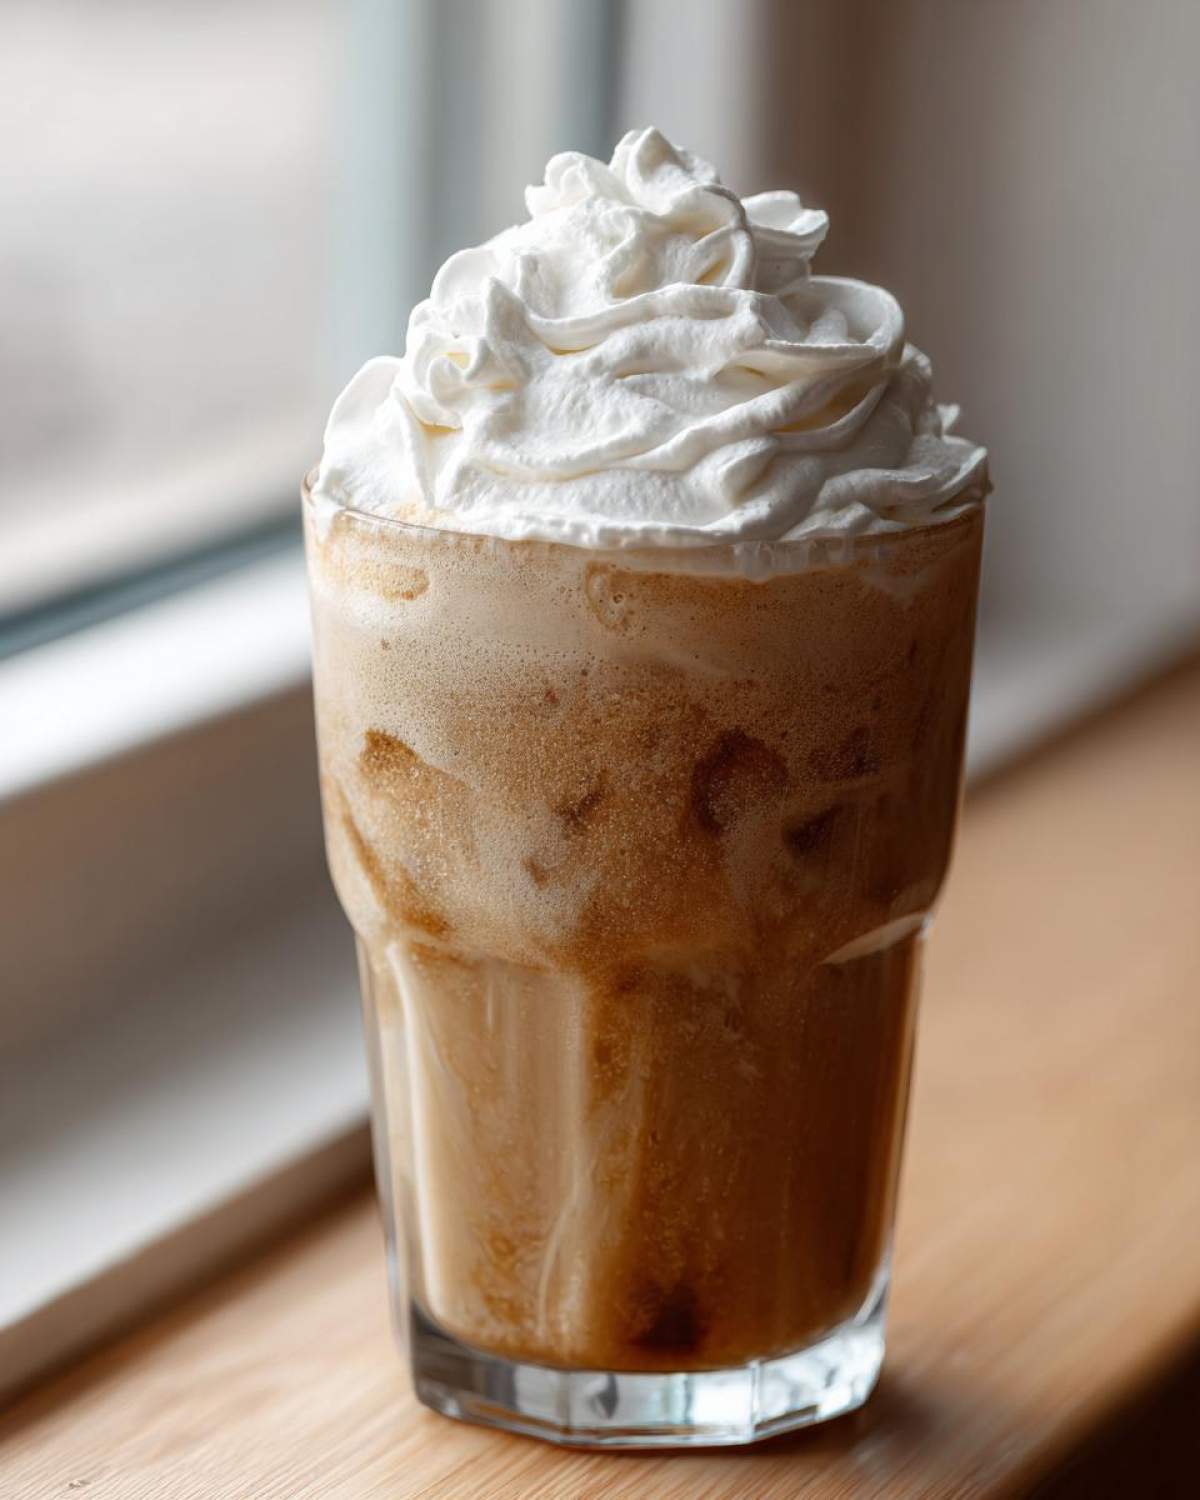
Storage and Reheating Instructions
Okay, this is important: If you’re making this **Homemade Vanilla Bean Frappuccino**, you need to drink it RIGHT NOW. I mean it! This kind of blended drink is 100% designed to be consumed in the moment. As soon as that blender stops, the ice starts trying to separate from the creamy liquid base, and we definitely don’t want that to happen before you’ve even finished your first sip.
But hey, sometimes life happens, or maybe you made a double batch—I don’t judge! If you have any leftovers, you can try to save them by pouring the slushy mixture into a freezer-safe, sealed container. It’ll turn into a soft, vanilla-flavored ice block, which isn’t ideal, but it’s better than tossing it, right?
When you are ready to enjoy your saved portion, don’t try to microwave it—that’s just sad! You need to scoop that frozen block back into your blender, and here’s the key: add a small splash, maybe a tablespoon, of fresh milk. Blast it again on high speed until it comes back together into that smooth, icy consistency. It won’t be quite as perfect as the first batch, but it’ll definitely save you a trip back to the grocery store!
Frequently Asked Questions About Homemade Vanilla Bean Frappuccino
I know you must have a few lingering questions now that you’ve seen how easy this is! It’s smart to check these things before you start blending so you get exactly what you want. I’ve gathered the most common things people ask when they want to whip up this **Copycat Starbucks Vanilla Bean** treat at home.
Can I make this Homemade Blended Coffee Drink without coffee?
Yes, absolutely, you can! If you’re avoiding caffeine or just ran out of cold brew, you can totally skip the coffee. In the recipe, we called for half a cup of chilled coffee, so if you leave that out, just replace it with an additional half cup of milk—preferably whole milk, remember, for the best flavor!
I need to be upfront though; taking the coffee out changes the whole profile of the drink. The coffee acts like a little flavor anchor that keeps the vanilla from tasting too sweet. Without it, you end up with a much sweeter, creamier frozen vanilla dessert drink rather than the classic coffee shop version. It’s delicious either way, but just know it shifts the flavor!
How can I make a Vanilla Frappuccino Without Machine?
Oh man, that’s a tough one! The whole point of a real frappuccino is that super-fine, pulverized texture, and that really requires the power of a good blender. If you genuinely don’t have a blender, getting that perfect icy texture for your **Vanilla Frappuccino Without Machine** is going to be challenging, and it won’t be quite the same.
Your best bet? Crush your ice as finely as possible first—maybe in a heavy-duty zip-top bag using a rolling pin. Then, you’d need to mix your liquid ingredients (milk, sugar, vanilla) in a very sturdy jar. Toss in the crushed ice and shake it like crazy for several minutes. You’ll need incredible arm strength! It’ll be more like a very thick, icy slush than the smooth, creamy consistency we’re usually aiming for, but it will satisfy that immediate craving for a **Cool Frozen Vanilla Drink**!
What is the best thickener for a Creamy Vanilla Bean Frappuccino?
My absolute favorite secret weapon for that gorgeous, non-separating texture is xanthan gum. Just a quarter teaspoon works miracles to stabilize the emulsion, keeping all that ice perfectly suspended with the milk. It truly helps you achieve that perfect **Frappuccino Texture Secret**!
If you absolutely cannot find xanthan gum, don’t worry! You have a couple of great options. You can try blending in about a tablespoon of softened cream cheese—it adds richness *and* stabilizes it beautifully. Another sneaky thickener that works well is using a tablespoon of instant vanilla pudding mix instead of the gum. That pudding mix dissolves right in and gives the base a wonderful, rich body without interfering with the flavor too much. That’s my go-to if the xanthan gum is missing from my pantry!
Estimated Nutritional Data for This Rich Vanilla Blended Drink
Okay, so I know some of you are watching what you eat, and that’s totally fair! Nutrition facts can be a little scary when you’re dealing with something this delicious, but I wanted to give you a ballpark idea of what you’re sipping on when you make this **Rich Vanilla Blended Drink**.
Please remember that these numbers are just estimates based on using the standard recipe—that means whole milk and the sugar amounts listed. If you swap things out, like using heavy cream or cutting way back on the sugar, these numbers will change drastically!
Here’s the breakdown for one full serving of the **Homemade Vanilla Bean Frappuccino** (without any extra syrups added on top, just the base recipe):
- Calories: About 350
- Sugar Content: Yep, it’s high at about 55 grams—that’s where all the deliciousness comes from!
- Total Fat: Around 10 grams
- Protein: About 8 grams
- Sodium: Roughly 100mg
Keep in mind that using skim milk instead of whole milk will drop the fat content significantly. It’s all about what works for you, but you might sacrifice a little bit of that creamy texture we worked so hard to achieve!
For a more detailed look at how I calculate these things, you can always check out my full disclaimer page over here, just so you know where I pull this information from. Happy blending!
Share Your Experience Making the Homemade Vanilla Bean Frappuccino
Whew! Alright, you’ve made it through the world’s best, easiest, and creamiest **Homemade Vanilla Bean Frappuccino**! Now comes the fun part: telling me how it went! I pour my heart and soul into testing these recipes so you don’t have to stress, but the real test is always in your kitchen.
Did you try the xanthan gum trick? Did you use heavy cream for extra richness? I want to hear all about it! Please, please, please leave a star rating for this recipe down in the comments below. Your feedback helps me know what tweaks I should keep testing for next time!
And if you took a beautiful picture of your finished **Copycat Starbucks Vanilla Bean** drink—maybe topped with way too much whipped cream (because why wouldn’t you?)—tag me on social media! Seeing my recipes come to life in your homes makes my day. If you have any lingering questions or just want to chat about the best vanilla extract brands, you can always reach out directly through my contact page. Happy sipping, my friends!
PrintHomemade Vanilla Bean Frappuccino
Make a creamy, sweet, blended vanilla drink at home that tastes like your favorite coffee shop version.
- Prep Time: 5 min
- Cook Time: 0 min
- Total Time: 5 min
- Yield: 1 serving
- Category: Beverage
- Method: Blending
- Cuisine: American
- Diet: Vegetarian
Ingredients
- 1 cup milk (whole milk recommended for creaminess)
- 1/2 cup strong brewed coffee or cold brew concentrate, chilled
- 1/4 cup granulated sugar
- 1 teaspoon vanilla bean paste or 1/2 teaspoon pure vanilla extract
- 1/4 teaspoon xanthan gum (optional, for texture stabilization)
- 2 cups ice cubes
- Whipped cream for topping (optional)
Instructions
- Combine the milk, chilled coffee, sugar, vanilla bean paste (or extract), and xanthan gum (if using) in a high-powered blender.
- Add the 2 cups of ice cubes to the blender jar.
- Secure the lid and blend on high speed until the mixture is completely smooth and has a thick, icy consistency. You may need to stop and scrape down the sides once.
- Taste the mixture; add a small amount of extra sugar if you prefer it sweeter, and blend again briefly.
- Pour the blended mixture into a tall glass.
- Top with whipped cream, if desired. Serve immediately.
Notes
- For a richer flavor, substitute half of the milk with heavy cream.
- If you do not have coffee, you can omit it and use 1/4 cup extra milk, but the flavor will be less complex.
- To achieve the best texture, use fresh, hard ice cubes.
- If you do not have vanilla bean paste, use high-quality pure vanilla extract.
Nutrition
- Serving Size: 1 drink
- Calories: 350
- Sugar: 55
- Sodium: 100
- Fat: 10
- Saturated Fat: 6
- Unsaturated Fat: 4
- Trans Fat: 0
- Carbohydrates: 65
- Fiber: 0
- Protein: 8
- Cholesterol: 30