

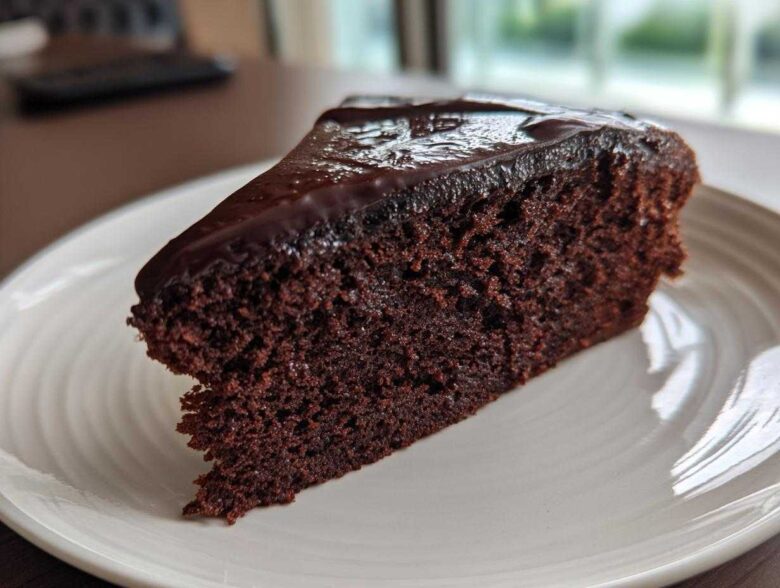
Oh, my friend, if you have ever stood in your kitchen holding a slice of crumbly, dry, sad excuse for a chocolate cake because it was labeled ‘Gluten-Free Chocolate Cake,’ you know the struggle. We’ve all been there! It felt like baking without wheat meant saying goodbye to everything delicious and fudgy. I spent what felt like years testing every single flour blend, binder, and weird liquid addition out there, just determined to crack the code. Well, guess what? I finally did it! I promise you, this reliable recipe for a rich, moist cake is the one you need in your life. Seriously, my kitchen is no longer a GF baking warzone; it’s a chocolate paradise now.
After probably fifty failed batches—and, don’t ask how much chocolate I wasted—I landed on this absolute winner. It’s the perfect starting point for anyone missing that deep, luxurious flavor of a classic chocolate cake but needs it to be completely wheat-free. We’re talking zero compromise here. Trust me, you won’t even miss the gluten!
Why This is the Best Gluten Free Chocolate Cake Recipe
So, what makes this particular recipe my all-time favorite and what I call the best gluten free chocolate cake recipe? It’s all about hydration, my friend. Most gluten-free cakes fail because GF flours love to soak up every bit of moisture and leave you with something heavy. Not this one! I use a trick you might see in other recipes, but here it really shines: the cup of boiling water stirred in right at the end.
Wow, does that thin batter worry people! They panic! But that hot liquid blooms the cocoa powder so deeply and sets the stage for the most miraculous texture. It ensures this cake is a truly moist chocolate cake no wheat needed. It has the spring and the softness that makes you forget gluten even exists.
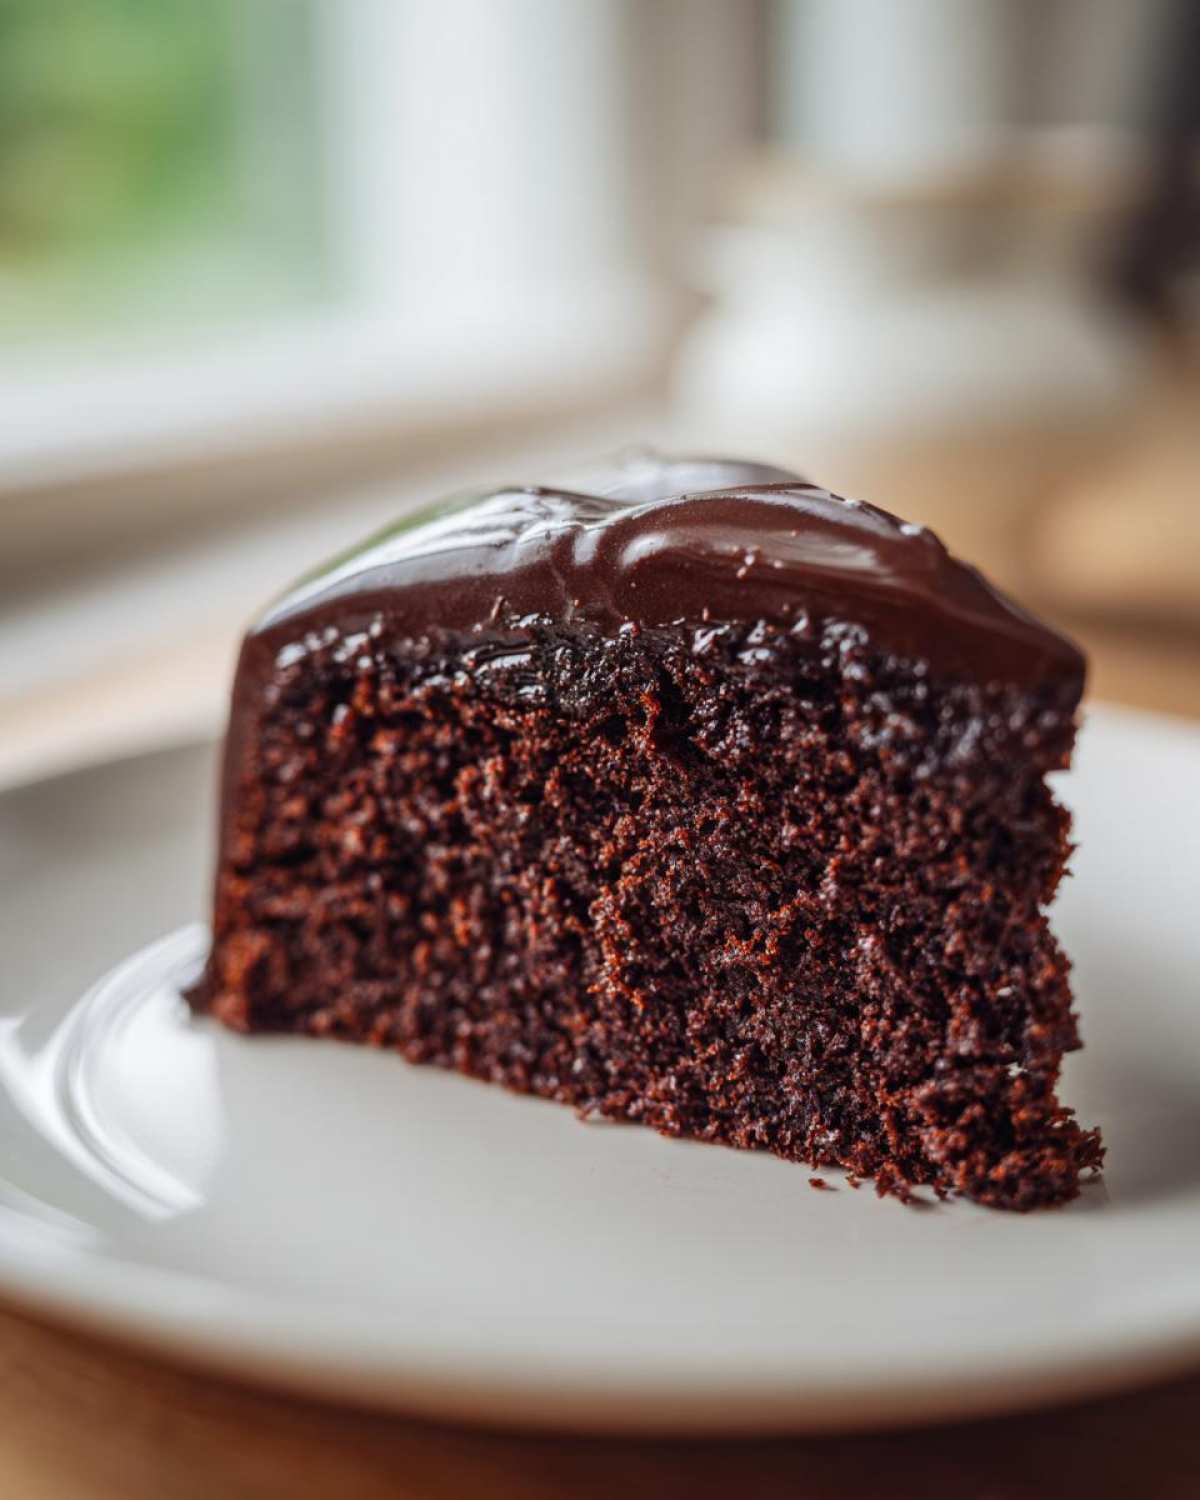
Achieving the Best Texture Gluten Free Cake
The texture is what we’re chasing, right? A proper crumb structure is so hard to get right when you toss out the wheat. Because we are using a quality blend that already has that sneaky little binder (we’ll talk more about that later!), the cake sets up sturdy. You get beautifully tender layers—a true Best texture gluten free cake—that hold up perfectly for stacking or serving on their own. It manages to be fudgy in the middle without collapsing!
Essential Ingredients for Your Gluten-Free Chocolate Cake
Okay, let’s talk about what goes into making this miracle happen—because, darling, not all ingredients are created equal, especially in the gluten-free world. I’ve written out the simple list below, but the way you handle the dry stuff is half the battle. You need a really solid foundation for your rich dark chocolate cake recipe gluten free to soar, not sink!
We’re talking about flour, cocoa, sugar, leaveners, salt, eggs, milk, oil, vanilla, and that crucial cup of boiling water. Keep everything measured out and ready to go before you even flip the oven switch. It moves fast once you start mixing!
Gluten-Free Flour Blend and Structure Notes
This is the make-or-break item. Please, please, please check your bag! You absolutely need to use a good quality gluten-free all-purpose flour blend that explicitly states it already has xanthan gum in the mix. That gum is the unsung hero; it’s the glue that holds everything together when the wheat protein isn’t there to help structure the cake.
If—and I mean *if*—your favorite blend doesn’t have it, don’t panic! Just sneak in one teaspoon of plain xanthan gum right along with the dry ingredients. This little adjustment makes all the difference between a cake that crumbles like sand and one that slices perfectly. When learning how to bake with gluten free flour blend, the binder is your best friend.
Dairy Free Chocolate Cake Options
I get asked about this all the time, especially when planning a big party where dietary needs pop up! The great news is that this recipe is incredibly flexible. If you need to keep it light on dairy but stick to the structure, just swap out the regular milk for an equal amount of unsweetened almond milk or soy milk. Honestly, you won’t notice a flavor difference once those cocoa notes kick in.
It’s essential that whatever milk you choose—dairy or non-dairy—it needs to be at room temperature, just like your eggs. This helps everything mix smoothly without shocking the batter, leading us toward that amazing chocolate cake perfect crumb GF you want.
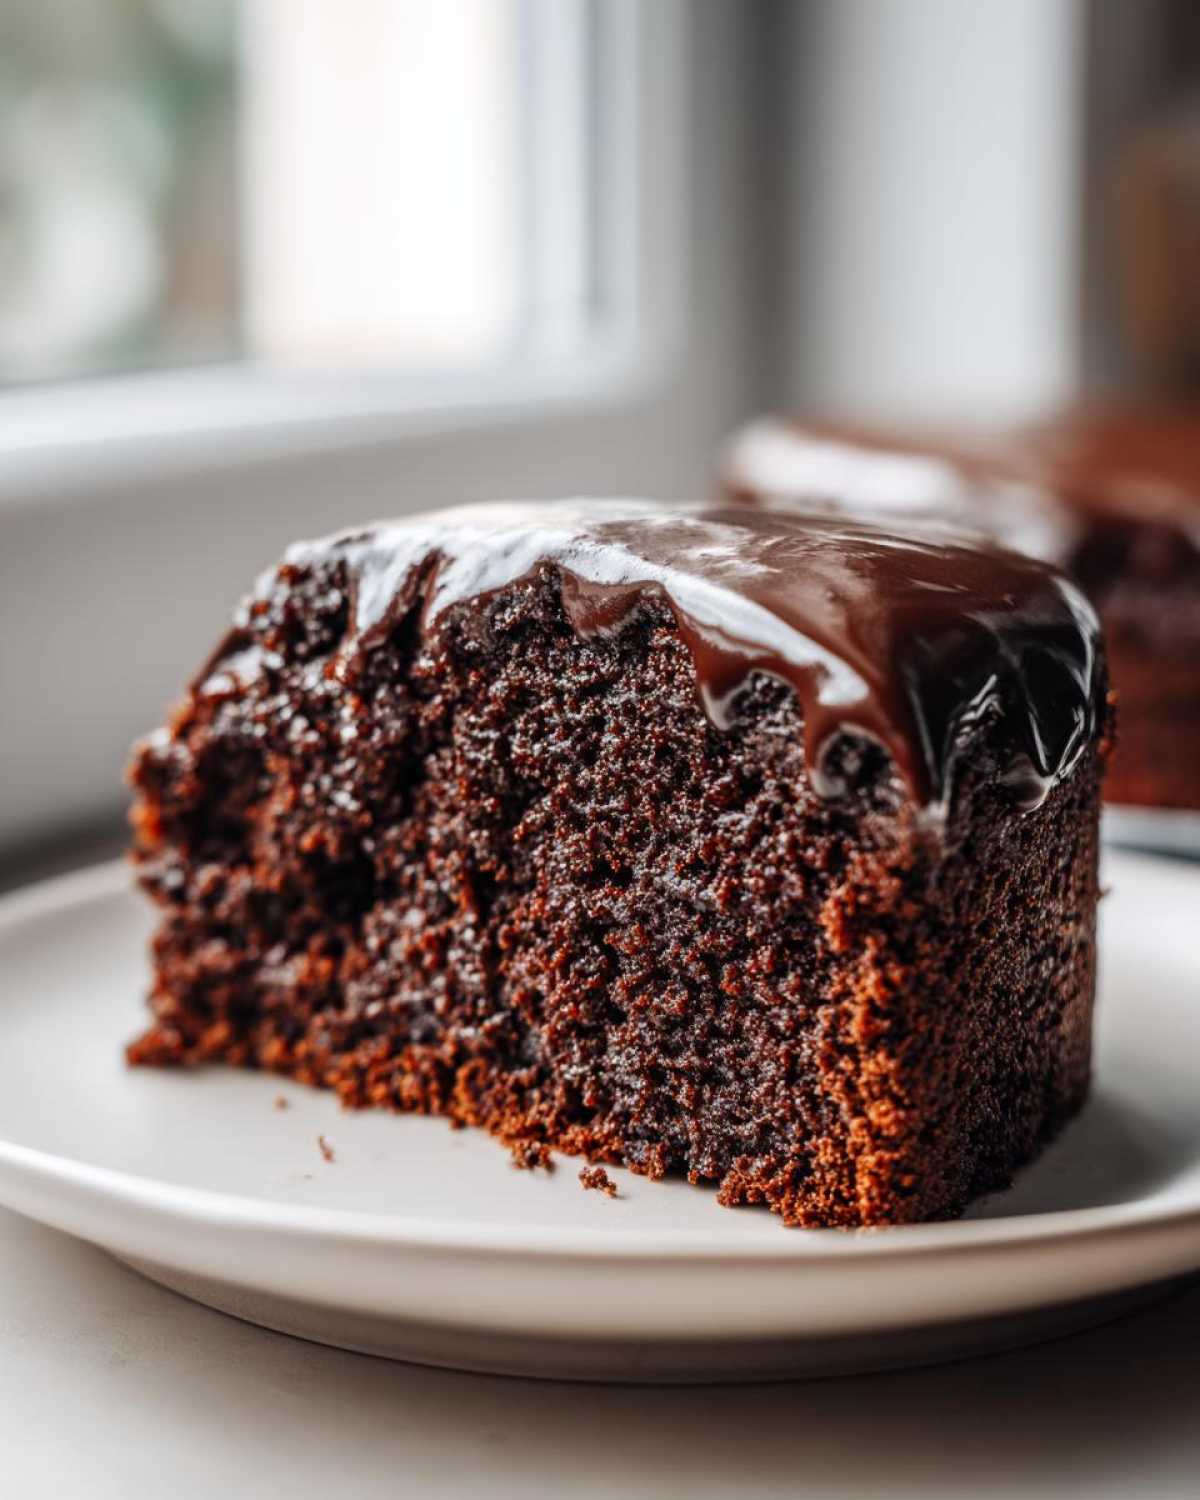
Step-by-Step Guide to Making Your Gluten Free Chocolate Cake
Alright, let’s get down to business and turn these ingredients into the most glorious, moist chocolate cake you’ve ever seen. Since you’re already familiar with handling GF flour blends, this process is going to feel like a dream, though it moves quickly, so keep your eyes open! The very first thing is setting that oven to 350°F (175°C). Don’t trust your oven’s display; use a separate guide if you have one. Then, grab two 9-inch pans and grease them up really well. I usually use a little bit of my homemade cake goop (you know, the baking spray/shortening thing we talked about) and dust lightly with leftover gluten-free flour. No one wants a cake stuck in the pan!
Next, we bring the dry crew together. Seriously whisk the flour blend, cocoa, sugar, baking soda, baking powder, and salt until everything looks uniform—no weird clumps of soda hiding at the bottom! Then, add your ‘wetter’ room-temperature ingredients: eggs, room temp milk, oil, and vanilla. Beat that with your mixer for a solid two minutes on medium speed. This step is where we build a little bit of that crucial structure, even without the wheat proteins.
Mixing the Rich Dark Chocolate Cake Recipe Gluten Free Batter
Now comes the part where you might think I’ve lost my mind, but stay with me! You’re going to carefully pour in that cup of boiling water. Yes, boiling! It looks totally wrong; the batter will turn thin and watery, almost like soup. Don’t panic and don’t add extra flour! This is the secret sauce, making sure we pull every ounce of flavor from that cocoa powder and getting that beautiful, fudgy center.
Mix it on low speed until it’s *just* combined. Overmixing at this stage is just asking for trouble, even in a gluten-free recipe. Just enough to incorporate the water, stop the mixer, divide it evenly between your two prepared pans, and get them into that hot oven pronto!
Baking Times and How to Bake with Gluten Free Flour Blend
We’re looking for a baking window between 30 and 35 minutes at 350°F. Since we are using a GF blend, these cakes can sometimes look done before they truly are. Resist the urge to open the door too early! When the time is up, you must do the probe test. Insert a wooden pick or even a thin skewer right into the center of the middle of the cake.
If it pulls out clean or with just a few moist, clinging crumbs—you’re done! If it’s gooey with wet batter, give it 3 more minutes and check again. Once they pass the test, get them out so they can start cooling down. Remember, handling them while hot is dangerous; they need that initial rest!
If you want to see some of my other favorite chocolate fixes, you should check out my recipe for that decadent 7-layer dip—it’s incredible!
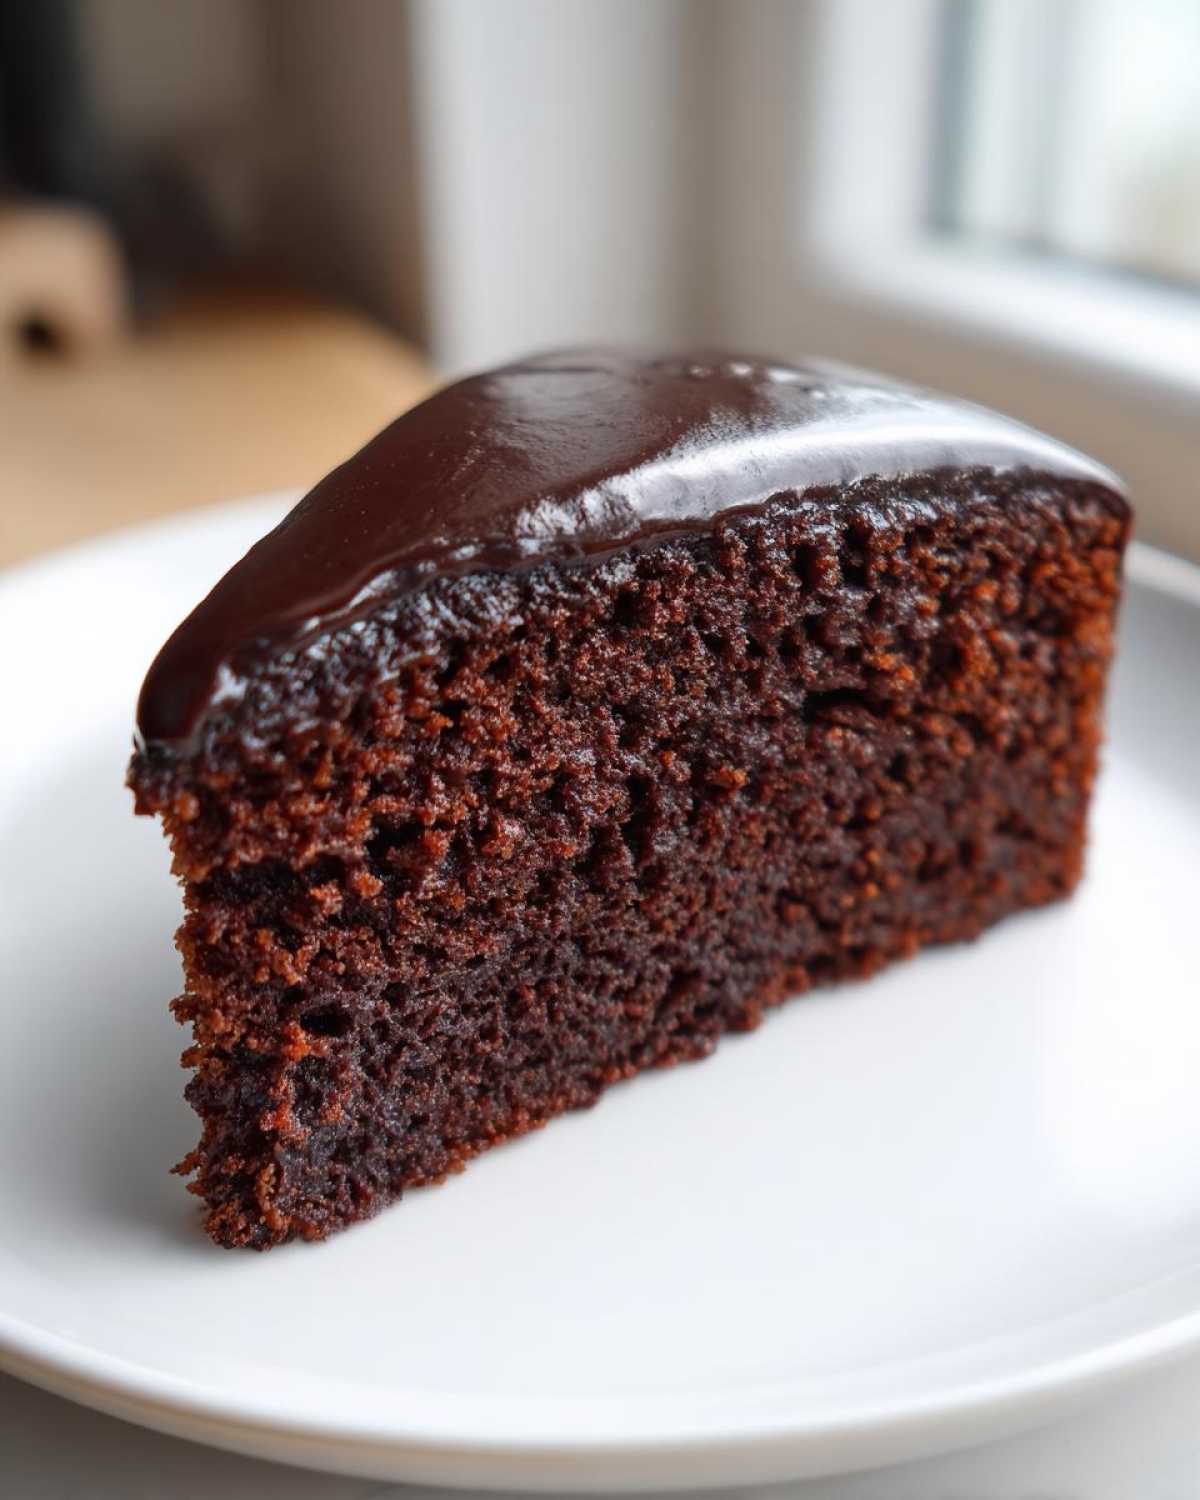
Tips for a Perfect Crumb on Your Gluten Free Chocolate Cake
Listen, that thin batter and boiling water trick gives us a beautiful cake, but GF layers are still more fragile than their wheat-filled cousins. Handling them too soon is the quickest way to disaster! You must let those cakes cool completely in their pans for at least ten minutes. Resist every urge to touch them while they are warm—they are just too tender!
Once those ten minutes are up, gently invert them onto a wire rack so air can circulate underneath. If you try to frost them even slightly warm, the frosting melts, and the top layer might shear right off. Patience during the cooling process is the real secret to maintaining that gorgeous, chocolate cake perfect crumb GF.
If you are planning a tall layer cake, I chill mine briefly once totally cool. A slightly firm, cooled layer is much easier to handle when you’re working with the frosting and trying to keep everything level for your spectacular Gluten free birthday cake idea.
Serving Suggestions for Your Gluten Free Layered Chocolate Cake
Now that you have these gorgeous, structurally sound layers, the fun really begins! We have to talk frosting, because you can’t just serve this masterpiece plain—unless you prefer it that way, which is fine too, you little rebel!
Since we’ve kept the cake itself naturally gluten-free, the frosting just needs a quick check to make sure no wheat sneaks in. My absolute favorite pairing for this rich, dark flavor is a light, tangy cream cheese frosting. It cuts through the richness perfectly. Or, if you want to go all-in on the chocolate, a simple chocolate buttercream made only with good quality cocoa powder and butter (or DF butter substitute!) is divine.
If you’re pulling this out for a celebration—a true Gluten free birthday cake idea—I love adding a drizzle of something special on top. Have you ever tried dipping strawberries in chocolate? Well, using my salted caramel chocolate fondue as a topping for the layers before stacking seals in even more moisture and looks so professionally fancy! Remember, the key to a great GF layered cake is making sure everything, including toppings, follows the rules.
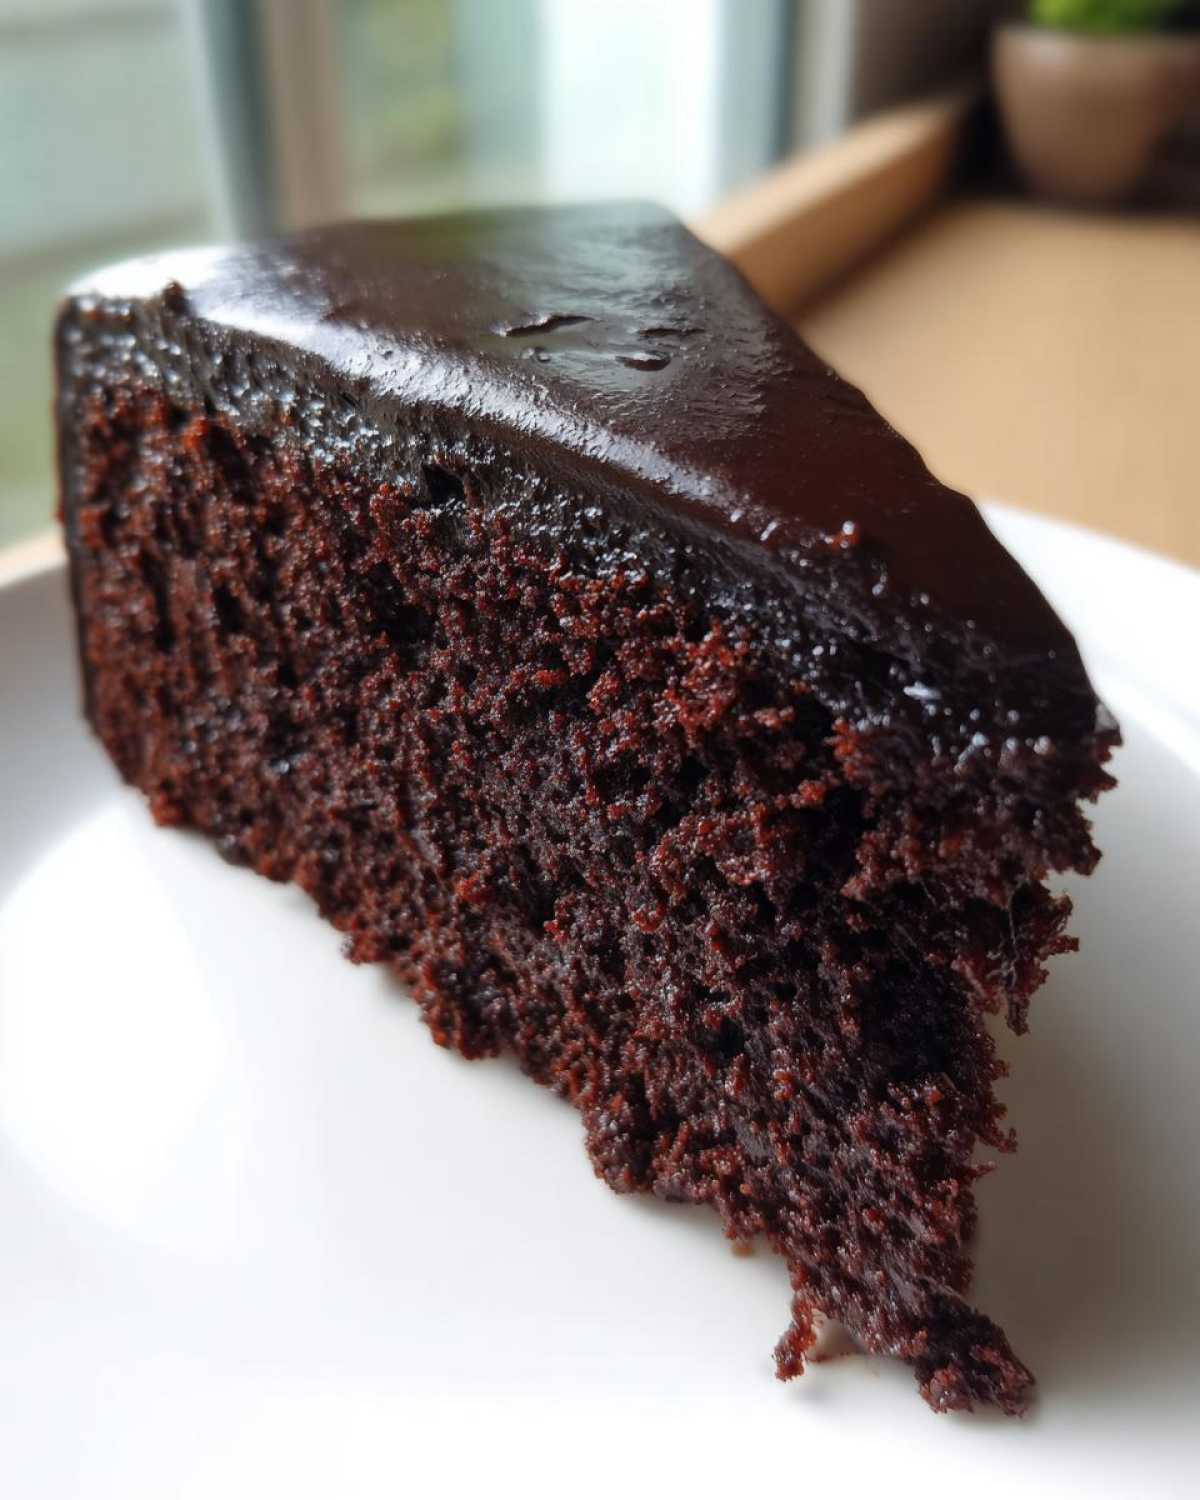
Storage and Reheating Instructions for Gluten Free Chocolate Cake
Okay, we made the best, most delicious cake, and now the real test begins: keeping it that way! You know how some gluten-free baked goods turn hard as a rock if you look at them wrong? That won’t happen here if you follow these simple storage rules. Because this recipe is so incredibly moist thanks to that boiling water trick, it stays fresh longer than standard GF cakes, but we still need a little protection.
For short-term storage, say, the next day or two, keeping it on the counter is totally fine, especially if it’s frosted. Just make sure you cover the cake securely. I usually just keep my cake carrier lid on tight, or if it’s a single layer, I’ll wrap the whole thing loosely in plastic wrap first, and then pop it into a large airtight container.
If you’re baking this for a true event later in the week—maybe a late gathering—the fridge is better. Pop it in an airtight container there. Cold temperatures can dry things out, though, so when you pull it out, you might need a little refresher. A quick 10-second blast for an individual slice in the microwave works wonders to bring back that fresh-from-the-oven softness!
Frequently Asked Questions About This Gluten Free Chocolate Cake
I always get a flood of questions when people make this recipe for the first time, especially since gluten-free baking has so many little rules we have to follow! Don’t worry if you’re second-guessing one of the steps; that’s why I’m here to chat through the tricky parts. Let’s tackle the most common concerns so you can bake with total confidence.
Can I make this a Fudgy gluten free chocolate cake instead?
Oh, I love a good fudgy texture too! This recipe is designed to be moist and tender, but if you are truly chasing that dense, almost brownie-like texture of a Fudgy gluten free chocolate cake, you can absolutely play with it. The easiest adjustment is reducing the boiling water slightly—maybe only add 3/4 cup instead of the whole cup. That immediately ups the density.
Another little trick for serious fudginess? Melt about half a cup of high-quality dark chocolate chips into the batter right when you add the oil and eggs. That extra fat makes it incredibly rich! Just be warned, the baking time might increase slightly because you’ve increased the density, so keep an eye on that toothpick test.
Is this recipe suitable for a Single layer gluten free chocolate dessert?
Yes, it’s perfect for a Single layer gluten free chocolate dessert! I often make it this way when I don’t need a towering birthday cake. If you want to skip the layering and just use a 9×13 inch baking pan, you absolutely can. The batter spreads out much thinner, which means it bakes a bit faster overall.
For the 9×13 pan, plan on baking for about 35 to 40 minutes instead of the 30–35 minutes for the round layers. Keep checking it around the 35-minute mark. Honestly, for a simple sheet cake, this is less fussy than stacking, and it’s fantastic served warm with a scoop of vanilla ice cream melting right on top!
Do I really need xanthan gum if my flour blend says it’s ‘all-purpose’?
This is the question I get asked the most! My short answer is: probably, yes, you need to double-check. If your bag of gluten-free flour blend says it contains xanthan gum right there in the ingredients list, you are golden; you don’t need to add any more. But if it just says ‘blend’ or lists rice flours and starches without mentioning a binder, you absolutely have to add that little bit of extra structure we talked about—at least a teaspoon!
Xanthan gum is what gives this cake that chocolate cake perfect crumb GF structure, stopping it from feeling sandy or falling apart when you go to cut it. It really is the magic secret to any good gluten-free cake from scratch.
Nutritional Estimate for the Gluten-Free Chocolate Cake
Now, I know some of you are just as interested in the macros as you are in the taste—and hey, I get it! I always say that knowing what’s in your dessert is just as important as how delicious it tastes. But listen closely: these numbers are just very rough estimates, okay?
I calculated these based on standard portions of the ingredients I used when testing this recipe for my testing notes. If you swap out the oil for applesauce, or use a different type of milk, these numbers will change! Treat this list as a general guideline for one slice when you divide the whole cake into 12 servings.
- Serving Size: 1 slice
- Calories: Around 320
- Sugar: About 35 grams (That’s the good stuff!)
- Fat: Roughly 15 grams total
- Saturated Fat: Around 3 grams
- Carbohydrates: Near 45 grams
- Protein: About 4 grams
- Sodium: Close to 250mg
It’s a rich, dark chocolate cake, so it’s going to have some sugar and fat, but honestly, compared to what you find in some box mixes, I think this gluten free chocolate cake is a nutritional winner because we control every single ingredient that goes into it!
Share Your Gluten-Free Chocolate Cake Success
Okay, now that you’ve conquered the baking process and hopefully have a gorgeous, rich, and moist Gluten-Free Chocolate Cake cooling on your counter, I really, really want to hear about it!
Baking for people who need specific diet accommodations can sometimes feel a little lonely, but we’re all in this together, right? I want to know if this recipe solved your wheat-free chocolate craving! Did the boiling water trick truly stun you? Did your layers stack up perfectly?
Please, don’t be shy! Head down to the comments section below and leave a rating for the recipe—a five-star shout-out helps other bakers know this truly is the best way to bake gluten-free!
And if you took a picture of your finished creation—maybe you added that luscious frosting or served it up as a decadent after-dinner treat—snap a photo and share it with me on social media! Tag me so I can see your amazing work. If you ever need to reach out about a specific substitution or have a question I missed, you can always drop me a line over on the contact page.
Happy baking, everyone! I can’t wait to see your delicious, crumb-perfect, wholly gluten-free successes!
PrintMoist Gluten-Free Chocolate Cake
A reliable recipe for a rich, moist chocolate cake made without wheat flour, suitable for gluten-free diets.
- Prep Time: 15 min
- Cook Time: 35 min
- Total Time: 50 min
- Yield: 12 servings
- Category: Dessert
- Method: Baking
- Cuisine: American
- Diet: Gluten Free
Ingredients
- 1 3/4 cups gluten-free all-purpose flour blend (with xanthan gum)
- 3/4 cup unsweetened cocoa powder
- 1 3/4 cups granulated sugar
- 1 1/2 teaspoons baking soda
- 3/4 teaspoon baking powder
- 3/4 teaspoon salt
- 2 large eggs
- 1 cup milk (dairy or non-dairy)
- 1/2 cup vegetable oil
- 2 teaspoons vanilla extract
- 1 cup boiling water
Instructions
- Preheat your oven to 350°F (175°C). Grease and flour (using gluten-free flour) two 9-inch round cake pans.
- In a large bowl, whisk together the gluten-free flour blend, cocoa powder, sugar, baking soda, baking powder, and salt.
- Add the eggs, milk, oil, and vanilla extract to the dry ingredients. Beat with an electric mixer on medium speed for two minutes.
- Carefully pour the boiling water into the batter and mix on low speed until just combined. The batter will be thin.
- Divide the batter evenly between the prepared cake pans.
- Bake for 30 to 35 minutes, or until a wooden pick inserted into the center comes out clean.
- Let the cakes cool in the pans for 10 minutes before inverting them onto a wire rack to cool completely.
- Frost with your preferred gluten-free chocolate frosting once fully cooled.
Notes
- If your gluten-free flour blend does not contain xanthan gum, add 1 teaspoon to the dry ingredients to help with structure.
- For a dairy-free version, use non-dairy milk (like almond or soy) and ensure your frosting is also dairy-free.
- This recipe works well for a single 9×13 inch pan, adjusting the baking time to about 35-40 minutes.
Nutrition
- Serving Size: 1 slice
- Calories: 320
- Sugar: 35
- Sodium: 250
- Fat: 15
- Saturated Fat: 3
- Unsaturated Fat: 12
- Trans Fat: 0
- Carbohydrates: 45
- Fiber: 3
- Protein: 4
- Cholesterol: 45