

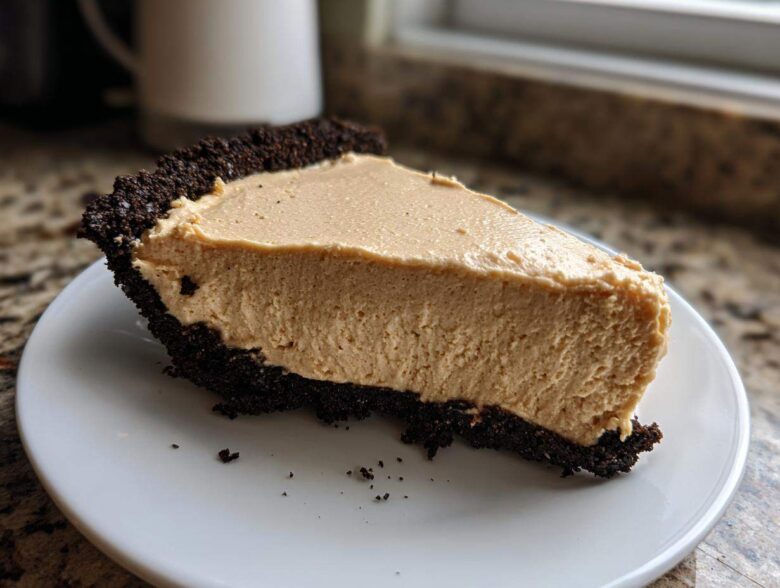
Oh my goodness, are you having one of those weeks where you just need something spectacularly sweet but absolutely cannot face turning on the oven? I totally get it. When Noah and I were juggling everything last month, I needed a win, something rich and indulgent that only took minutes of actual work. That’s when I turned to my absolute favorite rescue recipe: the No-Bake Creamy Peanut Butter Pie. Trust me, this is the ultimate solution when you need a quick, crowd-pleasing sweet treat that tastes like you slaved away for hours. It sets up beautifully in the fridge, and it’s hands-down the best peanut butter pie I’ve ever made! It’s so satisfying to pull that perfectly chilled, beautiful pie out, knowing you didn’t even have to deal with preheating. I remember making this right after we redesigned the blog layout—the relief of having zero baking stress was heavenly! If you want to know a little more about where our Spoon Swirl journey began, check out our story.
Why This No Bake Peanut Butter Pie Recipe is a Crowd Pleaser Dessert
Honestly, what’s not to love? This pie flies off the table every single time we bring it somewhere. It hits that perfect sweet spot between decadent richness and absolute ease of making. It’s truly my go-to Crowd Pleaser Dessert when I need something impressive fast. I just love that I can have the crust pressed and the filling mixed before my coffee even cools down!
Zero Oven Time: The Joy of No Oven Desserts
Because we aren’t turning on that giant hot box, this qualifies as one of the best No Oven Desserts out there. Prep time is only about 20 minutes, tops! That makes it ideal for those scorching summer days when the last thing you want to do is heat up the kitchen, or when you realize you forgot to make a dessert five hours before guests arrive. It’s such a fantastic Quick Peanut Butter Dessert.
Achieving That Signature Creamy Peanut Butter Pie Texture
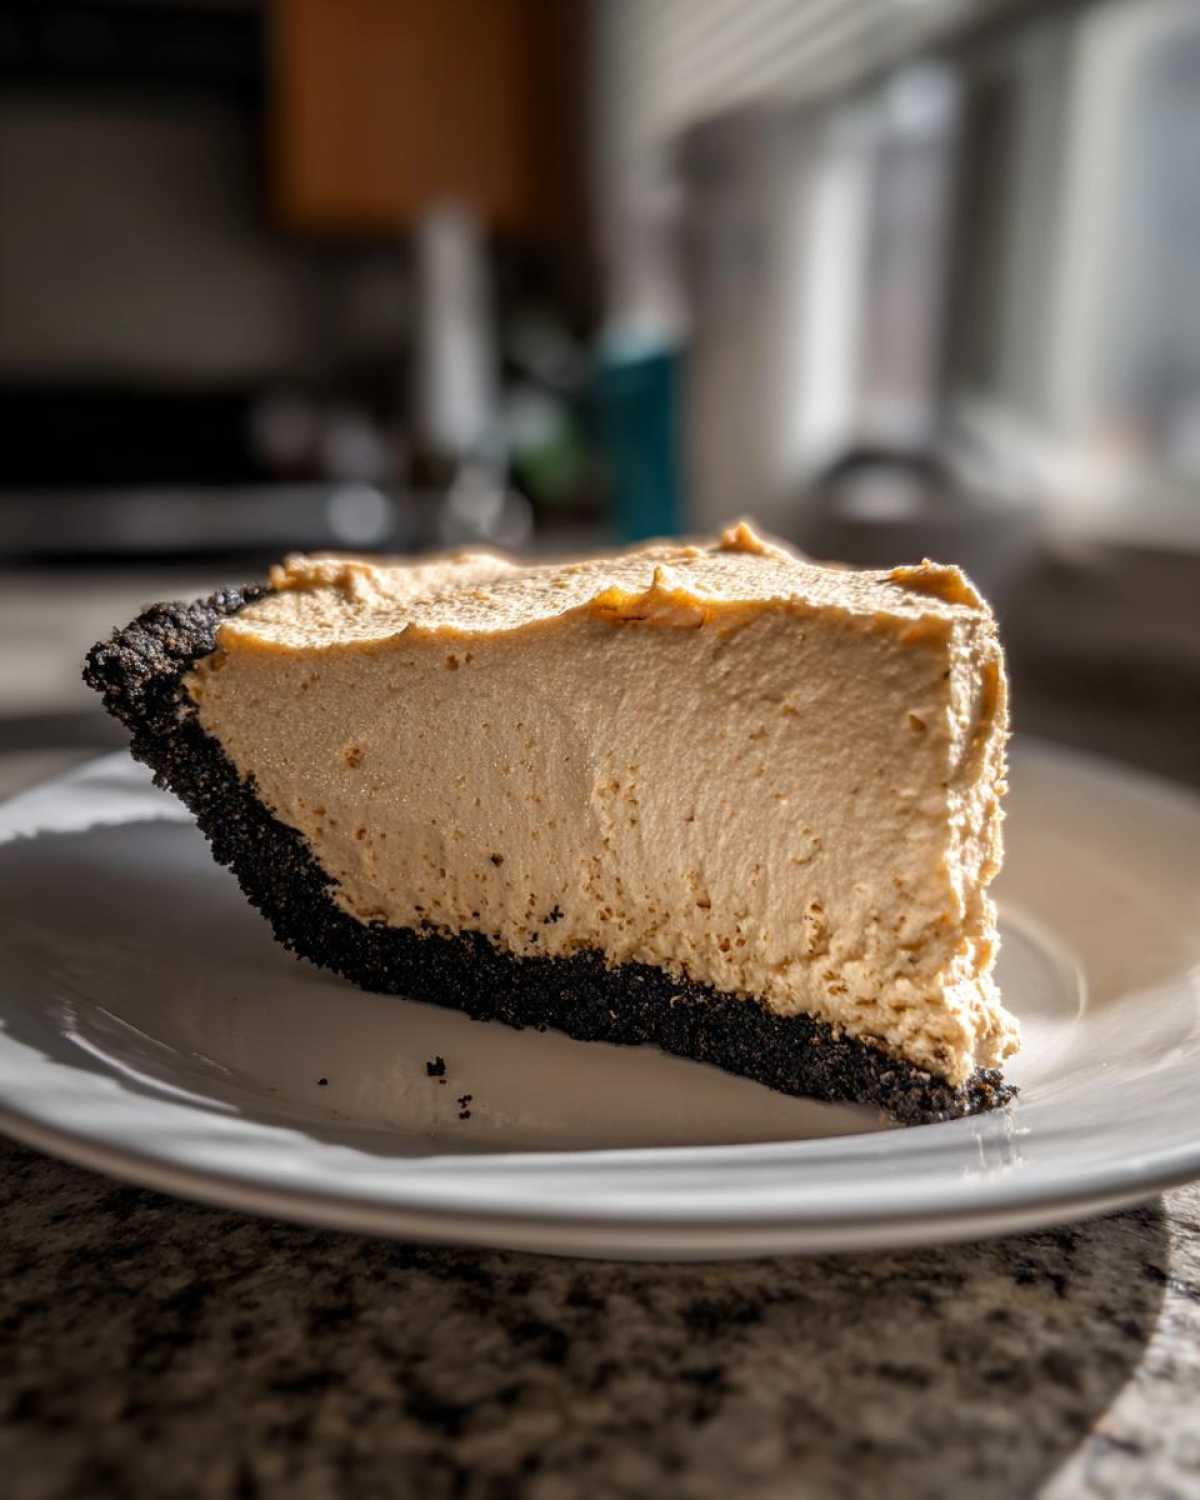
The filling is what sells it every time. It’s so wonderfully smooth and light, not heavy or grainy at all. That Creamy Peanut Butter Pie feeling comes entirely from the way you combine the softened cream cheese with the whipped topping. It creates this unbelievably airy, cool, and dreamy texture that just melts in your mouth. Nobody suspects it’s this simple!
Gathering Your Ingredients for the Easy Peanut Butter Pie Recipe
Okay, gathering our ingredients is exciting because with this peanut butter pie recipe, you probably have half of this stuff sitting in your pantry right now! Because this is a no-bake recipe, the preparation quality of our ingredients really matters for that amazing final texture. We need everything measured out precisely before we even touch the mixer; trust me on this, it keeps things calm!
Before you start, remember this recipe works beautifully with a classic chocolate peanut butter dessert vibe, so plan your toppings accordingly!
For the Graham Cracker Crust Pie Base
Here’s what you need for the buttery, crunchy base. Make sure your butter is fully melted so it coats everything evenly:
- 1 1/2 cups graham cracker crumbs (don’t skimp here!)
- 1/4 cup granulated sugar
- 6 tablespoons unsalted butter, melted
For the Rich Dessert Pie Filling
This is where the magic happens! Ensure your cream cheese is really soft—I mean squishy soft—and that your whipped topping is completely thawed but still holds its shape.
- 1 (8 ounce) package cream cheese, softened
- 1 cup creamy peanut butter
- 1 cup powdered sugar
- 1 teaspoon vanilla extract
- 1 (12 ounce) container frozen whipped topping, thawed
Peanut Butter Pie Toppings Ideas
I always keep the best for last! The topping is your chance to make this pie uniquely yours. For an extra salty-sweet punch, I love chopping up some peanut butter cups right before serving this Rich Dessert Pie.
- Optional topping: Chocolate chips or Reese’s Peanut Butter Cups
Step-by-Step Instructions for Your Homemade Peanut Butter Pie
Alright, here is the fun part! Making this peanut butter pie is less about actual cooking and more about smart assembly. We are tackling this assembly job in four easy stages. Remember, timing is everything here, especially with the chilling steps. A nicely chilled crust and a firm filling make all the difference between a good pie and an absolutely amazing one!
Pressing the Graham Cracker Crust Pie
First up is our base. In a medium bowl—don’t worry about washing it right away—mix together your graham cracker crumbs and the granulated sugar. Now pour in that melted butter and stir until every crumb looks totally damp, almost like wet sand. You need to press this mixture firmly into the bottom and all the way up the sides of your 9-inch pie plate. I mean firmly! Use the bottom of a glass to really tamp it down. Pop that crust into the freezer right away while we whip up that glorious filling.
Creating the Creamy Peanut Butter Pie Filling Base
Grab your biggest bowl for this. If you have an electric mixer, this is the moment to use it! Start by beating the softened cream cheese solo until it is completely smooth—no lumps allowed. Once it looks like fluffy clouds, add in your creamy peanut butter, the powdered sugar, and the vanilla extract. Beat this mixture well until everything is totally homogenous. It will be thick, sweet, and absolutely rich!
Folding in the Lightness for the Peanut Butter Cream Pie
This next step is crucial for that airy texture we love in a Peanut Butter Cream Pie. Take your thawed whipped topping and gently fold it into your thick peanut butter base. You have to use a spatula for this, not the mixer! Fold like you’re tucking someone into bed—gently, slowly. Stop mixing the second you don’t see any more white streaks. If you overmix, you accidentally deflate all that wonderful air we worked hard to incorporate.
Assembling and Chilling the No Bake Peanut Butter Pie
Time to bring it all together! Take that chilled crust out of the freezer. Spoon all that lovely, light peanut butter filling into the crust, using your spatula to smooth out the top evenly. Cover the pie gently with some plastic wrap—make sure the wrap isn’t touching the surface, or it will stick weirdly! Then, this is the hardest part: you need to refrigerate it for a minimum of four hours. If you can force yourself to wait overnight, the texture will be unbelievably firm and perfect for slicing. Then, just top it with your drizzle and enjoy that No Bake Peanut Butter Pie!
Tips for Success Making the Best Peanut Butter Pie
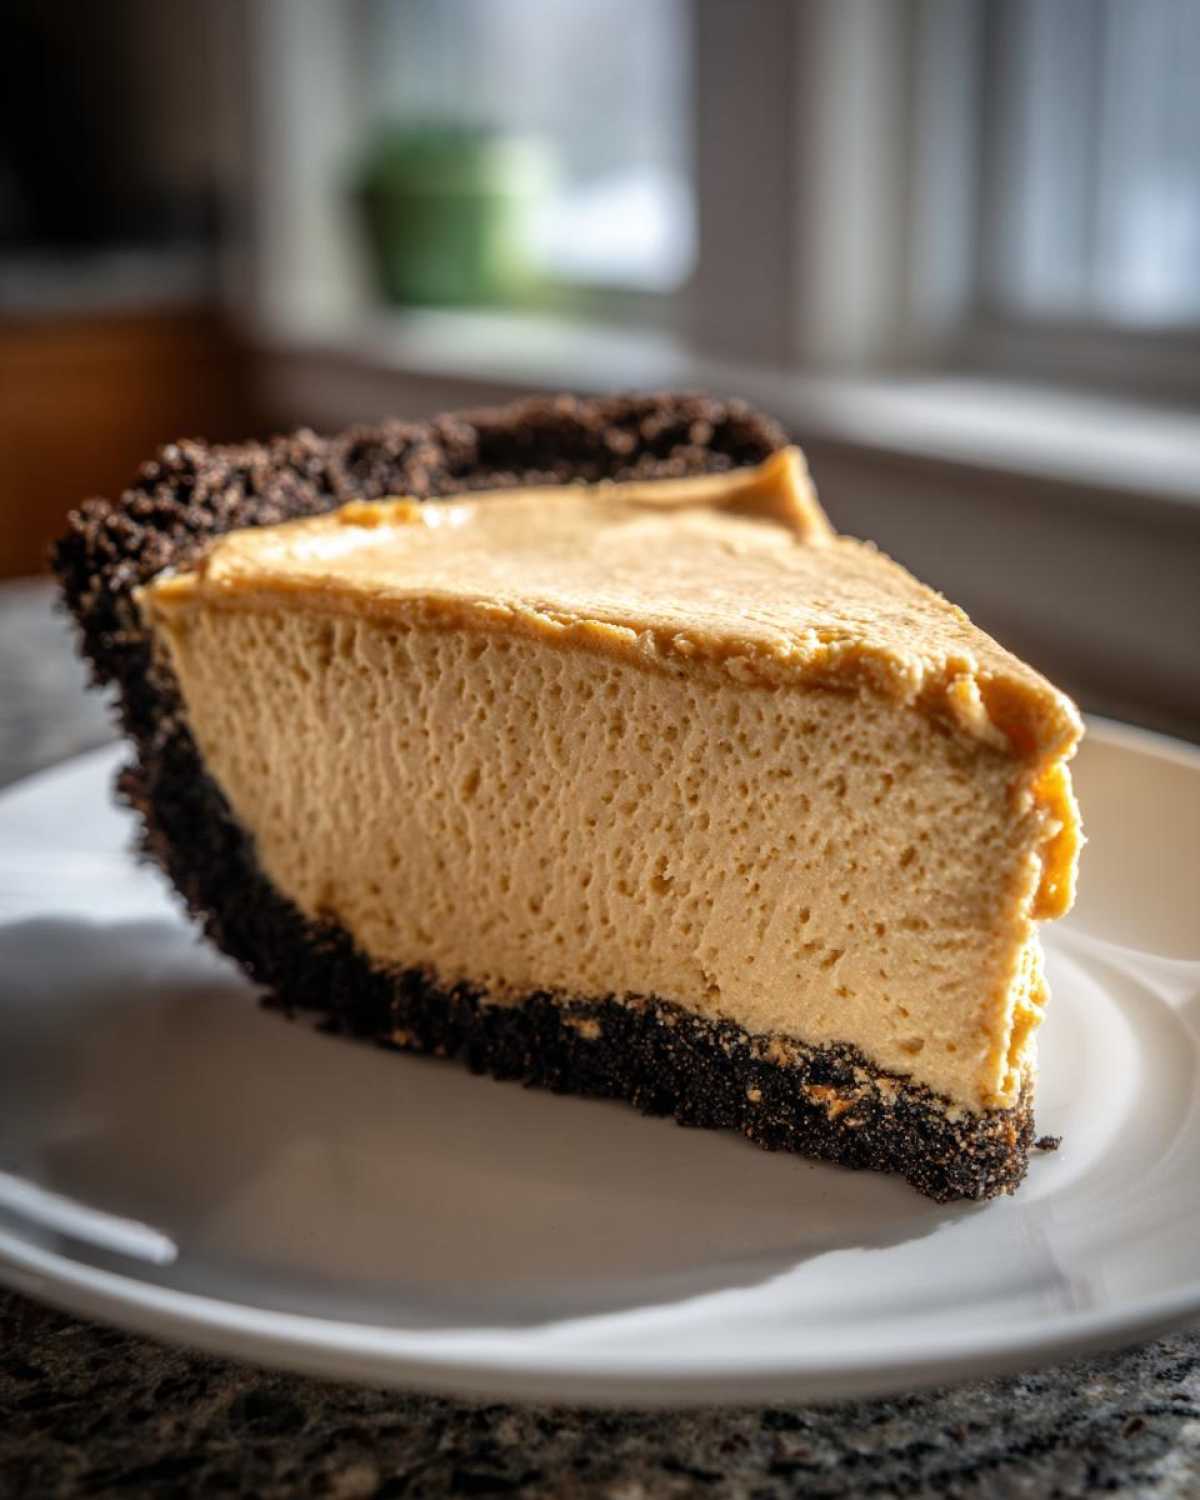
Getting this peanut butter pie recipe just right for the first time is so easy, but I have a couple of little tricks up my sleeve to make sure it’s absolutely flawless every time. The quality of your crust base can really change the whole experience, and knowing how to adjust for different tastes is key to feeling like a baking rock star!
Crust Variations: From Graham Cracker Crust Pie to Oreo Crust Peanut Butter Pie
We love the classic graham cracker base, but if you’re feeling like shaking things up, you can easily make an Oreo Crust Peanut Butter Pie! Just swap out the crumbs for about 24 finely crushed Oreo cookies—make sure you leave the filling in the crumbs, that chocolate and peanut butter combo is killer. You’ll use the same amount of melted butter, and voilà, instant upgrade!
Achieving Perfect Sweetness in Your Peanut Butter Dessert
I stick to the powdered sugar because I like that lighter texture, but if you want an even richer, sweeter flavor for your Peanut Butter Dessert, you can try swapping out half of the whipped topping for sweetened condensed milk. If you do that, you need to pull back a little on the powdered sugar, otherwise, it might get a little too intense. You can check out how others adapt their recipes over at Hand the Heat for inspiration, or see what we’re baking weekly over on our Spoon Swirl Blog!
Storage and Make Ahead Dessert Recipes for Your Peanut Butter Pie
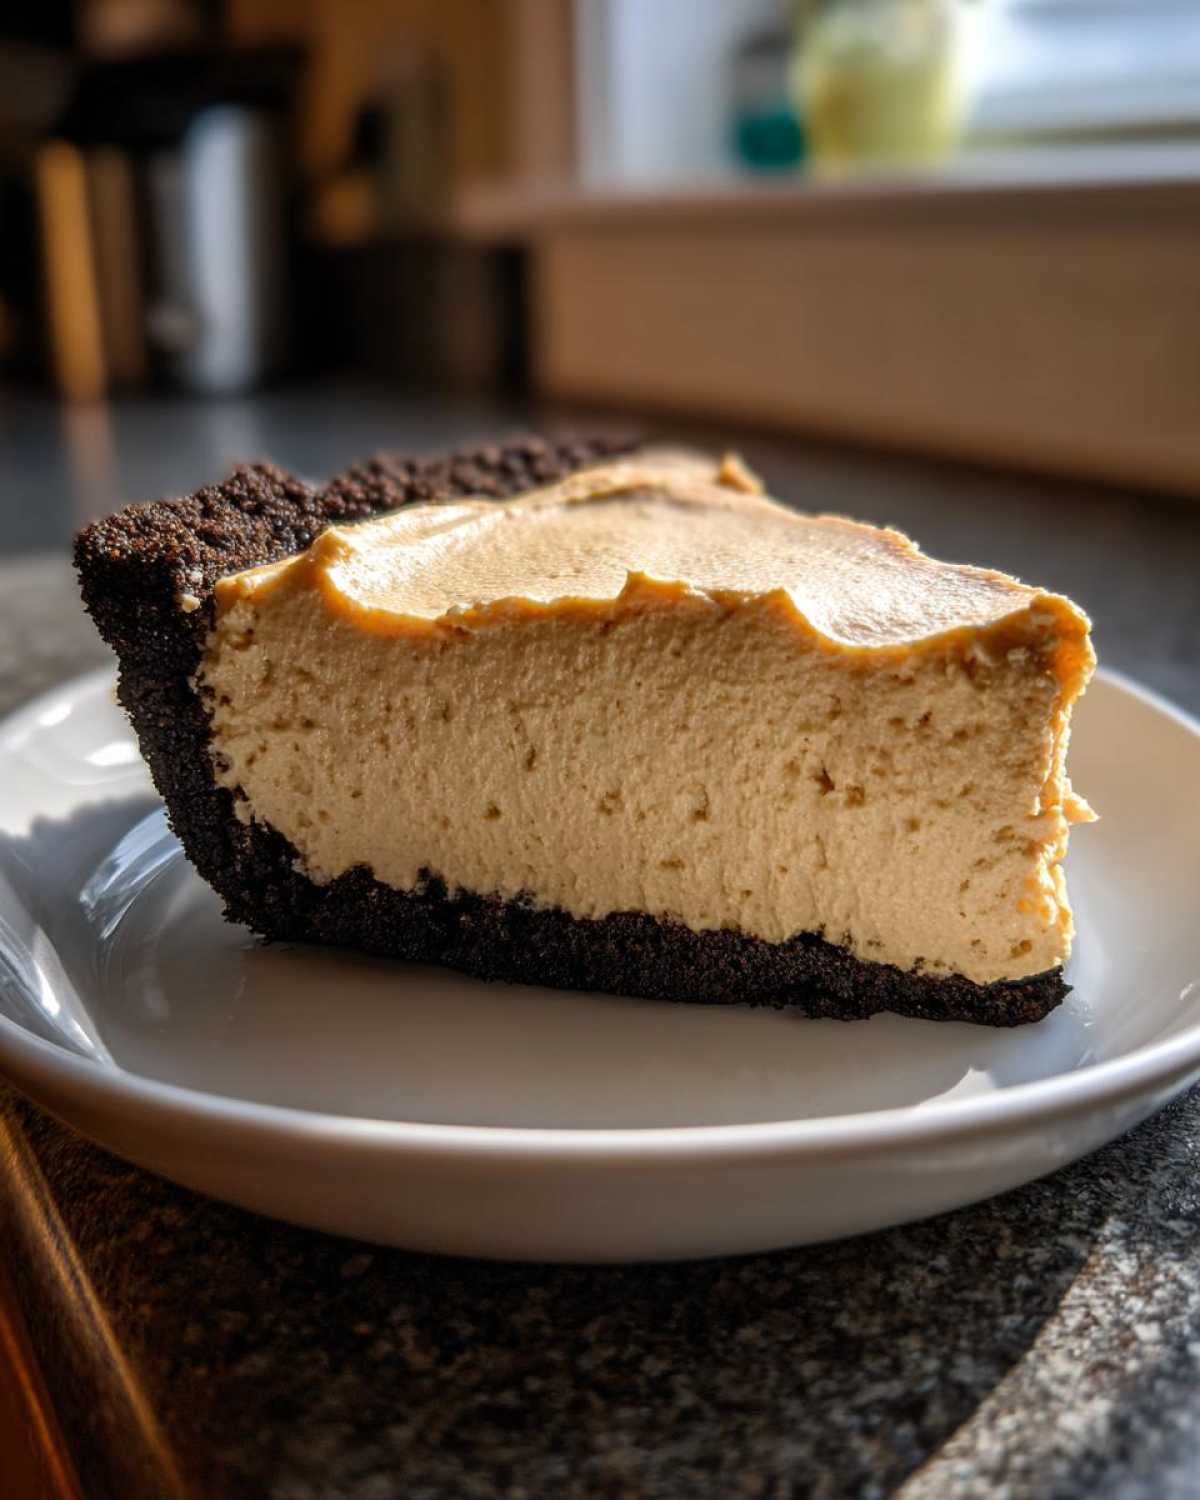
The best part about this kind of simple beauty? It’s one of the ultimate Make Ahead Dessert Recipes! Seriously, I often make this the day before we have company over, especially when things get hectic around the holidays. It becomes one of those essential Simple Thanksgiving Desserts that I don’t have to think about on the actual day. Just keep that gorgeous peanut butter pie covered tightly with plastic wrap in the refrigerator. It keeps wonderfully for up to three days, getting firmer and even more delicious the longer it chills. Noah insists it tastes best on day two!
If you’re planning even further ahead, check out some of our other great make-ahead ideas on the blog. But for this pie, fridge storage is your friend!
Frequently Asked Questions About This Peanut Butter Pie
I always get so many questions once people realize how easy this recipe is! Since this is a chilled dessert and not your traditional baked treat, people naturally have a few things they want to double-check before they dive in. Here are the things I hear most often about making the Best Peanut Butter Pie.
Can I use crunchy peanut butter in this Creamy Peanut Butter Pie?
Oh, you absolutely can! I’m a creamy girl through and through—it really helps maintain that super smooth finish in the Creamy Peanut Butter Pie filling. But if you love those little bursts of texture, go for crunchy! Just be aware that you won’t get that perfectly silky mouthfeel we’re aiming for. It’s a minor difference, but worth knowing!
Is this the Best Peanut Butter Pie for freezing?
That’s a good question, especially if you’re trying to get ahead of holiday baking! This pie does freeze surprisingly well for a dish containing whipped topping. However, I will warn you: when it thaws, the texture of the whipped topping can sometimes get a little bit watery or grainy compared to when it’s freshly set. If you must freeze your peanut butter pie, make sure you wrap it super tight and thaw it *slowly* overnight in the refrigerator. Don’t keep it frozen for more than a month, okay?
What is the difference between this and an Old Fashioned Peanut Butter Pie?
This is where the “No-Bake” part comes in handy! When people talk about an Old Fashioned Peanut Butter Pie, they usually mean one that involves baking a proper custard filling thickened with eggs until it sets up like a pudding pie. Our version here is much quicker—it’s a chilled, stabilized filling using cream cheese and whipped topping. So, we get that lovely, decadent flavor without ever turning on the heat!
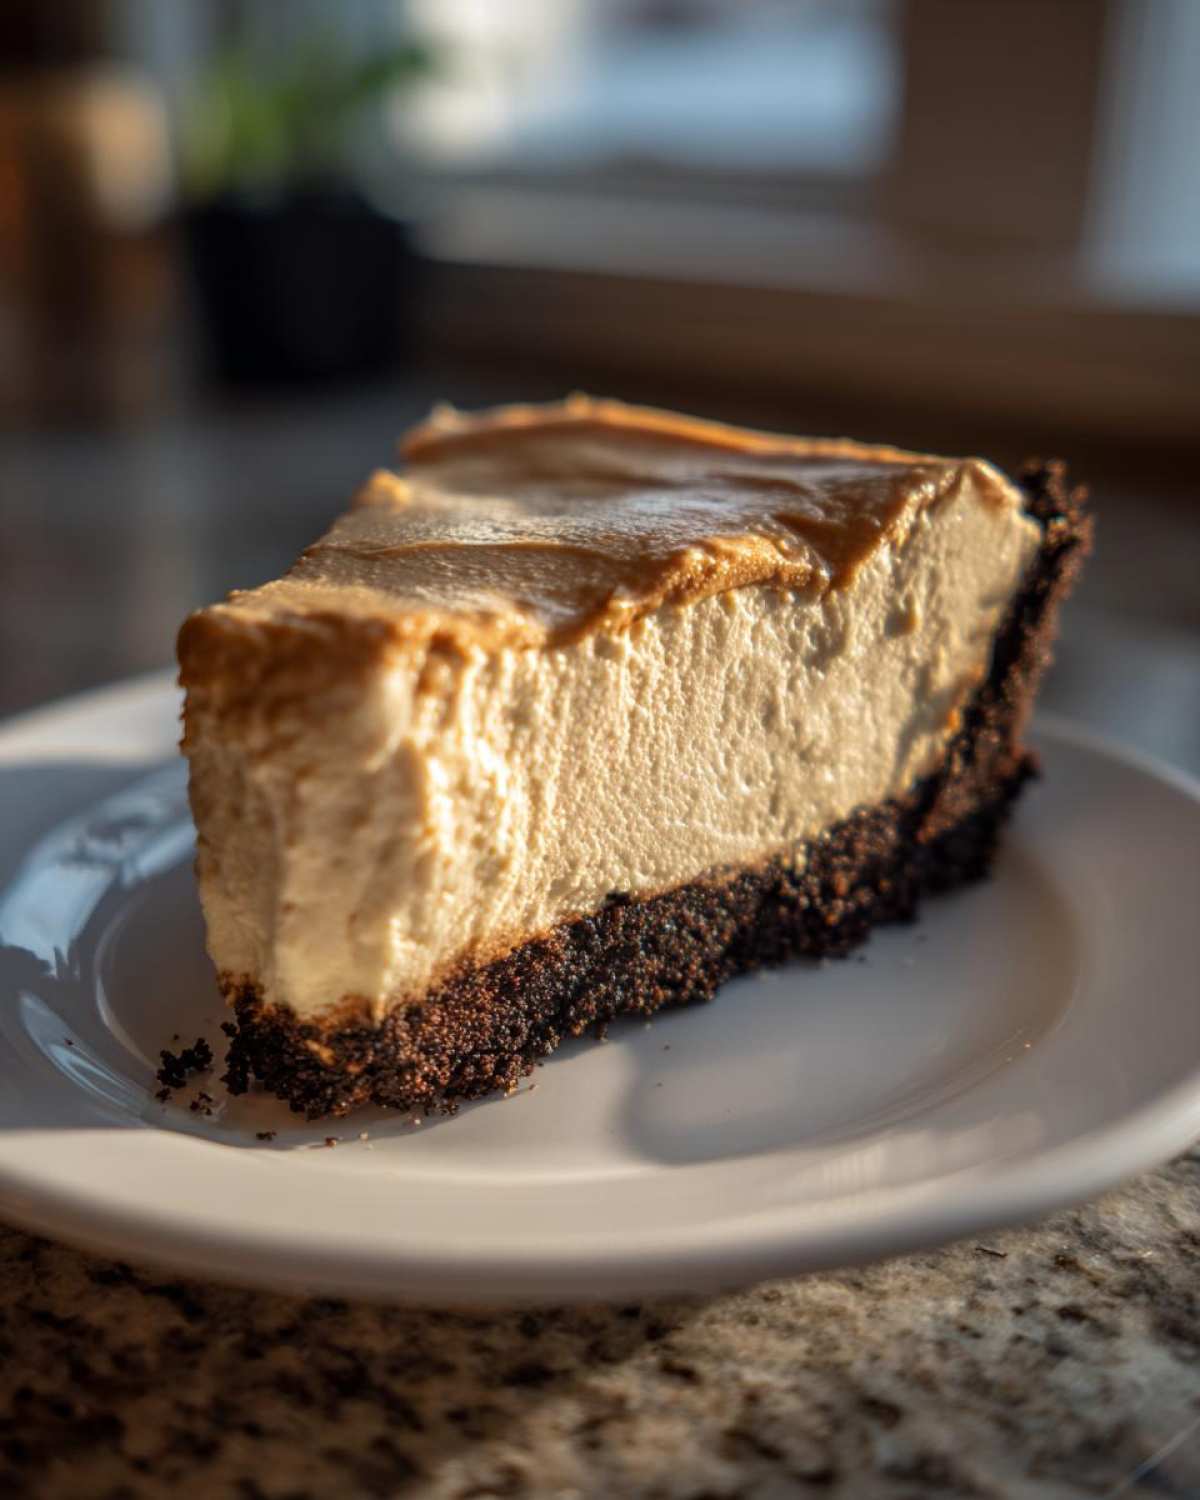
Estimated Nutritional Values for a Slice of Peanut Butter Pie
I always like to give you guys a little heads-up on what we’re digging into, although please remember these numbers are just my best educated guess based on the standard recipe measurements! Since this decadent peanut butter pie is rich, the portions are generous, and the nutritional breakdown reflects that indulgence. These figures are for one glorious slice only, so maybe don’t count them if you sneak a second piece!
- Serving Size: 1 slice
- Calories: 450
- Sugar: 30g
- Fat: 30g
- Protein: 10g
This is certainly an Indulgent Peanut Butter Dessert, but boy, is it worth every single bite. Don’t worry too much about the numbers; just stress less and enjoy the moment!
Share Your Spoon Swirl Moments
Whew! Now that you’ve made this easy, decadent peanut butter pie, I absolutely need to know how it turned out for you. That’s the best part of this whole process for Noah and me—seeing the pies you all create in your own kitchens!
If this recipe saved your dessert planning, or if you just loved that silky smooth filling, please, please leave a quick rating below. Five stars if it brought you a little slice of peace like it always does for us! I live for those comments that tell me this was the perfect Crowd Pleaser Dessert for your family gathering.
We’d love to see your beautiful finished pies, especially those amazing Peanut Butter Pie Toppings you decided on! Snap a picture and share it on social media, tagging us so we can admire your work. If you have any lingering questions that I didn’t cover above, or just want to send Noah a note about baking sourdough, you can always reach out to us over at our Contact Page.
Happy swirling, friends! We really appreciate you joining our Spoon Swirl family.
PrintEasy No-Bake Creamy Peanut Butter Pie
You need this simple, rich, and creamy peanut butter pie recipe. It uses a buttery graham cracker crust and requires no oven time, making it a perfect crowd-pleaser dessert for any gathering.
- Prep Time: 20 min
- Cook Time: 0 min
- Total Time: 4 hr 20 min
- Yield: 8 servings
- Category: Dessert
- Method: No-Bake
- Cuisine: American
- Diet: Vegetarian
Ingredients
- 1 1/2 cups graham cracker crumbs
- 1/4 cup granulated sugar
- 6 tablespoons unsalted butter, melted
- 1 (8 ounce) package cream cheese, softened
- 1 cup creamy peanut butter
- 1 cup powdered sugar
- 1 teaspoon vanilla extract
- 1 (12 ounce) container frozen whipped topping, thawed (or homemade whipped cream)
- Optional topping: Chocolate chips or Reese’s Peanut Butter Cups
Instructions
- Prepare the crust: In a medium bowl, combine the graham cracker crumbs and 1/4 cup granulated sugar. Pour in the melted butter and mix until the crumbs are evenly moistened. Press the mixture firmly into the bottom and up the sides of a 9-inch pie plate. Place the crust in the freezer while you prepare the filling.
- Make the filling base: In a large bowl, beat the softened cream cheese with an electric mixer until smooth. Add the creamy peanut butter and 1 cup powdered sugar. Beat until fully combined and creamy. Mix in the vanilla extract.
- Fold in the topping: Gently fold in the thawed whipped topping until no streaks remain. Do not overmix; you want the filling to stay light and airy.
- Assemble the pie: Spoon the peanut butter filling evenly into the chilled graham cracker crust. Smooth the top with a spatula.
- Chill: Cover the pie loosely with plastic wrap and refrigerate for at least 4 hours, or until the filling is firm. For best results, chill overnight.
- Serve: Before serving, top the pie with chocolate chips, a chocolate drizzle, or chopped peanut butter cups if desired. Slice and enjoy this easy peanut butter pie recipe.
Notes
- For an Oreo crust peanut butter pie, substitute the graham cracker crumbs with finely crushed Oreo cookies (about 24 cookies) and use the same amount of butter.
- If you prefer a sweeter, richer filling, you can substitute half of the whipped topping with sweetened condensed milk, adjusting the powdered sugar slightly.
- This is a fantastic make ahead dessert recipe; it holds up well in the refrigerator for up to three days.
Nutrition
- Serving Size: 1 slice
- Calories: 450
- Sugar: 30
- Sodium: 350
- Fat: 30
- Saturated Fat: 10
- Unsaturated Fat: 20
- Trans Fat: 0
- Carbohydrates: 40
- Fiber: 2
- Protein: 10
- Cholesterol: 40