

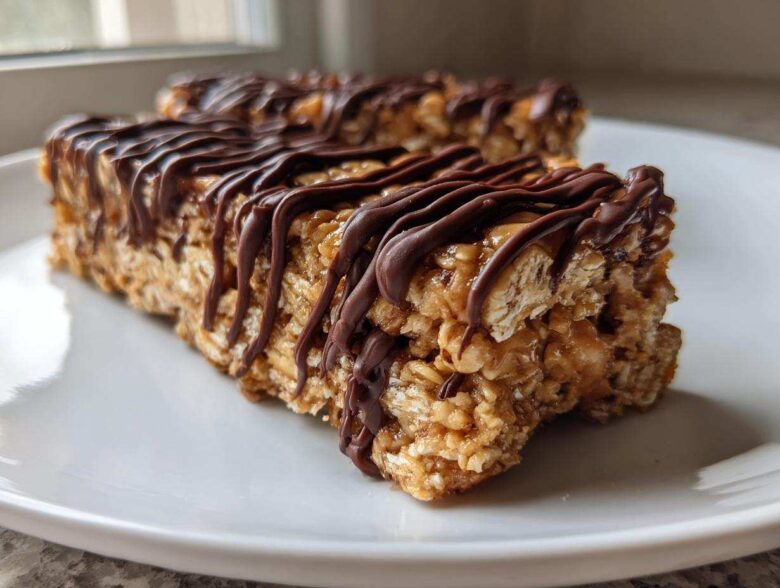
Oh, planning my snacks used to be such a headache. Have you ever stared into the pantry, desperate for something quick—something that fuels you without giving you that sugar crash two hours later? I totally get it. That’s why I’m so excited to share this recipe, because these are, without a doubt, the easiest and best-tasting homemade protein bars you will ever make. Trust me, my journey to finding quick, satisfying fuel started right here in my kitchen when I realized store-bought just wasn’t cutting it.
These protein bars are my secret weapon for busy mornings and afternoons when I need a substantial bite that tastes like dessert, not cardboard! We’re keeping this super simple—just five ingredients and absolutely zero oven time. It’s pure magic in a pan, and I know you’re going to love how quickly they come together.
If you want to hear a little more about how Noah and I run our kitchen and why every recipe is made with comfort in mind, you can always pop over to read our little story about the burnt loaf of bread that started it all.
Why You Need These Easy No-Bake Protein Bars
Look, I love convenience, but I hate the ingredient list on most store-bought bars. They are expensive and usually loaded with sugars I’m trying to avoid! That’s why these homemade protein bars are such a game-changer for me.
Honestly, you need these in your rotation because they deliver big flavor without any fuss:
- They crush store-bought bars on taste and save you real money!
- You control every single ingredient—hello, clean eating!
- Super fast prep time means you have healthy snack bars ready in minutes.
- Perfect for batch prepping your whole week of quick protein treats.
These peanut butter bars are chewy, satisfying, and make hitting your protein goals feel like a treat, not a chore. You won’t be disappointed!
The 5 Key Ingredients for Perfect Homemade Protein Bars
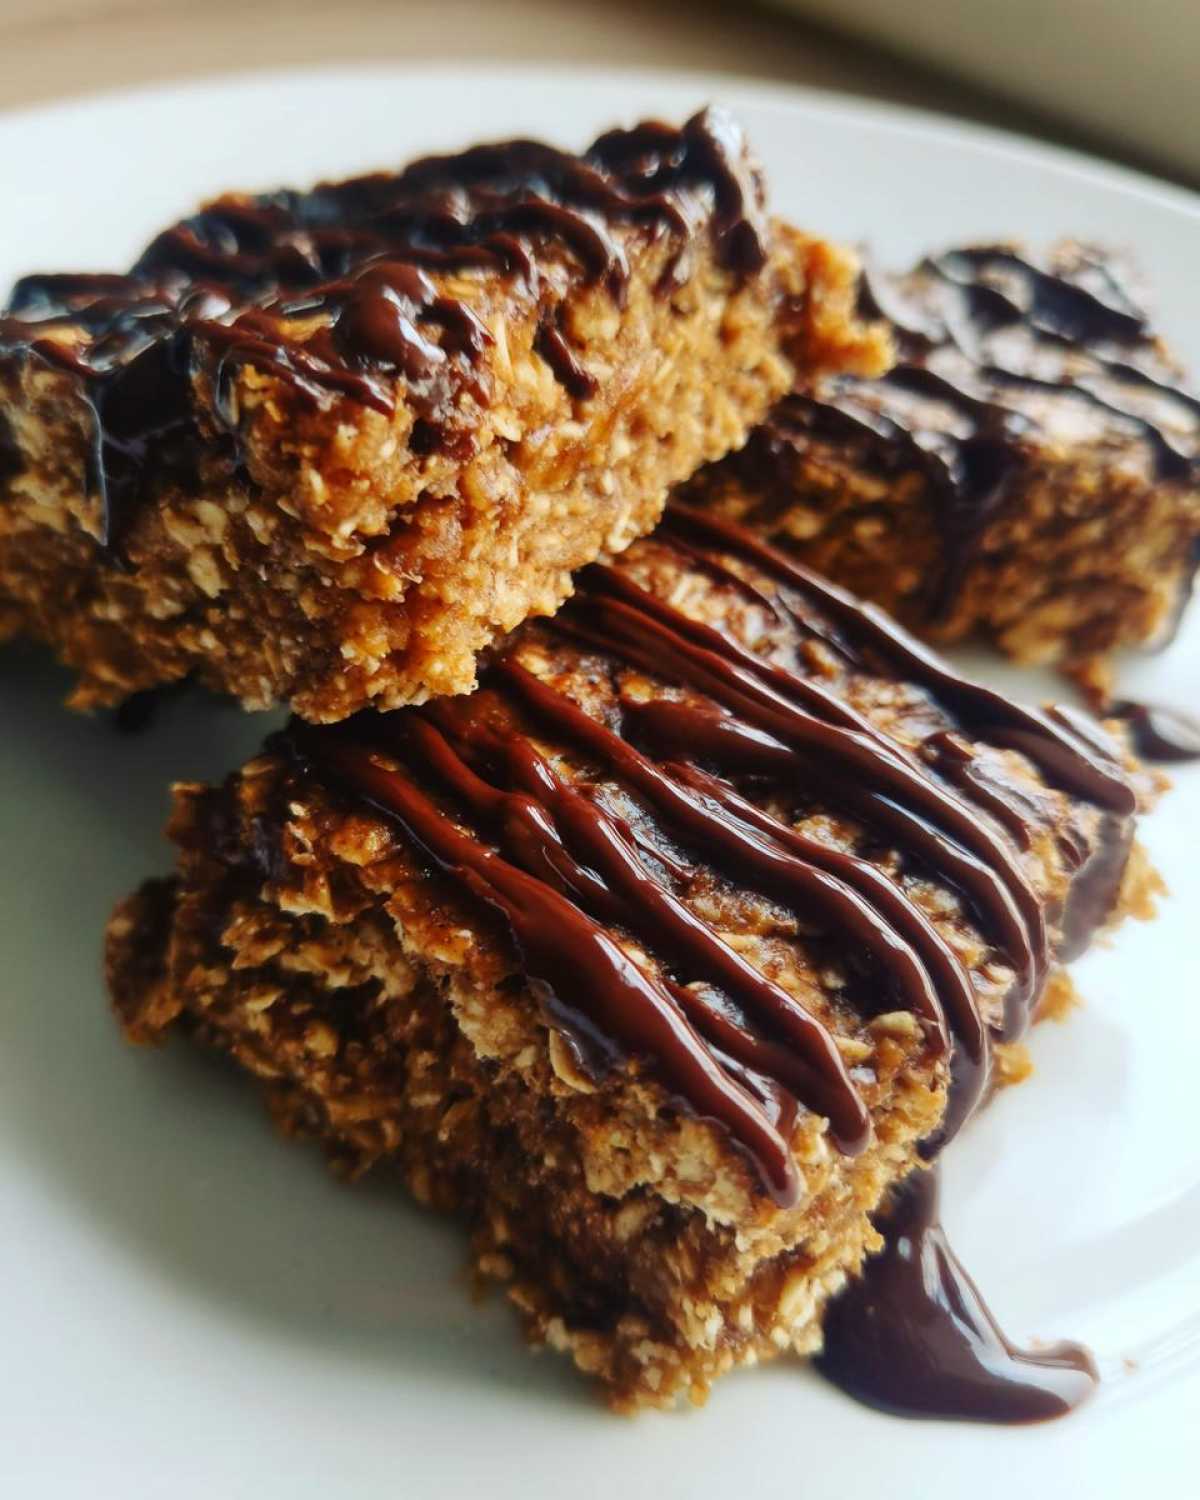
Seriously, you won’t believe how few things we need for these spectacular bars. This recipe is proof that you don’t need a pantry stocked with exotic stuff to create amazing protein bars for beginners. We are sticking to just five core items, and they all work together beautifully to create that classic, chewy texture. If you browse around for inspiration, you’ll see ideas for complex protein bars, but we are keeping it wonderfully simple!
Here is the lineup:
- 1 cup rolled oats (the regular kind works best!)
- 1/2 cup natural peanut butter (that gooey stuff, not the separated oil kind)
- 1/2 cup vanilla protein powder (this is the powerhouse!)
- 1/4 cup honey or maple syrup (our binder!)
- 1/4 cup dark chocolate chips (just for that gorgeous finish)
When you see how simple this list is, you realize why these are my go-to. No weird gums or stabilizers needed. Just mix, press, and chill. It doesn’t get easier than that for high protein recipes!
Ingredient Notes and Simple Substitutions for Your Protein Bars
Because everyone’s kitchen is a little different, let’s chat about making these perfectly fit your needs. The peanut butter is crucial; make sure it’s the natural kind that drips off the spoon. If you use the super processed, stiff stuff, your mixture might get too thick, almost like dry sand.
If you’re making a vegan protein bars recipe batch, swap the honey for maple syrup—it works just as well to bind things. Also, if you find your mixture is just too crumbly, don’t panic! Add water or plant milk, just a teaspoon at a time, until it starts actually holding together. Don’t try to substitute the oats entirely; they give these homemade bites the structure that makes them so satisfying!
Step-by-Step Guide to Making No Bake Protein Bars
This is the fun part because it’s so fast! Remember, since we aren’t baking, preparation is key. First, line your 8×8 pan with parchment paper; make sure you leave an overhang—that’s your handle later when you need to lift the whole slab out. Trust me on the overhang; it saves so much heartbreak!
Now, grab a medium bowl and toss in your oats, peanut butter, protein powder, and your sweetener. Mix it up really well. At first, it looks dry, but keep folding and pressing it together. You might even need to use your hands to squish it all into one unified dough. This is what creates those wonderfully chewy protein bars!
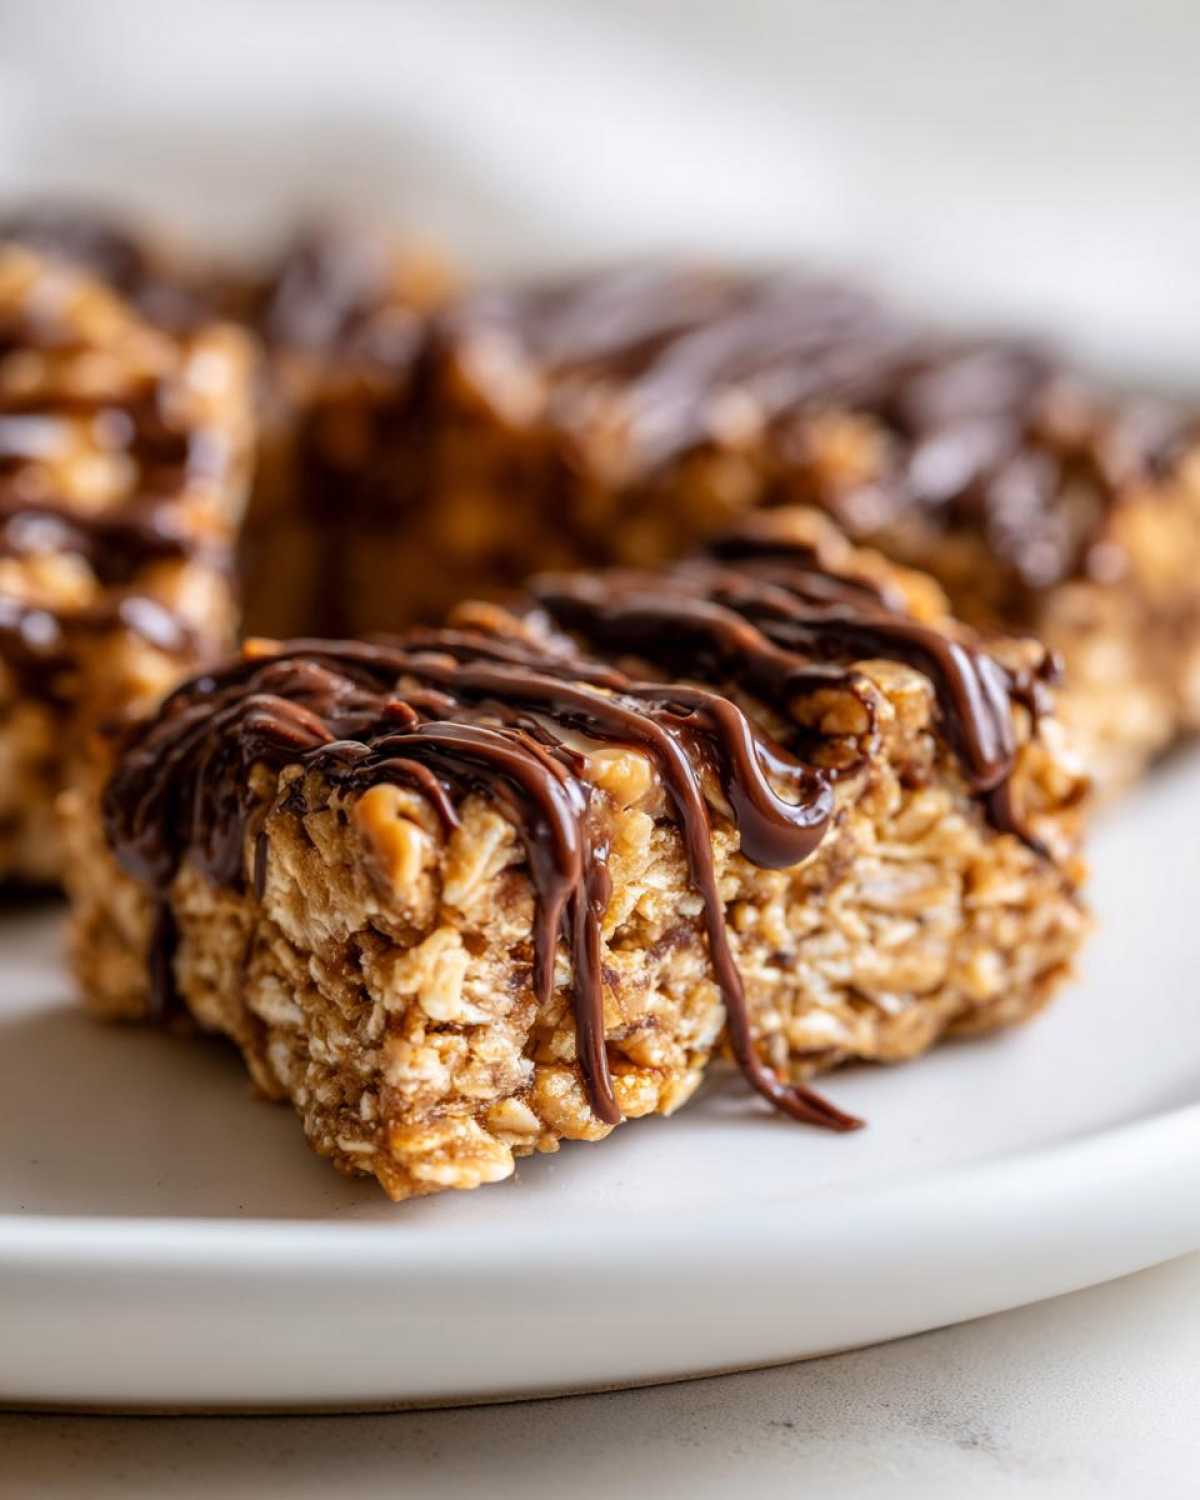
Press that mixture firmly and evenly into your prepared pan. Pat it down hard so there are no loose spots. Then, pop it into the fridge to chill for a solid hour. This chill time is non-negotiable for getting clean cuts later on. We want firm bars, not a giant, gooey block!
Once it’s firm, peel it out using those parchment handles, and slice it into 10 good-sized bars. You can see inspiration for other quick snacks, like some fantastic recipes here, but this method is superior because of that chill time.
Mastering the Chocolate Drizzle on Your Protein Bars
Ah, the chocolate! This small step takes these from simple snack to actual treat. Take your chocolate chips and put them in a small bowl. Microwave them in short bursts—think 30 seconds at a time—stirring well between each round. If you try to go for a full minute, you’ll burn them, and nobody wants sad chunks of scorched chocolate!
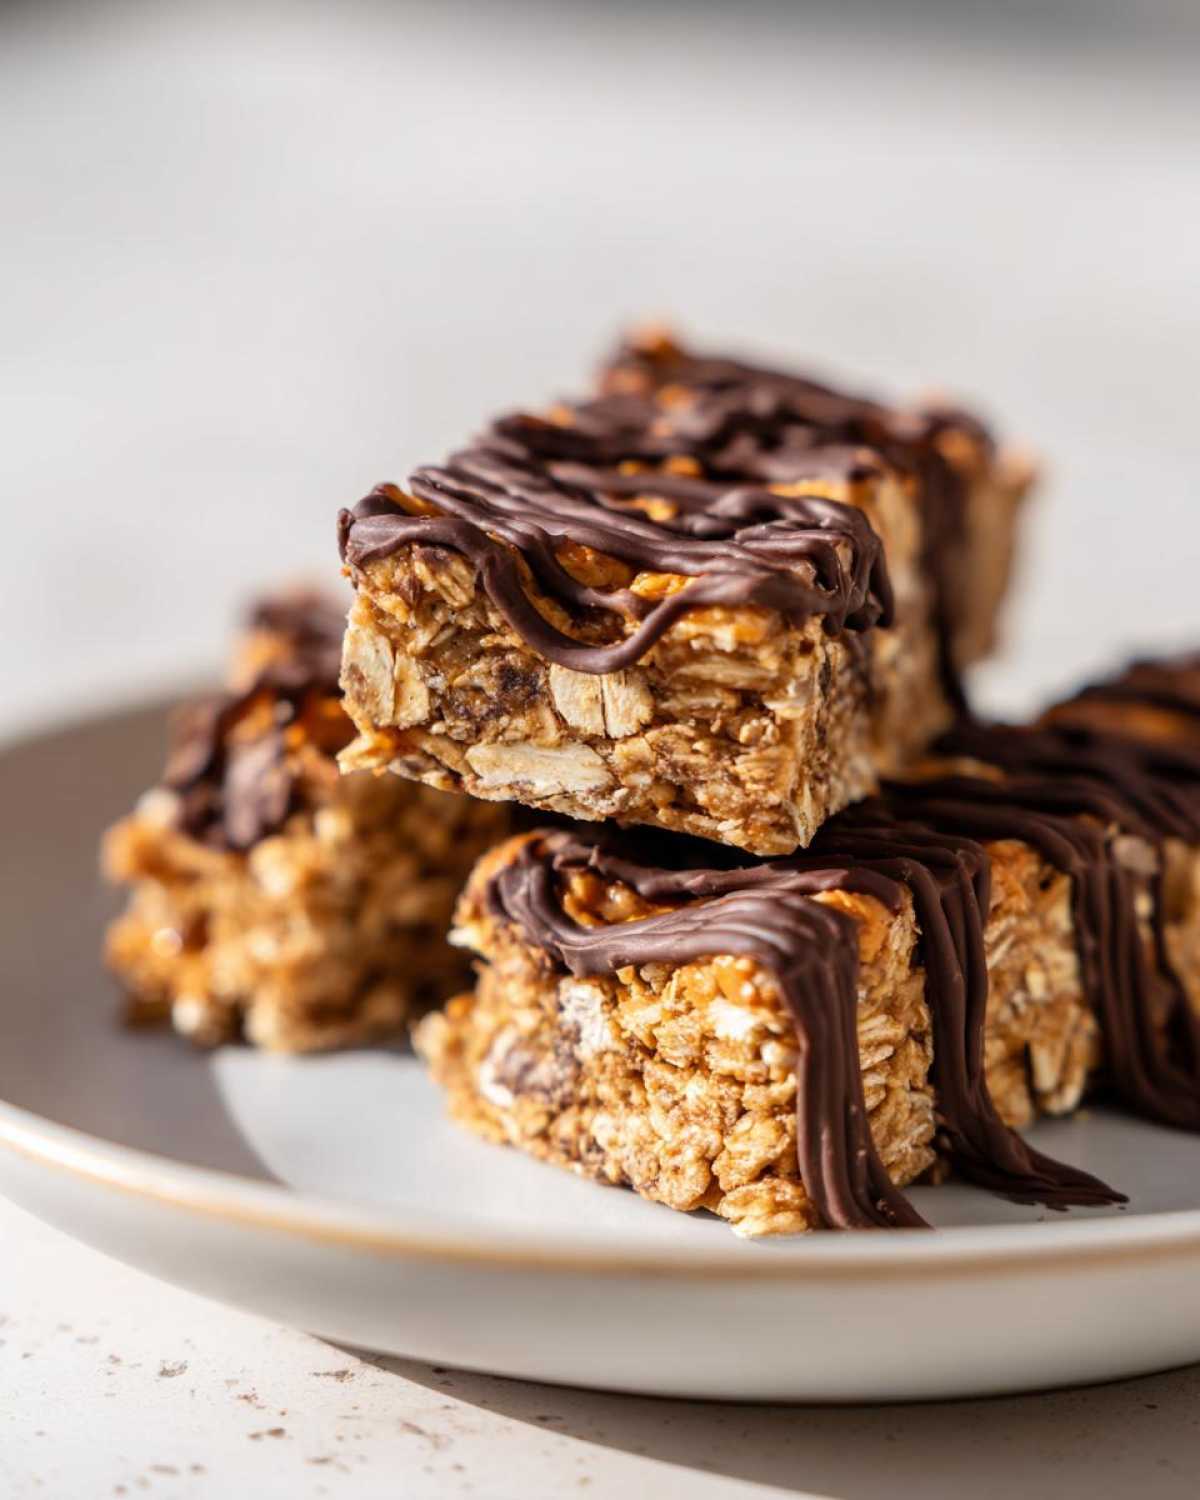
Once it’s smooth and glossy, take a fork and drizzle it artfully across the top of your set bars. Back into the fridge for about 15 minutes to let that shell harden up. Perfection!
Tips for Success with Homemade Protein Bars
Even with the easiest recipe ever, sometimes things go a little sideways, right? I learned this the hard way! The very first time I tried to make these—before they were perfected—I skipped putting them in the fridge long enough, and when I went to cut them, it was a disaster. A delicious disaster, but still a mess! Don’t let that happen to you.
My biggest tip for ensuring you get the best tasting protein bars that actually stay in bar form is compaction. When you press the dough into that parchment-lined pan, press like you mean it! Use the bottom of a measuring cup or the back of a sturdy spatula to really smear it down firmly. That crushing action bonds those oats and powders together.
If you are looking for more great tips on keeping your homemade treats perfect, my friend Hana shared some wonderful advice about keeping homemade bars firm that you might find helpful too. A solid press and a good chill are your best friends here!
Meal Prep and Storage for Your Protein Bars
This is where these meal prep bars truly shine! Because they are no-bake, they hold up beautifully for days, making your week so much easier. Store them in an airtight container—I use one of those flat Tupperware bins so they don’t get squished.
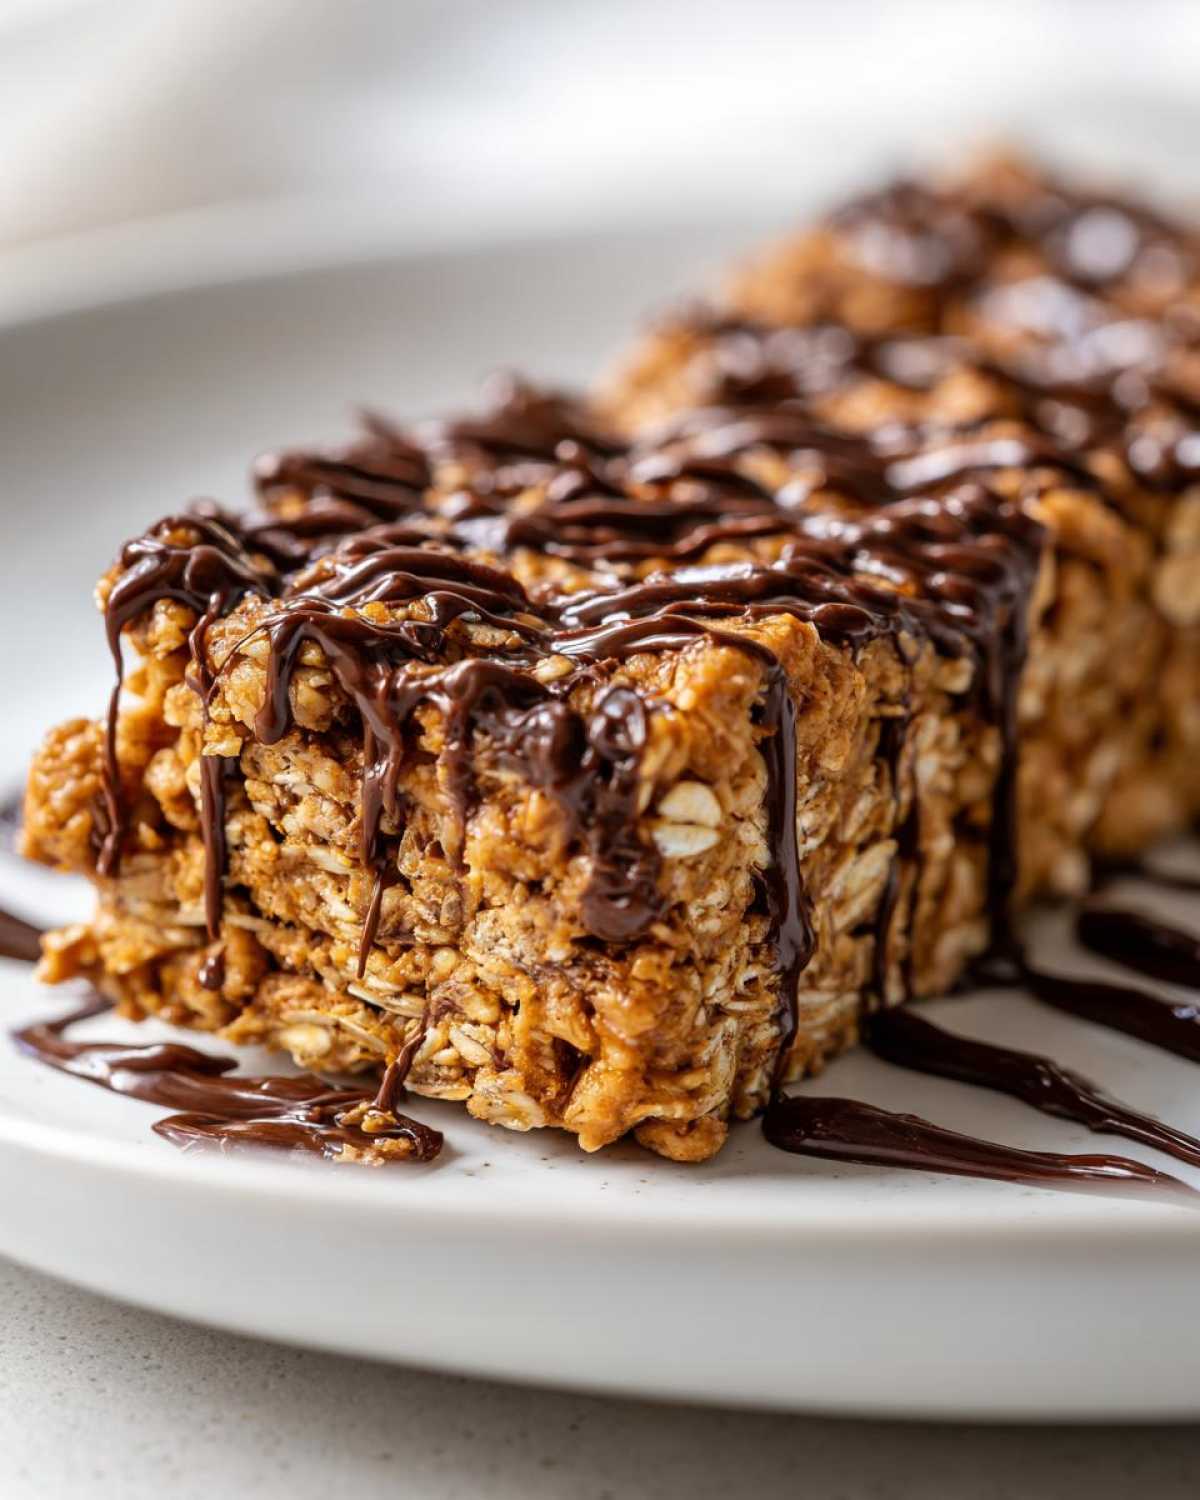
They stay perfectly fresh in the refrigerator for up to a full week. Seriously! If you want to make a huge batch for the entire month, just wrap individual bars tightly in plastic wrap or foil and pop them in the freezer. They thaw out perfectly on the counter while you’re getting ready for work, giving you a fresh-tasting snack with zero effort!
You can find some other excellent methods on how to manage large batches of homemade snacks over here, but for this peanut butter version, the fridge is your best friend.
Variations on These Simple Protein Bars
Part of the fun of making your own protein bars is knowing you can customize them! Since this base recipe is so incredibly forgiving, changing it up is a breeze. If you’re looking to swap out that classic peanut butter flavor, try using almond butter or even sunflower seed butter for an allergy-friendly treat. Voila—you have totally unique oatmeal protein bars!
You can also play with the spices. A tiny pinch of pumpkin pie spice added to the dry mix really elevates the flavor profile. Or, if you want rich, dark chocolate vibes, use chocolate-flavored protein powder instead of vanilla! For more ideas on fun flavor pairings that stay easy, check out these other simple treat recipes. It’s all about making them work for you!
Serving Suggestions for High Protein Recipes
Okay, now that you have these incredible, simple bars, when should you eat them? Honestly, any time! They are fantastic pre-workout fuel because they give you slow-releasing energy without feeling heavy. They also make the absolute best addition to lunchboxes; kids (and husbands!) love finding these waiting for them.
And let’s be real—when that evening craving hits, breaking off half a bar feels way better than reaching for something sugary. Truly, these high protein recipes are designed to fit right into your busy schedule, whether you need breakfast on the run or a guilt-free late-night treat. You can find some other thoughtful ways to integrate these snacks into your routine here!
Frequently Asked Questions About Making Protein Bars
I know you probably have a couple of little questions running through your head after seeing how simple this recipe is! It’s totally normal to want to tweak things, especially when you’re looking for specific dietary requirements. Here are the things I get asked most often about these homemade protein bars.
Can I make these low sugar protein bars?
That’s a great question, especially if you are watching your sugar intake! Since we are using honey or maple syrup as our main binder, cutting the sugar drastically changes the texture because those sticky ingredients are what hold the oats and powder together. If you truly need low sugar protein bars, you should look into alternatives like sugar-free maple syrup or monk fruit sweeteners, but you will likely need to increase the peanut butter slightly or add a splash of milk to get it to stick. Be prepared to test a small amount first!
Are these vegan protein bars recipe friendly?
Yes! Absolutely. As I mentioned earlier, if you swap the honey for maple syrup, you are good to go. Just make sure the vanilla protein powder you choose is marked as vegan friendly, too. It’s so easy to make these into vegan protein bars recipe compliant treats just by swapping that one ingredient. Isn’t it great how versatile these simple homemade snacks are?
How do I stop my homemade protein bars from crumbling?
This is the most common issue! Crumbling usually happens for two reasons: not enough binding agent or not pressing hard enough. Remember my tip to press down like you mean it? That compaction is crucial. If the mixture still feels too dry, add liquid one teaspoon at a time until it holds its shape when squeezed in your hand. A great resource with ideas for avoiding crumbles while keeping bars healthy can be found here.
Can I use different protein powder flavors?
You sure can! If you use chocolate protein powder, you might want to skip or reduce the chocolate drizzle, or maybe use vanilla protein powder to make these more like peanut butter protein bars. Just know that different brands of protein powder absorb liquid differently, so watch the consistency when mixing!
Estimated Nutritional Information for These Protein Bars
I always like to give you an idea of what you’re fueling up with! Remember that since we aren’t using specialty ingredients and everyone’s brand of peanut butter or protein powder varies slightly, these numbers are just a good estimate per bar.
For one of these protein bars, you’re looking at numbers roughly like this:
- Calories: About 220
- Protein: A solid 15 grams!
- Sugar: Only around 8 grams (much better than the candy bars we’re avoiding!)
- Fat: Around 12 grams (mostly good fats from the peanut butter!)
Think of these as a perfect, balanced, high protein recipe snack. Keep in mind these are averages; the exact numbers depend on your specific vanilla powder!
PrintEasy No-Bake 5-Ingredient Peanut Butter Protein Bars
Make these simple, no-bake peanut butter protein bars using only five ingredients. They are quick to mix, perfect for meal prep, and taste better than store-bought options.
- Prep Time: 10 min
- Cook Time: 0 min
- Total Time: 1 hour 10 min
- Yield: 10 servings
- Category: Snack
- Method: No-Bake
- Cuisine: American
- Diet: Vegetarian
Ingredients
- 1 cup rolled oats
- 1/2 cup natural peanut butter
- 1/2 cup vanilla protein powder
- 1/4 cup honey or maple syrup
- 1/4 cup dark chocolate chips (for drizzle)
Instructions
- Line an 8×8 inch baking pan with parchment paper, leaving an overhang on the sides for easy removal.
- In a medium bowl, combine the rolled oats, peanut butter, protein powder, and honey or maple syrup.
- Mix all ingredients thoroughly until a thick, uniform dough forms. You may need to use your hands to fully incorporate everything.
- Press the mixture evenly into the prepared pan. Press down firmly to make sure the bars hold together well.
- Place the pan in the refrigerator to chill for at least 1 hour, or until firm.
- Once firm, lift the block out using the parchment paper overhang. Cut into 10 even bars.
- Melt the dark chocolate chips in a microwave-safe bowl in 30-second intervals, stirring until smooth.
- Drizzle the melted chocolate over the top of the bars.
- Return the bars to the refrigerator for 15 minutes to set the chocolate before serving.
Notes
- For a vegan option, use maple syrup instead of honey.
- If the mixture seems too dry, add one teaspoon of water or milk at a time until it comes together.
- Store these homemade protein bars in an airtight container in the refrigerator for up to one week.
- You can substitute peanut butter with almond butter for a different flavor profile.
Nutrition
- Serving Size: 1 bar
- Calories: 220
- Sugar: 8
- Sodium: 95
- Fat: 12
- Saturated Fat: 3
- Unsaturated Fat: 9
- Trans Fat: 0
- Carbohydrates: 22
- Fiber: 3
- Protein: 15
- Cholesterol: 0