

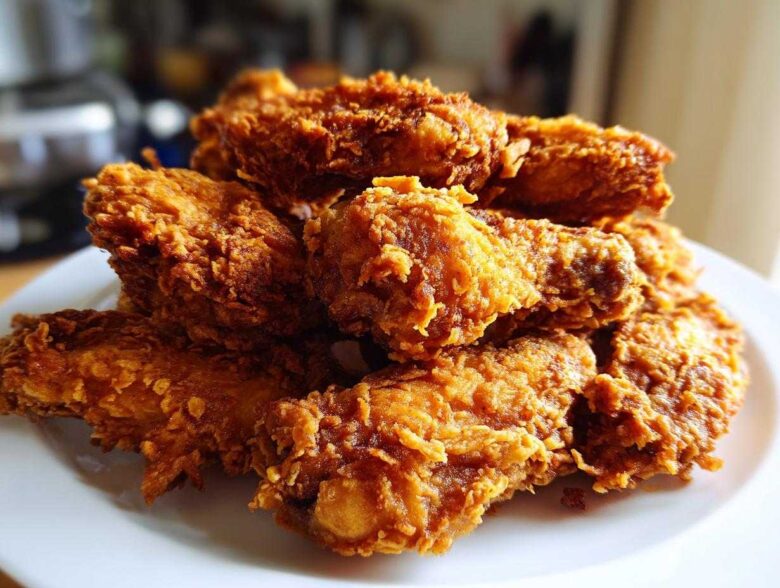
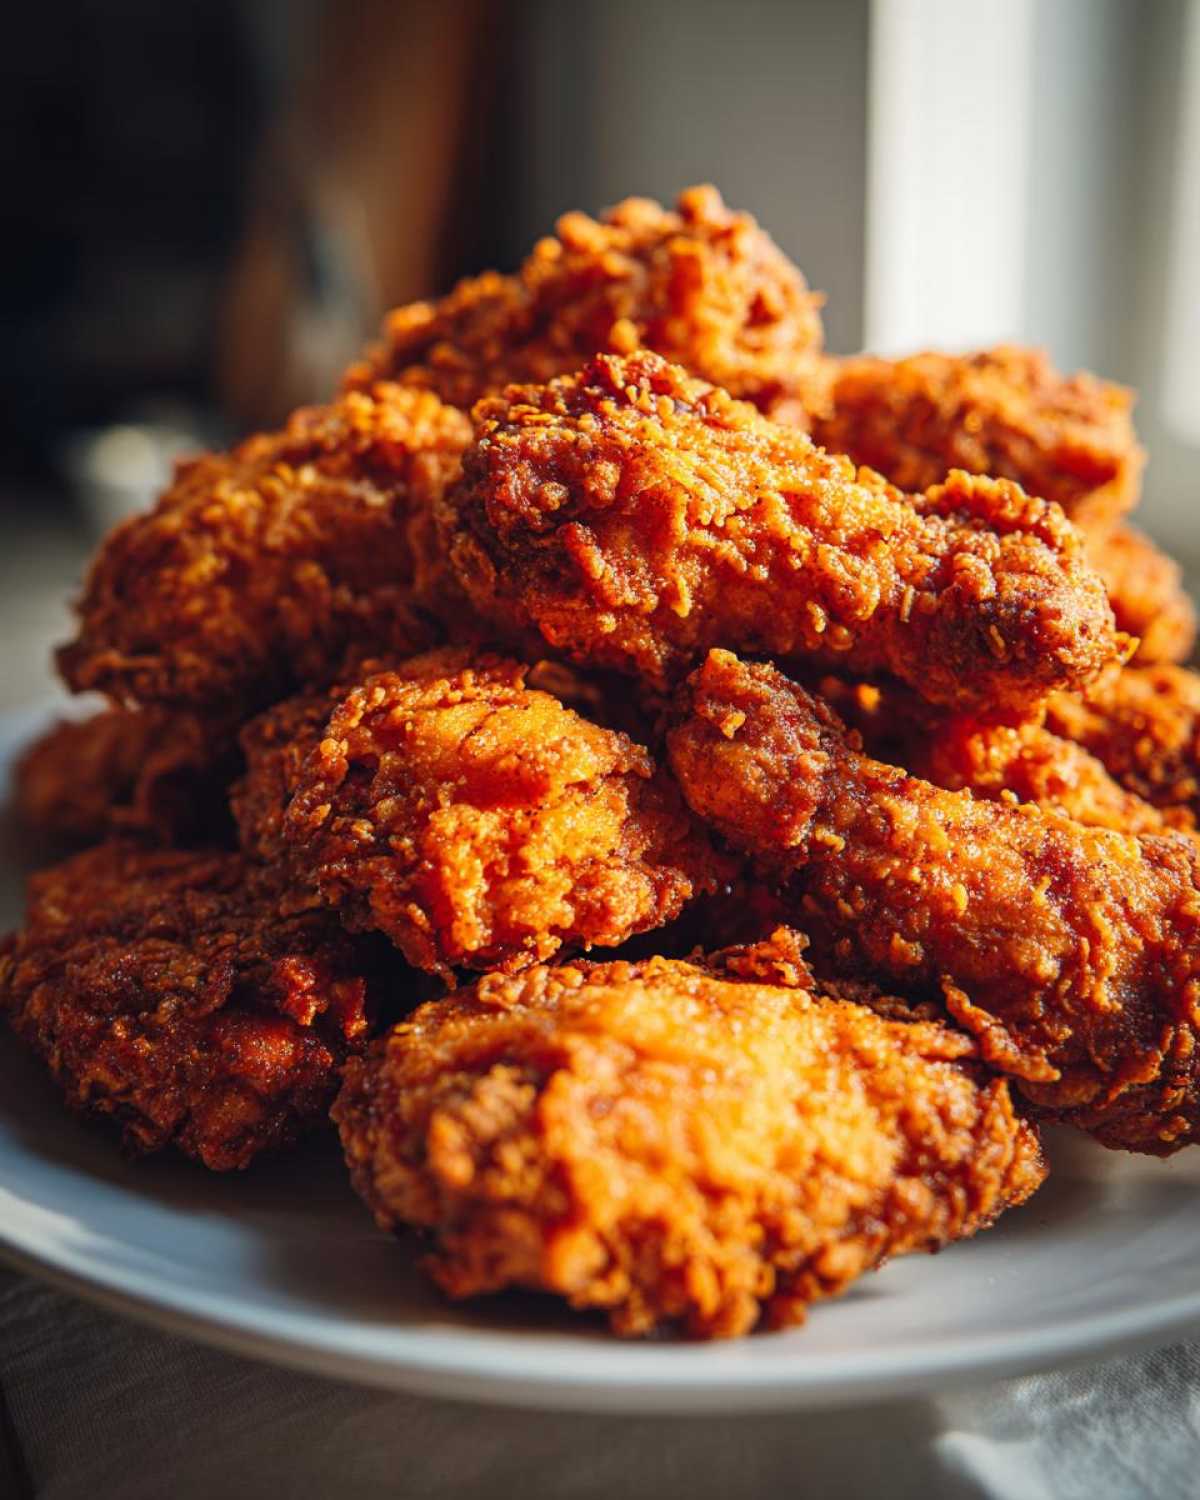
Listen, there’s nothing quite like biting into a perfect piece of fried chicken. I mean it. We all chase that elusive combination: skin that shatters in your mouth while the meat inside stays incredibly moist. Well, friends, I think Hana and I finally cracked the code for the absolute best fried chicken wings you’ll ever make at home. We’re talking shatteringly crispy exterior and a juicy, tender inside, achieved reliably with the double-fry method. This recipe is pure comfort food made for sharing, whether it’s a big game day or just a Tuesday when you deserve a treat. Forget soggy bottoms; these are the golden, crunchy wings destined for your rotation!
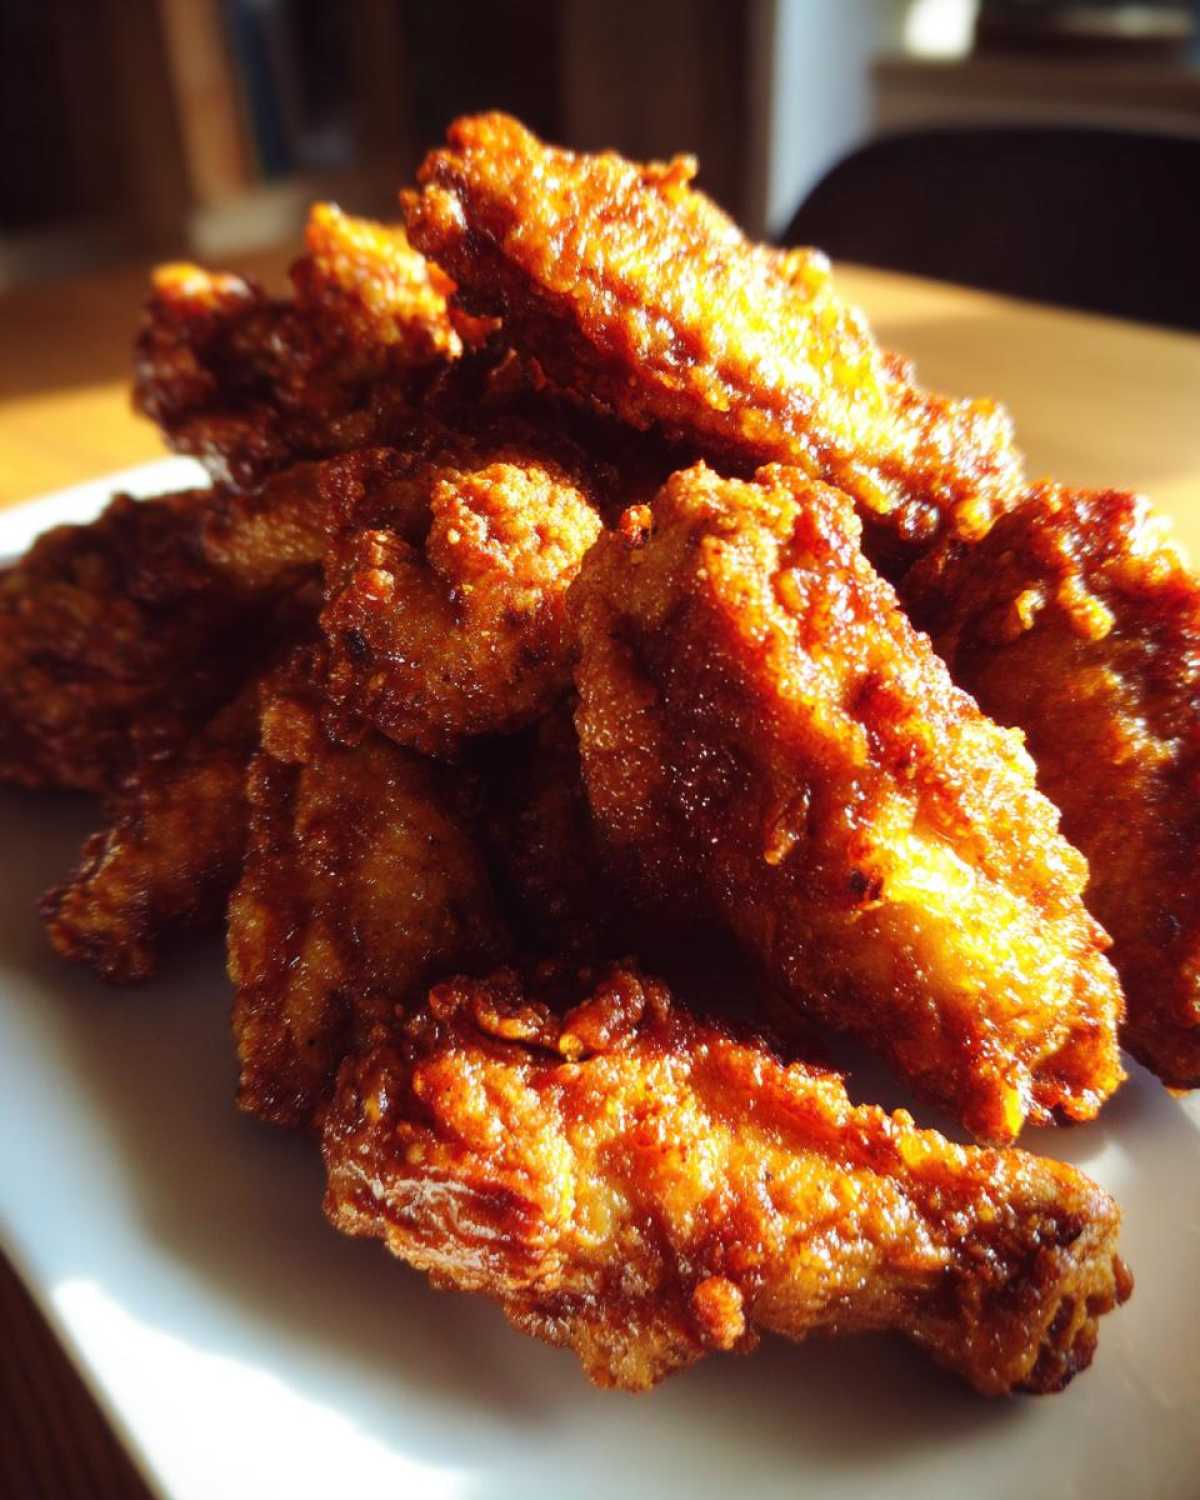
Why You Will Master These Crispy Fried Chicken Wings
I know you’re looking for results, and honestly, this recipe delivers every single time because it relies on solid, tested technique, not kitchen magic. You don’t need to be a professional chef to nail this!
- You get that amazing, restaurant-style crunch because we use cornstarch and the double-fry trick.
- The inside stays unbelievably juicy—I promise!
- They are the ultimate crowd-pleaser, perfect for your next Game Day spread.
- The temperature guide is clear, so there’s no guesswork involved.
Essential Equipment for Perfect Fried Chicken Wings
Okay, before we even get to mixing, let’s talk tools. Making excellent deep fried chicken wings really comes down to controlling the heat. You can have the best coating in the world, but if your oil temperature is off even a little, you’re going to end up greasy, sad wings. Trust me on this one; you need the right gear for consistent results.
Here are the absolute must-haves for this recipe:
- A heavy-bottomed pot or Dutch oven. Something sturdy holds heat much better when you drop cold chicken in.
- At least 4 cups of high-heat oil—peanut or vegetable oil works wonders.
- A reliable, instant-read deep-fry thermometer. This is my number one piece of advice. Controlling that 325°F and 375°F range is what separates a good wing from a spectacular one.
- A slotted spoon or spider strainer for lifting the wings out safely. Trust me, things get hot fast!
- Wire racks set over baking sheets. We need air circulation under those wings to keep the bottom from steaming and getting soft.
Ingredients for Perfectly Seasoned Fried Chicken Wings
Now we get to the fun part—building that incredible flavor profile right into the coating. I’ve learned that while sauces are great, if the base seasoning on your fried chicken wings isn’t spot on, you’re missing the magic. We keep the flavors classic but potent here, ensuring these are the best homemade fried chicken wings you try all year. Everything needs to be measured out before you get the oil hot, because once that fryer is ready, things move fast!
The Dry Dredge Components
This is our secret weapon for achieving that super crunchy coating that doesn’t fall apart. The combination of flour and cornstarch is key—don’t skip the cornstarch! It really aids in achieving that beautiful, shatteringly crisp exterior we talked about. We want lots of surface area coated evenly.
You’ll need:
- 1 cup all-purpose flour
- 1/2 cup cornstarch (Seriously, this is one of the main wing coating secrets!)
- 1 tablespoon salt
- 1 teaspoon black pepper
- 1 teaspoon garlic powder
- 1 teaspoon onion powder
- 1/2 teaspoon paprika
- 1/4 teaspoon cayenne pepper (If you want a tiny bit of a kick, otherwise leave it out!)
The Wet Binder
The wet mixture is what helps all that dry goodness stick to the raw wing meat without becoming a gummy mess. A simple buttermilk bath does double duty here. It helps tenderize the meat ever so slightly, which helps us achieve that perfect juicy inside crispy outside wings texture. It gets everything tacky enough for the dredge to cling!
Gather these:
- 2 large eggs
- 1/2 cup buttermilk
Just whisk these two together gently in their own bowl until they look uniform. Easy peasy!
How to Prepare Ultimate Crispy Fried Chicken Wings
This is where the magic happens! Anyone can drop wings into hot oil, but we are aiming for perfection here—that beautiful, shatteringly crisp coating and meat that just melts. Before we even think about fire, the prep work is essential. Those first few steps are non-negotiable if you want those fried chicken wings to turn out right. I’m sharing everything Noah and I painstakingly learned about temperature control to make this happen.
Prepping the Chicken and Coating for Best Results
First thing you have to do? Dry those wings out! Grab a stack of paper towels and pat every single wing piece until they feel completely dry. Excess moisture is the enemy of crispiness; it steams the coating instead of frying it. Once they’re dry, dip your wing into the wet buttermilk mixture, letting the extra drip off. Immediately move it over to the dry dredge bowl. Make sure you really press that flour mixture into every crevice—this is how you build the best batter for fried wings.
Here is a pro tip I learned from just watching too many cooking shows: once coated, place the wings on that wire rack and let them rest for about 10 minutes before they hit the oil. This lets the coating set up a little bit, which is crucial for adherence during the frying process next!
The Double-Fry Method for Restaurant Style Fried Chicken Wings
This two-step process is the holy grail for achieving true restaurant style fried chicken wings. Heat your oil to a happy 325 degrees Fahrenheit. Carefully lower just enough wings in so you don’t drop the temperature too much. Fry them for about 6 to 7 minutes. They won’t look super golden yet; they are just cooking through. Pull them out and let them rest back on the rack.
Now, crank that heat up! Get the oil nice and hot, about 375 degrees Fahrenheit. This is the second, quick fry. Pop the partially cooked wings back in for just 2 or 3 minutes until they reach that deep, satisfying golden brown. This blitz of extra-hot oil finishes the crisping process without overcooking the inside. Always use that thermometer, please!
Tips for How to Keep Fried Wings Crispy After Frying
So, you’ve done the hard work. You nailed the double-fry method, and those magnificent crispy fried chicken wings finally came out of the fryer. Now, how do we stop them from turning into rubbery sadness two minutes later? This is where technique matters even after the cooking stops! Serving them hot is obvious, but there are a few tricks I use that Hana and I swear by for keeping that crunch intact, especially if they are for a party.
My biggest rule, which I mentioned briefly before, is maximizing air flow. As soon as those wings come out of the 375-degree oil, they need to go straight onto a wire rack. Don’t even think about setting them on a plate or flat paper towels! Putting them down flat traps the residual steam right underneath, and that moisture dissolves your beautiful crisp coating. Let them sit on the rack for just a minute.
Also, season IMMEDIATELY. While they are dripping hot, hit them with a little extra pinch of salt. The heat helps the tiny salt crystals adhere perfectly to the coating. Seriously, don’t wait until they cool down even a little bit!
If you’re planning ahead for a big event—and you know how much we love party food—the trick to keeping wings amazing is preparation. You can absolutely perform the first fry (the 325°F cook-through stage) up to a day ahead of time. Let those partially cooked wings cool completely, then store them uncovered in the fridge. Seriously, uncovered! When guests arrive, crank the oil up to 375°F and give them that second, quick crisping fry. They will come out just as crunchy as if they were made fresh. This is the secret to stress-free hosting!
Variations: Making Spicy Fried Chicken Wings or Chinese Style Fried Wings
You know I believe a recipe should be a starting point, not a dictator! We’ve got this fantastic base recipe designed to deliver the ultimate crispy texture, but that texture is just the canvas for whatever flavor adventure you’re ready for. Turning these into amazing party wings or exciting snacks is super easy once you’ve mastered that double-fry technique.
Since these are for game day or just casual snacking, we don’t want to fuss too much if we can avoid it, so adding flavor usually happens *after* they come out of the oil. Here are two ways we often change things up to keep things interesting.
Going Spicy: If you are aiming for fantastic spicy fried chicken wings, the easiest way is to sauce them right after the final fry. While they are still piping hot and resting on that wire rack, toss them quickly in a bowl with a little melted butter mixed with your favorite hot sauce. A classic Buffalo mix works perfectly! The heat from the wing melts the butter and helps that spicy coating adhere wonderfully. You get incredible surface-level heat while keeping the base seasoning totally intact.
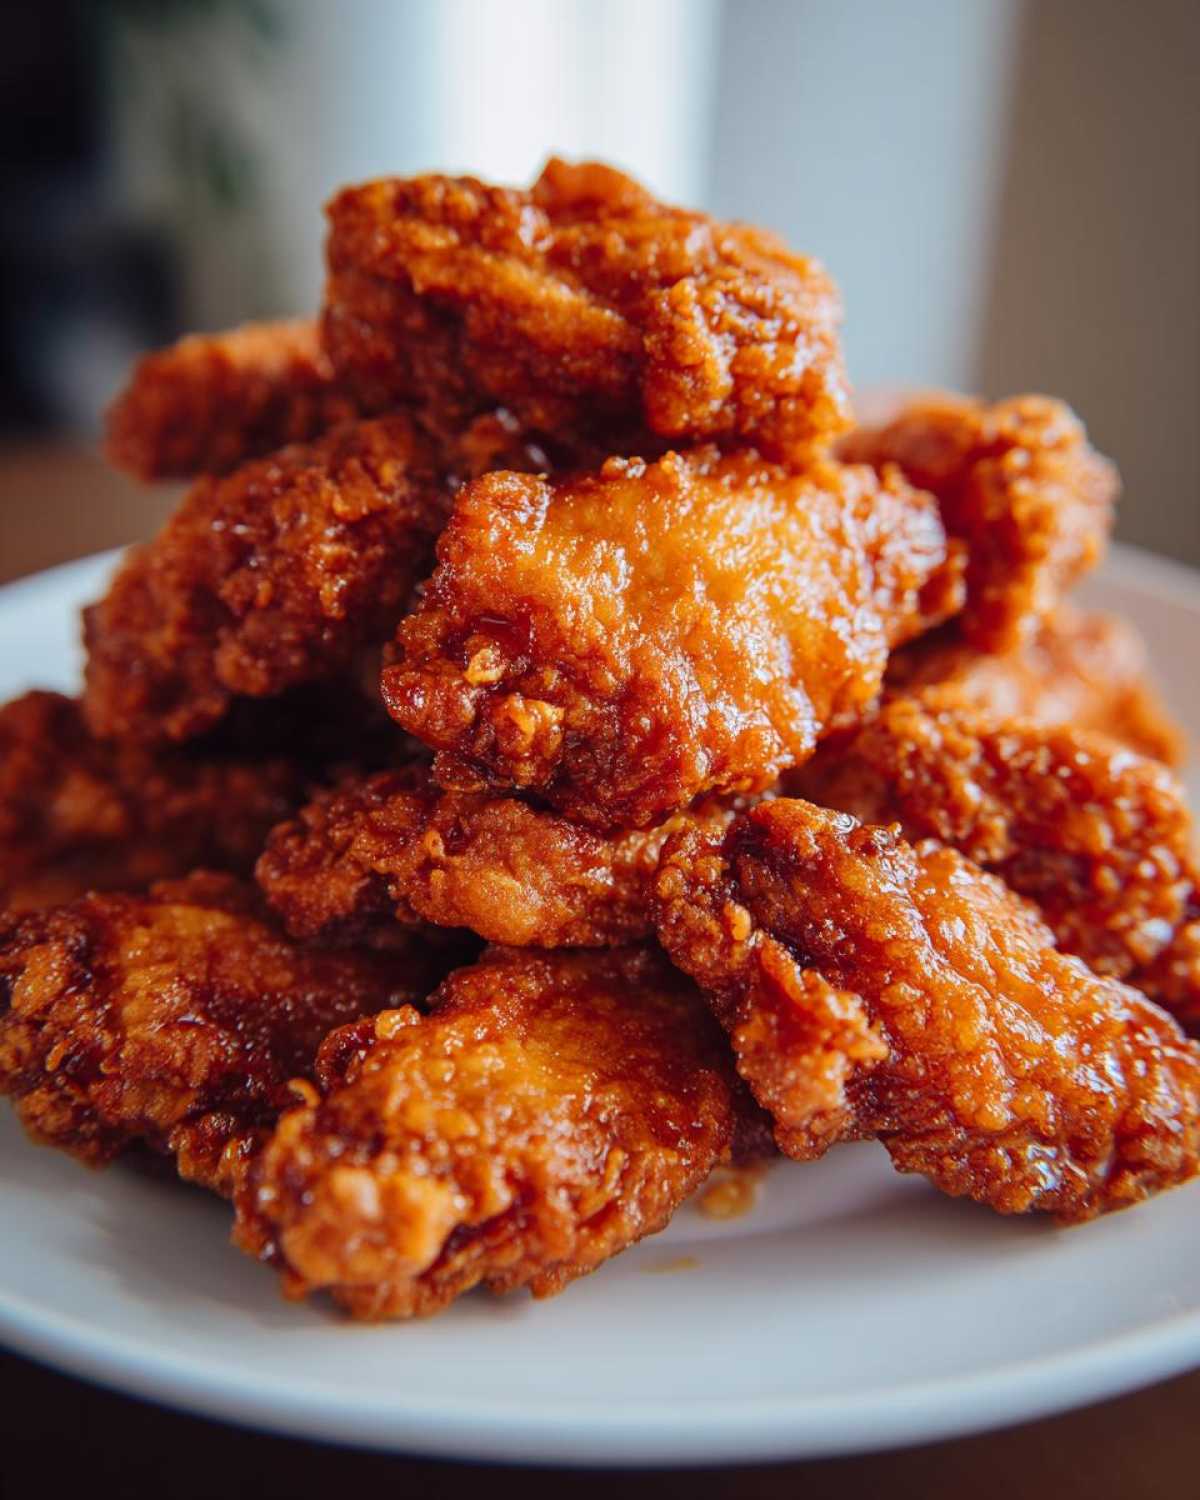
Bringing in Asian Flavors: Sometimes, I just crave that savory, slightly sweet takeout flavor—you know the kind! For Chinese style fried wings, you can get creative with the dry dredge. Before you coat the wings, whisk a teaspoon of onion powder and a teaspoon of ground dried ginger into your flour mix. Even better, you can create a quick glaze using soy sauce, a little honey, and fresh garlic sautéed briefly. Toss those finished, crispy wings in that glaze right before serving, and top with sesame seeds. It’s like taking a trip to your favorite spot without leaving the kitchen!
The beauty of this recipe is that the high crisp factor means the wings can handle a heavy toss of sauce or a quick glaze without getting instantly soggy. Have fun experimenting!
Serving Suggestions for Your Easy Fried Chicken Wings Appetizer
Okay, the wings are perfect! They look gorgeous coming out of that hot oil, golden brown and begging to be eaten. But what do you put beside them? Serving these babies up right is almost as important as the frying part, especially if you’re getting ready for big parties or setting up the ultimate game day chicken wing recipes spread. Hana and I usually try to balance the richness of the deep-fried goodness with something cool, fresh, or maybe even something cheesy!
Since these are such a fantastic, easy fried chicken wings appetizer, we keep the sides simple so the wings remain the star of the show. Here are a few ways we love to present them:
- Dips on Dips: You absolutely need a creamy dip. Forget those bottled ranch containers, folks! A tangy blue cheese dip is non-negotiable for spicy wings. For milder flavors, I love a simple honey-mustard sauce. If you’re looking to go all out for a crowd, I highly suggest our recipe for a creamy, savory dip—it’s amazing for cooling down the heat! Check out our recipe for a Southern 7-Layer Dip; it’s surprisingly fantastic with crispy chicken too!
- Crunchy Veggie Element: Balance is everything. We always serve a platter of crisp, ice-cold celery sticks and carrot sticks right next to the wings. They provide that necessary cool crunch that resets your palate between bites of rich, fatty wing.
- Lemon Wedges: This is so simple it’s almost silly, but a few fresh lemon wedges sprinkled with a little sea salt make a huge difference. A quick squeeze of fresh lemon juice cuts through the richness beautifully and brightens up the whole flavor profile.
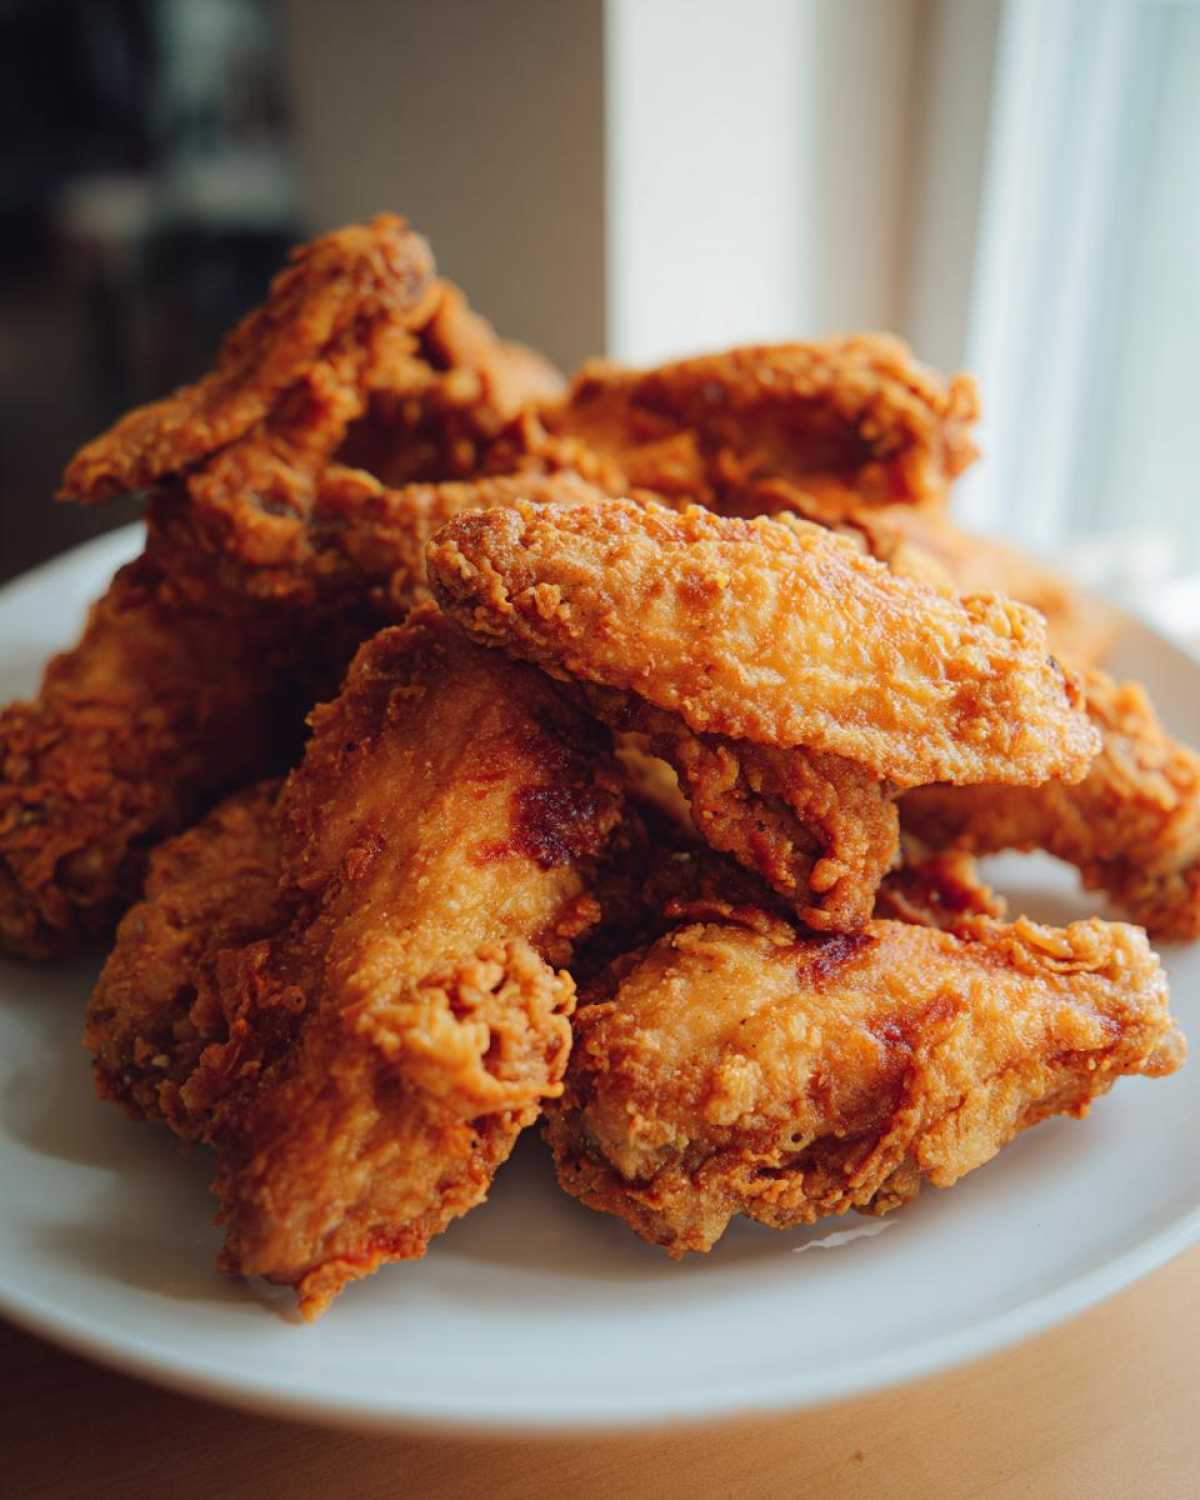
Presentation-wise, pile them high on a big platter lined with parchment paper—never a flat plate, remember? We want that air circulation even when they’re sitting out! Serve them immediately while they are blazing hot for the best possible experience.
Storage and Reheating Instructions for Leftover Fried Chicken Wings
I know what you’re thinking. Will there actually be leftovers? In our house, usually not, but when there are, we have a whole system in place to revive them before the next game day or late-night snack craving hits. The biggest challenge with any fried chicken wings is keeping that beautiful crunch after they cool down. If you just toss them in the fridge in a closed plastic container, you are guaranteeing a sad, soggy experience the next day. We absolutely cannot have that!
The main goal here is to dry the exterior back out and crisp it up again. The microwave is your sworn enemy in this scenario; it uses moisture to heat things and will turn your lovely coating into wet cardboard, instantly destroying the texture we worked so hard for.
Here is my go-to method for short-term storage and revival:
- Storing: Once the wings are totally cool (this is important—don’t put warm wings in the fridge!), place them in a container that lets air circulate. A zip-top bag works okay if you leave the top mostly open, or use an airtight container lined sparingly with a dry paper towel underneath. Try to eat them within a day or two for the absolute best texture.
- Reheating in the Oven: This is my preferred method for reviving a bigger batch. Set your oven to about 375 degrees Fahrenheit. Lay the wings out in a single layer on a wire rack—yes, another wire rack!—set over a baking sheet. Bake them for about 8 to 10 minutes. You’ll see them start to tighten up and look golden again. They come out surprisingly close to fresh!
- The Air Fryer Quick Fix: If you only have a few wings left, the air fryer is fantastic. Pop them in a single layer at 360 degrees Fahrenheit for just 4 to 6 minutes. Keep a close eye on them, though, as they can go from crispy to overdone fast!
Seriously, take the extra six minutes to use your oven or air fryer. These wings deserve the respect of a proper reheat because they are just too good to eat soggy!
Frequently Asked Questions About Fried Chicken Wings
I totally get it; when you are making something as beloved as the perfect batch of fried chicken wings, you’re going to have questions! That’s okay! I’ve gathered the ones Noah and I hear most often from friends batching these for parties or just trying to figure out the best way to get that amazing texture. I always recommend taking a peek at other great tutorials, too, like this one on how to make chicken wing recipes fried, just to see how different folks approach it!
Can I use an air fryer instead of deep frying for these fried chicken wings?
That’s the million-dollar question these days, isn’t it? Look, you *can* use an air fryer, and if you prep them well (lots of spraying with oil!), you’ll get a decent crunch. However, to be completely honest with you, you won’t achieve the true, shatteringly crisp texture that the double-fry method delivers. Air frying tends to dry the entire wing out a bit more, whereas deep frying seals in the juices almost instantly while crisping the exterior flawlessly. If you want the best, stick to the oil for these amazing deep fried wings recipe how to steps.
What makes the inside of my fried chicken wings juicy?
This is my favorite part to explain! Achieving that classic juicy inside crispy outside wings profile comes down to a few dedicated steps we took earlier. First, the buttermilk soak helps keep the meat tender by gently penetrating fibers. But the real hero is the double-fry method. Since we cook them low and slow (325°F) the first time, we bring the internal temperature up safely without burning that coating. Then, cranking the heat up to 375°F for the second fry only crisps the outside quickly, locking all that flavorful juice inside. It’s a two-step process that guarantees tenderness!
What is the best oil to use for deep frying wings reliably?
When I’m making these for friends, especially for big party wing recipes, I always reach for peanut oil or vegetable shortening/oil. What you need is high smoke point oil so it can handle the heat fluctuations without breaking down or smoking all over your kitchen. Both peanut and vegetable oils are neutral in flavor, so they won’t fight with the seasoning you worked so hard to get perfect. Just make darn sure you are monitoring that temperature with a good thermometer, otherwise, even the best oil can let you down!
How long do I need to let the coated wings rest?
Don’t rush this! Seriously, this is a small step that makes an enormous difference in whether you end up with truly crispy fried chicken wings or just slightly breaded wings. You need to let those flour-dredged wings rest on the wire rack for at least 10 minutes before they go into the hot oil. This resting time allows the moisture from the wet layer (buttermilk/egg) to hydrate the dry coating, creating a paste-like layer that fuses tightly to the skin. When that layer hits the hot oil, it becomes that perfect, hard, crunchy shell. If you skip it, the crust tends to fall off the wing in the fryer!
Nutritional Estimates for Perfectly Seasoned Fried Chicken Wings
Okay, let’s talk fuel for your body, because yes, these are delicious, but they are also deep-fried comfort food! I always feel better knowing roughly what I’m putting into my body, even when I’m indulging in absolute perfection like these fried chicken wings. I’ve put together the estimated nutritional data based on the recipe above, serving four people.
Keep in mind that these numbers are just my best guess based on standard ingredient weights. If you use a lighter oil, or if your wings happen to be slightly larger, your numbers will shift a bit. This is just a helpful guide for your easy fried chicken wings appetizer planning!
- Serving Size: 4 wings
- Calories: 380
- Fat: 25g
- Saturated Fat: 6g
- Carbohydrates: 15g
- Protein: 23g
- Sodium: 550mg
See that protein hit? That’s why we love wings, right? You get savory flavor and real substance. Just remember, the fat content is high because, well, we are frying these babies in oil! If you’re making a giant batch for a party, you might want to scale these estimates, but these should work perfectly for your immediate needs. Enjoy them guilt-free—you earned that crunch!
Share Your Perfect Fried Chicken Wings Experience
Whew! Now that you’ve successfully made your first batch (or maybe your tenth!) of these seriously amazing fried chicken wings, I would absolutely love to hear how they turned out for you. Did that double-fry method deliver the crunch you were hoping for? Did you try tossing them in a spicy buffalo sauce, or did you stick to the perfect seasoning? Don’t be shy!
Hana and I pour our hearts into testing these recipes so that you can have stress-free, incredible food moments in your own kitchen. So please, take a minute and leave a quick rating for this recipe right below. Every star helps other cooks find success, and I read every single comment!
We are building this whole Spoon Swirl community together, and sharing your results—maybe even a picture of how you served them up for your Game Day party—is the best part for us. If you tried one of the variations, like bringing in some Asian flavors, let us know what adjustments you made! If you want to stick around for more of our favorite comfort recipes and baking adventures, pop over to the main blog.
Go ahead, brag a little about that perfect crispy skin. We can’t wait to see what you created!
PrintUltimate Crispy Deep Fried Chicken Wings: Juicy Inside, Restaurant Crunch

Learn the secret to making perfectly seasoned, deep fried chicken wings that stay shatteringly crispy on the outside and incredibly juicy inside. This recipe is ideal for game day or any party appetizer.
- Prep Time: 20 min
- Cook Time: 15 min
- Total Time: 35 min
- Yield: 4 servings
- Category: Appetizer
- Method: Deep Frying
- Cuisine: American
- Diet: Low Lactose
Ingredients
- 2 lbs chicken wings (flats and drumettes separated)
- 1 cup all-purpose flour
- 1/2 cup cornstarch
- 1 tablespoon salt
- 1 teaspoon black pepper
- 1 teaspoon garlic powder
- 1 teaspoon onion powder
- 1/2 teaspoon paprika
- 1/4 teaspoon cayenne pepper (optional, for a little heat)
- 2 large eggs
- 1/2 cup buttermilk
- 4 cups vegetable oil or peanut oil, for frying
Instructions
- Prepare the chicken: Pat the chicken wings completely dry using paper towels. This step is crucial for crispiness.
- Mix the dry dredge: In a medium bowl, whisk together the flour, cornstarch, salt, pepper, garlic powder, onion powder, paprika, and cayenne pepper.
- Mix the wet mixture: In a separate bowl, whisk the eggs and buttermilk together until combined.
- Coat the wings: Dip each dried wing first into the buttermilk mixture, letting any excess drip off. Then, dredge the wing thoroughly in the flour mixture, pressing the coating onto the chicken. Set the coated wings on a wire rack.
- Heat the oil: Pour the oil into a deep, heavy-bottomed pot or Dutch oven until it reaches about 2 inches deep. Heat the oil to 325 degrees Fahrenheit (160 degrees Celsius). Use a thermometer to monitor the temperature closely.
- First fry (Cooking through): Carefully lower the wings into the hot oil in batches, ensuring you do not overcrowd the pot. Fry for 6 to 7 minutes until they are cooked through and lightly golden. Remove the wings with a slotted spoon and place them back on the wire rack. Increase the oil temperature to 375 degrees Fahrenheit (190 degrees Celsius).
- Second fry (Crisping): Return the partially cooked wings to the 375 degree oil in batches. Fry for an additional 2 to 3 minutes until they achieve a deep golden brown color and a very crispy exterior. This double-fry method keeps the inside juicy.
- Drain and season: Remove the finished wings and place them on a clean wire rack set over a baking sheet. Immediately sprinkle with a little extra salt while they are hot.
- Serve immediately for the best texture, or toss with your favorite sauce if desired.
Notes
- For the best results, let the coated wings rest on the rack for 10 minutes before the first fry. This allows the coating to adhere better.
- If you want a spicy fried chicken wings flavor, toss the finished wings in a mixture of melted butter and your favorite hot sauce.
- If you are making these for a party, you can complete the first fry ahead of time. Store the wings in the refrigerator, then complete the second fry just before serving.
Nutrition
- Serving Size: 4 wings
- Calories: 380
- Sugar: 0.5
- Sodium: 550
- Fat: 25
- Saturated Fat: 6
- Unsaturated Fat: 19
- Trans Fat: 0
- Carbohydrates: 15
- Fiber: 0.5
- Protein: 23
- Cholesterol: 110