

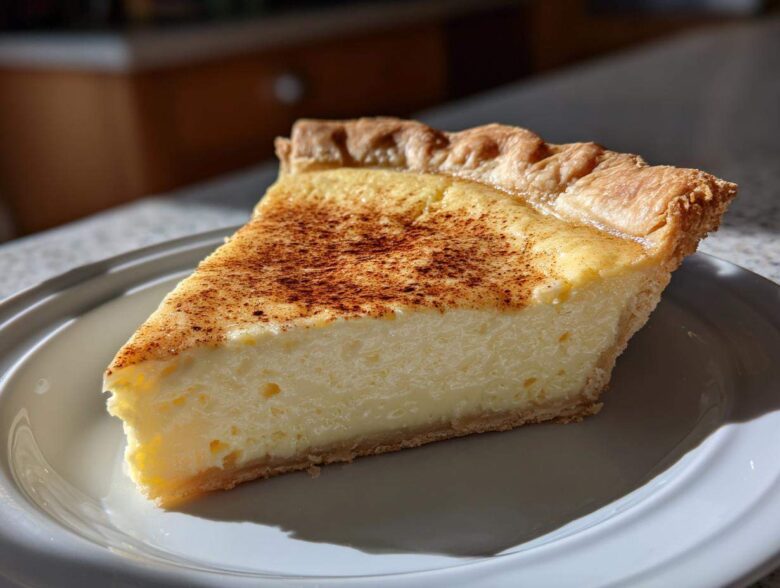
Sometimes, you just need a recipe that feels like a warm, cozy hug from the past, you know? Life gets so complicated, but a simple, classic dessert reminds you that the best things are usually the easiest. That’s exactly what guided Noah and me when perfecting this Fail-Proof Old Fashioned Egg Custard Pie. It’s pure nostalgia in a flaky crust, made with just eggs, milk, and a little sugar—the foundation of a perfect egg custard. When I’m feeling overwhelmed, making this dessert brings me straight back to that quiet, comforting place Noah created for me with his first loaf of bread. We pour a lot of love into our kitchen habits, and you can read all about why we started this journey over on our About Us page. We’ve worked hard to make sure this traditional custard dessert works beautifully every single time, even if you’re nervous about baking with custard fillings.
Why This Old Fashioned Egg Custard Pie is Fail-Proof (E-E-A-T)
Honestly, so many recipes for baked custard end up either watery or rubbery, and that’s just depressing when you’re hoping for comfort food! We focused intensely on making this an easy, fail proof baking tips recipe. The secret isn’t magic, it’s just a couple of very simple techniques we learned through trial and error.
First, you absolutely cannot beat the eggs hard! If you do, air gets trapped, and boom—you get cracks. We only want a gentle whisk. Second, and this is the real game-changer for a creamy egg custard filling, you need to strain the mixture before it hits the crust. Trust me on this step; straining removes any weird bits and guarantees that silkiness we all crave in a classic baked custard.
If you’re looking for more reassurance on smooth baking, check out some of the great advice over at Fail-Proof Egg Custard guides!
Gathering Ingredients for Your Classic Baked Custard
Making a proper classic baked custard should never feel complicated, and that’s why we keep the ingredient list super simple. These are the core components you’ll need for our traditional custard pie. Everything comes together in just a few minutes!
- 9 inch unbaked pie crust (just pop it into the plate!)
- 3 large eggs (freshness matters here!)
- 1/2 cup granulated sugar
- 2-2/3 cups whole milk
- 1 teaspoon pure vanilla extract
- 1/4 teaspoon salt
- A light dash of ground nutmeg for the topping
Ingredient Notes and Substitutions for Egg Custard
Okay, a few quick notes because these details stop your custard from going wonky! Please use whole milk; the fat content is essential for that rich, creamy mouthfeel. If you’re trying to cut back on sugar, you can swap the sugar for your preferred keto sweetener equivalent, but know that the classic version relies on that simple sweetness.
And that nutmeg on top? Don’t skip it! It’s the signature perfume of a proper old-fashioned dessert. Just a light dusting right before it goes into the oven is perfect for that lovely, spicy finish on your egg custard.
Step-by-Step Instructions for Perfect Egg Custard
Now we get to the fun part—putting this simple custard recipe together! You’ll see how quickly this comes together, which means less waiting until you get that first taste of warm, comforting egg custard. Just remember the golden rules: slow and steady wins the race when dealing with eggs!
- First things first, get your oven warmed up to 350 degrees F. Place that unbaked pie crust right into your 9-inch pie plate. No fussy blind baking needed here, thank goodness!
- In a medium bowl, take your 3 large eggs and whisk them gently. I mean it—don’t get aggressive! We are just trying to combine them, not whip up meringue. Over-beating introduces air, and air causes cracks later!
- Next, whisk in your sugar and salt slowly until you can’t feel those sugar grains anymore on your whisk. Then, dribble in the milk and vanilla extract, stirring until it looks like a unified liquid filling.
- Pour this beautiful liquid right into your crust. If you want to check out some great tips on mastering delicate fillings, this guide on easy and creamy fail-proof egg custard recipe is really helpful.
Achieving the Smooth Custard Technique
This section is where the texture perfection happens, my friends. You must strain that custard mixture through a fine-mesh sieve right before it goes into the oven. This simple pass catches any bits of egg white or undissolved sugar that survived your gentle whisking. It’s the absolute quickest way to guarantee that smooth custard technique results in a silky finish every single time. It acts like a final filter for perfection!
Baking and Cooling Your Homemade Egg Custard
Before you slide it in, add a tiny dash of ground nutmeg right over the top liquid. Now, bake this treasure for about 40 to 50 minutes. You’re looking for the edges to be all set while the very center still trembles just a tiny bit when you gently nudge the oven rack. That slight jiggle is key!
Once you pull it out, you have to let it cool completely on a wire rack. This cooling process is crucial for the structure of your homemade egg custard. For the *ultimate* insurance policy against cracks—our fail-proof secret—bake it in a water bath (a *bain-marie*). Just nestle the pie plate in a larger roasting pan and fill the larger pan with hot water halfway up the side of your pie plate. Chill that wonderful pie for at least four hours, or better yet, overnight! Patience here equals the creamiest texture possible.
Tips for Success with Your Simple Custard Recipe
Even though this simple custard recipe is designed to be easy, I have a few extra little secrets up my sleeve that Noah and I insist on doing for every single pie. These small touches make the difference between a good slice and a truly divine, nostalgic experience.
First up: protect those beautiful, flaky edges! If you see your crust browning too fast halfway through baking—and trust me, the edges always brown first—just cut a small ring of aluminum foil and gently drape it over the rim. It’s such a no-fuss trick that saves you from having to cut off dry, burnt edges later. You can see this handy trick mentioned over at Citrus Oven too!
Also, I can’t stress this enough: slow cooling is non-negotiable for that perfect creamy egg custard filling. Don’t try to rush it by setting it on a frozen counter! Let it cool completely on the rack, and then *chill* it for the full four hours or overnight. If you try to slice it warm, the custard will weep and lose that beautiful, firm-yet-velvety texture we worked so hard to create.
Finally, when you’re mixing, use a bowl that isn’t ice cold. Room temperature ingredients blend much more evenly, which means less risk of you over-whisking to try and incorporate something stubborn!
Serving Suggestions for this Traditional Custard Dessert
This is where we talk about making the ending as perfect as the middle! Since this pie is such a classic, old fashioned dessert, I like to keep the serving simple and focused on letting that creamy vanilla flavor shine. Noah and I rarely mess with this after it’s chilled because the texture is just unbeatable cold.
When do you serve it? Always chilled! Seriously, slicing into a room-temperature custard pie is a recipe for messiness. Giving it that long chill time is what locks in the texture. It’s the best way to enjoy that silky, smooth slice.
If you want to dress it up a little for guests—maybe for a holiday gathering—I turn to simple textures that contrast nicely with the smooth filling. A dollop of fresh, lightly sweetened whipped cream is heavenly. It melts just slightly against the cool custard, and it’s just beautiful.
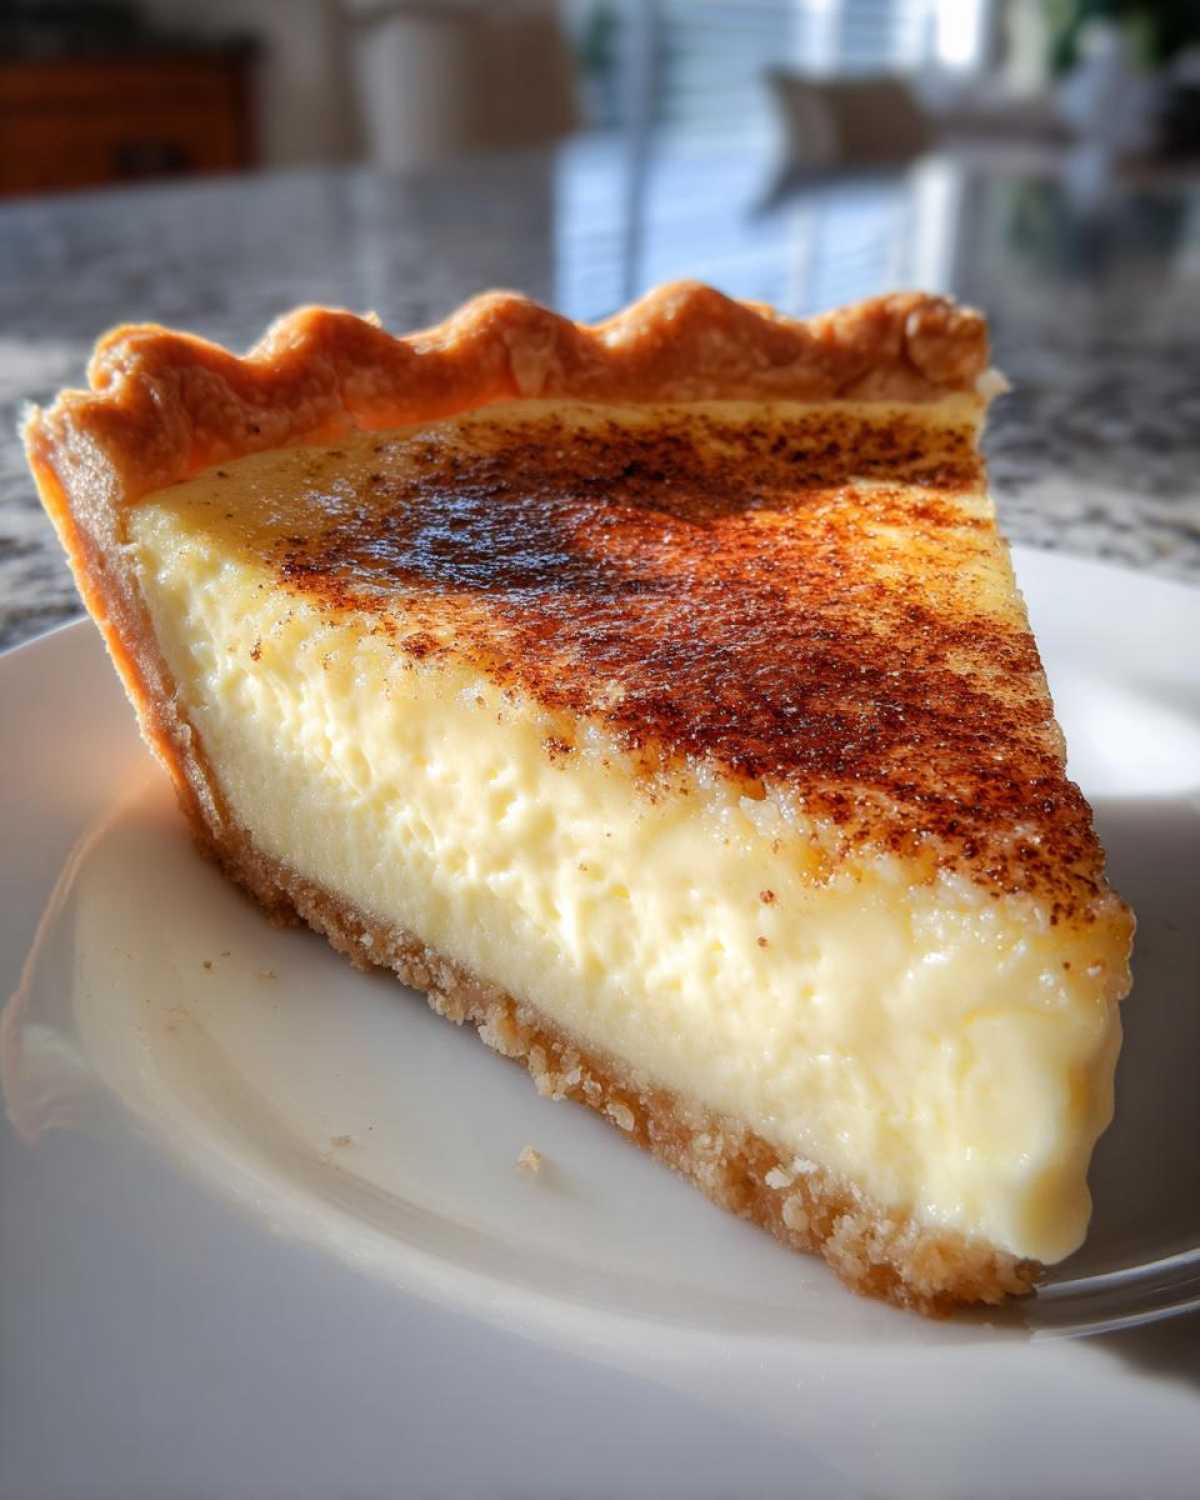
Another favorite pairing of mine, especially if you’re feeling a bit autumnal, is a tiny sprinkle of cinnamon on top of the whipped cream, or maybe a few toasted pecans scattered around the plate. We found this lovely post on DIY Joy that talks about serving temperature, and I completely agree; serving it cold is the way to go for a beautiful presentation!
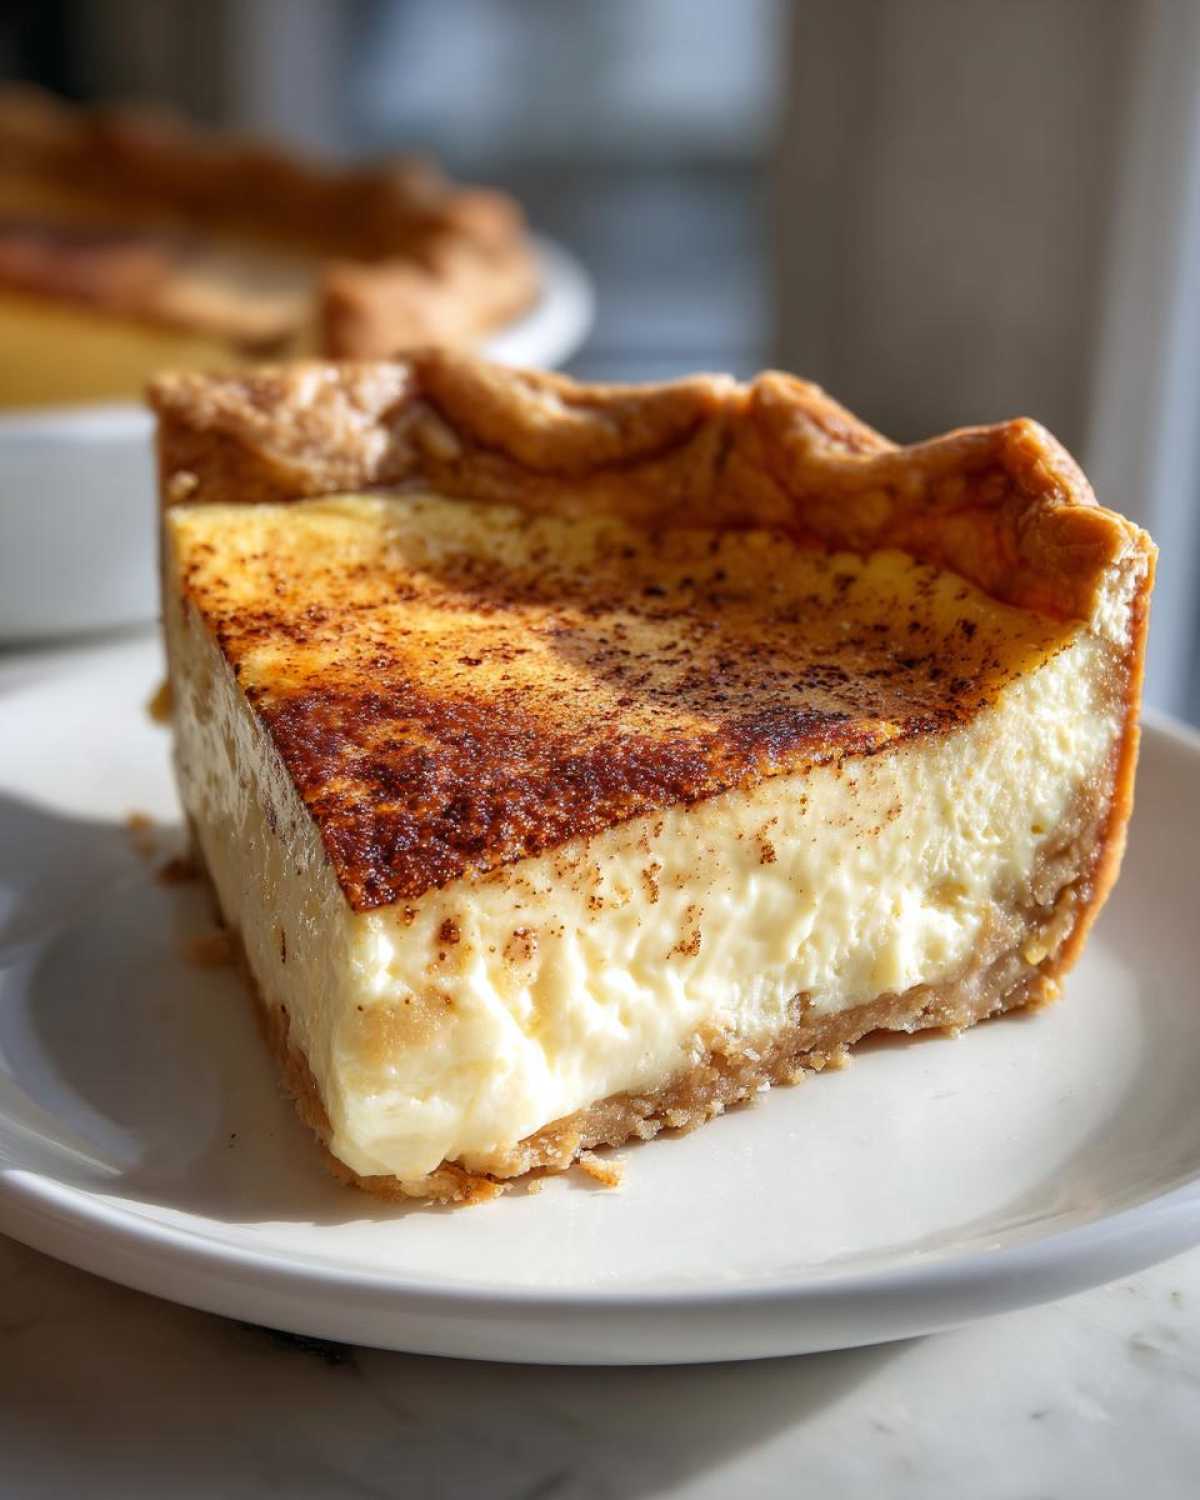
Sometimes, if I am serving this after a heavy dinner, I’ll pair a small slice with some fresh berries—raspberries or sliced strawberries—just for a little tart contrast to the sweet vanilla custard. Nothing fancy, just clean flavors that complement a truly traditional dessert recipe.
Storage and Reheating Instructions for Egg Custard Pie
Once you’ve managed to keep your hands off this beautiful pie, you’ll need to know how to store the leftovers—if there are any, of course! The best part about this egg custard pie is that it actually holds up really well in the fridge, which makes it a fantastic make-ahead dessert for holidays or busy weekends.
You absolutely must keep any leftovers tightly wrapped in plastic wrap or tucked into an airtight container. This pie likes being cold! Keep it in the refrigerator for up to 3 or maybe 4 days. Seriously, 3 is safer, but 4 is doable.
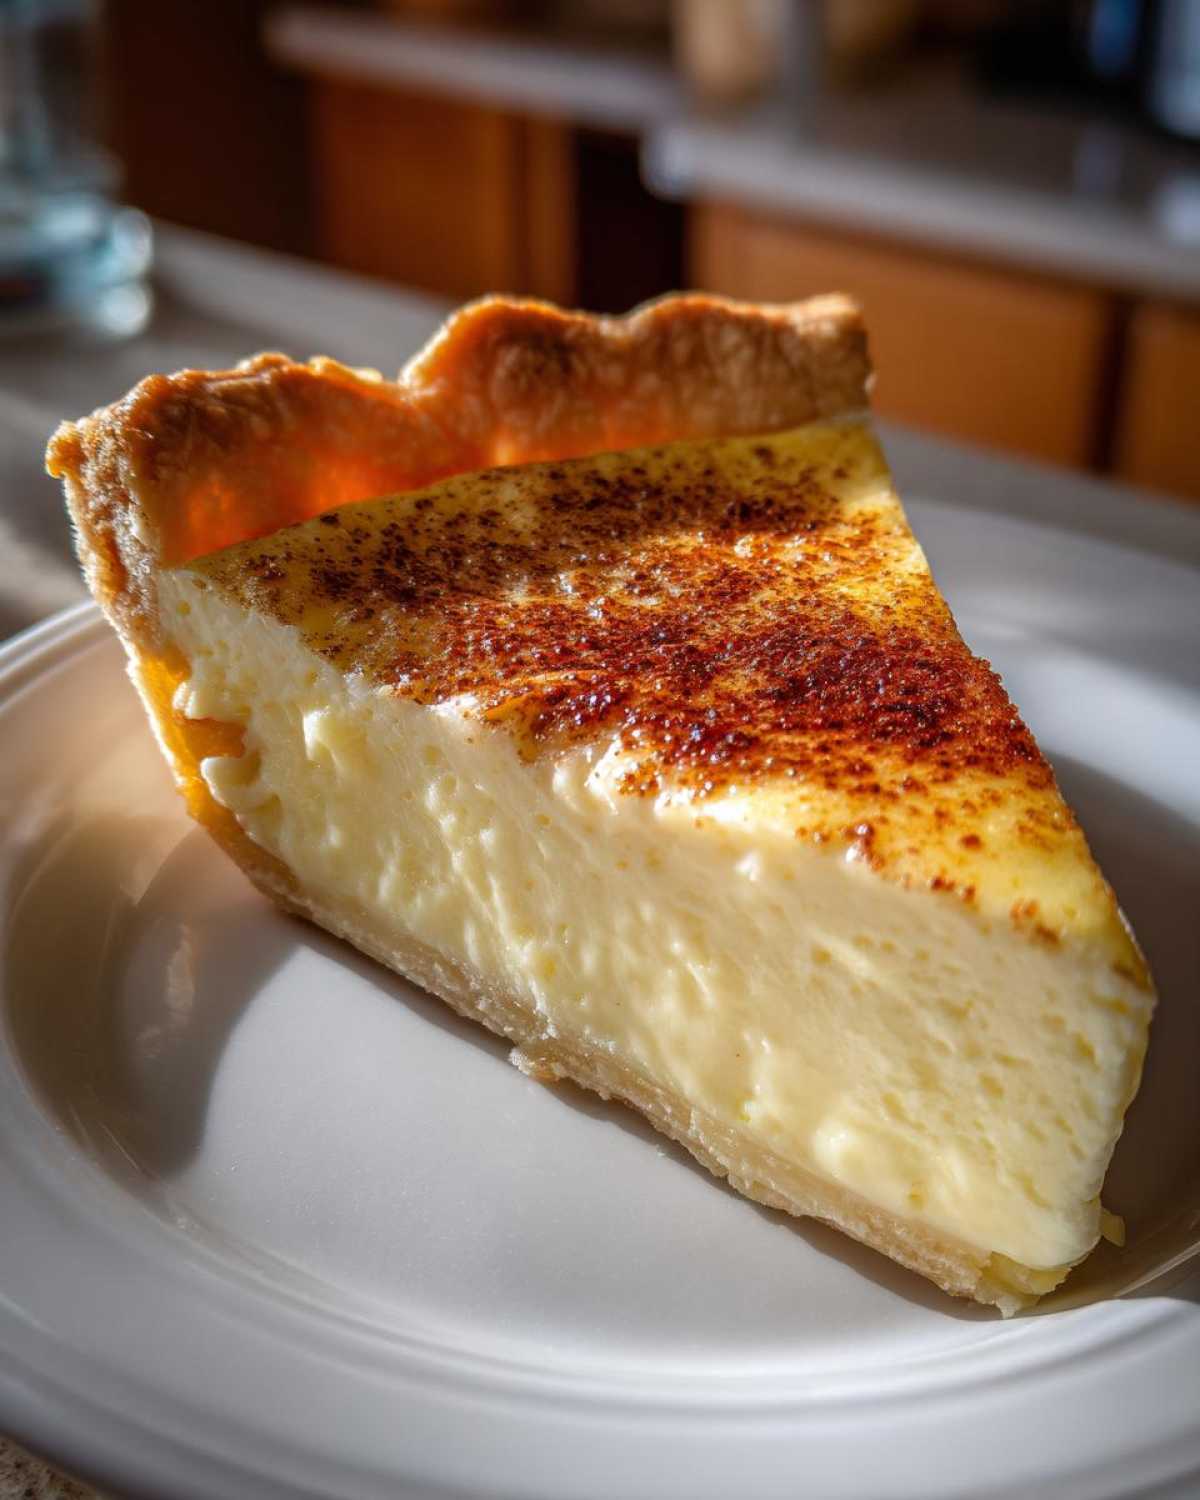
My firm recommendation? Serve it cold, straight from the fridge. That chilled temperature is what keeps the structure firm and the filling perfectly creamy. When it’s cold, slicing is clean, and that slightly cool sensation against the sweet vanilla flavor is just divine.
Now, about reheating—I usually advise against it entirely. Warming up a baked egg custard filling tends to change the texture. It might result in a softer, almost weeping filling, and we worked too hard to get that lovely set structure!
But, if you *absolutely* have to warm a small slice (maybe you prefer it slightly warmer than fridge-cold?), do it very gently. Place just one slice on a microwave-safe plate and zap it on 30% power for just 10 to 15 seconds. You want it barely warm, not hot. If you use the oven, wrap the slice loosely in foil and warm it at 300 degrees F for only about 5 minutes. Test it gently with a fork before you commit to eating it. Honestly though, just eat it cold—it’s way better that way!
Frequently Asked Questions About Egg Custard
I get so many questions every time I post this pie because everyone wants that perfect, shatteringly smooth result! Don’t worry, finding an easy egg custard recipe that works shouldn’t be a mystery. Here are the things people ask me most often about making this classic dessert. If you have another question, pop over to the Spoon Swirl Blog and leave a comment!
Why did my egg custard crack on top?
This is my biggest heartbreak story! Almost always, cracking happens for one of two reasons. First, you over-baked it. I mention this in the main steps, but if the center is completely solid when you take it out, it means it continued cooking on the counter and tightened up too much, causing those dreadful cracks. You want that little wobble!
Second, too much heat too fast can shock the proteins in the eggs. If you’re nervous, this is when you bring out the big guns: the water bath! Using that hot water bath while baking is the #1 way to ensure a perfectly smooth bake, keeping the temperature gentle and even around the whole pie. It guarantees that fail-proof finish every time.
Can I make this custard pie from scratch without a crust?
That’s a great question if you’re trying to simplify things even further, maybe looking for a true custard pie from scratch experience. The short answer is yes, you can totally make the filling alone! Milk and eggs are the stars here, so the filling will set up beautifully on its own.
Instead of aiming for a crustless pie, I actually recommend making this filling in individual ramekins. They bake much faster and are easily transportable—great for a quick dessert if you don’t want to deal with an entire pie shell. Just use the same liquid ratio, but keep the bake time much shorter, usually only about 25 minutes. It turns into a wonderful, simple baked dessert that acts just like a smooth simple custard recipe served in a little bowl.
What is the best way to get a rich vanilla custard recipe flavor?
Oh, this is where flavor truly shines! If you want that deeply satisfying, *impossibly* rich flavor in your vanilla custard recipe, it all comes down to ingredient quality. First, make sure you are using **pure vanilla extract**, not imitation. The difference is night and day! Pure extract brings out the warmth of the egg yolks beautifully.
Second, again, don’t skimp on the whole milk! Skim milk makes a thinner, less flavorful custard. The milk solids and fat in whole milk carry the vanilla flavor much more effectively while also contributing to that luxurious texture. It’s worth it, trust me, for this comforting dessert!
Nutritional Estimate for This Comfort Food Dessert
Because we are using simple, whole ingredients like milk, eggs, and sugar in this old fashioned dessert, I wanted to share what we typically see for the nutritional breakdown per slice. Please take this with a grain of salt, okay? We aren’t nutritionists over here at Spoon Swirl, we are just bakers sharing comfort!
This is just an estimate for one generous slice of our classic baked custard pie made with standard ingredients. Your actual numbers will vary depending on the type of crust you use (homemade vs. store-bought) and exactly how much sugar dissolves!
- Serving Size: 1 slice
- Calories: About 250
- Fat: Around 10g (with about 5g saturated)
- Carbohydrates: Roughly 30g
- Sugar: We estimate about 20g (mostly from the added sugar and milk lactose)
- Protein: Around 10g (thanks to all those lovely eggs and milk!)

If you happen to be making the keto version we mentioned—swapping out the sugar for a zero-calorie sweetener—your carbohydrate and sugar totals will naturally drop substantially! It’s amazing how this simple recipe can adapt to different needs while still tasting like the ultimate comfort food dessert. I just hope you enjoy every single bite!
Share Your Experience with This Egg Custard Recipe
Now that you have my entire method for achieving that dreamy, silky texture, I really, truly want to hear from you! Baking should always be a conversation, not a monologue. Did you try it? Did this recipe finally give you that perfect, smooth egg custard you’ve been chasing?
Please, please leave a star rating underneath this post! It helps other nervous bakers know they can trust this recipe too. And if you have a moment, drop a comment below and tell me how it turned out for you. Did you stick to the classic nutmeg sprinkle, or did you sneak in a little extra vanilla? I love seeing how you all adapt these simple, favorite desserts!
If you ever run into a snag or need to ask a quick question about proportions, don’t hesitate to zip over to our Contact Page. Noah and I read every message, and we’re always happy to help you troubleshoot or just cheer you on from afar. Happy baking, friends!
PrintFail-Proof Old Fashioned Egg Custard Pie

Make a creamy, smooth, and comforting classic baked egg custard pie using this easy, fail-proof recipe. This traditional dessert is perfect for holidays or any time you need a taste of nostalgia.
- Prep Time: 15 min
- Cook Time: 50 min
- Total Time: 65 min
- Yield: 8 servings
- Category: Dessert
- Method: Baking
- Cuisine: American
- Diet: Vegetarian
Ingredients
- 9 inch unbaked pie crust
- 3 large eggs
- 1/2 cup granulated sugar
- 2-2/3 cups whole milk
- 1 teaspoon pure vanilla extract
- 1/4 teaspoon salt
- Dash of ground nutmeg for topping
Instructions
- Preheat your oven to 350 degrees F. Place your unbaked pie crust into a 9-inch pie plate.
- In a medium bowl, gently whisk the 3 large eggs until they are just combined. Do not over-beat the eggs, as this introduces air that can cause cracks.
- Add the sugar and salt to the eggs. Whisk slowly until the sugar dissolves.
- Gradually whisk in the milk and vanilla extract until the mixture is smooth. You are making a simple custard filling here.
- Pour the liquid custard mixture into the unbaked pie crust.
- For a smooth texture, carefully strain the custard mixture through a fine-mesh sieve into the crust. This removes any chalazae or unmixed bits.
- Sprinkle a light dash of ground nutmeg over the top of the liquid custard.
- Bake the pie for 40 to 50 minutes. The custard is done when the edges are set but the center still has a slight jiggle when gently shaken.
- Remove the pie from the oven. Let it cool completely on a wire rack before slicing. This cooling process is key to a creamy egg custard filling.
- Chill the pie in the refrigerator for at least 4 hours, or preferably overnight, before serving for the best texture.
Notes
- To prevent the crust edges from burning, cover them loosely with aluminum foil halfway through the baking time.
- For a truly fail-proof result, bake the pie in a water bath (bain-marie). Place the pie plate in a larger roasting pan and pour hot water into the roasting pan until it reaches halfway up the sides of the pie plate.
- This recipe makes a classic baked custard; for a low-carb version, substitute the sugar with your preferred keto sweetener equivalent.
Nutrition
- Serving Size: 1 slice
- Calories: 250
- Sugar: 20
- Sodium: 150
- Fat: 10
- Saturated Fat: 5
- Unsaturated Fat: 5
- Trans Fat: 0
- Carbohydrates: 30
- Fiber: 1
- Protein: 10
- Cholesterol: 100