

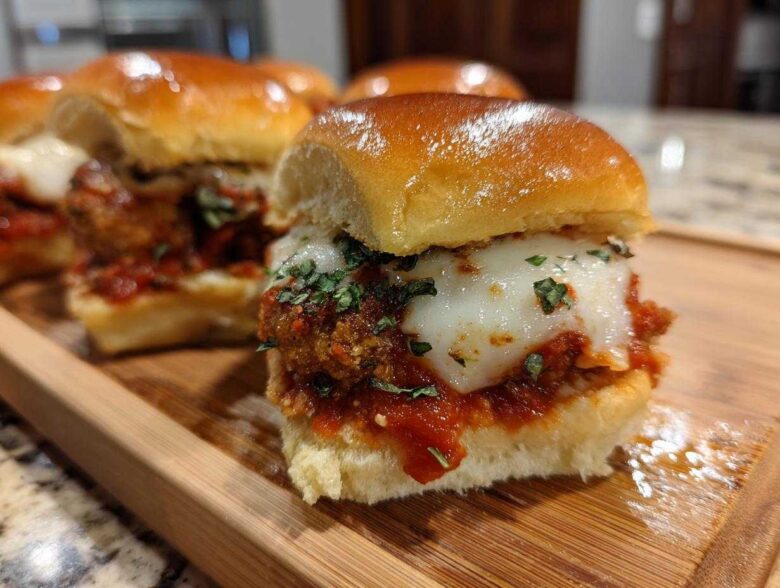
You know those nights when you just crave that classic, cheesy, messy comfort of Chicken Parmesan, but you really don’t want to deal with a huge plate and a fork? Yeah, me too! That’s why I stopped making endless modifications to huge cutlets and started shrinking them down. Trust me, taking that rich, saucy flavor and shoving it into a small, easy-to-handle bun changes everything.
I perfected this recipe the last time our football team had a viewing party here—I needed something intensely satisfying that didn’t require me to spend the whole game stirring pots. The absolute non-negotiable detail here is the crunch. If the chicken isn’t perfectly crispy, it’s not worth the trouble. That’s why you’ll want to pay close attention to the breading process for these Crispy Chicken Parmesan Sliders with Cheese. They are truly the ultimate crowd pleaser!
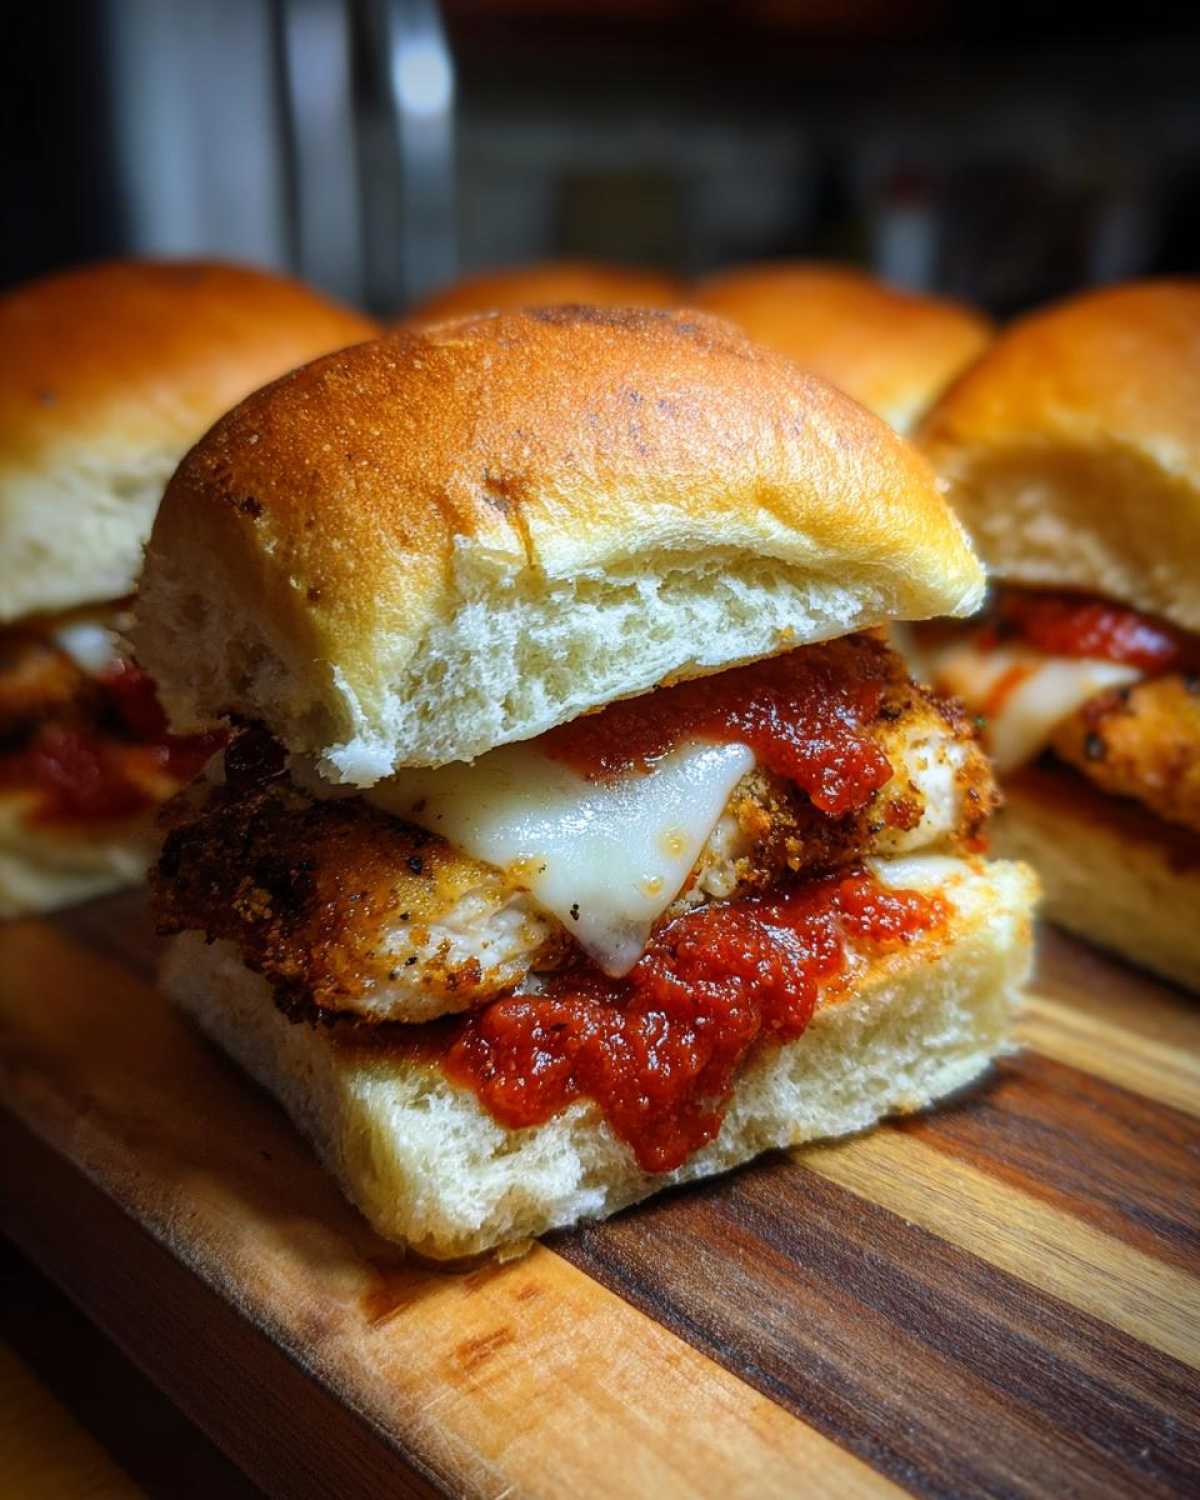
Why You Will Make These Crispy Chicken Parmesan Sliders with Cheese
I could ramble about how delicious these are all day, but really, they are just perfect for so many reasons. If you need a big flavor hit in a small, manageable package, look no further. Here are the reasons why these became my go-to party food:
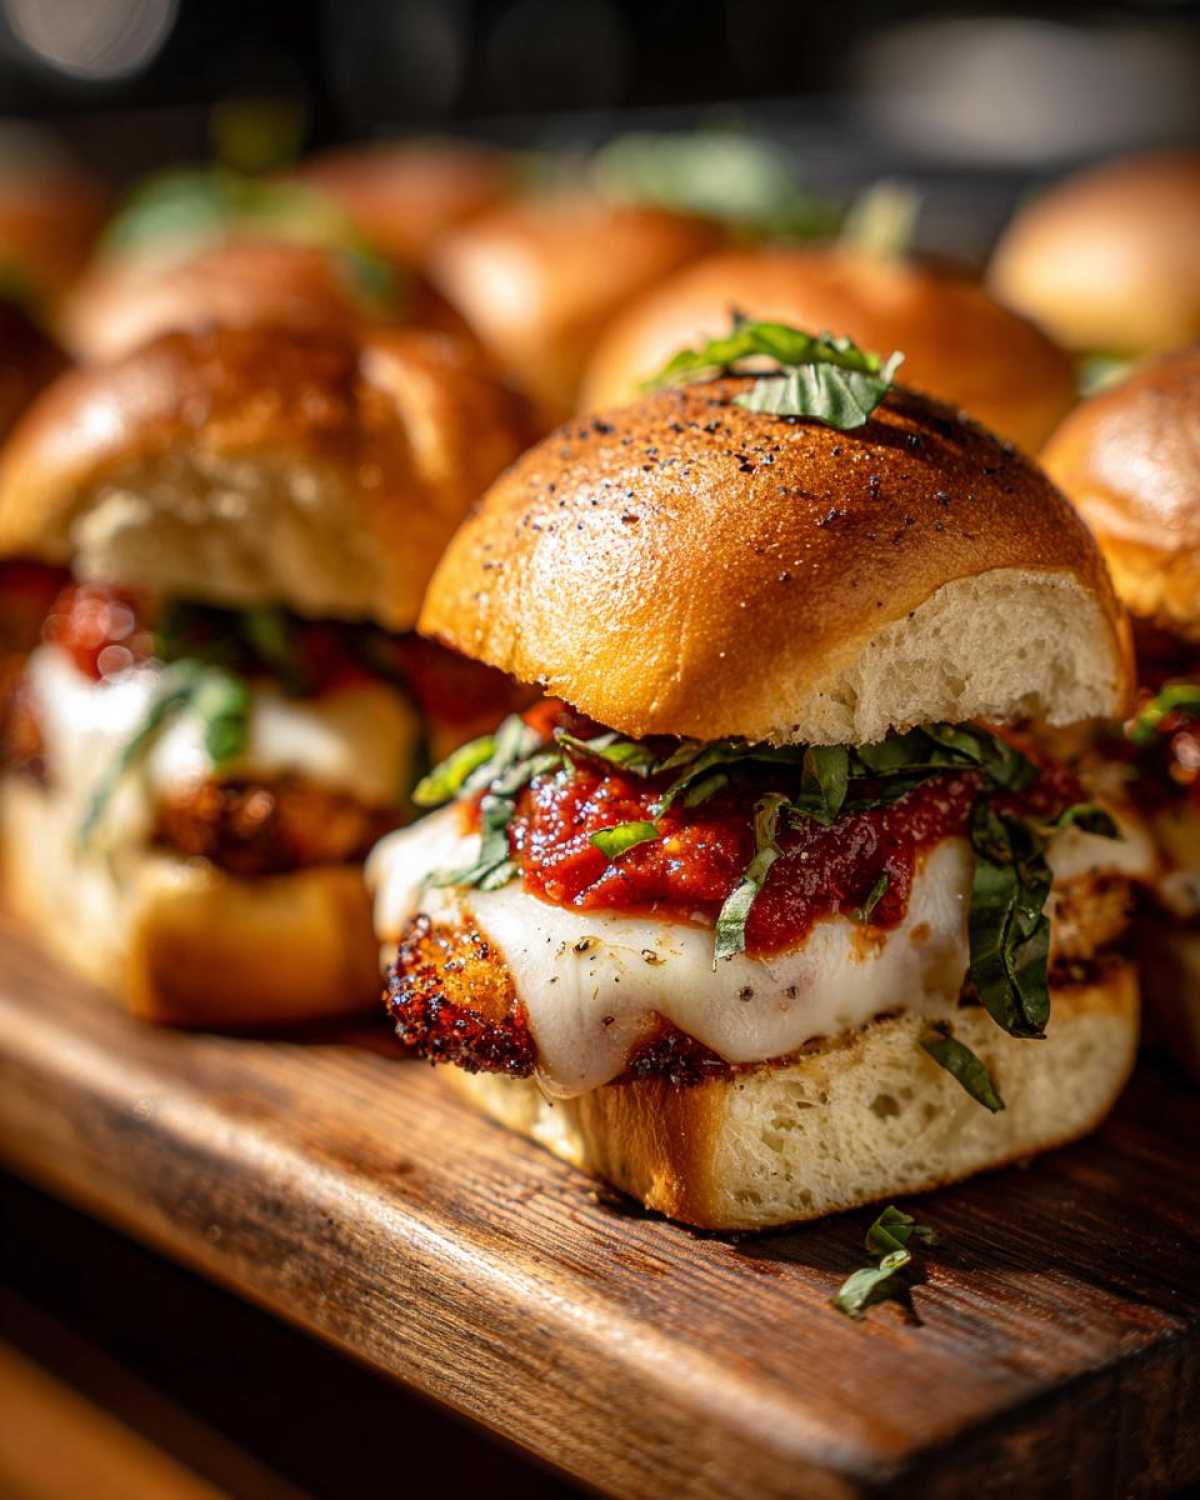
- That unforgettable crunch! We use Panko and fry them just right so the chicken stays crisp even after the cheese melts over it.
- They are actual sliders, right? That means they are easy to serve, handle, and eat standing up, which is essential for any good gathering.
- The cheese pull! We use mozzarella and Parmesan, and when those come together bubbling hot, it’s pure magic.
- The sweet-savory thing is spot on, especially if you use those soft Hawaiian rolls—the slight sweetness cuts through the rich tomato and cheese perfectly.
- You get all the flavor of a full Chicken Parm dinner, but in about 20 minutes of active time. Honestly, way less effort than making a full meal!
- They are incredibly versatile; serve them as a game day snack or a quick, satisfying weeknight dinner when you need comfort fast.
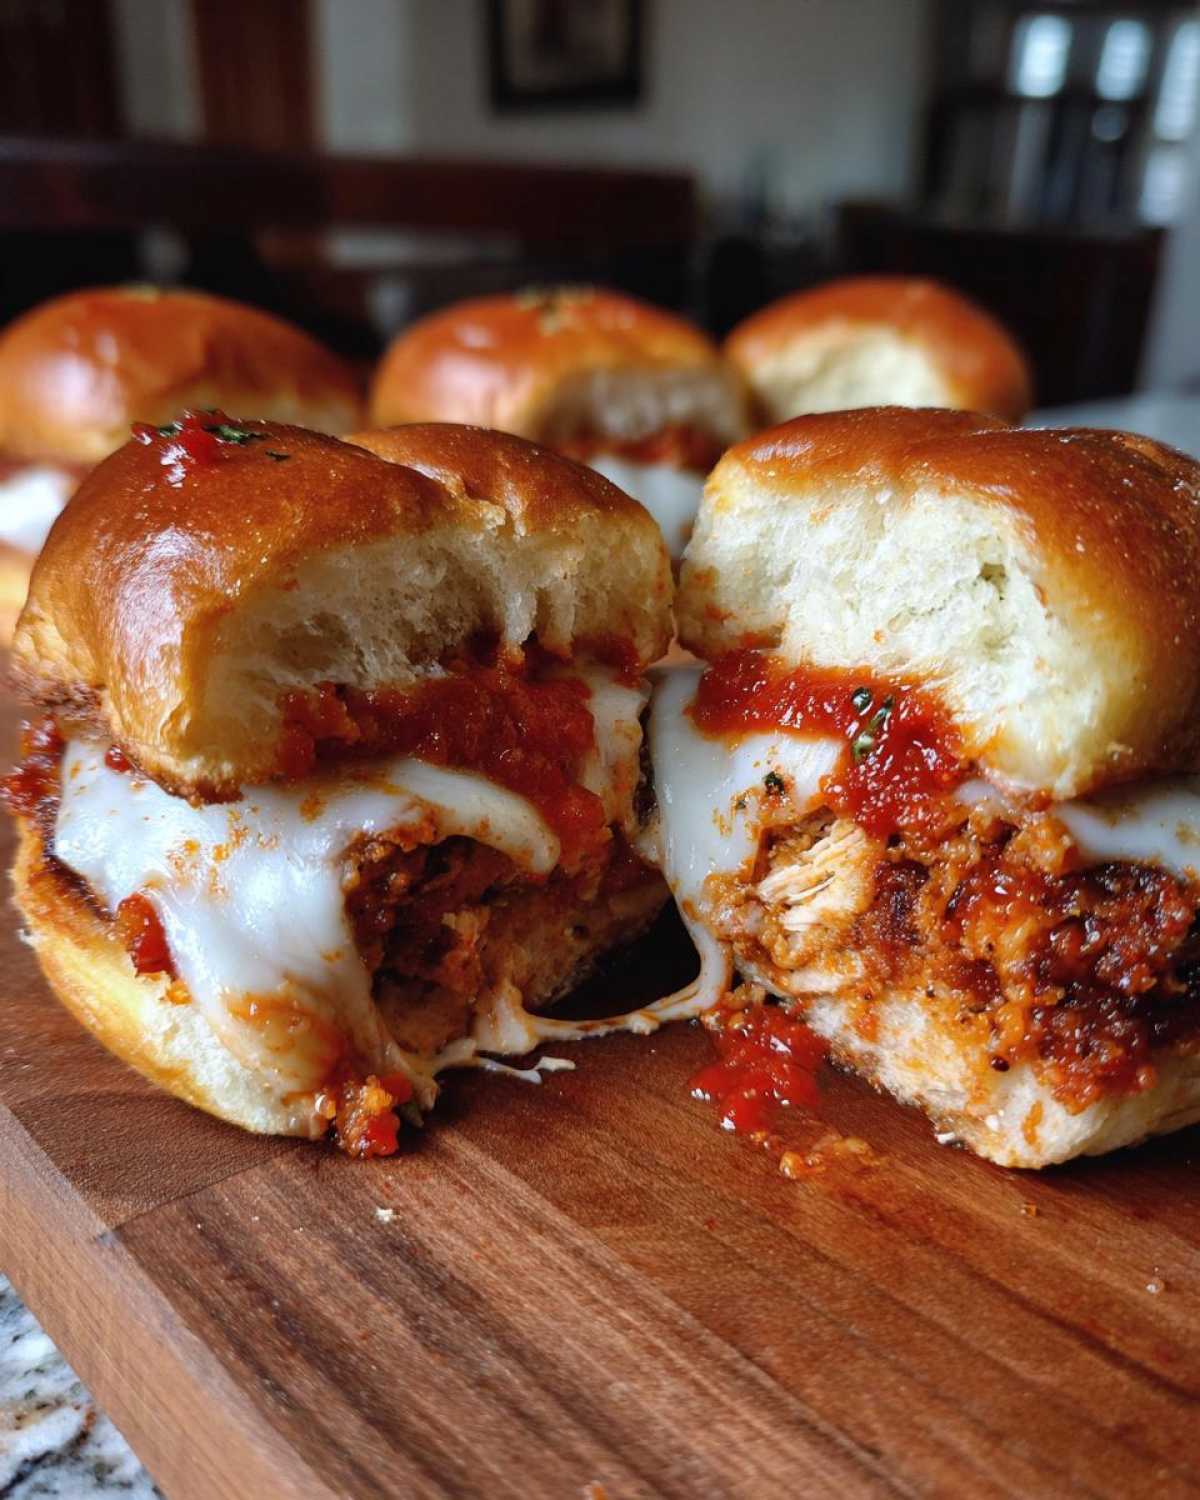
Essential Ingredients for Crispy Chicken Parmesan Sliders with Cheese
So, let’s talk about what goes into these little flavor bombs. I’ve laid out everything you need below. Since these are so small, you want every single ingredient to pull its weight, you know? The star, of course, is the chicken breast, but you must pound it thin so it cooks quickly and stays tender inside that crunchy coating. Don’t skimp on the breading, either!
The Panko breadcrumbs are absolutely critical for that intense, crunchy result we’re aiming for. It’s the secret weapon that makes these stand out from every other flimsy little sandwich out there. If you happen to be looking for other great slider inspiration after you nail these, you can always check out my Ham and Swiss Poppy Seed Sliders for a totally different vibe!
- One pound of boneless, skinless chicken breasts, prepared by pounding them nice and thin.
- One cup of simple all-purpose flour for dusting.
- Two large eggs, ready to be beaten into a golden pool.
- One and a half cups of Panko breadcrumbs—this is where the crunch lives!
- A half-cup of grated Parmesan cheese, plus a little extra for sprinkling on top later.
- Seasonings: one teaspoon of garlic powder, a half-teaspoon of dried oregano, plus salt and pepper to taste.
- About a half-cup of vegetable oil for giving that chicken the perfect shallow fry bath.
- Twelve slider buns—I swear by the soft, slightly sweet Hawaiian rolls for these!
- One cup of shredded mozzarella cheese—gotta have that melt!
- One cup of your favorite, thick marinara sauce.
- Two tablespoons of melted butter for brushing the tops.
- A little dried parsley for garnish so they look pretty when they come out of the oven.
Expert Tips for Achieving Ultimate Crispy Chicken Sliders
Listen, the difference between a soggy slider and an epic, crunchy slider comes down *entirely* to technique. If you want to know How to Make Crispy Chicken Sliders that actually hold up to sauce and cheese, you need to treat the breading like it’s the most important step—because it is! First, make sure your oil is hot enough before you drop the chicken in; we’re aiming for that immediate sizzle without smoking. Never overcrowd the pan, or the temperature drops instantly, and you’ll end up steaming the crust instead of frying it crisp.
Also, don’t forget: these are small pieces, so they cook fast! We’re looking for golden brown perfection in just a few minutes per side. The golden rule is to immediately transfer them to a wire rack—not paper towels—after frying so that air circulates all around them and keeps that bottom side from getting mushy. If you prefer skipping the oil totally, you can absolutely air fry these babies at 400 degrees until they are golden!
Breading Station Setup for Crispy Chicken Parmesan Sliders with Cheese
This is your assembly line for crunch! You need three separate, shallow dishes. Dish one is just the plain flour—it gives the egg something to stick to. Dish two is your beaten egg bath. The magic happens in dish three: that’s where you mix your Panko, the Parmesan, the garlic powder, and the oregano. When you dip the chicken, give it a good shake after the flour, let the extra drip off the egg, and then—this is key—press that piece firmly into the Panko mix. Really pack that breading onto the chicken so it’s completely sealed. That intense pressure is what stops the crust from falling off when it hits the heat!
Step-by-Step Instructions for Crispy Chicken Parmesan Sliders with Cheese
Alright, time to get cooking! These instructions look long, but honestly, they fly by once you get that production line set up. Just follow the rhythm of breading, frying, assembling, and melting, and you’ll have these cheesy beauties ready in no time at all. I love making a batch of these when I’m trying out a new comfort food slider recipe; the timing is perfect!
Preparing and Frying the Chicken
First things first, we need chicken pieces that actually fit on a slider bun! Take those thin cutlets and slice them down into manageable, slider-sized pieces. Then, get your three breading dishes ready. Dredge each piece, one by one: shake off the extra flour, give it a quick dip in the egg, and then press it hard into that seasoned Panko blend. Make sure it’s totally coated!
Heat your vegetable oil in a skillet over medium-high heat. You want that oil hot enough so the chicken sizzles right away! Fry them in small batches—don’t crowd the pan, please, or they won’t crisp up right. Flip them after about three or four minutes until they are gorgeously golden brown on both sides and cooked through. Pull them out and let them drain on a wire rack immediately. Getting the oil off is half the battle!
Assembling and Baking the Cheesy Chicken Parmesan Sliders with Cheese
Now for the fun part! Get your oven preheated to 375 degrees Fahrenheit. Slice your whole block of slider buns horizontally, keeping them attached so they stay neat. Lay the bottom halves ready on your baking sheet. We’re layering here: a light layer of marinara sauce first, then nestle your crispy chicken pieces right on top. Next, pile on the shredded mozzarella and a little extra shower of Parmesan cheese over that chicken.
Put the tops of the buns on, and here’s a small tip that makes a big difference: brush the top buns lightly with that melted butter. That ensures they toast up evenly and get that beautiful golden shine. Bake everything for about 8 to 10 minutes. Watch it closely! You want the cheese totally melted and bubbly and the buns lightly toasted. Slice them apart gently when they come out, sprinkle on a little parsley, and serve right away while they are steaming hot!
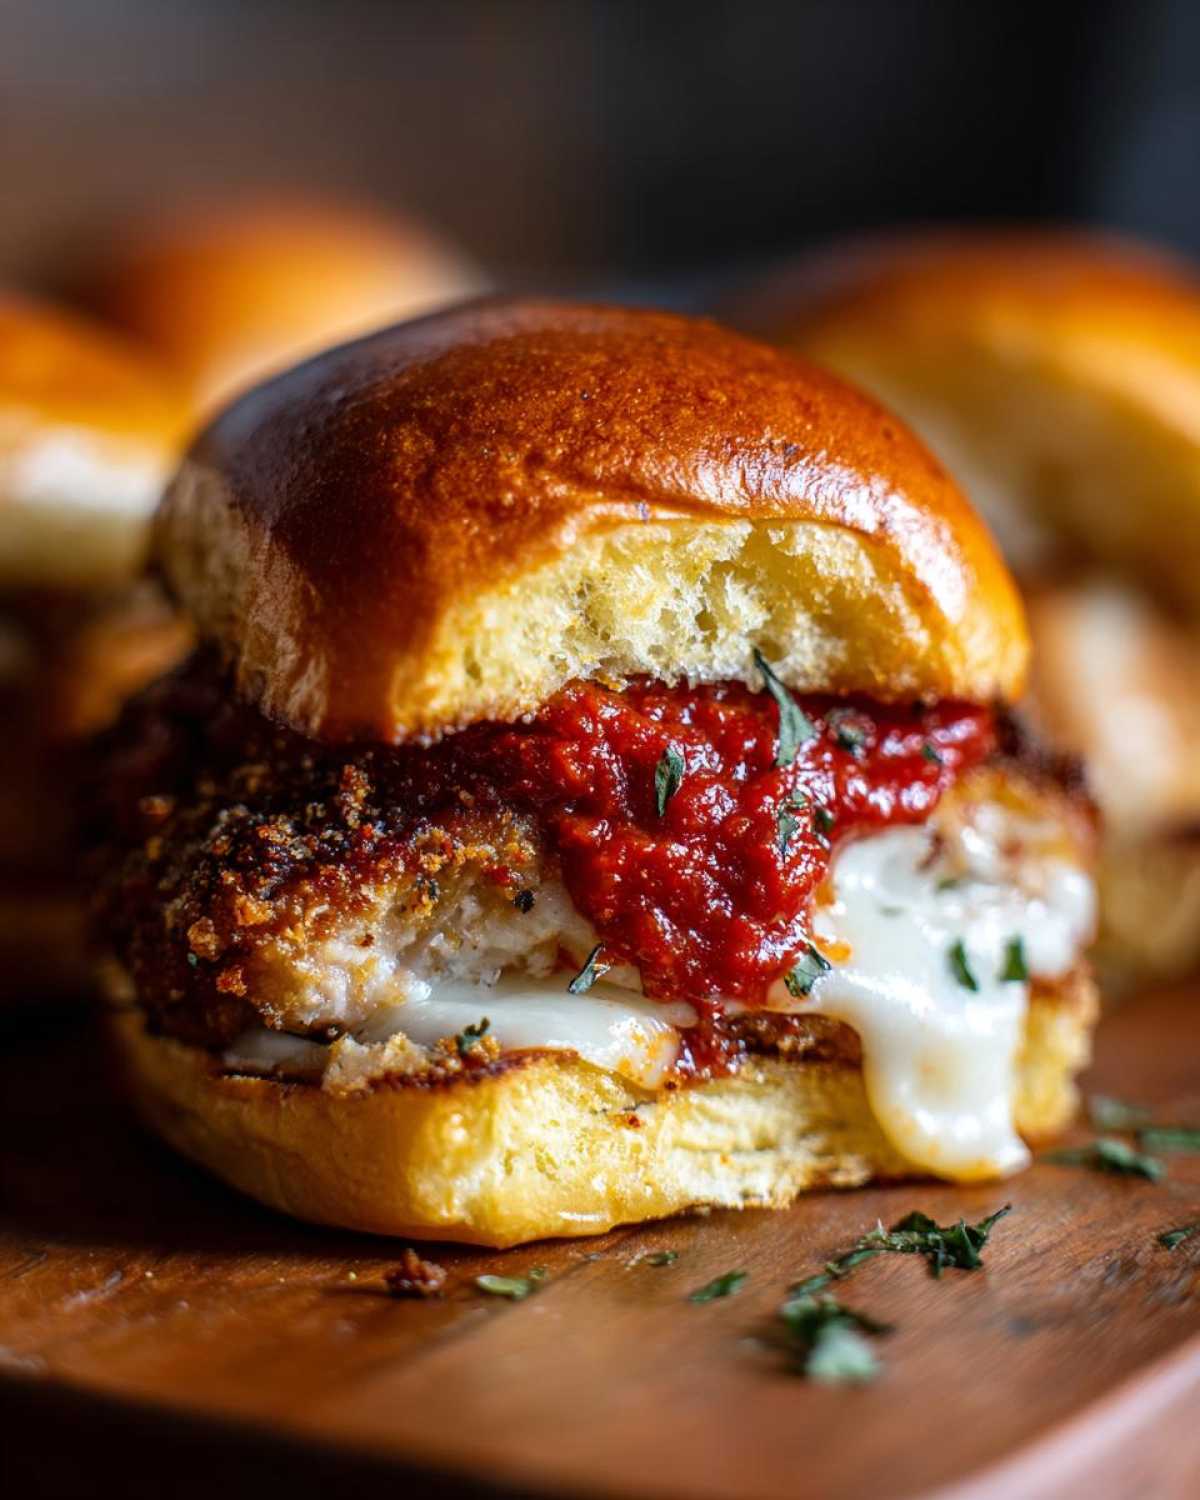
Best Buns and Sauce Choices for Your Crispy Chicken Parmesan Sliders with Cheese
Using the right base is crucial for any slider, especially when you’ve got hot, saucy chicken on top! For me, the absolute winner when making Hawaiian Roll Chicken Parm Sliders are those sweet little Hawaiian sweet rolls. I know, I know, they sound too sweet, but trust me! That slight touch of sugar perfectly balances the salty cheese and the acidity of the tomato sauce. They compress nicely, too, which is great for a slider.
Now, let’s talk about the sauce, because this is where things go south fast if you’re not careful. You need a thick, high-quality marinara sauce. If your sauce is watery, your beautiful crispy coating is going to turn into sad mush before it even makes it to the table. I always let my marinara simmer down a bit before I use it, just to make sure it’s concentrated and clinging to the chicken, not pooling at the bottom of the bun!
Serving Suggestions for Party Recipe Chicken Parmesan Bites
Since this recipe is perfect for serving a crowd, you want them to look as good as they taste! When I serve these Party Recipe Chicken Parmesan Bites, I always lay them out right on the baking sheet they came out of, sliced apart but close together, so people can grab them easily. Since they are so rich, you need something bright to cut through the fat and cheese.
I usually serve them with a side of crunchy dill pickle spears—the vinegar is amazing against the melted mozzarella! A simple, crisp Caesar salad tossed with a light dressing is also a winner. They are definitely best enjoyed within 10 minutes of coming out of that hot oven, so have everything ready to go!
Storage and Reheating Crispy Chicken Parmesan Sliders with Cheese
I’m going to be honest with you—these are absolutely spectacular eaten piping hot, straight out of the oven after that cheese melts. They are meant to be devoured immediately! But if you happen to have any leftovers (which is rare in my house, trust me), you need to handle reheating with care so you don’t kill that precious crisp we worked so hard for.
Never, ever use the microwave unless you absolutely have to, because it just steams the breading and makes everything soft. The best way is slow and steady heat. Pop your leftover sliders onto a baking sheet and heat them in a 350-degree oven or even a toaster oven for about 8 to 10 minutes. That gentle heat brings back that melted cheese goodness and helps re-crisp the coating on the chicken!
Frequently Asked Questions About Cheesy Chicken Parmesan Sliders
Whenever I post pictures of these babies online, I get the same handful of questions! It’s totally normal; when you’re dealing with something as delicate as a crispy coating next to hot tomato sauce, you want to make sure you get it right. I’ve laid out the most common concerns right here for you so you can achieve slider perfection.
Can I make these Crispy Chicken Parmesan Sliders with Cheese ahead of time?
This is the big one, especially if you are preparing for a big game day!
Here’s the truth: For the absolute best experience, you need to keep the components separate until the last possible moment. Cook and cool the chicken pieces completely first—you can store them airtight in the fridge for up to three days. Keep that marinara warmed, and the cheese ready to go. Right before guests arrive, assemble and bake them following the recipe instructions. If you bake them too early, the steam from the sauce and cheese will just soften that gorgeous Panko crust we fought so hard to achieve. For best results, try the make ahead strategy by only frying the chicken ahead of time!
What is the best way to ensure the chicken stays crispy?
If you remember only one thing from this whole recipe, remember this: Panko is your friend, and the wire rack is non-negotiable! We use Panko breadcrumbs because their coarse texture creates pockets of air that cook up super airy and crunchy, unlike regular breadcrumbs. Once the chicken comes out of the hot oil, dump it right onto a wire rack set over a baking sheet. If you place hot, oily food directly on paper towels, the steam gets trapped underneath, and that beautiful crunch instantly turns floppy. Give it room to breathe!
Can these be made totally in the oven, skipping the frying step?
Oh, absolutely! If you’re trying to cut down on oil or just want an easier cleanup—hello, Baked Not Fried Chicken Parmesan Sliders! After you bread the chicken pieces, give them a good, even spray of cooking spray—don’t skip that part! Bake them on a parchment-lined sheet pan at 400 degrees Fahrenheit until they are cooked through and golden brown. You won’t get *quite* the same aggressive crunch as a quick shallow fry, but it’s a fantastic, lighter alternative that still delivers cheesy, fantastic flavor!
What kind of sauce works best for these Easy Weeknight Chicken Parmesan Mini Sandwiches?
Stick to a very thick sauce! Think of it like building a small sandwich that collapses easily. A watery sauce will soak right into the bottom bun of your slider and turn it mushy before you can even take a bite. I always look for a marinara sauce that lists tomatoes as the first ingredient and seems quite thick right out of the jar. If yours seems thin, just give it a quick simmer on the stove for five minutes until it coats the back of a spoon. You want that sauce to cling to the chicken, not run free!
Nutritional Estimates for These Comfort Food Slider Recipes
Okay, I’ll admit it—when you’re making something this deliciously cheesy like our Crispy Chicken Parmesan Sliders with Cheese, we aren’t exactly aiming for health food dominance here, right? But it’s always good to have a general idea of what you’re diving into! This information is just an estimate based on the ingredient ratios I use, so please take it with a grain of salt—or, in this case, a grain of Parmesan!
These numbers reflect a single slider, which is pretty impressive since this recipe delivers big flavor in such a small package. Remember, how you cook the chicken (fried versus sprayed and baked) will slightly change these numbers, so consider this the guide for the fried version!
- Serving Size: 1 slider
- Calories: Around 350
- Fat: About 15 grams (that’s where the savory flavor is hiding!)
- Protein: A whopping 25 grams—that chicken really fills you up!
- Carbohydrates: Around 30 grams
- Sugar: Roughly 6 grams
- Sodium: About 650 mg (Sauce and cheese add up quickly, so that’s something to watch if you’re monitoring salt.)
So while they are definitely satisfying comfort food, they pack a serious punch of protein. That’s what I tell myself anyway when I end up eating three or four of them in one sitting. Enjoy them, and worry about the exact counts later!
PrintCrispy Chicken Parmesan Sliders with Cheese
Make small, handheld versions of Chicken Parmesan featuring crispy breaded chicken, melted cheese, and marinara sauce served on slider buns.
- Prep Time: 20 min
- Cook Time: 25 min
- Total Time: 45 min
- Yield: 12 sliders
- Category: Appetizer
- Method: Frying and Baking
- Cuisine: American
- Diet: Low Lactose
Ingredients
- 1 pound boneless, skinless chicken breasts, pounded thin
- 1 cup all-purpose flour
- 2 large eggs, beaten
- 1 1/2 cups panko breadcrumbs
- 1/2 cup grated Parmesan cheese, plus more for topping
- 1 teaspoon garlic powder
- 1/2 teaspoon dried oregano
- Salt and black pepper to taste
- 1/2 cup vegetable oil for shallow frying
- 12 slider buns (Hawaiian rolls work well)
- 1 cup shredded mozzarella cheese
- 1 cup marinara sauce
- 2 tablespoons melted butter
- 1 teaspoon dried parsley for garnish
Instructions
- Cut the pounded chicken breasts into pieces small enough to fit neatly on the slider buns.
- Set up a standard breading station: place flour in one shallow dish, beaten eggs in a second, and mix panko, 1/2 cup Parmesan, garlic powder, oregano, salt, and pepper in a third.
- Dredge each chicken piece first in flour, shaking off excess, then dip in egg, and finally press firmly into the panko mixture to coat completely.
- Heat the vegetable oil in a large skillet over medium-high heat. Fry the chicken pieces in batches for 3 to 4 minutes per side until golden brown and cooked through. Remove and place on a wire rack to drain excess oil.
- Preheat your oven to 375 degrees Fahrenheit (190 degrees Celsius).
- Slice the slider buns horizontally but keep them attached in the 12-roll block. Place the bottom halves on a baking sheet.
- Spread a thin layer of marinara sauce over the bottom buns. Top with the crispy chicken pieces.
- Layer the mozzarella cheese and a sprinkle of extra Parmesan cheese over the chicken on each slider.
- Place the top halves of the buns over the cheese. Brush the tops of the buns lightly with melted butter.
- Bake for 8 to 10 minutes, or until the cheese is melted and bubbly and the buns are lightly toasted.
- Remove from the oven, slice the sliders apart, garnish with parsley, and serve immediately.
Notes
- For extra crispiness, you can air fry the breaded chicken at 400 degrees Fahrenheit for 10 to 12 minutes, flipping halfway.
- Use high-quality, thick marinara sauce to prevent the bottom buns from getting soggy too quickly.
- If you prefer a baked coating instead of frying, spray the breaded chicken lightly with cooking spray before baking at 400 degrees Fahrenheit until done.
Nutrition
- Serving Size: 1 slider
- Calories: 350
- Sugar: 6
- Sodium: 650
- Fat: 15
- Saturated Fat: 6
- Unsaturated Fat: 9
- Trans Fat: 0
- Carbohydrates: 30
- Fiber: 2
- Protein: 25
- Cholesterol: 75