

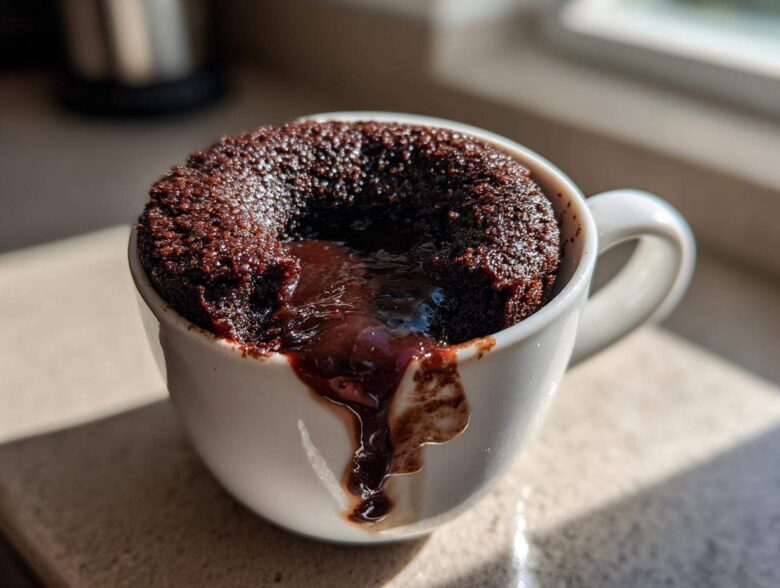
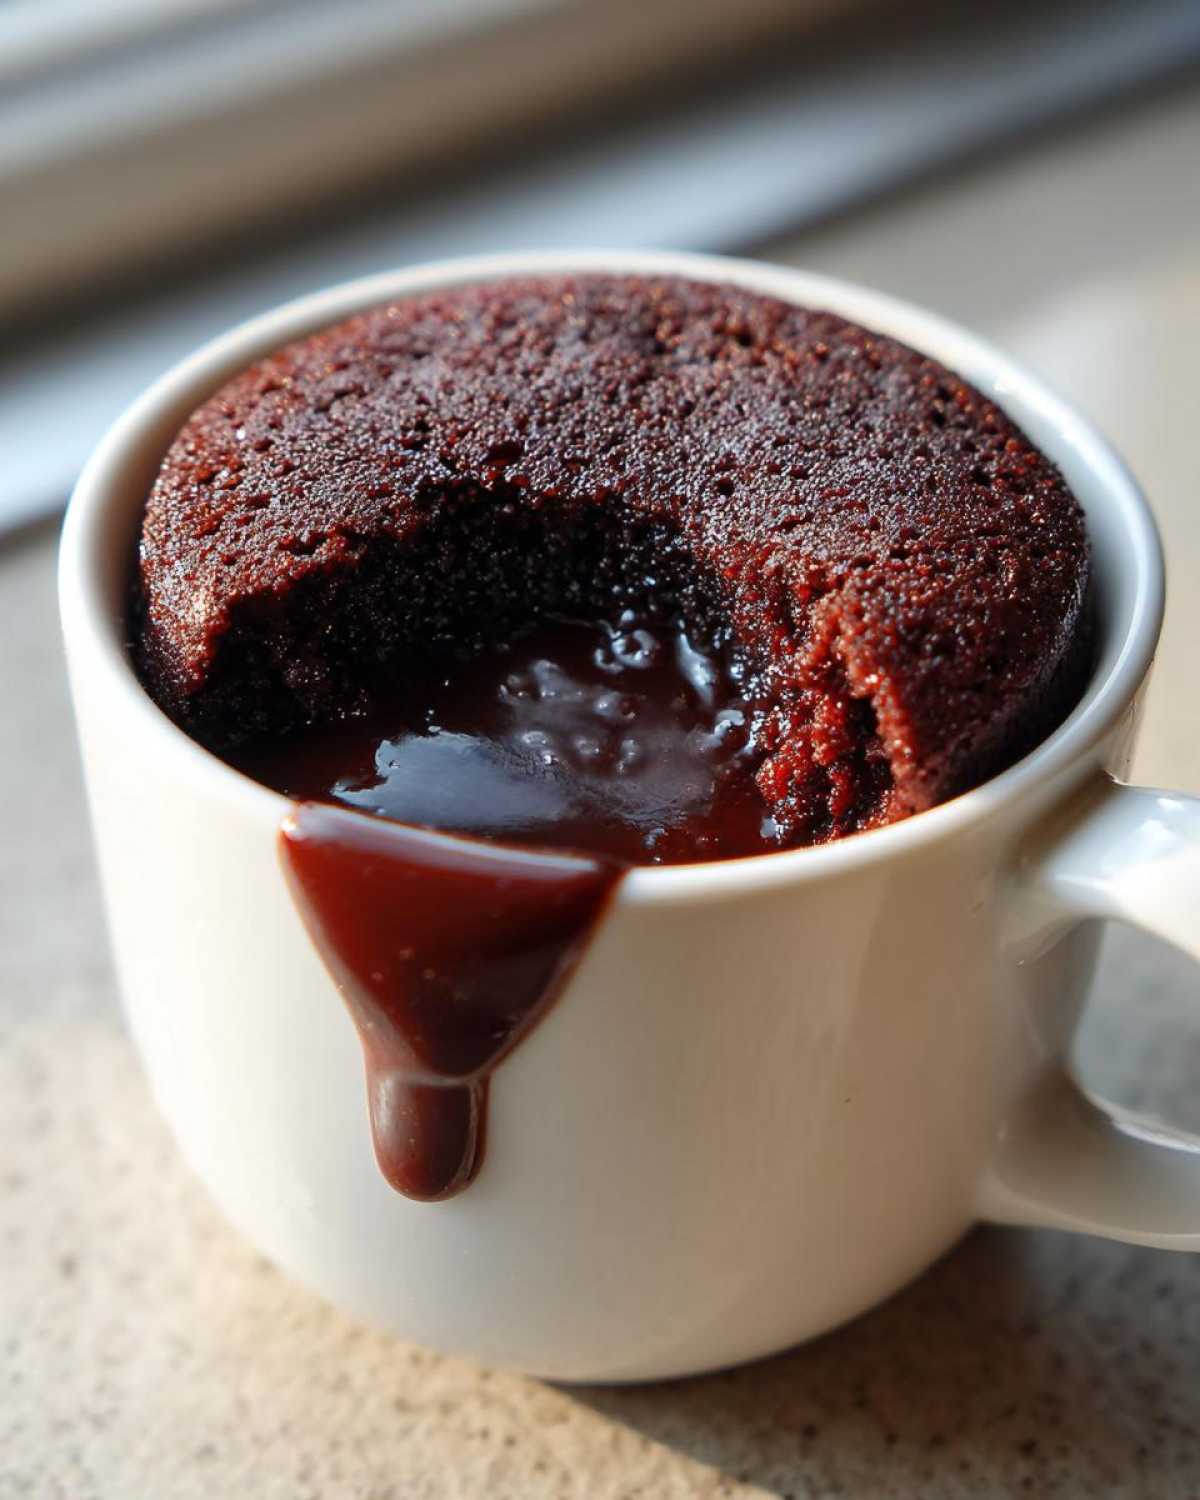
Oh my gosh, do you ever get that craving? You know the one—it hits hard, it demands chocolate, and you absolutely cannot wait 45 minutes for the oven to preheat. I totally get it. That’s exactly why I perfected this **Chocolate Lava Mug Cake** in under five minutes. Seriously, we’re talking barely any mess and total success, provided you nail the timing.
The USP here is the gooey center; we’re not making a dense brownie in a cup. We want true, liquid lava flowing out! I spent way too many attempts (and ruined mugs) testing microwave wattages to bring you the foolproof guide. Trust me, once you master that 75-second sweet spot, this becomes your go-to recipe. Let’s get this instant dessert made!
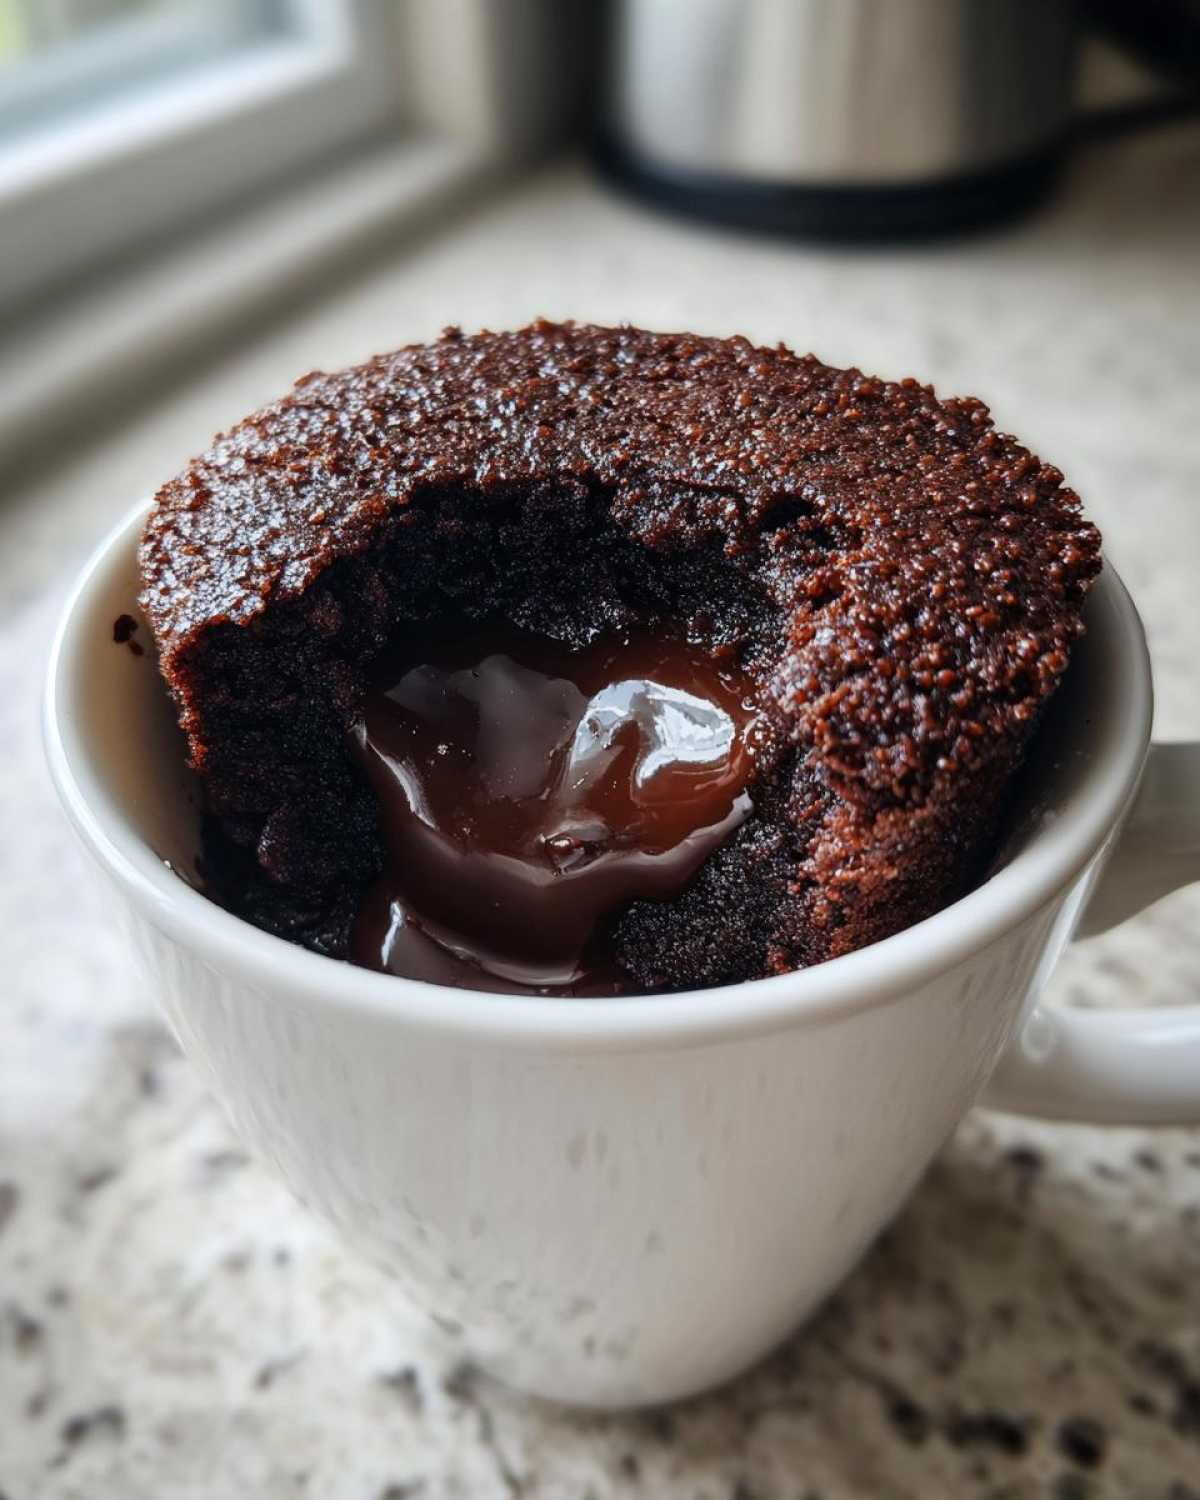
I promise, this little dessert in a cup is going to blow your mind. If you want the whole scoop on all my dessert adventures, feel free to check out the rest of my blog!
Why This Chocolate Lava Mug Cake is Your Emergency Chocolate Fix (5 Minute Dessert)
When that craving slams you right in the middle of the afternoon, you don’t want to wait. You need a warm, fudgy dessert recipe *now*. That’s why this **Chocolate Lava Mug Cake** is my favorite trick—it’s the ultimate emergency chocolate fix. Forget messy pans and long preheats; we are talking about a guaranteed **gooey molten center dessert** experience in about 4.5 minutes total time!
Seriously, compared to waiting nearly an hour for a regular cake to bake, this is lightning fast. Because it’s portioned perfectly for one person, you don’t have to worry about leftovers lingering around tempting fate. This is the definition of an **easy instant dessert recipe**!
Key Benefits of This Single Serving Chocolate Cake
- It whips up faster than you can decide what to watch on Netflix. Total prep is only about 3 minutes!
- It’s perfectly portioned—a true **individual portion dessert** just for you. No tempting the family to finish the whole thing.
- Zero oven required! We rely entirely on the microwave magic, which means less cleanup, too.
- The main goal is achieved: a rich, warm, **five minute dessert** with a glorious liquid center waiting for you.
Gathering Ingredients for Your Chocolate Lava Mug Cake
Okay, now for the easy part! Gathering what we need shouldn’t take more than three minutes, tops. Since this is just a **single serving chocolate cake**, the measurements are super precise, and we aren’t pulling out a million bowls. You’ll need a good standard microwave-safe mug—nothing tiny, or it will overflow when it puffs up! I usually grab one that holds about 12 ounces just to be safe.
Don’t stress about finding specialty items. We’re using pantry staples! You’ll need 4 tablespoons of all-purpose flour, the same amount of sugar, and the cocoa powder—that’s 2 tablespoons of unsweetened cocoa powder. Then, a tiny bit of baking powder for the lift, and just a pinch of salt to make the chocolate flavor *sing*. For the wet stuff, grab 3 tablespoons of milk, 1 tablespoon of vegetable oil, and just a dash of vanilla extract. Simple!
Ingredient Notes and Substitutions for the Best Chocolate Lava Mug Cake
This is where we talk about quality, because even in a 90-second bake, ingredients matter for that **Chocolate Lava Mug Cake** experience. The star, the reason we call it lava, is that square of dark chocolate you tuck inside. You absolutely must use real chocolate—about a 1/2 ounce square, or a few good quality chocolate chips. Why dark? Because it melts silkier and has a deeper cocoa punch that balances the sweetness of the cake batter. Milk chocolate chips sometimes melt too fast and disappear!
Now, I always use vegetable oil because it stays liquid, which helps keep the surrounding cake moist while cooking. If you *only* have melted butter, you can use it, but use slightly less—maybe 2 teaspoons instead of a full tablespoon—because butter has more water content. But honestly, the oil gives this the best texture for a **warm fudgy dessert recipe** that stays soft!
Step-by-Step Instructions for a Gooey Molten Center Dessert
Alright, this is the moment of truth! Making the **Chocolate Lava Mug Cake** is a two-part process: mixing the batter, and then nailing that microwave cook time. Don’t rush the mixing, even though we are trying to be quick. First, grab your mug—the same one you’re going to eat out of—and put all your dry ingredients in there: the flour, sugar, cocoa, baking powder, and salt. Take a fork and just whisk it around until those powders are friendly with each other. No one wants a pocket of salty baking powder in their amazing dessert, right?
Next, pour in the wet things: the milk, the oil, and that little bit of vanilla. Mix it all up gently with the same fork. Here’s my rule for microwave cake batters: mix until *just* combined. If you see tiny streaks of flour, that’s okay! Overmixing develops tough gluten, and we want a soft cake, not a rubber bouncy ball. Mix just until the wet and dry hug each other nicely. Don’t forget, I have a fun recipe for a peanut butter chocolate dip if you need another quick sugar rush!
Achieving the Perfect Microwave Molten Chocolate Center
This next spot is what separates an okay mug cake from an epic **Chocolate Lava Mug Cake**. Take that square of dark chocolate, or your chocolate chips, and gently nestle them right into the absolute middle of the batter. Don’t mix it in! Just press it down slightly so it’s covered by the batter but definitely staying in the core of the cake.
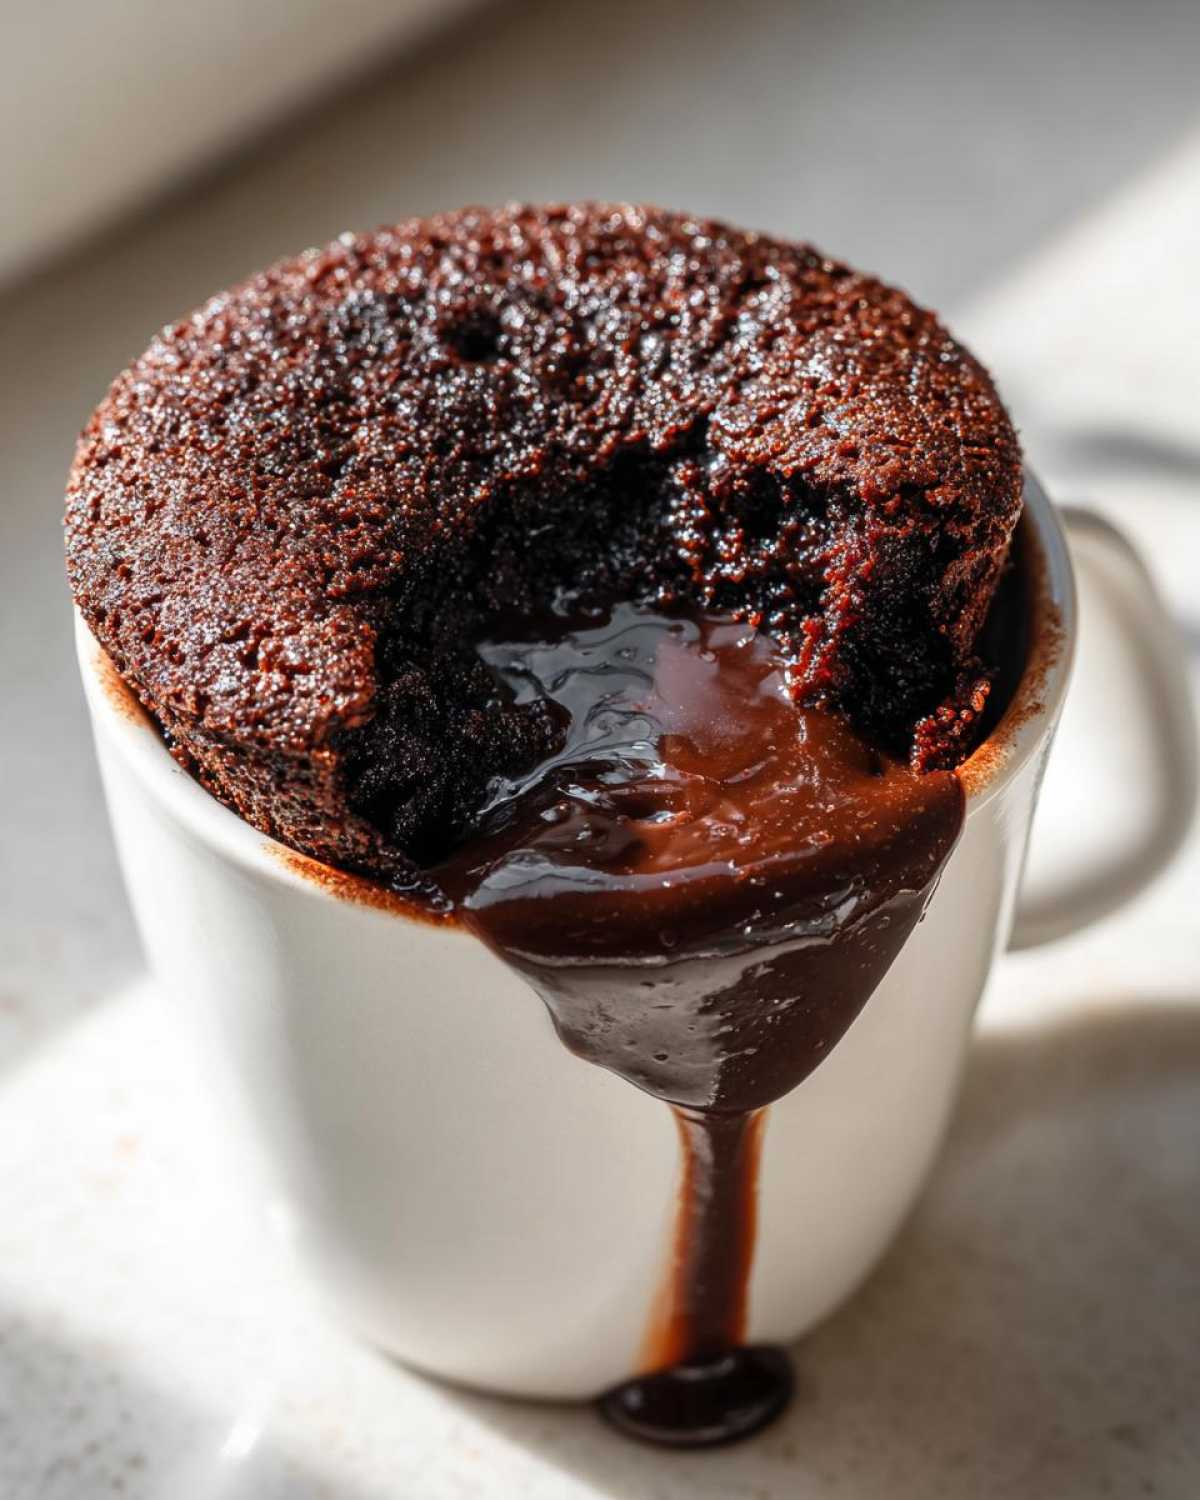
Now, we microwave. This is the big secret to that **secret to lava cake center**: timing is everything and every microwave is a diva! Start by microwaving on high for 60 seconds. Check it. If the edges look set and the middle still looks really liquidy and wet, give it another 15 to 30 seconds. The visual cue is key! You are looking for the edges of the batter to form a solid cake structure, but the center should still look suspiciously underdone. If you cook it until the top looks totally dry, you’ve just made a regular (though still tasty) chocolate cake. We want lava!
Microwave Wattage Adjustments for Your Chocolate Lava Mug Cake
Listen, if you have one of those super high-powered new microwaves that cooks a potato in three minutes, you need to be gentle! High power might cause the edges to get tough or chewy before the center even gets warm enough to melt. For those powerhouses, try this trick: microwave it for 30 seconds at 50% power first. This warms it gently, distributing the heat.
After that initial warming period, switch it straight to full power for the remaining cook time. This variation in power gives you much better control over the bake, ensuring you get that perfectly soft and fudgy texture we are aiming for in this **Chocolate Lava Mug Cake**. It’s a little extra step, but it’s how the pros manage the fast heat flow!
Tips for Success When Making Your Chocolate Lava Mug Cake
Even though this is the easiest dessert on the planet, a couple of small details will guarantee you get that perfect, molten result every single time. First, let’s talk mugs! You really need a mug that holds 10 to 12 ounces minimally. If you use anything smaller, the batter will bubble up right over the edge, and nobody wants a huge hot mess to clean up. Trust me on the size; it’s worth sacrificing the cute tiny mug for this **warm fudgy dessert recipe**.
Crucially, when it comes out of the microwave, you think you’re ready to dive in, but you are not! You must let it rest for a full minute. This tiny pause is vital because it allows the edges to firm up just enough so you don’t burn your mouth, while the solid chocolate insert in the middle finishes melting under the residual heat. If you stir it immediately, you’ll just have soup!
If you’re looking for something even more decadent for drizzling, my bourbon dark chocolate fondue makes an incredible sauce over this mug cake. Just saying!
Storage and Reheating Instructions for Individual Portion Dessert
Let’s be real: this **Chocolate Lava Mug Cake** is designed to be eaten the minute it comes out of the microwave. It’s a single-serving dessert, so ideally, there are no leftovers! It’s just me and my lava cake, and it disappears fast. But hey, sometimes life happens, or maybe you just want to save half (who are you?!).
If you do have any leftover cake clinging to the sides of the mug, cover it loosely with plastic wrap or a paper towel. You can keep it on the counter for maybe an hour or two, but honestly, the texture degrades quickly. If you are storing it overnight, pop the mug (covered!) into the fridge. Don’t keep it for more than a day; it gets sad quickly.
Now, reheating is tricky. That beautiful, glorious, gooey center we worked so hard for tends to solidify when refrigerated. You can absolutely reheat it, but you need to be careful. Try microwaving it for just 10 to 15 seconds on 50% power. If you blast it on high power again, you’re just going to end up boiling the batter, and that lava will turn back into solid chocolate. A gentle, low-power reheat can sometimes resurrect just enough of that molten tenderness for a second chance at this **individual portion dessert**.
Serving Suggestions for Your Rich Individual Chocolate Cake
So, your **Chocolate Lava Mug Cake** is perfectly cooked—edges set, center beautifully molten. What now? We definitely don’t just eat it plain, though honestly, it stands up beautifully on its own! Since this is a **rich individual chocolate cake**, just a tiny addition can make it feel like you’re eating a fancy restaurant dessert, not something you whipped up in a coffee mug.
My absolute favorite way to serve this, especially if I’m having a rough day and need maximum indulgence, is with a small scoop of vanilla bean ice cream right on top. The contrast between the piping hot, flowing chocolate lava and the freezing cold ice cream is just divine. It melts instantly, creating its own little cream sauce around the edges of the mug!
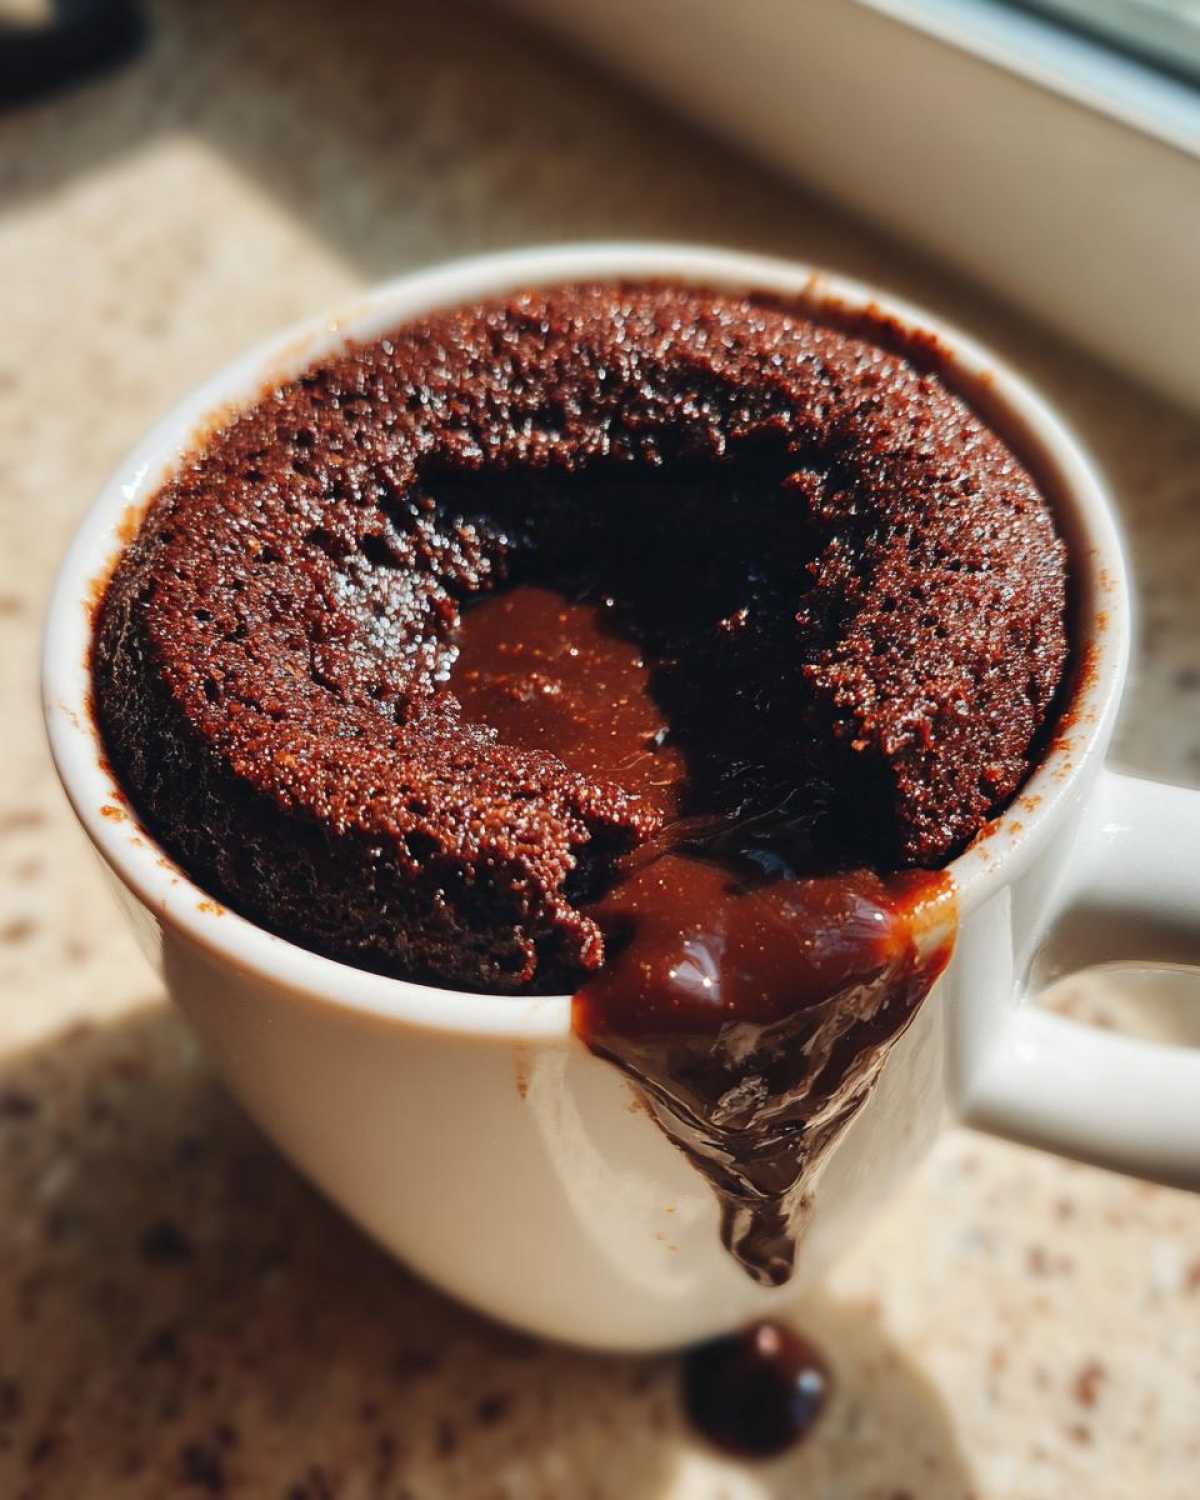
If you’re trying to keep it a little tidier—or maybe you don’t keep ice cream stocked (a tragedy, but I understand!)—a simple dusting of powdered sugar makes a huge difference. It looks elegant, and those little white specks really highlight the dark richness of the cake. Just use a tiny sifter or even a fine-mesh tea strainer to dust it lightly over the top once it’s cooled for 30 seconds.
For a touch of freshness, which cuts through the richness so nicely, always keep some fresh raspberries or sliced strawberries on hand. They add beautiful color, and a little bit of their natural tang brightens up the whole experience. And seriously, if you want to go all out? Drizzle some salted caramel chocolate fondue right over the top. It’s excessive, decadent, and totally necessary for an **emergency chocolate fix**!
Frequently Asked Questions About the Chocolate Lava Mug Cake
I know when you’re in a massive hurry for chocolate, you might have just a couple of last-minute jitters about messing it up. Don’t you worry! The microwave is usually forgiving, but timing is everything for this **Chocolate Lava Mug Cake**. Here are the questions I always get asked when people first try to master this **dessert in a cup**.
Can I make this Chocolate Lava Mug Cake ahead of time?
I really, really advise against it, sweetie. This specific batter relies on the baking powder to react instantly when it hits that high microwave heat. If you mix the wet and dry ingredients too far ahead of time, the baking powder starts to fizzle out before it ever gets into the microwave. If you want to make the dry mix ahead of time (flour, sugar, cocoa—keep those dry things zipped up!), that’s fine. But for the best possible lift and that fluffy edge around your lava, mix the milk and oil in just seconds before you cook it. This really is a made-to-order thing!
What is the secret to lava cake center when using a microwave?
It all comes down to cheating physics, honestly! The main **secret to lava cake center** isn’t just undercooking the batter slightly; it’s placing a solid chunk of chocolate right in the core. The batter around it cooks first, creating the cake structure, while the solid center piece gets soft and melty while the cake sets up around it. If you use a strong piece of quality dark chocolate and stop cooking right when the edges look firm but the middle still wobbles, that’s your liquid gold waiting to flow out. Don’t try to stir it when you check it; you’ll just mix the lava into the cake!
Can I use whole wheat flour in this easy instant dessert recipe?
Yes, you absolutely can pivot to whole wheat flour if you want a bit more fiber in your **easy instant dessert recipe**! However, whole wheat flour is heavier and has a stronger flavor than the plain white stuff. It tends to make the resulting cake denser, which isn’t necessarily what we want when we are aiming for that airy, soft edge.
If you want to try it out, my best advice is to substitute only half of the required flour with whole wheat flour—so use 2 tablespoons of whole wheat and 2 tablespoons of all-purpose flour. This lets you get some of the benefits without compromising the texture too much. You might also need to bump your cooking time up by about 5 to 10 seconds, but watch it really closely!
Estimated Nutrition for This Dessert in a Cup
I know some of you are counting macros or just curious about what you’re diving into when you make this amazing **Chocolate Lava Mug Cake**! Since we’ve managed to whip up this decadent treat in under five minutes, it’s nice to know where it lands nutritionally. Keep in mind, because we are relying on basic home ingredients, these numbers are really solid estimates based on standard grocery store items.
For one perfectly portioned dessert, here’s the quick rundown:
- Calories: Around 300
- Sugar: About 25 grams
- Fat: Roughly 12 grams
- Carbohydrates: Around 45 grams
- Protein: Close to 5 grams
Now, before you hold me to those numbers—we all know that the exact brand of cocoa powder or the specific fat content in your milk can shift these figures slightly! If you use skim milk instead of whole, or if your dark chocolate square was slightly bigger, those numbers change just a hair. For the most official rundown, you can always check out some more general info on nutritional guidelines here, but for this perfect little dessert in a cup, you can feel great about enjoying every warm, fudgy spoonful!
Share Your Homemade Decadent Mug Dessert Experience
If you made it this far and successfully navigated the thrilling 75-second microwave bake, you deserve a standing ovation! Honestly, pulling a perfect **Chocolate Lava Mug Cake** out of the microwave is such a huge win, and I’d absolutely love to hear all about your success. Did you get that beautiful little pool of molten chocolate right in the center? Was your timing spot on?
Please, don’t keep your genius to yourself! I live for seeing your creations. If you managed to capture a triumphant photo of your **homemade decadent mug dessert**, I want to see it! You can always tag me on social media or send the details right over through my contact page. Knowing that I helped satisfy someone’s chocolate craving in under five minutes is honestly the best feeling.
And if you’re feeling generous, leaving a star rating right near the recipe card helps other folks who are desperately seeking an **emergency chocolate fix** discover this ridiculously easy recipe. Every review helps build trust, and frankly, I love knowing my kitchen notes worked for you, too! Happy baking (or microwaving, in this case)!
PrintQuick Microwave Chocolate Lava Mug Cake
Make a rich, single-serving chocolate cake with a gooey molten center in minutes using only a microwave.
- Prep Time: 3 min
- Cook Time: 1.5 min
- Total Time: 4.5 min
- Yield: 1 serving
- Category: Dessert
- Method: Microwave
- Cuisine: American
- Diet: Vegetarian
Ingredients
- 4 tbsp all-purpose flour
- 4 tbsp granulated sugar
- 2 tbsp unsweetened cocoa powder
- 1/4 tsp baking powder
- Pinch of salt
- 3 tbsp milk
- 1 tbsp vegetable oil
- 1/4 tsp vanilla extract
- 1 square (about 1/2 oz) dark chocolate, or 1 tbsp chocolate chips (for the lava center)
Instructions
- In a standard microwave-safe mug (about 10-12 oz), whisk together the flour, sugar, cocoa powder, baking powder, and salt until combined.
- Add the milk, vegetable oil, and vanilla extract to the dry ingredients. Mix well with a fork until the batter is smooth and no dry pockets remain. Do not overmix.
- Place the square of dark chocolate or the chocolate chips directly into the center of the batter. Push it down slightly so it is covered by the batter but remains in the middle.
- Microwave on high power for 60 to 90 seconds. Cooking time varies by microwave wattage. Start checking at 60 seconds.
- The cake is done when the edges look set but the center still looks slightly wet and soft. If you cook it too long, the lava center will solidify.
- Let the mug cool for one minute before eating directly from the mug.
Notes
- For the best lava effect, use high-quality dark chocolate for the center piece.
- If your microwave is very powerful, use 50% power for the first 30 seconds, then switch to full power to prevent the edges from becoming tough.
- If you prefer a slightly firmer cake with a gooey center, aim for 75 seconds cooking time.
Nutrition
- Serving Size: 1 mug
- Calories: 300
- Sugar: 25
- Sodium: 150
- Fat: 12
- Saturated Fat: 5
- Unsaturated Fat: 7
- Trans Fat: 0
- Carbohydrates: 45
- Fiber: 3
- Protein: 5
- Cholesterol: 10