

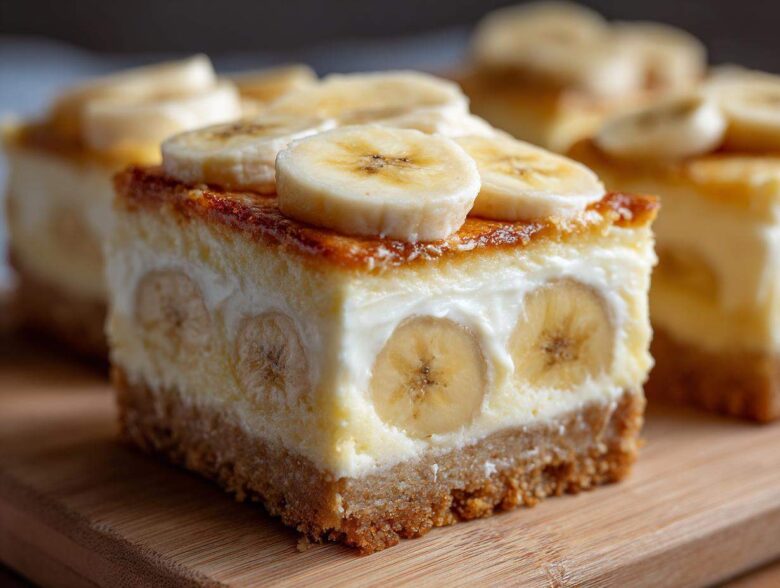
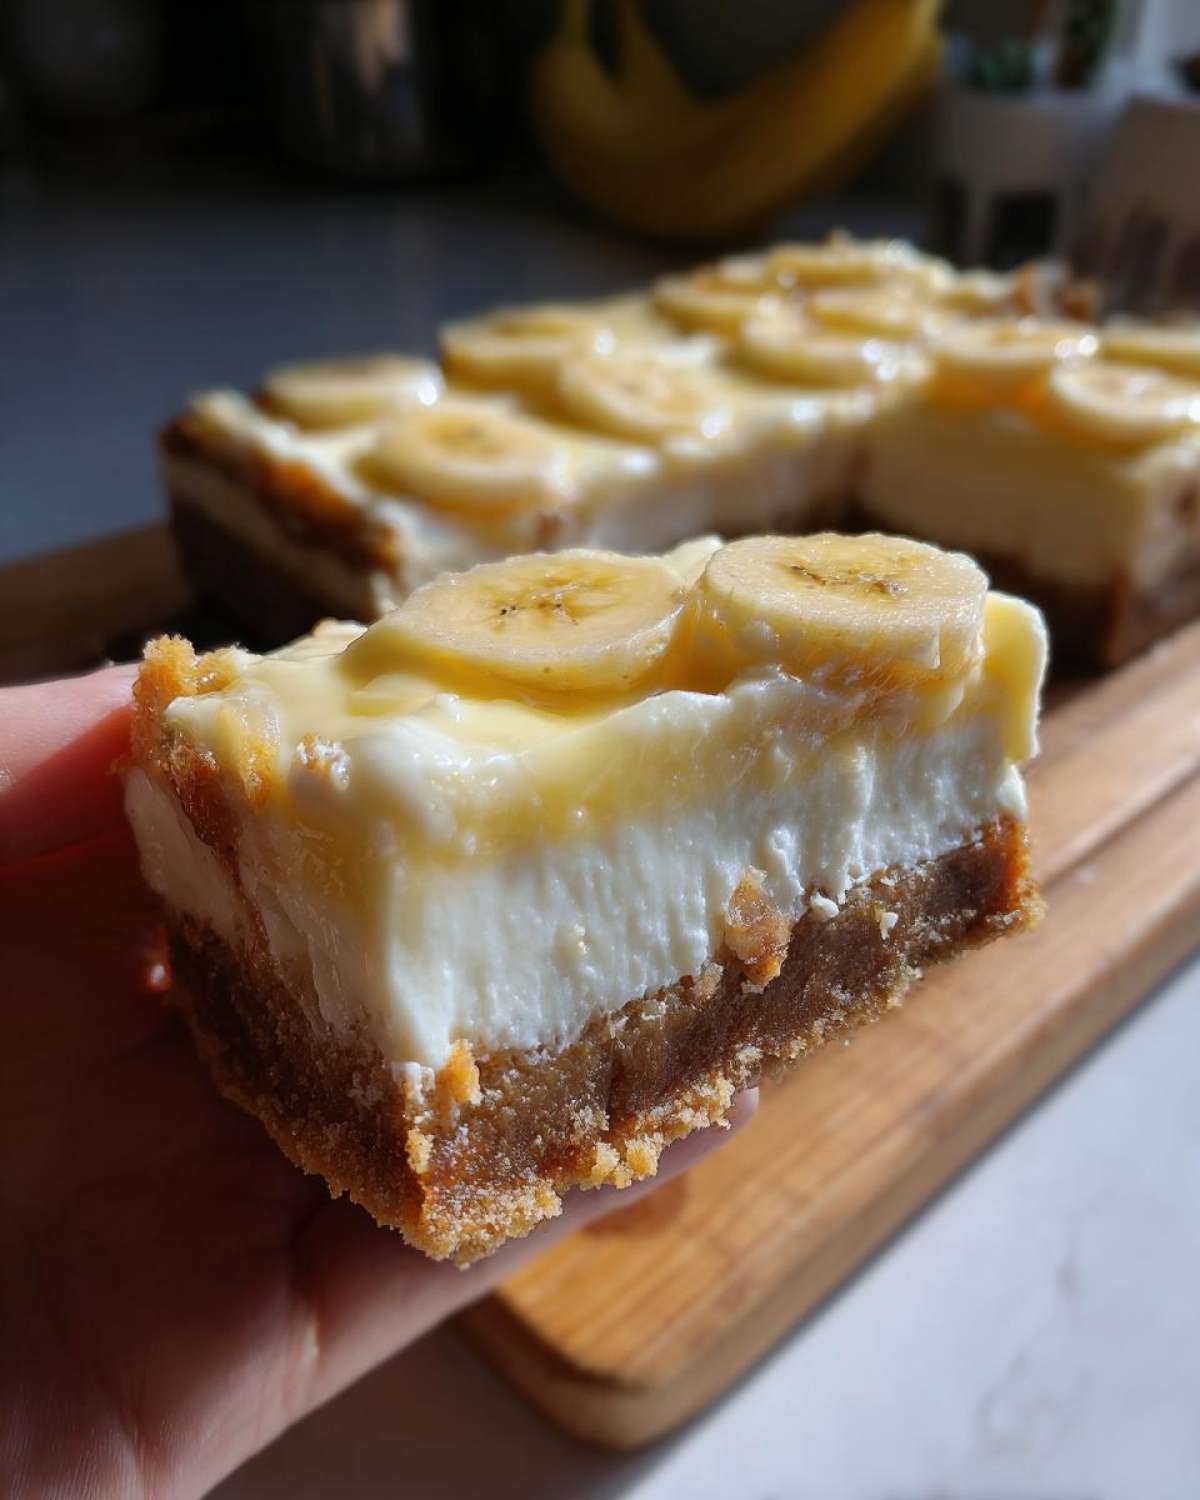
Oh my gosh, stop what you are doing right now. I’ve cracked the code on the dessert mashup of the century! You know how obsessed everyone is with creamy banana pudding AND rich, tangy cheesecake? Well, I took those two absolute titans of Southern Style Desserts and slammed them together into something portable and perfect: Banana Pudding Cheesecake Bars.
Seriously, this is my go-to recipe when I need something to wow a crowd but don’t want to fuss with slicing a temperamental round cake. The combination of the vanilla wafer crust, the dense, sweet cheesecake, and that fluffy, true-to-flavor pudding topping? It’s just magic. I think it works so well because both desserts rely on that signature vanilla flavor, but with completely different amazing textures.
Why You Will Love These Banana Pudding Cheesecake Bars
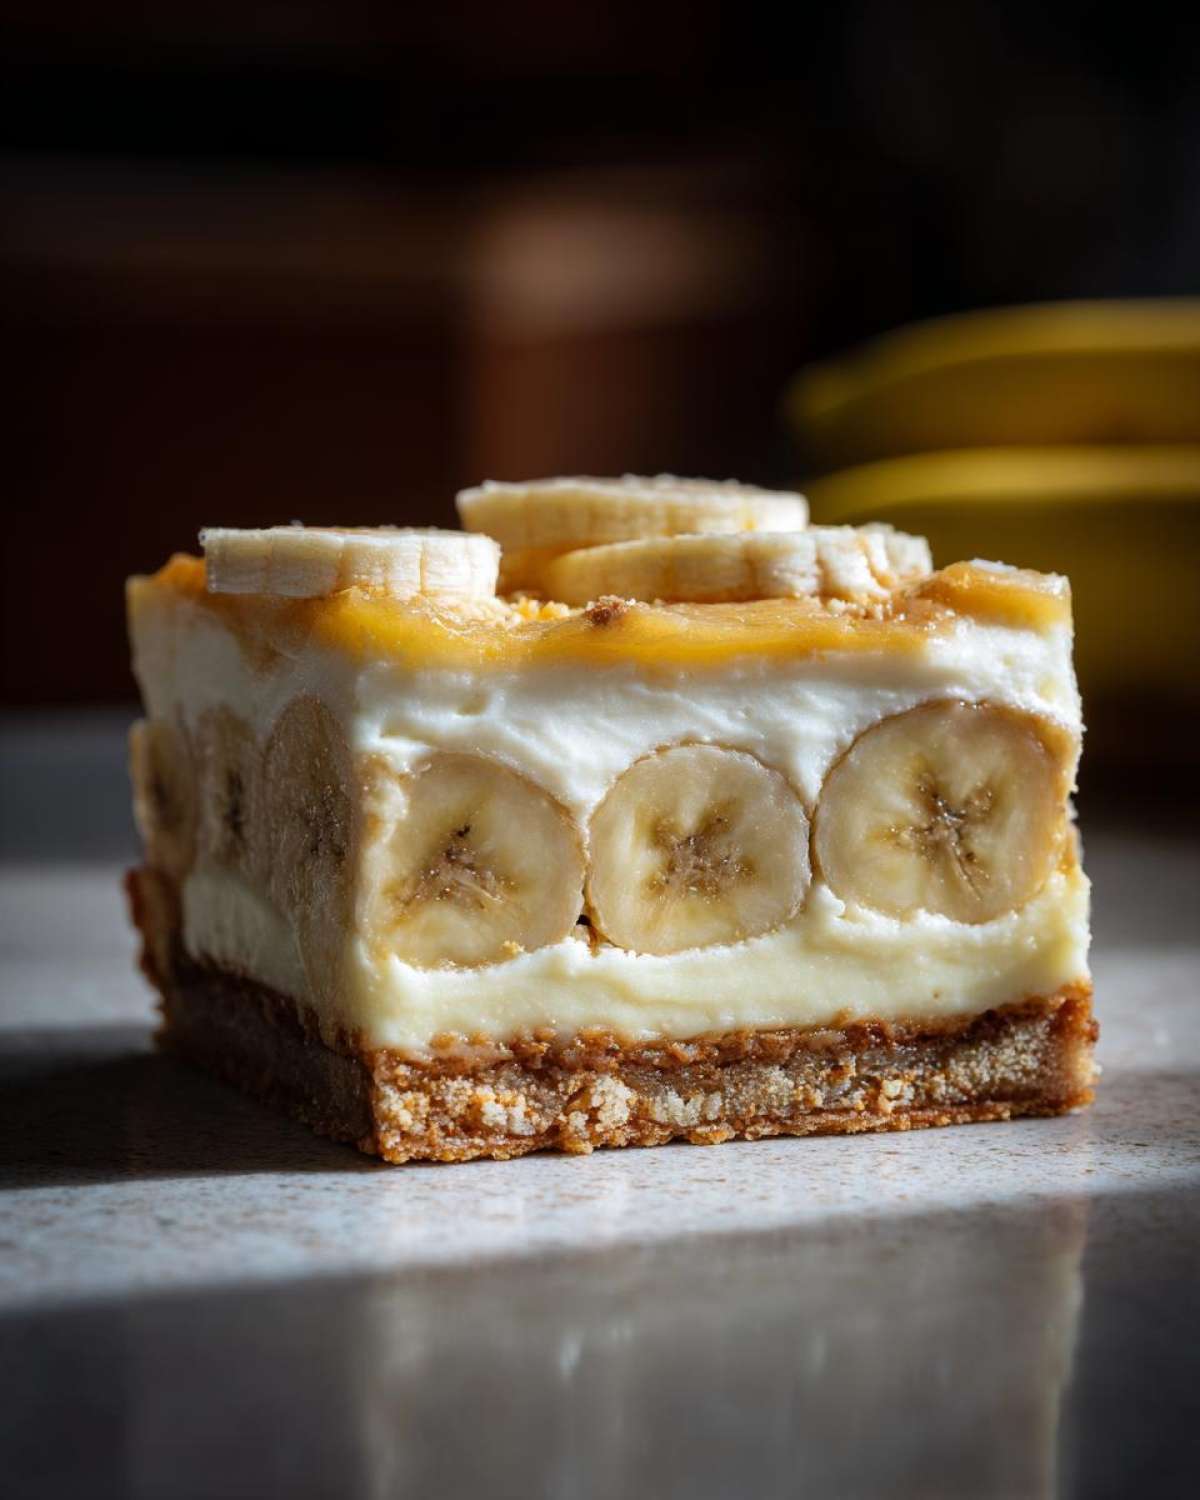
I promise, these bars are heading straight to the top of your favorites list. Why? Well, just look at what you get in every single slice. They are perfect for parties because they are sturdy and easy to serve!
- The texture journey is insane: crunchy crust meets smooth cheesecake which meets cool, fluffy pudding.
- They are the definition of Make Ahead Desserts—they actually taste better the next day!
- All the incredible flavor of classic banana pudding without the fuss of making a whole layered pudding dessert.
- We’re talking about that perfect sweet-and-creamy balance that makes you weak in the knees.
If you’re looking for more layered bliss, you have to check out my seven-layer peanut butter chocolate dip. It has similar vibes!
Essential Ingredients for Perfect Banana Pudding Cheesecake Bars
Okay, gathering your ingredients is where the trust starts. You can’t skimp on quality here if you want that perfect slice of heaven. I wrote down everything exactly as I use it on my own baking days. Remember, using room temperature cream cheese and eggs makes mixing so much easier—it’s my number one tip for avoiding lumps!
For the Vanilla Wafer Crust
This part sets the stage! You need that classic crunch to contrast the smooth filling later. It’s totally reminiscent of any great Vanilla Wafer Dessert.
- 1 1/2 cups vanilla wafer crumbs (easy to find!)
- 1/4 cup granulated sugar
- 6 tablespoons unsalted butter, melted
For the Creamy Cheesecake Filling
This is the heart of the bar. Make sure everything is soft before you start beating it, unless you want a workout trying to smooth out cold cream cheese.
- 16 ounces cream cheese, softened
- 1 cup granulated sugar
- 1 teaspoon vanilla extract
- 3 large eggs
- 1/4 cup sour cream
For the Banana Pudding Topping
This is the layer that screams banana pudding! When you get to the bananas, give those slices a quick toss with a tiny bit of lemon juice—it’s my secret trick to keep them looking bright yellow instead of sad brown.
- 1 package (3.4 ounces) instant vanilla pudding mix
- 1 1/2 cups cold milk
- 2 medium ripe bananas, sliced
- 1 cup whipped topping (thawed)
- Optional: Extra vanilla wafers or meringue for topping
Step-by-Step Instructions for Layered Dessert Bars
This is where the magic happens, turning simple ingredients into those beautiful, stripey Banana Pudding Cheesecake Bars. Don’t get intimidated by the layers; if you take it step-by-step, it’s practically foolproof. Remember, patience during the cooling stages is just as important as the mixing!
Preparing and Baking the Crust Base
First things first, get your oven warming up to 350 degrees Fahrenheit. You want a 9×13 inch pan, and I always line mine with parchment paper, letting the ends hang over the sides like little handles. This makes lifting the whole thing out later so much easier—trust me on that!
For the base of our Banana Pudding Cheesecake Bars, just mix your vanilla wafer crumbs, the 1/4 cup of sugar, and that melted butter until everything is evenly damp. Press it firmly into the bottom of the pan. Then pop it in for just 10 minutes to set. After that, pull it out and let it cool down while you tackle the next layer.
Creating the Smooth Cheesecake Filling
Now for the creamy part! Beat your softened cream cheese with the 1 cup of sugar until it’s smooth as silk. Then gently mix in the vanilla, the eggs one at a time, and the sour cream till everything is just combined. Please, whatever you do, don’t whip this too hard once the eggs are in—overmixing means cracks!
Pour that lovely batter right over your cooled crust. Bake this for about 25 to 30 minutes. You want the edges to look firm, but you should still see a tiny bit of wiggle, like Jell-O, right in the very center. Take it out and let it cool completely on the counter before it even thinks about going into the fridge.
Assembling the Pudding and Banana Layers
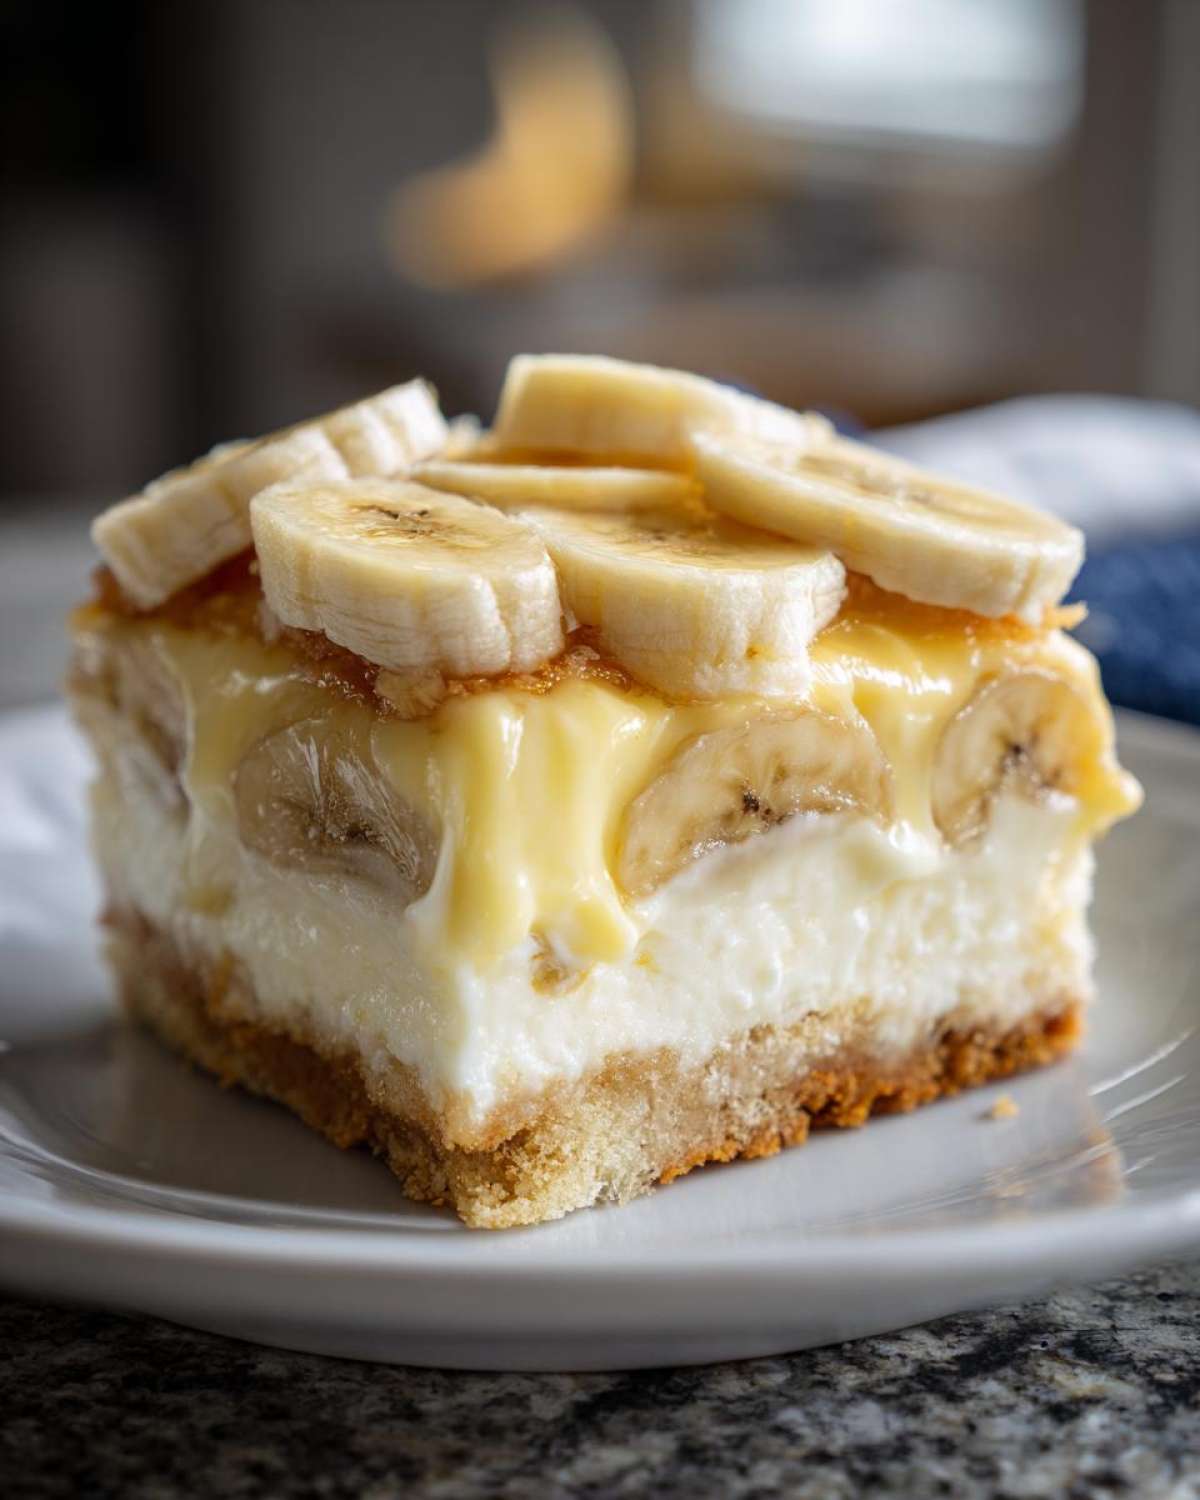
Once the cheesecake base is totally cool—like, at least an hour on the rack—slide it into the fridge for a solid two hours minimum. This chill time is non-negotiable to keep things neat when we slice later. While it’s chilling, whisk up your instant pudding mix with the cold milk according to the box, but make it nice and thick.
Gently fold in your thawed whipped topping. Once your cheesecake is properly chilled, lay those sliced bananas evenly over the top. I covered mine with a quick lemon juice bath beforehand! Finally, spread that luscious pudding mixture right over the bananas. Pop these Banana Pudding Cheesecake Bars back in the fridge for another two hours. That final chill helps everything meld together before you garnish and slice!
If you want more interesting recipes that travel well, you might enjoy this seven-layer Mediterranean dip too.
Tips for Success with Creamy Baked Goods
Look, making layered desserts—especially ones featuring cheesecake—can sometimes feel a little dramatic. You want that perfect, creamy set, right? We are past the point of hoping for the best with these Banana Pudding Cheesecake Bars; we want certainty! Getting a clean slice and keeping those bananas looking sunny bright are the two things that trip people up.
Achieving the Best Cheesecake Texture
The number one thing that causes weird textures or cracks in cheesecake is temperature inconsistency. Your cream cheese absolutely has to be fully softened, bordering on room temperature, before you even touch the mixer. If it’s cold, you end up beating it too long trying to smooth out lumps, which incorporates too much air. Less air means fewer puffy spots that later turn into cracks when they cool down!
Mix the eggs in just until they disappear. Seriously, stop the mixer and scrape down the bowl. You’re aiming for smooth richness, not meringue volume here.
Preventing Banana Discoloration
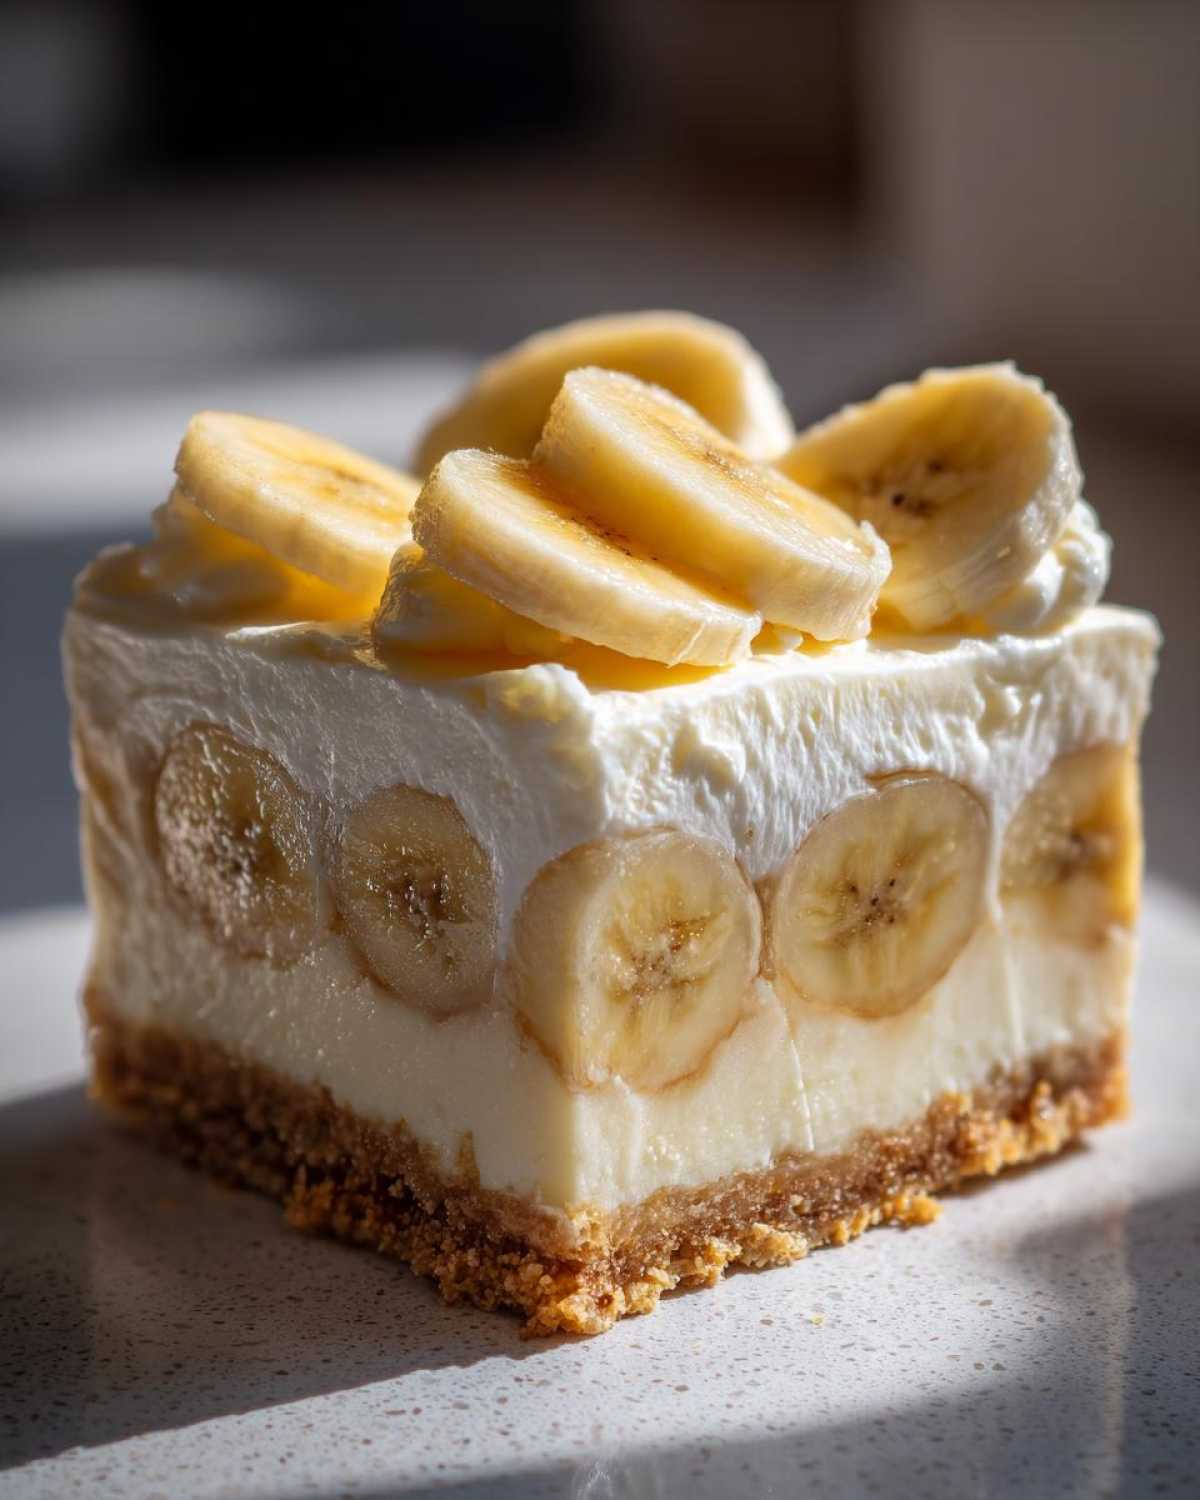
We talked about it briefly, but let’s make this a hard rule: Bananas brown fast once sliced. You should slice those beauties right before you are ready to layer them onto that chilled cheesecake base. Give them a quick, gentle tumble in a bowl with maybe a teaspoon of lemon juice, just enough to lightly coat them. They blend right into the pudding layer, but we want them to look vibrant!
Check out my main blog for other tips on keeping fruit looking fresh in desserts!
Storage and Serving Suggestions for Banana Pudding Cheesecake Bars
The best part about making these delicious Layered Dessert Bars is knowing they need that long, cold nap in the fridge to truly become perfect. Don’t try to rush that final chill! You need that time for the cheesecake to firm up completely and for the pudding layer to set over those beautiful banana slices.
These bars must stay refrigerated, always. They are dairy-heavy, which means they stay fresh and perfect for about four days tucked in an airtight container. If you plan on making them even further ahead of time—say, for a holiday event—you can actually bake the crust and cheesecake layers, let them cool completely, and wrap them tightly *before* adding the pudding and bananas. Then, you just top them the day before you plan to serve!
When it comes time to slice, run a sharp knife under hot water, wipe it dry, and then slice. This friction-free cut gives you beautiful edges! They are fantastic on their own, of course, but they pair perfectly with a scoop of vanilla bean ice cream or maybe just a cup of really strong, black coffee. If you are feeling extra decadent, I love serving mine alongside a little scoop of that chocolate strawberry salsa for a fruity contrast!
Frequently Asked Questions About Banana Pudding Cheesecake Bars
I totally get it! When you’re using a recipe that merges two beloved classics like this, you probably have a few little questions floating around. It’s important that these turn out perfect for your next gathering. These bars are honestly one of my favorite Potluck Desserts because everyone dives in!
Can I use real (cooked) pudding instead of instant?
You absolutely can, but it changes the texture a bit! If you use stovetop pudding, those bars will be much firmer because cooked pudding sets up denser than instant mix combined with whipped topping. If you go that route, you’ll need to cook it slowly and then let it cool almost completely before folding in your whipped topping. Honestly, for these Banana Pudding Cheesecake Bars, the instant mix gives that light, airy texture I love best.
How long MUST these chill before slicing?
This is non-negotiable, my friend! You need that two-hour initial chill to set the cheesecake layer after baking, otherwise, it will weep everywhere. But for the absolute best, cleanest slices, you want them to chill for a total of four hours minimum—ideally six hours or even overnight. They taste incredible when they are fully set. Don’t forget that final chill!
Do I have to use vanilla wafers for the crust?
Oh, you *could* try graham crackers, but you’re losing the core flavor here! The vanilla wafers give that specific, almost buttery cookie flavor that screams banana pudding. If you can’t find wafers, slightly sweetened shortbread cookies work in a pinch, but stick with the wafers if you can. It makes all the difference in these Sweet and Creamy Treats!
Can I make these ahead of time?
Yes! This is why they are so great. I often bake the crust and cheesecake layers and keep them covered in the fridge for up to two days. I top them with the bananas and pudding mixture the morning I plan to serve them. If you want to get a jump on things, definitely make them ahead of time. If you’re looking for more make-ahead options, you should take a peek at my Jalapeño Cheddar Million Dollar Dip recipe!
Estimated Nutritional Data for Banana Pudding Cheesecake Bars
I know a lot of you are curious about what’s going into those beautiful layers, and I always like to share what I can about the macros, even though I’m way more focused on the ‘delicious’ factor than the labeling!
Since these wonderful Banana Pudding Cheesecake Bars yield about 16 bars in my 9×13 pan, these numbers are an estimate *per bar*. This isn’t a light snack, friends—it’s rich, decadent cheesecake goodness, so keep that in mind!
Here is the general estimate breakdown based on the ingredients I use:
- Calories: About 350 per bar.
- Fat: Around 20g total, with about 12g coming from saturated fat (hello, cream cheese and butter!).
- Carbohydrates: Roughly 38g, lots of that sweetness coming from the sugar and wafers.
- Protein: A modest 5g, mostly from the dairy.
Remember, this data doesn’t count extra meringue or if you use a fancier topping. If you drizzle extra chocolate or something, those numbers will certainly climb! But taken as is, it’s a perfect indulgence for a party!
Share Your Experience Making These Southern Style Desserts
Now it’s your turn! I poured my heart into these Banana Pudding Cheesecake Bars, and I absolutely love hearing when they turn out perfect for you. Did they make it to your summer BBQ or holiday table? Please rate the recipe down below and tell me if you tried the lemon juice trick on the bananas!
If you made these amazing Southern Style Desserts and took a picture, tag me! Seeing your creations makes my day. If you want another easy, crowd-pleasing potluck option, you should check out my take on the Southern 7-Layer Dip—it uses some similar creamy textures!
PrintBanana Pudding Cheesecake Bars
A layered dessert bar combining a vanilla wafer crust, creamy cheesecake filling, and a banana pudding topping.
- Prep Time: 25 min
- Cook Time: 35 min
- Total Time: 3 hours 0 minutes
- Yield: 16 bars
- Category: Dessert
- Method: Baking
- Cuisine: American
- Diet: Vegetarian
Ingredients
- 1 1/2 cups vanilla wafer crumbs
- 1/4 cup granulated sugar
- 6 tablespoons unsalted butter, melted
- 16 ounces cream cheese, softened
- 1 cup granulated sugar
- 1 teaspoon vanilla extract
- 3 large eggs
- 1/4 cup sour cream
- 1 package (3.4 ounces) instant vanilla pudding mix
- 1 1/2 cups cold milk
- 2 medium ripe bananas, sliced
- 1 cup whipped topping (thawed)
- Optional: Extra vanilla wafers or meringue for topping
Instructions
- Preheat your oven to 350 degrees Fahrenheit. Line a 9×13 inch baking pan with parchment paper, leaving an overhang for easy removal.
- Prepare the crust: Mix vanilla wafer crumbs, 1/4 cup sugar, and melted butter until combined. Press the mixture firmly into the bottom of the prepared pan. Bake for 10 minutes. Let cool slightly.
- Prepare the cheesecake filling: Beat the softened cream cheese and 1 cup sugar until smooth. Mix in the vanilla extract, eggs, and sour cream until just combined. Do not overmix.
- Pour the cheesecake filling over the cooled crust. Bake for 25 to 30 minutes, or until the edges are set but the center still has a slight jiggle.
- Remove the cheesecake from the oven. Let it cool completely on a wire rack, about 1 hour. Then, chill in the refrigerator for at least 2 hours.
- Prepare the pudding layer: Whisk the instant vanilla pudding mix with cold milk according to package directions until thickened, about 5 minutes.
- Gently fold the whipped topping into the prepared pudding.
- Arrange the sliced bananas evenly over the chilled cheesecake layer. Spread the pudding mixture over the bananas.
- Chill the bars for an additional 2 hours before slicing. Garnish with extra vanilla wafers or meringue before serving.
Notes
- To prevent bananas from browning quickly, lightly toss the slices with a small amount of lemon juice before layering them onto the cheesecake.
- For a richer crust flavor, use slightly more butter if the crumbs seem too dry.
- If you prefer a baked meringue topping, spread it over the pudding layer and bake for 5 minutes until lightly browned, then cool completely.
Nutrition
- Serving Size: 1 bar
- Calories: 350
- Sugar: 30
- Sodium: 250
- Fat: 20
- Saturated Fat: 12
- Unsaturated Fat: 8
- Trans Fat: 0
- Carbohydrates: 38
- Fiber: 1
- Protein: 5
- Cholesterol: 65