

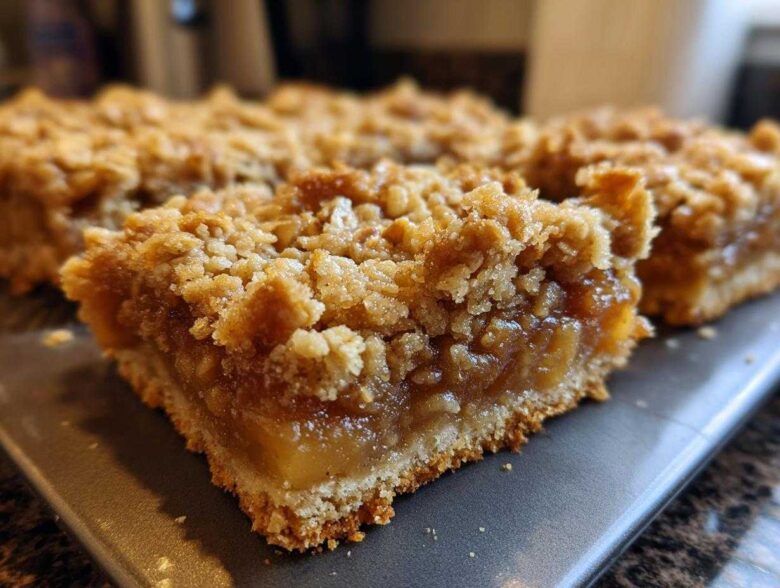
Oh, you know those days where you just crave something warm, buttery, and reminiscent of everything cozy? That’s exactly when I pull out the bag of apples and turn on the oven. There is nothing better than the smell of cinnamon and brown sugar filling the house, right? These simple, buttery Apple Bars—with their perfect shortbread base and crumbly topping—are my go-to recipe for any gathering, or honestly, just Tuesday. Trust me, if you think baking is intimidating, these cut-out Apple Bars are the perfect way to start your baking journey this fall. You can check out my general baking tips over at the blog!
Why You Will Love These Buttery Apple Bars
We all need a go-to comforting bake that doesn’t take all day! These bars are exactly that. They seriously deliver on flavor and texture.
- They are incredibly straightforward, making them perfect as apple dessert bars for beginners.
- The crust is pure shortbread magic—so buttery apple bars are our specialty!
- You get that lovely contrast between the soft, spiced apple filling and the crunchy streusel topping.
- These make fantastic quick baked apple desserts when unexpected company drops by.
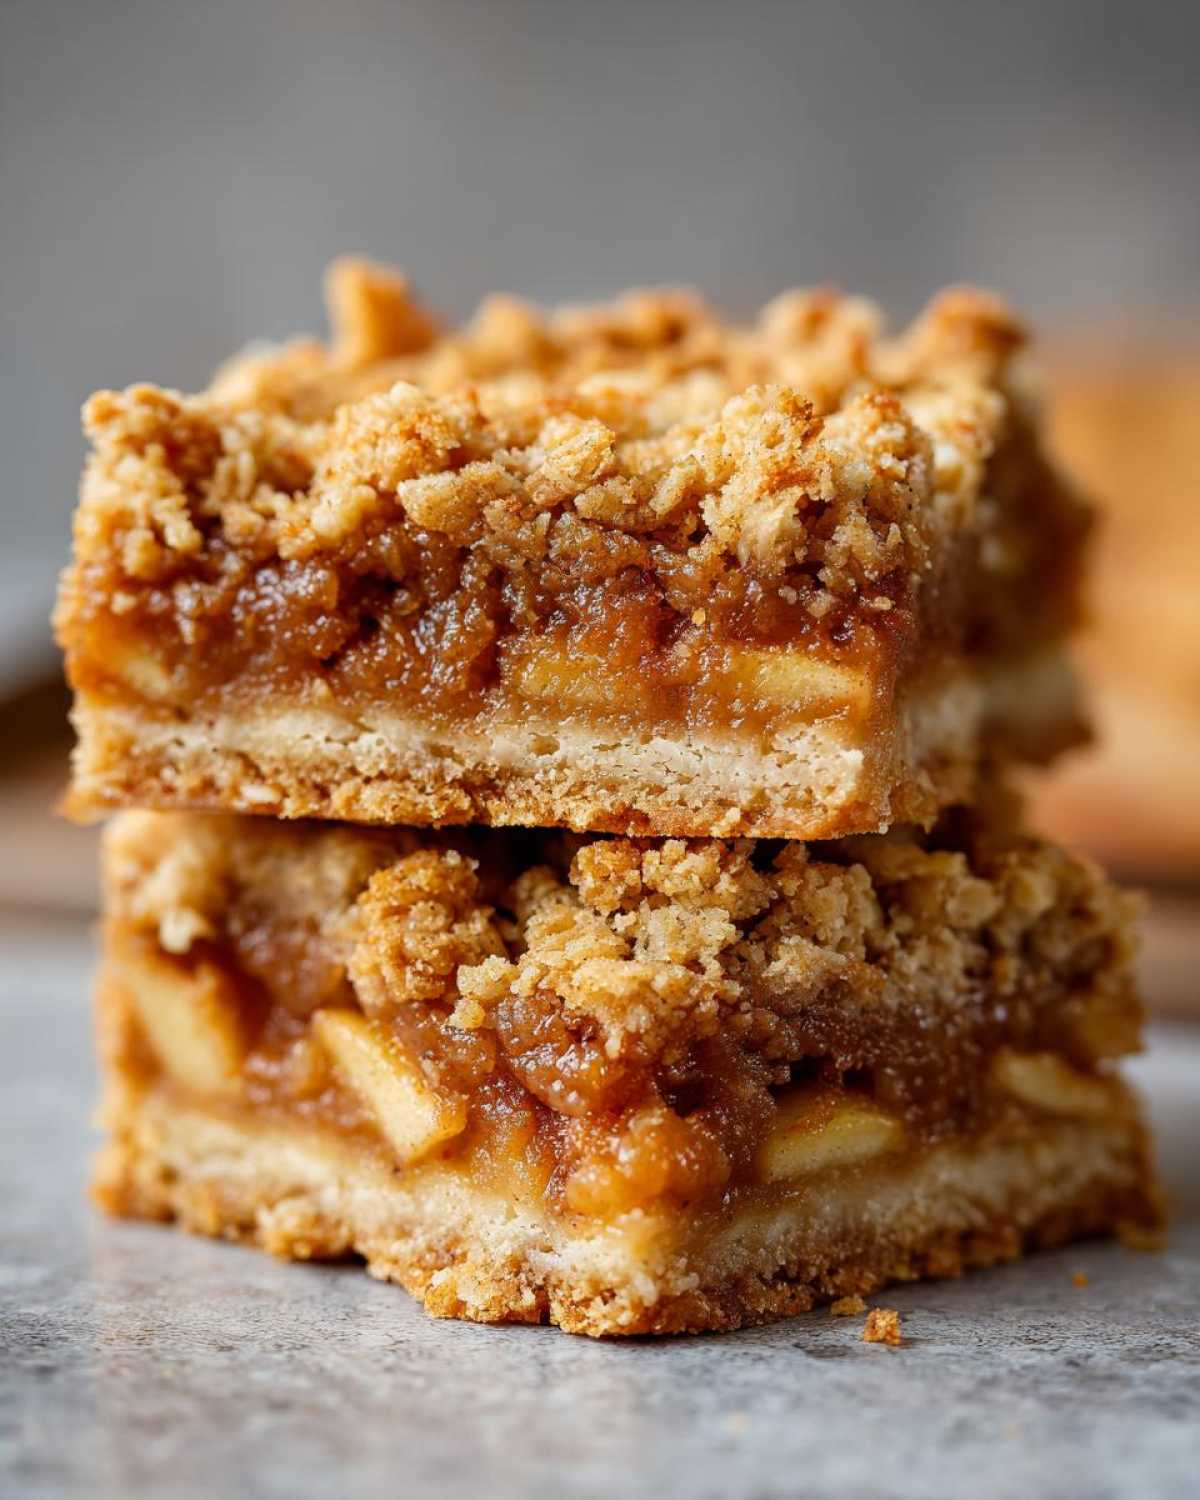
Gathering Ingredients for Your Apple Bars
Getting everything measured out beforehand is honestly half the battle when baking. For these from scratch apple bars, we break the ingredients down by the layer they belong to. Pay close attention to the butter—it absolutely has to be cold for both the crust and the topping! If you love pairing apples with cheese, you should totally check out my sharp cheddar apple cider fondue recipe sometime.
For the Buttery Shortbread Crust and Streusel Topping
We use a lot of the same components for both the base and the topping, which is super efficient! You’ll need 1 cup of flour, 1/2 cup of rolled oats, 1/2 cup of packed light brown sugar, a tiny pinch of salt, and 1/2 cup of cold unsalted butter cut into cubes for the crust. For the topping, save out an extra 1/4 cup of oats, 2 tablespoons of light brown sugar, and another 1/4 cup of cold butter pieces.
For the Spiced Apple Filling
This is where the fragrant goodness comes from! Make sure you have 2 medium apples—I swear by Granny Smith or Honeycrisp—which absolutely must be peeled, cored, and diced. You’ll mix those with 1/4 cup of granulated sugar, 1 teaspoon of cinnamon, 1 tablespoon of flour to help the juices thicken up, and just 1 tablespoon of fresh lemon juice to keep things bright in your Apple Bars.
Step-by-Step Guide to Making Perfect Apple Bars
Okay, grab your apron because this is where the magic happens! We are creating layers here, and the timing is key. I find it helps to have a little podcast going while I assemble these—it keeps me distracted while the oven heats up. While we’re layering, you might want to check out my thoughts on making fancy layered desserts too; sometimes you just need a break from bars! You can see some of those recipes over here.
Prepping the Pan and Crust Base
First thing: get that oven humming at 350 degrees F. Grab your 8×8 inch pan and line it with parchment paper, but make sure you leave a little overhang, like handles, on two sides. This is going to save your back later! Now, mix your crust dry ingredients—flour, oats, brown sugar, salt—then work in that cold butter until it truly looks like coarse crumbs. Don’t overwork it! Press about two-thirds of that mixture firmly into the base of your pan. Don’t just sprinkle it; really press it down so it holds together. Bake this base layer for just 15 minutes until it sets up a bit.
Assembling and Baking the Layered Apple Bars
While that base is getting happy in the oven, toss your diced apples with their sugar, cinnamon, flour, and lemon juice. Spread those spiced apples evenly right on top of the warm, partially baked crust. This is your second layer! Next, take your reserved topping ingredients—the leftover crust mix bits—and sprinkle them evenly over the apples. Everything goes back into the oven for about 30 to 35 minutes. You are looking for that beautiful, golden brown topping and apples that are fork-tender when you test them. Patience is a virtue here!
Tips for Success with Homemade Apple Streusel Bars
Making Homemade Apple Streusel Bars is pretty forgiving, but there are two spots where people often run into trouble: a soggy bottom or apples that come out too hard. My biggest secret for preventing the former? That cold butter for the crust! I once got distracted answering the phone and my butter got way too soft before I mixed it in. The resulting base was tough, not flaky at all. Soggy bottoms usually happen if you don’t pre-bake the crust, so don’t skip that 15 minutes!
Also, slicing is way easier if you just let them chill completely before trying to lift or cut them. If you try to cut them warm, you get crumble everywhere! For more of my kitchen wisdom and handy hints, feel free to browse around my blog anytime!
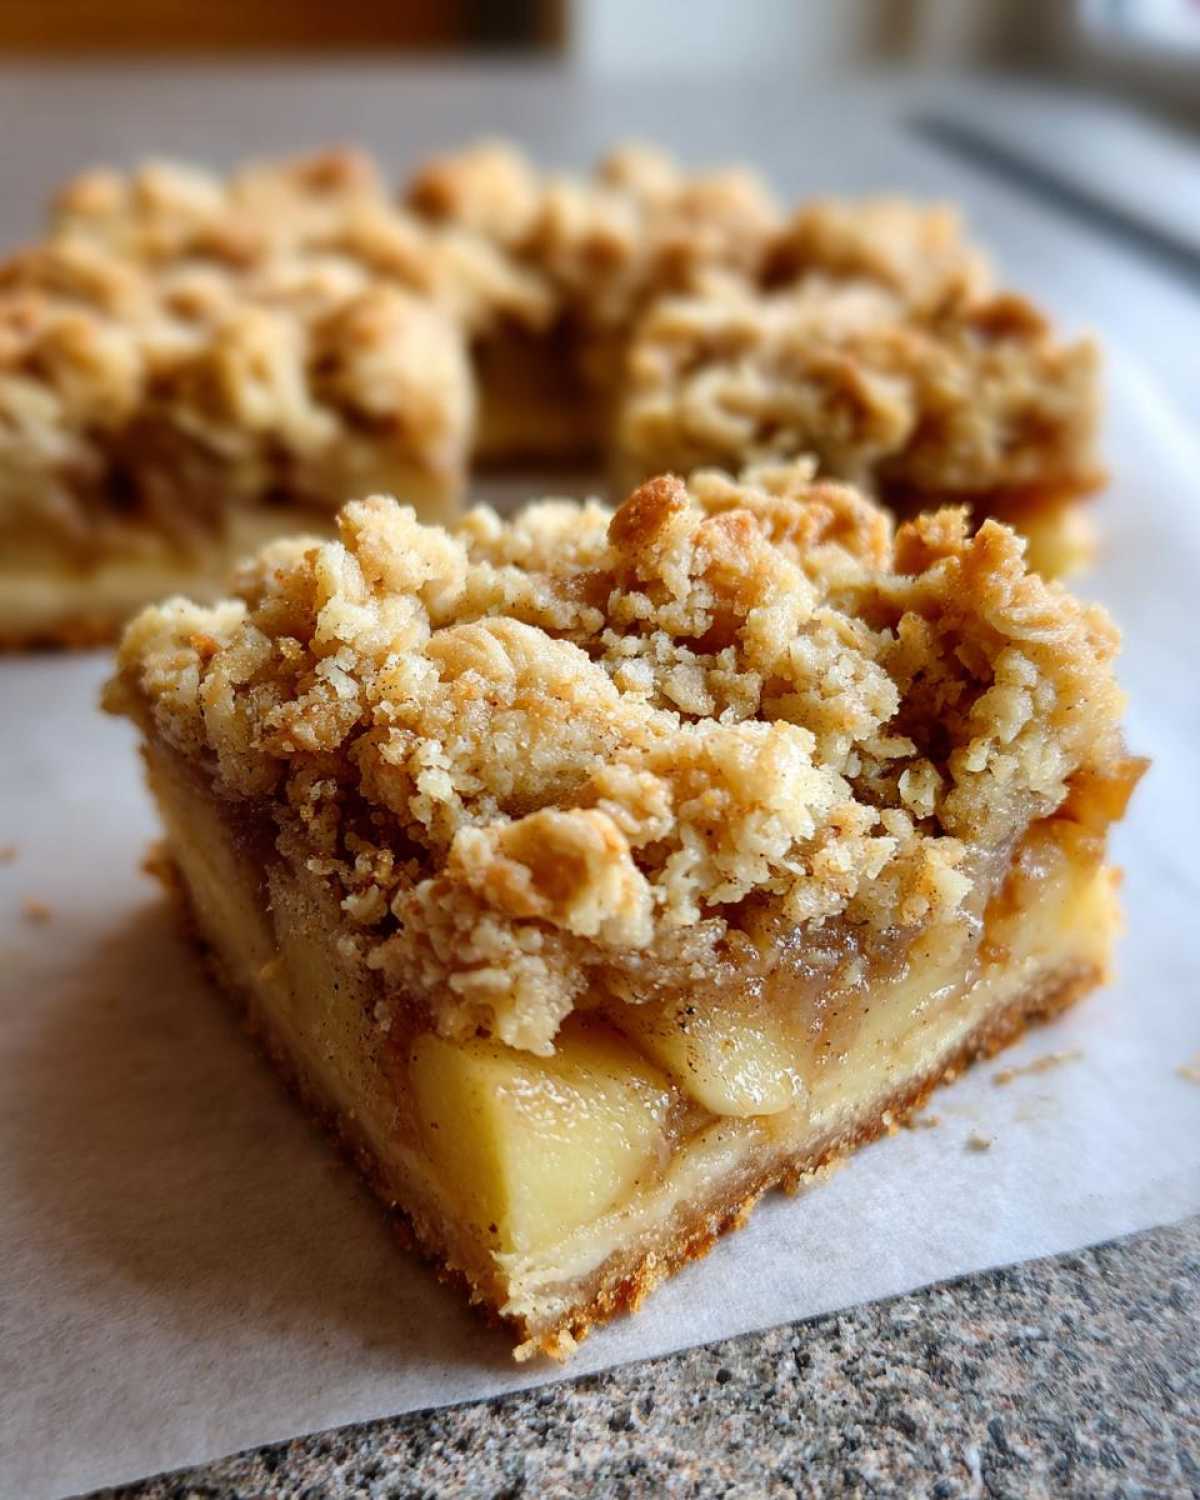
Ingredient Notes and Substitutions for Your Apple Bars
I know baking often means making do with what you have on hand, so let’s talk swaps for these **Simple Apple Squares**. If you don’t have tart Granny Smiths, Honeycrisp is great, but maybe reduce the granulated sugar slightly if you use a sweeter apple like Fuji. The oats are key for that crumble texture, but if you’re out, you can substitute them completely with that same amount of all-purpose flour for a truly decadent, pure shortbread base. It makes them less of an oatmeal bar and more of a rich, buttery cookie bar, which is fantastic too!
Just remember, any time you change the moisture content, you might need to tack on a few extra minutes on that final bake time!
Storage and Reheating Instructions for Leftover Apple Bars
Seriously, these Apple Bars rarely last long enough to need storing, but if you manage to have extras, listen up! You can keep them airtight on the counter at room temperature for about two days. If you want them to last closer to a week, tuck them into the fridge, layered between sheets of wax paper in a sealed container.
When it’s time to enjoy one as a post-dinner treat, skip the microwave! I find that reheating them for just five minutes at 300 degrees F in the oven brings back that perfect crispness to the topping and warms the apples just right. Perfection!
Serving Suggestions for Autumn Apple Treats
These beautiful Autumn Apple Treats shine all on their own, especially when warm from the oven. If you want to dress them up, a little scoop of vanilla bean ice cream melting over that buttery crust is heavenly! If you prefer them cool, they are fantastic for packing up for picnics or lunchboxes.
They pair surprisingly well with a tart, refreshing drink, too. I often serve these alongside a tall glass of my homemade iced hibiscus tea. It cuts through the richness perfectly!
Frequently Asked Questions About Apple Dessert Bars for Beginners
I totally get it—when you’re making an Easy Apple Dessert Recipe for the first time, you have questions! I’ve answered the ones I hear the most when people try these Simple Apple Squares. You’ll be baking like a pro in no time, I promise! If you are looking for more speedy baking ideas, check out what I’ve been whipping up in the breakfast section!
Can I use pre-cut apples for these Apple Bars?
Oh, you really shouldn’t, sweetie! Pre-shredded or pre-diced apples are usually treated with preservatives to keep them from browning, and honestly, they tend to be drier. For the best texture in these Apple Dessert Bars for Beginners, you need the natural moisture from a freshly peeled and chopped apple, even if it means a minute or two more of prep work!
What makes these the Best Apple Crumble Bars?
It’s all about the balance, honestly! The best Apple Crumble Bars nail the ratio between the buttery, sturdy crust and the flavorful filling. We use enough butter in that base layer that it gets wonderfully crisp on the bottom but still crumbles perfectly on top. That buttery foundation is what sets these apart from something flatter or doughier!
Nutritional Snapshot of These Simple Apple Squares
Now, I’m not usually one to count calories when I’m baking something this comforting, but I know some of you like to keep track! These estimates are based on the exact measurements in the recipe above. Remember, since we make these totally from scratch, the exact numbers can shift slightly depending on the brand of butter or the size of your apples. You can always read my full disclaimer right here if you want all the fine print regarding nutritional estimates for my recipes.
- Serving Size: 1 square (makes 16 total)
- Calories: 220
- Fat: 12g (with 7g being the good saturated stuff)
- Carbohydrates: 28g
- Sugar: 18g
- Protein: 3g
Simple Buttery Apple Crumble Bars
Make these easy apple crumble bars with a buttery shortbread crust and a sweet, spiced apple filling topped with a streusel.
- Prep Time: 20 min
- Cook Time: 45 min
- Total Time: 65 min
- Yield: 16 squares
- Category: Dessert
- Method: Baking
- Cuisine: American
- Diet: Vegetarian
Ingredients
- 1 cup all-purpose flour
- 1/2 cup rolled oats
- 1/2 cup packed light brown sugar
- 1/4 teaspoon salt
- 1/2 cup (1 stick) cold unsalted butter, cut into cubes
- 2 medium apples (like Granny Smith or Honeycrisp), peeled, cored, and diced
- 1/4 cup granulated sugar
- 1 teaspoon ground cinnamon
- 1 tablespoon all-purpose flour
- 1 tablespoon lemon juice
- 1/4 cup cold unsalted butter, cut into small pieces (for topping)
- 1/4 cup rolled oats (for topping)
- 2 tablespoons packed light brown sugar (for topping)
Instructions
- Preheat your oven to 350 degrees F. Line an 8×8 inch baking pan with parchment paper, leaving an overhang on two sides for easy removal.
- Prepare the crust: In a medium bowl, combine 1 cup flour, 1/2 cup oats, 1/2 cup brown sugar, and salt. Cut in the 1/2 cup cold butter using a pastry blender or your fingers until the mixture resembles coarse crumbs.
- Press two-thirds of the crust mixture evenly into the bottom of the prepared pan. Bake for 15 minutes.
- Prepare the filling: While the crust bakes, toss the diced apples with granulated sugar, cinnamon, 1 tablespoon flour, and lemon juice in a small bowl.
- Spread the apple mixture evenly over the partially baked crust.
- Prepare the topping: In the same bowl used for the crust, combine the remaining 1/4 cup oats, 2 tablespoons brown sugar, and the remaining 1/4 cup cold butter pieces. Mix until crumbly.
- Sprinkle the topping mixture evenly over the apples.
- Bake for 30 to 35 minutes, or until the topping is golden brown and the apples are tender.
- Let the bars cool completely in the pan on a wire rack before lifting out using the parchment overhang and cutting into squares.
Notes
- Use firm, tart apples like Granny Smith for the best texture and flavor balance.
- If you prefer a sweeter bar, add 1/4 teaspoon of nutmeg to the apple filling.
- For a caramel apple variation, drizzle melted caramel sauce over the cooled bars before slicing.
Nutrition
- Serving Size: 1 square
- Calories: 220
- Sugar: 18g
- Sodium: 85mg
- Fat: 12g
- Saturated Fat: 7g
- Unsaturated Fat: 5g
- Trans Fat: 0g
- Carbohydrates: 28g
- Fiber: 2g
- Protein: 3g
- Cholesterol: 30mg