

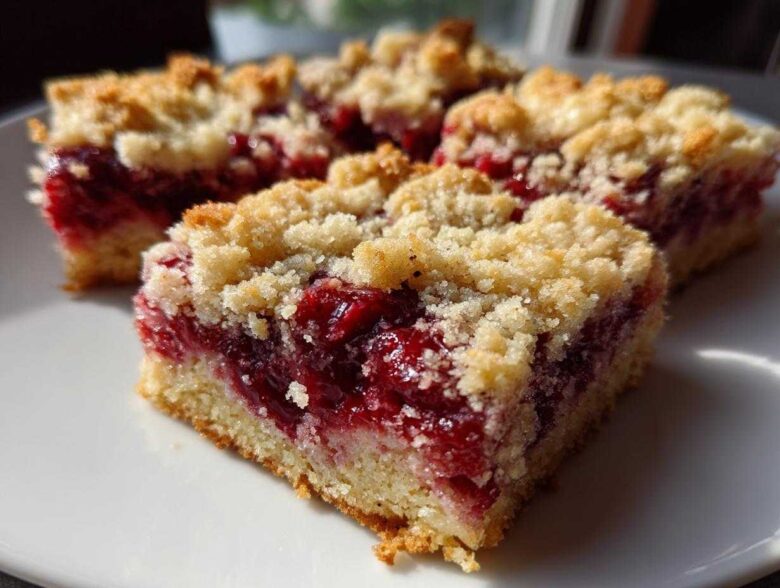
Oh my goodness, you absolutely have to try these! There is nothing better than that perfect balance between fruit that’s just the right amount of tart and a base that just melts in your mouth, right? These buttery, slightly salty **Cherry Crumble Bars** have become my absolute go-to for easy entertaining. I remember making the first batch when my niece had that last-minute school picnic, and I needed something baked, sturdy, and delicious in under an hour. They vanished! Trust me when I say these are the easiest, most wonderfully buttery dessert bars you will ever pull out of your oven. Forget fussy pie crusts; we’re going straight for that irresistible crumb.
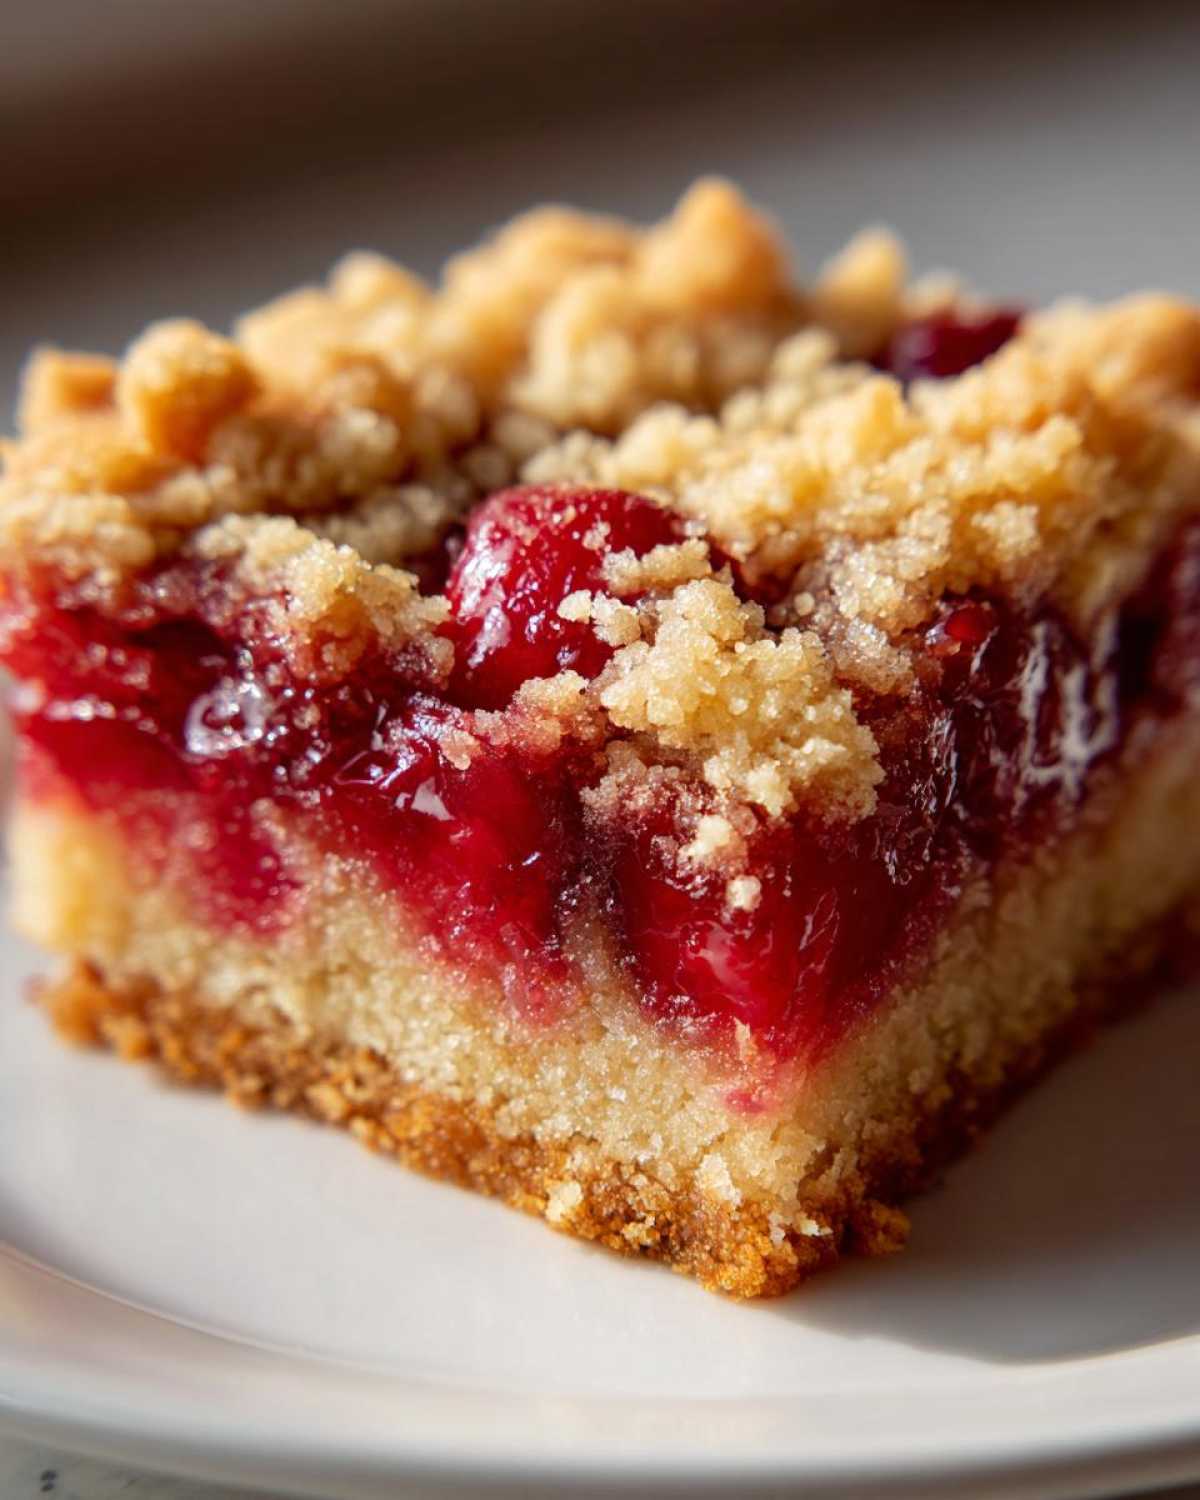
Why You Will Love These Easy Cherry Crumble Bars Recipe
Honestly, I’ve tried dozens of fruit square recipes, and this one is the clear winner. It hits every mark! If you’re looking for that perfect combination of speed and deliciousness, this is it. Plus, who doesn’t love something that’s practically foolproof?
- This truly is an Easy Cherry Crumble Bars Recipe—you mix the base and topping together in one bowl!
- The texture is exactly what you want: a crunchy, golden shortbread base that holds up beautifully under the sweet cherry filling.
- We use rolled oats, which gives these Homemade Cherry Oat Bars a fantastic, satisfying chew that you just don’t get with flour alone.
- They transport like a dream! Because they’re baked in one sturdy 8×8 pan, they are perfect for parties or taking to work. You can see a similar amazing bar that travels well over here if you’re ever looking for a white chocolate spin!
Ingredients for the Best Baked Cherry Squares
Okay, let’s talk what goes into these incredible bars. When you’re making **Best Baked Cherry Squares**, the quality and state of your ingredients matter so much, especially that butter! We are building richness here. I like to gather everything on the counter before I start because once the butter hits that flour, we need to move pretty fast. Don’t stress about buying special stuff, though—these all come from a pretty standard pantry setup.
For the Buttery Cherry Crumb Bars Base and Topping
This is where the structure and that craveable buttery flavor come from. Remember, texture is everything with a crumble!
- 1 1/2 cups all-purpose flour
- 1 cup rolled oats (make sure they are regular rolled oats, not instant!)
- 1/2 cup packed light brown sugar
- 1/2 teaspoon salt (don’t skip this—it balances the sweetness!)
- 1/2 cup (1 stick) cold unsalted butter, cut into small cubes
For the Sweet Tart Cherry Filling
You have options here, which is what I love about this recipe! It adapts to what you have on hand.
- 1 1/2 cups cherry pie filling (this is the quick route, and it’s fantastic!)
- *OR* 2 cups pitted fresh or frozen cherries mixed with 1/4 cup sugar and 1 tablespoon cornstarch (this will thicken beautifully).
- 1 large egg (this is just to bind that top layer of sugar/oat mixture together so it doesn’t blow away while baking.)
How to Make Cherry Crumble Bars From Scratch
Making these **From Scratch Cherry Dessert Bars** is truly a simple dance between combining ingredients and getting them into the oven fast. Since the butter has to stay cold for that fantastic crumb, speed is your friend outside of the oven! Seriously, this is my quickest go-to dessert when company surprises me.
Preparing the Pan and Crumb Mixture
First things first, get that oven going to 350°F (175°C). We need it hot and ready. Take your 8×8 inch pan and line it with parchment paper, but make sure you leave some paper hanging over the sides—I call those the lifters! Next, grab that medium bowl and toss in all your dry stuff: flour, oats, brown sugar, and salt. Now, the fun part: cutting in the butter. Use a pastry blender or just your fingertips. You want the butter completely incorporated until the mixture looks like coarse sand or peas. That cold butter creates tiny pockets of steam when baking, making the crumb perfectly tender!
Assembling the Shortbread Base Cherry Bars
Take about two-thirds of that gorgeous crumb mixture you just made. Press it down firmly and evenly into the bottom of your lined pan. You want a good, solid layer here because this is our **Shortbread Base Cherry Bars** foundation! Once that base is pressed tight, carefully spread your cherry filling over the top. Make sure you get it right to the edges, but try not to let too much liquid seep down into the base layer, or it gets soggy too quickly.
Creating the Oatmeal Topped Cherry Slices Topping and Baking
Remember that last one-third of the crumb mixture? In a separate little bowl, whisk your egg lightly first. Then, mix that remaining crumb right into the egg until it just barely sticks together. This is your topping! Sprinkle this mixture evenly over the cherry layer. This topping is what turns it into those beautiful **Oatmeal Topped Cherry Slices**. Pop it in the hot oven for about 35 to 40 minutes. You are looking for the topping to be nicely golden brown and for the cherry filling peeking through to be bubbling happily.
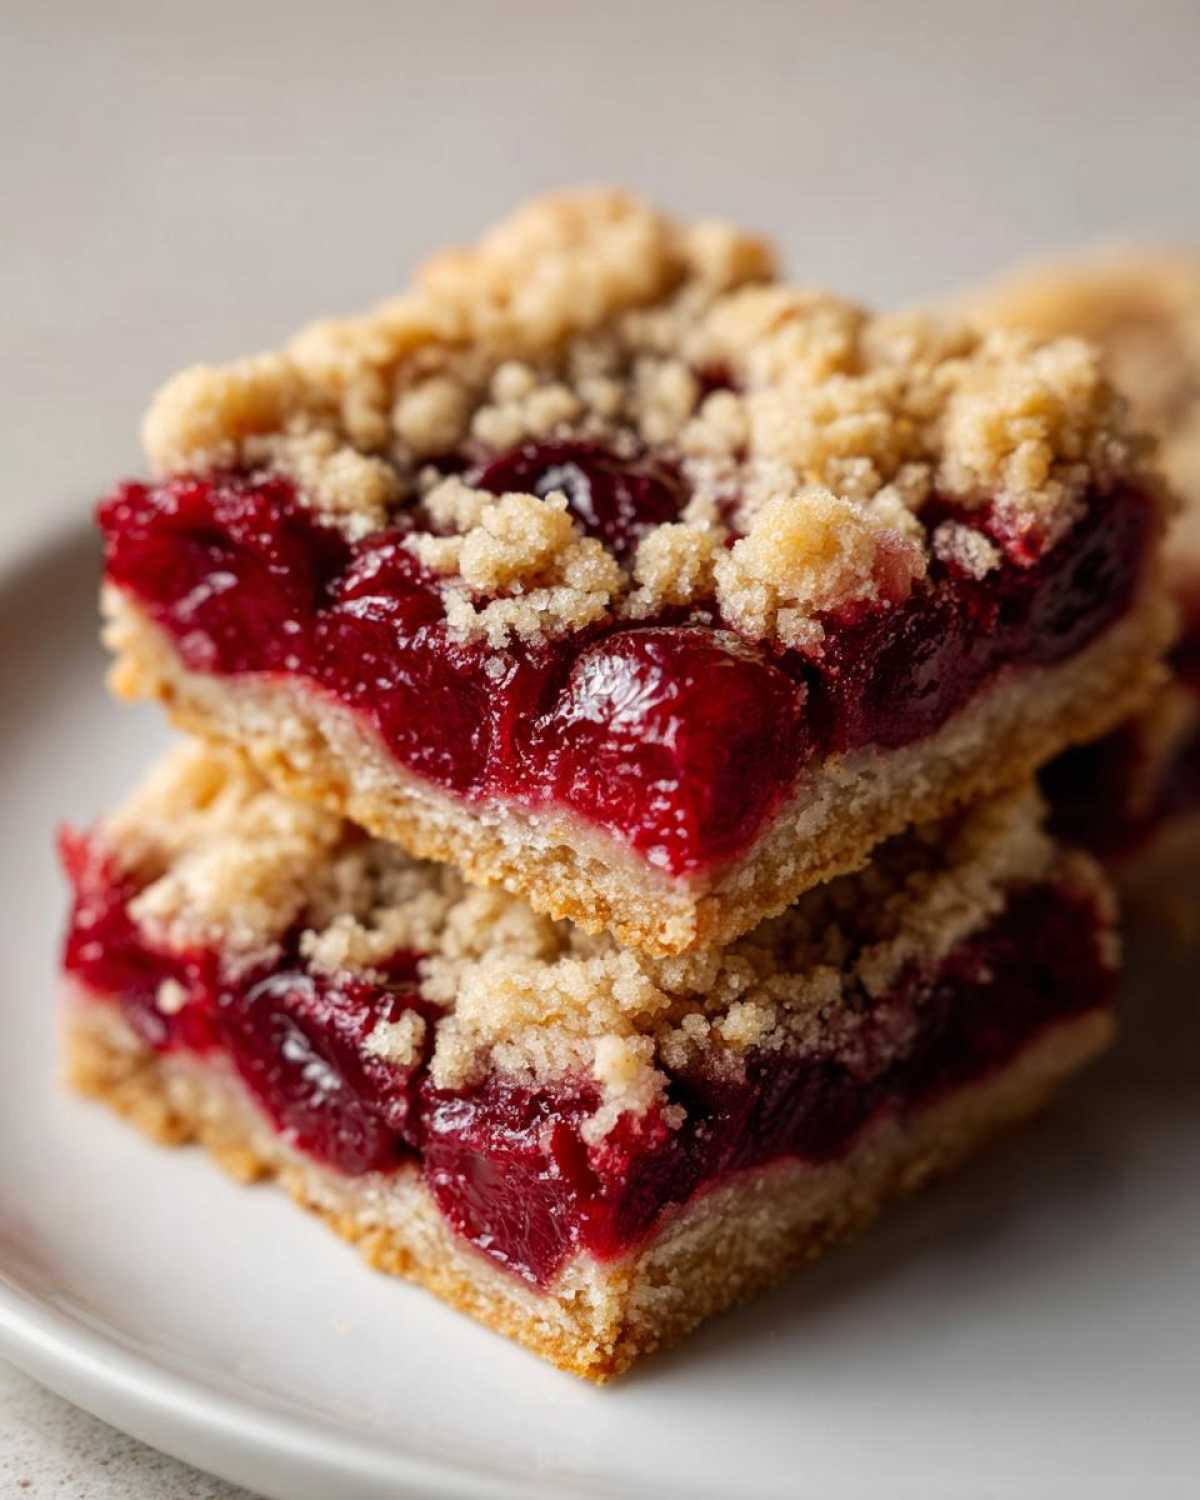
Cooling and Cutting Your Cherry Crumble Bars
This step is the hardest, but you have to trust me: these bars *must* cool completely. If you try to cut them warm, the filling will spill out everywhere, and you’ll end up with a sticky mess instead of clean squares. Let them sit on the wire rack in the pan until they are totally room temperature—that usually takes me about two hours, sometimes more. Once cool, just grab the parchment overhangs and lift the whole thing out onto a cutting board. Now you can slice them into 16 perfect bars. If you’re dreaming of super clean cuts, chill them in the fridge for another hour before slicing!
If you want to see how I prepare a decadent chocolate cousin to these bars, check out this rich recipe for Dark Chocolate Cherry Brownies!
Tips for Perfectly Crumbly Dessert Bars
Achieving that perfect crumb texture—crisp but tender, never rock hard—is the main trick with these dessert bars. It really all comes down to temperature and gentle handling! If the butter is too warm when you cut it in, the crumble melts into the flour too much, and you end up with a hard top layer rather than light crumbs, which is just sad.
For the crumb base and topping, stick to butter that is genuinely cold, straight from the fridge, and cut it into small cubes. When mixing by hand, work quickly with your fingertips to keep the butter from warming up too much from the heat in your hands.
If you are working with frozen cherries—which is a lifesaver for making **Frozen Cherry Crumble Bars Tutorial** batches year-round—make sure you toss them with the sugar and cornstarch mixture *before* spreading them over the base. That cornstarch is essential; it grabs all that extra ice moisture as it melts in the oven so your base doesn’t get soggy. The key to *perfectly crumbly dessert bars* is treating that topping gently; don’t pack it down when sprinkling it on top!
If you want to see other simple recipes I’ve been perfecting lately, you can always browse my general baking chatter over on my main blog page!
Ingredient Notes and Substitutions for Cherry Crumble Bars
I get so many questions about ingredient swaps in this recipe, so let’s clear up a few things. If you want to make these **Buttery Cherry Crumb Bars** a little more interesting or accommodate someone’s diet, you have some great options! Remember, the structure relies heavily on that cold butter, so be mindful if you substitute that part.
If you’re looking for a deeper flavor or trying to cut back slightly on plain white flour, try swapping out half of that all-purpose flour with almond flour. It adds just a hint of nutty richness that marries beautifully with the cherry. Speaking of cherries, if you decide to skip the pre-made pie filling and go for fresh or frozen—which I sometimes do in the summer—you absolutely must mix them with the extra sugar and cornstarch first. That cornstarch acts like a little guardian angel, soaking up juice so your shortbread base doesn’t turn into a soup. It’s a simple step in this From Scratch Cherry Dessert Bars recipe that makes a huge difference.
Brown sugar is non-negotiable for the crumb layer because you need that molasses flavor to complement the fruit tartness. If you’re out of light brown, you can technically use dark, but it will make the crumb a bit heavier. Don’t try to substitute the butter with oil—you just won’t get that perfectly crumbly texture you are looking for! If you’re curious about how I handle other ingredients in savory cooking, I recently shared a totally different kind of flavor profile with my Lemon Pepper Dungeness Crab Legs recipe, but the principle of using the best ingredients remains the same!
Storage and Reheating Instructions for Homemade Cherry Oat Bars
One of the best features of these **Homemade Cherry Oat Bars** is that they actually taste *better* the next day! When the moisture from the cherries settles into the shortbread base overnight, they become perfectly chewy. That’s great news because it means you can bake them ahead of time.
If you’re just keeping them on the counter, make sure they are completely cooled first. Store them in an airtight container at room temperature. They should stay completely fresh and delicious for about three to four days. If your kitchen runs really warm, or if you’re having a humid week, I’d play it safe and pop them into the fridge. Chilled, they’ll last easily five or six days.
Now, sometimes I like to enjoy them slightly warm, especially if I’m having one for a late-night treat. If you are going to reheat them, please don’t microwave the whole pan! Just take a single square, zap it for about 10 to 15 seconds, just until it warms through—that brings out the amazing aroma of the butter and oats again. If you’re feeling extra fancy, a quick 5 minutes in a toaster oven at 300°F works wonders too, just to crisp up the very top crumb layer again.
Serving Suggestions for Dessert Bars with Fruit Filling
These **Dessert Bars with Fruit Filling** are fantastic all on their own, I won’t lie. If I’m packing them for a picnic or just grabbing one for a snack while I’m cleaning up, they are perfect just cut into squares. They travel so well, which is why they are fantastic for potlucks!
But when you want to turn these simple bars into a proper, amazing dessert for company? Oh, that’s easy. Because the cherry filling is wonderfully sweet and tart, you want something creamy and simple to balance it out. My first choice, always and forever, is a scoop of good quality vanilla bean ice cream. The contrast between the warm bar (if you warm it up a touch!) and the cold, melting ice cream is just heaven.
If you’re not a big ice cream person, a dollop of freshly whipped cream is wonderful. You only need a tiny bit, maybe sweetened lightly with a touch of powdered sugar. It keeps the focus right on that buttery crumble and the fruit. For a slightly brighter zip, sometimes I’ll grate a tiny bit of fresh lemon zest right over the whipped cream right before serving. It just wakes up the cherry flavor, you know? If you’re making something extra decadent and want to see another over-the-top dessert idea, check out this amazing 7-Layer Peanut Butter Chocolate Dip—it’s the opposite of simple, but just as great!
Frequently Asked Questions About Cherry Crumble Bars
I get so many wonderful notes and questions after people try these bars! It’s so fun to see the variations everyone comes up with, but sometimes people get stuck on technique. Whether you’re struggling with the crumb or wondering about storing leftovers, here are the things I get asked about the most often when baking these beauties.
Can I use frozen cherries instead of pie filling in this *Easy Cherry Crumble Bars Recipe*?
Oh, absolutely you can! That’s really my preferred method when cherries are in season, or even when they aren’t because frozen ones are perfect. If you use frozen or fresh cherries instead of the pre-made pie filling, just make sure you mix those cherries really well with the extra sugar and the cornstarch listed in the recipe. That little bit of cornstarch is super important because it catches all the liquid released by the thawing fruit so your base doesn’t turn into a soggy mess. It works just as beautifully as the canned filling!
What makes the crumb topping perfectly *Buttery Cherry Crumb Bars*?
It all comes down to temperature and how gentle you are! For those perfectly *Buttery Cherry Crumb Bars*, you MUST use butter that is genuinely cold. I mean, dice it up cold, maybe even pop it in the freezer for five minutes before you blend it with the dry ingredients. When you cut it in, you want to stop mixing as soon as it looks like coarse crumbs—if you overmix it, you warm the butter too much, and it just turns into heavy dough instead of light, crisp crumbs. Don’t pack that topping down when you sprinkle it on top either; keep it loose for maximum crumble!
Are these *Picnic Friendly Cherry Dessert* bars easy to transport?
Yes, that’s one of the biggest selling points! These are absolutely *Picnic Friendly Cherry Dessert* bars because they hold their shape so well, especially after they’ve chilled completely. The trick to transport, though, is cutting them *after* they have cooled down fully, ideally in the fridge for an hour or two. If you try to cut them warm, they crumble apart awkwardly inside the pan. If you cut them neatly first, you can layer them gently in a container with parchment paper between the layers, and they travel like a charm without losing their square shape!
If you end up having other fruit on hand and want to try a different flavor, you can always check out the general snacks section for more bar ideas over at my snack archives!
Estimated Nutritional Data for Cherry Crumble Bars
I always feel a little like a scientist when I post this part, but I know so many of you are curious about what you’re eating, even when it tastes like total decadence! Because we are baking these from scratch, and the measurements can shift slightly depending on the size of the cherries or how much butter you work into the flour, these figures should just be used as a general guideline, okay?
This information is based on the recipe yielding 16 servings. When you’re dealing with something this delicious, sometimes it feels like the calories count double, but we aim for balance, right? Here is a breakdown of what you can generally expect from one of these amazing **Cherry Crumble Bars**:
- Calories: Around 250 per bar
- Total Fat: About 13 grams (Don’t forget that’s mostly the delicious butter!)
- Total Carbohydrates: Roughly 32 grams
- Protein: About 3 grams
- Sugar: Roughly 18 grams (Remember, much of this comes naturally from the cherries!)
The fat content is higher because we aren’t skimping on that buttery shortbread base, which is totally worth it! I always like to remind people that making them yourself means you know exactly what ingredients are going in, which is always better than those store-bought options.
Share Your *Sweet Tart Cherry Baking* Success
That’s it—you’ve successfully made a batch of the most delicious **Cherry Crumble Bars**! I genuinely hope you enjoyed the process as much as I do. Watching that cherry filling bubble up under that golden, oat-y topping is just such a satisfying, homey feeling, isn’t it?
Now, I’m dying to know how they turned out for you! Did you stick strictly to the recipe, or did you try one of those little tweaks we talked about? Maybe you used almond flour, or perhaps you added a little lemon zest to the topping?
Please, please leave a rating below—five stars if they disappeared immediately! And if you have a moment, drop a comment and tell me about your experience with the **Sweet Tart Cherry Baking** blend. Your feedback really helps other bakers feel confident trying this recipe out. If you need to reach out with a specific question, you can always find me over on the contact page. Happy baking, everyone!
PrintClassic Cherry Crumble Bars

Make these easy cherry crumble bars featuring a buttery shortbread base and a sweet-tart cherry filling topped with a matching crumb.
- Prep Time: 15 min
- Cook Time: 40 min
- Total Time: 55 min
- Yield: 16 bars
- Category: Dessert
- Method: Baking
- Cuisine: American
- Diet: Vegetarian
Ingredients
- 1 1/2 cups all-purpose flour
- 1 cup rolled oats
- 1/2 cup packed light brown sugar
- 1/2 teaspoon salt
- 1/2 cup (1 stick) cold unsalted butter, cut into cubes
- 1 1/2 cups cherry pie filling (or 2 cups pitted fresh/frozen cherries mixed with 1/4 cup sugar and 1 tablespoon cornstarch)
- 1 large egg
Instructions
- Preheat your oven to 350°F (175°C). Line an 8×8 inch baking pan with parchment paper, leaving an overhang on two sides for easy removal.
- In a medium bowl, combine the flour, oats, brown sugar, and salt.
- Cut in the cold butter using a pastry blender or your fingers until the mixture resembles coarse crumbs.
- Press two-thirds of the crumb mixture firmly and evenly into the bottom of the prepared pan to form the base.
- Spread the cherry pie filling evenly over the base layer.
- In a small bowl, whisk the egg lightly. Mix the remaining one-third of the crumb mixture into the beaten egg until just combined. This will be your topping.
- Sprinkle the topping mixture evenly over the cherry filling.
- Bake for 35 to 40 minutes, or until the topping is golden brown and the filling is bubbling slightly.
- Let the bars cool completely in the pan on a wire rack before lifting them out using the parchment paper overhang.
- Cut into squares before serving.
Notes
- If using fresh or frozen cherries, mix them with sugar and cornstarch before spreading them over the base layer.
- For a richer flavor, substitute half of the all-purpose flour with almond flour.
- Chill the bars for at least 2 hours before cutting for cleaner slices.
Nutrition
- Serving Size: 1 bar
- Calories: 250
- Sugar: 18
- Sodium: 120
- Fat: 13
- Saturated Fat: 8
- Unsaturated Fat: 5
- Trans Fat: 0
- Carbohydrates: 32
- Fiber: 2
- Protein: 3
- Cholesterol: 35