

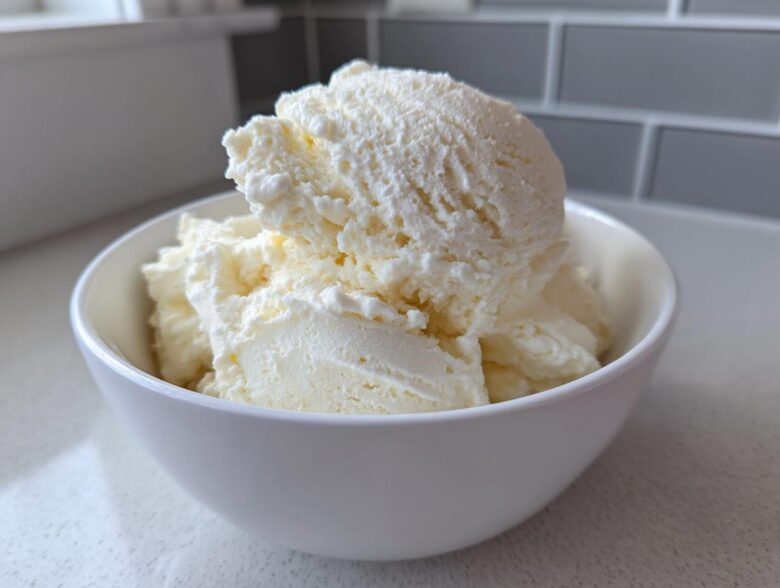
I swear, sometimes you just need that cold, sweet hit of something that tastes completely indulgent, right? But you don’t want to derail all the hard work you put into eating well. That’s why I was determined to crack the code on the ultimate healthy homemade ice cream. Forget scraping ice off the sides of an expensive machine; this recipe is pure, glorious, no-churn **protein ice cream**.
As Noah, I love making comfort accessible, and finding ways to make desserts feel totally guilt-free is huge for me. This vanilla base uses wonderfully simple ingredients to deliver huge flavor and texture. You get that thick, scoopable quality we all crave, all without needing any special churning equipment at all. Trust me, this is going to be one of your favorite macro friendly desserts!
Why This No-Churn Vanilla Protein Ice Cream is Your New Favorite Healthy Homemade Ice Cream
What I love most about this recipe is that it gives you permission to totally indulge! When you’re done, you’ll have a batch of the best **healthy homemade ice cream** that’s genuinely packed with protein. Seriously, 22 grams per serving! It’s the perfect way to wrap up dinner or satisfy those late-night cravings for **guilt free frozen treats**.
And the best part? You use zero fancy equipment. No ice cream maker necessary here, just a freezer and a little patience during the stirring phase.
Achieving Creamy Texture in Your Protein Ice Cream Base
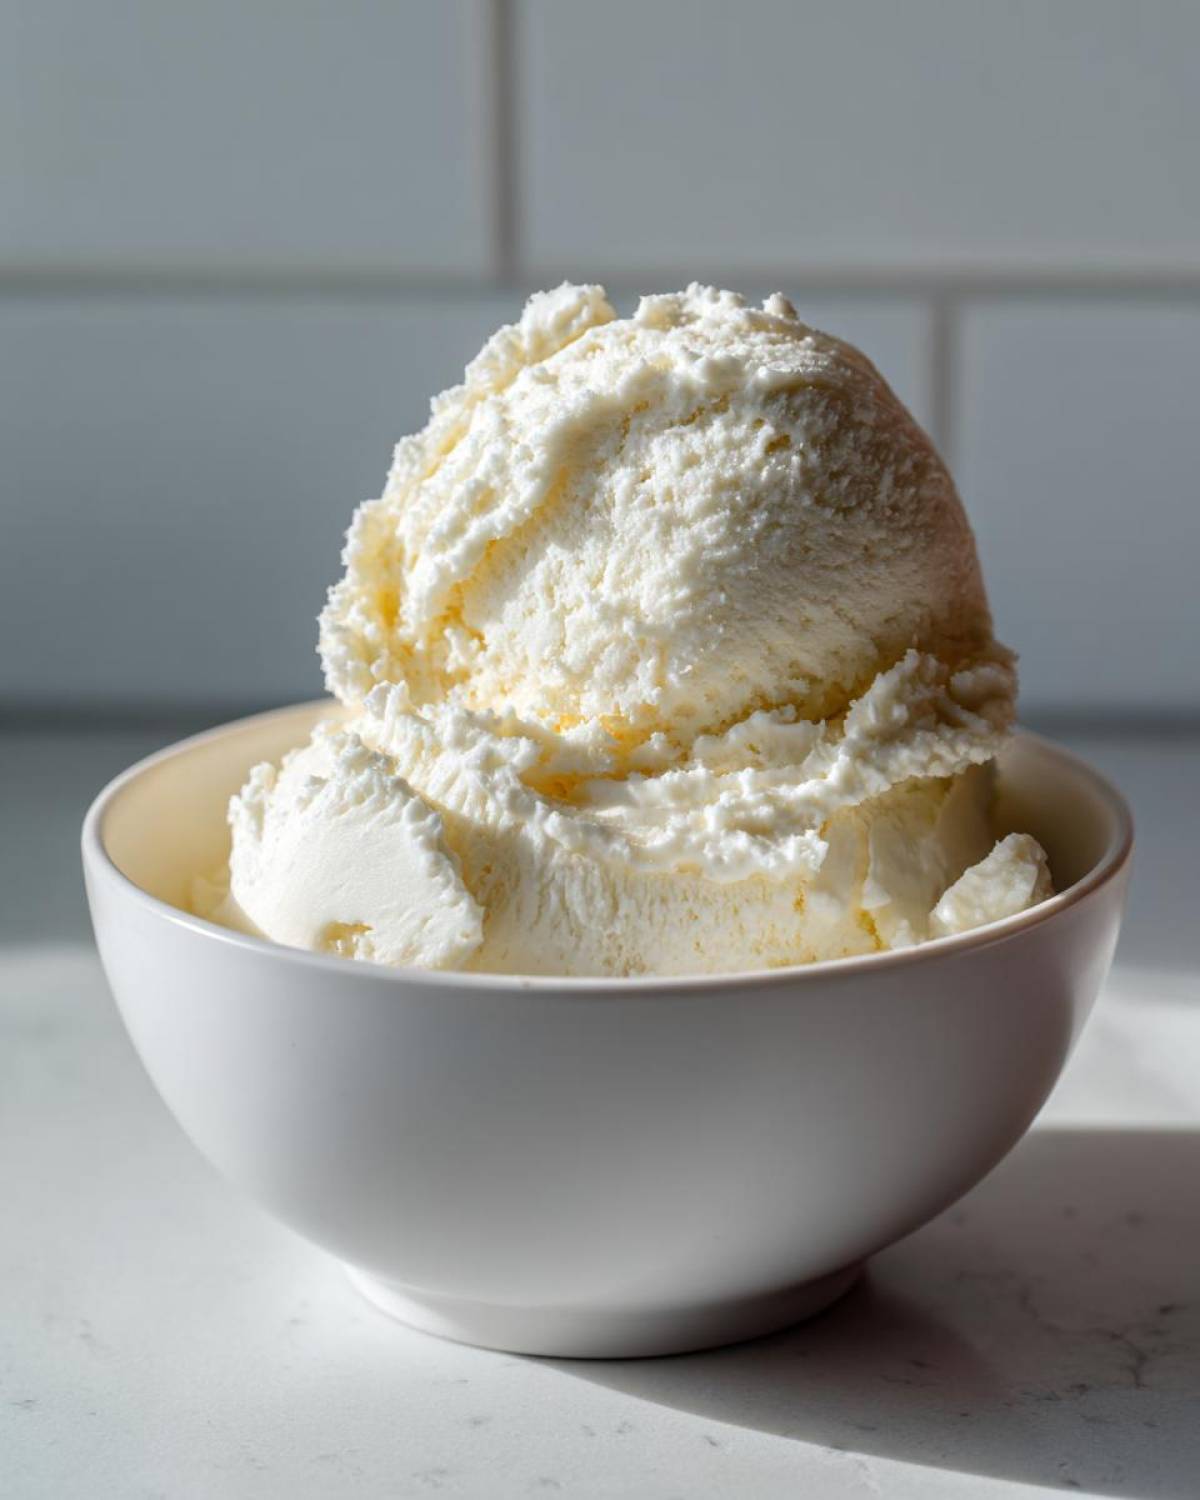
The secret to getting this **protein ice cream** smooth and scoopable without churning is totally down to the Greek yogurt base. Using the 2% or full-fat kind gives us the necessary fat content to combat that icy texture you sometimes get with pure protein bases. If you aren’t a big fan of cottage cheese, this is a fantastic solution for great texture—it’s a wonderful **cottage cheese ice cream alternative**!
Quick Overview of Our Simple 4 Ingredient Ice Cream
You won’t believe how basic the main players are. At its core, this is a **simple 4 ingredient ice cream** style recipe! We rely on that thick Greek yogurt, your favorite vanilla **protein powder dessert** component, a splash of milk to help it move, and sweetener to keep the calories low. It’s truly the easiest path to high-protein heaven.
Gathering Ingredients for Your Perfect Protein Ice Cream
Okay, let’s talk supplies! Gathering what you need for this **protein ice cream** is super simple—no specialty trips required, I promise. Clarity here is so important because the texture really hinges on the quality of these few items.
Here’s the list, and I really want you to pay attention to that yogurt note! For the best texture—the one that feels like proper dessert—make sure you grab 1 cup of plain Greek yogurt that is 2% or full fat. Don’t worry, the small amount of fat melts away beautifully.
- 1 cup plain Greek yogurt (2% or full fat for best texture)
- 1/2 cup milk (dairy or unsweetened almond milk works great)
- 1 scoop vanilla protein powder (casein blends are my favorite here!)
- 2 tablespoons sweetener (whatever zero-calorie sugar you prefer)
- 1 teaspoon vanilla extract
- Pinch of salt (this balances out the sweetness perfectly!)
Step-by-Step Instructions for Making No Churn Protein Ice Cream
Alright, this is where the magic happens! Since we are committed to **making ice cream without a machine**, we need to respect the freezing process. It’s not hands-off like buying a tub, but it’s simple, and Hana has a great post on the science of texture if you’re curious!
Mixing the Base for Your Protein Ice Cream
Grab a medium bowl—nothing fancy needed. We’re combining the Greek yogurt, milk, protein powder, sweetener, vanilla, and that tiny pinch of salt. Now, listen to me: Whisk this until it is completely uniform. If you see little dry pockets of protein powder, you’ve failed the first test! You need a thick, smooth liquid base. No lumps allowed!
The Crucial Freezing and Stirring Technique for Creamy Protein Ice Cream
Pour that beautiful vanilla base into a freezer-safe loaf pan and cover it tightly. It’s going into the deep freeze. Here’s the commitment: You need to check it every hour for the first three hours. Use a fork or whisk and aggressively break up any ice crystals that form around the edges. This manual re-mixing is what makes it a **creamy protein frozen yogurt** substitute instead of a block of ice! After three hours of stirring sessions, let it set undisturbed for another couple of hours. You’re looking at about five hours total for the perfect scoopable texture.
Tips for Success with Your Greek Yogurt Ice Cream Recipes
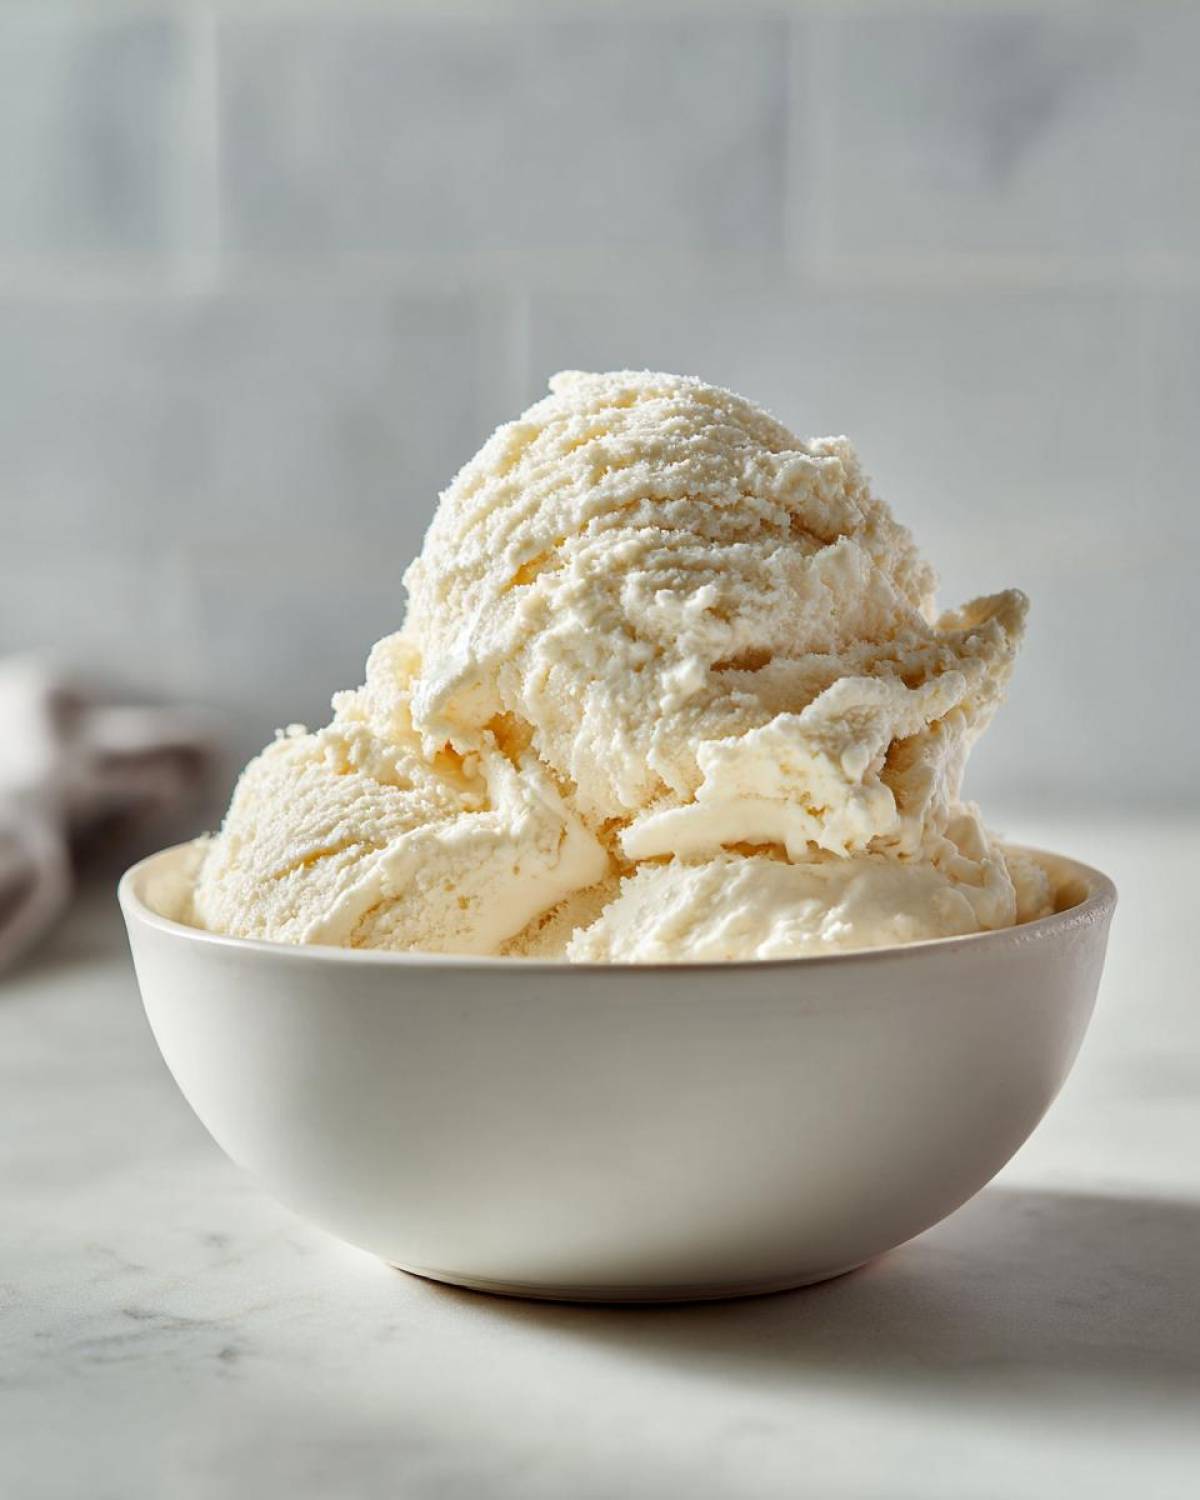
We’ve nailed the basic steps for our **Greek yogurt ice cream recipes**, but I want to share a couple of ways I tweak this base to ensure peak creaminess, which is always the goal when making **protein ice cream**!
If you want that texture to rival a store-bought pint, try this trick: swap out half the Greek yogurt for cottage cheese, but you *must* blend the cottage cheese until it’s perfectly smooth first. It adds an incredible richness and protein punch. Or, if you are using whey protein powder, swap half of it out for casein protein—casein just freezes way better!
If a vanilla craving turns into a chocolate craving (it happens to the best of us!), just toss in one tablespoon of unsweetened cocoa powder when mixing the base. Instant chocolate deliciousness! You can find some great inspiration for other healthy dessert bases over at The Big Man’s World where they focus on clean eats.
Flavor Variations for Your Protein Ice Cream
Vanilla is beautiful, right? It’s clean and perfect for those early tasting tests! But once you’ve mastered the base, you need to start experimenting with **protein ice cream flavors**. Remember how I mentioned tossing in cocoa powder for an instant chocolate version? That’s the baseline for fun!
For super easy additions, try a teaspoon of good quality espresso powder—it turns into an amazing coffee flavor that pairs perfectly with a simple sweetener. Or, you can gently swirl in about one tablespoon of natural peanut butter right before the final freeze. That makes for incredible **macro friendly desserts**!
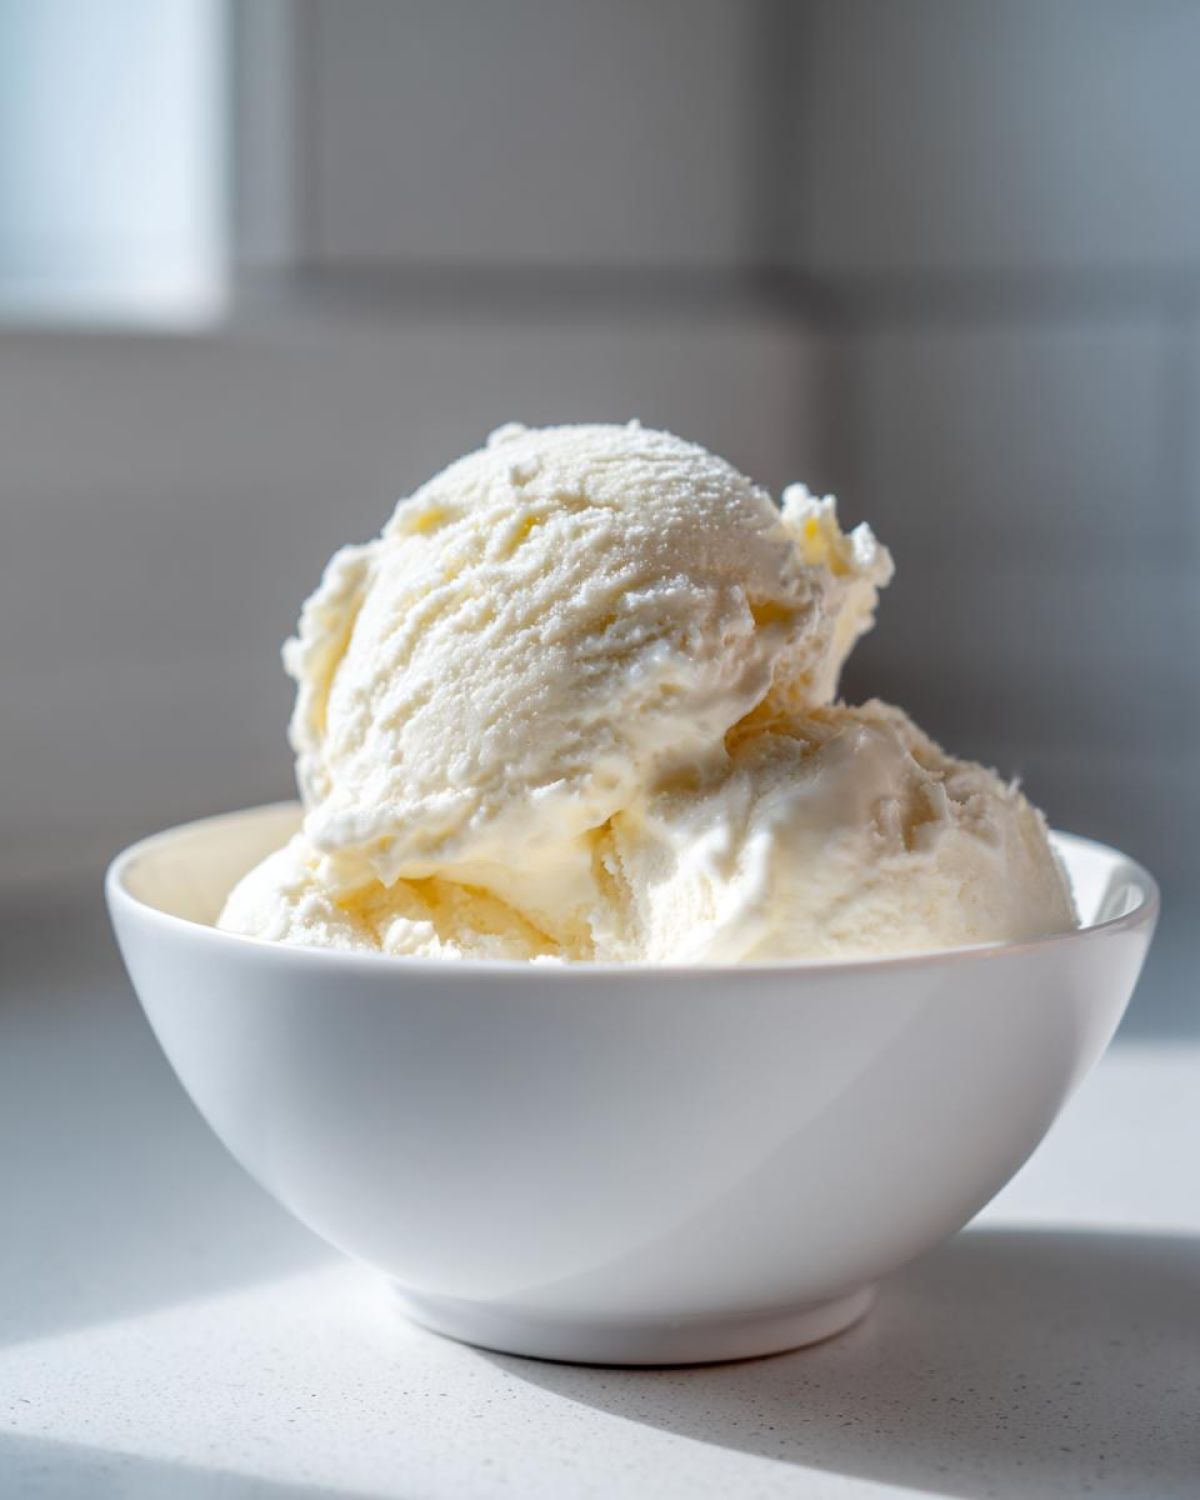
If you are looking for tons of ideas for mixing things up, check out this fantastic roundup of 29 protein ice cream recipes—it proves you can turn almost anything into a **guilt free frozen treat**!
Serving Suggestions for This Macro Friendly Desserts Treat
Now that you’ve done the work and have this dreamy **protein ice cream** ready, it’s time to serve it! Even though this is one of the best **macro friendly desserts** out there, it doesn’t mean we can’t make it look fancy, right?
For a little extra something, I love topping a scoop with a handful of fresh raspberries or blueberries. A tiny sprinkle of very dark chocolate chips adds that satisfying crunch element—it just melts perfectly on top.
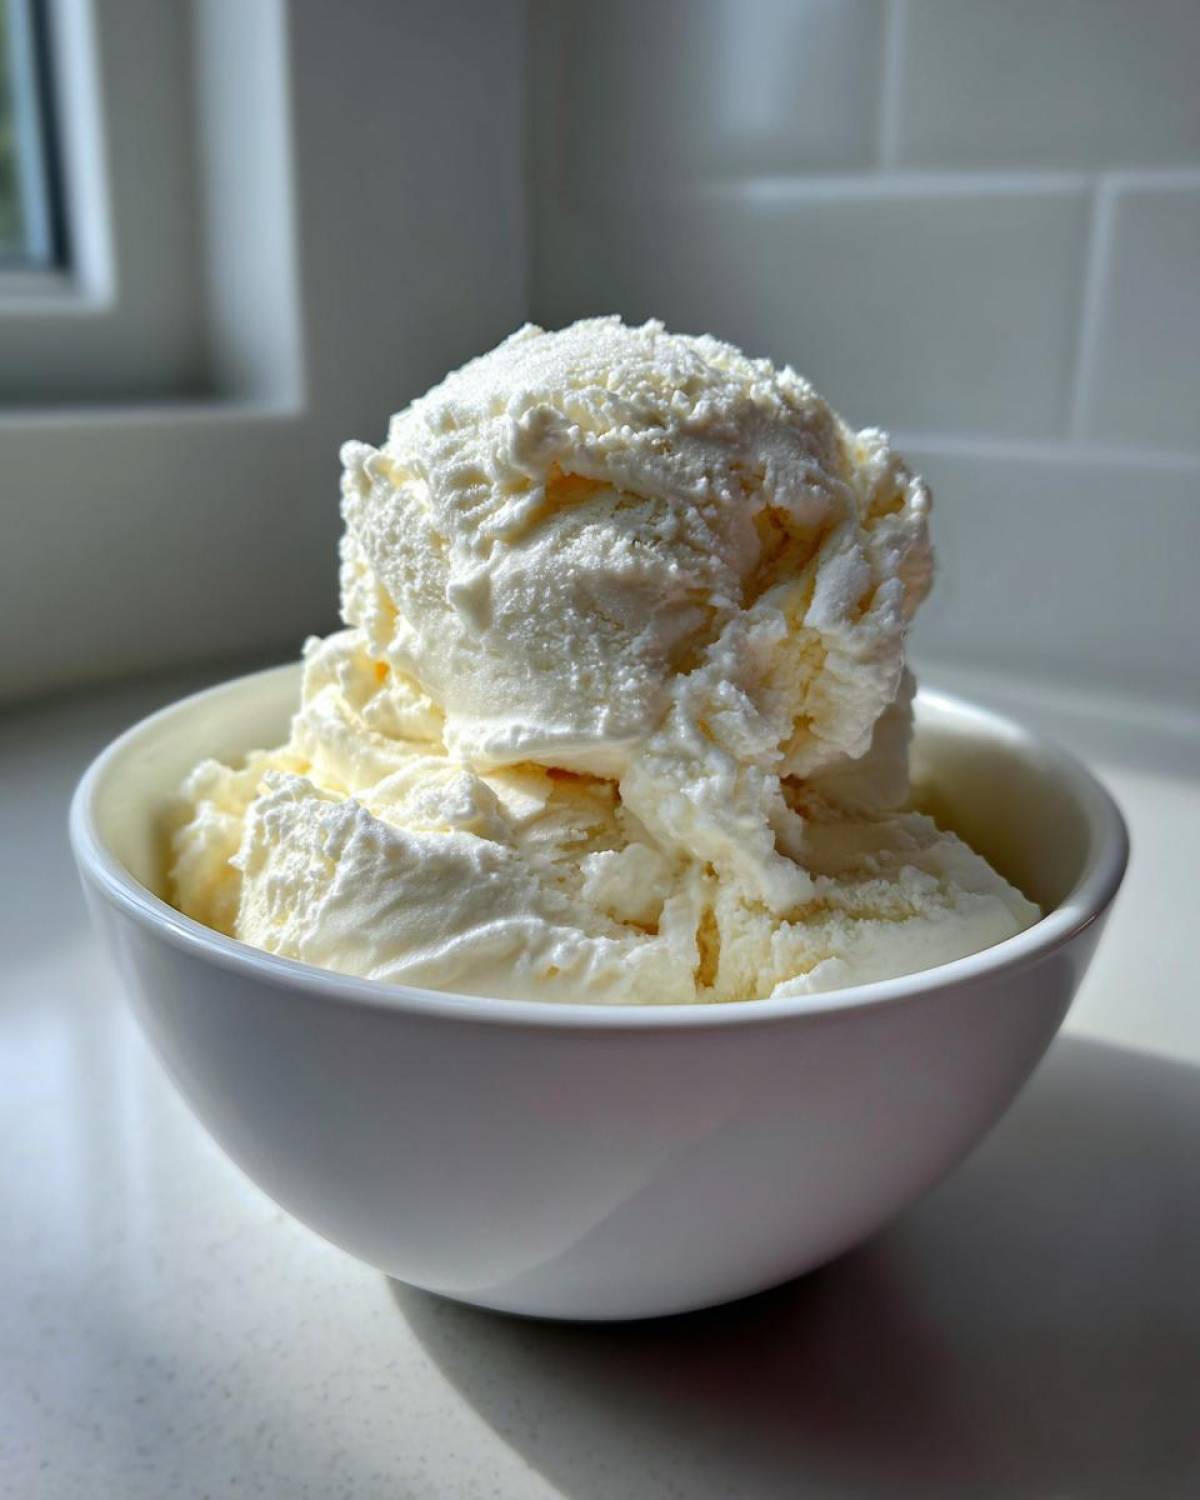
Also, remember this is a fantastic **post workout frozen dessert**! It hits that sweet spot after a tough session. Grab your favorite easy protein snack, and enjoy this scoop knowing you earned it!
Storage and Reheating Instructions for Homemade Protein Ice Cream
Since this is a true **protein ice cream** recipe, meaning we didn’t use all those stabilizers grocery stores rely on, storage is key! You absolutely need an airtight container. Seriously, seal it up tight, or you’ll get freezer burn spots that taste gross.
Because we skipped the churning and the commercial stabilizers, this **low calorie ice cream idea** does tend to freeze up harder than what you buy at the store. That’s totally normal!
Here’s my best tip: Don’t feel like you need to dig into it right away. Pull your container out of the freezer about ten minutes before you want to scoop. Let it sit on the counter. That brief warming time is what turns it from ‘rock solid’ to perfectly scoopable. Keep this delicious treat frozen solid otherwise!
Addressing Common Questions About Protein Ice Cream
It’s funny how many questions pop up once you start making your own **protein ice cream**! That’s great, because having solid answers means you’ll have perfect results every single time. I constantly get asked about swapping ingredients, especially since we are trying to keep these **low calorie ice cream ideas** so accessible.
I want to make sure this recipe works for everyone, whether you love Greek yogurt or need a completely different approach. Feel free to reach out anytime on our contact page if you have more specific issues!
Can I substitute the Greek Yogurt in this Protein Ice Cream?
You absolutely can! While Greek yogurt gives us that great smooth body for **no churn protein ice cream**, you have options. If you blended cottage cheese until it was silky smooth, that works beautifully as a direct sub, or even silken tofu can create a surprisingly luscious base. The key is just ensuring whatever you use is blended until totally liquid before you chill it.
Does this No Churn Protein Ice Cream taste like protein powder?
That’s the million-dollar question for any **protein powder dessert**, isn’t it? Honest answer: It depends on your powder! If you use a high-quality whey/casein blend alongside a good sweetener (like monk fruit), you barely taste it—it just tastes sweet and creamy. Cheap powders can leave an aftertaste, so use your favorite one that you already enjoy drinking!
And since so many people have the countertop appliance now, yes, you can use this base in a Ninja Creami! Just freeze the mix solid overnight, process it on the Lite Ice Cream setting, and you’ll get instant results. You can read more about optimizing those machine recipes over at Basics with Bails!
Estimated Nutritional Data for This Protein Ice Cream
I always feel a little silly putting numbers on something that tastes this good, because honestly, it feels like cheating! But for those of you tracking macros or who just want to know what you’re putting in your body, here is the breakdown for one serving (about 1/2 cup) of this delightful **protein ice cream**.
Please remember, this is just an estimate, y’all! It depends a ton on the brand of protein powder and yogurt you choose. For the most accurate count, you should always double-check your own ingredients using the data table below. I always link out to our nutrition disclaimer here just so you know these are based on standard assumptions.
- Serving Size: 1/2 cup
- Calories: 150
- Fat: 3g
- Saturated Fat: 1.5g
- Carbohydrates: 12g
- Sugar: 5g
- Protein: 22g
Simple No-Churn Vanilla Protein Ice Cream (Guilt-Free Treat)
Make creamy, high-protein ice cream without an ice cream maker. This simple recipe uses a Greek yogurt base for a delicious, guilt-free frozen treat perfect for satisfying dessert cravings.
- Prep Time: 10 min
- Cook Time: 0 min
- Total Time: 5 hours
- Yield: 4 servings
- Category: Dessert
- Method: No-Churn Freezing
- Cuisine: American
- Diet: Low Fat
Ingredients
- 1 cup plain Greek yogurt (2% or full fat for best texture)
- 1/2 cup milk (dairy or unsweetened almond milk)
- 1 scoop vanilla protein powder (whey or casein blend recommended)
- 2 tablespoons sweetener (erythritol, monk fruit, or preferred zero-calorie sweetener)
- 1 teaspoon vanilla extract
- Pinch of salt
Instructions
- In a medium bowl, combine the Greek yogurt, milk, protein powder, sweetener, vanilla extract, and salt.
- Whisk the mixture thoroughly until it is completely smooth and there are no lumps of protein powder remaining. You want a uniform, thick liquid base.
- Pour the mixture into a freezer-safe container, such as a loaf pan or a shallow, airtight container. Cover the container tightly with a lid or plastic wrap.
- Place the container in the freezer.
- After 1 hour, remove the container and use a fork or a hand mixer to vigorously stir and break up any ice crystals forming around the edges. This step is crucial for a creamy texture.
- Return the container to the freezer. Repeat this stirring process every 45 to 60 minutes for the next 3 to 4 hours, or until the ice cream reaches a firm but scoopable consistency.
- For the firmest texture, allow it to freeze undisturbed for a final 2 hours.
- When ready to serve, let the protein ice cream sit on the counter for 5 to 10 minutes to soften slightly before scooping.
Notes
- For an even creamier result, substitute half of the Greek yogurt with cottage cheese blended until completely smooth, or use a high-quality casein protein powder, which tends to freeze better than whey alone.
- If you own a Ninja Creami machine, you can use this exact base mixture, pour it into the pint, freeze it solid overnight, and process it using the ‘Lite Ice Cream’ setting for an instant, perfectly smooth texture.
- If you prefer a richer flavor, add 1 tablespoon of melted, unsweetened cocoa powder to create a chocolate protein ice cream base.
Nutrition
- Serving Size: 1/2 cup
- Calories: 150
- Sugar: 5
- Sodium: 120
- Fat: 3
- Saturated Fat: 1.5
- Unsaturated Fat: 1.5
- Trans Fat: 0
- Carbohydrates: 12
- Fiber: 1
- Protein: 22
- Cholesterol: 15