

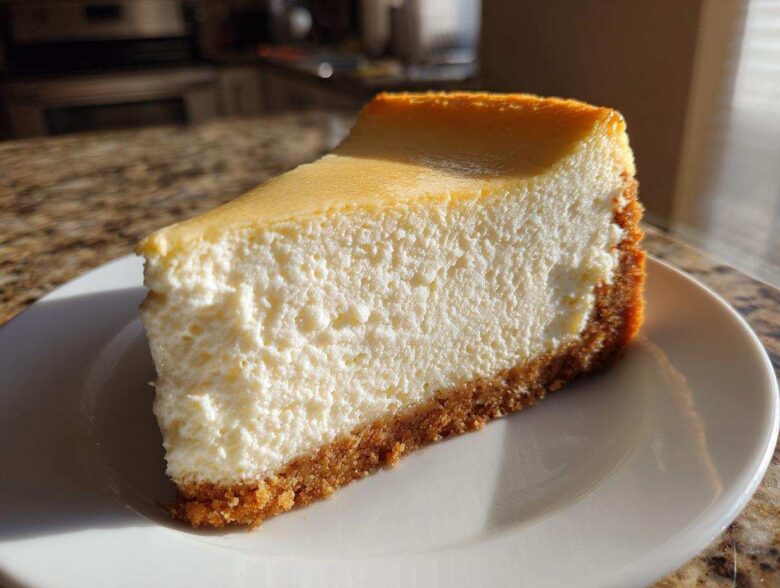
You know those moments when you’re deep into your fitness goals, but your soul is just screaming for a huge slice of creamy, indulgent cheesecake? I get it! Hana and I have spent ages trying to bridge that gap, finding comfort without derailing our hard work. That’s exactly why Noah poured his heart into perfecting this Ultimate Healthy Baked Protein Cheesecake recipe. It’s got that classic, velvety texture we all crave, but shocks everyone when they hear it packs a whopping 35 grams of protein per slice! This isn’t just food; it’s that Spoon Swirl moment where comfort meets consistency. Getting that unbelievably good taste without loading up on sugar—that’s the magic we’re sharing with you today. You can read more about our kitchen journey over on our About Us page!
Why This Baked Protein Cheesecake is Your New Favorite Healthy Cheesecake Dessert
Honestly, when I first started experimenting with making this High-Protein Baked Cheesecake, I didn’t think it was possible. Cheesecake always felt like the ultimate indulgence, right? But Noah being Noah, he tested this thing until his arm got tired, just to make sure that the texture would mimic the real deal. He absolutely refused to serve it until it was spectacularly creamy!
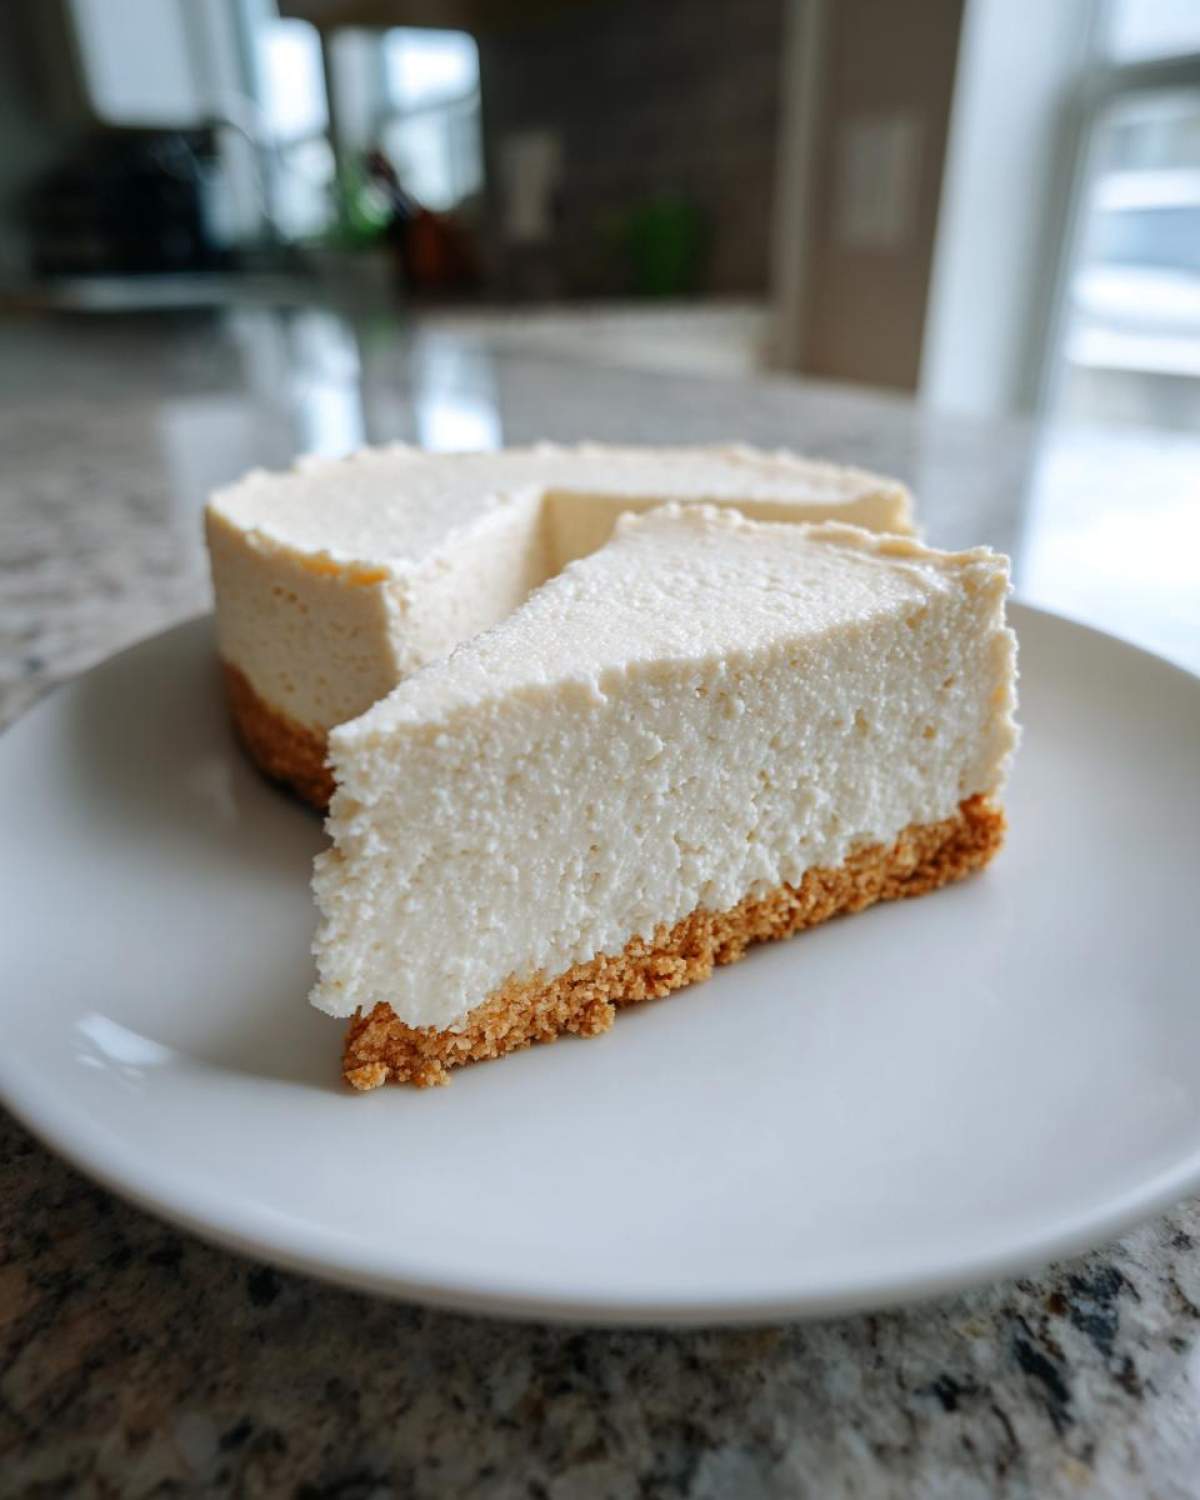
This recipe is a total game-changer for anyone watching their macros or just looking for a genuinely healthy cheesecake dessert. What makes it so great is that it skips out on most of the heavy cream cheese but still delivers that rich mouthfeel. You get an unbelievably satisfying, macro friendly cheesecake experience that supports your goals.
Key Benefits of This High Protein Cheesecake Recipe
- 35g Protein per satisfying slice!
- Made using Greek yogurt and cottage cheese for incredible creaminess.
- Naturally uses sugar-free sweeteners.
- The base is a simple, gluten free cheesecake crust option.
- Perfectly portioned for meal prep success.
Gathering Ingredients for Your Ultimate Baked Protein Cheesecake
Okay, let’s talk about what goes into this beauty. The real secret to making this a truly creamy protein dessert and not some weird, grainy mess is how we treat the cheese base. We’re leaning heavily on low-fat cottage cheese and non-fat Greek yogurt, which bring the protein punch, but you HAVE to blend them until they’re liquid smooth first! Trust me on this one; it’s step one for a reason. Don’t worry about the crust; we’re keeping that super simple and naturally gluten-free using almond flour.
For the Creamy Protein Filling
You’ll need these items ready to go before you even think about turning on the blender:
- 1 cup low-fat cottage cheese
- 1 cup non-fat plain Greek yogurt
- 1/2 cup zero-calorie sweetener (like erythritol or monk fruit blend)
- 2 large eggs
- 1 teaspoon vanilla extract
- 1/4 cup vanilla or unflavored whey protein powder
- 1 tablespoon cornstarch or arrowroot powder
- Pinch of salt
For the Gluten Free Cheesecake Crust
This little base is what keeps our Gluten Free Cheesecake held together nicely. You just need three things:
- 1 cup almond flour
- 2 tablespoons melted butter or coconut oil
- 1 tablespoon zero-calorie sweetener
Step-by-Step Instructions for a Perfect Baked Protein Cheesecake
Okay, now that we have our ingredients looking all pretty in their bowls, it’s time to put this amazing Baked Protein Cheesecake together. This recipe is fantastic because the steps are really straightforward, but like with anything baked, those little details make the difference between good and OMG-I-can’t-believe-this-is-healthy! We really have to pay attention during the blending and, especially, the cooling phases, or we risk a cracked top. Don’t worry, I’ll walk you through exactly how Noah perfected this method for us.
Preparing the Crust and Oven Setup
First things first, let’s get the oven ready for action. Preheat everything to 325°F (160°C). If you’re using a 6-inch springform pan, give it a quick grease, or if you’re making mini versions, just line those muffin tins up—gotta prep for those portion controls!
For the crust, you just mix the almond flour, the tablespoon of sweetener, and the melted butter until it looks crumbly and perfect. Then, you press it into the bottom of your pan. And I mean press it! Use the bottom of a measuring cup or your fingers to pack it down super firmly. Pop that into the oven for just 8 minutes to set it, then pull it out so it can cool down a bit while we whip up the filling.
Achieving the Smooth Cottage Cheese Cheesecake Recipe Filling
This is the part where you need your food processor or a truly strong blender. Toss the cottage cheese and Greek yogurt in first—and blend until they are absolutely, completely, 100% smooth. I mean it! If you see one single lump, keep blending. This is the secret, the core of why this Cottage Cheese Cheesecake Recipe turns out so unbelievably creamy instead of being gritty. Once you have that silky base, *then* you add the eggs, your sweetener, vanilla, protein powder, cornstarch, and salt.
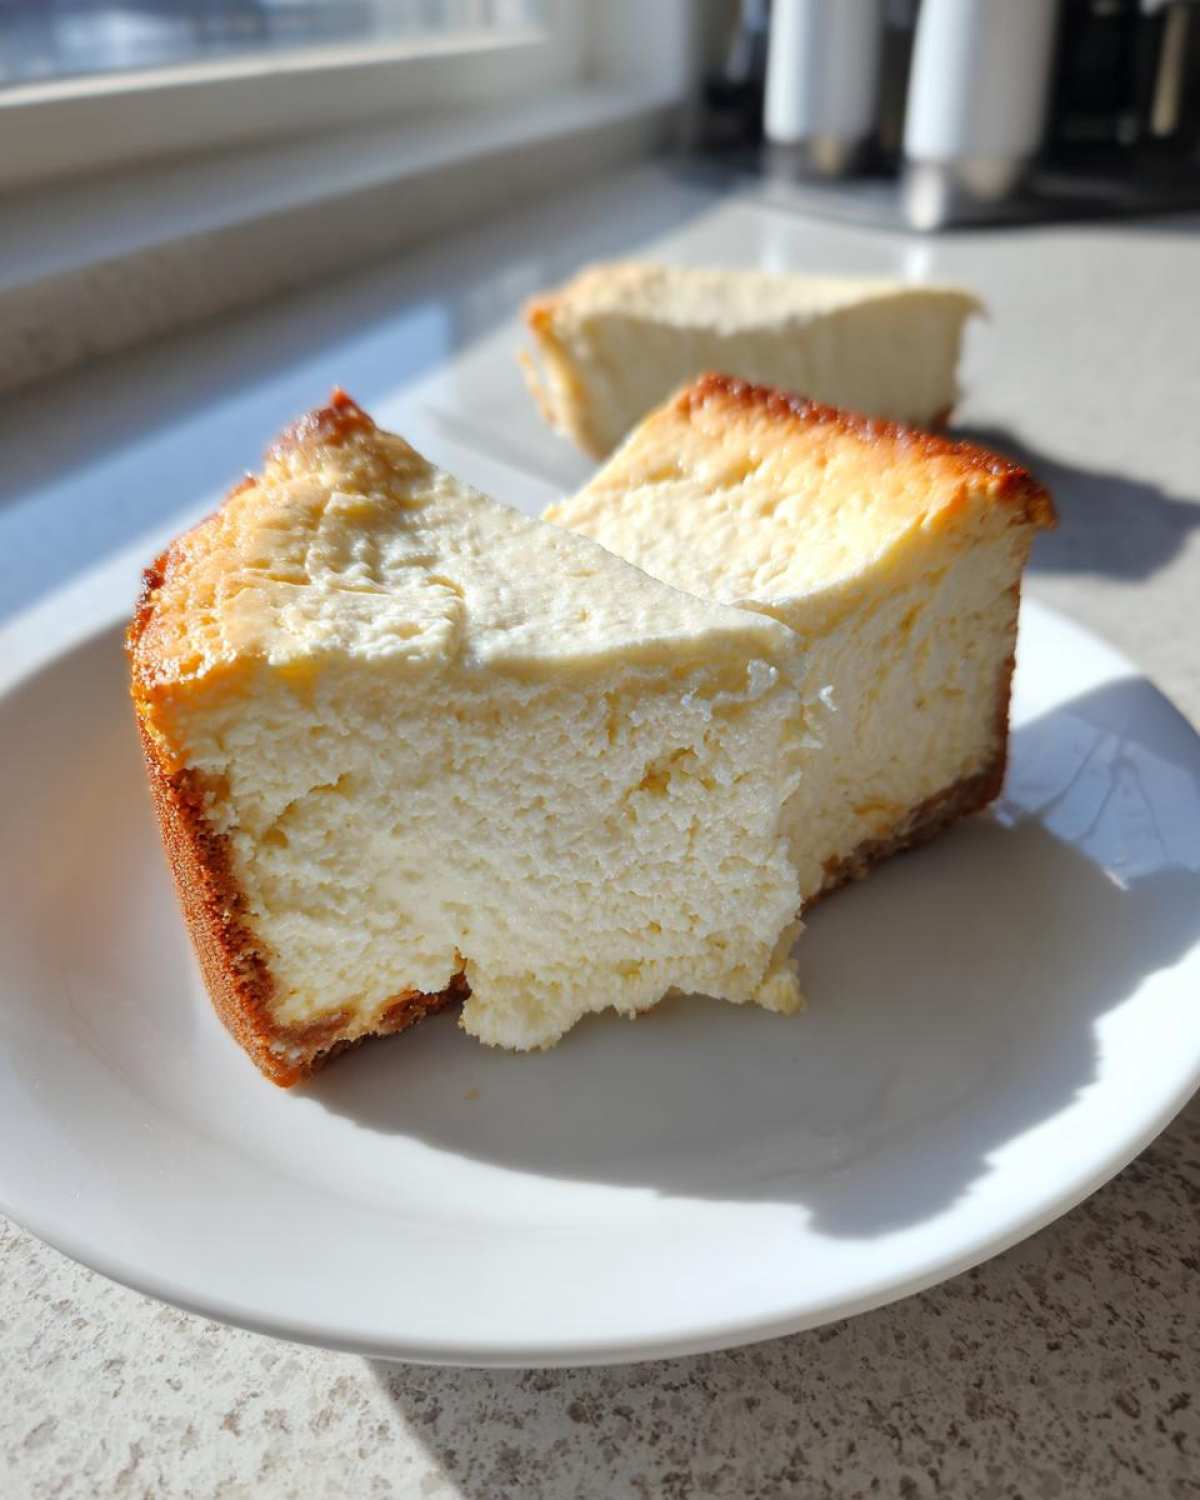
Blend it all again until it’s one beautiful, harmonious mixture. Make sure you scrape down the sides too, so nothing sneaks by unmixed. Pour that glorious filling right over your slightly cooled crust.
Baking and Cooling for the Best Protein Cheesecake
Into the oven it goes for about 40 to 45 minutes. You’re looking for signs that the edges are set firm, but the very center should still have just a tiny wobble, like Jell-O. If you wait until the center is firm, you’ll bake it too long, and it’ll crack!
Now, don’t touch it! This is the crucial step to avoid disaster. Turn the oven off completely. Crack the door open just a tiny bit—maybe wedge a wooden spoon in there—and let that precious Protein Cheesecake cool down super slowly inside the oven for a full hour. Seriously, resist the urge to peek! After that hour, you can take it out onto the counter to finish cooling. But here’s the final rule of chilling: you must chill it in the fridge for at least 4 hours, but honestly, overnight is where the magic happens. Don’t forget to check out our recipe disclaimer just in case you change up any major ingredients!
Tips for Success with Your Macro Friendly Cheesecake
It took me ages to figure out how to keep this Macro Friendly Cheesecake from giving me any trouble, especially when swapping ingredients around. I want you to have a foolproof recipe, so here are a few things I learned that keep this a wonderfully Light Cheesecake Recipe every single time. Mainly, it’s about the cheese consistency and the crust!
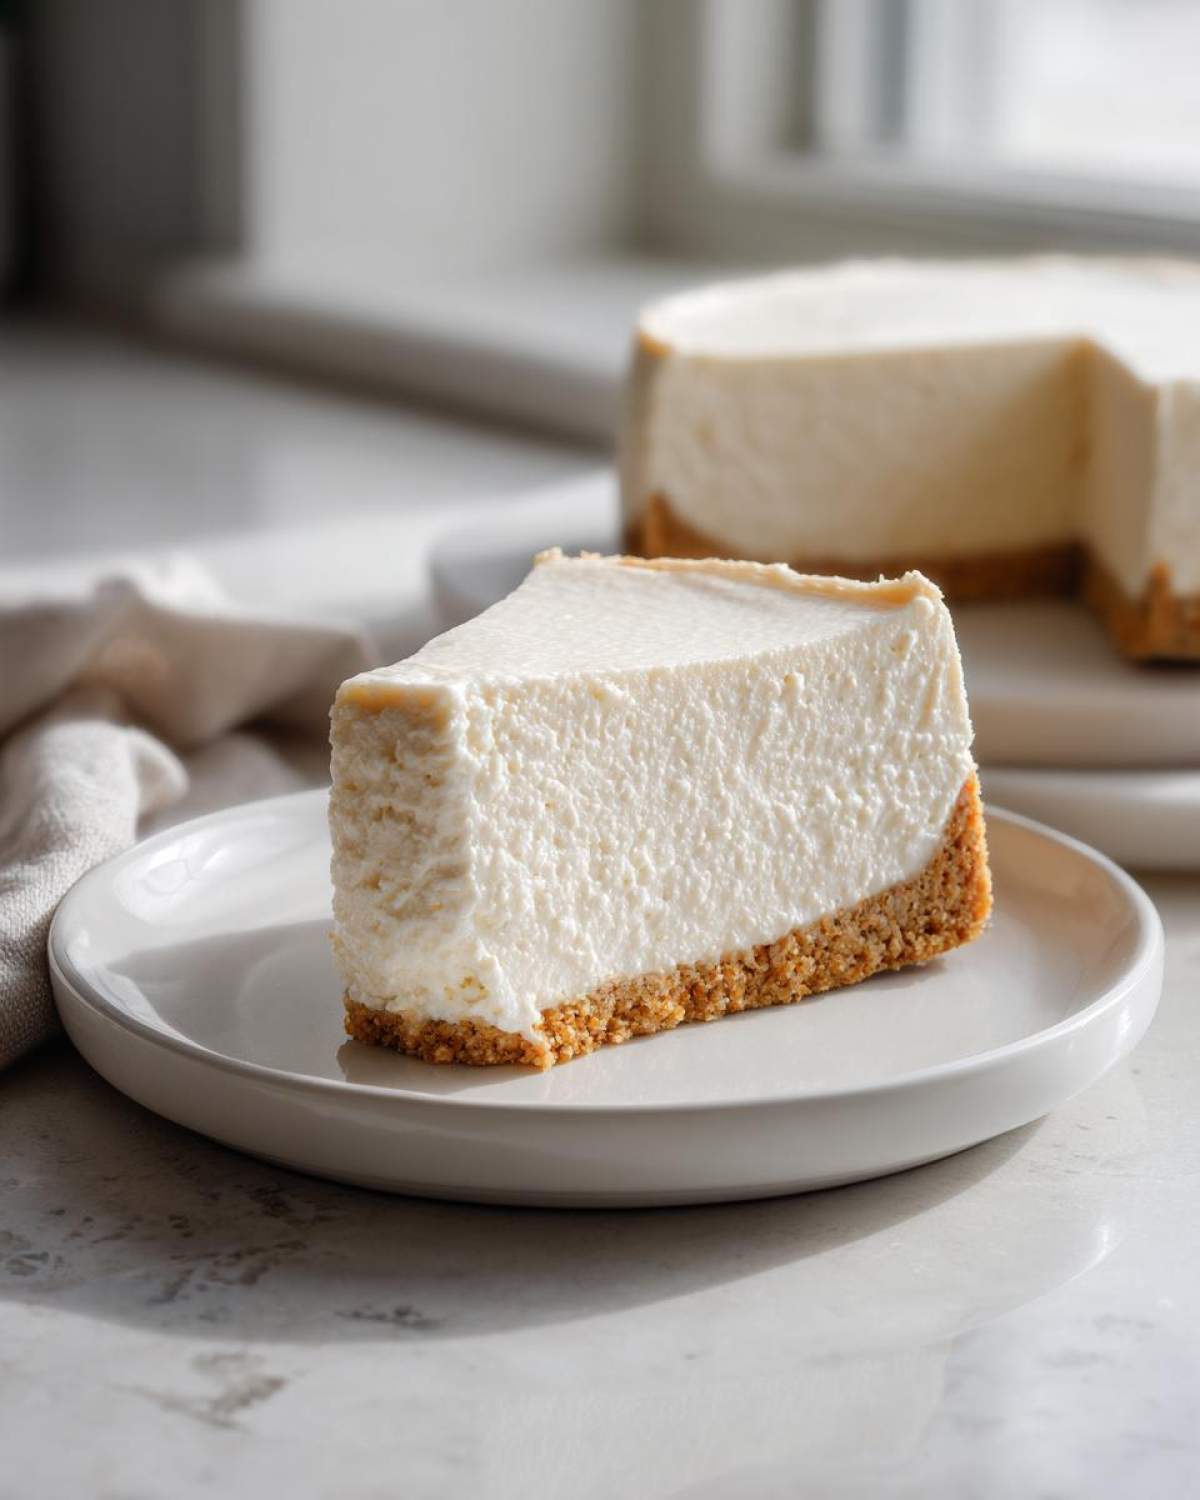
If you are worried about texture, I highly recommend going with full-fat cottage cheese if you can swing it in your macros for the day. The lower-fat stuff can sometimes be a bit drier when blended, even with all the yogurt we add. If you do use low-fat, just be prepared to blend for an extra minute or two until it feels like silk. Smoothness is your best friend here!
Ingredient Swaps for Your Ideal Protein Cheesecake
We keep this recipe super clean, but substitutions totally happen! If you aren’t strictly going gluten-free, that traditional crumb crust made with graham crackers is always a classic swap, though you’ll want to bake it a little bit longer than the eight minutes we give the almond flour base.
Also, don’t forget that little boost of flavor the notes mention. A sprinkle of fresh berries on top, or maybe even using a tablespoon of real lemon juice instead of just vanilla, really elevates the Dessert with High Protein Content without messing up the structure. For more inspiration on flavor variations, you can always check out some other ideas over on Noah’s baking blog, or see how others tackle similar recipes like Katie’s protein cheesecake!
Storage and Reheating Instructions for Your Protein Cheesecake
Since we want this to be the perfect grab-and-go Protein Dessert Meal Prep staple, storage is key! Keep your finished Protein Cheesecake tightly covered in the refrigerator. Because of the high moisture content from the yogurt and cheese, it stays fantastic for about five to six days. Always make sure it’s cold before slicing; serving it chilled really locks in that dense, creamy texture we worked so hard for!
If you absolutely must save some for later—and who can blame you?—you can definitely freeze individual slices! Wrap each slice tightly in plastic wrap, then slip it into a freezer-safe bag. It lasts great frozen for almost a month. Just let it thaw overnight in the fridge before enjoying it. Find more great snack recipes on our site!
Serving Suggestions for This Guilt Free Cheesecake Treat
Now that you’ve patiently waited for it to chill, it’s time for the fun part: dressing up your incredible Guilt Free Cheesecake Treat! Since we kept the base vanilla-forward and low-sugar, it honestly acts like a beautiful blank canvas. I’m always reaching for fresh fruit first because those bright natural flavors just sing against the creamy backdrop. Think raspberries, sliced strawberries, or a few perfect blueberries—easy, sweet, and no extra fuss.
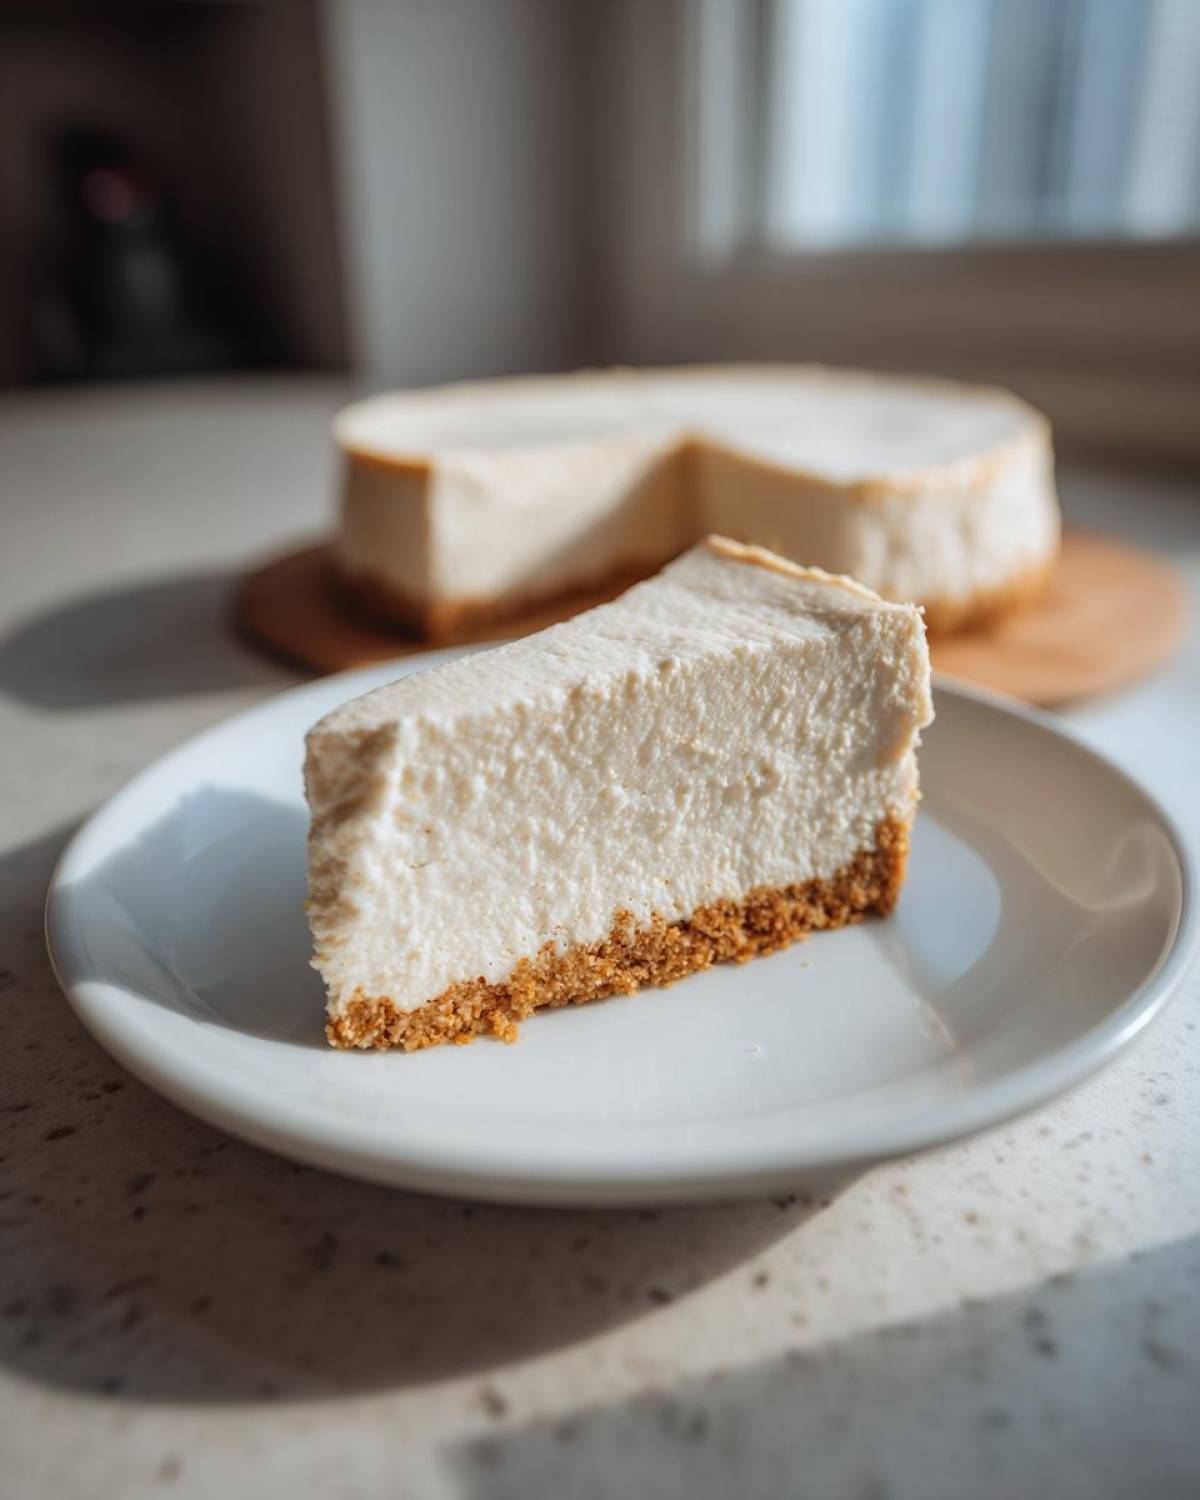
If you feel like you need something a little fancier, grab a sugar-free raspberry sauce or maybe even some sugar-free chocolate syrup if you’re feeling decadent. A tiny drizzle goes a long, long way. Honestly, even just a light dusting of cinnamon on top makes it feel special. Enjoy every single spoonful, you earned this!
Frequently Asked Questions About Protein Cheesecake
When you’re making a recipe that’s doing double duty—tasting amazing *and* hitting your macros—it’s natural to have a few questions pop up! I’ve gathered some of the ones I get asked most often about this bake. We want you to feel totally confident when you pull this perfectly Creamy Protein Dessert out of the oven!
Can I make this a No Bake Protein Cheesecake?
That’s a great question! This particular recipe is designed to be a Baked Protein Cheesecake. We rely on the eggs and the gentle heat of the oven to set that creamy, luscious texture we worked so hard for. If you are set on a no-bake version, you will definitely need to find an instruction set that specifically calls for stabilizers like gelatin or more setting agents to hold that heavy Greek yogurt and cottage cheese mixture together without baking. We haven’t perfected a No Bake Protein Cheesecake variation yet, but keep checking back!
Is this a Low Calorie Cheesecake option?
Yes, absolutely! We were laser-focused on making this a truly Low Calorie Cheesecake that still felt rich. When you look at the nutrition breakdown below, you’ll see that one slice comes in right around 240 calories. That’s pretty fantastic for something that tastes this decadent! It’s all about cutting back on the heavy fats but keeping the flavor and texture high.
How do I ensure I get that 35g Protein Per Slice?
To hit that impressive 35 grams of protein, you need to stick close to the ingredient list, especially the protein powder amount. It might sound like a lot of powder, but remember, we’re using it to replace loads of the cream cheese! Make sure you’re using a quality whey protein powder that measures close to the recommended serving size shown on your container. If you end up using a different brand or whey/casein blend, your final protein count might shift a little, but try to match that ¼ cup measurement we list!
Can I use a different zero-calorie sweetener?
You sure can, but be prepared for slight texture variations! We used erythritol/monk fruit because they tend to measure cup-for-cup very similarly to sugar in baking, and they don’t add extra liquid, which is crucial here. If you use a liquid sweetener, you might need a tiny bit more cornstarch to keep the filling firm. If you’re interested in other healthy swaps or flavor adjustments, you can see what other folks have done with their protein desserts, like these high-protein cheesecake ideas!
Nutritional Estimates for This Satisfying Protein Snax
Now, I know sometimes when you’re making something that tastes this good, you worry about what the numbers look like. I totally get it! This Satisfying Protein Snax is designed to be macro-friendly, which means we can actually enjoy it without that post-snack guilt! We aimed high on the protein and kept the sugar way down low.
Keep in mind, these are just estimates based on the exact ingredients we used, especially our sweetener choice and low-fat dairy. If you swap out the almond flour for graham crackers or use a different protein powder, those numbers might shift a little, so treat these as your best guide!
Here’s a breakdown for one perfect slice (Yield: 6 servings):
- Serving Size: 1 slice
- Calories: 240
- Sugar: 5
- Fat: 12
- Carbohydrates: 15
- Protein: 35
- Sodium: 250
- Saturated Fat: 6
- Unsaturated Fat: 6
- Trans Fat: 0
- Fiber: 3
- Cholesterol: 80
We try to keep everything super transparent here in the Spoon Swirl kitchen, which is why we always post these details! For more on how we handle user data and keep things private, check out our Privacy Policy. Happy baking!
Share Your Spoon Swirl Protein Cheesecake Moment
We have shared all our secrets for getting that perfect, high-protein creamy texture, and now it’s your turn! I absolutely live to see your creations. When you make this Creamy Protein Dessert, please snap a picture and tag us! Knowing that another batch of this cheesecake is out there supporting someone’s fitness journey while tasting like a true indulgence just makes my day.
Don’t forget to come back here and leave a review for the recipe—a star rating really helps other folks who are hesitant about baking with cottage cheese for the first time. We built Spoon Swirl to be a warm, shared space, and your feedback is how we keep that connection going strong!
Did you add toasted pecans? Did you use vanilla or chocolate protein powder? Tell us everything in the comments below. We can’t wait to celebrate your baking success with you!
PrintUltimate Healthy Baked Protein Cheesecake (35g Protein Per Slice)
You want a satisfying dessert that supports your fitness goals. This baked protein cheesecake recipe delivers that classic creamy texture using cottage cheese and Greek yogurt, providing a high-protein, low-sugar treat perfect for meal prep.
- Prep Time: 15 min
- Cook Time: 45 min
- Total Time: 5 hours 0 minutes
- Yield: 6 servings
- Category: Dessert
- Method: Baking
- Cuisine: American
- Diet: Low Fat
Ingredients
- 1 cup low-fat cottage cheese
- 1 cup non-fat plain Greek yogurt
- 1/2 cup zero-calorie sweetener (like erythritol or monk fruit blend)
- 2 large eggs
- 1 teaspoon vanilla extract
- 1/4 cup vanilla or unflavored whey protein powder
- 1 tablespoon cornstarch or arrowroot powder
- Pinch of salt
- For the Crust:
- 1 cup almond flour
- 2 tablespoons melted butter or coconut oil
- 1 tablespoon zero-calorie sweetener
Instructions
- Preheat your oven to 325°F (160°C). Lightly grease a 6-inch springform pan or line a muffin tin for mini cheesecakes.
- Prepare the crust: In a small bowl, mix the almond flour, 1 tablespoon sweetener, and melted butter until combined. Press this mixture firmly into the bottom of your prepared pan. Bake the crust for 8 minutes, then remove and let it cool slightly.
- Prepare the filling: Place the cottage cheese and Greek yogurt into a food processor or high-powered blender. Blend until completely smooth. You must eliminate all lumps for a creamy texture.
- Add the eggs, 1/2 cup sweetener, vanilla extract, protein powder, cornstarch, and salt to the smooth cheese mixture. Blend again until everything is fully incorporated and smooth. Scrape down the sides as needed.
- Pour the filling over the cooled crust in the springform pan.
- Bake for 40 to 45 minutes. The edges should look set, but the center should still have a slight wobble.
- Turn off the oven, crack the door open slightly, and let the cheesecake cool inside the oven for 1 hour. This slow cooling prevents cracking.
- Remove the cheesecake from the oven and let it cool completely on the counter.
- Chill the protein cheesecake in the refrigerator for at least 4 hours, or preferably overnight, before slicing and serving.
Notes
- For the smoothest texture, use full-fat cottage cheese if you are not strictly tracking fat, or ensure your low-fat cottage cheese is blended very well.
- You can substitute the almond flour crust with a graham cracker crust if you are not aiming for a gluten-free dessert.
- Top with fresh berries or a sugar-free raspberry sauce before serving for extra flavor.
Nutrition
- Serving Size: 1 slice
- Calories: 240
- Sugar: 5
- Sodium: 250
- Fat: 12
- Saturated Fat: 6
- Unsaturated Fat: 6
- Trans Fat: 0
- Carbohydrates: 15
- Fiber: 3
- Protein: 35
- Cholesterol: 80