

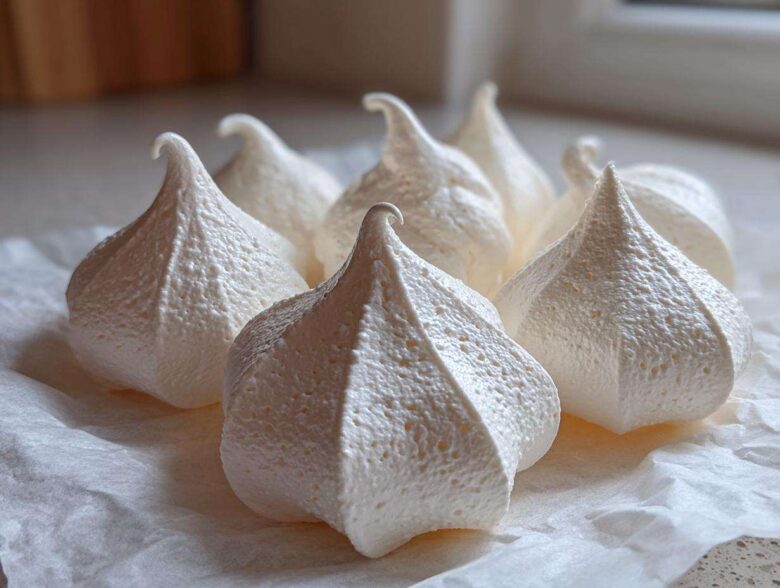
You know, sometimes the simplest desserts are the ones that feel the most magical. They only need a few humble ingredients—egg whites and sugar—but when you treat them right, they transform into something ethereal. I’m Noah, and Hana and I spent weeks perfecting this recipe because I refuse to let anyone feel intimidated by whipped whites. Forget those sticky, weeping messes you might have made before! This is my ultimate, tested guide to making French meringue cookies that are light, unbelievably crisp on the outside, and just melt away the second they hit your tongue. We put this recipe through every trial run imaginable so that when you try it, you get that perfect, foolproof result. If you want to know more about how we got started in the kitchen, you can check out our story right here.
Why You Will Love These Easy Meringue Cookies
I put serious time into testing this recipe because I wanted you to have total confidence when you start whipping those egg whites. If you’ve avoided them before, trust me, these are different. They’re just pure, delightful sweetness!
- They are incredibly light and airy—talking cloud-like texture here.
- They hold their shape beautifully when piped, making them look fancy without the fuss.
- These meringue cookies keep for ages if stored correctly.
The Perfect Texture: Light and Airy Cookies
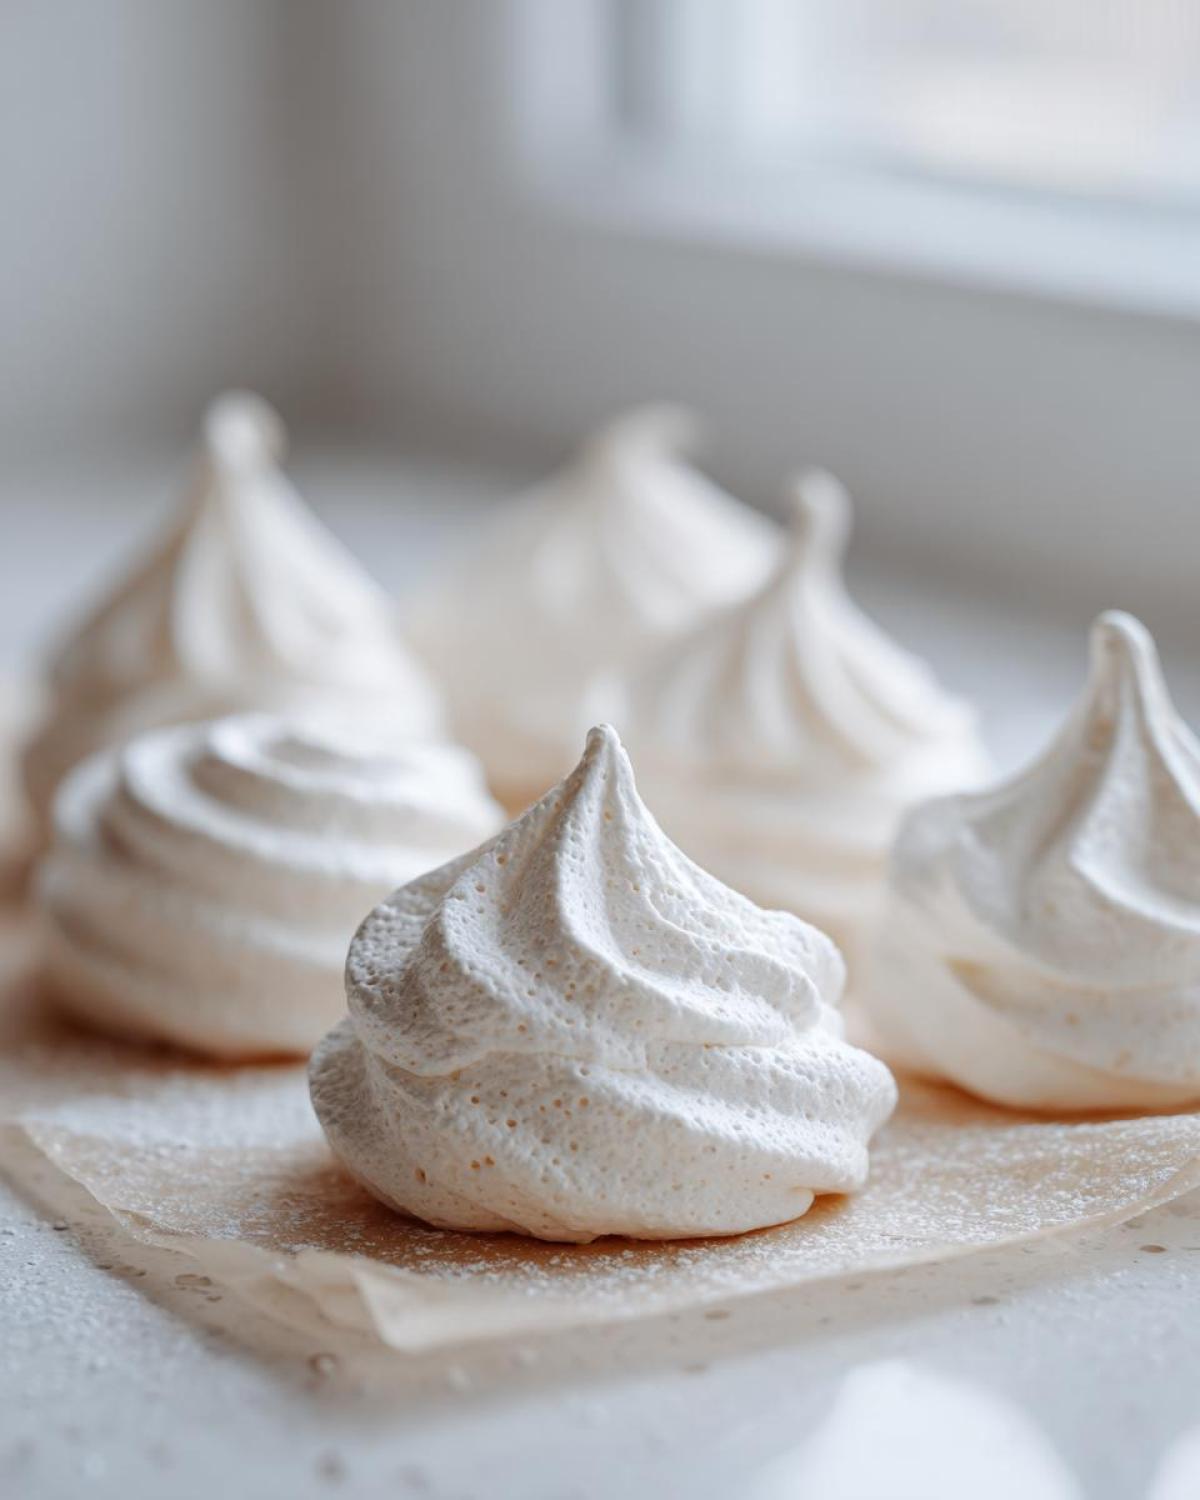
That’s the goal, isn’t it? We want that incredibly satisfying *snap* when you bite through the outside layer, right before it dissolves completely into something soft and pillowy on the inside. It’s that beautiful contrast that makes them so addictive; they are truly melt-in-your-mouth cookies perfection.
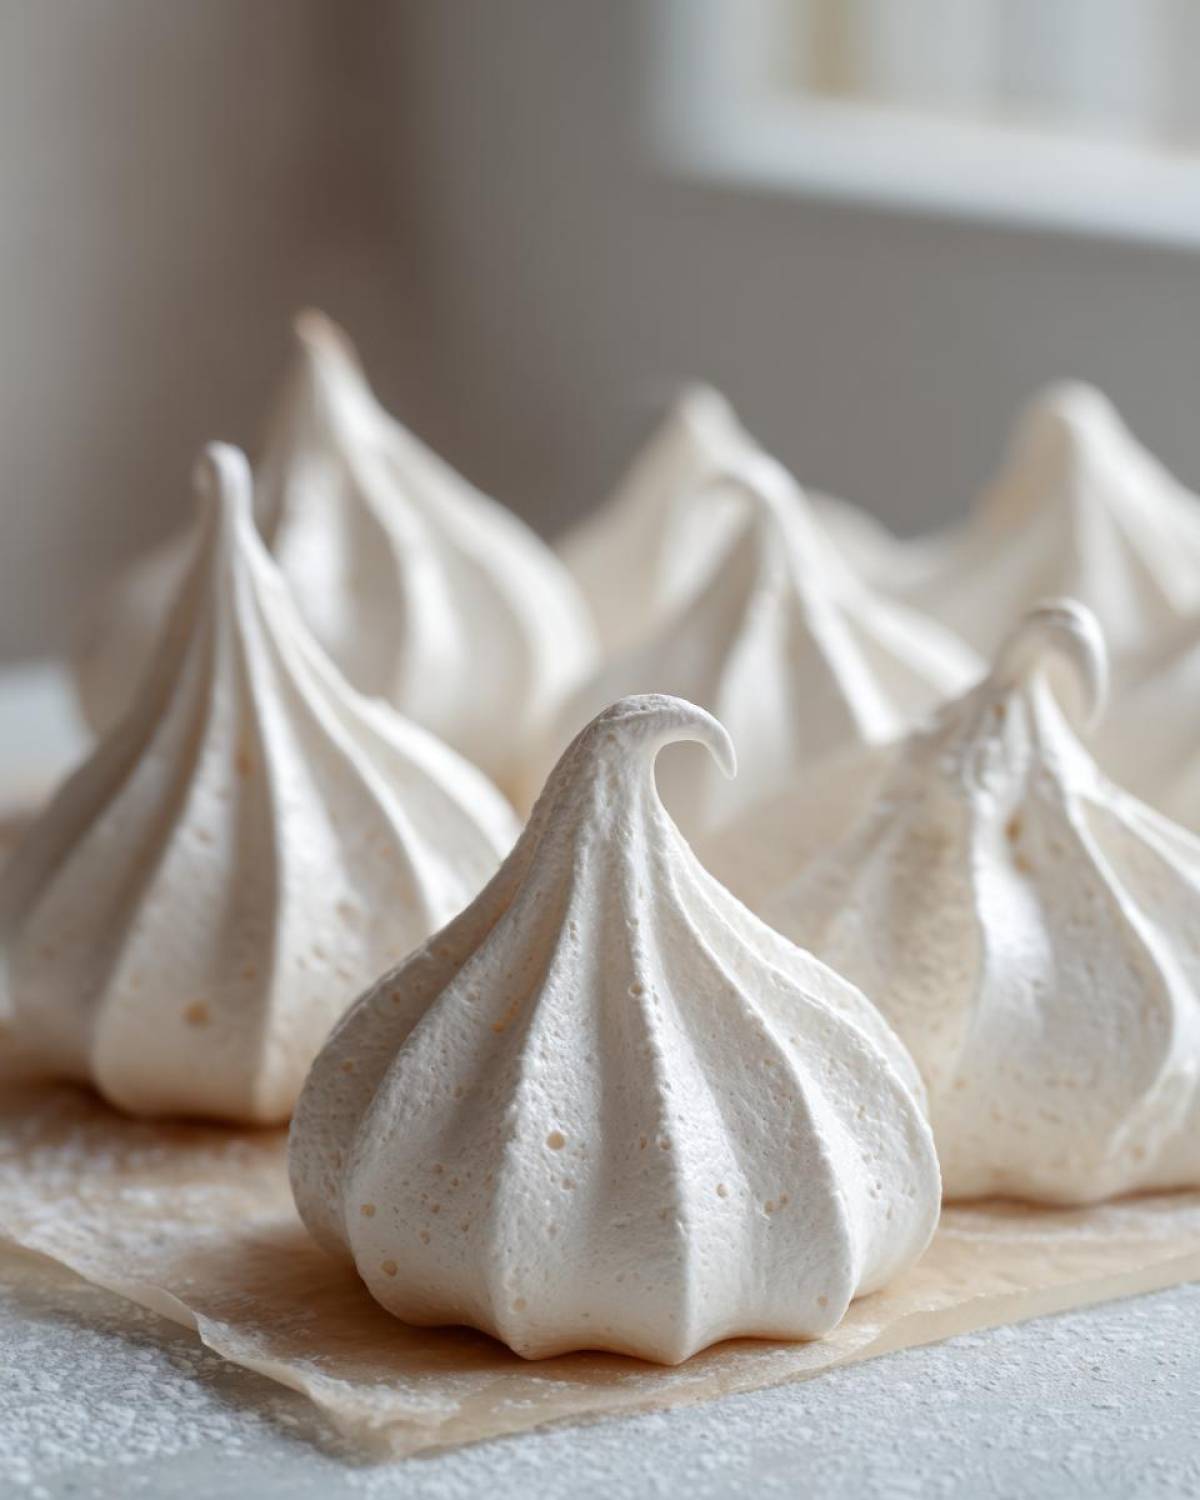
Beginner-Friendly French Meringue Cookies Recipe
We are using the French method here because it is the most straightforward way to get that classic crisp result without needing complicated techniques or heating sugar syrups. I promise, once you master the simple whipping steps, you’ll see why these French Meringue Cookies are a game-changer for quick, elegant baking.
Essential Equipment for Perfect Meringue Cookies
Okay, before we even touch an egg white, we need to talk about your tools. With meringue, cleanliness is absolutely everything. If there’s even a speck of grease, yolk, or dust in your bowl, that meringue will just sit there sad and soupy. We want stiff peaks, not sad puddles!
Because I’m the technical mind in our operation, I’m very strict about this prep stage. You really only need three things for the foundation, but having the right precision tools makes the job so much cleaner.
- A Stand Mixer or Hand Mixer: You need power here. Trying to whip egg whites by hand for this volume is nearly impossible, and honestly, it leaves my arm too tired to enjoy the cookies later!
- Absolutely Squeaky Clean Metal or Glass Bowl: This is non-negotiable. Do not use plastic bowls if they are older or scratched, because old grease tends to cling to them. Glass or stainless steel are your best friends here. Wipe everything down with vinegar or lemon juice before you start—seriously!
- Baking Sheets and Parchment Paper: You’ll need at least two nice, flat baking sheets. And please, use parchment. Do not use silicone mats or grease the pan. Meringues shrink as they dry, and they need that little bit of paper grip so they don’t stick or lose their bottom shape when they finally bake through.
- Piping Supplies: A standard piping bag and a large star tip (like an Ateco 827 or Wilton 1M) are what I use for those classic, pretty kissing shapes. If you don’t have piping bags, you can use a large zip-top bag and snip off a corner, but it’s messier.
Having these basics ready means you can move straight from whipping to piping without any stressful scrambling!
Gathering Ingredients for Your Vanilla Meringue Recipe
When it comes to these delicate treats, having the right ingredients ready to go is half the battle won. This Vanilla Meringue Recipe uses just a few things, which is why the quality and prep of each one really matters. I want to make sure you’re set up for success before the mixer even turns on. You’ll notice we need superfine sugar—that’s called caster sugar sometimes—and that’s important for dissolving properly!
Here is what you need for about three dozen of these lovely, light cookies:
- 4 large egg whites, room temperature
- 1 cup superfine sugar (caster sugar)
- 1 teaspoon pure vanilla extract
- 1/4 teaspoon cream of tartar
- Pinch of salt
Key Ingredient Notes and Substitutions for Meringue Cookies
Listen, these ingredients are minimal, so take heed of these little pointers! First off, those egg whites must be room temperature. Cold whites just won’t whip up to the volume we need. Also, if you don’t have superfine sugar, don’t panic. I sometimes just pulse regular granulated sugar in my food processor for about 30 seconds until it’s much finer—it works great!
That cream of tartar is like insurance; it stabilizes everything and gives us those beautiful, sturdy peaks. And the best news for everyone out there? These melt-in-your-mouth cookies are naturally gluten-free! So, these Gluten Free Meringues are perfect for sharing with everyone you love, no substitutions needed on that front.
How to Prepare Crispy Meringue Treats: Step-by-Step Instructions
This is it—the moment where we turn those shiny egg whites into sturdy clouds. I know that whipping meringue sounds scary, but honestly, it’s mostly about patience and timing. First thing’s first: get your oven ready! We need it super low, like 170°F to 200°F. We aren’t really baking these; we are drying them out, so low and slow is the goal. Line those sheets with parchment paper, too! I always make sure to have my piping set up because once we hit stiff peaks, we have to move fast.
Now, grab your clean bowl—remember, no grease! Start the egg whites and salt on medium speed until they look foamy, like bath bubbles. Toss in that cream of tartar, and bring the speed up. Once you see soft peaks—where the tip curls over when you lift the whisk—we start adding the sugar. I always make sure my mixer isn’t running too fast here; we need that sugar to dissolve gently.
This next part requires you to stop reading recipes and just listen to the mixer. You have to add that superfine sugar one tablespoon at a time, waiting about 30 seconds between each addition. If you rush this part, the sugar won’t melt correctly, and you’ll end up with grainy meringue cookies. I’ve tested this part a million times, and rushing even by a minute leads to weeping later on. Just wait, watch, and enjoy the process. It’s so satisfying watching the volume increase!
Whipping the Egg Whites to Stiff Peaks for Meringue Cookies
Once all that sugar is in—and I mean *all* of it—crank the mixer up to high. This is where the magic happens for that Perfect Meringue Texture. You need to beat it until the mixture looks incredibly thick, glossy, and holds a stiff peak that stands straight up without drooping. A great test? Rub a little bit between your thumb and forefinger. If you feel any grittiness at all, keep whipping! If it feels smooth as silk, you are ready for the flavorings. If you want to dive deep into mastering this exact technique, I found a fantastic guide on how to make French meringue that covers all the science behind happy egg whites.
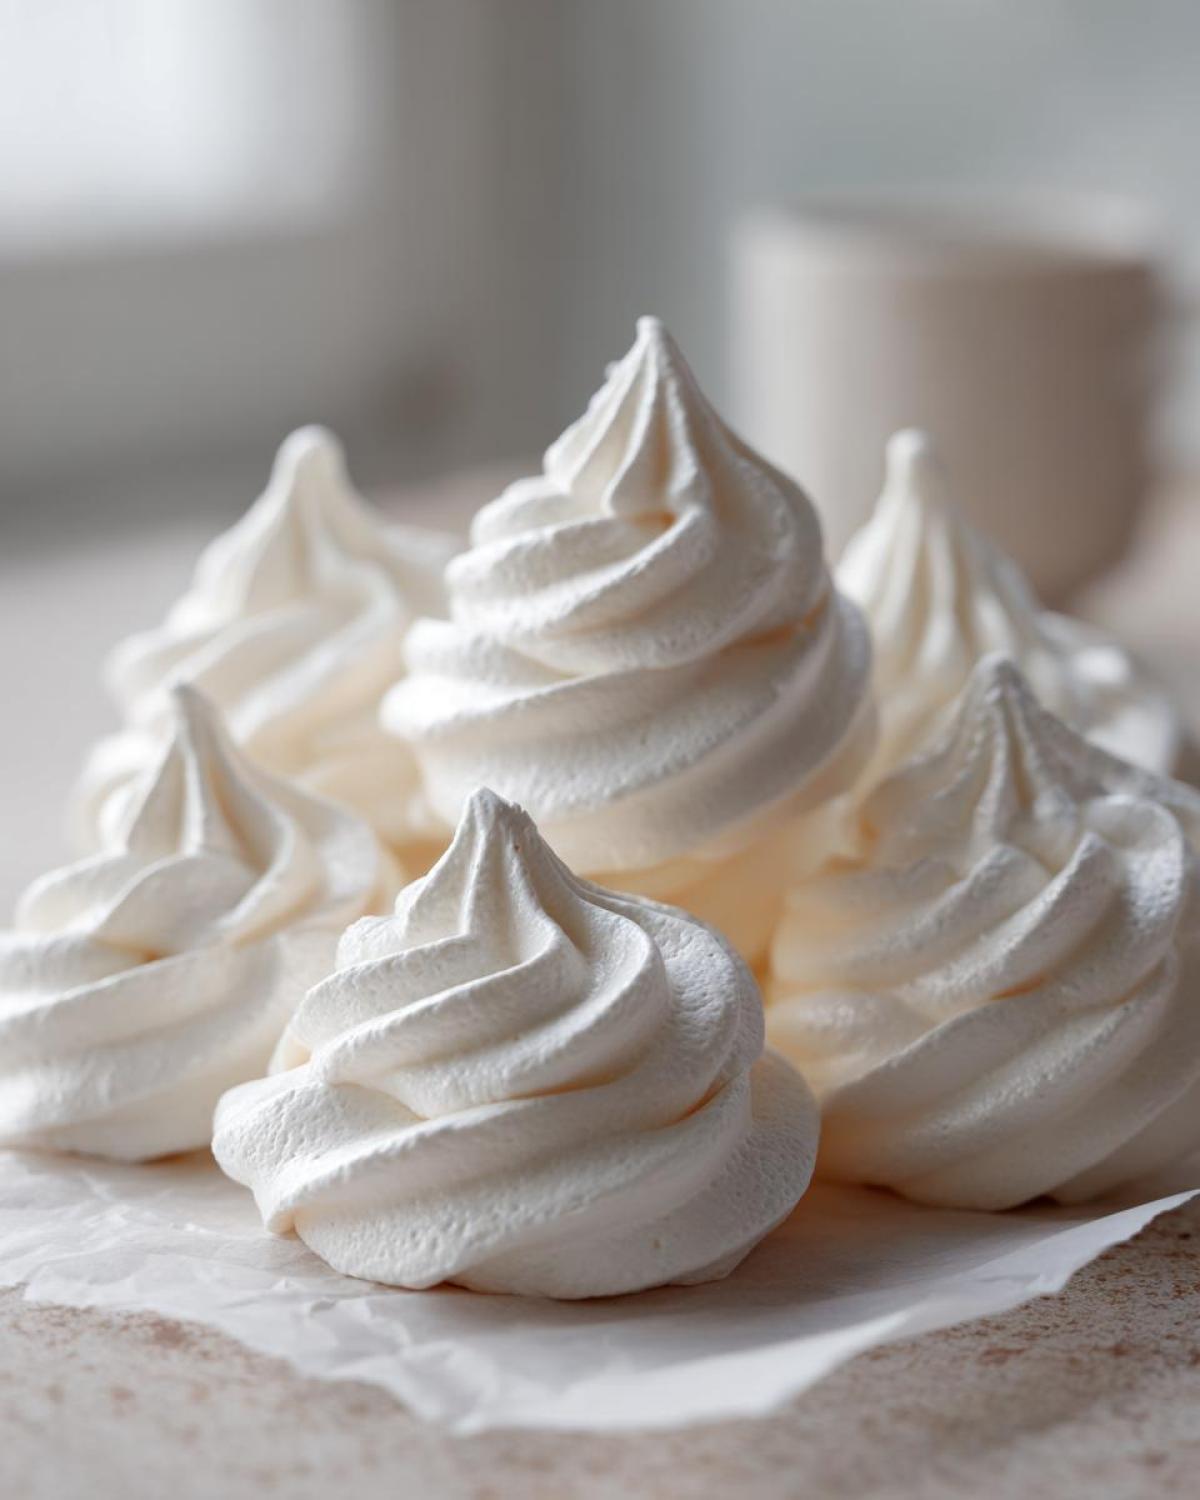
Piping and Drying Your Delicate Sweet Treats
Gently fold in your vanilla extract. Now, get that meringue into your piping bag fitted with a big star tip—I love the way a large star looks for these! Hold the bag straight up and squeeze firmly to create those classic kisses, leaving about an inch between them on the sheet. They don’t spread much, but they do need breathing room.
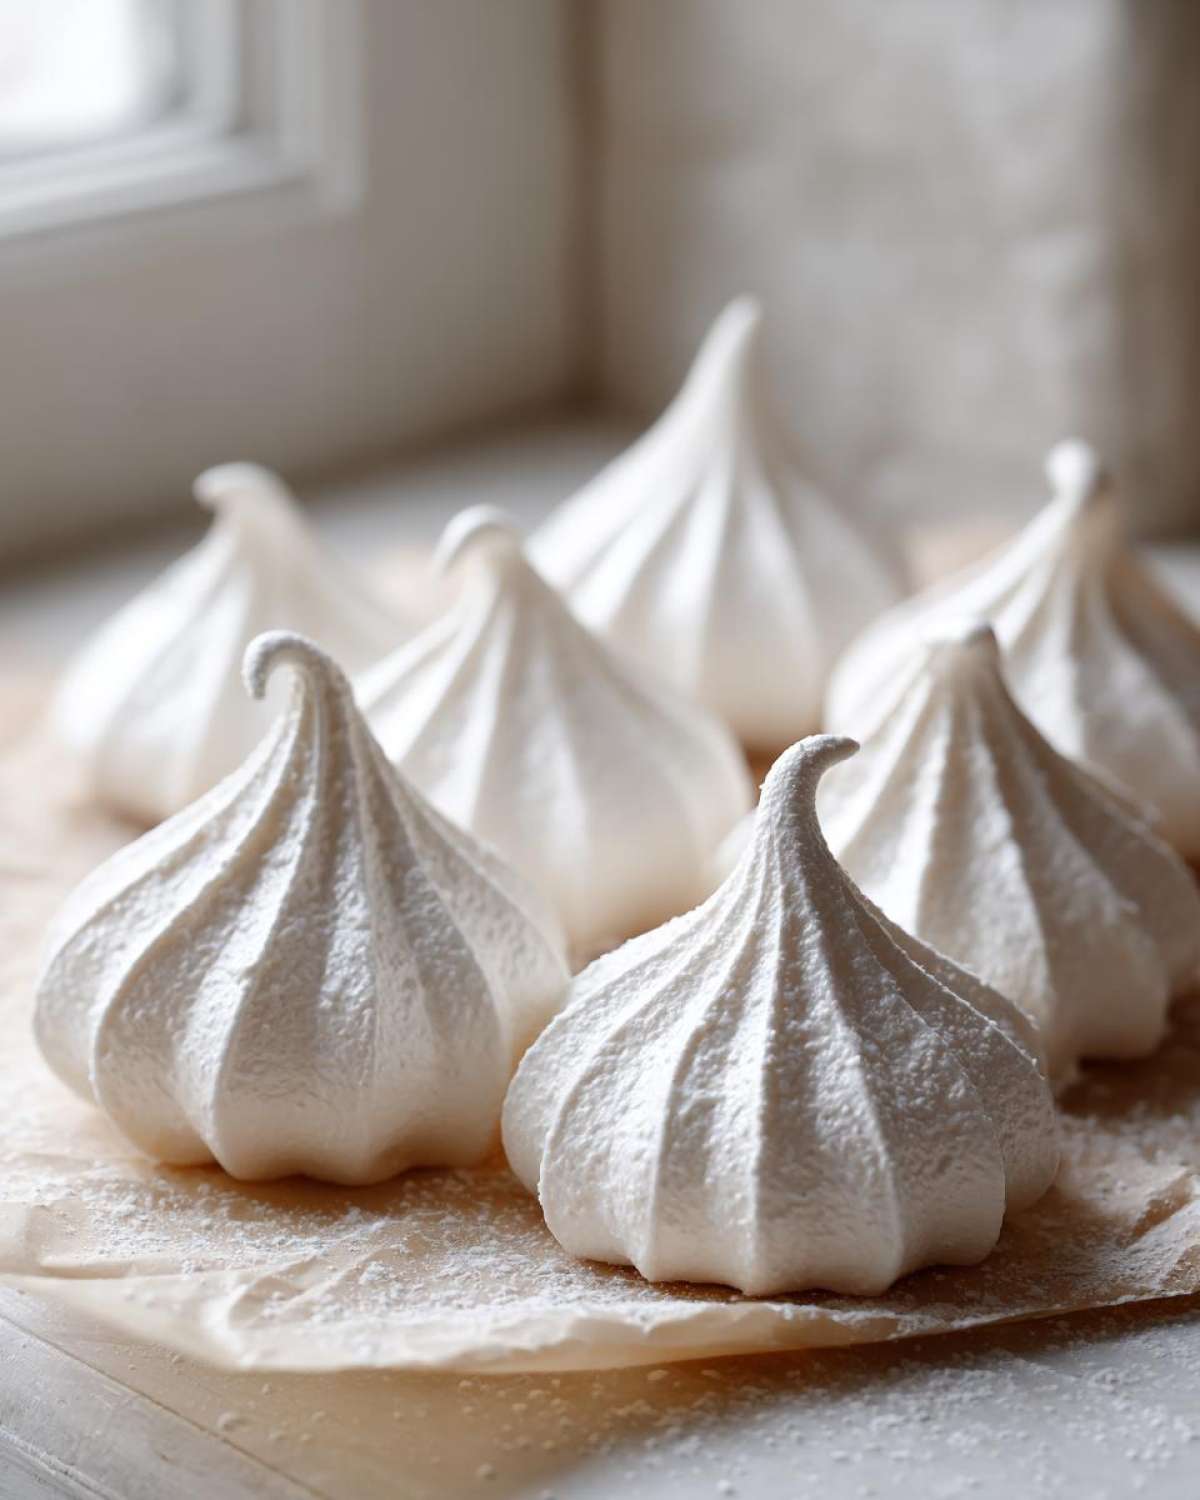
Pop them in that super low oven for about 90 minutes to 1.5 hours; they are done when they lift cleanly off the parchment paper without tearing. But here’s the most important trick for these Delicate Sweet Treats: turn the oven OFF when they look done, prop the door open slightly with a wooden spoon, and let them stay inside until they are completely cool—ideally overnight. This slow drying and cooling is what guarantees they won’t crack when they hit room temperature. It takes patience, but trust me, completely cooled meringues are shatteringly crisp!
Flavor Variations for Your Meringue Kisses Recipe
The vanilla base is gorgeous, truly, but sometimes we need a little extra sparkle, especially if we’re talking holiday baking or just trying to match a party theme! These meringue cookies are such blank canvases, which is why I absolutely love experimenting once the main batch comes out of the oven. You don’t need a whole new recipe; you just adjust the flavoring right before you pipe them.
We can easily turn these into festive treats or something tangy and bright depending on what we have in the cupboard. It’s all about swapping that little bit of extract or adding a dry powder right at the end.
Making Festive Peppermint Meringue Cookies
If you’re baking anywhere near winter, these are a must! They are so lovely and light, and that peppermint zing cuts through the sweetness perfectly. You simply swap out the one teaspoon of vanilla extract for about half a teaspoon of pure peppermint extract. That’s it! Be careful not to use too much extract, though, because extracts are mostly alcohol, and too much liquid can weaken those stiff peaks we worked so hard to create. I recommend starting with a scant half teaspoon, mixing it gently, and seeing if you need more. These make such cute, festive meringue kisses for cookie plates, don’t you think?
Color and Flavor with the Jello Meringue Cookie Recipe
Do you remember those bright, colorful meringue cookies you see sometimes? Often, that awesome color and flavor come from using flavored gelatin powder—it’s such a clever trick. If you want to follow the famous Jello Meringue Cookie Recipe concept, just take about one teaspoon of dry Jello powder (like strawberry or lime) and carefully fold it in right when you add the vanilla extract. It adds a great little tang and makes the whole shell a beautiful color! If you want to see some great examples of how vibrant these can look, people have done amazing things over at Tasty Home Plates. It’s seriously easy!
Tips for Success When Baking Meringue for Beginners
I know that humidity is the sworn enemy of meringue, so this is where being prepared as a beginner really pays off. If it is pouring rain outside or if the air feels thick and damp in your kitchen, honestly, I would wait another day. I’ve tried everything to fight moisture—extra cream of tartar, blowing a small fan near the oven—and it just doesn’t work. Meringue needs dry air to truly set up right.
Another thing I learned the hard way is to be meticulous about the oven temperature, which is why I recommend using an oven thermometer—don’t just trust the dial! Since we are drying, not “baking,” ovens fluctuate wildly, and even 25 degrees too hot can brown your whites instead of keeping them pristine and white. If you are nervous about this Baking Meringue for Beginners, remember: low and slow is your mantra.
If you find your meringues are weeping—which means little drops of sugar syrup form on the surface—it almost always means one of two things: you either didn’t whip enough sugar in, or you introduced moisture too early. Go back and check that sugar rub test from the previous section! If you want to know more deeply about the chemistry of whipping egg whites properly, that guide on how to make French meringue breaks down the science of stable peaks really well. Don’t let a sticky batch discourage you; every baker has had a batch that refused to cooperate!
Storage and Gifting Your Homemade Meringue Cookies
The best part about these light and airy treats is that they last forever, provided you treat them right! Since we’ve dried them out completely in the low oven, they are incredibly stable, which makes them top-tier contenders for Homemade Meringue Gifts during the holidays. Who wouldn’t love receiving a box of delicate, crisp sweets?
The absolute golden rule for storage is this: keep them dry! Meringue’s big weakness is moisture. If you put these delicate sweet treats in the fridge or near any steamy area, they will start to “weep” sugar syrup, and all our hard work drying them out will be wasted.
- Always use an airtight container. Glass jars with tight-fitting lids are my favorite way to store these. If I’m gifting them, I use nice little cellophane bags tied with ribbon, but they need to be eaten within a day or two unless the climate is very dry.
- Keep the container at cool room temperature, away from the stove or sunny windows.
- If stacking them in a container, place a small piece of parchment paper between the layers so they don’t stick together once they settle. Properly stored meringue cookies can easily last two weeks!
Because they are naturally gluten-free and sugar is such a wonderful preservative, these delicate sweet treats are amazing for big batches. I love that once they are fully baked and cooled, I can just tuck them away and pull them out whenever I need a quick, elegant dessert! I actually found a fun place online packed with great ideas for packaging these up as presents over at Bitelord, which gave me some really cute wrapping inspiration for this year’s cookie trays.
Frequently Asked Questions About Meringue Cookies
We’ve covered the whole process, but I know sometimes little lingering questions pop up when you’re dealing with something as delicate as egg whites. I totally get it; I used to have a million questions too! Here are some of the things Hana and I always get asked about our meringue cookies.
Why are my meringue cookies sticky or weeping?
That is the number one frustration, right? Usually, it means one of two things, and it almost always comes down to moisture. First, check if you added the sugar too fast. If the sugar didn’t fully dissolve while you were whipping, any moisture it holds will leak out as syrup when it tries to bake. Second, and most common: high humidity! If it’s raining or the air is damp, the sugar in the meringue attracts that water, making them gummy instead of crisp. If you suspect humidity, wait for a drier day to bake them.
Can I use regular granulated sugar instead of superfine sugar?
You totally can, but you have to do a little prep work first, or you risk that gritty texture! Granulated sugar crystals are a bit too large for the egg whites to easily dissolve when whipped at home. My advice is to pulse your regular granulated sugar in a food processor or blender for about 30 seconds. You don’t want powder, just finer grains. This gets us close enough to superfine sugar to make the recipe work beautifully, and it’s a lifesaver!
My meringue cracked when cooling. What did I do wrong?
Don’t worry, these are still perfectly delicious, even if they look a bit rustic! Cracking happens because the outside sets really hard, and when the inside cools down too fast, it shrinks away from that hard shell, causing it to split. The solution is what I talked about in the instructions: when the baking time is up, turn the oven off. Then, prop the door open slightly with a wooden spoon and just leave them in there for hours, or even overnight, until the oven is totally cold. Slow, gentle cooling is the secret sauce to keeping them whole.
Can I flavor these with lemon juice instead of cream of tartar?
Yes, you absolutely can, but you need to be careful with the measurement. Cream of tartar gives us that steady stability we love, but the stabilizing acid in lemon juice works too. The general rule of thumb is to substitute the 1/4 teaspoon of cream of tartar with 1/2 teaspoon of fresh lemon juice OR 1 teaspoon of white vinegar. Just make sure you are adding it in early, right before you start seeing those soft peaks form. If you like, you can read more about how we structure and test our recipes over at the Spoon Swirl Blog archives!
Share Your Perfect Meringue Treats
Well, that’s truly all there is to it! You’ve conquered the delicate dance of whipping egg whites, and now you have these marvelous, light, and airy confection sitting on your counter.
I truly, deeply want to know how they turned out for you. Did you add that Jello powder for color? Did you manage to get those perfectly crisp edges without any cracking during cooling? This isn’t just our recipe anymore; it’s ours!
Please, please leave a comment down below! Tell me your favorite way to eat these—are you a tea-time dipper, or do you sneak them straight from the container in the middle of the night like I sometimes do? Knowing your experience helps us feel connected, and if you tried a fun variation like the Peppermint ones, I’d love to hear all about the adaptation.
And if you took a picture of your beautiful piping swirls, tag us on social media! Seeing your creations, knowing we helped make someone’s day a little sweeter, that’s the best part of running Spoon Swirl. Happy baking, friend!
PrintThe Ultimate Easy Meringue Cookies Recipe: Light, Crisp, and Perfect Every Time

Learn how to make light, airy, and crisp meringue cookies using the simple French meringue method. These melt-in-your-mouth treats are perfect for beginners and make wonderful homemade gifts.
- Prep Time: 20 min
- Cook Time: 90 min
- Total Time: 110 min
- Yield: About 3 dozen
- Category: Dessert
- Method: Baking
- Cuisine: American
- Diet: Gluten Free
Ingredients
- 4 large egg whites, room temperature
- 1 cup superfine sugar (caster sugar)
- 1 teaspoon pure vanilla extract
- 1/4 teaspoon cream of tartar
- Pinch of salt
Instructions
- Preheat your oven to the lowest setting, typically between 170°F and 200°F (75°C to 95°C). Line two large baking sheets with parchment paper.
- Make sure your mixing bowl and whisk attachment are completely clean and dry. Add the room temperature egg whites and the pinch of salt to the bowl.
- Begin whipping the egg whites on medium speed until they become foamy. Add the cream of tartar and increase the speed to medium-high.
- Once soft peaks form (the peaks curl over when you lift the whisk), slowly begin adding the superfine sugar, one tablespoon at a time, waiting about 30 seconds between additions. This slow addition is key to stable meringue.
- After all the sugar is incorporated, increase the mixer speed to high. Beat until stiff, glossy peaks form. When you rub a small amount between your fingers, you should not feel any sugar granules. This stage is crucial for perfect meringue texture.
- Stop the mixer and gently fold in the vanilla extract using a spatula. Do not overmix.
- Transfer the meringue to a piping bag fitted with your desired tip (a large star tip creates classic meringue kisses).
- Pipe small mounds or kisses onto the prepared baking sheets, leaving about one inch between each cookie.
- Place the baking sheets in the preheated oven. Bake (dry out) for 1 to 1.5 hours, depending on the size of your cookies and your oven temperature. You are looking for them to be dry and easily lift off the parchment paper.
- Turn off the oven, prop the door open slightly with a wooden spoon, and let the meringue cookies cool completely inside the oven for at least one hour, or preferably overnight. This slow cooling prevents cracking.
- Store your light and airy cookies in an airtight container at room temperature.
Notes
- For a festive look, add 1 teaspoon of Jello powder along with the sugar for flavored, colorful meringue cookies.
- If you want peppermint meringue cookies, substitute the vanilla extract with 1/2 teaspoon of peppermint extract.
- Ensure your egg whites are completely free of any yolk or grease, as fat prevents the meringue from whipping properly.
- If you do not have superfine sugar, pulse regular granulated sugar in a food processor for 30 seconds to make it finer.
Nutrition
- Serving Size: 2 cookies
- Calories: 60
- Sugar: 15
- Sodium: 5
- Fat: 0
- Saturated Fat: 0
- Unsaturated Fat: 0
- Trans Fat: 0
- Carbohydrates: 15
- Fiber: 0
- Protein: 1
- Cholesterol: 0