

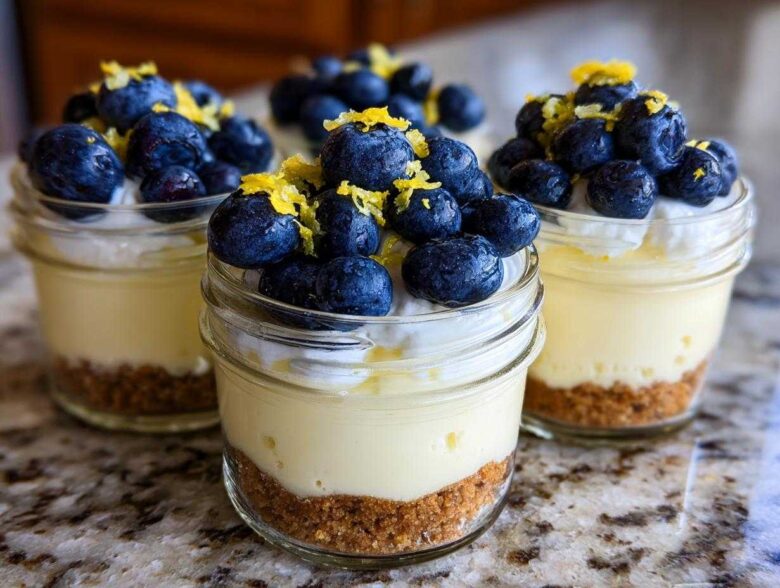
When summer rolls around, my brain immediately dials down the oven heat! Seriously, who wants a hot kitchen when the sun is shining? That’s why I’ve become obsessed with making amazing desserts that are chilled, glorious, and simple. Forget wrestling with a giant springform pan; my absolute favorite creation lately is these creamy, dreamy Lemon Blueberry Cheesecake Jars. They’re no-bake, which is half the battle won right there!
The big draw for me is the individual serving size. I used to stress about cutting a perfect slice for guests, but these jarred beauties are ready to go when you are. You just pull them out of the fridge, and bam—instant, perfectly portioned joy. I first started doing this because I needed something portable for picnics, and now these Lemon Blueberry Cheesecake Jars are my go-to for everything. Trust me, they taste way more complicated than they actually are.
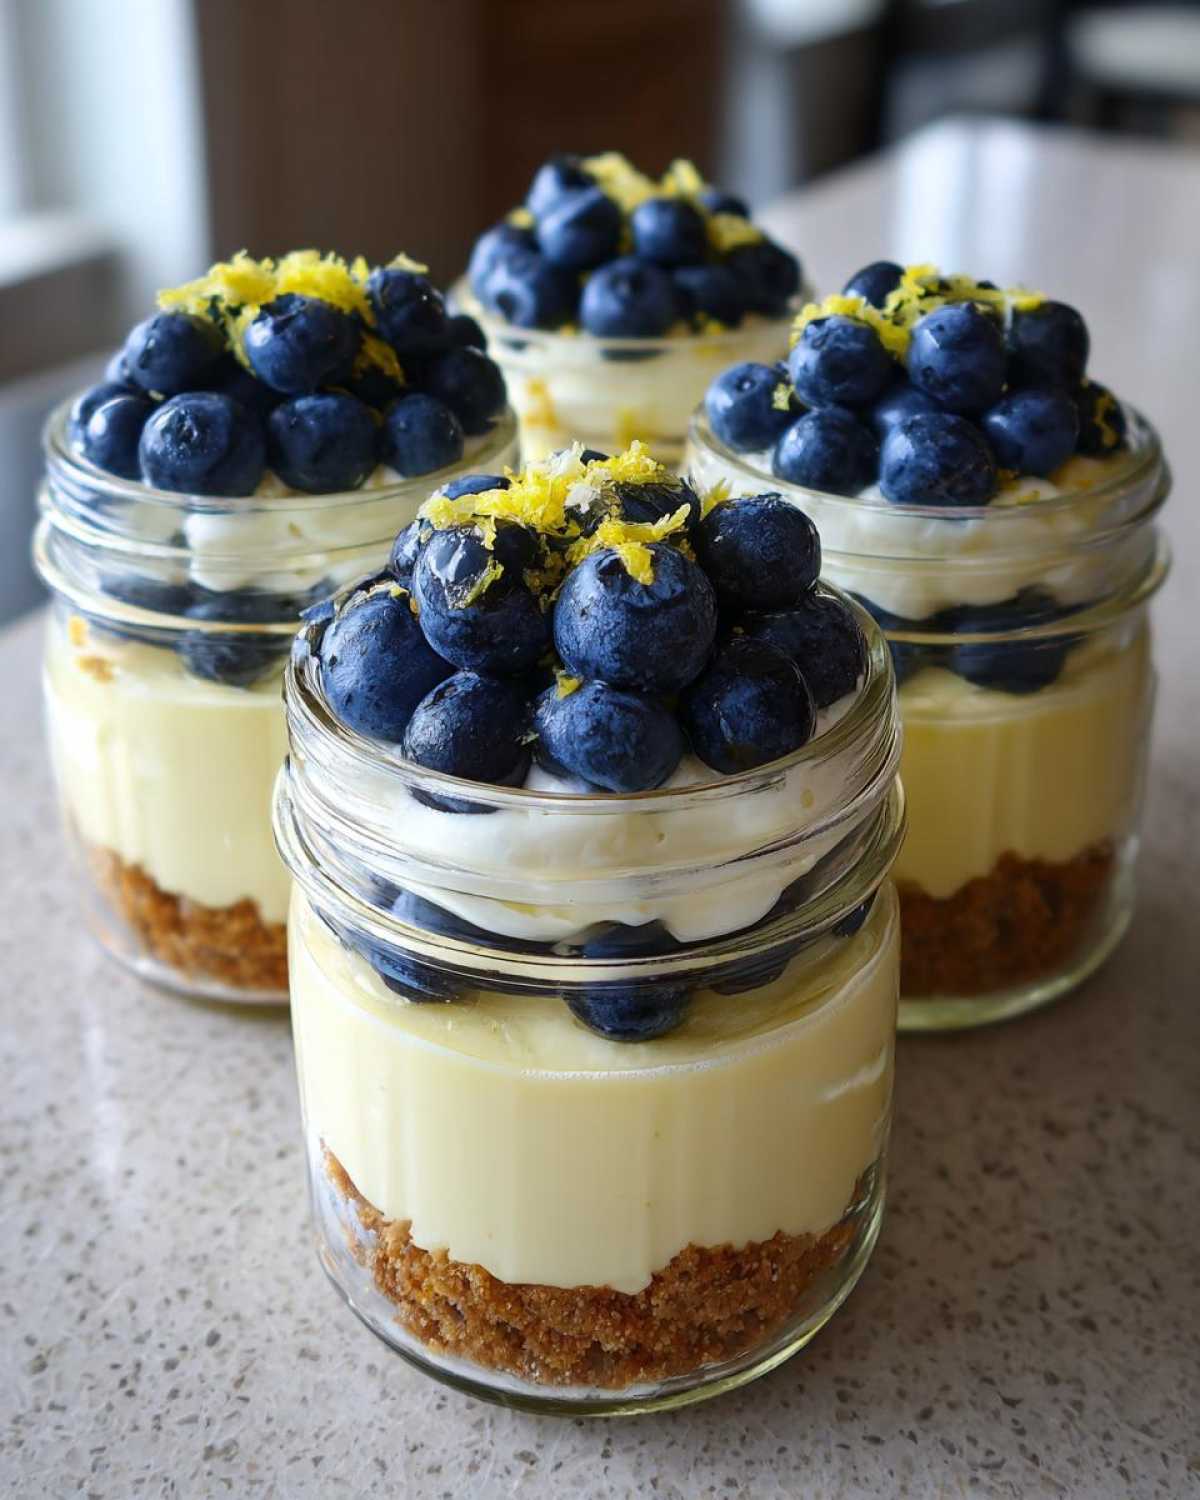
If you’re looking for that perfect balance of bright, zesty lemon and sweet, bursting blueberry, all nestled in a buttery graham cracker base, you’ve landed in the right spot. I’ve figured out the exact ratios so the filling sets up beautifully firm every single time. You can see a little more about my philosophy on easy entertaining over on my About Me page, but for now, let’s get layering!
Why You Will Love These Lemon Blueberry Cheesecake Jars
Honestly, these things are a baking dream because they fix all my usual dessert headaches. They are the best combination of simple and elegant. You get all that creamy deliciousness without ever turning on the oven!
Key Benefits of This Individual Cheesecake Dessert
- They are perfect Portion Control Desserts—no awkward slicing necessary!
- 100% No-Bake, so pulling them out of the fridge is your only cooking step.
- That bright lemon flavor pairs stunningly with sweet blueberries—total summer vibes.
- This is the ultimate Make Ahead Cheesecake; they get better overnight, honestly.
Essential Ingredients for Perfect Lemon Blueberry Cheesecake Jars
Okay, this is where we build the foundation for greatness! Since we aren’t baking anything, the quality and temperature of the ingredients matter so much for that creamy, perfect set. Don’t just eyeball this section; being precise here is the secret sauce for these Layered Cheesecake Jars.
For the Graham Cracker Crust Jars
This is simple, but it must taste buttery and hold together! You’ll need:
- One and a half cups of graham cracker crumbs—make sure they are fine enough.
- A quarter cup of regular granulated sugar to sweeten that base up a bit.
- Six tablespoons of unsalted butter, and you absolutely must have it melted down and ready to go.
Mix these until every crumb looks like wet sand—that means the butter has coated everything evenly, which keeps the crust from crumbling when you dig in.
For the Creamy Blueberry Lemon Dessert Filling
This filling is rich but light because of the whipped cream folded in. Make sure your cream cheese is totally softened—leave it out for an hour or two! If it’s cold, you’ll get tiny lumps, and we don’t want those.
- Sixteen ounces of cream cheese, softened, of course.
- One cup of powdered sugar and a half cup of granulated sugar for that signature sweetness.
- A quarter cup of fresh lemon juice—it really needs to be fresh for the brightness!
- One whole teaspoon of lemon zest—wow, this really makes the flavor pop.
- One teaspoon of vanilla extract.
- One cup of heavy whipping cream, which we will whip to stiff peaks separately for lightness.
For the Fresh Topping
Keep this super simple to contrast the richness of the filling! All you need is the topping!
- About a half cup of fresh blueberries.
Just give those beautiful berries a quick rinse and pat them completely dry before you pile them on top right before serving. Nobody wants watery cheesecake!
Step-by-Step Instructions for Layered Cheesecake Jars
Time to bring this masterpiece together! Because these are No Bake Cheesecake Jars, the process is all about layering and waiting patiently while the cold does the heavy lifting. We’re moving fast here, so have your jars ready!
Preparing and Chilling the Graham Cracker Crust Jars
First things first: let’s make that crust! You’ll mix up your crumbs, that quarter cup of sugar, and the melted butter until it looks perfectly moistened. Next, divide this mixture among your 6 jars.
Don’t pack it down like you’re creating concrete! Just press it down lightly with the back of a spoon or your fingers to form that little base layer. Once they’re layered, pop them into the fridge for 15 minutes. This quick chill time helps them firm up so the filling doesn’t just mix right into the crust when we dollop it on.
Making the No Bake Cheesecake Jars Filling
While those crusts are chilling, tackle the creamy part! Grab your large bowl and beat that softened cream cheese until it’s flawlessly smooth—no lumps allowed, that’s crucial! Once it’s silky, slowly mix in your powdered sugar, the half cup of granulated sugar, lemon juice, zest, and vanilla. Beat it until everything is beautifully incorporated.
Now for the lightness! In a completely separate clean bowl, whip that full cup of heavy cream. You want stiff peaks here, almost like shaving cream—when you lift the whisk, the peak should stand straight up without flopping over. This traps all that air that keeps our Lemon Blueberry Cheesecake Jars light!
Assembling and Setting the Lemon Blueberry Cheesecake in Jars
This is the assembly stage, where the magic happens. Take your chilled crusts. Now, gently fold that whipped cream right into your lemon cream cheese mixture. I mean *gently* fold, using a spatula and cutting down the middle, lifting from the bottom. We don’t want to knock out all that air we just worked so hard to create.
Spoon or pipe that gorgeous filling right over the crusts until they’re about three-quarters full. Smooth the tops! Then, cover them up—plastic wrap works great—and slide them into the refrigerator. They need a minimum of four hours to set properly, but honestly, if you can hold out until the next day, they are even better prepared! We’ll add the blueberries right at the end.
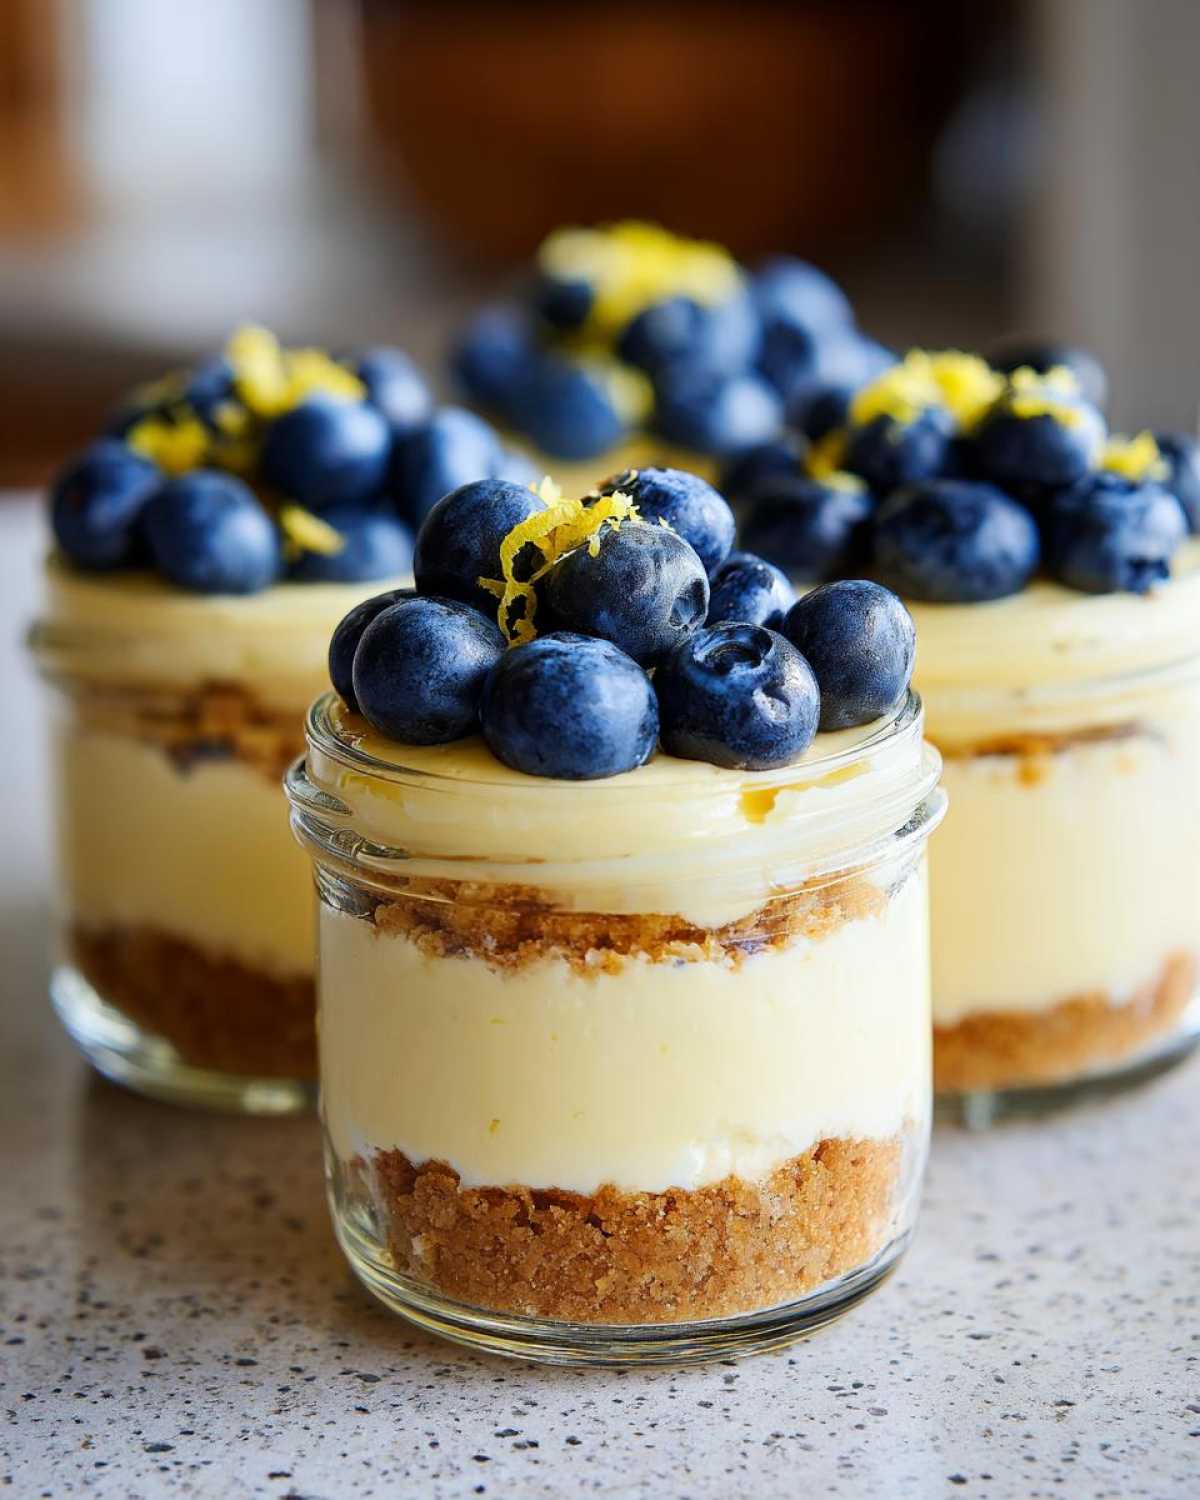
For more recipe adventures or tips on getting the best results with minimal effort, check out my latest posts on the Spoon Swirl Blog!
Tips for Success with Your Mini Cheesecake Recipe
We’re making no-bake desserts, which means our success rides entirely on temperature and texture, not oven heat! Getting these Lemon Blueberry Cheesecake Jars just right is all about those little details that keep the filling silky smooth and fluffy.
Achieving the Perfect Cheesecake Texture
Listen, if your cream cheese is cold, you are already doomed. It has to be genuinely room temperature so it beats into a smooth cloud without any stubborn chunks hiding in the bottom of the bowl. And when you fold in that gorgeous whipped cream? Use a spatula, not the mixer! Fold gently until you just see the last white streaks disappear. Over-mixing deflates the air, and we want these to be light, not dense mousse, okay?
Flavor Adjustments for Your Blueberry Lemon Dessert
I love how bright this recipe is, but sometimes you might want more *zing*! If you’re a true lemon fanatic like me, definitely feel free to crank that lemon zest up a notch. The recipe calls for one teaspoon, but I sometimes push it to one and a half teaspoons for an extra tart kick that cuts through the sweetness of the sugar. It just wakes the whole thing up!
Ingredient Notes and Substitutions for Easy Dessert Jars
Since these are such simple assembly jobs, sometimes the pantry doesn’t cooperate, right? That’s okay! A few smart swaps can turn these into perfect Easy Dessert Jars without losing that essential creamy texture we’re chasing.
The notes in my original recipe card mentioned graham crackers, but if you happen to be out or just craving a different snap at the bottom, don’t panic! You can absolutely use vanilla wafer crumbs instead. Just crush them up super fine, and use them exactly as you would the graham crackers—same amount of butter needed to bind them together. It gives the crust a slightly sweeter, warmer flavor profile, which is really nice with the lemon.
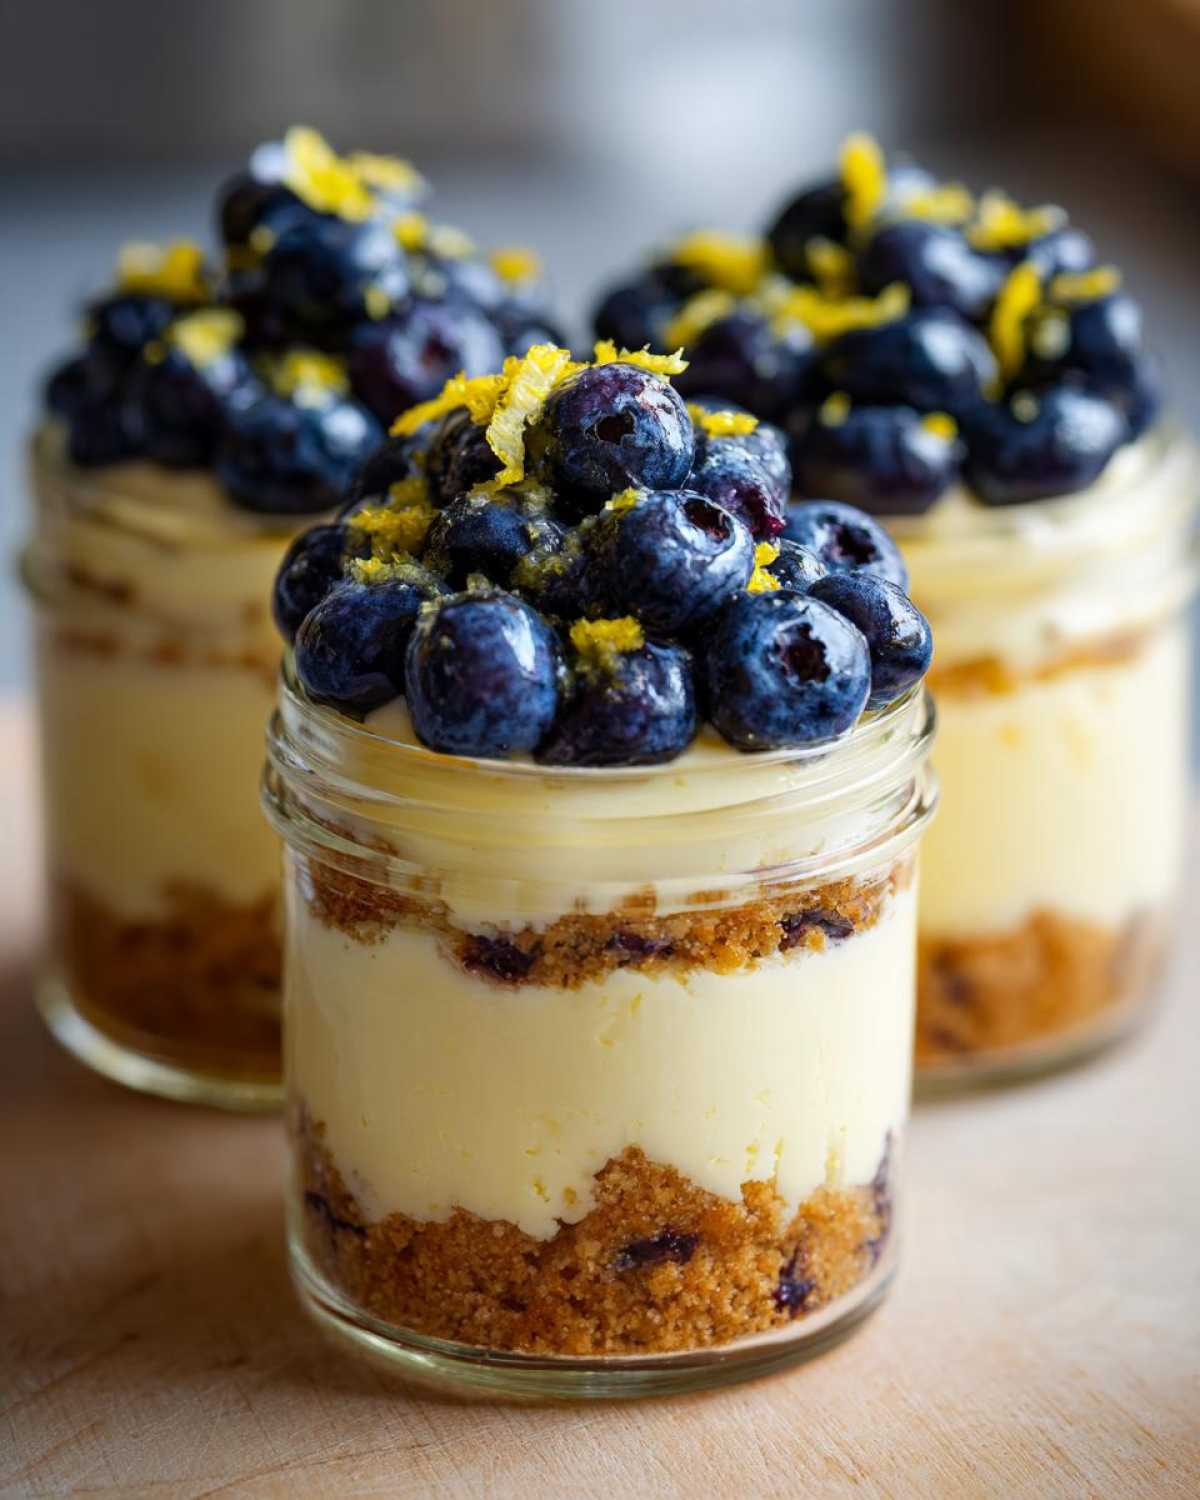
Now, let’s talk about the lemon element. I insisted on fresh juice and zest because that’s how you get that vibrant, clean punch in your No Bake Cheesecake Jars. However, if you’re in a rush or dealing with mediocre lemons, you can use a high-quality lemon curd here instead of the fresh juice and zest combination. If you do this, you need to cut back way down on the sugar in the filling because curd is already quite sweet. Maybe reduce the powdered sugar by a quarter cup to start. Taste as you go!
Another thing people ask me about is the cream cheese. Please, please use full-fat cream cheese here. Light or fat-free versions just don’t emulsify correctly, and they often leave a slight tang that isn’t pleasant in a dessert like this. We need that richness to support the lemon and blueberry flavors, especially since this is a chilled, no-bake treat!
Serving Suggestions for Individual Summer Treats
Because these Layered Cheesecake Jars are already so gorgeous on their own—all those creamy white swirls peaking out under the vibrant berries—you don’t need much extra fanfare. But presentation always makes an event feel special, even if the event is just me eating dessert on the sofa!
Remember, these must be served cold. Make sure they’ve had their full chill time to set up properly. I find that keeping them on a pretty tray helps define their little space on the dessert table. If you’re serving these up outside when it’s warm, place the tray directly onto a larger platter filled with ice to keep them nice and chilly until everyone digs in.
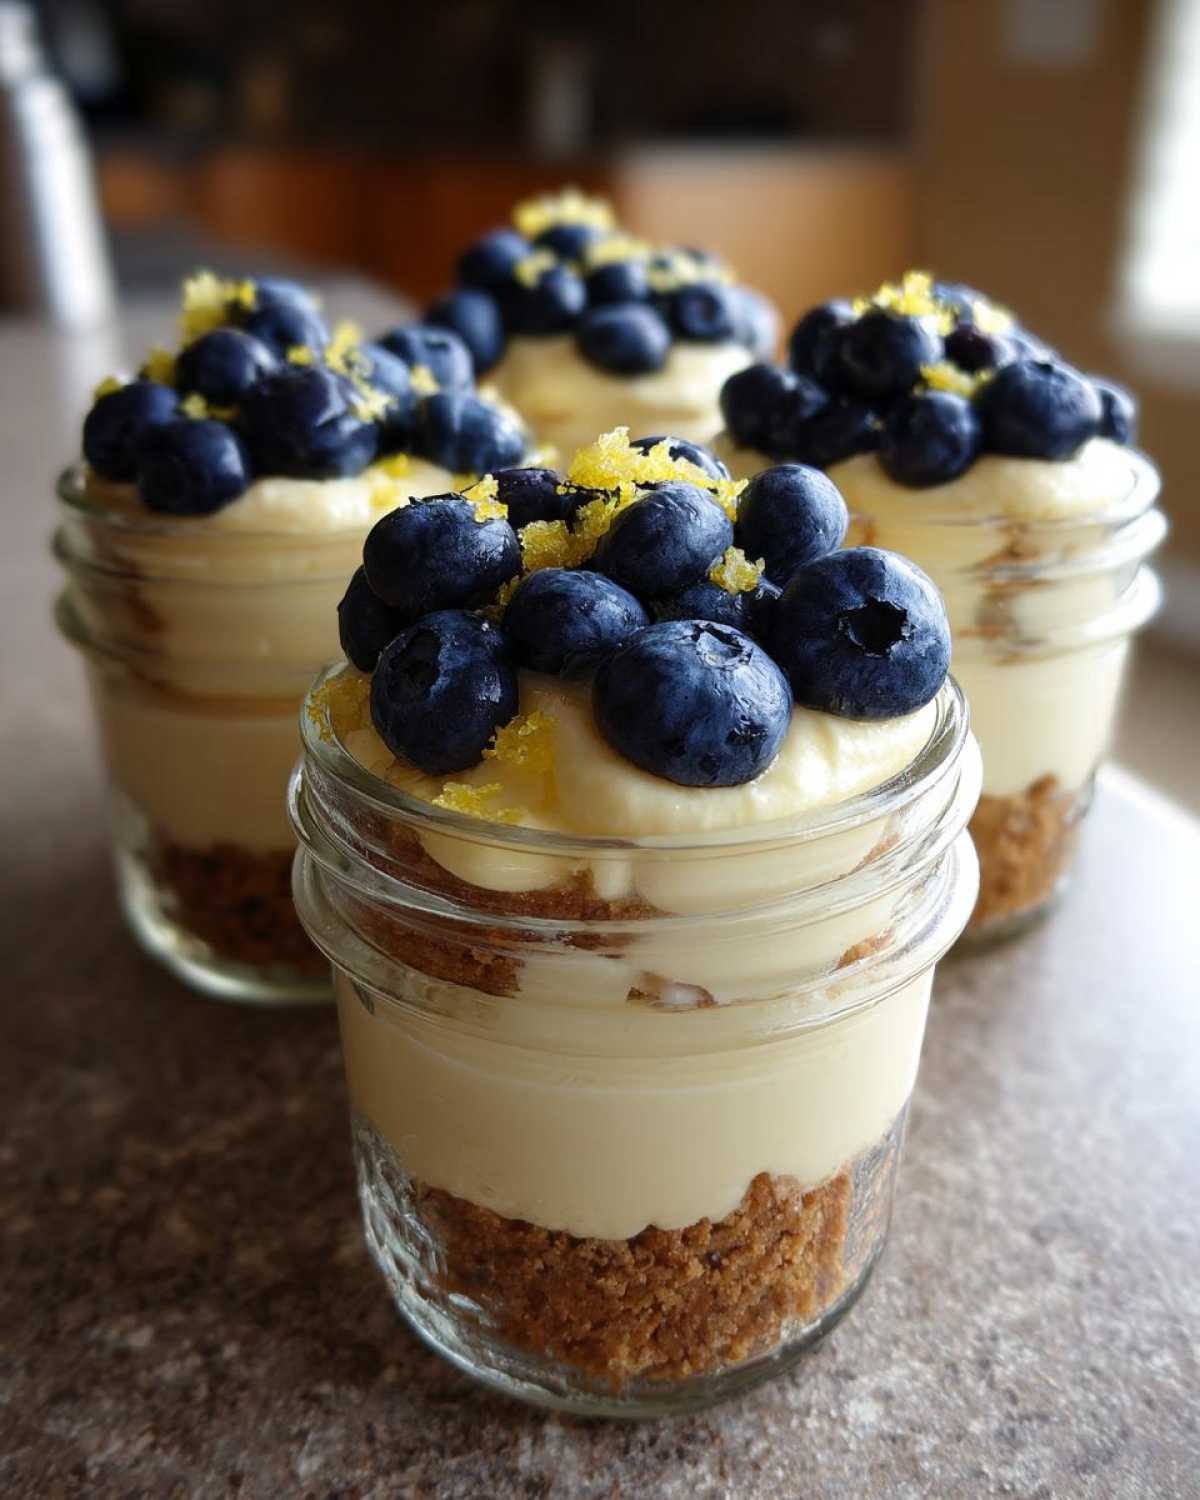
For pairing, the bright lemon flavor begs for something equally refreshing alongside it. Seriously, you have to try chilling these next to my Watermelon Mint Refresher. The coolness and the light herbaceous notes of the mint lift that creamy cheesecake right up. It’s the perfect little summer bite!
Also, think about the toppings! While fresh blueberries are my standard, don’t stop there. A tiny sprig of fresh mint placed right on top of the blueberries makes these look like they came from a fancy bakery. Or, for an extra crunch just before serving, dust them lightly with some finely crushed, toasted pistachios. It adds the prettiest pop of green color and texture to your Individual Summer Treats without getting soggy.
Storage and Make Ahead Cheesecake Instructions
This is my absolute favorite part about making any Make Ahead Cheesecake—you can do all the hard work ahead of time! Since we’ve layered everything perfectly inside these little glass containers, cleanup is minimal, and transportation is shockingly easy. Remember how I said I started making these for picnics? That portability is key!
The filling needs that time to set up properly, so I strongly recommend making these at least four hours before you plan to serve them. However, if you ask me? Overpacking is best! These No Bake Dessert Cups taste even better on day two. All those creamy layers meld together, and the lemon flavor deepens just beautifully overnight in the fridge.
When you’re getting ready to head out the door for a party or a barbecue, the best way to keep them perfectly chilled is exactly how the recipe notes suggest: transport them in a cooler packed with ice packs. Because they are in individual jars with lids, they are super stable. You don’t have to worry about sloshing or tipping like you would with a big pan. Just keep them below 40 degrees Fahrenheit, and they hold up like little champions!
You can safely keep your finished jars in the refrigerator for about three to four days, though I seriously doubt they will last that long in my house! Just make sure you wait until the very last minute to pop those fresh blueberries on top. That way, the berries stay plump and vibrant, not soggy against the creamy filling.
Frequently Asked Questions About No Bake Dessert Cups
You’ve got questions, I’ve got answers! This recipe format for No Bake Dessert Cups is super popular, so people always have specific little worries about serving, storage, or texture. Nothing is too small! Feel free to browse these common concerns; I’ve tried to keep the answers short and sweet, just like these treats!
Can I freeze these Lemon Blueberry Cheesecake Jars?
That’s a tricky one. While you *can* put them in the freezer, I really, really don’t recommend it if you want that perfect, creamy texture. Cream cheese filling doesn’t always thaw well, and it can get a little grainy or watery when it defrosts, especially since we folded in whipped cream. If you must, freeze them for maybe a week or two tops, thaw them overnight in the fridge, and expect a slightly softer texture than when they were first made. For the best experience, these are designed to be served within three days of mixing!
What size jar works best for this Mini Cheesecake Recipe?
I standardized this recipe around 8-ounce (wide-mouth) jars because they give you the perfect depth for four distinct layers: crust, filling, a little more filling, and then the topping! This size is fantastic for Portion Control Desserts because it satisfies that cheesecake craving without being overwhelming. If you happen to use smaller 4-ounce jars, you’ll definitely get more servings—maybe 8 or 10—but you’ll have to slightly reduce the amount of crust and filling you add to each one!
How do I prevent the blueberries from sinking into the filling?
Oh, the dreaded blue blob at the bottom! That happens because the fresh berries are heavy and the filling is soft before it chills. I have two tricks for this! Number one, if you’re transporting them somewhere, wait until you get to your destination to top them—that’s the surest bet. Trick number two involves the final dollop of filling: before you add the berries, gently stir just about a third of the blueberries into the *very top layer* of the filling before smoothing it out. This slight mixing helps anchor the rest of the berries when you place them on top!
Can I make this recipe dairy-free for my friends?
That takes some significant changes, but it is possible if you’re dedicated! You would need to swap the cream cheese for a high-quality vegan cream cheese block (the kind that softens well, not the spreadable tub stuff). For the heavy cream, you’d need a plant-based whipping cream alternative like chilled coconut cream or a specialized vegan whipping product. The crust, if you use butter, would need a vegan butter substitute. It won’t be exactly the same, but it keeps the spirit of the delicious layers alive! For more great snack ideas—dairy-free or not—check out my Snacks Category!
Estimated Nutritional Information for Lemon Blueberry Cheesecake Jars
Now, I always like to give a rough idea of what you’re digging into when you grab one of these gorgeous Portion Control Desserts! Please remember that these numbers are just estimates based on the ingredients I listed. If you use fancy organic berries or substitute your sweetener, the math will change a little bit, so take this as a general guide.
I always recommend looking at my general nutrition disclaimer page for the full scoop on how I calculate these things. But for one of these divine Individual Cheesecake Dessert jars, here’s what we are looking at:
- Serving Size: 1 jar
- Calories: About 450
- Fat: Roughly 30g (Remember, that’s rich cream cheese and butter working hard!)
- Carbohydrates: Around 40g
- Sugar: Approximately 35g
- Protein: About 6g
It certainly tastes like a million bucks, doesn’t it? Enjoy every bite of these chilled, layered delights!
PrintNo-Bake Lemon Blueberry Cheesecake Jars
Prepare individual servings of creamy lemon cheesecake layered with graham cracker crust and topped with fresh blueberries in small jars.
- Prep Time: 25 min
- Cook Time: 0 min
- Total Time: 4 hr 25 min
- Yield: 6 servings
- Category: Dessert
- Method: No Bake
- Cuisine: American
- Diet: Vegetarian
Ingredients
- 1 1/2 cups graham cracker crumbs
- 1/4 cup granulated sugar (for crust)
- 6 tablespoons unsalted butter, melted
- 16 ounces cream cheese, softened
- 1 cup powdered sugar
- 1/2 cup granulated sugar (for filling)
- 1/4 cup fresh lemon juice
- 1 teaspoon lemon zest
- 1 teaspoon vanilla extract
- 1 cup heavy whipping cream
- 1/2 cup fresh blueberries (for topping)
Instructions
- Combine graham cracker crumbs, 1/4 cup sugar, and melted butter in a bowl. Mix until the crumbs are evenly moistened.
- Divide the crumb mixture evenly among 6 small (8-ounce) jars, pressing lightly to form the crust layer. Chill the jars for 15 minutes.
- In a large bowl, beat the softened cream cheese until smooth. Add powdered sugar, 1/2 cup sugar, lemon juice, lemon zest, and vanilla extract. Beat until fully combined and creamy.
- In a separate bowl, whip the heavy cream until stiff peaks form.
- Gently fold the whipped cream into the cream cheese mixture until no streaks remain. This is your cheesecake filling.
- Spoon or pipe the cheesecake filling evenly over the chilled crusts in the jars. Smooth the tops.
- Cover the jars and chill in the refrigerator for at least 4 hours, or preferably overnight, to allow the filling to set.
- Before serving, top each jar with fresh blueberries.
Notes
- You can transport these jars easily for parties; keep them chilled until ready to serve.
- For a slightly tangier filling, increase the lemon zest to 1 1/2 teaspoons.
- If you do not have graham crackers, use vanilla wafer crumbs for the crust base.
Nutrition
- Serving Size: 1 jar
- Calories: 450
- Sugar: 35
- Sodium: 210
- Fat: 30
- Saturated Fat: 18
- Unsaturated Fat: 12
- Trans Fat: 0
- Carbohydrates: 40
- Fiber: 1
- Protein: 6
- Cholesterol: 95