

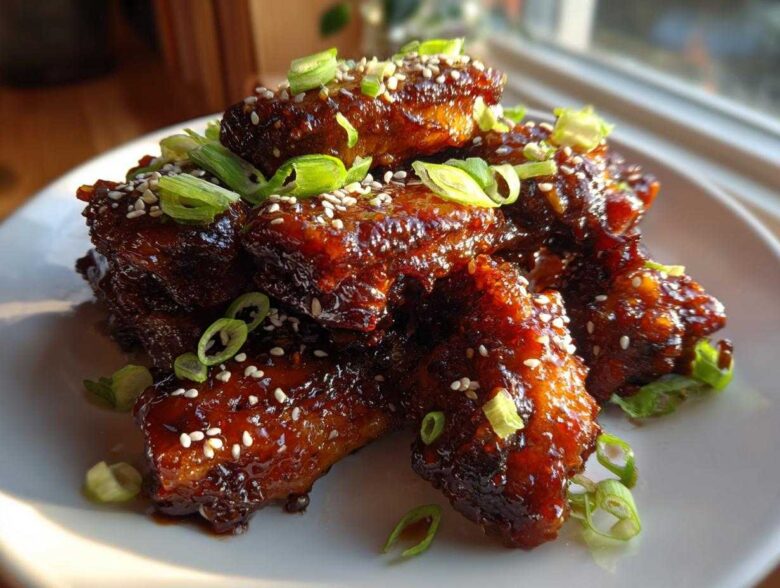
Oh my goodness, you know those nights, right? You are absolutely craving sticky, glazed chicken wings—the kind that make your eyes roll back in your head—but the thought of deep-frying, the splatter, the bubbling oil… nope. Not happening on a Tuesday night!
That’s why I spent what felt like months testing every single method to get truly Crispy Oven Baked Honey Soy Chicken Wings that deliver that satisfying crackle without ever turning on the fryer. Trust me, it’s actually possible!
My secret weapon involves baking powder and a wire rack setup that basically acts like a mini convection cycle. We’re aiming for that perfect balance: sticky, sweet, savory glaze clinging beautifully to skin that actually snaps back at you. Forget soggy oven wings; these are the real deal.
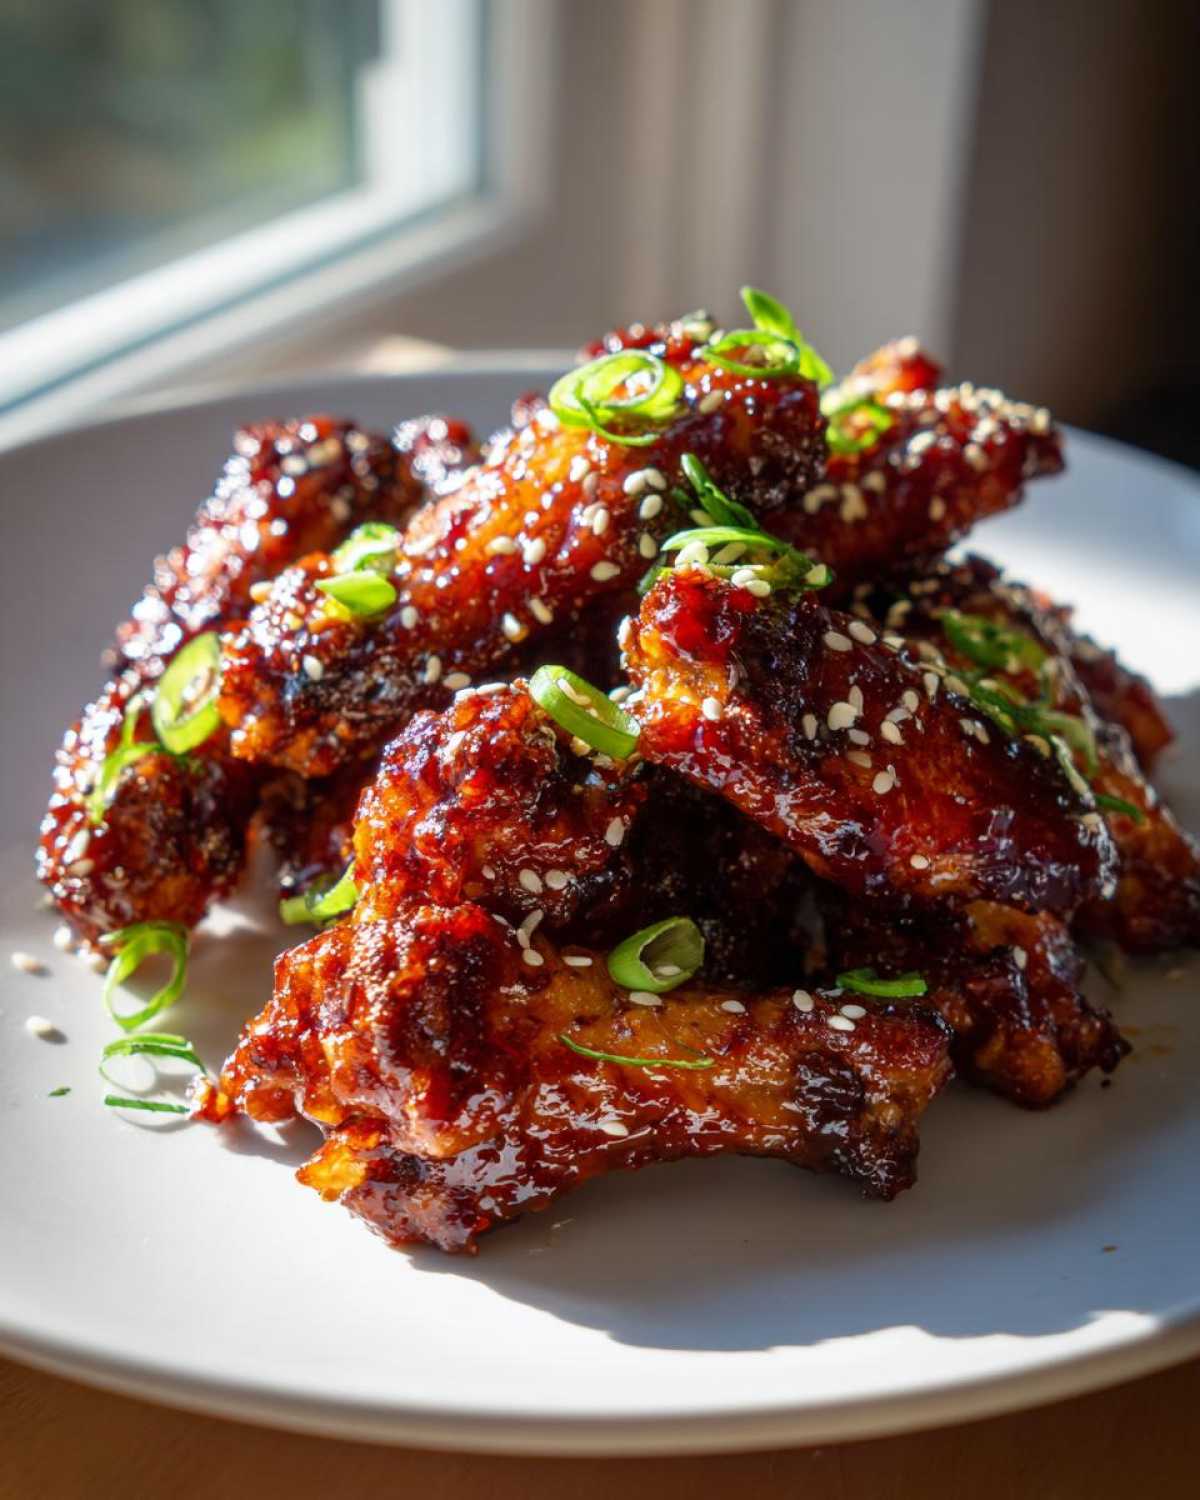
Once you try this technique, you won’t need to look up another recipe. I even have a trick for making sure the glaze sets perfectly without burning before the wing is cooked through. You might love these so much you’ll compare them to my favorites over at Korean Fried Chicken wings, but these are way easier!
Why You Will Make the Best Honey Soy Chicken Wings Crispy Oven Baked
I know you want crispy chicken wings, and I promise this recipe delivers, seriously! You don’t need a giant vat of oil to get that perfect texture. Here’s why this batch is going to beat all your past attempts:
- The skin gets unbelievably crispy using just baking powder—no deep fryer required!
- Cleanup is such a breeze, thanks to lining the tray with foil underneath the wire rack.
- That honey soy glaze is the perfect marriage of sweet caramel notes and savory depth.
- It’s sturdy enough to be a fantastic Game Day Chicken Wings Appetizer but simple enough for a quick weeknight meal.
Essential Ingredients for Your Honey Soy Chicken Wings Crispy Oven Baked
Okay, gathering the troops! The ingredients list for these wings is deceptively simple, but every single item plays a huge part, especially when we are aiming for that crispy exterior. Don’t skimp on prep here, because it matters!
First up, you need about 2 lbs of wings, separated into flats and drumettes—make sure you trim off any excess floppy skin bits if you can. Now for the crisp factor: we are using 1 tablespoon of baking powder. And listen, this is critical: it has to be baking powder, not that baking soda stuff! It changes the pH of the skin and makes it puff up.
For the sauce, you need the usual suspects for that sweet and savory profile: half a cup of good soy sauce, a quarter cup of honey (the real stuff, please!), a splash of rice vinegar for balance, and those aromatic magic makers—1 tablespoon of fresh grated ginger and 2 minced garlic cloves. Don’t forget 1 teaspoon of sesame oil for that nutty punch!
Finally, for a perfectly shiny, thick glaze, we’ll need 1 tablespoon of cornstarch mixed with 2 tablespoons of cold water to make our thickening slurry at the end. Simple but effective!
Expert Tips for How To Get Crispy Skin Baking Wings
If you came looking for How To Get Crispy Skin Baking Wings that rival your favorite take-out spot, you’ve landed in the right place! Getting that perfect crunch in the oven isn’t magic; it’s just a few non-negotiable rules that I follow every single time. Seriously, ignore these steps and you end up with sad, rubbery skin, and nobody wants that!
First things first: you absolutely must use a wire rack set over aluminum foil. The rack lets the hot air circulate completely underneath the wing. If the wing is sitting directly on the pan, the bottom just steams itself soggy while the part touching the hot metal burns. We want dry heat all the way around! This setup is a lifesaver, especially if you’re planning to make something like my ranch-flavored roasted snacks later, since cleanup is minimal.
Next, crank that heat up! We are baking these babies hot—425°F (220°C) is essential to render out the fat quickly and crisp the skin fast. If you bake them low and slow, the fat melts out too slowly, softening the skin instead of crisping it. Don’t forget that key toss in baking powder before they hit the oven; it’s the secret ingredient that dries the surface!
The Importance of Drying the Chicken for Honey Soy Chicken Wings Crispy Oven Baked
I cannot stress this enough: your wings need to be bone dry before anything touches them. I mean, paper towel until your hands are tired dry! Moisture is the enemy of crispiness in baking. Any water left on the skin will turn to steam in the hot oven, and steam melts away any chance of crunch.
I usually lay mine out on a layer of paper towels and then gently pat the tops again before I even think about mixing them with the baking powder coating. If you’re in a hurry, you can even pop them uncovered in the fridge for an hour before starting; the air drying effect it creates is amazing for texture. This preparation step ensures our wings get that beautiful crackle we’re aiming for!
Step-by-Step Instructions for Crispy Honey Soy Wings
Now for the fun part! This is where all that prep work pays off and we turn simple chicken into those mouthwatering Crispy Oven Baked Honey Soy Chicken Wings you’ve been dreaming about. Follow these steps exactly, especially around the timing and temperature, and you’re golden.
Preparing the Oven and Wings for Baking
First, go ahead and preheat your oven to a nice, hot 425°F (220°C). I always line a big baking sheet with aluminum foil—it saves so much scrubbing later! Then, place a wire rack right on top of that foil. Remember our talk about drying? Make sure those wings are totally dry. Toss the dry wings in a bowl with the baking powder, salt, and pepper until every single one is coated evenly. Don’t crowd them now; arrange them on that rack in a single layer. They shouldn’t be touching at all. Bake them like this for 25 minutes first.
Creating the Easy Honey Soy Marinade and Glaze
While the wings are getting crispy, we whip up our gorgeous Easy Honey Soy Marinade base, which turns into our final thick, flavorful coating. Grab a small saucepan. Combine the soy sauce, honey, rice vinegar, that grated ginger, and the minced garlic right in there. Set it over medium heat and bring it to a gentle simmer. Let it bubble for about 3 minutes, just stirring things around so the flavors blend into that amazing Sweet and Savory Wing Sauce profile.
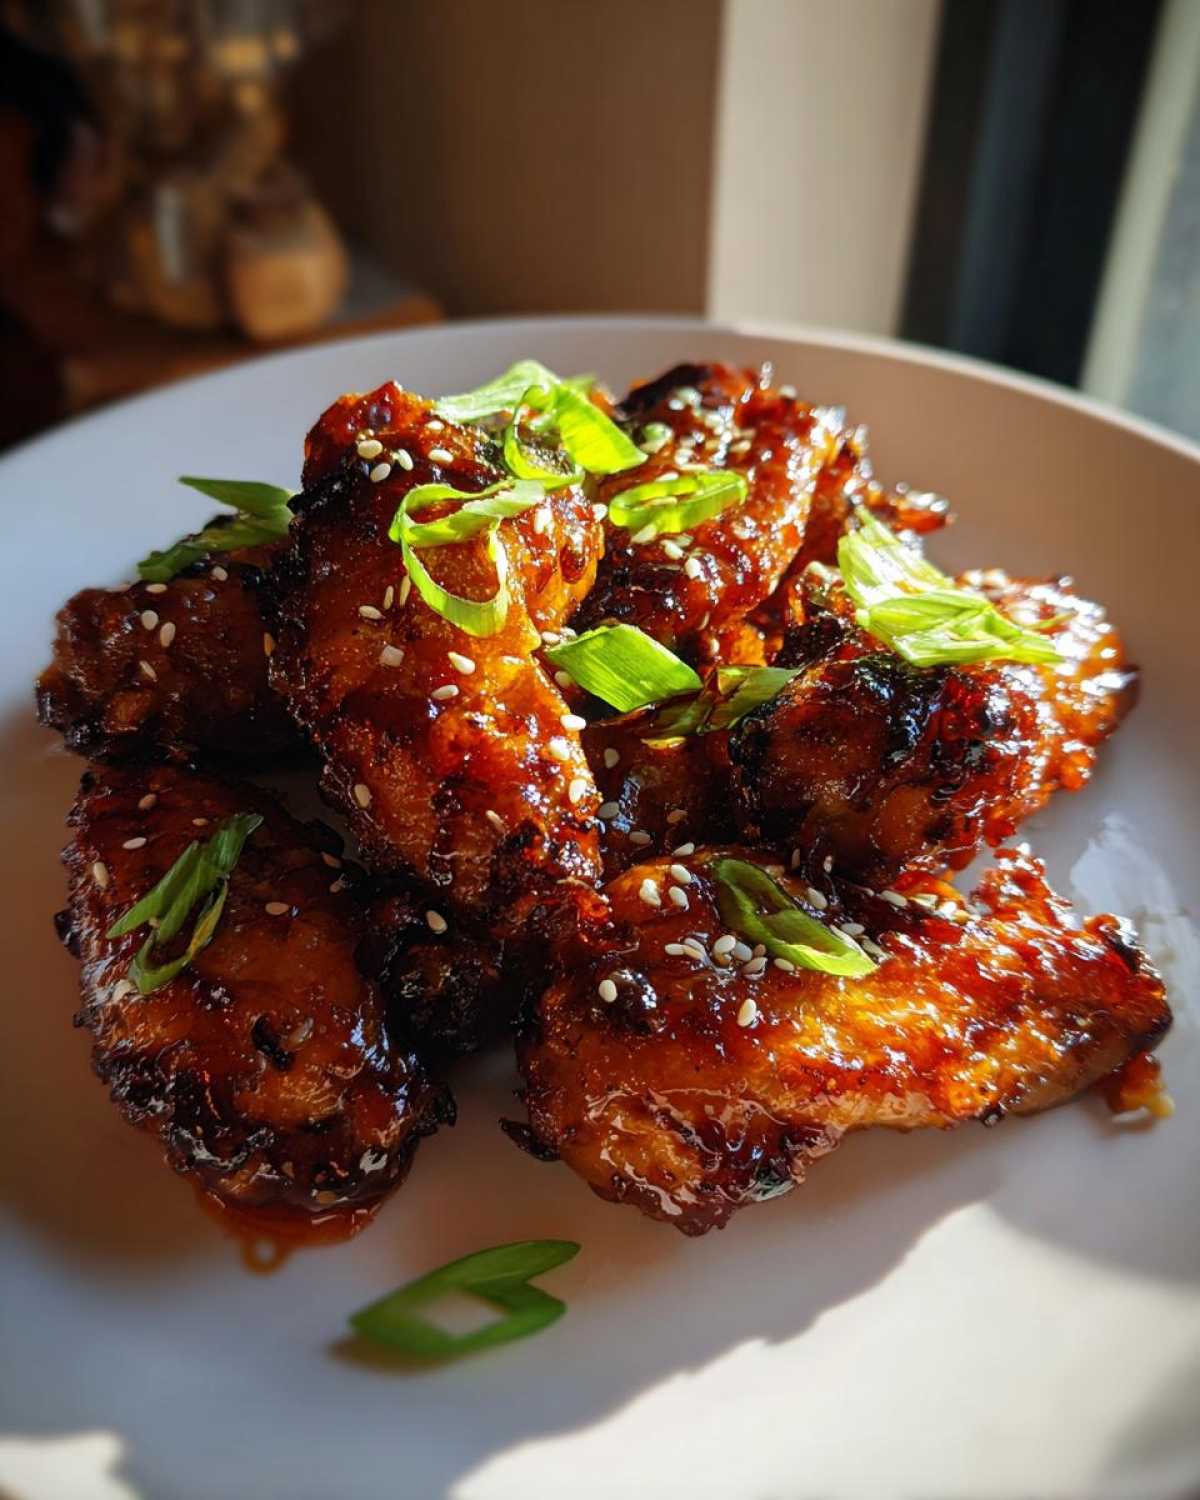
Next, we thicken it up! Whisk together your cornstarch and cold water—that’s your slurry—and pour it slowly into the simmering sauce. Keep stirring! It thickens up surprisingly fast, usually within a minute or two, until it coats the back of your spoon nicely. Take it off the heat when it’s thick.
Glazing and Final Bake for Sticky Glazed Chicken Wings
Once the initial bake time is up (25 minutes), take the wings out. Flip every single one over carefully. Pop them back in for another 20 minutes until they look golden and seriously crispy! Now listen, the moment they come out after that second round, toss them right away in a large bowl with about half of that thick sauce you made. Make sure they are coated beautifully. If you want them extra sticky, add a little more, but save some for dipping!
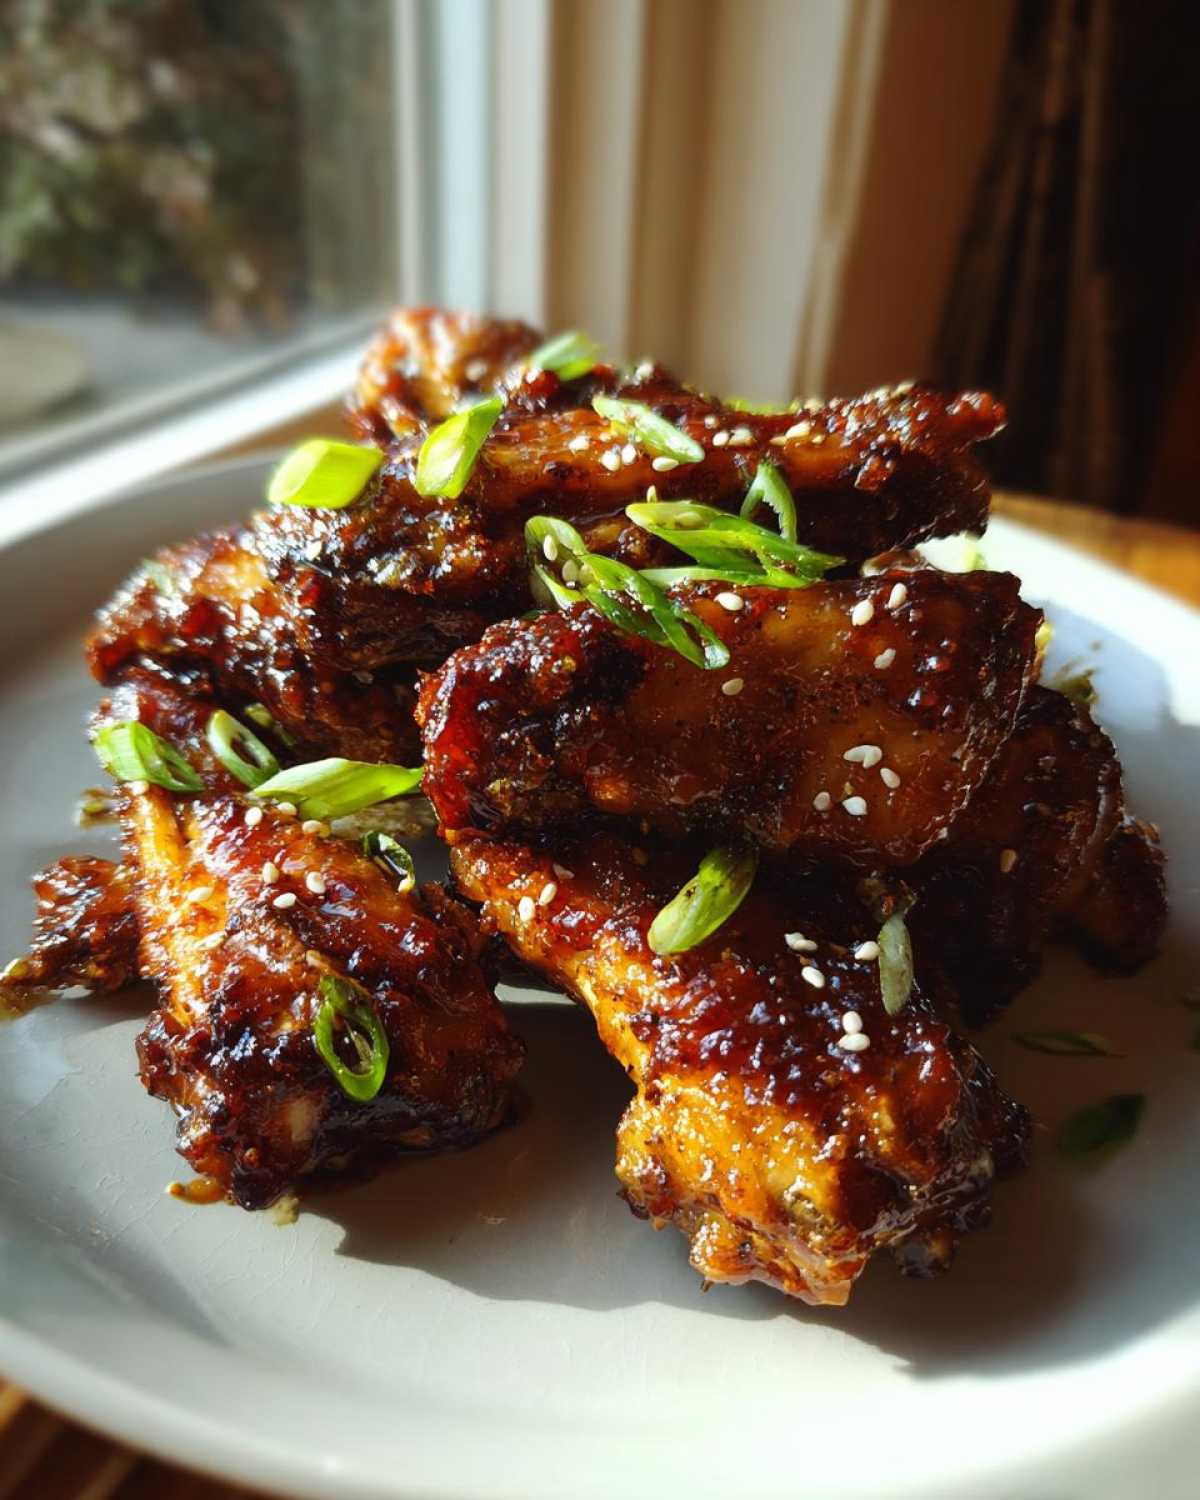
Here’s the final secret to getting that perfect shine: put the glazed wings *back* onto the rack. Bake them for just 5 more minutes. This extra short blast sets the glaze beautifully without burning the honey. If you want to see another great way to use honey in a glaze, check out my recipe for honey balsamic glazed salmon!
Making the Best Baked Wing Glaze for Your Honey Soy Chicken Wings Crispy Oven Baked
The sauce—oh my gosh, the sauce is where all the flavor lives! Honestly, if your glaze isn’t right, the crispiness doesn’t matter as much, right? We are aiming for that deep, savory soy base cut perfectly by the sweetness of the honey. That little bit of rice vinegar we add cuts through the richness, making sure the whole flavor profile stays bright, not heavy.
When you are building what I call the Best Baked Wing Glaze, you need to simmer those aromatics—the fresh garlic and ginger—with the liquids for just a few minutes. This really wakes them up! After that, you have to remember the slurry trick.
Don’t just dump the cornstarch! Mixing it with cold water first prevents lumps, and when you whisk it in, it turns that thin liquid into that gorgeous, thick coating that clings perfectly when you toss the hot wings. It’s sticky, it’s sweet, it’s savory—it’s everything we want!
Serving Suggestions for Your Non Fried Chicken Wings
So your Non Fried Chicken Wings are crispy, sticky, and glorious—what now? They really shine when paired with something fresh to balance out that rich glaze!
Garnishing is non-negotiable here. You have to top them generously with those bright green sliced onions and a sprinkle of toasted sesame seeds. It just screams Asian-inspired perfection, doesn’t it?
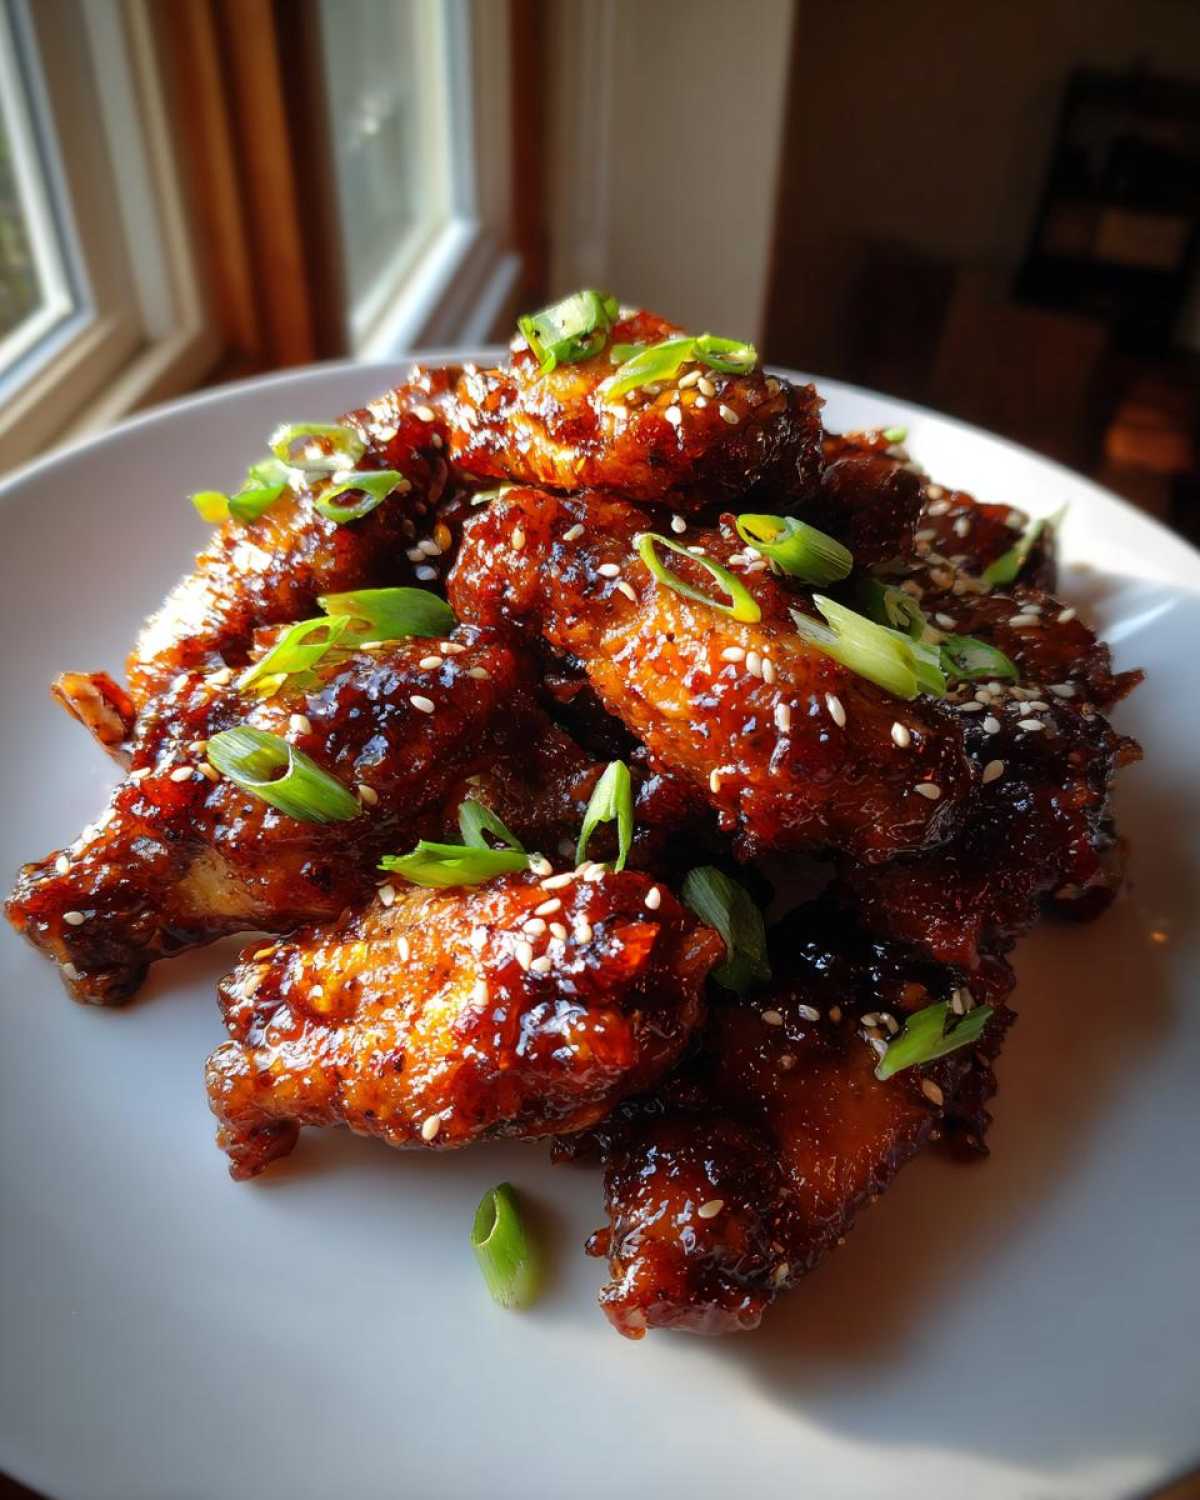
If you are making these a full dinner, I highly recommend serving them over a bed of fluffy white rice to soak up any extra sauce drips. Or, if you want a cooling crunch, whip up a quick bowl of fresh slaw. My cucumber salsa works surprisingly well here, adding a light zip!
Storage and Reheating Instructions for Leftover Honey Soy Chicken Wings Crispy Oven Baked
I know, I know. There are never any leftovers when I make these because everyone devours them hot off the rack! But just in case you manage to save a few of these perfect wings, listen closely—we need to save that crispiness!
First, you must let them cool down completely before storing them. If you put warm, glazed wings into a container, the steam gets trapped, and you’re back to square one: soggy skin. Store them in a truly airtight container in the fridge for up to three days.
When you want to eat them again, please, I beg you, do not use the microwave! The microwave will turn them instantly soft. The best way to bring back that bakery-style crunch is to pop the wings on that same trusty wire rack set over a baking sheet and reheat them in a 375°F oven for about 8 to 10 minutes. If you have an air fryer, even better! That will crisp them up in about 4 minutes flat.
Frequently Asked Questions About Oven Baked Chicken Wings Recipe
Okay, I know you’ll have questions because everyone gets obsessed once they smell these wings baking! Here are a few things folks usually ask me when they are getting ready to make the Oven Baked Chicken Wings Recipe.
Can I marinate the wings before baking?
This is a tricky one! For these specific Crispy Honey Soy Wings, you generally shouldn’t marinate them wet beforehand. Remember how we covered that the secret to crispiness is drying them and coating them in the baking powder mixture? Any wet marinade, even a light one, will undo all that hard work before they even hit the oven. The actual honey soy sauce comes in at the end!
What I *do* recommend is crisping them up bone-dry first. Once they are fully cooked and crunchy—after that second 20-minute bake—take them out, toss them gently in about half of your prepared glaze, and then put them back in for that final 5 minutes. That’s how you get the best sticky glaze that sets just right without scorching!
What if I need to substitute honey?
Life happens, and sometimes you’re fresh out of honey! You absolutely can substitute it. Maple syrup works really nicely in this Asian Inspired Chicken Wings glaze base. It provides that deep sweetness we need. Just be aware that maple syrup can sometimes caramelize a tiny bit faster than honey, so keep a close eye during that final 5-minute bake. If you don’t have that, brown rice syrup is another option that gives a great consistency!
Can I use an air fryer instead of the oven?
You totally can use an air fryer! It definitely speeds things up, but you have to adjust your technique slightly to keep that high heat circulation going. If you’re going the air fryer route, cook the wings (with the baking powder coating) at about 390°F (200°C). You’ll cook them for about 15 minutes, flip them, and cook another 10 to 15 minutes until crispy. Then, toss them in the sauce and give them 3-4 minutes in the air fryer to set that shine. For more air fryer tips, check out my general thoughts over on the main blog page!
Why is the baking powder essential for the best baked wing glaze?
I get asked this all the time! The baking powder is our MVP for achieving that crispy outcome in a conventional oven. It’s not about leavening the wing (like in a cake!), it’s about chemistry. It slightly raises the pH level of the chicken skin. What that does is help the proteins break down faster during cooking, which results in that beautiful, blistered, crispy skin texture. Honestly, skip it and you’re making soft wings, which we are actively avoiding here!
Estimated Nutritional Data for This Simple Chicken Wing Recipe
I always like to give a little heads-up about the nutrition, just so you know what you’re diving into when you devour these amazing wings! Remember, these numbers are just my best guess based on the standard ingredients I use, like regular soy sauce and standard honey. If you use low-sodium soy sauce or substitute maple syrup, things will shift a little bit, of course.
I pulled these numbers together so you have a general idea:
- Serving Size: 4 wings
- Calories: 350
- Sugar: 18g
- Sodium: 750mg (Soy sauce can make this jump, so watch that one!)
- Fat: 18g
- Saturated Fat: 5g
- Carbohydrates: 20g
- Protein: 28g
These wings pack a great protein punch, which is awesome, but they do have that inevitable sodium content from the soy sauce, so keep that in mind if you are watching your salt intake. For all the nitty-gritty details and to see my full disclaimer about these estimates, you can pop over to my main disclaimer page. Enjoy them while they’re hot!
PrintCrispy Oven Baked Honey Soy Chicken Wings
Follow this recipe to make sticky, flavorful chicken wings with crispy skin using only your oven.
- Prep Time: 15 min
- Cook Time: 50 min
- Total Time: 65 min
- Yield: 4 servings
- Category: Appetizer
- Method: Baking
- Cuisine: Asian Inspired
- Diet: Low Fat
Ingredients
- 2 lbs chicken wings, separated into flats and drumettes
- 1 tablespoon baking powder (not baking soda)
- 1 teaspoon salt
- 1/2 teaspoon black pepper
- 1/2 cup soy sauce
- 1/4 cup honey
- 2 tablespoons rice vinegar
- 1 tablespoon fresh ginger, grated
- 2 cloves garlic, minced
- 1 teaspoon sesame oil
- 1 tablespoon cornstarch mixed with 2 tablespoons cold water (slurry)
- Green onions, sliced, for garnish
- Sesame seeds, for garnish
Instructions
- Preheat your oven to 425°F (220°C). Line a large baking sheet with aluminum foil and place a wire rack on top of the foil.
- Pat the chicken wings completely dry using paper towels. This step is key for crispiness.
- In a medium bowl, toss the dry wings with baking powder, salt, and pepper until evenly coated.
- Arrange the wings in a single layer on the wire rack. Do not let them touch.
- Bake for 25 minutes. Flip the wings over and bake for another 20 minutes, or until the skin is golden brown and crisp.
- While the wings bake, prepare the sauce. Combine soy sauce, honey, rice vinegar, grated ginger, minced garlic, and sesame oil in a small saucepan.
- Bring the mixture to a simmer over medium heat. Cook for 3 minutes, stirring occasionally.
- Whisk the cornstarch slurry into the simmering sauce. Continue to cook and stir until the sauce thickens enough to coat the back of a spoon, about 1-2 minutes. Remove from heat.
- Once the wings are fully cooked and crispy, transfer them to a large bowl.
- Pour about half of the honey soy glaze over the wings and toss gently to coat them completely. Add more glaze as desired, reserving some for serving.
- Return the glazed wings to the wire rack and bake for a final 5 minutes to set the glaze.
- Remove from the oven, garnish with sliced green onions and sesame seeds, and serve immediately.
Notes
- For extra crispiness, ensure the wings are very dry before applying the baking powder mixture.
- If you prefer a thicker glaze, use slightly less liquid when making the sauce base.
- You can substitute maple syrup for honey if needed.
Nutrition
- Serving Size: 4 wings
- Calories: 350
- Sugar: 18
- Sodium: 750
- Fat: 18
- Saturated Fat: 5
- Unsaturated Fat: 13
- Trans Fat: 0
- Carbohydrates: 20
- Fiber: 0
- Protein: 28
- Cholesterol: 95