

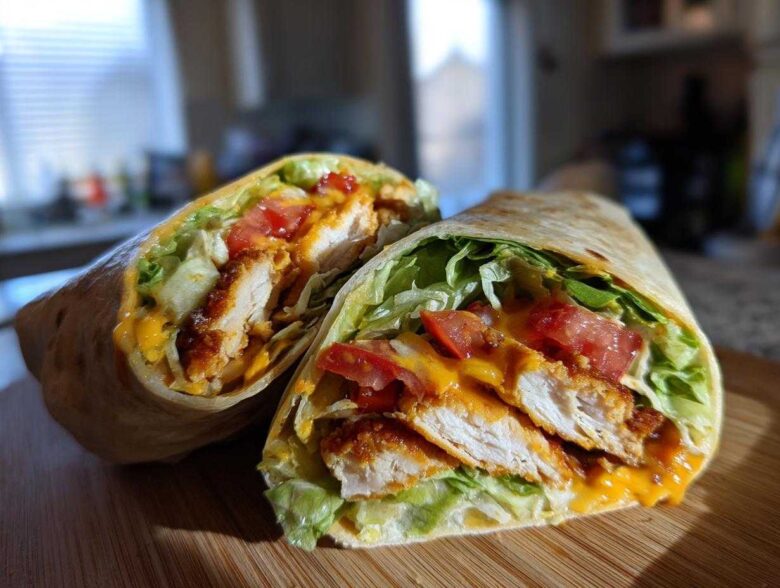
Listen, there are good wraps, and then there are *takeout-style amazing* wraps that make you wonder why you don’t just order in every night. I used to be there, dreaming about that crunch! But I finally cracked the code, and I’m telling you, mastering the Crispy Chicken Wrap with Honey Garlic Sauce at home is so much easier than you think. The secret isn’t just the sauce, though that’s amazing—it’s all about that texture. I spent weeks perfecting the double-dredge method for the chicken; it sounds fussy, but trust me, that extra layer of Panko is what guarantees you get that satisfying, shatteringly crisp coating every single time. Once that chicken is perfectly crunchy, coating it in that sticky, sweet glaze completely changes the game.
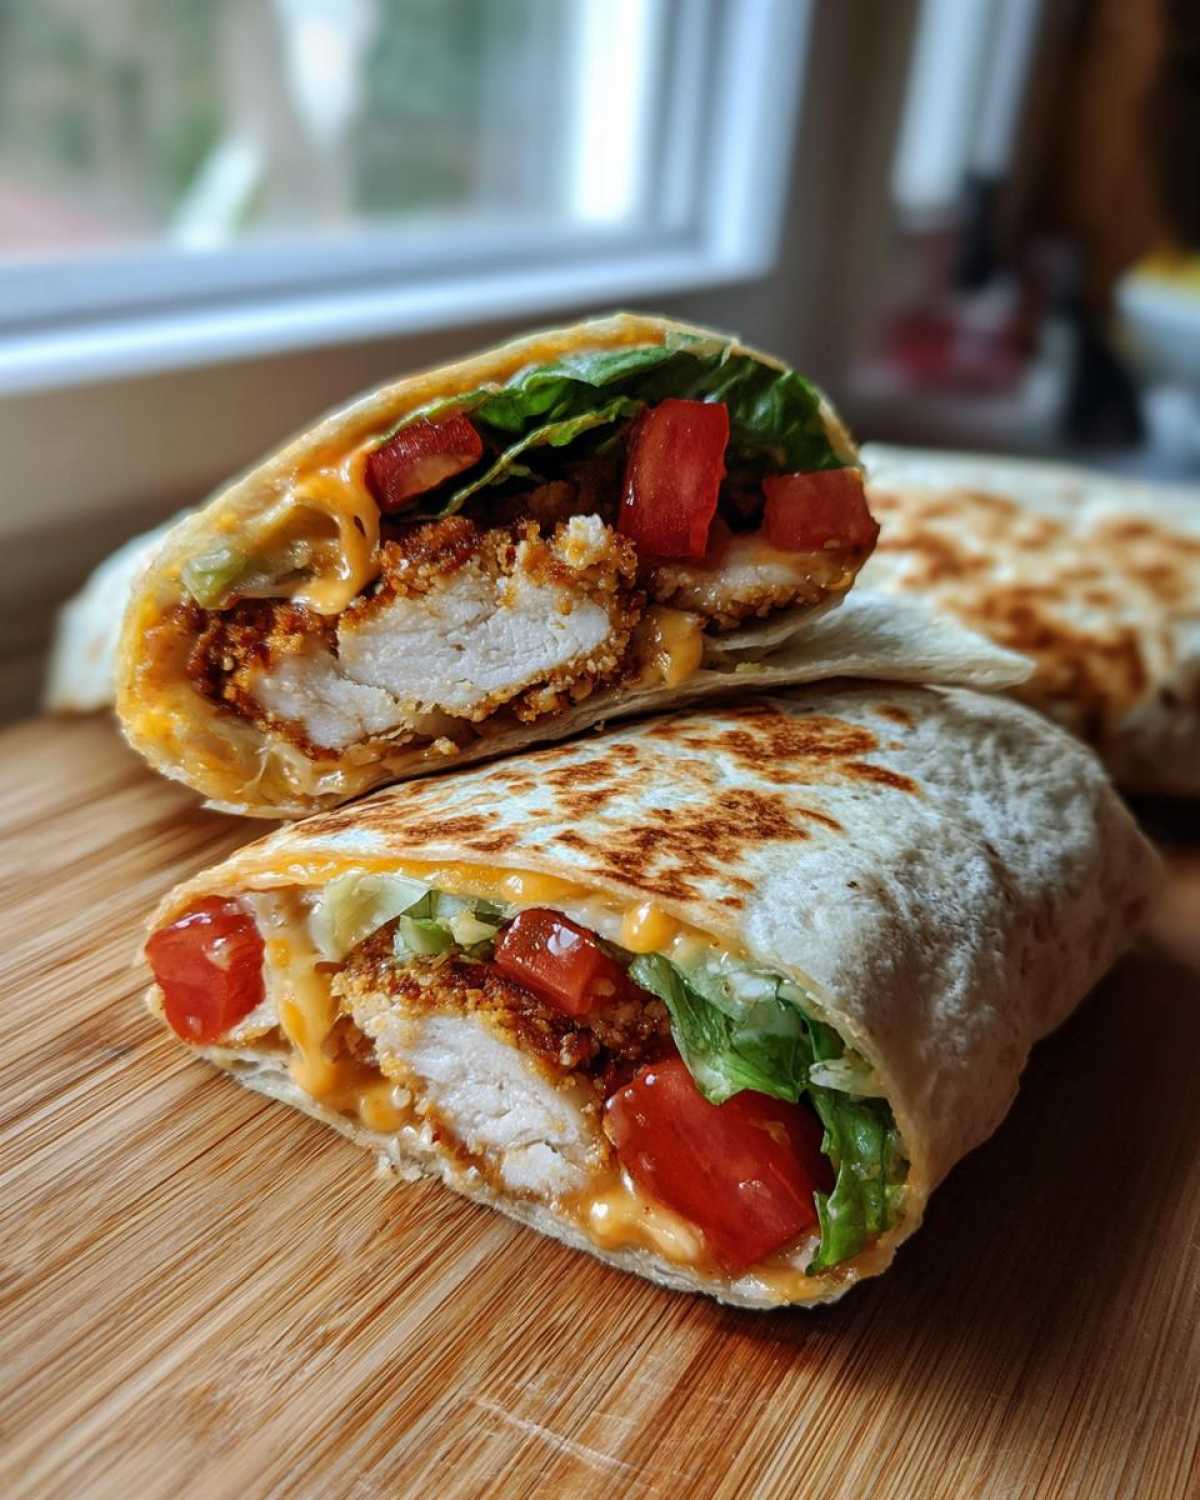
Why You’ll Love This Crispy Chicken Wrap with Honey Garlic Sauce
Listen, I know you have a million easy dinner ideas, but this one beats them all! It’s truly the perfect balance of fast food flavor turned into a home-cooked winner. You just can’t beat that combination of crunch and glaze.
- It’s incredibly fast to pull together—we’re talking less than 40 minutes from start to finish. Check out more quick ideas over on my main blog feed!
- The chicken is the star because it stays crunchy! I promise this double-coating technique is foolproof.
- You get that restaurant-quality explosion of sweet, savory, and salty flavor in every single bite of this Crispy Chicken Wrap with Honey Garlic Sauce. It’s just irresistible.
Ingredients for the Best Crispy Chicken Wrap
Gathering your ingredients for this is half the battle, but stick strictly to the measurements here, and you won’t have any issues! We need crispiness, so pay close attention to what goes into the coating, and don’t skip the Panko—it adds that essential shatter. Remember, we are aiming for 1-inch strips of chicken for quick cooking.
For the Homemade Honey Garlic Glaze
This sauce cooks up so fast, you’ll want to make it right before the chicken is done frying so it’s perfectly warm when you toss everything together.
- We need 1/4 cup of good, sticky honey.
- 2 tablespoons of soy sauce is the savory anchor here.
- For that necessary tang, grab 1 tablespoon of rice vinegar.
- Make sure the 2 cloves of garlic are finely minced—no big chunks allowed!
- 1 teaspoon of fresh ginger, grated up nice and small.
- And finally, for thickening, you need 1 teaspoon of cornstarch mixed with 1 tablespoon of cold water to make your slurry.
For the Crunchy Chicken Coating
This is the trifecta that keeps the chicken crispy even after it hits that sweet glaze. A three-step station is the only way to go!
- Start with 1 cup of all-purpose flour mixed with 1 teaspoon of salt, maybe 1/2 teaspoon of black pepper, 1/2 teaspoon paprika, and 1/4 teaspoon of garlic powder.
- Next, you need your binder: 2 large eggs, beaten up well.
- The crucial part: 1 1/2 cups of Panko breadcrumbs. Don’t use regular breadcrumbs; Panko is what gives you true restaurant-style crunch!
Oh, and don’t forget the main event: 2 large boneless, skinless chicken breasts cut into those neat 1-inch strips, and your vegetable oil for frying!
How to Cook Crispy Chicken for Wraps
Okay, this section is where we fight the soggy enemy! Getting that phenomenal crunch for our Crispy Chicken Wrap with Honey Garlic Sauce requires just a tiny bit of extra effort, but trust me, it’s worth every second. We are using a double-dredging technique, which sounds fancy, but it’s just dipping the chicken twice!
First, make sure your chicken strips (dredged in flour, dipped in egg, pressed into Panko) are perfectly coated. This extra layer is what creates the barrier against the glaze later. If you have an extra ten minutes, pop those breaded strips onto a plate and chill them in the fridge; that sets the crust beautifully.
When you’re ready to cook, you absolutely have to nail that oil temperature. Heat about an inch of vegetable oil in a sturdy pan until it hits 350°F (that’s 175°C). Fry your chicken in small batches—don’t crowd the pan, or the oil temp drops and you get greasy chicken instead of crispy heaven! They only take about 4 to 6 minutes, turning them gently until they hit that safe 165°F (74°C) internal temp.
If you’re feeling healthier or just don’t want to deal with oil splatter, the air fryer is my go-to backup. I throw mine in at 400°F (200°C) for about 12 to 15 minutes, flipping them halfway through. You can check out how I get my air fryer ranch chickpeas crispy if you want more air fryer magic!
Once they are golden and perfect, pull them out onto a wire rack—a rack is better than paper towels for draining, trust me!
Making the Quick Honey Garlic Sauce for Chicken Wrap
This sauce is what pulls the whole amazing Crispy Chicken Wrap with Honey Garlic Sauce together. Honestly, it takes about five minutes, and the smell alone is intoxicating. You’re going to combine your honey, soy sauce, rice vinegar, that fragrant minced garlic, and the grated ginger all in one small saucepan. Put that right over medium heat and let it bubble up gently. We want everything to melt together and get cozy.
Here comes the important part for texture! When it starts simmering nicely, you need to whisk in that cornstarch slurry—that’s just the cornstarch mixed with cold water. I always add the slurry last because it thickens immediately. If you add it too soon, it can clump up! Stir constantly for just about a minute until it transforms into a beautiful, glossy glaze. When you pull it from the heat, it should coat the back of a spoon. I love making glazes; if you enjoy this kind of sweet-savory vibe, you have to check out my honey balsamic salmon glaze, too. This Quick Honey Garlic Sauce for Chicken is ready to go toss with your crispy strips!
Assembling Your Perfect Crispy Chicken Wrap with Honey Garlic Sauce
The moment of truth! We’ve got our perfectly crunchy, sticky, honey-garlic coated chicken, and now it’s time to build these things right so they don’t fall apart on you. First things first, your flour tortillas need a little love. Don’t skip this step! Warming them slightly in a dry skillet or zapping them for about 15 seconds makes them pliable so they don’t crack when you roll them up. I learned that the hard way when I tried rushing dinner!
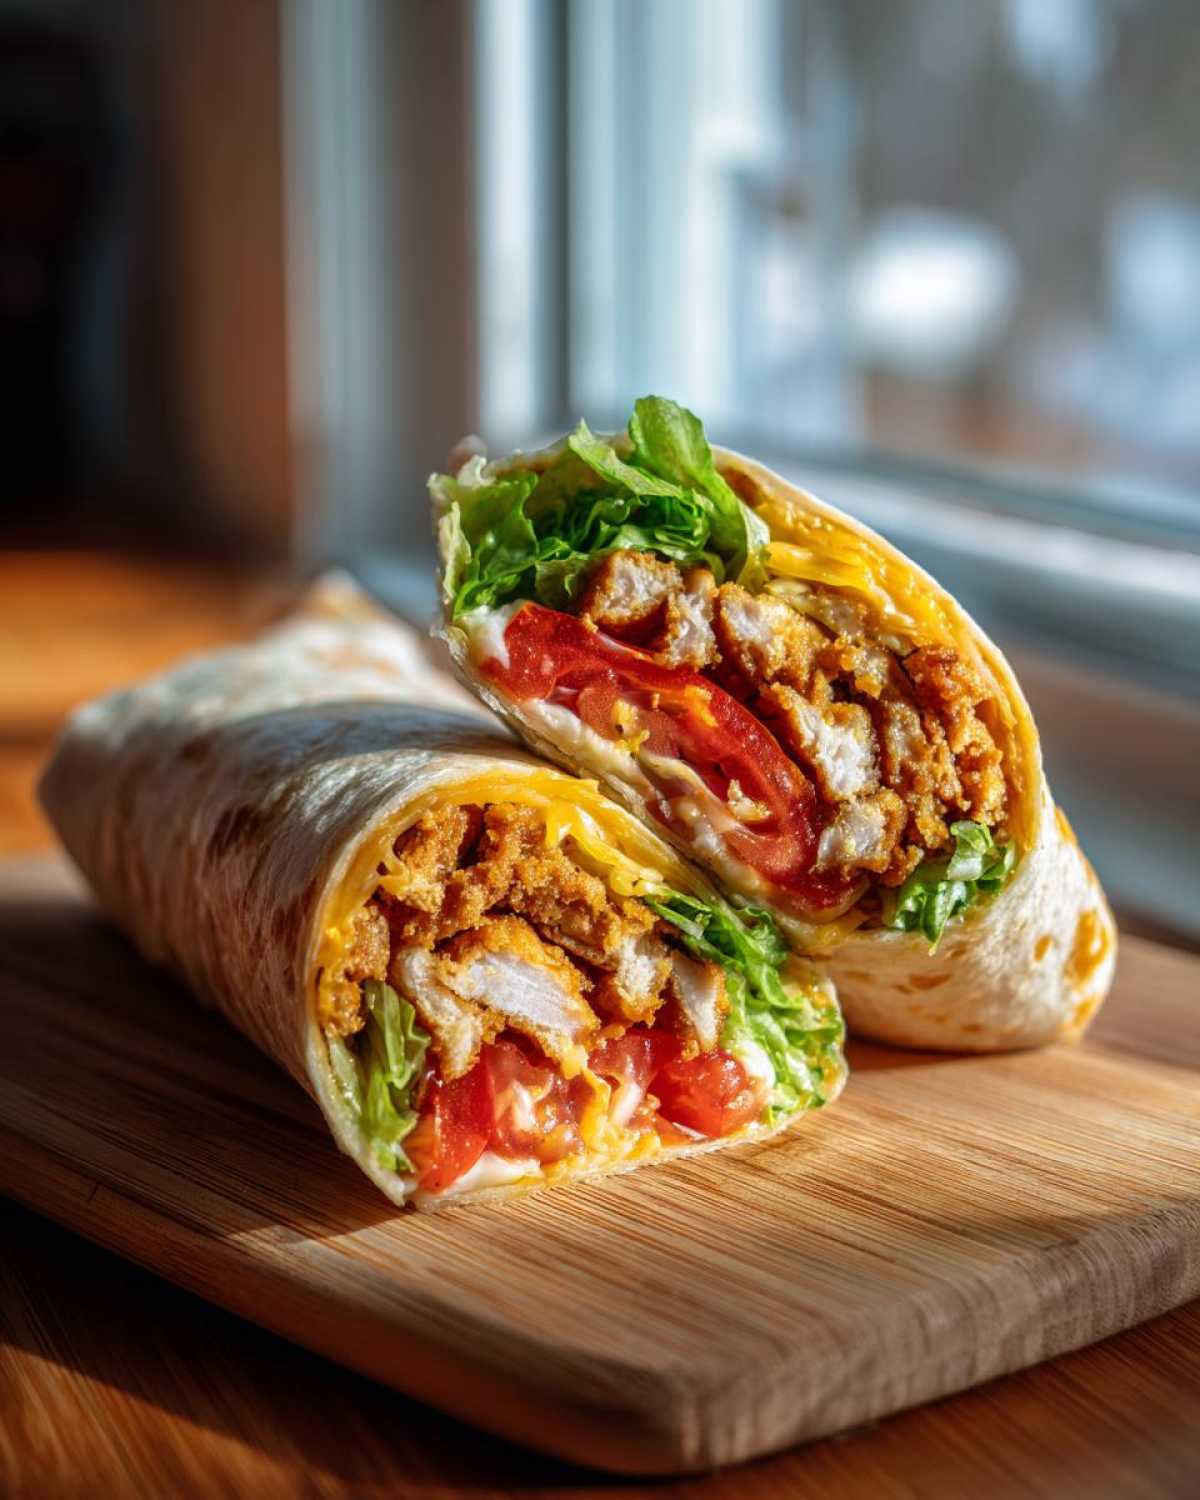
Next is the layering order, which is everything if you want that perfect Crispy Chicken Wrap with Honey Garlic Sauce to hold its integrity. You have to put the wet stuff near the protection of the tortilla. So, I start with a bed of shredded iceberg lettuce, then a few slices of tomato, and finally, a little sprinkle of cheese. The cheese melts just enough when you eat it to kinda glue things together.
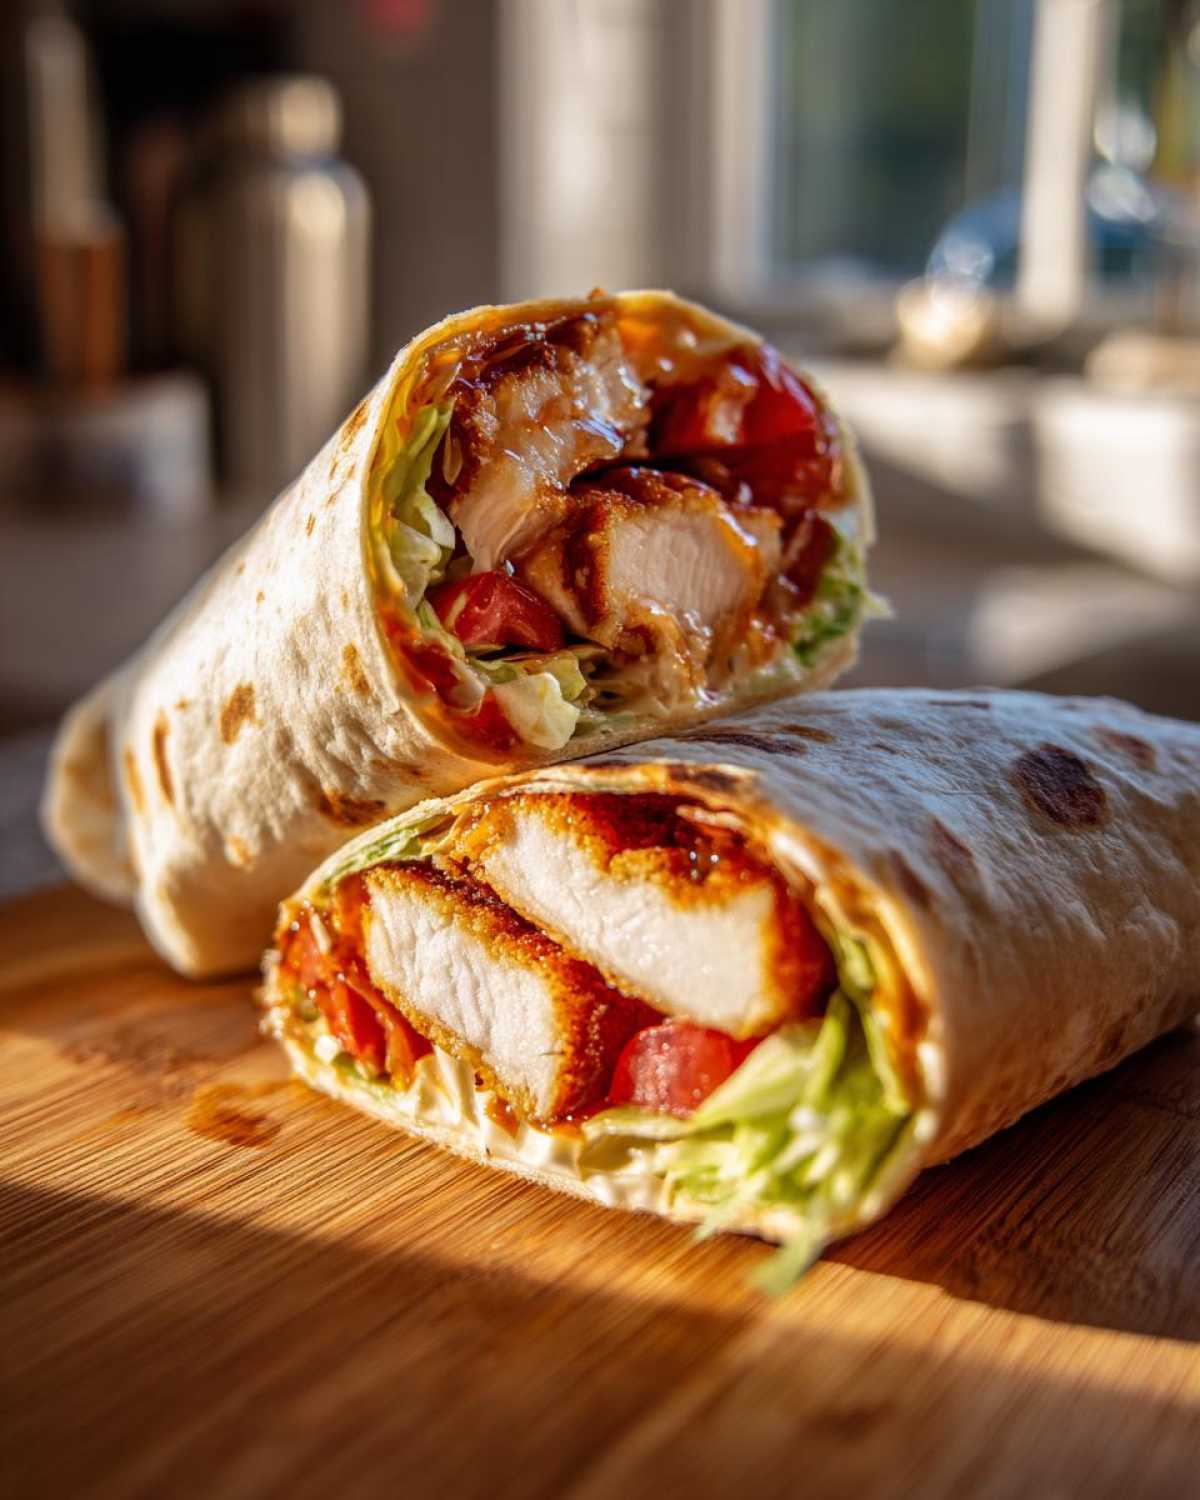
Then, right on top of the cheese, go those beautiful glazed chicken strips. Don’t overfill it! I find filling the center third is always the sweet spot. To fold, you always want to tackle those sides first. Fold the left and right edges inward over the filling, and then, holding everything tight, roll it up from the bottom toward you. If you want to see another great rolling technique, check out my guide on making BBQ Brisket Burritos. It’s all about that tight seal!
Tips to Keep Your Crunchy Chicken Tortilla Recipe From Getting Soggy
This is crucial for anyone packing these for lunch! My biggest piece of advice is the layering strategy we just talked about: lettuce and maybe a cheese shield go down first. The glazed chicken should be piled on top of that barrier, not directly onto the tortilla. Also, make absolutely sure those fried chicken strips have been thoroughly drained on the wire rack before you toss them in the sauce, and then immediately use them. The less time the sauce sits on the crunch, the longer it lasts!
Tips for Success Making the Crispy Chicken Wrap with Honey Garlic Sauce
If you want to elevate these from good to absolutely unforgettable, you need to pay attention to the little details. I’ve learned these secrets over many, many batches of trying to get that perfect crunch that lasts!
First, if you’re pan-frying, temperature control is your best friend. Don’t just guess! If the oil isn’t hot enough, the breading soaks it up like a sponge, and you lose the crisp factor in your Crispy Chicken Wrap with Honey Garlic Sauce. I highly recommend using a thermometer to keep it right around that 350°F (175°C) mark. It makes all the difference between crispy and greasy!
Also, don’t forget that chilling tip I mentioned earlier. Once you’ve breaded those chicken strips completely—flour, egg, double Panko layer—throw them on a rack for 15 minutes before they hit the hot oil. It helps that crust really adhere. It gives you peace of mind knowing your crunch factor is locked in! For more of my tried-and-true tips and tricks, come hang out on my main blog page anytime!
Variations for Sweet and Savory Chicken Wrap
I love seeing how you all tweak my recipes! While this Sweet and Savory Chicken Wrap is fantastic as written, feel free to make it your own. If you want to kick up the heat level you’re feeling, go ahead and toss a half teaspoon of red pepper flakes right into that honey garlic sauce while it simmers. It gives a lovely little background warmth!
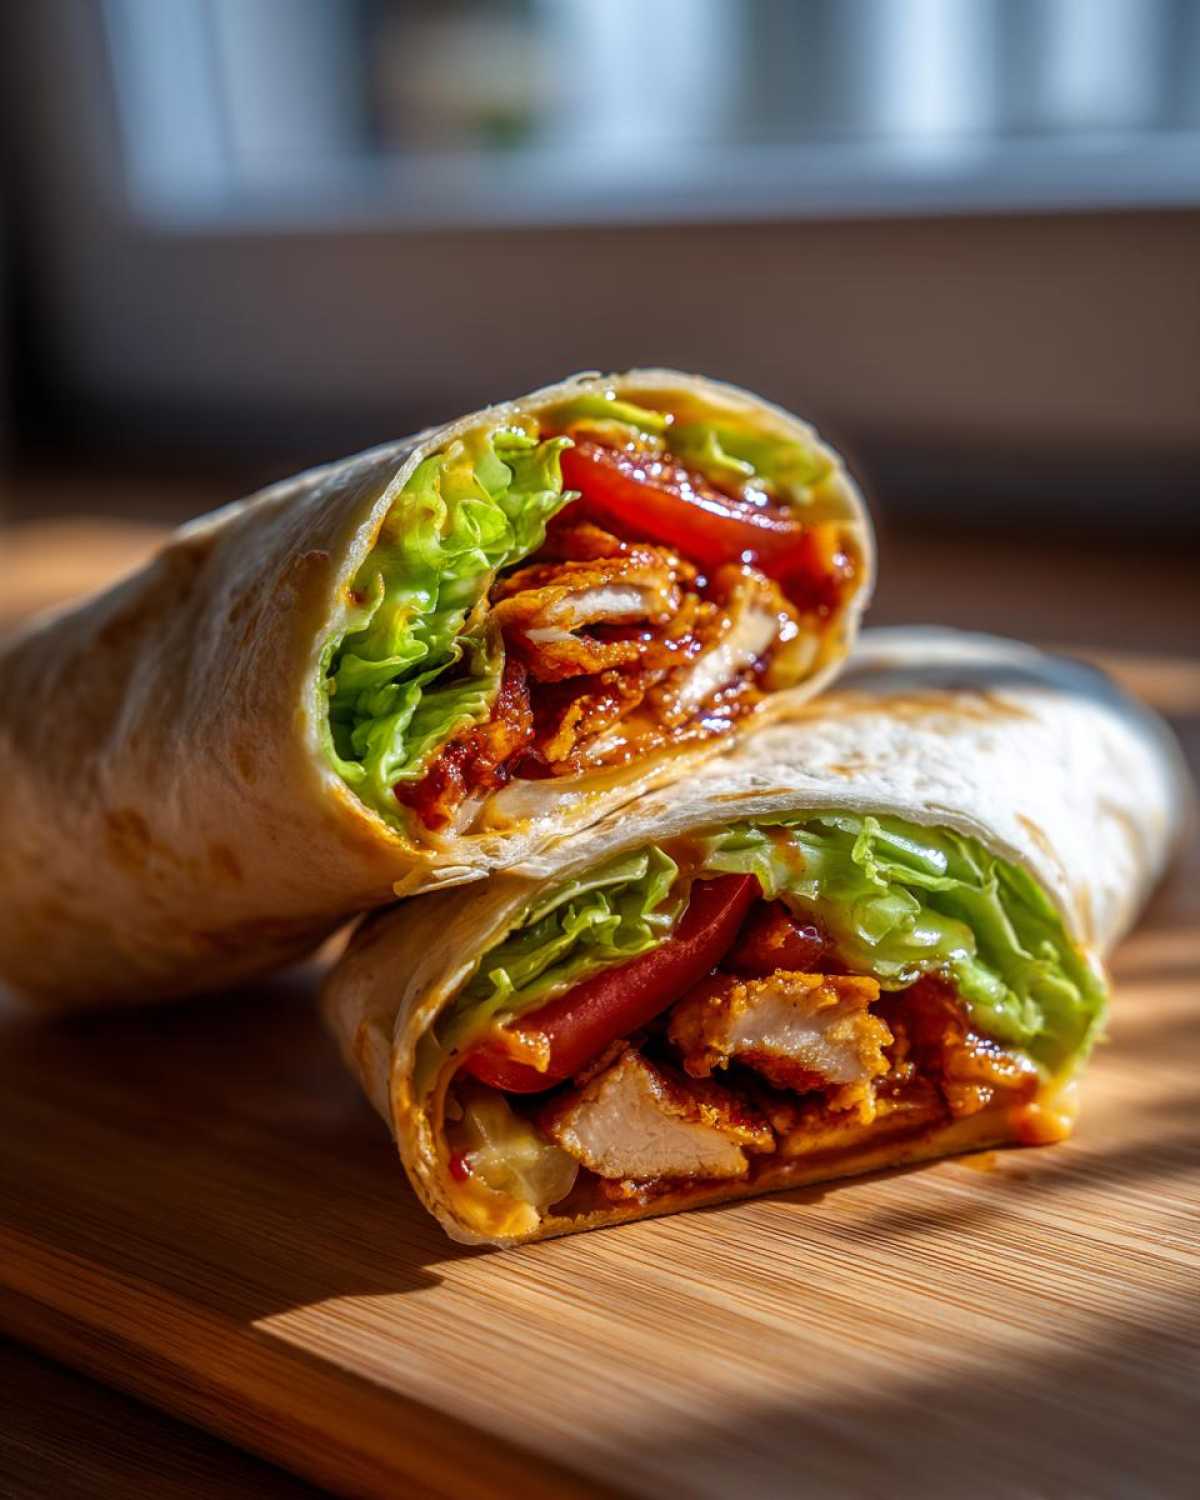
For textures, maybe swap that Monterey Jack cheese for something sharper, like smoked gouda, or toss in some crunchy coleslaw instead of just lettuce. If you’re packing these for a party spread, sometimes I’ll even make a batch of spicy ranch to drizzle in alongside the main glaze. Check out my recipe for sweet and salty trail mix for other flavor pairing inspiration!
Storage and Reheating Instructions
The biggest problem with leftovers is soggy chicken, right? So, for the best results, ditch the idea of storing the fully assembled wrap. You want to keep that crispy texture alive!
Store the sauced chicken strips in an airtight container in the fridge for up to three days. Keep your veggies and tortillas separate. If you need to reheat them for a late-night snack, please, for the love of crunch, avoid the microwave! The oven or an air fryer at about 375°F is the way to go—just a few minutes until the chicken is hot again. You can find more of my guides on how to handle leftovers in my meal prep section!
Estimated Nutritional Information
Now, I always feel a little nervous sharing these numbers because my kitchen is much more about love than lab work! These figures are just estimates based on the ingredients listed for one wrap. We are talking roughly 550 Calories, 35g of protein, and about 25g of fat.
Keep in mind that frying will change things compared to air frying, and how heavy-handed you are with that delicious honey garlic glaze totally makes a difference! For the full scoop on how I calculate these things, please hop over to my nutrition disclaimer page. Enjoy it!
PrintCrispy Chicken Wrap with Honey Garlic Sauce
Follow this recipe to make chicken wraps featuring extra crispy chicken coated in a sweet and savory honey garlic glaze, assembled with fresh vegetables.
- Prep Time: 20 min
- Cook Time: 15 min
- Total Time: 35 min
- Yield: 4 servings
- Category: Lunch
- Method: Frying or Air Frying
- Cuisine: American
- Diet: Low Lactose
Ingredients
- 2 large boneless, skinless chicken breasts, cut into 1-inch strips
- 1 cup all-purpose flour
- 1 teaspoon salt
- 1/2 teaspoon black pepper
- 1/2 teaspoon paprika
- 1/4 teaspoon garlic powder
- 2 large eggs, beaten
- 1 1/2 cups panko breadcrumbs
- Vegetable oil, for frying (or cooking spray for air fryer)
- 4 large flour tortillas
- 1 cup shredded iceberg lettuce
- 1/2 cup sliced tomato
- 1/4 cup thinly sliced red onion
- 1/2 cup shredded Monterey Jack cheese
- For the Sauce: 1/4 cup honey
- For the Sauce: 2 tablespoons soy sauce
- For the Sauce: 1 tablespoon rice vinegar
- For the Sauce: 2 cloves garlic, minced
- For the Sauce: 1 teaspoon grated fresh ginger
- For the Sauce: 1 teaspoon cornstarch mixed with 1 tablespoon cold water (slurry)
Instructions
- Prepare the chicken breading station: Place flour, salt, pepper, paprika, and garlic powder in a shallow dish. In a second dish, place the beaten eggs. In a third dish, place the panko breadcrumbs.
- Dredge each chicken strip first in the flour mixture, shaking off excess. Dip completely in the egg wash. Press firmly into the panko breadcrumbs to coat thoroughly. Repeat the egg dip and panko coating for a double crust (this increases crispiness).
- Cook the chicken: Heat about 1 inch of vegetable oil in a deep skillet to 350°F (175°C). Fry the chicken strips in batches for 4 to 6 minutes, turning occasionally, until golden brown and cooked through (internal temperature of 165°F or 74°C). Remove and drain on a wire rack. (Alternatively, air fry at 400°F (200°C) for 12-15 minutes, flipping halfway).
- Make the honey garlic sauce: Combine honey, soy sauce, rice vinegar, minced garlic, and ginger in a small saucepan. Bring to a simmer over medium heat. Whisk in the cornstarch slurry. Cook for 1 minute, stirring constantly, until the sauce thickens into a glaze. Remove from heat.
- Glaze the chicken: Toss the hot, crispy chicken strips in the honey garlic sauce until evenly coated.
- Assemble the wraps: Warm the tortillas briefly in a dry skillet or microwave. Layer lettuce, tomato, cheese, and the glazed crispy chicken down the center of each tortilla.
- Fold the wrap tightly by folding in the sides first, then rolling from the bottom up. Serve immediately.
Notes
- For extra crispiness, chill the breaded chicken for 15 minutes before frying.
- To prevent the wrap from becoming soggy, place the lettuce and tomato directly on the tortilla before adding the sauced chicken.
- If you prefer a spicier sauce, add 1/2 teaspoon of red pepper flakes to the sauce mixture while simmering.
Nutrition
- Serving Size: 1 wrap
- Calories: 550
- Sugar: 22
- Sodium: 750
- Fat: 25
- Saturated Fat: 5
- Unsaturated Fat: 20
- Trans Fat: 0
- Carbohydrates: 55
- Fiber: 3
- Protein: 35
- Cholesterol: 110