

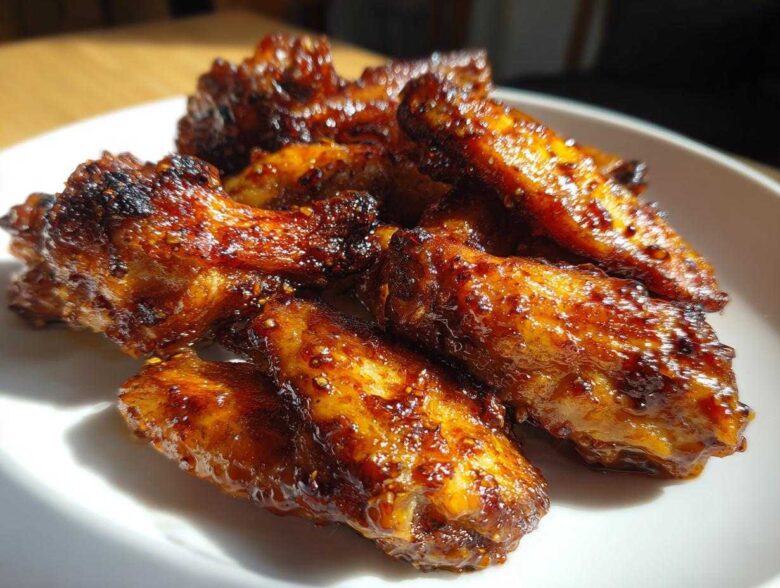
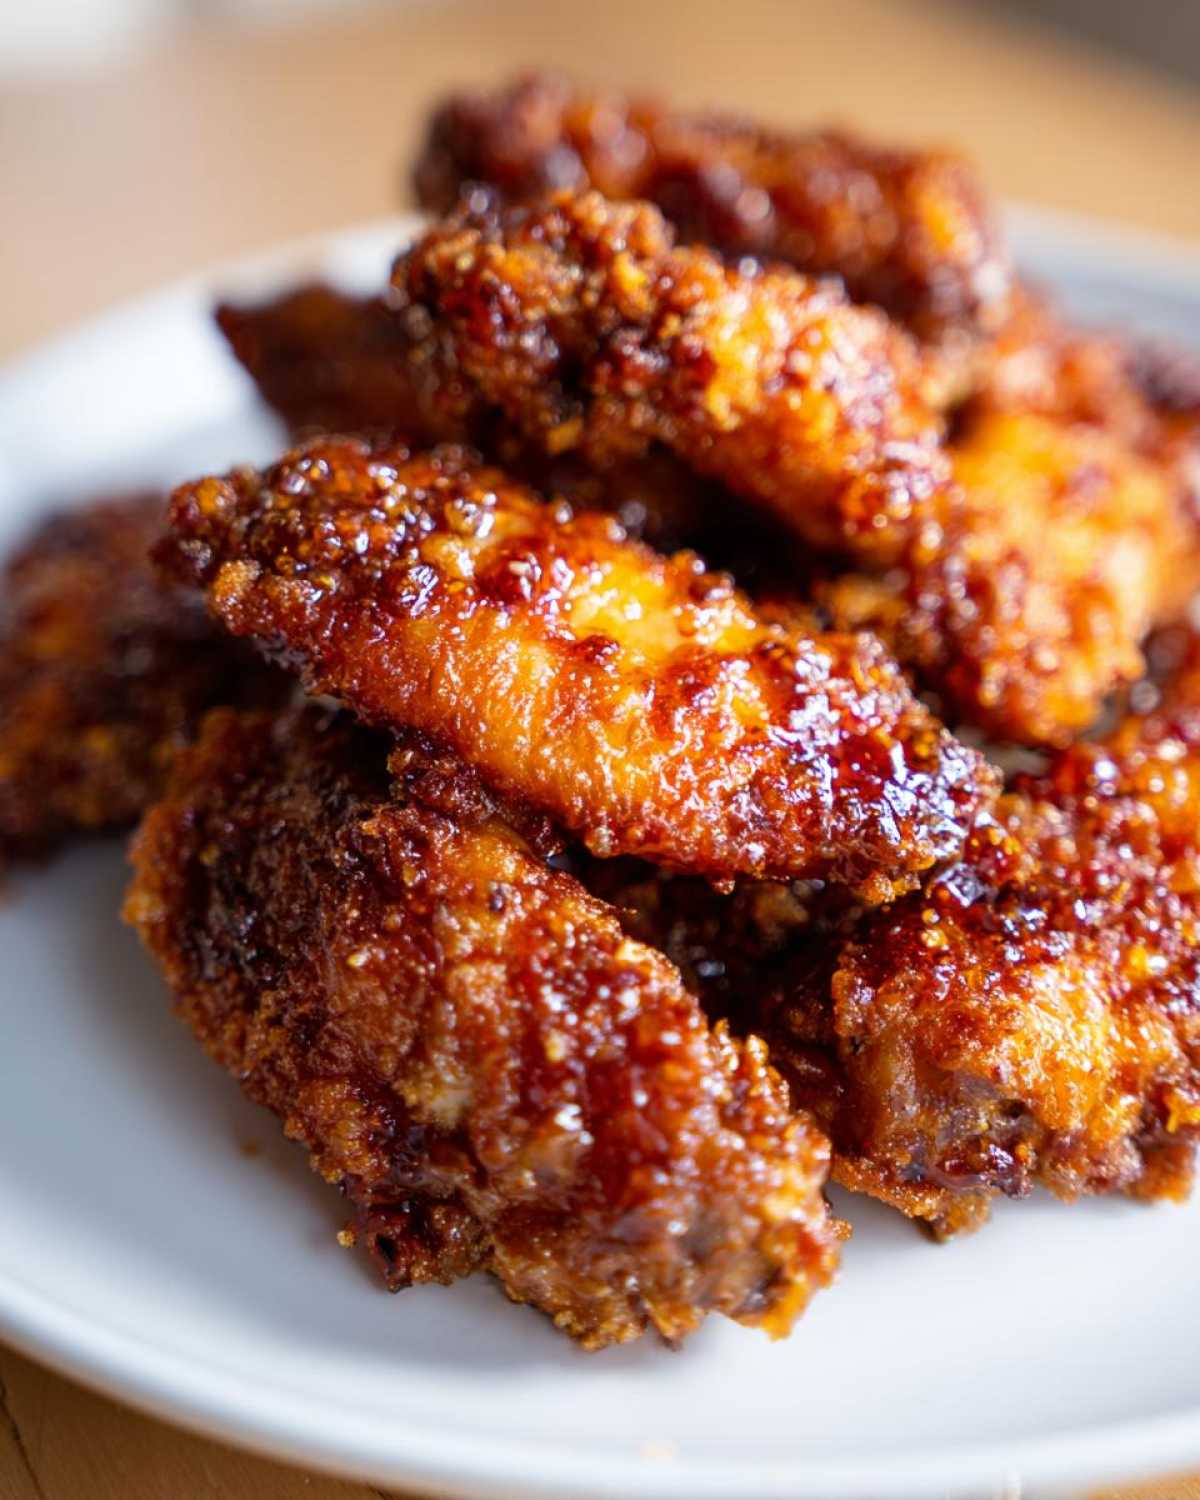
If you think you need a deep fryer just to get that satisfying, shatteringly crispy wing texture, think again! I spent *years* messing this up, ending up with sad, rubbery skins that just couldn’t handle the sauce. But wow, have I cracked the code. I’m here to tell you that you absolutely can achieve the **Honey Garlic Chicken Wings Crispy Oven Baked** results you dream about, right on your regular kitchen rack. It all comes down to a few tiny but mighty kitchen tricks I picked up messing around on weeknights when I desperately needed that perfect chicken dinner idea. Trust me, these are going to be your new go-to; they are sticky, savory, and incredibly crunchy!
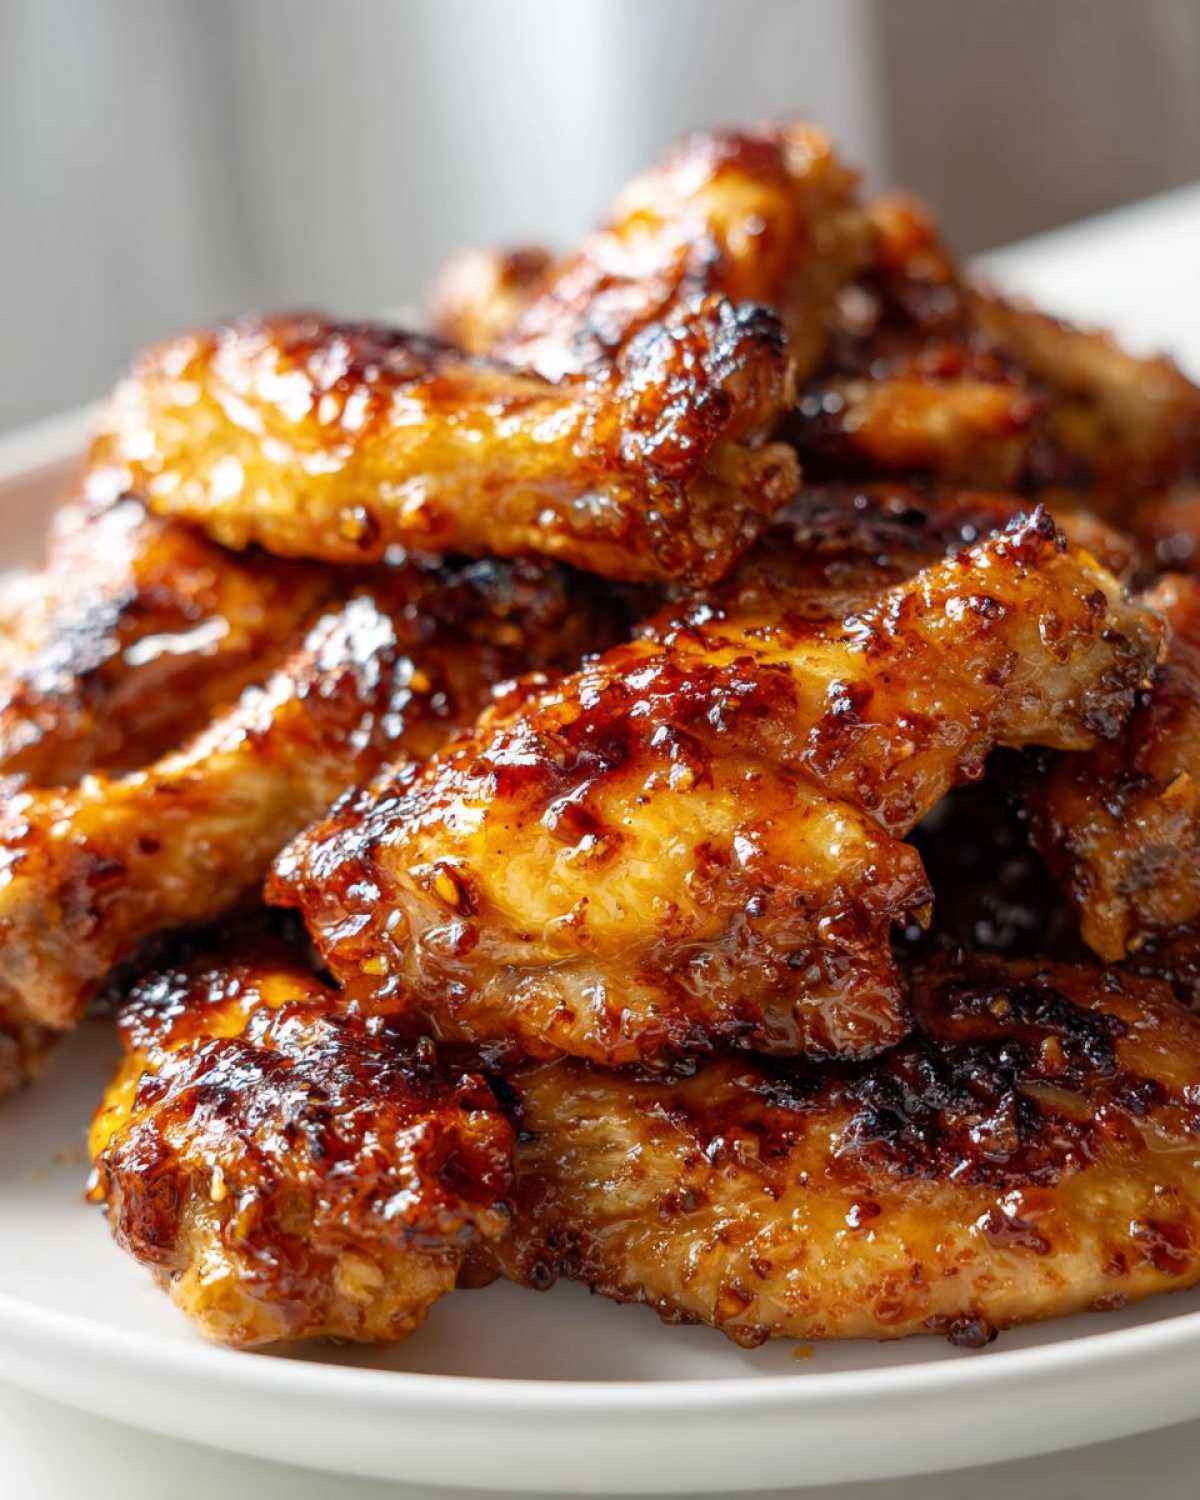
Why This Honey Garlic Chicken Wings Crispy Oven Baked Recipe Works
I know, I know. Baking wings usually equals disappointment. People swear by frying, but honestly, who wants all that oil splatter?
The reason this **Honey Garlic Chicken Wings Crispy Oven Baked** recipe blows every other baked wing recipe out of the water is simple: we treat the skin like we’re prepping for flash-frying! It’s all about dehydration before the heat hits. You’ll see a few key steps that make all the difference:
- We use a specific ingredient to pull moisture away from the skin surface.
- We skip overcrowding the pan entirely.
- We cook in two distinct stages to ensure the internal meat is cooked before we crank up the crisp factor.
The Secret Ingredient for Crispy Oven Chicken Wings
Okay, if you take away only one thing from this whole recipe, let it be this: you need baking powder. Not baking soda—we’re not aiming for lift here; we’re aiming for dryness!
The baking powder actually raises the pH level of the chicken skin ever so slightly, which encourages browning and helps wick away moisture as the wings bake. It creates this incredible dry, slightly textured surface that gets golden and crunchy fast. It’s totally flavorless once cooked, I promise. It’s the secret to learning **how to make crispy wings in the oven** successfully!
Achieving Perfect Oven Baked Wings Texture
Heat management is everything here. We start high and we keep the wings separated. If they are touching, they steam instead of roast, and steaming makes mush! Using that wire rack, which lifts the chicken entirely off the baking sheet, allows air to circulate underneath. This ensures we get the **Perfect oven baked wings texture** all the way around.
When you follow this method for your **Honey Garlic Chicken Wings Crispy Oven Baked**, you’ll get that beautiful snap without ever turning on the fryer. It’s glorious!
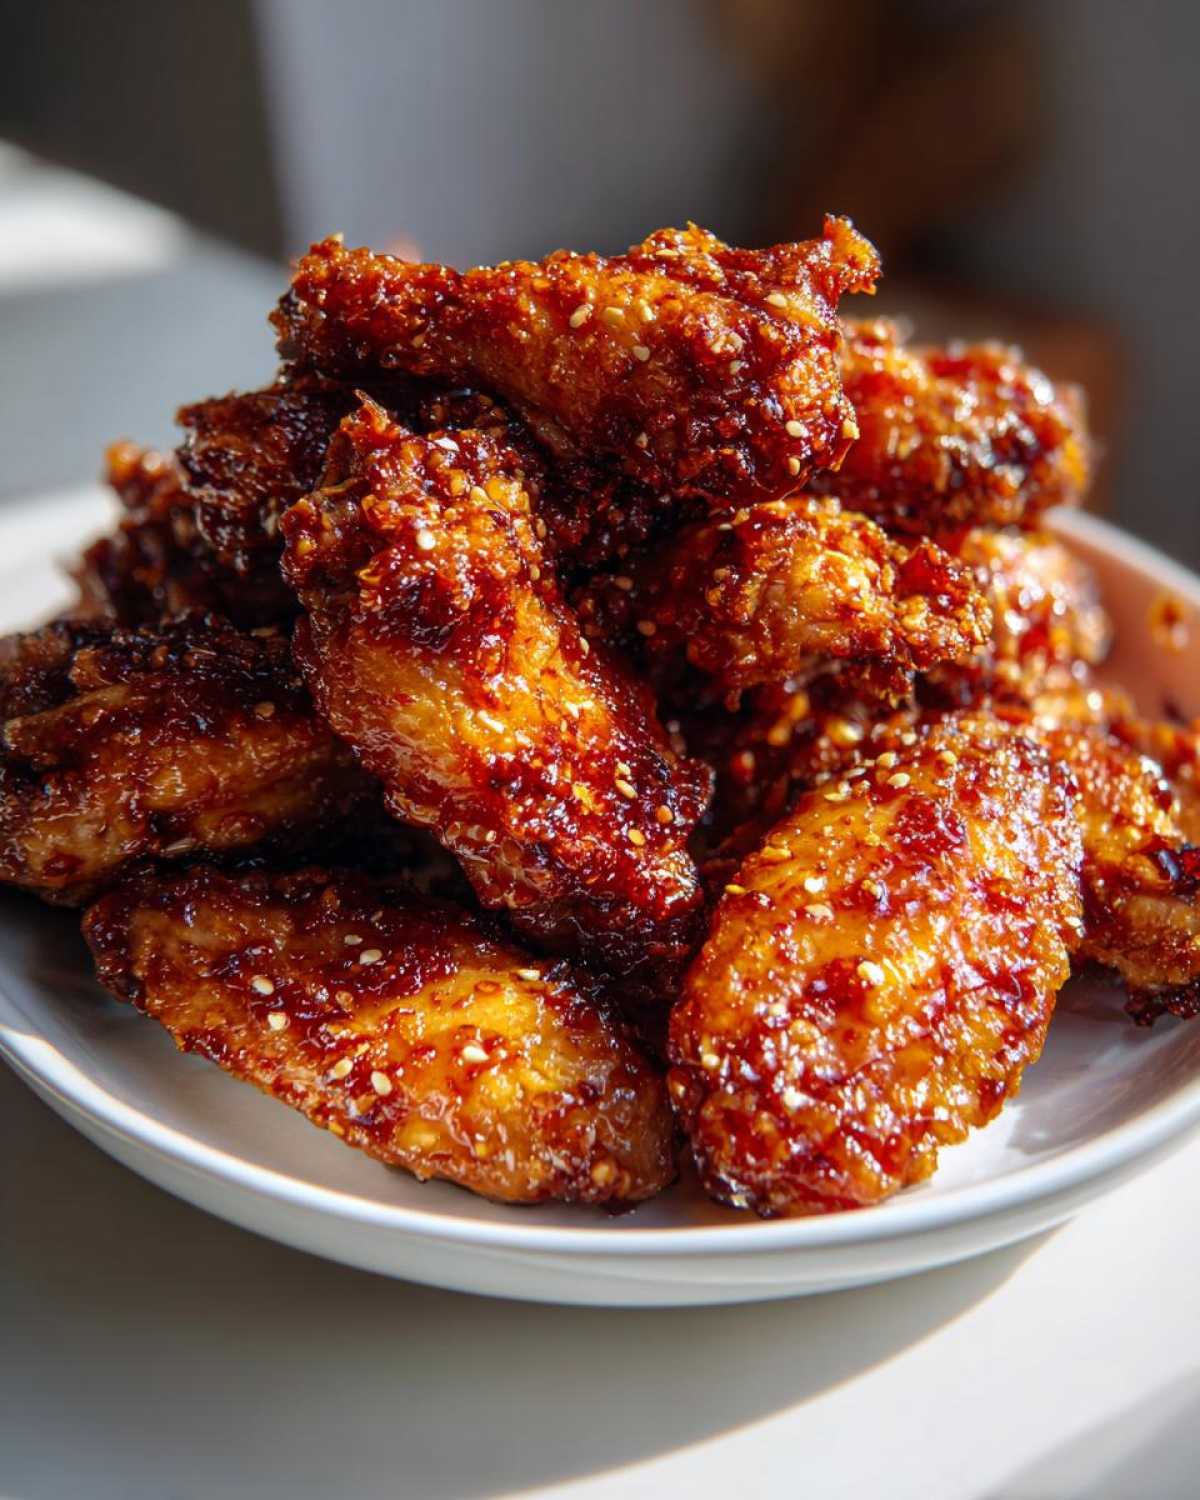
Ingredients for Your Honey Garlic Chicken Wings Crispy Oven Baked
I laid everything out clearly for you because when you’re dealing with crispiness, precision matters! Don’t substitute that baking powder for anything else, and make sure you look for the aluminum-free kind if you can find it. It just gives a cleaner flavor, honestly.
Gathering everything before you start cooking is the best way to avoid that frantic run around the kitchen when the sauce needs thickening quickly!
For the Crispy Chicken Wings Base
This is the treatment that guarantees that crunch. We’re keeping the seasoning super simple here so the beautiful garlic honey glaze can shine.
- 2 lbs chicken wings, separated into flats and drumettes (make sure you trim excess fat!)
- 1 tablespoon baking powder (and yes, it absolutely has to be aluminum-free!)
- 1 teaspoon salt
- 1/2 teaspoon black pepper
For the Sticky Honey Garlic Glaze
Once the wings are almost done, you whip this up super fast. The cornstarch slurry is what locks in that sticky coating after baking.
- 1/2 cup honey (the good, thick stuff!)
- 1/4 cup soy sauce (I always use low-sodium just in case)
- 4 cloves garlic, minced (don’t skimp on the garlic, please!)
- 2 tablespoons apple cider vinegar
- 1 tablespoon cornstarch
- 2 tablespoons water (for the cornstarch slurry)
Step-by-Step Instructions for Honey Garlic Chicken Wings Crispy Oven Baked
Alright, here’s where the magic really happens! Remember, the key to amazing **Honey Garlic Chicken Wings Crispy Oven Baked** is not trying to do everything at once. Prep is your best friend here. Once your wings are dry and coated, you get them into the oven, and while they are working hard roasting, you make that beautiful sticky sauce. It’s super efficient, and you’ll have dinner ready in about an hour total!
Preparing the Wings for Maximum Crispiness
First thing—get that oven seriously hot! Preheat it to 425°F (220°C). Line a sheet pan with foil (clean up is a dream!) and set a wire rack right on top. Now, grab those wings and pat them until they feel like suede—absolutely no moisture allowed! Toss them with your baking powder, salt, and pepper until every single piece is coated in that white dusty magic.
Arrange them on the rack in a single layer; if they are touching, they will steam! This is the time to talk about my favorite trick: if you have time, pop these coated wings, uncovered, into the fridge for an hour or even overnight. That extra time sucks out the last bits of moisture for unbelievable crisp—seriously try it! But if you’re in a rush, just get them straight into the oven for 25 minutes.
Making the Simple Baked Wings Sauce
While those wings are roasting away, turn your attention to the saucepan. Combine the honey, soy sauce, that fragrant minced garlic, and the apple cider vinegar. Bring that mixture up to a gentle simmer over medium heat. You want it just bubbling slightly.
Now for the thickening trick! In a separate tiny bowl, whisk your cornstarch and water together until it’s totally smooth—that’s your slurry. Pour this into the simmering sauce while whisking constantly, and I mean *constantly*. It thickens up so fast, maybe a minute, and then you pull it right off the heat. You don’t want to cook the sugar too long or it burns!
Baking and Glazing Your Garlic Honey Glazed Wings
After those first 25 minutes, pull the pan out. Carefully flip every single wing over! Pop them back in for another 15 to 20 minutes. You’re looking for deep golden brown edges and a skin that looks like it might actually crack when you touch it. That’s how you nail those **Garlic honey glazed wings**!
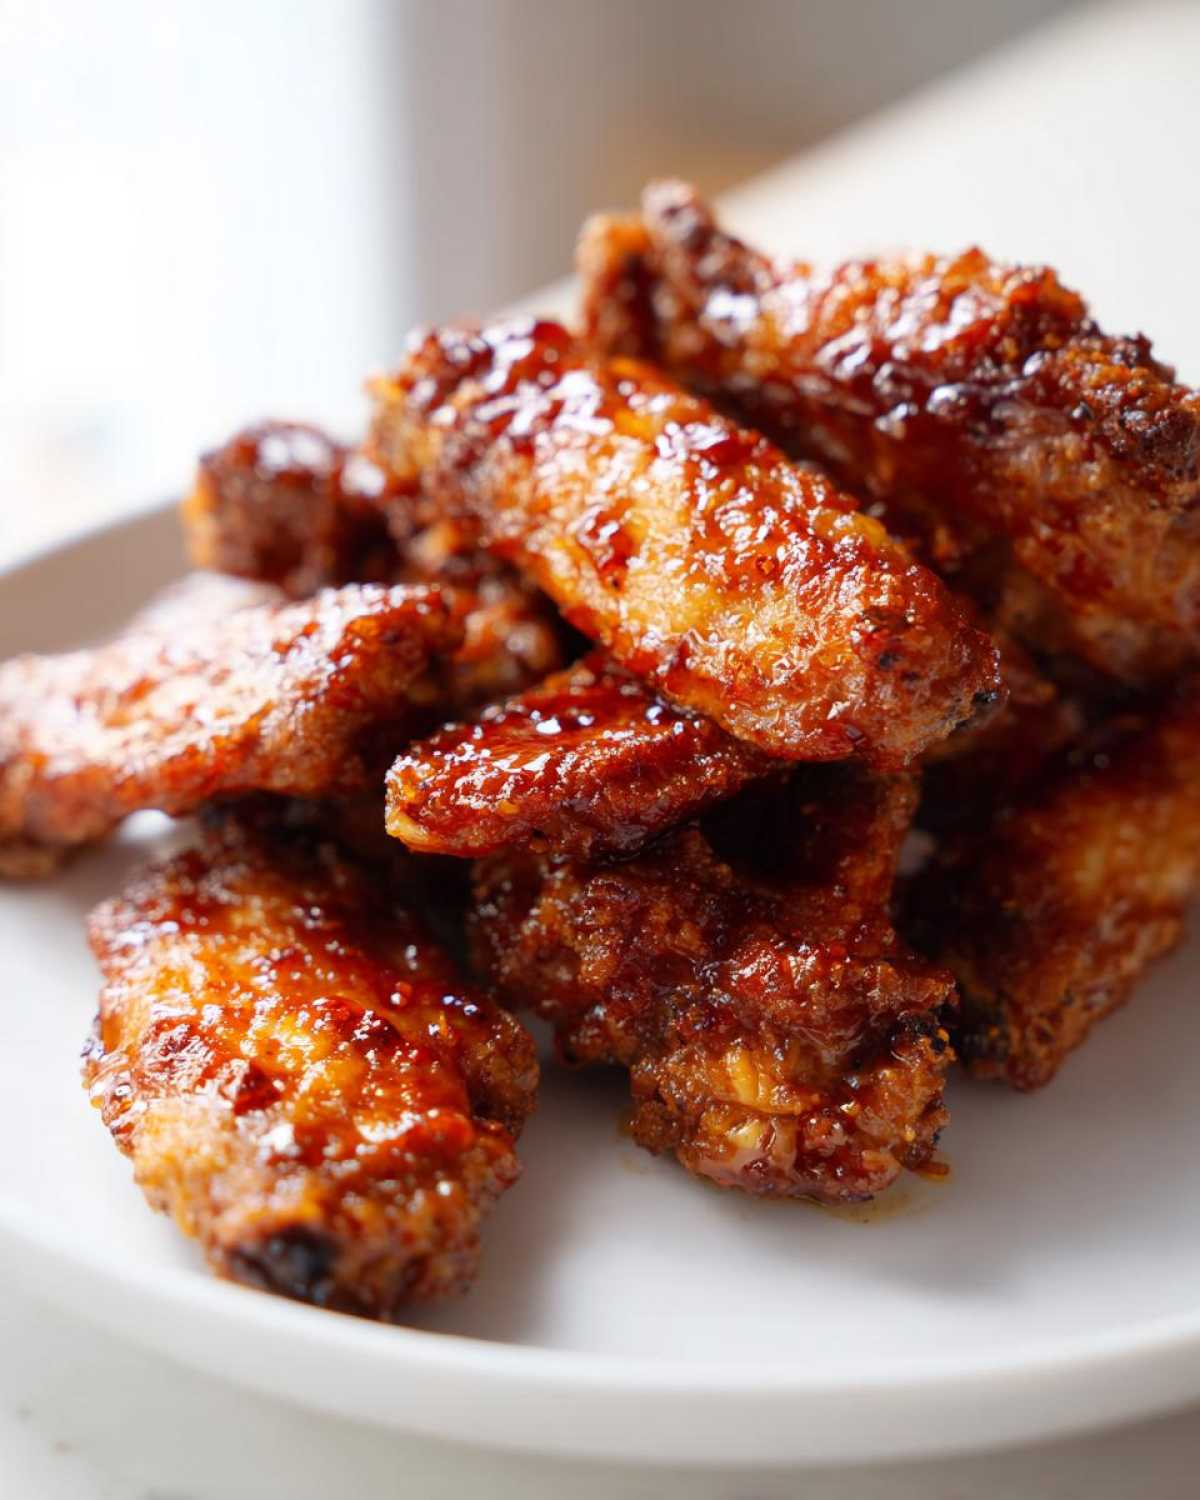
When they come out perfectly crisp, drop them right into a big clean bowl. Pour maybe half of that delicious thick sauce over them and toss gently—remember, we are coating crispy wings, not trying to drown them! Serve immediately with the rest of the sauce on the side for dipping. You’ll want to check out my tips on easy weeknight dinner ideas while you wait for them to cool just a touch!
Tips for the Best Honey Garlic Wings Oven Success
So you’ve made your first batch of **Honey Garlic Chicken Wings Crispy Oven Baked**, and they were mostly good, but maybe not *restaurant-level* amazing? That’s okay! Every great cook has a few failed racks before they nail the technique perfectly. I’ve learned a few things along the way that take these from great to unbelievably crispy. To see some other easy dinner ideas, you should definitely browse my blog—it’s packed with weeknight wins!
Ingredient Notes and Substitutions for Sticky Honey Garlic Chicken
If you don’t have apple cider vinegar on hand, don’t panic! Rice vinegar works okay, but it’s a bit less sharp. You need that acid to balance the sweetness of the honey, otherwise, it’s just cloying. For the soy sauce, if you use the regular kind instead of low-sodium, you might want to use maybe only two tablespoons instead of a full quarter cup. Remember, we are aiming for sweet *and* savory, not just salty!
Troubleshooting Common Issues with Baked Wings Recipe Crispy Skin
If your skin came out a little soft, I guarantee you skipped the heavy patting down part or your oven temperature dropped too low. If you’re trying to get these **Honey Garlic Chicken Wings Crispy Oven Baked** on a really humid day, you might need to leave them in the oven an extra five minutes, or definitely use that overnight fridge trick I mentioned before! Also, never, ever dump all the sauce on while they are still in the hot pan; the residual heat will steam away all that beautiful crispy skin texture you worked for!
Serving Suggestions for Your Weeknight Chicken Wing Dinner
Honestly, these honey garlic wings are so packed with flavor—sweet, savory, garlicky—they practically demand a few simple, refreshing side dishes to balance everything out. They are definitely hearty enough to be the star of our **Weeknight Chicken Wing Dinner**, but you need something green or starchy to make it a real meal, right?
Since the wings are so sticky and glazed, I always lean toward contrasting textures. You want something cool or something that can soak up any extra sauce dribbling off the plate! Think about pairing these with crunchy coleslaw or some simple steamed rice to catch all that delicious glaze.
For sides that really shine next to these sweet and savory chicken wings, here are my top picks:
- Crispy Roasted Broccolini: A little charred broccoli with salt and maybe a squeeze of lemon cuts right through the sweetness of the honey without competing with the garlic. It’s super easy, too.
- Fluffy White Rice: This is mandatory if you’re serving these to kids! The rice acts as the perfect neutral base to catch every last bit of that sticky sauce. If you haven’t tried sheet pan meals, you should check out my recipe for sheet pan steak and shrimp; it gives you ideas for simple side roasting!
- Quick Cucumber Salad: I love thinly sliced cucumbers tossed with a tiny bit of rice vinegar and sesame oil. It’s so cool and tangy, it resets your palate between wings.
- Simple Baked Fries: If you’re already baking wings, why not bake some skinny oven fries at the same time? A little salt and they are perfect dunking material for the leftover sauce!
No matter what you choose, keep the sides simple. These wings are the showstopper, so we don’t want a complicated supporting cast for our **Family friendly chicken dinner idea**. Keep it fresh, keep it easy!
Storage and Reheating for Crispy Oven Chicken Wings
So you made so many amazing, sticky, sweet, and savory wings that you actually have leftovers? Lucky you! This recipe is designed to create that perfect texture, so we need to treat leftovers with respect. Storing them correctly is just as important as getting them crispy the first time around, because nobody wants sad, floppy wings the next day.
For storage, you absolutely must use a shallow, airtight container. If you just throw them in a bulky container or a bag, that wonderful glaze will trap condensation, and boom—you’re back to square one with soggy skins. I try to put the wings in the fridge within two hours of cooking, covering them tightly. They’ll hold up beautifully like this for about three to four days, if they even last that long!
The Absolute Best Way to Reheat for Renewed Crispiness
I need to be very serious with you here: Do not, under any circumstances, put these wings in the microwave. The microwave is the sworn enemy of crispiness! It heats the water molecules inside the meat and that steam melts your hard-earned crunchy exterior. Don’t do it to yourself!
If you want that second-day crunch, you have two fantastic options. The oven works great if you’re heating up a larger batch: pop them back onto that wire rack set over a foil-lined sheet pan (just like when you baked them!) at about 375°F. They usually need about 8 to 10 minutes. This dries the skin right back out.
Using the Air Fryer for Quick Reheating
If you have an air fryer, this is where it truly shines! The air fryer is basically a miniature convection oven, so it blasts hot air all around the wing evenly, which is fantastic for bringing back that gorgeous snap. Set your air fryer to 350°F or 375°F and cook them for only 4 to 6 minutes. Check them around the 4-minute mark, because they heat up fast!
Remember, if you used a lot of sauce when you served them the first time, the reheating process will concentrate those sugars. Be ready for them to smell extra sweet and sticky! They will taste just as good as they did fresh out of the oven the first time!
Frequently Asked Questions About Honey Garlic Chicken Wings Crispy Oven Baked
I get so many emails asking about minor tweaks to this recipe, especially since everyone wants their **Honey Garlic Chicken Wings Crispy Oven Baked** to come out perfectly crunchy every time! Let’s tackle some of the most common questions I hear from folks trying to master this **glazed chicken wings recipe**.
Can I use baking soda instead of baking powder for these wings?
Oh, please don’t twist my arm into letting you do that! This is one time where substitution just doesn’t work well. Baking powder is chemically different from baking soda, and we specifically need the powder here because it has both an acid and a base, which helps dry out the skin surface over a longer bake time. Baking soda is much stronger and more alkaline; if you use it alone, you risk getting a metallic, soapy taste in your chicken, and it won’t give you that perfect, delicate crust we’re after for our **baked wings recipe crispy skin**.
How do I ensure these are Better Than Fried Oven Baked Wings?
That’s a bold claim, but I truly believe we get there! The secret isn’t just sticking them in the oven; it’s the *prep* work for the dry rub. You must, absolutely must, pat those wings bone-dry with paper towels before tossing them with the baking powder mixture. Then, you need that high initial heat—425°F!
When you combine the super dry skin treatment with the high heat and the wire rack setup, you get convection crisping happening on every side. That’s what makes these **Better Than Fried Oven Baked Wings**—you get all the crunch without any of the heavy oil!
Can I make the sauce ahead of time for this Easy Baked Chicken Wing Recipe?
Yes, absolutely! That’s a fantastic trick for making your **Weeknight Chicken Wing Dinner** even faster. You can definitely make the entire honey garlic sauce—from the simmering to thickening with the slurry—up to three days ahead of time. Just make sure you store it in an airtight container in the fridge.
When it’s time to glaze those piping hot, freshly baked wings, you shouldn’t use the cold sauce straight from the fridge, though! Cold sauce cools down the wings too fast and won’t coat as beautifully. Just warm the sauce gently on the stovetop or in the microwave for 15-20 seconds until it’s loose and pourable again. Then go ahead and toss!
If you have other questions about your glaze consistency, feel free to reach out via my contact page; I love hearing about your cooking adventures!
Nutritional Data for Sweet and Savory Chicken Wings
I always include this section because I know so many of you are tracking macros or just curious about what exactly you’re eating when you enjoy these lovely wings. I tried to keep this recipe leaning toward a healthier side—we’re using the oven primarily, which is why it’s listed as ‘Low Fat’ in the details!
But here is the scoop on what you can generally expect from a serving size, keeping in mind that these are just estimates. Since honey brand viscosity, brand of soy sauce (sodium levels!), and even the cut of the wing can change things, take these numbers as a fantastic guideline for your **sweet and savory chicken wings**.
We calculated this based on 4 average-sized wings per person:
- Serving Size (approx 4 wings): 4 wings
- Calories: 350
- Protein: 22g (That’s great protein for a dinner!)
- Fat: 18g
- Saturated Fat: 5g
- Carbohydrates: 25g
- Sugar: 18g (Mostly from that delicious honey glaze!)
- Sodium: 550mg
As always, since I can’t know exactly what brand of soy sauce you’re pulling out of your pantry, please use caution if you are strictly watching your sodium intake. For more technical details on my general recipe standards (because I track everything!), you can always read my full information on my official disclaimer page. Happy eating!
Share Your Perfect Oven Baked Wings Texture
Seriously, I’ve poured all my best kitchen secrets into teaching you how to get that amazing crunch without dirtying a pot of oil. Now it’s your turn! I live for hearing when one of my recipes clicks for someone, especially when it involves conquering a texture challenge like getting super crispy oven wings.
Did you try the baking powder trick? Did you resist the urge to peek during the first 25 minutes? I want to hear EVERYTHING! Don’t be shy. Tell me if they were better than fried, what side dishes you paired them with, or if your kids devoured them in seconds (which is my usual experience!).
Drop a comment below letting me know how your **baked wings recipe crispy skin** turned out. Seriously, rating the recipe helps other people realize that yes, this oven method actually works!
If you snapped a picture of your sticky, perfectly glazed beauties, tag me on social media! I love seeing my recipes out in the real world. It really does make my day when I see photos of your wonderful home-cooked meals. If you want to know more about my kitchen philosophy and why I share all these little tricks, check out the About Us page!
PrintCrispy Oven Baked Honey Garlic Chicken Wings

A straightforward recipe for making super crispy chicken wings in the oven with a sticky, sweet, and savory honey garlic glaze.
- Prep Time: 15 min
- Cook Time: 45 min
- Total Time: 60 min
- Yield: 4 servings
- Category: Dinner
- Method: Baking
- Cuisine: American
- Diet: Low Fat
Ingredients
- 2 lbs chicken wings, separated into flats and drumettes
- 1 tablespoon baking powder (aluminum-free)
- 1 teaspoon salt
- 1/2 teaspoon black pepper
- 1/2 cup honey
- 1/4 cup soy sauce
- 4 cloves garlic, minced
- 2 tablespoons apple cider vinegar
- 1 tablespoon cornstarch
- 2 tablespoons water
Instructions
- Preheat your oven to 425 degrees Fahrenheit (220 degrees Celsius). Line a baking sheet with foil and place a wire rack on top of the foil.
- Pat the chicken wings completely dry using paper towels. This step is crucial for crispiness.
- In a large bowl, toss the dry wings with baking powder, salt, and pepper until evenly coated.
- Arrange the wings in a single layer on the wire rack. Do not let them touch.
- Bake for 25 minutes.
- While the wings bake, prepare the sauce. In a small saucepan, combine honey, soy sauce, minced garlic, and apple cider vinegar. Bring the mixture to a simmer over medium heat.
- In a separate small bowl, whisk together the cornstarch and water to create a slurry. Pour the slurry into the simmering sauce, whisking constantly until the sauce thickens, about 1 minute. Remove from heat.
- After the initial 25 minutes of baking, flip the wings. Return them to the oven and bake for another 15 to 20 minutes, or until the skin is deeply golden and very crisp.
- Remove the wings from the oven. Place them in a large clean bowl. Pour about half of the prepared honey garlic sauce over the wings and toss gently to coat them completely.
- Serve immediately with any remaining sauce on the side for dipping.
Notes
- Using baking powder (not baking soda) helps dry out the skin surface, leading to a crispier result when baking.
- For extra crispiness, you can place the wings in the refrigerator uncovered for at least one hour after coating them with the baking powder mixture before baking.
- If you prefer a thicker glaze, use slightly less water when making the cornstarch slurry.
Nutrition
- Serving Size: 4 wings
- Calories: 350
- Sugar: 18
- Sodium: 550
- Fat: 18
- Saturated Fat: 5
- Unsaturated Fat: 13
- Trans Fat: 0
- Carbohydrates: 25
- Fiber: 0
- Protein: 22
- Cholesterol: 85