

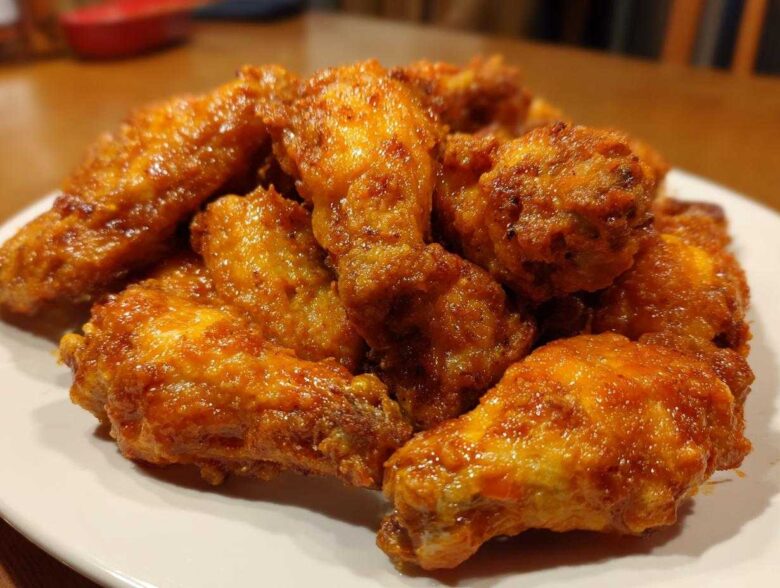
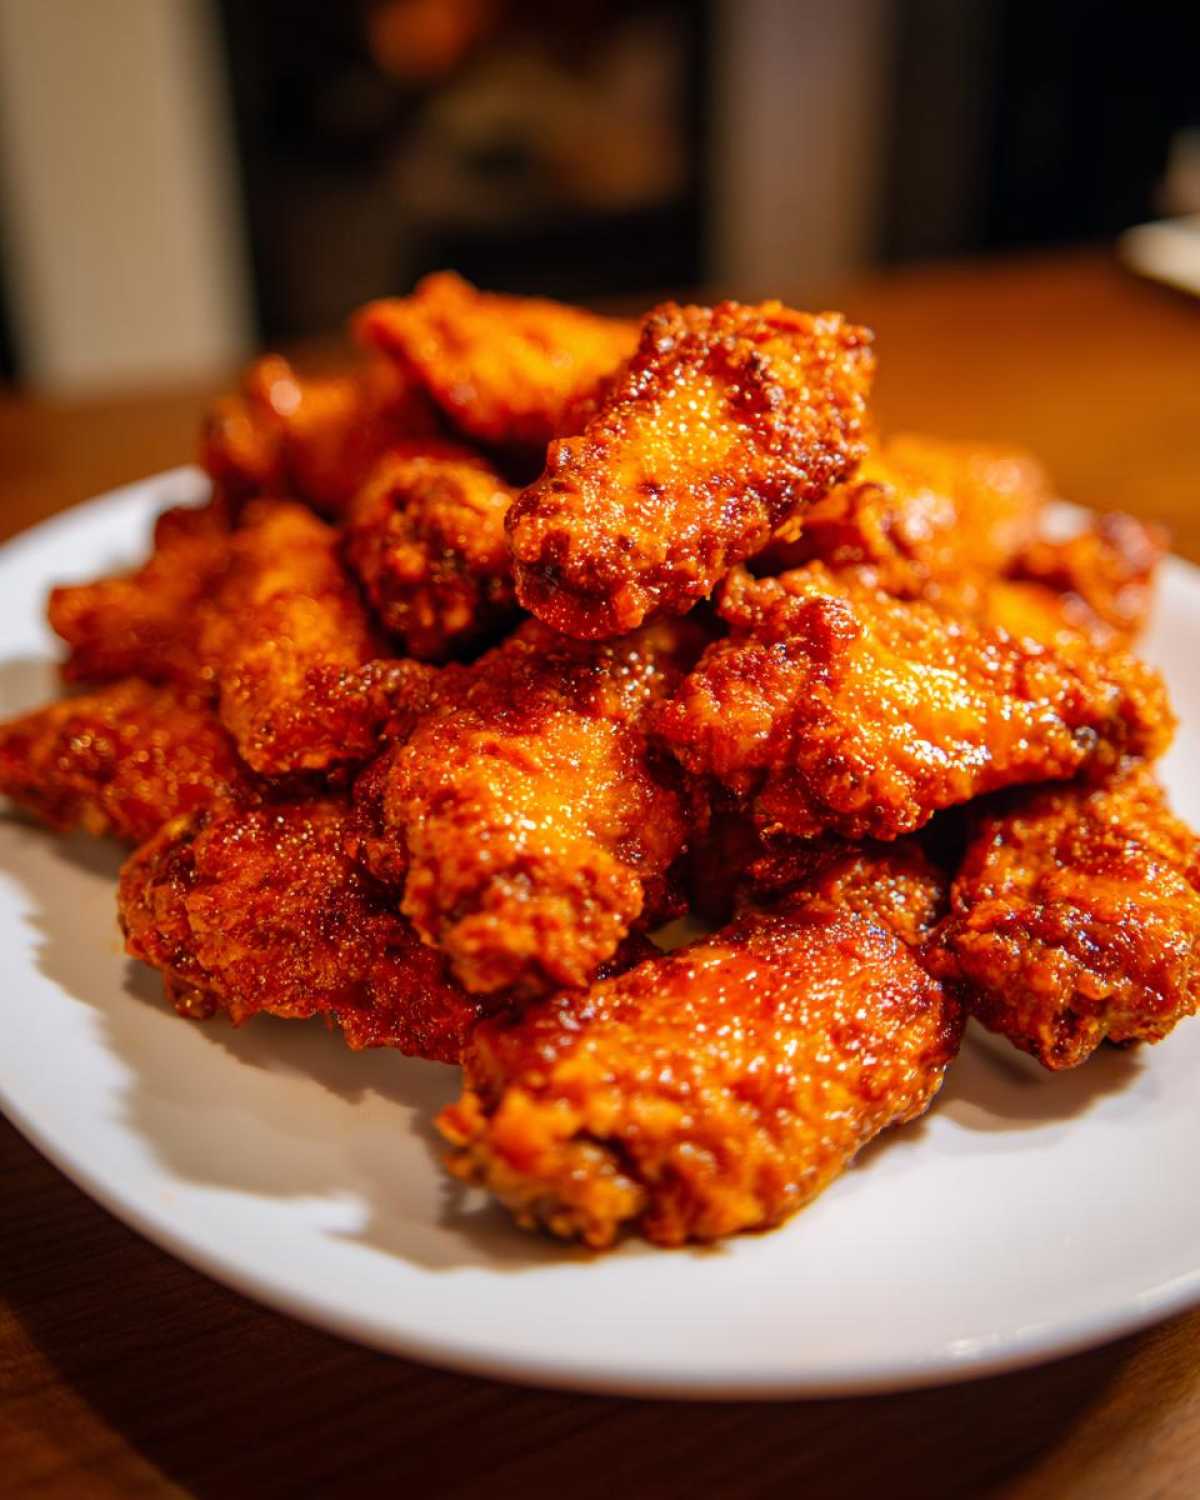
If you’re hearing the call for that perfect Game Day snack but dreading the greasy mess of deep-frying, trust me, I get it. When life gets a little heavy, sometimes only perfectly satisfying bites will do, and that’s where comfort food like these incredible chicken wings comes in. I’m Noah, and Hana and I perfected this method so you can experience shatteringly crispy skin in your oven. Forget the fryer; these Extra Crispy Baked chicken wings using a little baking powder secret are truly the best no-fry chicken wings you’ll ever make. They come out juicy inside and ridiculously crunchy!
Why This Baking Powder Technique Makes the Best Crispy Chicken Wings
So many people think you absolutely need a deep fryer to get that amazing crunch, right? Wrong! When I first tested this method, I wanted to prove you could make incredible, juicy inside, crispy outside wings using just the oven. This baking powder trick is our secret weapon for creating the ultimate No Fry Chicken Wings.
It sounds a little wild, I know, adding baking powder to savory food, but it’s pure magic. Baking powder slightly raises the pH level on the chicken skin. What that does, simply put, is help the skin dry out faster and brown beautifully in the heat. Trust me, once you coat your chicken wings this way and bake them, you won’t look back!
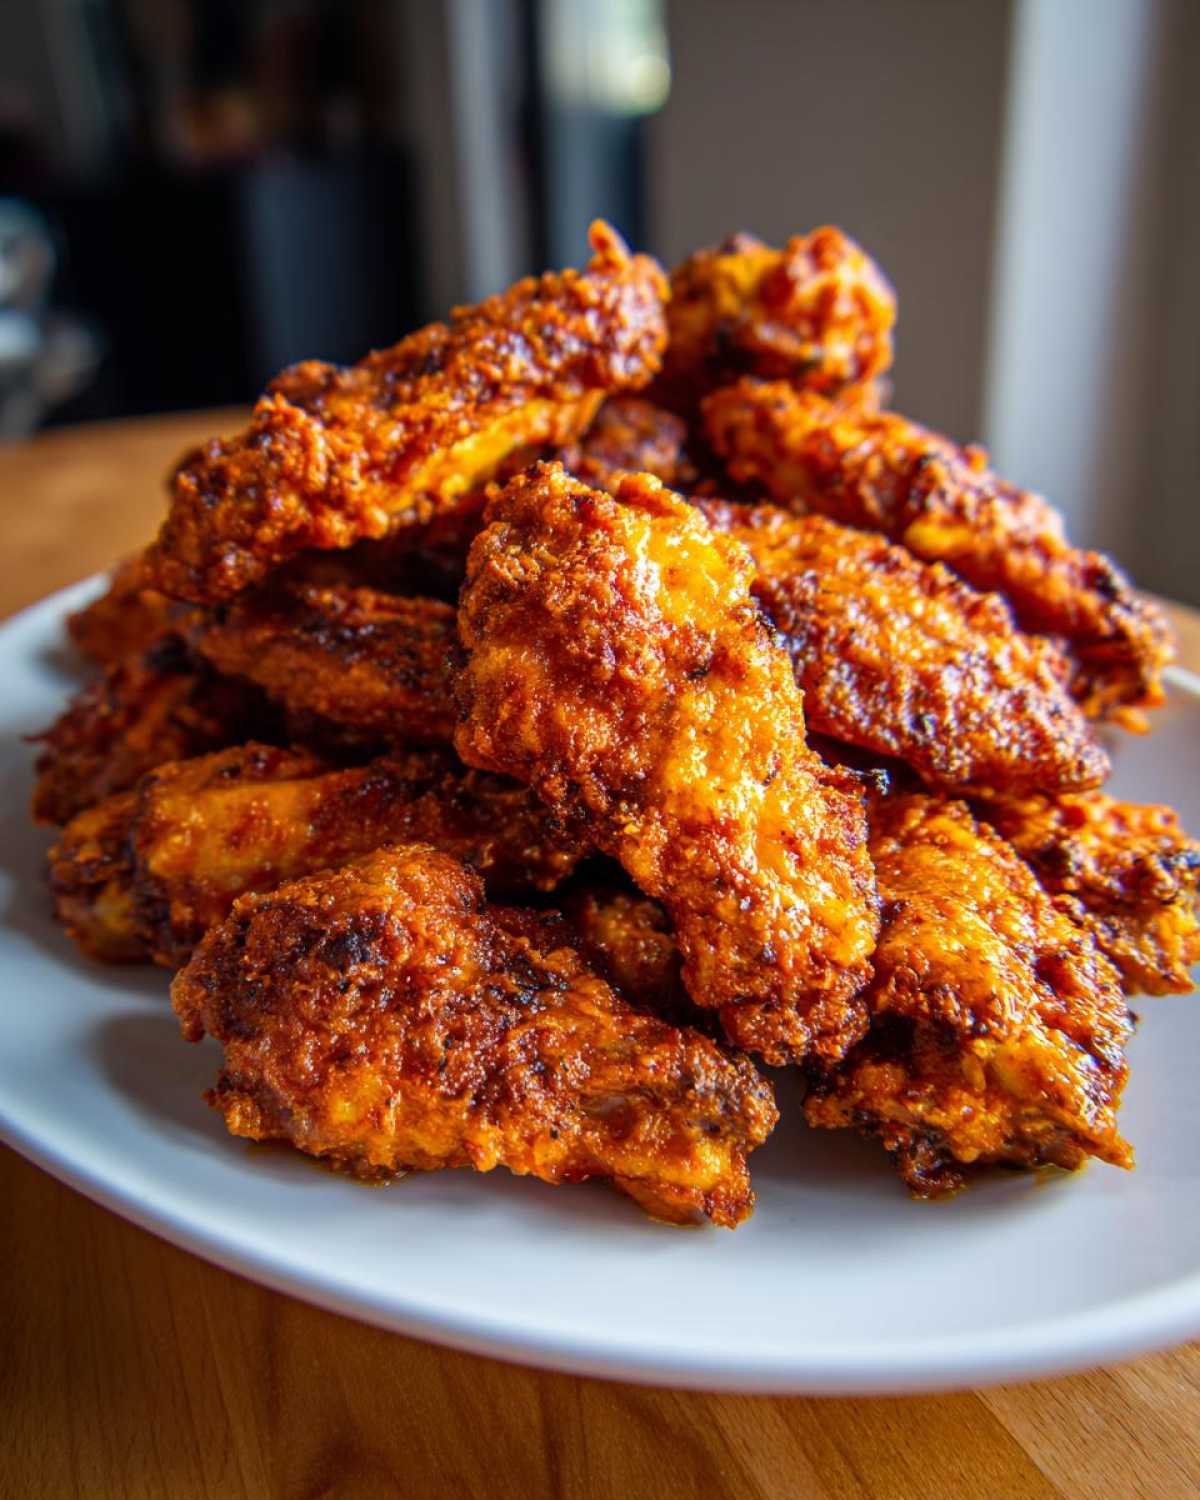
Ingredients for Extra Crispy Baked Chicken Wings
Gathering your ingredients is the first calm step before the crispy chaos begins! We need just a few things to make these homemade chicken wings taste like they came from your favorite wing spot, but without all the oil. It’s important to have everything measured out; remember how we talked about Grandma’s precision? It applies here, too, especially with the baking powder!
For the main event, you’ll grab about 3 lbs of chicken wings—make sure you separate them into the flats and the drumettes so they cook evenly. That’s the first simple step for success!
Coating Mixture for Juicy Inside Crispy Outside Wings
This is truly the core of the technique. You’re going to mix together 1 tablespoon of baking powder—and if you can find that aluminum-free kind, grab it; it seems to give the best results—with 1 teaspoon of salt, just a half teaspoon of black pepper, and a half teaspoon of garlic powder. Mix these four dry items together really well in a big bowl. This is what coats the chicken wings to lock in moisture and crisp up that exterior.
Sauce Options for Flavorful Chicken Wings
Hold off on the wet stuff until the very end, okay? After baking, you’ll want about a quarter cup of your favorite flavor amplifier. This recipe is fantastic as a base for classics like Buffalo Wing Sauce, or you can use a good Honey Garlic sauce. If you are going for a dry rub finish, save the Lemon Pepper seasoning to toss them in instead of a wet sauce. Either way, the wings are done baking first!
The Best Chicken Wing Technique: Step-by-Step Oven Baked Wings Instructions
Okay, here’s where the actual cooking magic happens. This technique is all about preparation meeting high, dry heat. Before you even think about tossing those chicken wings in the seasoning mixture, grab a stack of paper towels. You absolutely must pat every single piece completely dry. I cannot stress this enough! If there is moisture lingering, you’ll end up steaming the skin instead of crisping it. This is key for any great recipe, whether you’re making these for Wing Night Ideas or just for dinner.
First things first: crank that oven up to 425°F (220°C). Line your baking sheet with foil—you’ll thank me later for the easy cleanup—and set a wire cooling rack right on top of that foil. That rack is crucial for letting the air move all around the chicken wings.
Preparation: Drying and Coating Your Chicken Wings
Once your wings are bone-dry, toss them right into the bowl with your prepared baking powder mixture we talked about. Stir them around gently but thoroughly until you see that pale coating stuck to every inch of the skin. Remember, we want an even coat so every spot gets that perfect crisp when it bakes. Spread them out on that rack right away. Make sure they have space to breathe; no overlapping allowed!
Baking for Maximum Crispiness
Bake them exactly as they are for 25 minutes. Don’t peek too much! When that timer goes off, pull them out carefully, flip every single wing over, and slide them back in for another 20 to 25 minutes. It’s about an hour total cook time, give or take, depending on how big your wings are. When they look deeply golden brown and they sound almost brittle when you nudge them, they’re done baking and ready for their flavor bath!
Tips for Perfect Game Day Chicken Wings
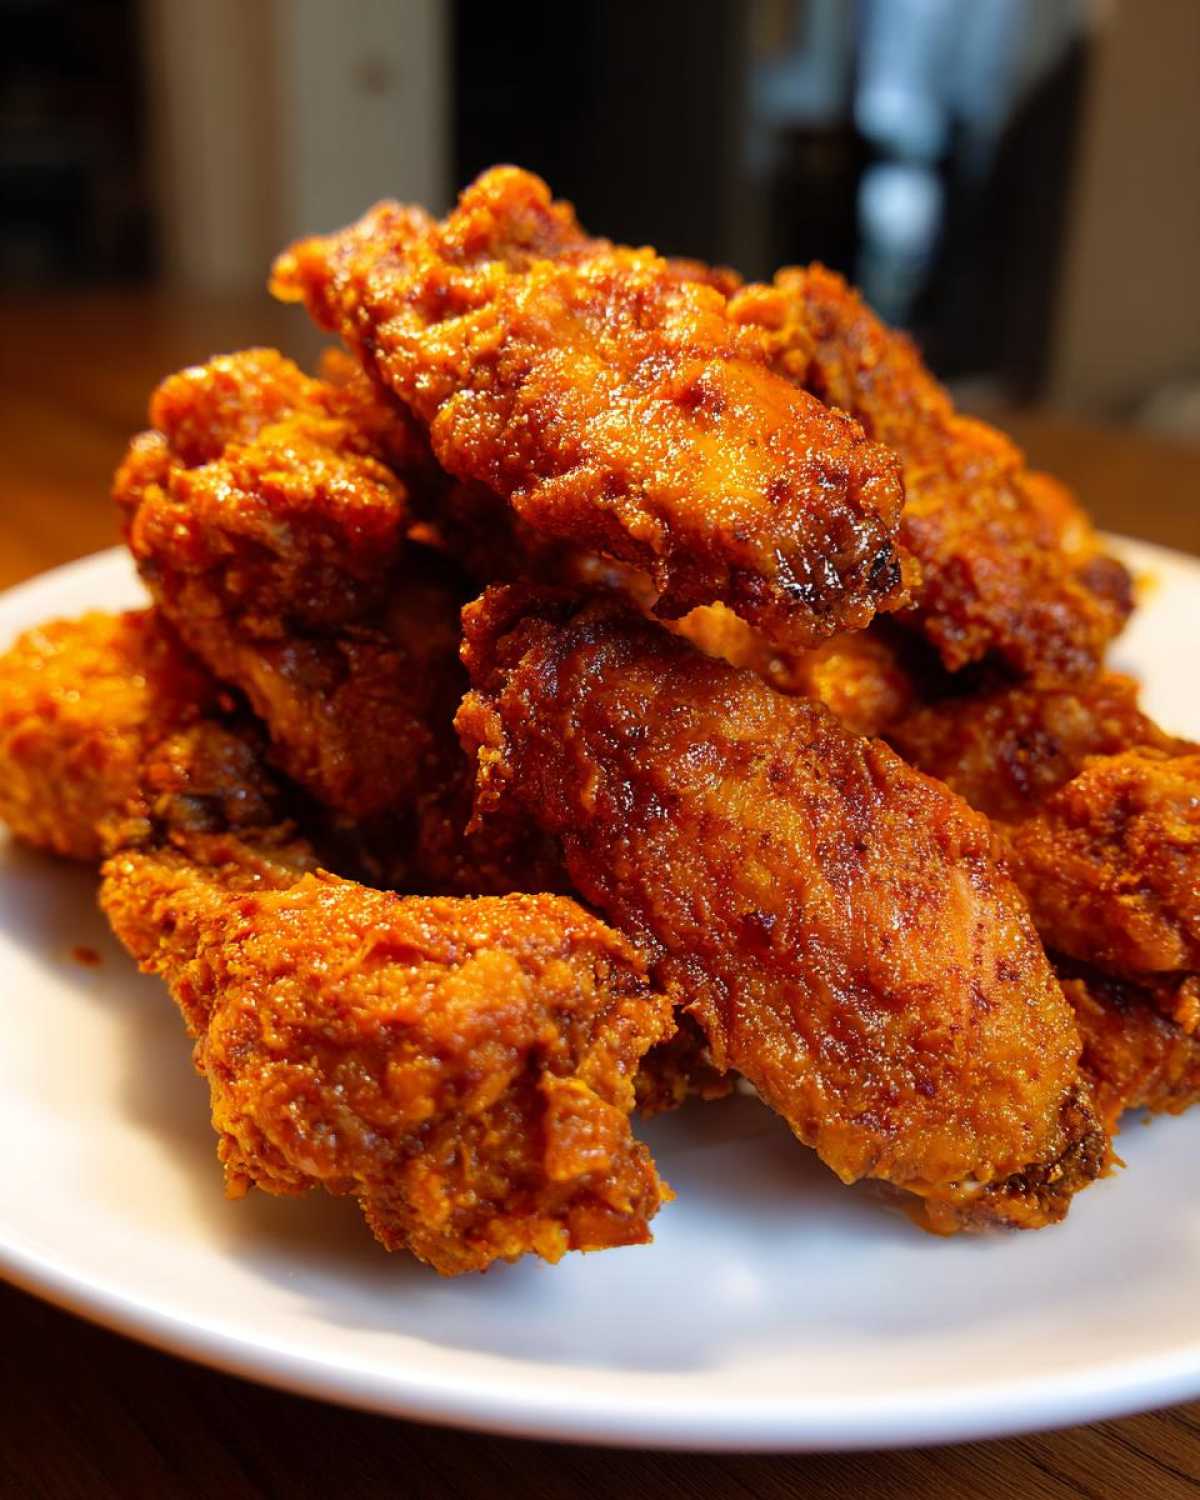
We want these wings to be the star of your next party, whether it’s a huge football Sunday gathering or just a quiet craving for savory chicken bites during the week. Remember how I mentioned we leave the wet sauces until the very end? That’s a huge confidence booster for making great Game Day Chicken Wings!
If you’re using a sticky sauce, like Buffalo or even a thick BBQ sauce, toss the wings in that sauce *immediately* after they come off the wire rack. For an extra set, slide them under the broiler for just a minute or two—but watch them like a hawk! They’ll go from perfect to burnt faster than you can shout “touchdown.”
Now, if you made those incredible Lemon Pepper Wings using the dry seasoning at the end, you don’t need the oven or broiler step. They are ready to go as soon as they are tossed. That’s why this basic technique is so versatile for all your favorite flavor profiles!
Flavor Variations: Beyond Basic Baked Chicken Wings
This base recipe is honestly just a starting point, folks! Once you master that crispy skin secret, you can turn these into just about any flavor of chicken wings your heart desires. Game day crowds expect variety, and we are here to deliver! Since we are tossing them in the sauce *after* they bake, the wings stay crispier longer, giving you time to prep all your tasty options.
Here are a few of the most requested crowd-pleaser appetizers flavors we always whip up:
- Honey Garlic Wings: Mix up your favorite honey garlic sauce—mine is slightly sticky and sweet—and toss immediately coming out of the oven. It creates this incredible glaze that makes everyone go back for seconds.
- Crispy Ranch Chicken Wings Recipe: For these, you’ll want to cook the wings naked (no sauce). Once they are piping hot and drained from the salt/baking powder mix, toss them generously in a high-quality, bold ranch seasoning powder. They come out tasting like you spent all day soaking them in buttermilk dressing!
- BBQ Wings: Go heavy on the sauce right after they come out, then pop them under the broiler for just 60 seconds to caramelize that barbecue flavor beautifully.
Making Hot Honey Chicken Wings
Oh, the Hot Honey Chicken Wings craze is real, and it’s honestly so easy to achieve with this method! You just combine your favorite bottle of hot sauce with a drizzle of honey—maybe a half cup of hot sauce to two tablespoons of honey, depending on how sweet you like it. Toss the hot wings in this mixture the second they leave the wire rack. The slight heat helps marry the two flavors quickly.
Achieving Lemon Pepper Wing Texture
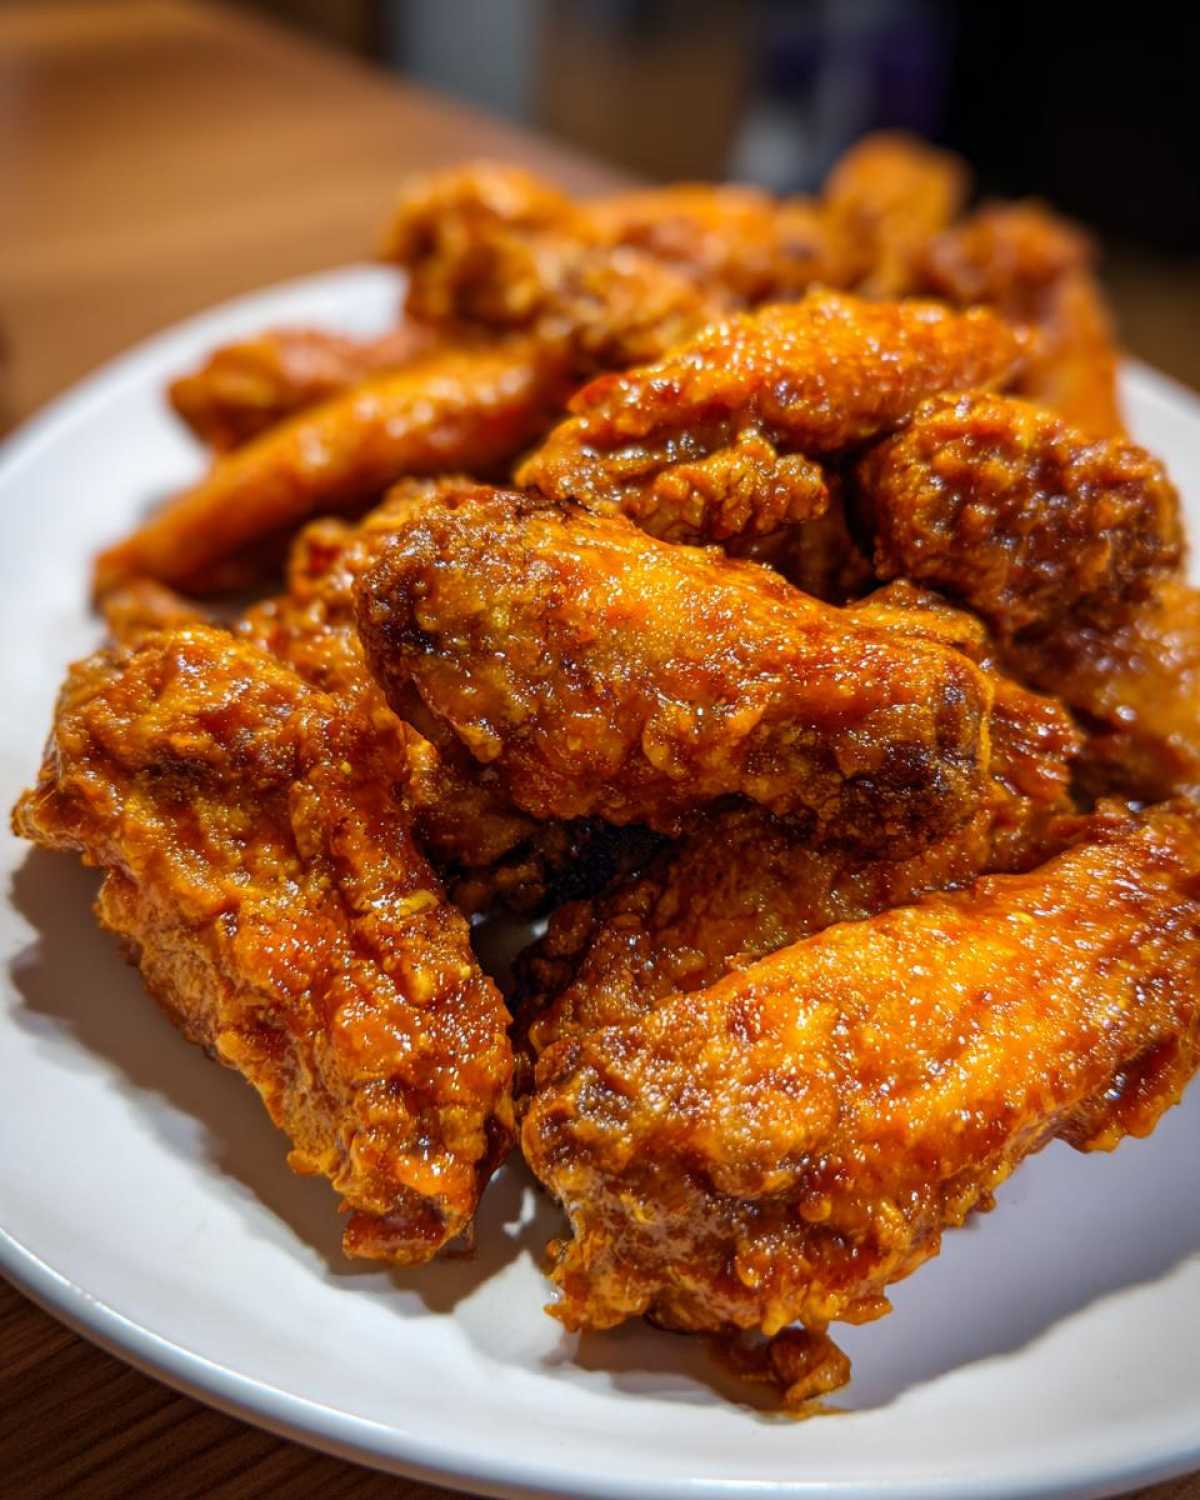
If you love that bright zest and savory punch, you have to try the Lemon Pepper Wings. This is the easiest adaptation! Instead of using a wet sauce, you wait until the wings come out, place them in a clean bowl, and dump a really generous amount of lemon pepper seasoning on top. Toss them well. Because there’s no liquid involved, the skin stays shatteringly crisp from the moment they leave the oven. It’s the simplest way to get maximum crunch!
Air Fryer Chicken Wings Conversion for Quick Chicken Wing Dinner
You know, because sometimes we just need those quick chicken wing dinner vibes fast, I always keep an Air Fryer Chicken Wings conversion ready! It’s nice to know you can use this exact same baking powder coating even when you’re using your air fryer. It’s super fast, which makes these awesome party appetizer wings perfect for weeknights too.
For the air fryer method, you’ll want to set your machine to about 380°F (195°C). Remember, the air fryer cooks faster and circulates heat more intensely than the oven. You’ll bake them for about 18 to 22 minutes total. Make sure you don’t overcrowd the basket—do them in batches if you need to! You’ll still flip them halfway through, around the 10-minute mark. Check out how we use our air fryer for those Air Fryer Ranch Chickpeas; the principle of not overloading the basket is the same for any snack!
Serving Suggestions for Your Party Appetizer Wings
When you pull these crowd pleaser appetizers out of the oven, what are you serving them with? Nobody wants dry chicken wings, even the crispiest ones! They deserve a perfect dipping companion. Since these baked chicken wings are so packed with savory flavor—whether they are Lemon Pepper or smothered in Buffalo Wing Sauce—you need something cool, creamy, and maybe a little bit spicy to cut through all that richness.
My go-to recommendation for any big Game Day party is always to have a fantastic dip ready to go. If you’re looking for something that disappears faster than the wings themselves, you absolutely have to try Hana’s Southern 7-Layer Dip with Pimento Cheese Base. That creamy, sharp goodness pairs unbelievably well with the heat of a classic wing or the tang of a Ranch Wings mixture.
If you’re keeping it simple, a side of crisp celery and carrot sticks is non-negotiable; they offer the perfect palate cleanser between savory chicken bites. And if you’re making a huge batch of these easy wing recipes, trust me and have two or three different dipping sauces on hand. People get passionately loyal to their preferred sauce, so cover your bases!
Storage and Reheating for Crispy Baked Chicken Wings
So, you made too many amazing, crispy baked chicken wings? First, I’m jealous! Second, don’t worry about the leftovers because everyone wants them the next day, but we have to treat them gently to keep that coveted crispiness.
When you wrap up your Wing Night Ideas, the key is getting them away from any moisture source as soon as possible. Don’t leave them sitting around covered in sauce at room temperature. Once they’ve cooled down just a bit, transfer any sauced wings into an airtight container. If you used a dry rub, like Lemon Pepper coating, you can try layering them between paper towels inside a container, but honestly, they are better eaten fresh.
Now, here is the most important rule for reheating: Do not use the microwave! I know it’s tempting because it’s fast, but the microwave turns those glorious crispy skins into soft, sad rubber bands. Nobody wants that textural tragedy.
You have two fantastic options to bring them back to life. If you have time, pop them back into a 375°F (190°C) oven for about 8 to 10 minutes. That dry heat is gentle and will crisp the skin right back up. If you’re like me and want them immediately, the air fryer is your best friend! Set your air fryer to 375°F (190°C) and cook for just 4 to 6 minutes. Seriously, watch them closely because they heat up fast, and then they are ready for dipping all over again!
Frequently Asked Questions About Homemade Chicken Wings
I absolutely love hearing about your cooking adventures! When I first started making these Homemade Chicken Wings, I had a million questions myself. It’s all about building trust in a new technique, especially when you’re trying to get those perfect Oven Baked Wings without all the oil fuss. Below are some things I hear often, and hopefully, these clear things up so you can nail that crispy exterior every time!
Can I use regular baking powder instead of aluminum-free for these chicken wings?
That’s a great question, and yes, you totally can! Most people have regular baking powder in their pantry, so don’t stress if that’s what you have. The only minor difference is that the aluminum-free kind sometimes gives you a slightly cleaner flavor, and some bakers swear it browns just a tiny bit better. But really, for these chicken wings, either one will raise that skin pH enough to give you the fantastic crispiness we are aiming for. It’s not a dealbreaker whatsoever!
What is the best way to ensure my Oven Baked Wings stay juicy?
You nailed the most important part of loving leftovers! To keep your Oven Baked Wings juicy inside while the outside stays perfectly crunchy, you need two things working together. First, that baking powder coating is essential because it helps lock the moisture in close to the meat by crisping the outside skin barrier quickly. Second, and this is huge: do not overcrowd the rack! Remember how I said every piece needs to breathe? If the wings are touching each other, the steam gets trapped between them, and you end up steaming that side instead of rendering the fat. Give them space on that wire rack, and you’ll get juicy results every time.
We want to make sure these become your go-to for every party, so if you have more questions, feel free to reach out! We love helping you master these crowd pleaser appetizers.
Nutritional Estimates for These Savory Chicken Bites
Now, I know that when we’re making comfort food, we aren’t usually calculating every macro, but it’s helpful to know where we stand, especially if you’re bringing these amazing savory chicken bites to a big event. Since we are skipping the deep fryer here, these baked chicken wings are naturally lighter than a lot of the heavy appetizers out there!
I pulled these numbers straight from our testing, but please remember that these are just estimates for the wings prepared with the basic dry seasoning mix, before you toss them in any of your amazing sauces. If you drown these babies in a rich BBQ or Honey Garlic Wings glaze, your numbers will obviously change! We always put the official disclaimer on servings because we want you making this just how you love it. Check out the general breakdown per serving size (about 4 wings):
- Calories: Around 320 (Pretty good for something this crispy!)
- Fat: About 20g (Much less than fried, I promise!)
- Protein: A solid 30g—perfect for fueling up during the game!
- Carbohydrates: Very low, typically only 1g.
We keep things simple here at Spoon Swirl, and just like when we talk about our baking philosophy, we believe in transparency. You can see all the fine print about how these figures were calculated over on our official disclaimer page if you need the specifics on sodium or cholesterol. Enjoy these knowing you’ve got juicy meat and crispy skin without needing all that extra oil!
Share Your Perfect Chicken Wings Experience
We’ve talked all about technique here, from drying the skin until it squeaks to that magical baking powder coating that delivers the best crispy baked chicken wings, even without frying. But honestly, the best part of sharing a recipe isn’t just me telling you how good it is; it’s hearing how it turns out in *your* kitchen!
I genuinely want to know what you created! Did you try the Lemon Pepper Wings? Were you brave enough for the Hot Honey Chicken Wings? Did you make them for a huge Game Day party or just a simple weeknight dinner? Drop a comment below and let us know what wing flavor combination stole the show at your table.
If you loved how easy these were, please take a second to rate the recipe using the stars at the top of the page. It helps other home cooks find these crowd pleaser appetizers and know that they can achieve super crispy, juicy chicken wings too. We are building this cozy kitchen community together, one batch of perfect, savory chicken bites at a time. I can’t wait to see your creations!
PrintExtra Crispy Baked Chicken Wings (No Fry Technique)

You can achieve shatteringly crisp chicken wings in your oven without deep frying. This recipe uses a simple baking powder trick to give you juicy insides and perfectly crunchy skin, ideal for game day or any party.
- Prep Time: 15 min
- Cook Time: 50 min
- Total Time: 65 min
- Yield: 4 servings
- Category: Appetizer
- Method: Baking
- Cuisine: American
- Diet: Low Fat
Ingredients
- 3 lbs chicken wings (flats and drumettes separated)
- 1 tablespoon baking powder (aluminum-free preferred)
- 1 teaspoon salt
- 1/2 teaspoon black pepper
- 1/2 teaspoon garlic powder
- 1/4 cup of your favorite sauce (e.g., Buffalo, Honey Garlic, or Lemon Pepper seasoning)
Instructions
- Preheat your oven to 425°F (220°C). Line a large baking sheet with aluminum foil for easy cleanup, then place a wire cooling rack on top of the foil.
- Pat the chicken wings completely dry using paper towels. This step is crucial for crispiness.
- In a large bowl, combine the baking powder, salt, pepper, and garlic powder.
- Add the dried chicken wings to the bowl. Toss thoroughly until every piece is evenly coated with the dry mixture.
- Arrange the coated wings in a single layer on the wire rack, ensuring there is space between each wing for air circulation. Do not let them touch.
- Bake for 25 minutes.
- Flip each wing over. Return the pan to the oven and bake for another 20 to 25 minutes, or until the skin is deeply golden brown and very crispy.
- Remove the wings from the oven. Place them in a clean bowl.
- Toss immediately with your chosen sauce or dry rub until fully coated.
- Serve your extra crispy baked chicken wings right away for the best texture.
Notes
- For the absolute crispiest skin, use aluminum-free baking powder. The baking powder raises the pH level of the skin, helping it brown and crisp faster.
- If you plan to use a wet sauce like Buffalo or Honey Garlic, toss the wings in the sauce only after they come out of the oven. You can return them to the oven under the broiler for 1-2 minutes to set the sauce if desired.
- This technique works perfectly for making Lemon Pepper Wings or Ranch Wings; simply toss with the dry seasoning mix after baking instead of a wet sauce.
Nutrition
- Serving Size: 4 wings
- Calories: 320
- Sugar: 1
- Sodium: 450
- Fat: 20
- Saturated Fat: 6
- Unsaturated Fat: 14
- Trans Fat: 0
- Carbohydrates: 1
- Fiber: 0
- Protein: 30
- Cholesterol: 110