

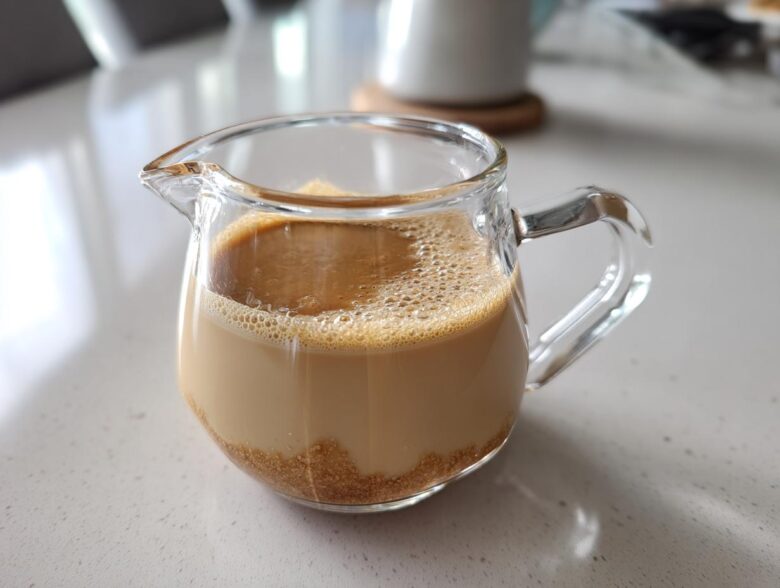
Oh my gosh, stop whatever you’re doing and listen up because your morning coffee is about to get a serious upgrade. I’m talking about ditching those sickly sweet, overly processed store versions for something truly decadent. We are making a homemade Creme Brulee Coffee Creamer from scratch today, and trust me, it’s my secret weapon for feeling fancy before 8 AM. Seriously, crafting specialty coffee flavorings is what I live for, and this recipe captures that perfect balance of creamy vanilla custard with just a hint of that satisfying caramelized sugar crunch.
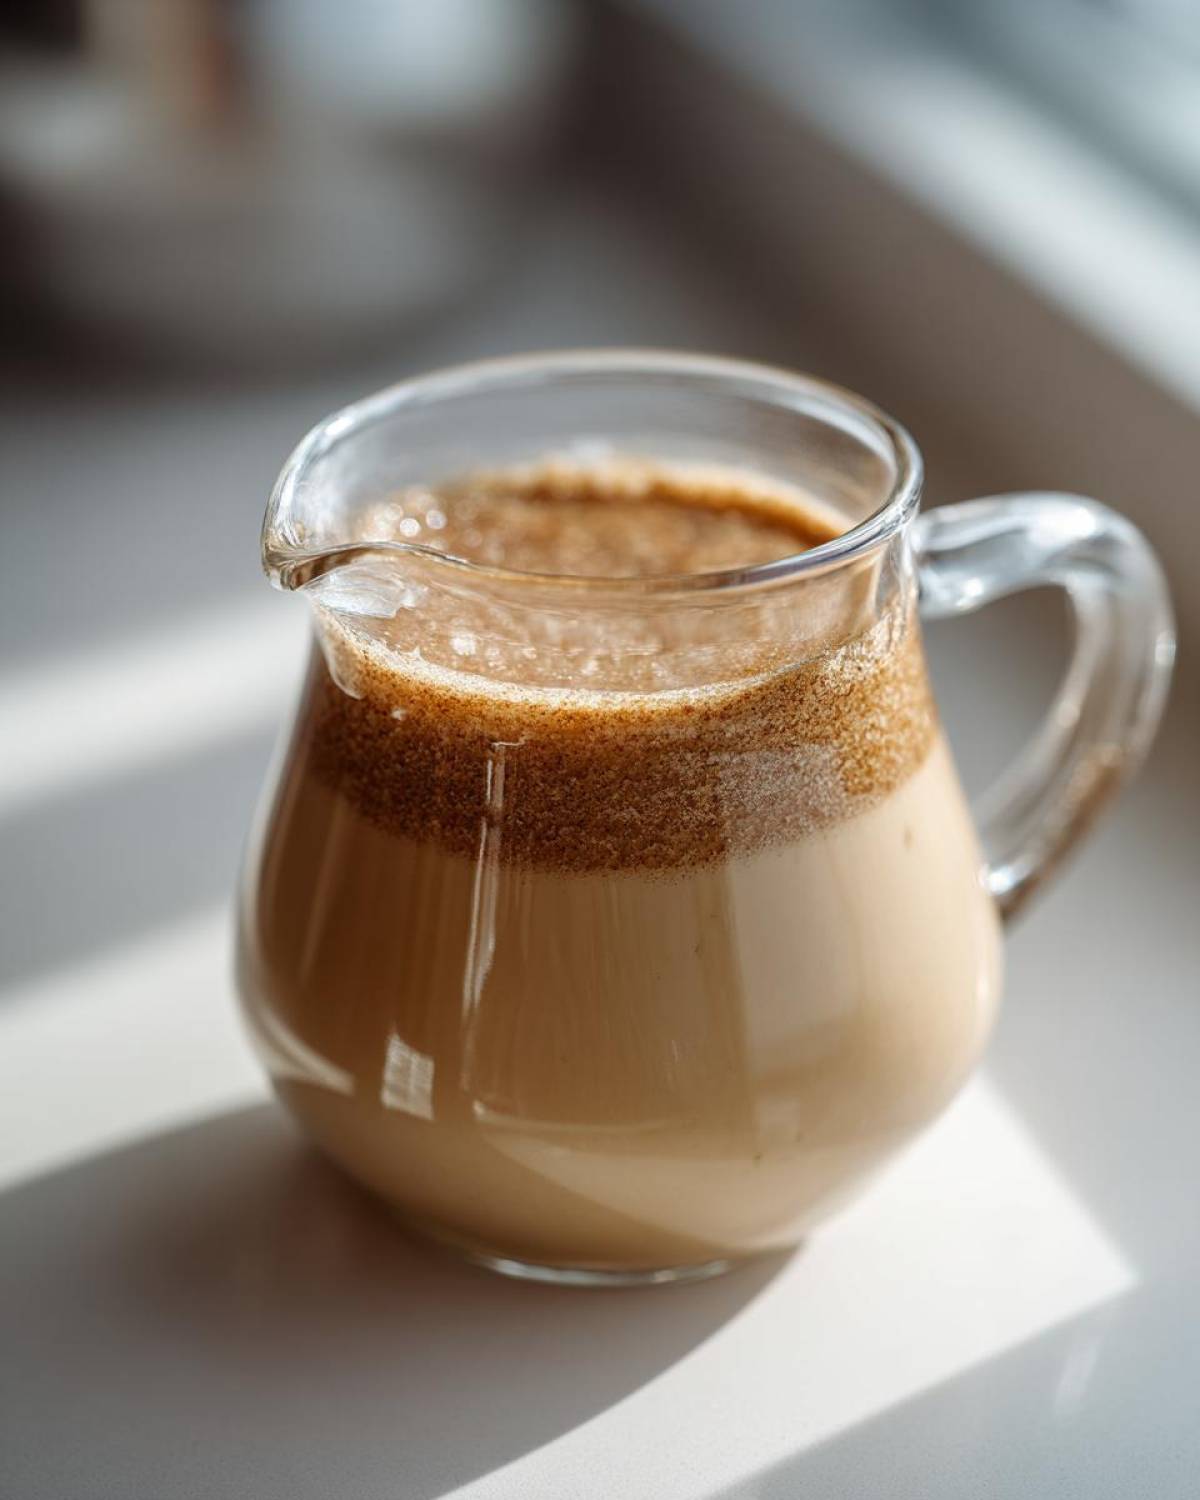
It’s so easy, too! You will not believe how quickly you can whip up this rich, pourable little jar of heaven. For those of you looking to elevate your daily ritual, this is the answer. If you want to see how I usually tackle making my own specialty coffee additions, check out my full guide on making specialty coffee creamers right here; it covers the basics!
Why This Homemade Creme Brulee Coffee Creamer Tastes Gourmet
Look, store-bought creamers are fine if you’re in a pinch, but they often taste artificial—like vanilla attempted a bad imitation of custard. We are making the Best Homemade Coffee Creamer here, and the difference is startling! I’ve perfected this because I refuse to settle for anything less than actual dessert flavor in my mug. It’s all about choosing the right components, which is half the fun!
- You get complete control over the sweetness, which is huge when mimicking something already sugary like crème brûlée.
- This recipe uses fresh dairy; you can taste the pure, rich base quality immediately when you use this creamer.
- It’s easily adaptable if you want to try oat milk or heavy cream only, which you just can’t do with the sealed plastic bottles!
You can find more of my favorite ways to customize coffee additions over on my guide to homemade coffee creamer recipes!
Achieving the Rich Custard Coffee Additive Base
The key to this being a true Rich Custard Coffee Additive and not just sweet milk is the ratio of heavy cream to whole milk. We use both because we want that luxurious mouthfeel you get from genuine custard. If you went all heavy cream, it’d be way too thick once it hits the hot coffee. This balance keeps it pourable while still delivering that satisfyingly creamy body—it’s perfect!
Simulating the Caramelized Sugar Coffee Flavor
This is where we nail the signature note of a good crème brûlée. We use standard granulated sugar to sweeten the custard base, but then we add a bit of light brown sugar right at the end. That tiny bit of molasses in the brown sugar gives us that subtle, earthy, almost burnt caramel note. That’s what transforms a plain vanilla creamer into a genuine Creme Brulee Coffee Creamer.
Gathering Your Specialty Coffee Flavorings Ingredients
Okay, time to grab your mixing bowls because the ingredient list for this Creme Brulee Coffee Creamer is super straightforward, but every item matters for that luxurious final taste. I always lay everything out first—it makes the five minutes of cooking time go so smoothly, I promise! You’re going to need equal parts heavy cream and whole milk to get that perfect pourable texture, plus your sugars, salt, and those critical flavor enhancers.
For about two cups of the creamer, here’s exactly what you need on your counter:
- 1 cup heavy cream
- 1 cup whole milk
- 1/2 cup granulated sugar
- 1 teaspoon vanilla extract
- 1/4 teaspoon almond extract (don’t skip this—it brings the custard note!)
- 1/8 teaspoon salt
- 1 tablespoon light brown sugar (this is for our crust simulation!)
Ingredient Notes and Substitutions for Creme Brulee Coffee Creamer
If you want to dial up the vanilla intensity—and, let’s be honest, who doesn’t?—move right past the extract and use vanilla bean paste instead. It gives you those gorgeous black specks reminiscent of a scraped pod; it’s fabulous! For those who like it super thick, like a true heavy dessert poured over ice, you can reduce the amount of whole milk used. Maybe swap half the milk for more cream, but remember, you’re making a coffee additive, not pudding!
Also, the almond extract is small but mighty. It really helps create that *rich custard coffee additive* base flavor that other vanilla creamers just miss. If you find your mixture is too thin after chilling, just know you can adjust the milk next time. This recipe yields about two cups, which lasts me easily a week in the fridge!
Step-by-Step Instructions to Make Your Creme Brulee Coffee Creamer
Now that we have our gorgeous ingredients ready, it’s time for the magic on the stovetop! This part moves really fast—we’re looking at maybe five minutes of active heat time total. Don’t walk away from the stove for a second, seriously! We need to dissolve everything gently to coax out those sweet, custard flavors for our Creme Brulee Coffee Creamer. Follow these steps exactly, and you’ll be so proud of your new specialty coffee flavoring.
If you want a deeper dive into kitchen safety when mixing liquids, I have some great tips over on my guide to making specialty coffee creamers!
Heating and Dissolving the Sugars
First, grab a small saucepan and dump in your heavy cream, whole milk, granulated sugar, vanilla extract, almond extract, and salt. Set the heat to medium and start stirring right away. You must stir constantly! We need the granulated sugar totally dissolved, and the mixture should get steaming hot, but listen to me—DO NOT LET IT BOIL! Boiling messes with the cream texture and changes the flavor profile completely. Once it’s steaming and you can’t feel any sugar grit on the bottom of the pan, yank it off the heat. That takes about five minutes, perfectly!
Flavor Integration and Chilling for Best Results
Once it’s off the heat, let it cool down for just a minute or two so it doesn’t scald the brown sugar flavor. Now, gently whisk in that tablespoon of light brown sugar. That’s what gives us that beautiful, deep caramelized note! Pour the whole mixture immediately into an airtight container. This is the hardest step for impatient cooks: you must refrigerate it for at least two hours. That rest time is essential for the flavors to really meld together perfectly. Trust me, this step is what makes people ask where you bought your DIY Vanilla Custard Coffee Flavor!
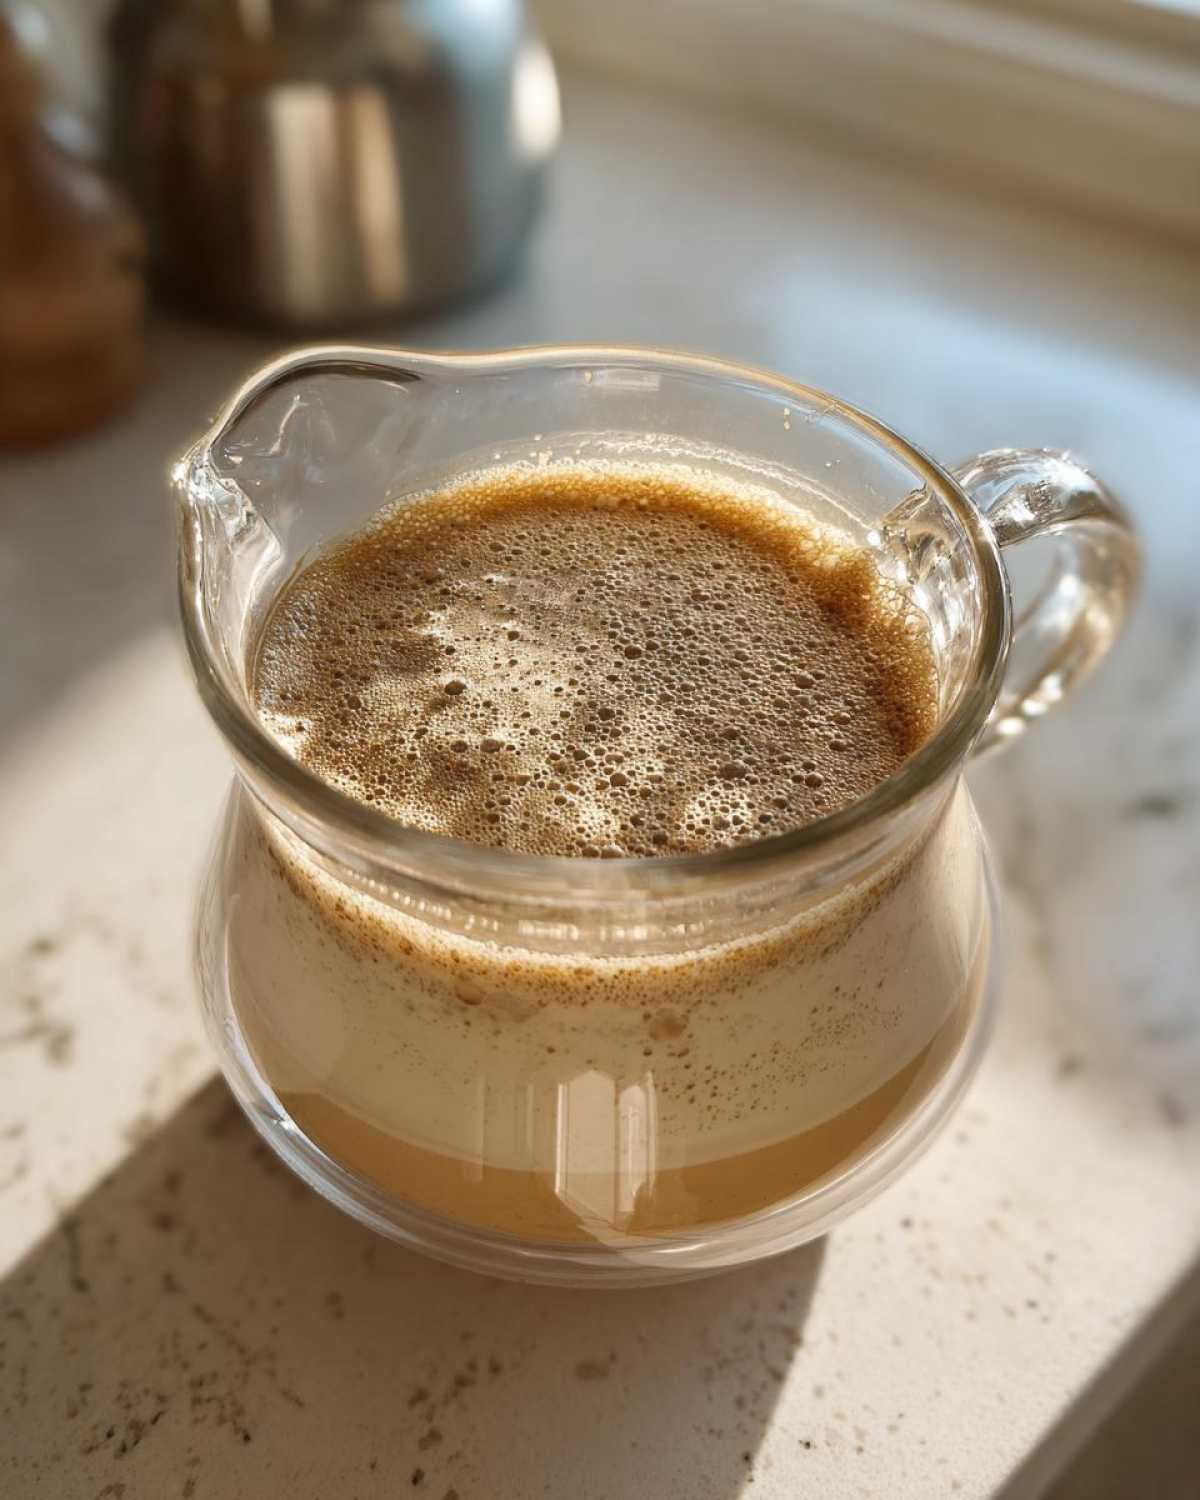
Tips for Success with Your DIY Vanilla Custard Coffee Flavor
Making this at home means you get insider knowledge that the big companies hide! The biggest tip I can give you for success when making your Creme Brulee Coffee Creamer is patience; that chilling time is non-negotiable. If you pour it into hot coffee straight from the stove, it just tastes sweet, not complex.
When you wake up the next morning, give it a really vigorous shake before you pour. You’ll want to use about two to three tablespoons per regular mug of hot coffee—taste as you go, because some coffees like a stronger punch than others. Stored properly in an airtight jar, this homemade goodness lasts up to a week in the fridge, which is amazing for a homemade creamer!
For more ways I tweak my batches, hop over to my guide on homemade coffee creamer recipes!
Serving Suggestions for Your Rich and Creamy Coffee Mix
This Creme Brulee Coffee Creamer isn’t just for a Tuesday morning! Because it’s so rich, it instantly elevates your entire coffee bar setup. Think of it as your little secret for creating Gourmet Coffee Ingredients right at home. It’s absolutely perfect for making sophisticated drinks, especially around the holidays when everyone loves a festive treat.
If you are looking for inspiration on setting up a stunning coffee station, be sure to check out my guide on Homemade Coffee Bar Essentials!
Try pouring a generous splash into a strong dark roast; the depth of the roast plays beautifully against the vanilla custard notes. It’s also incredible folded into a shot of espresso for a mini Crème Brûlée latte. Since this perfectly mimics a French Dessert Inspired Coffee, try serving it alongside actual caramel or hazelnut items!
Storage and Reheating Instructions for Creme Brulee Coffee Creamer
Remember, since we didn’t use any heavy stabilizers, this Creme Brulee Coffee Creamer needs to live in the fridge. Keep it zipped up tight in an airtight container—my favorite is a simple glass jar with a clamp lid. It stays wonderfully fresh for up to one whole week! The best part? You never have to reheat a thing. Just grab your two or three tablespoons right from the fridge and pour it straight into your piping hot coffee. The temperature shock is instant, and it mixes in beautifully every single time!
Frequently Asked Questions About This Specialty Coffee Flavoring
I always get a ton of questions when I share this recipe because people are worried about messing up that delicate custard balance. Don’t stress! It’s super robust. If you want to know anything else about using your favorite new Specialty Coffee Flavorings, just ask below!
Can I make this Creme Brulee Coffee Creamer without whole milk?
Oh, absolutely you can experiment with your dairy here! If you skip the whole milk entirely and use only heavy cream, you’ll end up with an incredibly rich, decadent product—almost like a thick sauce, which some folks prefer for their espresso shots. However, remember that ratio is key to keeping it truly pourable. If you go all cream, you might need to add a splash of water or even a little extra milk substitute when serving to keep it loose enough to pour nicely into your hot coffee.
How do I get a stronger French Dessert Inspired Coffee taste?
That’s easy! If you want that flavor profile to really jump forward and punch through a darker roast, you need to enhance the extracts. Try bumping the almond extract up just a tiny bit—maybe to 3/8 of a teaspoon—but taste often! Or, better yet, use that vanilla bean paste I mentioned earlier. That paste is concentrated vanilla flavor, and it really brings home that complex, luxurious French Dessert Inspired Coffee aroma we’re aiming for.
Estimated Nutritional Data for Your Coffee Additive
Since we are making this lovely Creme Brulee Coffee Creamer at home using real cream and milk, I always feel like I should get a little nutritional breakdown. Now, remember, this is based on the standard measurements I gave you, and using full-fat dairy means it’s certainly rich—that’s the point of a custard flavor, right?
These numbers are just estimates for a 1/4 cup serving size, so factor that in when you are pouring your two or three big glugs into your morning cup! For full details about how these averages are calculated, you can always check out my standard nutritional disclaimer.
- Serving Size: 1/4 cup
- Calories: 250
- Fat: 19g
- Saturated Fat: 11g
- Trans Fat: 0.5g
- Cholesterol: 70mg
- Carbohydrates: 19g
- Sugar: 18g
- Protein: 4g
- Sodium: 55mg
- Fiber: 0g
See? It’s definitely a treat! That 18 grams of sugar is mostly the granulated kind we used to dissolve into the base that helps create that signature rich mouthfeel for our rich and creamy coffee mix.
Share Your Homemade Coffee Creamer Experience
I truly hope you get to enjoy this at home this week. Making your own Creme Brulee Coffee Creamer is so much more satisfying than grabbing a bottle off the shelf, and knowing exactly what’s going into your favorite beverage is the best feeling!
So, after you’ve brewed your perfect cup, whether it’s black coffee or a double shot of espresso, I absolutely need to hear about it! Did you use the vanilla bean paste? Did you stick to just three tablespoons?
Take a moment, give us those important details, and please leave a star rating below so I know you loved this recipe. Tell us how your Creme Brulee Coffee Creamer turned out and what you plan to pair it with next time!
If you’re always looking for new ways to spice up your brew, come see all the other fun kitchen experiments I’m sharing over on the main blog!
PrintHomemade Crème Brûlée Coffee Creamer
Make a rich, pourable coffee creamer that captures the flavor of vanilla custard and caramelized sugar.
- Prep Time: 5 min
- Cook Time: 5 min
- Total Time: 10 min
- Yield: About 2 cups
- Category: Beverage
- Method: Stovetop
- Cuisine: French Inspired
- Diet: Vegetarian
Ingredients
- 1 cup heavy cream
- 1 cup whole milk
- 1/2 cup granulated sugar
- 1 teaspoon vanilla extract
- 1/4 teaspoon almond extract
- 1/8 teaspoon salt
- 1 tablespoon light brown sugar (for topping simulation)
Instructions
- Combine the heavy cream, whole milk, granulated sugar, vanilla extract, almond extract, and salt in a small saucepan.
- Heat the mixture over medium heat, stirring constantly until the sugar dissolves completely and the mixture is steaming, but do not let it boil.
- Remove the saucepan from the heat. Allow the mixture to cool slightly.
- Whisk in the light brown sugar until it is mostly dissolved. This adds a slight molasses note mimicking the burnt sugar crust.
- Pour the cooled creamer into an airtight container.
- Refrigerate for at least 2 hours to allow the flavors to meld.
- Use 2 to 3 tablespoons per cup of hot coffee. Stir well before serving.
Notes
- For a thicker creamer, reduce the amount of whole milk used.
- If you prefer a stronger vanilla flavor, use vanilla bean paste instead of extract.
- Store the finished creamer in the refrigerator for up to one week.
Nutrition
- Serving Size: 1/4 cup
- Calories: 250
- Sugar: 18
- Sodium: 55
- Fat: 19
- Saturated Fat: 11
- Unsaturated Fat: 8
- Trans Fat: 0.5
- Carbohydrates: 19
- Fiber: 0
- Protein: 4
- Cholesterol: 70