

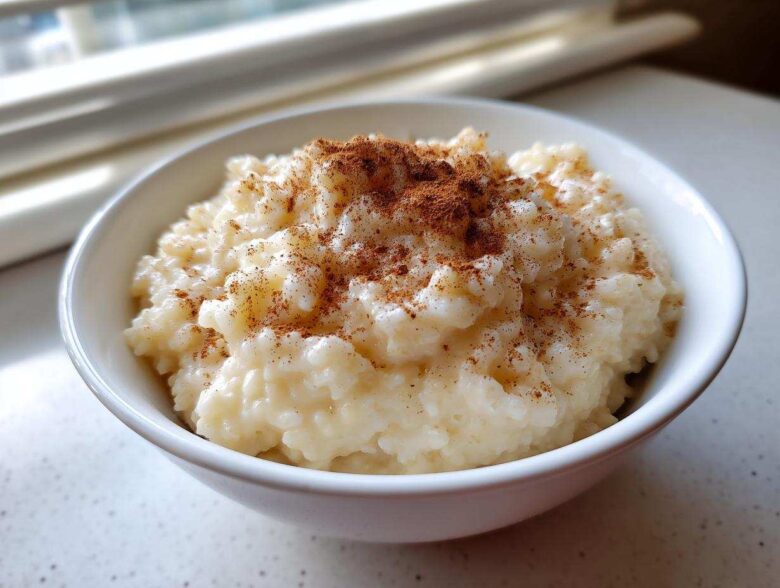
When life feels a little too loud and the days move too fast, I always pull out the essentials for a massive bowl of comfort. For me, that always means something warm, sweet, and slow-cooked, and nothing delivers that feeling like a classic, dreamy rice pudding. Forget the boxed stuff; we are making the Old-Fashioned Creamy Stovetop Rice Pudding today. This recipe proves you only need five simple ingredients to create something truly magical and utterly nostalgic. It wraps around you like Noah’s best hug.
Why This Old Fashioned Rice Pudding is Your New Comfort Staple
Honestly, if you’re looking for true comfort food, this is it. This isn’t some trendy, overly complicated dessert; this is the original, the one that tastes like a hug from behind after a long day. We keep it seriously simple—you only need five ingredients! That’s right, five! It takes minimum effort but gives you maximum payoff in terms of creamy, warm goodness. If you need quick and easy Comfort Dessert Ideas, keep this one handy.
It’s everything I love about Nostalgic Sweet Treats, achieved right on the stovetop. No fussy oven required!
Achieving the Best Rice Pudding Texture
The secret sauce, or maybe I should say, the secret grain, is using short-grain rice. Trust me, I’ve tried the long-grain stuff, and it just doesn’t bloom the way we want it to. Short-grain rice absorbs all that glorious milk and releases its natural starches, which is the magic behind that thick, velvety finish—that’s the Best Rice Pudding Texture we’re aiming for!
The Simplicity of Our Easy Homemade Pudding
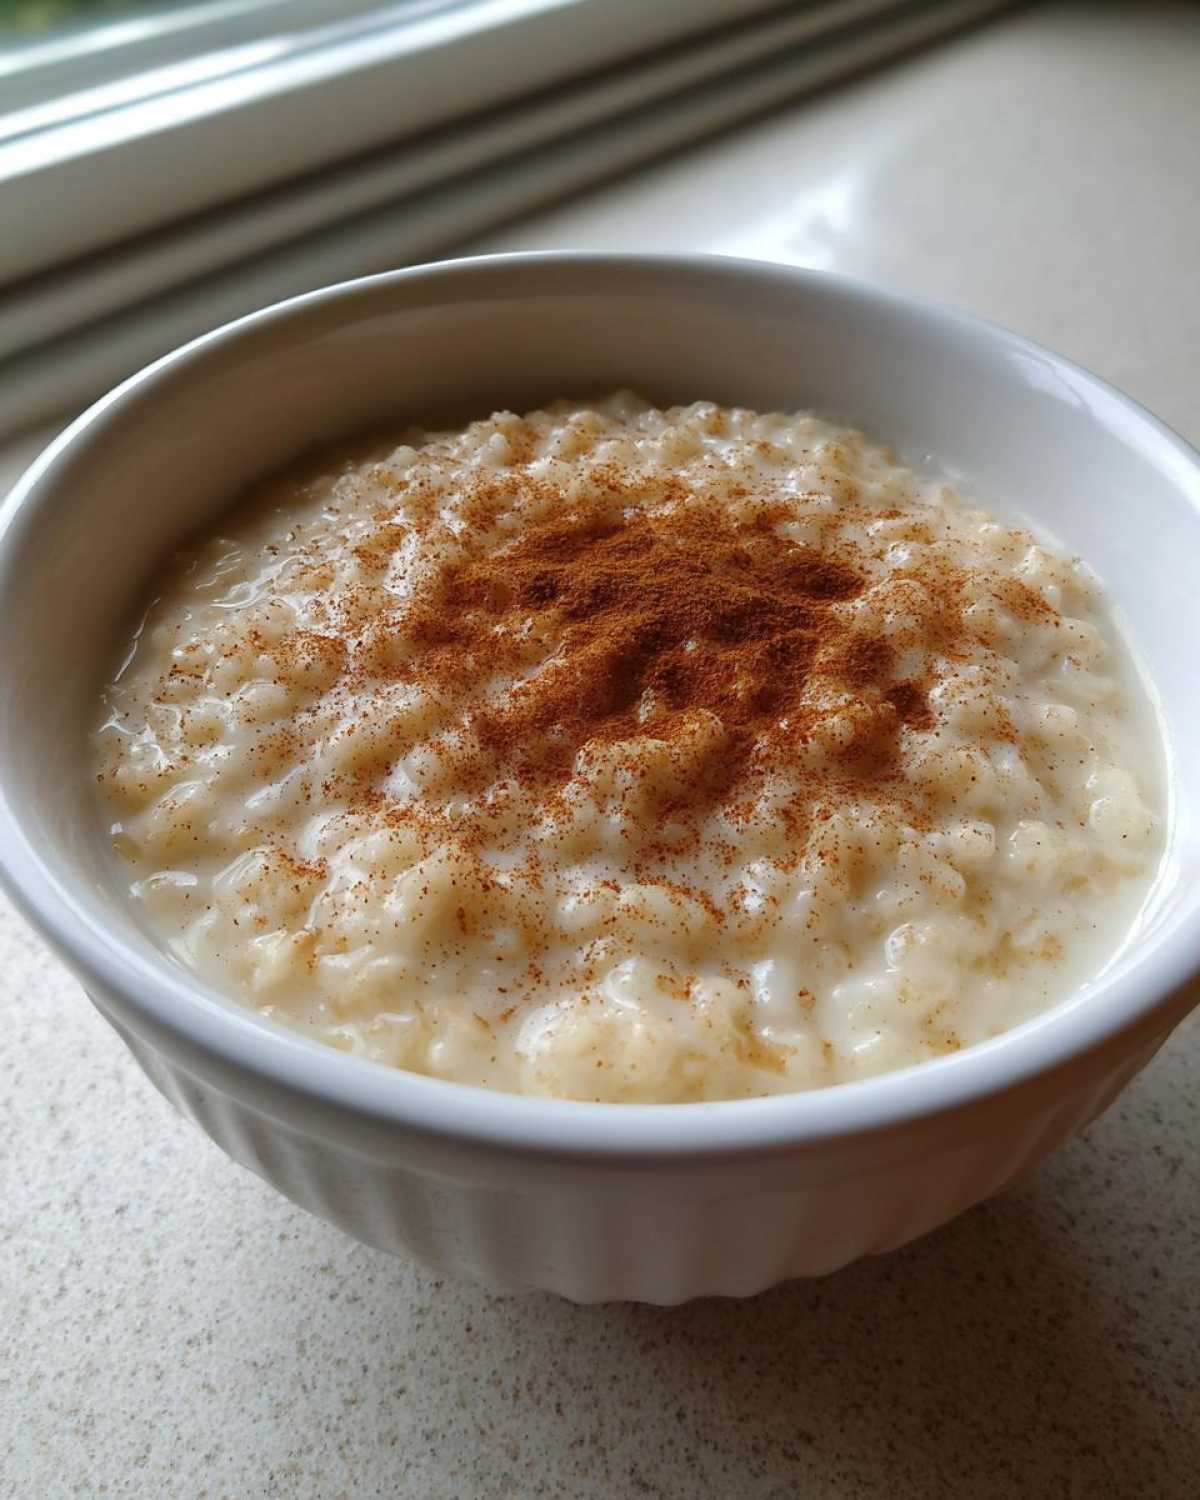
Because we’re making this on the stovetop, cleanup is way easier, which I love. This really is a Simple 5 Ingredient Dessert, focusing on the classic milk, rice, sugar, vanilla, and cinnamon combo. It proves that our Easy Homemade Pudding doesn’t need a huge spice rack or exotic ingredients to taste absolutely incredible.
Essential Ingredients for Classic Rice Pudding
Gathering your ingredients for this Old Fashioned Rice Pudding is almost as comforting as the actual cooking! Since we are keeping this recipe focused and simple, the quality of these few items really shows through. Everything you need is probably already in your pantry, which makes this an excellent make ahead dessert option for unexpected company.
Here is what you’ll need to get started:
- 1 cup short-grain white rice (Arborio works well for creaminess)
- 4 cups whole milk
- 1/2 cup granulated sugar
- 1 teaspoon vanilla extract
- 1/2 teaspoon ground cinnamon (plus extra for topping)
Step-by-Step Stovetop Rice Pudding Instructions
Alright, this is where the magic happens! Making a truly amazing rice pudding on the stovetop needs patience, but I promise you, it’s worth every gentle stir. The biggest rookie mistake is walking away. You can’t do that when making this creamy goodness!
Preparing the Rice and Initial Simmer
First things first: always rinse your rice! Just run it under cold water until the water isn’t cloudy anymore. This little step stops the final product from becoming one giant, sticky brick. Next, grab your heaviest saucepan—the thickest one you own. Seriously, use the heavy-bottomed pan; it distributes the heat and saves you from scorching the bottom, which smells terrible! Combine the rinsed rice and the whole milk, then put it over medium heat. Stir it often—I mean it—until you see the very first bubbles breaking the surface and it just starts to simmer gently.
Developing the Creamy Rice Pudding Base
Once that milk is just starting to bubble, immediately drop the heat way down to low. Now we settle in for the long haul. You need to cook this for about 40 to 50 minutes. You must stir every five to seven minutes. Don’t skip this! These slow stirs are what encourage the rice to release its starch, turning that plain milk into a rich, thick sauce. This is how you nail that perfect Creamy Rice Pudding Recipe texture.
Finishing Touches: Sweetening the Stovetop Rice Pudding
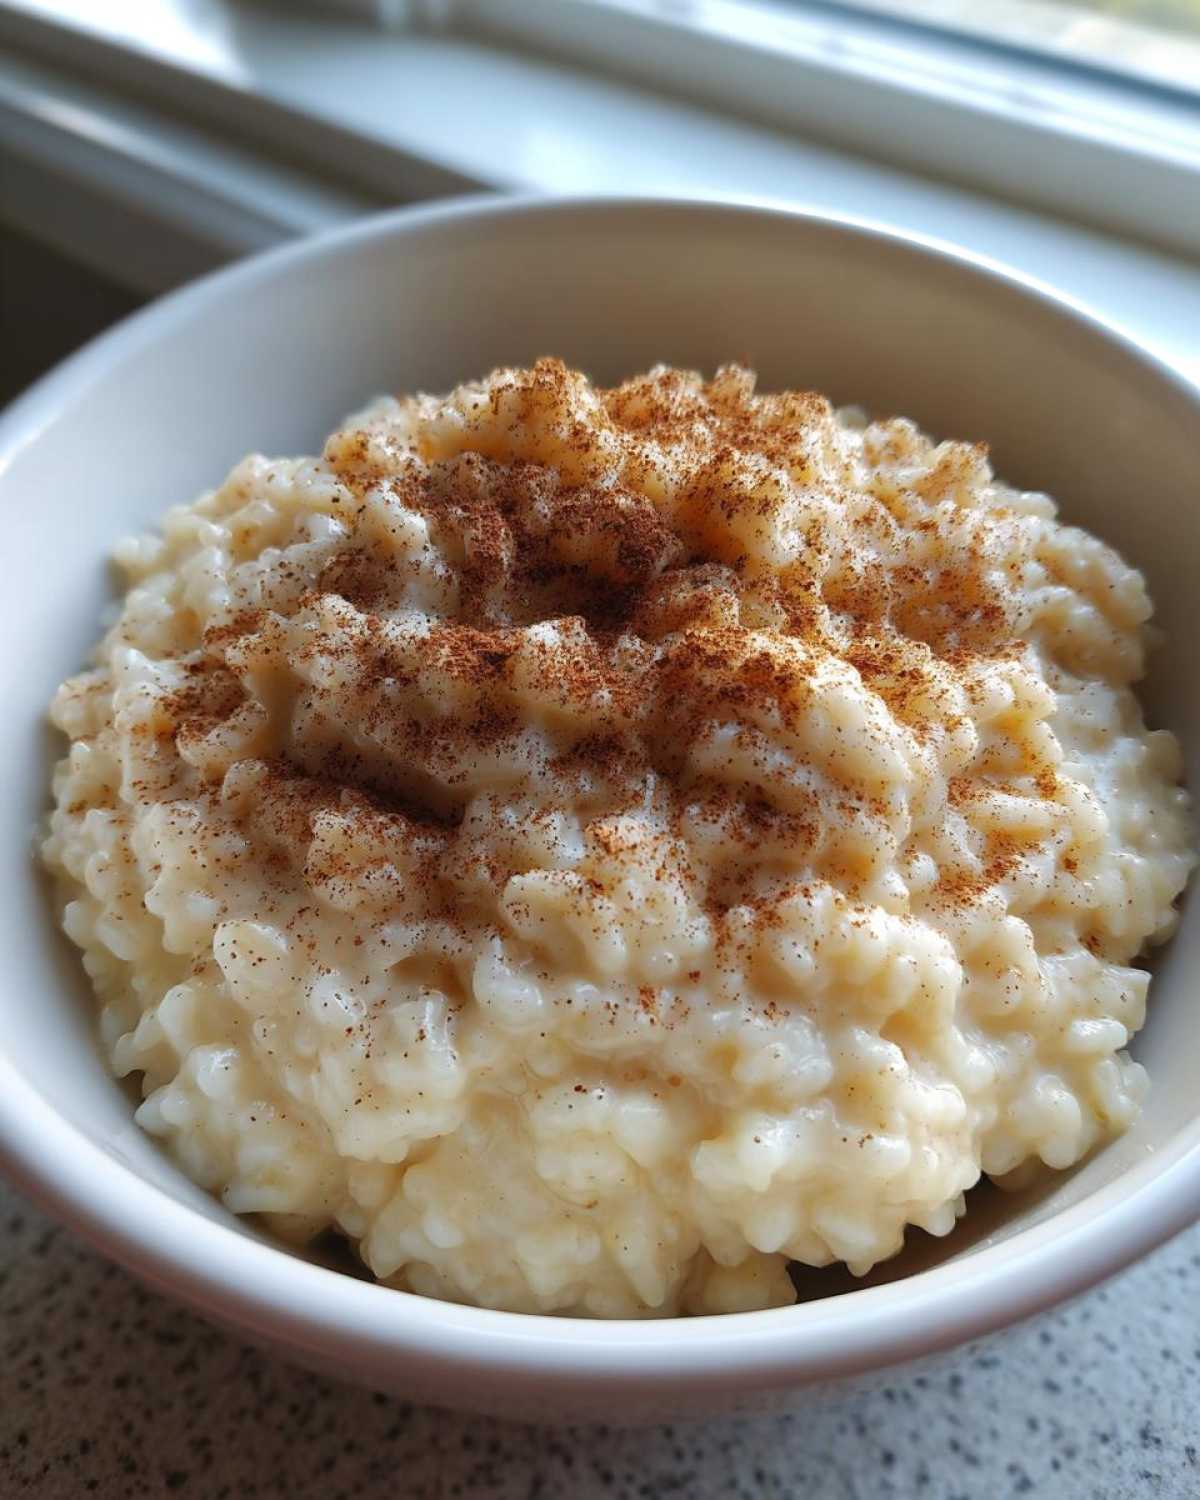
When the rice looks swollen and the milk has reduced substantially, it’s time for flavor! Stir in your sugar and that lovely vanilla extract. Let that cook gently for another five minutes until the sugar is completely dissolved and everything looks perfectly thick. Remember, this stovetop rice pudding will always firm up once you pull it off the heat. Stir in half that cinnamon, give it one last mix, and take it away from the burner!
Tips for the Ultimate Creamy Rice Pudding Success
Now that you’ve navigated the cooking—which I know was a little nerve-wracking because you’re stirring constantly—we need to talk about nailing that perfect texture when serving. This is where my own experience with my famous Vanilla Cinnamon Pudding really comes into play. Don’t stress if you pull it off the heat and it seems a trifle too liquidy; that’s planned!
Adjusting Consistency for Your Perfect Rice Pudding
Rice pudding is sneaky! It soaks up liquid like a sponge while it cools down. If you pull it off the stove looking exactly how you want it to look served, you’ll end up with a brick five minutes later. If your rice pudding sets up much firmer than you like once it cools, the fix is so easy: just whisk in a splash of whole milk until you get that perfect, luxurious, spoonable consistency again. It brings it right back to life!
Serving Suggestions for Warm Pudding Desserts
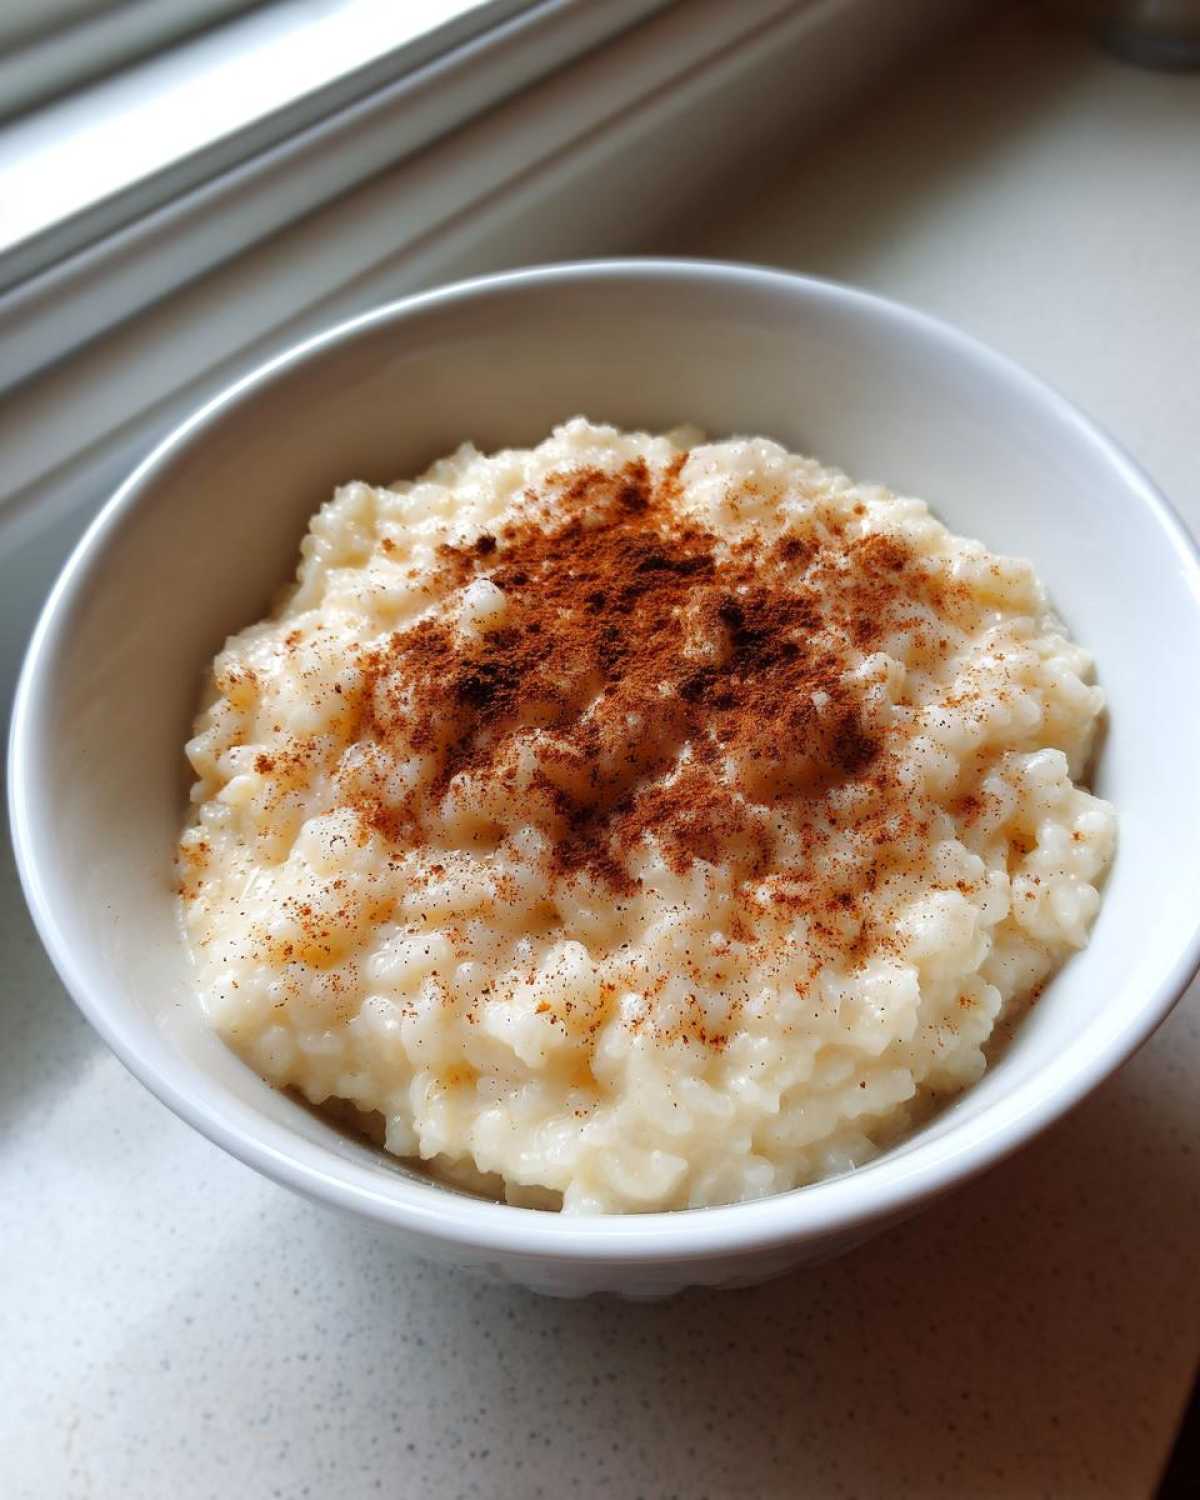
This is the fun part, isn’t it? Does it taste amazing piping hot or perfectly chilled? The answer is YES. For that ultimate cozy feeling, serve this Old Fashioned Rice Pudding while it’s still warm. That aroma of cinnamon hangs in the air—it’s just heavenly.
If you serve it warm, a little extra dusting of cinnamon right on top is all you need to make it special. But if you chill it down? I love crumbling a little crunchy biscotti over the top, or maybe a tiny swirl of maple syrup. These Warm Pudding Desserts are so versatile!
Make Ahead Dessert and Storage for Your Rice Pudding
One of the best things about this rice pudding? It’s a genius Make Ahead Dessert! I often make a double batch because, honestly, it tastes even better the next day once all those vanilla and cinnamon notes have had time to really settle in and deepen. It’s the perfect cozy food for when you need a sweet something ready to go.
To store it, let it cool down completely on the counter for about an hour first. Then, cover your main pot with plastic wrap pressed right onto the surface, or scoop the pudding into individual bowls and cover those tightly. Pop it into the fridge. It stays wonderfully creamy and delicious for up to four days—though ours usually disappears much quicker than that!
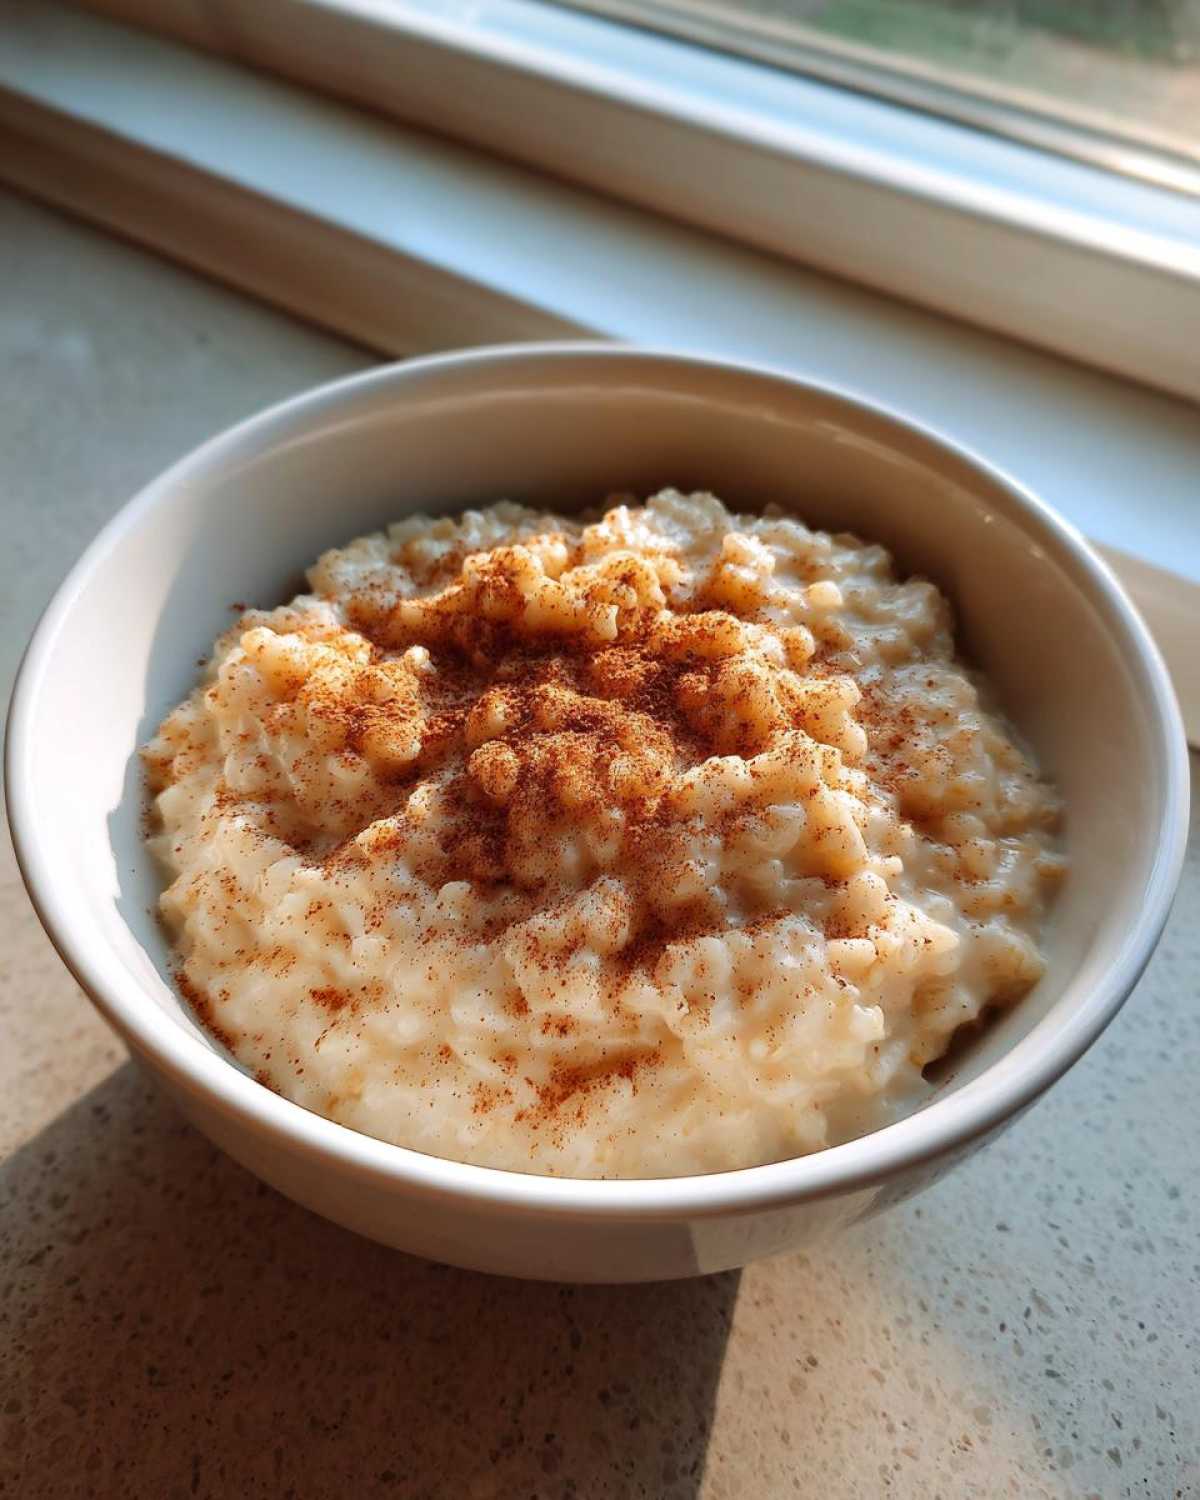
If you want to serve it later and it got a little too firm, don’t panic! Just transfer the amount you want into a microwave-safe bowl and add a splash of milk—maybe a teaspoon or two—before heating gently. A quick stir brings back that perfect, silky texture right away. See? So much easier than baking a whole new thing!
Frequently Asked Questions About Creamy Rice Pudding Recipe
I get so many wonderful questions about this classic dessert! Since it’s so simple, people often wonder where they can make small tweaks. I always try to answer them honestly so you walk away with confidence in your batch of rice pudding.
Is this the Best Rice Pudding Texture if I use Arborio?
Yes! I actually put Arborio in the ingredients list as a suggestion, and I highly recommend it if you want that ultra-velvety result. Arborio is that starchy rice traditionally used for risotto, so it releases more creaminess when cooked slowly with milk. It really helps achieve the Best Rice Pudding Texture for this old-fashioned style.
Can I use less sugar in this Easy Homemade Pudding?
You absolutely can reduce the sugar a little bit if you prefer things less sweet, especially if you plan on topping it with jam later! But I have to warn you: sugar isn’t just for sweetness here. In this Easy Homemade Pudding, the sugar helps maintain moisture and body as the pudding cools. If you take out too much, the starch can stiffen up slightly more than we want. Try reducing it by just one tablespoon first!
Can I bake this instead of using the stovetop?
While this recipe is perfected for the stovetop, I know some people love that baked crust! If you want to try baking, you absolutely can make this into a Baked Rice Pudding Alternative. Just pour the ready-to-cook mixture into a casserole dish (don’t pre-cook the rice first!), set it in a water bath, and bake at 325°F until set, usually about an hour. Keep checking it, though!
What is the secret to getting that super creamy finish?
It comes down to two things: the rice choice (short-grain or Arborio, remember?) and constant, gentle stirring over low heat. That frequent stirring prevents the milk from separating and forces the rice grains to break down just enough to release that gorgeous starch that acts as our natural thickener. It’s the key to a truly great Classic Dessert Recipe!
Nutritional Snapshot of This Comfort Dessert Ideas
I know sometimes we want to know the details, even when we are focusing on pure comfort food! While this recipe is all about cozy indulgence rather than counting macros, I pulled together the general estimates so you have the information. Remember, since this is completely homemade, things like how much milk soaks into the rice will change things slightly. Think of this as a helpful guide, not a strict science!
These figures are estimates based on the 5 ingredients used and assuming the recipe yields 4 generous servings:
- Per Serving (Approximate):
- Calories: 350
- Total Fat: 8g (4.5g Saturated Fat)
- Carbohydrates: 60g
- Protein: 11g
- Sugar: 25g
- Sodium: 85mg
It’s a lovely balance because of all that whole milk we use, giving you a nice little bit of protein in your Comfort Dessert Ideas! Enjoy every spoonful!
Share Your Spoon Swirl Moment
Okay, now it’s your turn to take this classic rice pudding into your own kitchen! I truly believe that the best part of cooking is what happens *after* the recipe is done—it’s watching someone else find comfort in something you made with love.
I hope making this simple stovetop version brought you a quiet moment, your very own ‘spoon swirl’ break from the busy world. Did you use Arborio rice? Did you eat it warm or chilled? I want to hear all about it!
Head over to the comments below and tell me how yours turned out. If you loved this easy, dreamy dessert, please take a second to leave a rating—it helps us know what other cozy recipes you want to see! Let’s keep spreading that feeling of quiet joy, one creamy bowl at a time. For more recipes meant to bring peace to your busy week, check out more wonderful dishes over on the main Spoon Swirl page!
PrintOld-Fashioned Creamy Stovetop Rice Pudding
Make the creamiest, old-fashioned rice pudding right on your stovetop using just five simple ingredients. This nostalgic dessert is pure comfort in a bowl.
- Prep Time: 5 min
- Cook Time: 55 min
- Total Time: 60 min
- Yield: 4 servings
- Category: Dessert
- Method: Stovetop
- Cuisine: American
- Diet: Vegetarian
Ingredients
- 1 cup short-grain white rice (Arborio works well for creaminess)
- 4 cups whole milk
- 1/2 cup granulated sugar
- 1 teaspoon vanilla extract
- 1/2 teaspoon ground cinnamon (plus extra for topping)
Instructions
- Rinse the rice under cold water until the water runs mostly clear. This helps prevent overly sticky pudding.
- Combine the rinsed rice and whole milk in a heavy-bottomed saucepan.
- Bring the mixture to a gentle simmer over medium heat, stirring frequently to stop the rice from sticking to the bottom.
- Once simmering, reduce the heat to low. Continue to cook, stirring every 5 to 7 minutes, for about 40 to 50 minutes. The rice should soften, and the milk should thicken into a creamy sauce.
- Stir in the sugar and vanilla extract. Cook for another 5 minutes, stirring constantly, until the sugar dissolves and the pudding reaches your desired thickness. Remember, it will thicken more as it cools.
- Remove the saucepan from the heat. Stir in half of the cinnamon.
- Serve the rice pudding warm, or transfer it to bowls and chill completely for a colder dessert. Sprinkle the remaining cinnamon on top before serving.
Notes
- For an ultra-creamy texture, stir the pudding often, especially during the last 15 minutes of cooking.
- If the pudding becomes too thick while cooling, stir in a splash of milk until you reach the right consistency.
- This recipe tastes wonderful served warm, but it is also a great make-ahead dessert when chilled.
Nutrition
- Serving Size: 1 serving
- Calories: 350
- Sugar: 25
- Sodium: 85
- Fat: 8
- Saturated Fat: 4.5
- Unsaturated Fat: 3.5
- Trans Fat: 0
- Carbohydrates: 60
- Fiber: 1
- Protein: 11
- Cholesterol: 25