

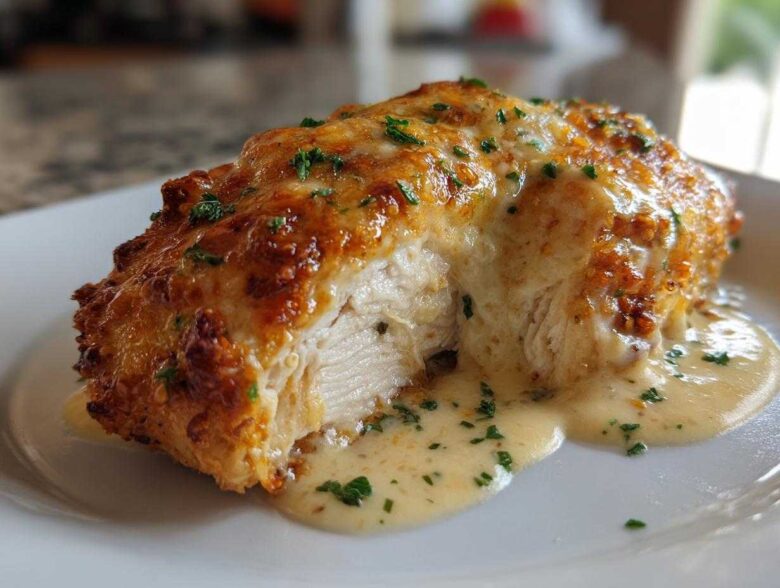
Are you ever just staring into the fridge at 5:30 PM thinking, “I need something big on flavor but totally small on effort”? We’ve all been there, right? That’s exactly when you need to call in the troops for a seriously satisfying **caesar chicken** recipe. This baked version, smothered in that gorgeous, creamy Parmesan coat, is the answer to every hectic Tuesday night. It’s hearty, feels fancy, but honestly, it’s one of the simplest things I make all week. For me, Noah, food is about comfort first, and nothing says comfort like cheesy, juicy chicken coming out of the oven. It’s proof that you don’t need complex techniques to get real, wonderful flavor! If you want to know more about why we believe in these simple, heartwarming meals, check out our story on the About Us page.
Why This Baked Caesar Chicken Recipe is Your New Weeknight Hero
Seriously, this **Baked Chicken Dinner** is a game-changer for busy people. I know rushing dinner can be stressful, but this recipe takes all the usual fuss out of making something delicious. It hits every mark we look for in an **Easy Weeknight Chicken**: it’s fast, it requires almost no hands-on work, and it tastes like something you spent hours lovingly preparing. That’s why I trust this method so much for consistent results—the even bake ensures you get those beautiful, juicy baked chicken breasts every single time. It’s instant **Comfort Food Chicken**!
If you’re looking for more inspiration to simplify your kitchen routine, feel free to browse our posts over on the main Spoon Swirl Blog.
Quick Chicken Meals Ready in Under 40 Minutes
This is not a drill! From the moment you start whisking the sauce to the moment it comes out of the oven, you’re looking at about 35 minutes total time invested. That means you can actually spend time enjoying dinner instead of just cooking it. It’s perfect for those nights where you swore you’d order takeout but decided against it last minute.
Capturing Authentic Caesar Salad Flavors
The flavor profile is where this dish truly shines. We aren’t just throwing Caesar dressing on chicken; we are amplifying those signature **Caesar Salad Flavors**—that little bit of tang from anchovy (built into the dressing, thank goodness!) and a hefty dose of sharp Parmesan. It’s all nestled under a crispy breadcrumb top. It feels sophisticated but is genuinely so simple.
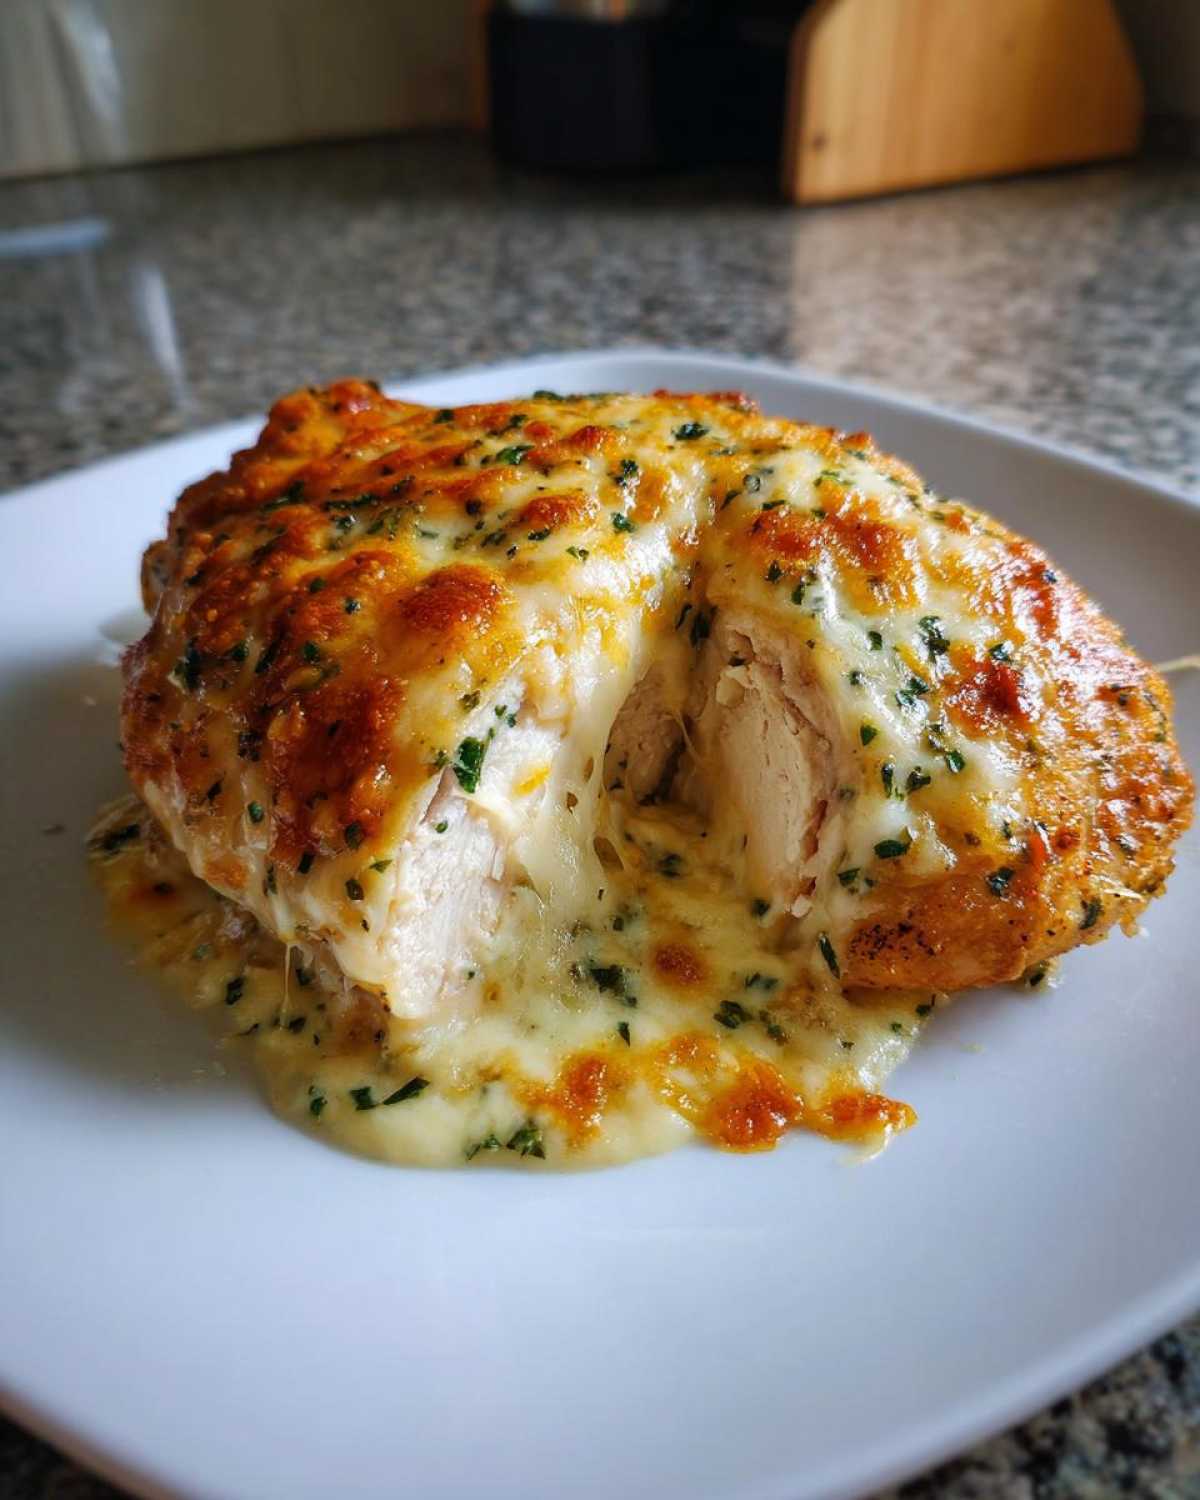
Gathering Ingredients for Your Creamy Parmesan Caesar Chicken
When you’re making something this easy, the quality of your core ingredients really shines through. Cooking should be clear, and that starts right here with what you pull out of the pantry and fridge. Trust me when I say, measure everything out first—it makes that 10-minute prep time fly by without any scrambling!
You’ll need four large boneless, skinless chicken breasts, of course. Remember, whatever size they are, we need to treat them right so they cook evenly. Then grab your standard pantry helpers and seasonings: a little black pepper and salt to start! But the real magic, as you might guess, is in that vibrant topping.
The Components of the Creamy Caesar Dressing Chicken Sauce
This is the heart of the dish, where that rich, savory flavor comes from. You’ll mix one full cup of creamy Caesar dressing—don’t skimp on the quality here, it makes a huge difference! To that, we add a half cup of finely grated Parmesan cheese. Now, here’s a little secret Hana insists upon for extra richness: we throw in a quarter cup of mayonnaise. If you’re hesitant, skip it, but I find that small addition makes this a true **Creamy Parmesan Chicken** experience.
Don’t forget the aromatics! We need two cloves of garlic, minced super fine, and just one teaspoon of Dijon mustard to really wake up the flavors. Whisk all those sauce components together until they are perfectly smooth and ready to blanket those chicken breasts!
Step-by-Step Instructions for Perfect Caesar Chicken Recipe
Alright, gather your bowls, because this is where we put everything together for our incredible **Caesar Chicken Recipe**. The beauty of this **Baked Chicken Dinner** is that it moves fast! We are aiming for rich flavor without hours of fuss. You’re definitely going to want to have your oven preheated before you even start mixing the sauce—it just keeps the momentum going, which is key for a fast **Quick Chicken Meal** like this one.
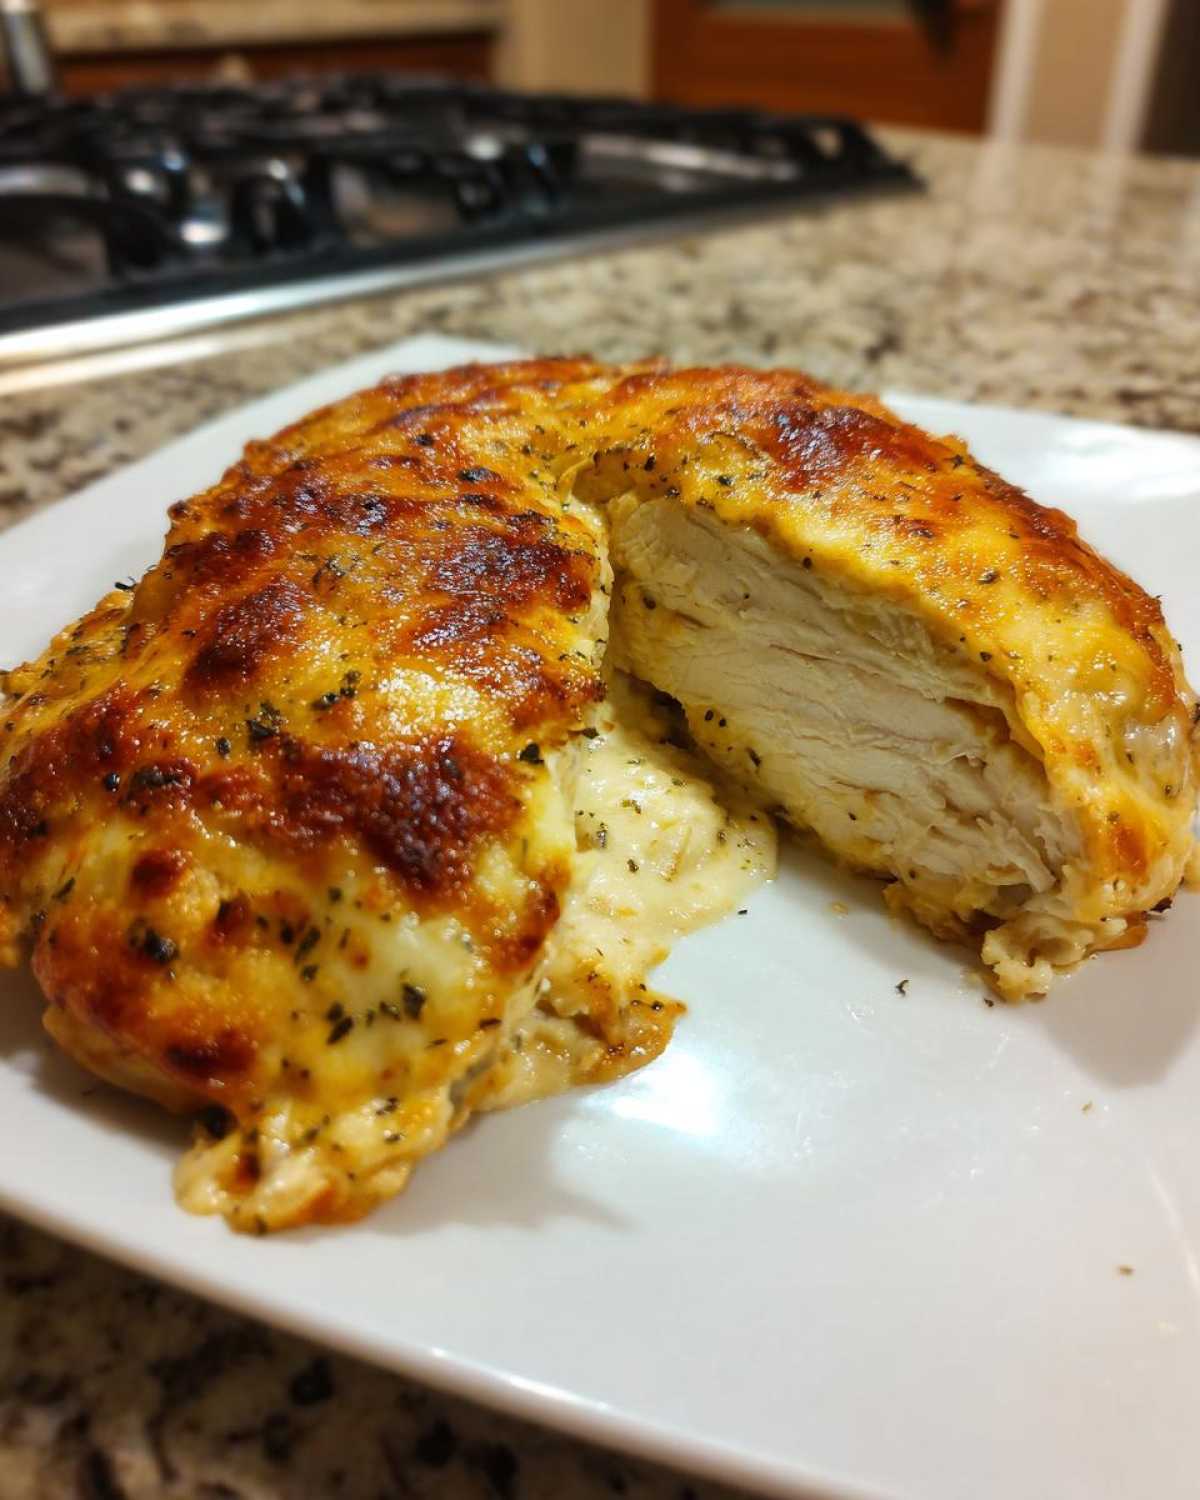
Once everything is coated and ready to go into the heat, remember that resting time at the end. I learned the hard way years ago that cutting into chicken straight out of the oven means losing all those beautiful juices. Patience for just five minutes makes all the difference for that juicy result! If you are looking for more easy oven recipes, you might love this one for Baked Caesar Chicken With Creamy Parmesan Sauce.
Preparing the Chicken and Oven for this Baked Chicken Dinner
First things first: crank that oven up to 400 degrees Fahrenheit! While it’s heating up, make sure you’ve lightly greased your baking dish—I always find parchment paper makes cleanup practically nonexistent, which is a win in my book. Now for the chicken breasts. If yours are uneven, and most are, take a minute to pound them gently to about a 3/4-inch thickness. This one simple step is absolutely crucial for getting those **Juicy Baked Chicken Breasts** without having some parts feel dry while others are still pink in the middle.
Mixing the Creamy Parmesan Sauce and Coating the Chicken
Time to whisk! In a separate bowl, combine your dressing, Parmesan, garlic, mustard, and the optional mayonnaise until it’s one perfectly smooth, creamy mixture. Spread this goodness evenly all over your prepared chicken breasts so they are completely blanketed. Next, sprinkle that 1/4 cup of breadcrumbs right on top, followed by a light dusting of extra Parmesan for that cheesy finish. Layering is important here!
Baking Times and Checking Internal Temperature
Slide that dish into the hot oven. You are looking at about 20 to 25 minutes of bake time. Make sure you are checking the temperature, not just the clock, especially since chicken thickness can vary. You want to pull it out the second it hits 165 degrees Fahrenheit internally—that bubbly, golden-brown top is your visual cue! Don’t skip the final mandatory step: let it rest on the counter for five minutes before serving. If you are dreaming of serving this with a side, you can see some inspiration over on our Dinner Category Page!
Tips for Juicy Baked Chicken Breasts Success
Look, we’ve all been there. You follow the recipe, you pull it out, it looks golden, but when you slice into it… oh no, it’s a little dry. That’s the tragedy of a slightly over-baked chicken breast, and trust me, I’ve made that mistake plenty of times when I’m rushing through dinner prep. The difference between a good **Juicy Baked Chicken Breasts** experience and a disappointing one comes down to two crucial moments: consistency before baking and patience afterward. We want that sauce melted and bubbly, but we don’t want the meat to tighten up and lose all its moisture!
My biggest learning curve was realizing that resting time isn’t optional; it’s part of the cooking process. I remember one particularly chaotic evening when Hana had baked beautiful rolls and this **caesar chicken** was next on the agenda. Thinking I was being efficient? I sliced the chicken immediately to check the temp for the kids. It looked slightly done, so I cut into it—and *whoosh*, all the lovely juices just flooded out onto the cutting board instead of staying in the meat where they belong! Learn from my impatience; let it rest for those full five minutes. You can read about one of the most amazing texture hacks I’ve seen by checking out this article from The Cookie Rookie as well: Melt In Your Mouth Caesar Chicken.
Achieving the Best Texture with Breadcrumbs
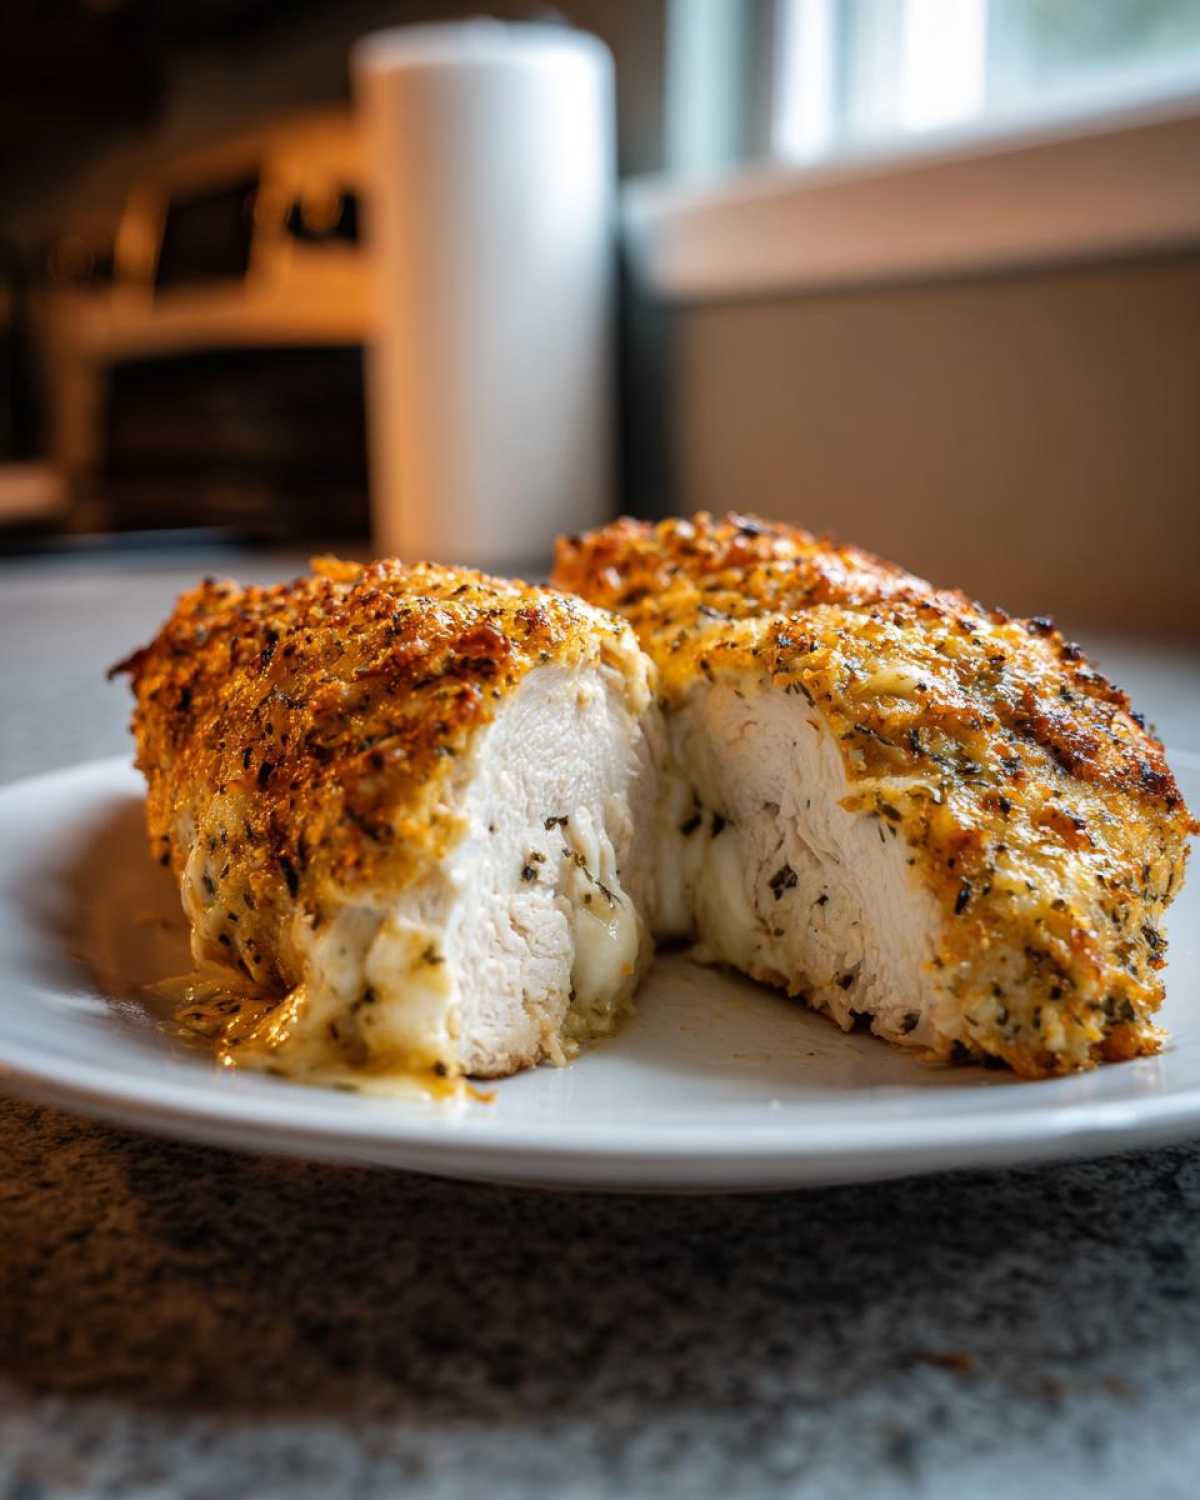
The secret weapon for that perfect bite—where the sauce is creamy but the top has just a little welcome resistance—is using the right crumbs. I really, really push for Panko breadcrumbs here. Regular fine breadcrumbs tend to soak right into the moisture, kind of melting away completely. Panko are those airy, large flakes, and they crisp up beautifully in the 400-degree heat, giving you that lovely, delicate crunch against the creamy sauce. You want to sprinkle them evenly, right over that sauce layer, making sure you cover every bare spot so you get that buttery, toasted texture in every single bite!
Making This Caesar Chicken a Complete One Pan Chicken Dinner
One of the best parts about this **caesar chicken** preparation is how easily it transforms into a true one-pan wonder. I mean, who doesn’t love knowing that your main course and at least one veggie are done at the exact same time? Cleaning fewer pans is definitely a priority for me after a long day, and this method makes it incredibly simple. You aren’t going to have to roast sides separately or worry about juggling oven space!
The key here is timing the vegetables correctly. Since the chicken itself only needs about 20 to 25 minutes, you need sides that can handle that same quick roast time, or you add them later in the process. If you want something green and bright to cut through all that creamy Parmesan goodness, I highly recommend adding some quick-cooking vegetables.
For a fantastic example of how great this turns out when paired with greens, check out a great variation focused on adding vegetables over at Easy One-Pan Caesar Chicken and Asparagus. Asparagus spears are my absolute favorite for this! You just toss them lightly in olive oil, salt, and pepper, place them in the baking dish *around* the chicken, and they cook perfectly right alongside the sauce bubbling away.
If you aren’t an asparagus fan, broccoli florets work just as well. Just make sure you add those heartier veggies about 10 minutes into the bake time, or when you add the breadcrumbs, so they soften up but don’t turn to mush while the chicken finishes cooking. This really seals the deal on making this the easiest, most satisfying **One Pan Chicken Dinner** you’ll make all month.
Variations for Your Simple Chicken Recipe
While this creamy, cheesy bake is absolutely fantastic as written—seriously, don’t change a thing if you don’t want to—it’s always fun to play a little bit with what you have on hand once you nail the basic **Simple Chicken Recipe**. When you find a method that works this well for **Easy Weeknight Chicken**, it’s comforting to know you can tweak it slightly for variety without adding any extra stress to your evening. Think about it: if you’re making this **caesar chicken** every other week, you need little ways to keep it fresh!
The beauty of using a dressing base is that it’s already packed with flavor, but we can certainly boost or shift that flavor profile if we want something new. I love when a recipe has built-in options for customization!
Adjusting the Caesar Dressing Chicken for Tanginess
If you find that your Caesar dressing is maybe a little richer or sweeter than you prefer, or if you just love that bright, zesty punch that lemon gives food? We have the perfect fix right in the recipe notes! Adding just one teaspoon of fresh lemon juice directly into that creamy sauce mixture before you pour it over the chicken is a game-changer.
It cuts right through the richness of the mayonnaise and the Parmesan, balancing everything out beautifully. It really wakes up the flavor of the garlic and mustard we added too. If you want to see another beautiful rendition of a creamy baked dish, Lauren has a great baked chicken recipe you might enjoy exploring here: Easy Baked Caesar Chicken with Creamy Parmesan Pasta – Ready in 30 Minutes. It seems like everyone agrees that creamy baked chicken is the ultimate comfort food!
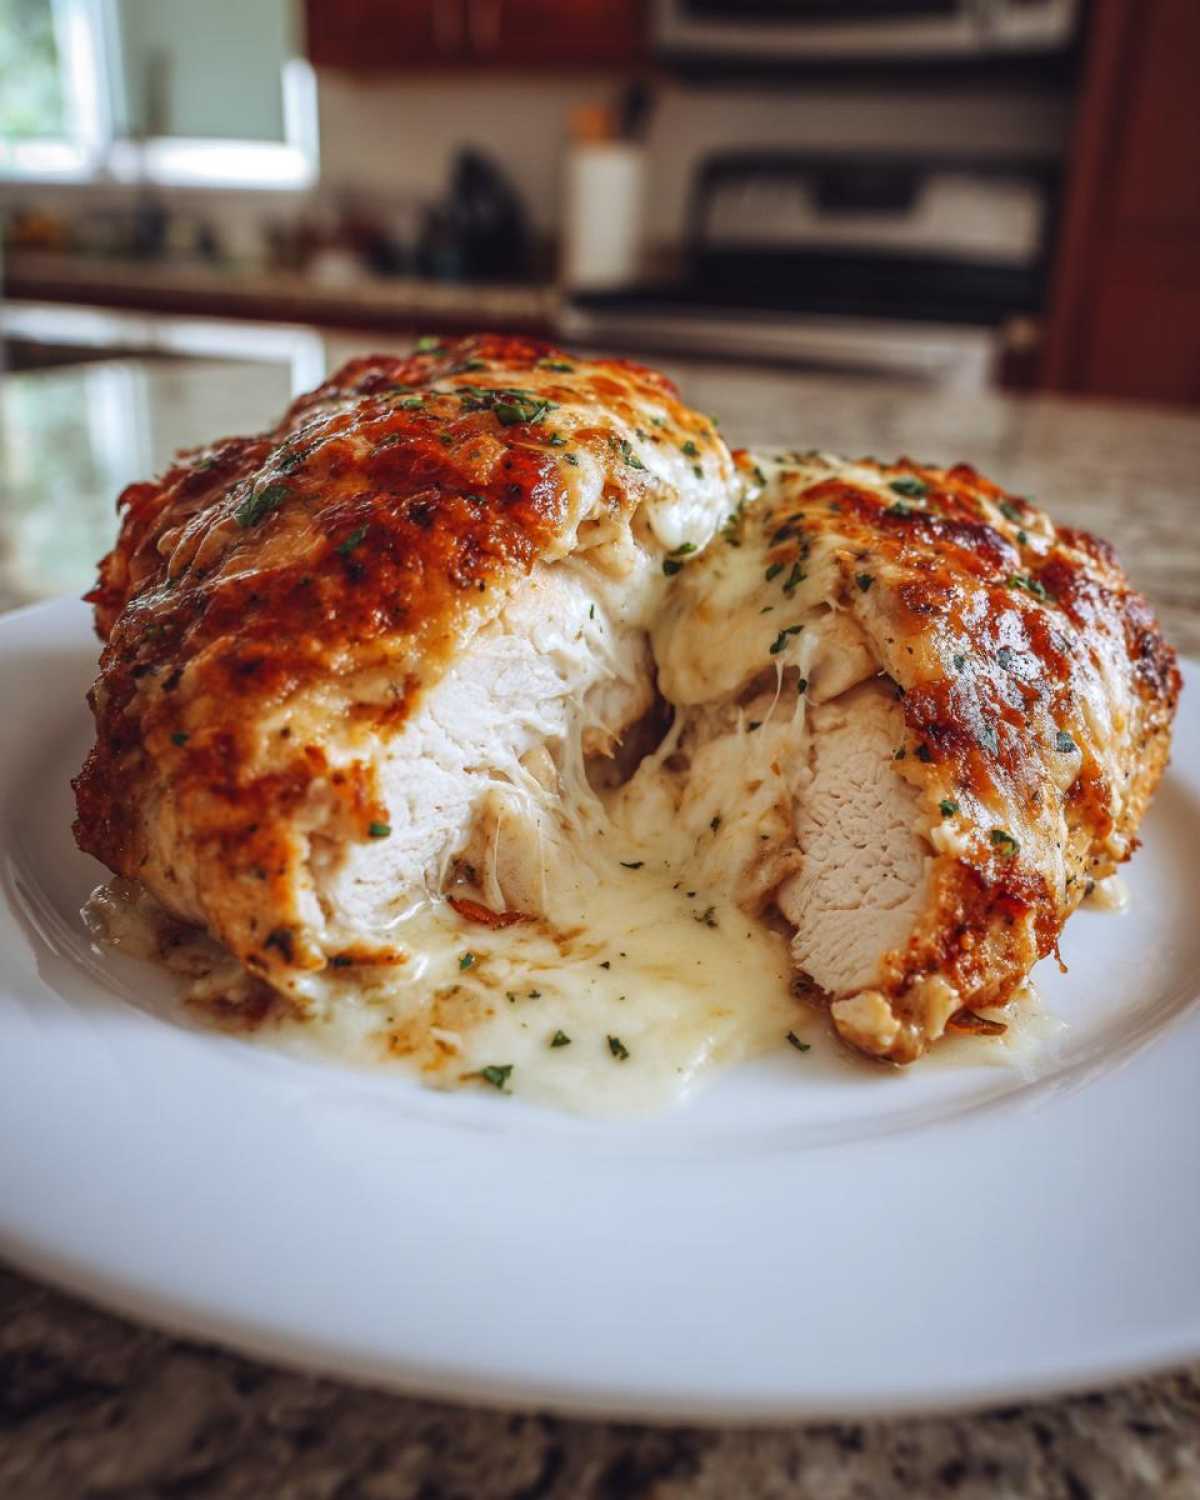
You could also sprinkle a little smoked paprika over the breadcrumbs right before baking for a subtle smoky note, which is a totally different vibe but still super delicious. The possibilities are endless once you have the solid foundation of our **Creamy Parmesan Chicken** base!
Storing and Reheating Your Leftover Caesar Chicken
One of the best things about making an **Easy Weeknight Chicken** recipe like this is the happy accident that is having leftovers! Honestly, I hope you made too much because this **caesar chicken** is still fantastic the next day, provided you store it correctly. We treat leftovers with respect around here because we put a lot of flavor into the first meal, so we want to preserve that quality!
When it comes to keeping it fresh, airtight storage is your best friend. Tuck those slices into a good airtight container. Because this chicken is coated in that creamy, cheesy sauce, moisture retention is slightly better than a dry piece of grilled chicken, but you still don’t want it sitting exposed in the fridge. We reliably get about three days out of leftovers stored this way. It’s perfect for quick lunches!
Now, reheating—this is where people often go wrong with **Juicy Baked Chicken Breasts**. Popping a cold, sauced piece of chicken into the microwave for too long will turn it tough, guaranteed. Because we want to maintain that lovely juiciness, I highly recommend reheating gently.
My preferred method? Cover the portion loosely with foil—just tented, not sealed tight—and pop it back into a low oven, maybe around 300 degrees Fahrenheit, just until it’s warmed through evenly. This gentle heat warms the sauce up slowly without aggressively sweating out the moisture trapped in the meat. If you are in a real rush, a quick 30 seconds in the microwave works, but try to avoid overdoing it. You want that creamy texture to stay nice and comforting, not rubbery!
Frequently Asked Questions About Oven Baked Chicken
There are always a few things that pop up when you’re trying a new **Oven Baked Chicken** recipe, especially one that involves a creamy topping! That’s totally normal. I always want to make sure you feel completely confident tackling this dish, because it’s meant to be part of your **Low Effort Dinner Ideas** rotation, not a source of stress. Here are a few things Hana and I get asked most often about getting this **caesar chicken** just right.
Can I use frozen chicken breasts for this caesar chicken?
That’s a great question about convenience! While I know it’s tempting to skip the thawing step, I strongly advise against putting frozen chicken breasts directly into the oven for this dish. Because the sauce bakes quickly onto the surface, if the center is still frozen or partially frozen, you’re going to end up with chicken that’s cooked unevenly—either mushy on the outside or dry before the inside hits safe temperature. Take the time to fully thaw your chicken in the fridge overnight, and then, this is crucial, pat those breasts really dry with a paper towel before you season them. Getting them dry ensures that creamy sauce sticks beautifully and doesn’t just slide off into the pan!
How do I make this a low-carb, family friendly chicken meal?
Oh, I love thinking about modifications for different needs! If you or someone in your **Family Friendly Chicken** dinner group is keeping carbs low, this recipe adapts beautifully. It’s so easy to turn this into an amazing **Cheesy Chicken Bake**! You can completely skip the breadcrumbs on top. Instead of using the 1/4 cup of breadcrumbs listed in the main recipe, just omit those entirely and add an extra 1/4 cup of that grated Parmesan cheese right over your sauce layer after you spread it on. You will still get a wonderfully golden, cheesy crust without the breading. It keeps all the rich Caesar flavor but cuts down significantly on carbs. Give that a try next time!
If you have other cooking questions or just want to say hello, please don’t hesitate to reach out to us over on the Contact Page! We love hearing from you.
Estimated Nutritional Information for This Dish
I always believe in being upfront about what goes into the food we eat, even when we are trying to keep things easy and comforting. When you are leaning on rich ingredients like Caesar dressing and Parmesan cheese, it’s smart to have a rough idea of the numbers involved. Please keep in mind these figures are just estimates!
We calculated these based on the recipe detailing four equal servings, assuming you use all the listed ingredients, including the optional mayonnaise. We believe in transparency here at Spoon Swirl, so you can make informed choices for your family!
For a single serving of this **Creamy Parmesan Chicken** breast, you can expect the following approximate breakdown:
- Serving Size: 1 breast
- Calories: 410
- Protein: 35g (That’s fantastic for keeping you full!)
- Fat: 28g (Remember that’s including the healthy fats from the dressing ingredients)
- Carbohydrates: 7g
- Sodium: 650mg
If you are keeping a close eye on ingredients, you’ll notice the Sodium is a bit higher—that’s the nature of using store-bought Caesar, which is great for our 35-minute goal but something to be aware of! Everyone who bakes with us should check our official Disclaimer Page for full context on these figures. Happy baking!
Share Your Spoon Swirl Caesar Chicken Experience
Well, we made it! You’ve got a pan full of bubbling, golden **Creamy Parmesan Chicken**, and I sincerely hope your kitchen smells absolutely incredible right now. That’s the real reward, isn’t it? That moment when the effort pays off and you know you’ve made something that’s going to make dinner time feel cozy and easy.
We put so much heart into sharing these recipes because we truly want you to find that little moment of peace, that quiet joy we find when we’re cooking together—our little ‘spoon swirl’ moment, as we call it. This delicious **caesar chicken** is exactly the kind of dish that brings that feeling to the table without a fuss.
I would absolutely love to see how yours turned out! Did you add the extra lemon? Did you sneak some broccoli in on the sides for a true one-pan meal? Don’t be shy! Head down to the comments and give this recipe a rating—five stars if it saved your weeknight! Sharing your experience not only helps other home cooks feel brave enough to try it, but it keeps our little community baking and connecting.
If you loved how simple and comforting this felt, remember to check out our site policies over at the Terms and Conditions page. We’re so glad you cooked with us today. Happy eating, everyone!
PrintEasy Baked Caesar Chicken with Creamy Parmesan Sauce

Make this simple, flavorful Baked Caesar Chicken for a quick weeknight dinner. Juicy chicken breasts are coated in a creamy Caesar and Parmesan sauce, baked until golden, and deliver that comforting Caesar salad taste without the fuss.
- Prep Time: 10 min
- Cook Time: 25 min
- Total Time: 35 min
- Yield: 4 servings
- Category: Dinner
- Method: Baking
- Cuisine: American
- Diet: Vegetarian
Ingredients
- 4 large boneless, skinless chicken breasts
- 1 cup creamy Caesar dressing
- 1/2 cup grated Parmesan cheese, plus extra for topping
- 1/4 cup mayonnaise (optional, for extra creaminess)
- 2 cloves garlic, minced
- 1 teaspoon Dijon mustard
- 1/2 teaspoon black pepper
- 1/4 teaspoon salt
- 1/4 cup breadcrumbs (Panko recommended for crispness)
Instructions
- Preheat your oven to 400 degrees Fahrenheit (200 degrees Celsius). Lightly grease a baking dish or line it with parchment paper.
- If your chicken breasts are very thick, pound them to an even thickness (about 3/4 inch) for consistent cooking. Season lightly with salt and pepper.
- In a medium bowl, whisk together the Caesar dressing, 1/2 cup Parmesan cheese, mayonnaise (if using), minced garlic, and Dijon mustard until smooth. This is your creamy Parmesan sauce.
- Place the chicken breasts in the prepared baking dish. Pour the creamy sauce evenly over the chicken, spreading it to cover the tops completely.
- Sprinkle the breadcrumbs evenly over the sauce layer on each chicken breast. Top with a light dusting of extra Parmesan cheese.
- Bake for 20 to 25 minutes, or until the internal temperature of the chicken reaches 165 degrees Fahrenheit (74 degrees Celsius) and the topping is golden brown and bubbly.
- Let the juicy baked chicken breasts rest for 5 minutes before serving. Serve this easy weeknight chicken with your favorite sides.
Notes
- For a one pan chicken dinner, add asparagus or broccoli florets to the baking dish around the chicken during the last 15 minutes of baking.
- If you prefer a tangier flavor, add 1 teaspoon of fresh lemon juice to the sauce mixture.
- This recipe works well for meal prepping; store leftovers in an airtight container in the refrigerator for up to 3 days.
Nutrition
- Serving Size: 1 breast
- Calories: 410
- Sugar: 3
- Sodium: 650
- Fat: 28
- Saturated Fat: 8
- Unsaturated Fat: 20
- Trans Fat: 0.5
- Carbohydrates: 7
- Fiber: 1
- Protein: 35
- Cholesterol: 110