

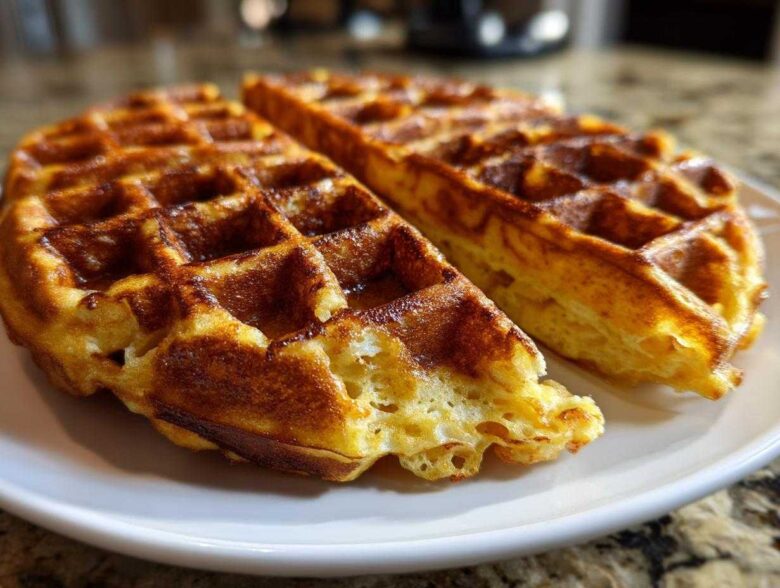
Listen, if there’s one thing I want you to nail in your kitchen, it’s the perfect brunch centerpiece. Forget those sad, flat waffles you get at hotels—we’re talking about true, crisp, magnificent breakfast architecture. My goal here is to show you exactly how to master the Authentic Belgian Waffle Recipe, specifically the delicate, airy Brussels style. I know yeast can seem scary at first, but trust me, once you see that batter bubble up, you’ll realize that using yeast to make these Belgian Waffles is the secret to those deep pockets and that beautiful, light, shattering-crisp exterior.
We are going to get those authentic textures right here. Head over to my main breakfast roundup if you’re looking for other morning inspiration later!
Why You’ll Love This Authentic Belgian Waffle Recipe
If you’ve been chasing that airy, restaurant-quality experience, this is the Belgian Waffles guide you need. This recipe isn’t just good; it’s transformative for your weekend brunch plans. I promise you’ll never go back to the quick-mix stuff once you taste these!
- They shatter perfectly when you bite into them—that’s the sign of true success!
- The batter is simple to manage once you know the yeast trick.
- It yields massive, deep-pocketed squares perfect for holding all your toppings.
Achieving Crispy Light Waffles Texture
The lightness isn’t accidental; it’s all about structure. We activate the yeast so it creates those little bubbles throughout the batter during the rise. Then, right before cooking, we gently fold in stiff egg whites. This dual-action acts like a built-in soufflé method, giving you those amazingly Crispy Light Waffles.
Brussels Waffles vs Liège Waffles Clarification
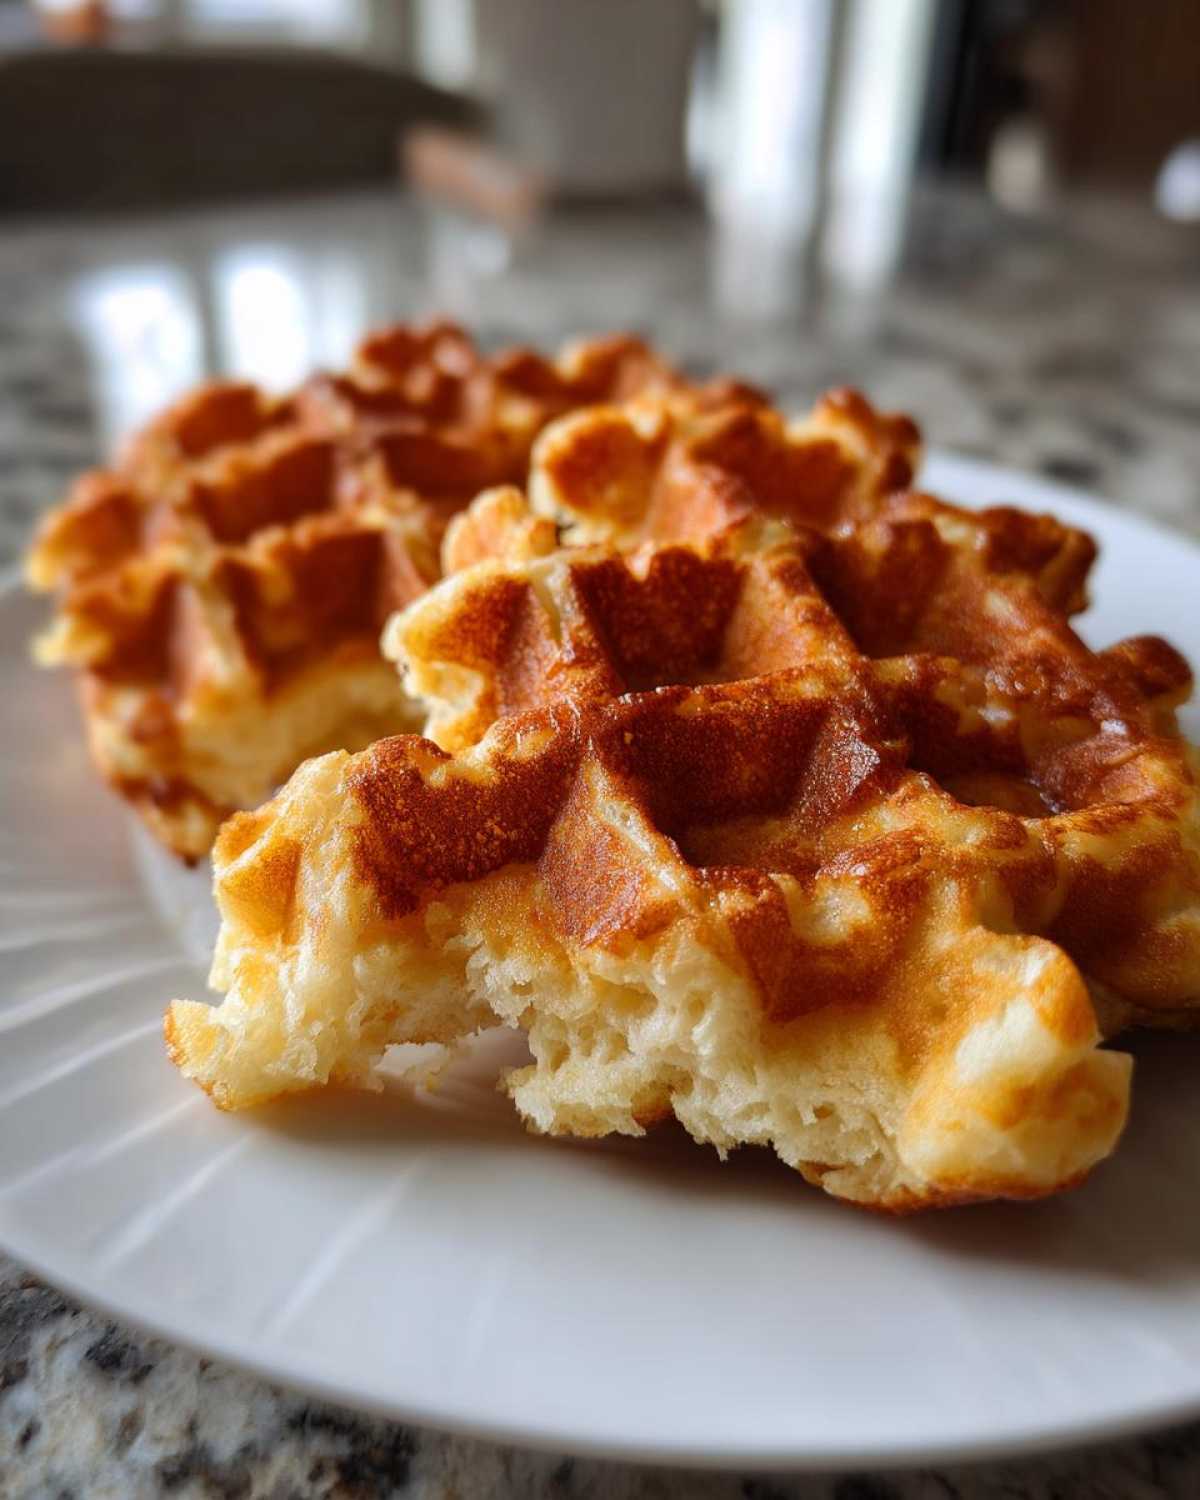
This is where everyone gets mixed up! If you see people arguing about which is better, they are probably talking about two different things. This tutorial focuses on Brussels waffles—the lighter, rectangular, yeast-risen ones. If you’re craving the dense kind with chunks of caramelized pearl sugar, you’re looking for Liège style. We stick to the delicate flavor profile here, keeping our focus on Liège Waffles vs Brussels Waffles confusion sorted out!
Essential Equipment for Perfect Belgian Waffles
Okay, you absolutely cannot fake these waffles without the right iron. I learned that the hard way when I tried jamming this batter into my old, flat square waffle maker—it was tragic. You need a dedicated, deep-pocketed Belgian waffle iron. That depth is what creates those gorgeous canyons for syrup and berries to pool in!
Make sure your iron gets nice and hot before you pour the batter in. And grab a good wooden or silicone spatula for removing them. Wires grab onto the ridges and tear up your beautiful creation, so trust me, stick to wood or silicone!
Ingredients for the Best Belgian Waffle Batter
When we talk about the Best Belgian Waffle Batter, we are really talking about precision, especially with the wet ingredients. Because this is a yeast recipe, the milk needs to be lukewarm—not too hot, not too cold! If the milk scorches or chills the yeast, the whole rise goes kaput, and then we just have sad, flat pancakes, not Belgian Waffles.
You’ll need:
- 1 1/2 cups all-purpose flour
- 1 tablespoon granulated sugar
- 1 teaspoon salt
- 1 packet active dry yeast
- 1 1/4 cups milk, lukewarm
- 2 large eggs, separated (Don’t forget we need those whites later!)
- 1/4 cup unsalted butter, melted
- 1 teaspoon vanilla extract
See? It’s mostly pantry staples, but those three specific things—the yeast, the lukewarm milk, and the separated eggs—are what make this batter sing!
Ingredient Notes and Substitution Options
I always encourage you to stick to the recipe when it comes to specialty items, but I know life happens! The yeast is non-negotiable for the *authentic* texture, but if you wake up on a Saturday morning and realize you’re out of yeast or really short on time, I have a backup plan for you.
If you absolutely cannot wait for the yeast to proof and rise, you can substitute the yeast and the lukewarm milk entirely with buttermilk (about 1 1/4 cups) and 1 1/2 teaspoons of baking powder. It will give you a great, fluffy waffle texture, but it won’t have that subtle, complex flavor the yeast develops. It’s a good emergency substitution in my book, but for the true experience, let the yeast do its job!
Also, make sure your butter is just melted—scorching it can leave a bitter taste, even in a rich recipe like this one.
How to Make Belgian Waffles at Home: Step-by-Step Instructions
Okay, friend, this is the main event! This is where we turn simple ingredients into what I call the ultimate breakfast masterpiece. Following these steps to How to Make Belgian Waffles at Home is easier than you think, but you have to be precise, especially when the yeast is involved. We are aiming for perfection in texture today, so grab your apron!
First things first: get your dry ingredients—flour, sugar, and salt—whisked in a big bowl. Now, let’s wake up the yeast. Dissolve that packet right into your lukewarm milk. You need to wait about five minutes until it gets nice and foamy. That foam is your green light! If it doesn’t foam, toss it and start that step over because your yeast is dead, and we can’t have that for these Belgian Waffles.
Back to the wets: mix the foamy yeast mixture with your egg yolks, melted butter, and that splash of vanilla. Pour this right into your dry mix. Here’s my rule: mix just until combined. Stop stirring when you still see a few streaks of flour. Trust me, overmixing batters is how we end up with tough cardboard instead of a gorgeous waffle!
Yeast Risen Waffles Instructions: The Waiting Game
This is the most important part of the process for that authentic, airy interior. You need to cover your bowl and let this batter rest for a full hour, maybe even an hour and a half, until it has happily doubled in size. This warming period is when the yeast is working hard, creating the internal pockets that make these Yeast Risen Waffles so incredibly light. Don’t try to sneak this step; it’s what separates a good waffle from an amazing one.
Perfect Waffle Iron Techniques for Golden Results
While the batter is proofing, preheat that deep-pocket iron hotter than you think you need to. A hot iron equals instant crispness when the batter hits the surface! Once it’s hot, take your fully risen batter and, in a separate, spotless bowl, whip those egg whites until they form stiff, shiny peaks. You want those peaks to stand straight up when you lift the whisk!
Now, carefully fold those egg whites into the batter. You have to be gentle here—use a large spatula and slice down the middle, scooping the bottom mixture over the top. We are trying to keep every bit of air we just created! Once they are just incorporated, ladle the batter onto the hot iron, filling it up nicely but not overflowing the edges. Cook these beauties nearly silent, usually about 4 to 6 minutes, until they release easily and look deeply golden brown. If you’re making a big batch, pop the finished waffles onto a wire rack, not stacked on top of each other, so they stay crisp. You can find more tips on my general how-to guide here if you get stuck!
Tips for Success with Your Deep Pocket Waffle Recipe
Even with a great recipe like this one, a few little secrets can turn these from ‘good’ to ‘absolutely legendary.’ I’ve messed up enough batches of Belgian Waffles to learn what *not* to do, and lucky for you, I’m passing on the wisdom! These tips hold the key to unlocking those fantastic, Fluffy Belgian Waffles Secrets.
My very first rule, and I’ve said it before, is: Do not overmix the initial batter. Seriously, stop stirring when it looks a little messy. If you combine everything vigorously like you would for a cake, you develop gluten, and that’s what makes waffles tough and chewy instead of light and crisp. A few lumps showing are totally fine; they disappear once the yeast goes to work!
Secondly, pay close attention to folding in the egg whites. This step is essentially putting air into the batter, which is crucial for that Brussels style fluff. You’re not trying to mix them in smoothly; you’re trying to *trap* them. Fold them in waves—use a cut-and-lift motion, turning the bowl slightly after each fold. Stop immediately when you no longer see big ribbons of white. If you beat them into oblivion, poof! All that air is gone.
And finally, if you are making a big batch for brunch, don’t stack the cooked waffles! I know it’s tempting to pile them up, but that trapped steam immediately softens the outside, and we worked so hard for that crispiness. Use a cooling rack set inside a very low oven (around 200°F) to keep them warm and perfectly crisp while the rest of the cooking finishes up.
Serving Suggestions for a Traditional Belgian Breakfast
Okay, now that you have these perfect, hot, crispy Belgian Waffles in front of you, the final decision is what to put on them! When you think of European style breakfast, it’s usually less about swimming in maple syrup and more about fresh bursts of flavor. That deep pocket is your friend here; it catches everything beautifully!
For the most authentic feel, you absolutely have to start with a simple dusting of powdered sugar. It looks elegant and melts just slightly from the heat of the waffle. I love using a small sifter because it gives you that beautiful, light coating—way better than just shaking it on!
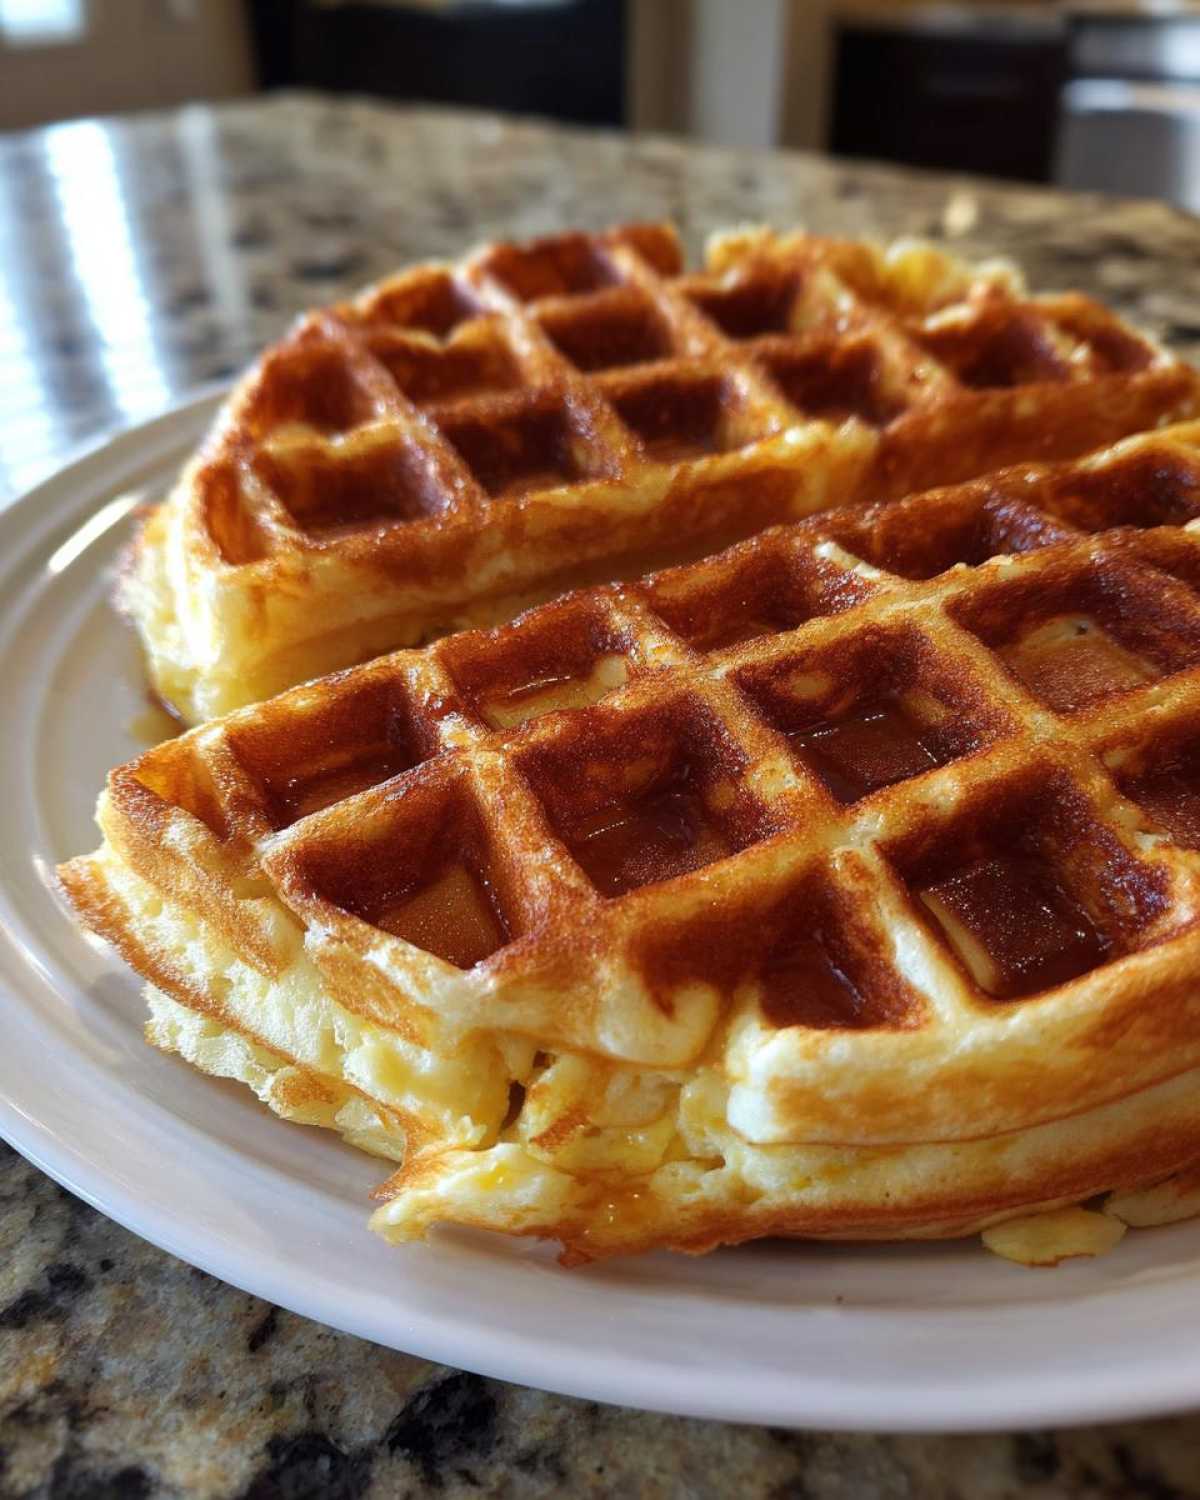
If you want to step up your game with some of the most popular Waffle Toppings Ideas European Style, here are my go-to options:
- Fresh Fruit Medley: Think strawberries, raspberries, and maybe some tart currants if you can find them. They cut through the richness of the batter perfectly.
- Melted Chocolate: Forget the heavy syrup bath; a simple drizzle of good quality melted dark chocolate is divine. It’s rich but doesn’t weigh the waffle down.
- Light Whipped Cream: If you are making these for a brunch gathering, serve unsweetened or very lightly sweetened whipped cream on the side. It adds body without being overly sugary.
I rarely touch the standard American maple syrup when I make these Brussels style Belgian Waffles; the waffle itself is so flavorful that it truly shines on its own with just a little bit of fresh fruit!
Storage and Reheating Instructions for Belgian Waffles
One of the best parts about making a big batch of Belgian Waffles? You get breakfast leftovers! But here’s the thing: steam is the enemy of crispness. If you just throw the extras in a plastic container, they’ll be soft and sad by morning. We don’t do sad breakfast foods in this kitchen!
If you want to utilize the option for a Make Ahead Belgian Waffle Batter, just know that it will still need that egg white folding step right before cooking after resting. For storing the cooked waffles, you have two paths. First, let them cool completely on a wire rack—this is key! Once cooled, you can store them in an airtight container in the fridge for about three days.
For longer storage, wrap them tightly in plastic wrap and then place them in a sturdy freezer bag. They hold up beautifully in the freezer for up to two months. I actually prefer freezing them because reheating them brings back that incredible outside texture.
When it’s time to eat those leftovers, please, I beg you, do not use the microwave! The microwave turns crisp waffles straight back into rubbery sponges. Instead, you have two excellent options. If you have time, pop them directly into a toaster oven or a conventional oven set to about 350°F for about five to seven minutes. That dry heat works wonders to re-crisp the exterior.
If you’re in a hurry, the toaster slot works surprisingly well too! Just watch them closely since they are thicker than standard toast. If you’re planning ahead, check out my guide on making the batter ahead of time—it saves so much morning chaos!
Frequently Asked Questions About Making Belgian Waffles
I get so many questions about this recipe because people sometimes struggle to get that perfect, airy snap. Don’t worry, that’s why I’m here! Dealing with yeast can be new for some folks, so let’s tackle the most common snags right now so you can master these Belgian Waffles right away.
Can I skip the yeast in this Authentic Belgian Waffle Recipe?
You certainly *can*, but I have to warn you, you’ll lose that signature flavor and texture that makes the *authentic* version so special. If you decide to skip the yeast (maybe you’re in a huge rush!), you must use the substitution I mentioned earlier. Swap the yeast and the lukewarm milk for 1 1/4 cups of cold buttermilk and about 1 1/2 teaspoons of good baking powder. You won’t need that long rise time, so you can skip straight to whipping those egg whites and folding them in. It’s a fantastic pancake-like waffle, but it won’t achieve the same depth as this Authentic Belgian Waffle Recipe.
What makes these Homemade Brussels Waffles Tutorial waffles different from standard waffles?
It all comes down to two things: the iron and the lift! Standard US waffles are usually made with baking powder and are much thinner, using a standard waffle plate—they come out softer and often don’t crisp up as fully. These Homemade Brussels Waffles Tutorial masterpieces require that deep-pocket iron and that yeast culture, which gives them their iconic square shape and that beautiful, light, airy crumb structure when you cut into them. They should feel almost hollow in the center compared to a standard American waffle.
Is it necessary to use active dry yeast?
For this specific recipe, yes, I strongly recommend active dry yeast, or instant yeast if that’s all you have (you can skip the initial proofing step if using instant, just mix it right into the dry ingredients!). The yeast is what provides the long, slow rise that develops that slightly complex, yeasty flavor unique to true Brussels style waffles. Baking powder gives you quick lift, but yeast gives you flavor structure. If you’re striving for that Crispy Light Waffles texture, the yeast is your best friend!
Why must I fully whip the egg whites separately?
This is the magic trick for achieving that light exterior that doesn’t feel heavy. Egg whites, when whipped stiffly, trap tons of air. When you gently fold that airy meringue into your heavy batter, that trapped air acts like the lightest possible leavening agent. When the hot iron hits the batter, those air bubbles expand rapidly, lifting the whole thing up and locking in that fluffy interior. If you overmix them or don’t whip them enough, you’ll deflate them, and your waffle will be heavy.
Estimated Nutritional Data for Belgian Waffles
Now, I know we aren’t making these beauties for their low-calorie count—we’re making them because they taste like pure joy! But just so you have all the details, here is the estimated breakdown for one of these large, incredible Belgian Waffles, based on the ingredients listed above. Remember, this is totally estimated, especially depending on how much butter you sneak onto the iron!
This data reflects one full, standard serving made from the recipe, assuming you are using the basic recipe without heavy toppings like mountains of whipped cream or thick chocolate sauce.
- Serving Size: 1 waffle
- Calories: 280
- Sugar: 6g
- Sodium: 350mg
- Fat: 12g (This includes that lovely butter!)
- Saturated Fat: 7g
- Carbohydrates: 38g
- Protein: 9g
See? Surprisingly reasonable for something so decadent! Of course, if you decide to load yours up with piles of fresh berries and just a light dusting of powdered sugar—which is my favorite way to enjoy these Homemade Belgian Waffles—the profile stays pretty balanced. If you drizzle on half a bottle of commercial syrup, well, that’s where the numbers start climbing fast!
PrintAuthentic Brussels Style Belgian Waffles

Follow this guide to make light, crispy Brussels style Belgian waffles with deep pockets using a yeast-risen batter.
- Prep Time: 20 min
- Cook Time: 20 min
- Total Time: 1 hour 40 min
- Yield: 6 large waffles
- Category: Breakfast
- Method: Waffling
- Cuisine: Belgian
- Diet: Vegetarian
Ingredients
- 1 1/2 cups all-purpose flour
- 1 tablespoon granulated sugar
- 1 teaspoon salt
- 1 packet active dry yeast
- 1 1/4 cups milk, lukewarm
- 2 large eggs, separated
- 1/4 cup unsalted butter, melted
- 1 teaspoon vanilla extract
Instructions
- In a large bowl, whisk together the flour, sugar, and salt.
- In a separate small bowl, dissolve the yeast in the lukewarm milk. Let it sit for 5 minutes until foamy.
- Add the egg yolks, melted butter, and vanilla extract to the yeast mixture. Whisk well.
- Pour the wet ingredients into the dry ingredients and mix until just combined. Do not overmix; a few lumps are acceptable.
- Cover the bowl and let the batter rest in a warm place for 1 to 1.5 hours, or until doubled in size. This is the yeast rising.
- Preheat your deep-pocket Belgian waffle iron according to the manufacturer’s directions. Lightly grease if necessary.
- In a clean bowl, beat the egg whites until stiff peaks form.
- Gently fold the beaten egg whites into the risen batter until just incorporated. This adds lightness.
- Pour the batter onto the hot waffle iron, filling the grids without overflowing.
- Cook until golden brown and crisp, usually 4 to 6 minutes, depending on your iron.
- Remove the waffle and serve immediately, or keep warm on a wire rack in a 200°F oven while you cook the remaining batter.
Notes
- Brussels waffles are traditionally lighter and crispier than Liège waffles, which use pearl sugar and are denser.
- For the best texture, use a waffle iron with deep pockets.
- If you prefer a quicker recipe without yeast, substitute the yeast and milk with 1 1/2 teaspoons baking powder and 1 1/4 cups buttermilk.
- Serve with powdered sugar, fresh berries, or whipped cream.
Nutrition
- Serving Size: 1 waffle
- Calories: 280
- Sugar: 6
- Sodium: 350
- Fat: 12
- Saturated Fat: 7
- Unsaturated Fat: 5
- Trans Fat: 0
- Carbohydrates: 38
- Fiber: 1
- Protein: 9
- Cholesterol: 110