

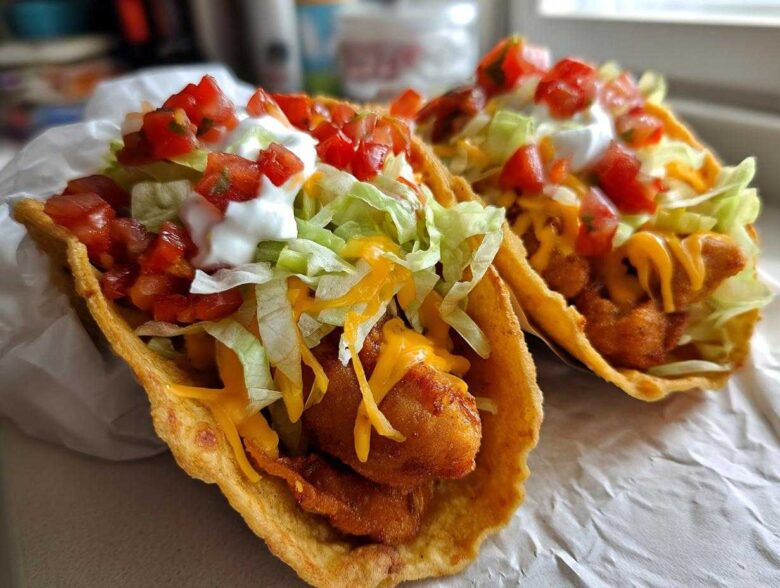
If you’re anything like me, you live for meals that are wildly fun but don’t require an hour of scrubbing pots afterward. Weeknights can be hectic, right? I was looking for a way to get that perfect crispy fish taco experience without deep-frying everything in sight, and that’s when the lightbulb went off: Air Fried Fish Walking Tacos! Seriously, combining flaky, perfectly seasoned fish cooked in the air fryer with the sheer joy of eating a taco right out of the chip bag is genius.
I’ve spent way too much time figuring out the perfect breading ratio for this machine, trust me. Most recipes leave you with soggy fish by minute five. But my method? It guarantees that crispy outside shell while keeping the white fish moist and tender inside. This isn’t just dinner; it’s an event, and it’s ready faster than ordering takeout!
Why You Will Love These Air Fried Fish Walking Tacos
Look, you don’t need to be a gourmet chef to make something amazing when you have the air fryer on your side. These tacos are a total game-changer for busy evenings. I honestly think this might be my favorite of all my lunch ideas?
- Speed Demon Dinner: Seriously, from chopping to eating, we are looking at under 30 minutes. It’s one of the best Easy Air Fryer Dinners out there, period.
- Texture Heaven: That panko crust gets so unbelievably crispy in the air fryer, but the fish inside stays beautifully flaky. No more soggy fish here!
- Zero Mess Assembly: The walking taco format means your plate stays clean! Everything goes right into the chip bag. It’s the ultimate in portable, fun food.
- Customizable Fun: You can customize every single bag. Hate onions? Skip ‘em! Need extra cheese? Go wild! This makes it perfect for picky eaters in the family.
Selecting the Best Fish for Air Frying
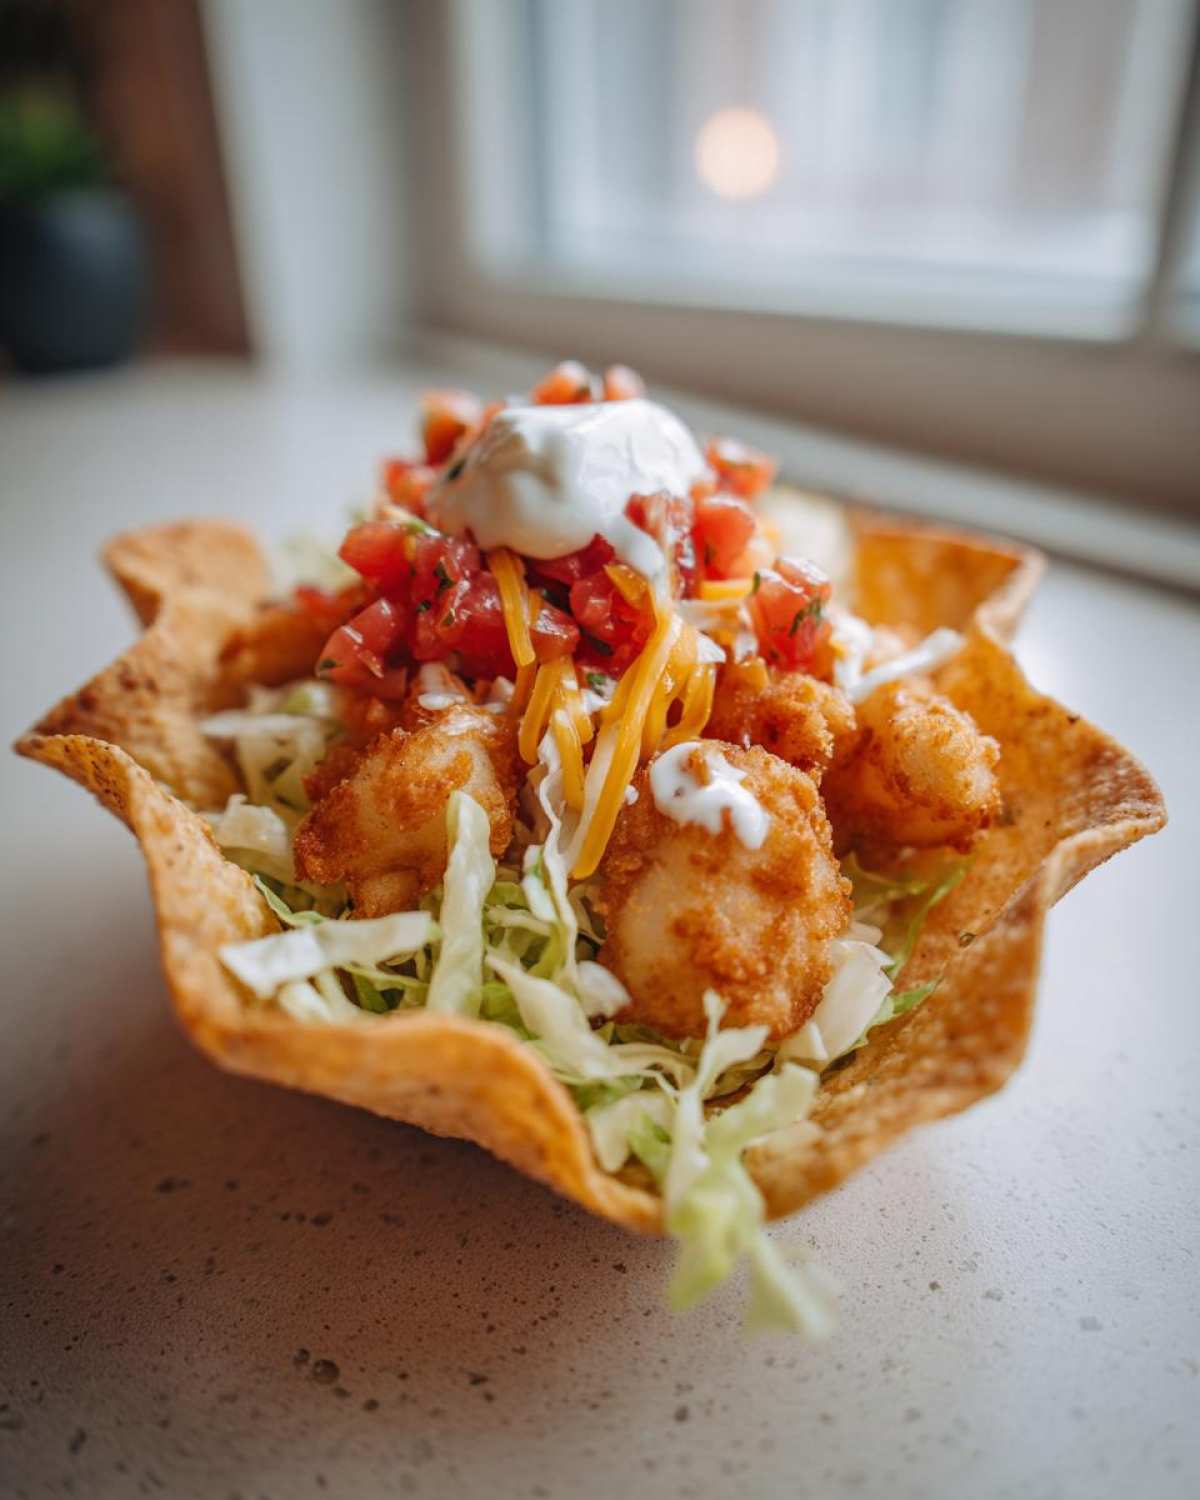
If you want that perfect crunch, the type of fish you use matters a ton. For this recipe, we need something firm that can stand up to the high heat of the air fryer without totally falling apart. I always reach for firm white fish like cod, tilapia, or pollock. They have a mild flavor that soaks up our taco spices beautifully. Oily fish, like salmon or mackerel, just tend to get a little too soft or oily when we are aiming for that ultra-crispy coating.
Remember, the goal here is Crispy Air Fried Fish that mimics a quick, tasty fish fry. Sticking to those firm fillets ensures you get that satisfying snap when you bite in. Also, cut those pieces into uniform 1-inch chunks—this is key so they all cook through at the exact same speed!
Expert Tips for Perfect Crispy Air Fried Fish Coating
This is where most people mess up the breading, but I learned my lesson early on! First and foremost: pat your fish bone-dry with paper towels. Any surface moisture will steam the breadcrumbs instead of crisping them up, and nobody wants steamed breading, right?
Second, skip the standard breadcrumbs and grab panko. Panko are those big, flaky Japanese breadcrumbs—they create amazing air pockets when they cook. When you dredge the fish, gently press the panko onto every side. A little trick I love? After breading, give the whole piece a very light spritz of cooking spray before it goes in the air fryer. That tiny bit of extra fat helps the panko stick like glue and browns it evenly. Trust me, this technique makes all the difference!
Gathering Ingredients for Air Fried Fish Walking Tacos
Okay, putting together the shopping list for this is delightfully simple. Since this is all about speed and fun, we aren’t dealing with twenty different spices here. We are keeping it classic, taco-style, but totally tailored for our air fryer fish!
The star of the show has to be the fish, of course. You need about one pound of a nice, firm white fish, like cod or tilapia, and make sure you cut those fillets into bite-sized 1-inch pieces before you start seasoning them up. That’s what makes the serving size work perfectly!
Here’s what you’ll need to grab before we start mixing:
- One pound of white fish fillets, cut into 1-inch pieces (remember, dry them well!).
- Just a splash of olive oil—about one tablespoon—to help the spices stick.
- The seasoning blend: one teaspoon each of chili powder and cumin, half a teaspoon of garlic powder, plus salt and pepper to taste. Don’t skip the cumin; it brings that deep taco flavor!
- The crunch factor: half a cup of panko breadcrumbs. Nothing else works as well for crispiness!
- For assembly, grab four individual-sized bags of tortilla chips. Lunch-size bags are perfect for the best walking taco experience.
- Then pile on the fresh stuff: shredded lettuce, your favorite salsa, about half a cup of shredded cheddar or Jack cheese, and a dollop of sour cream or Greek yogurt if you want something lighter instead.
See? Super straightforward. With these ingredients ready to go, we can move right into making that amazing crispy coating and getting these tacos assembled in record time!
Step-by-Step Guide to Making Air Fried Fish Walking Tacos
This is my absolutely favorite part because this is where the magic of Weeknight Air Fryer Cooking really shines. We get incredible flavor and texture in such a short time. It’s fast, but every step has a purpose, so pay attention to the prep work!
Prepping and Seasoning the Fish
First things first, make sure those fish pieces are dry—seriously pat them down! Then, grab a bowl and toss those nice 1-inch chunks with your olive oil. Once they’re lightly coated, sprinkle on the chili powder, cumin, garlic powder, salt, and pepper. Mix it all up until every piece looks evenly seasoned. Next, move over to the panko breadcrumbs in the flat dish. Dredge each spice-coated fish piece right into that panko, pressing down just a little bit so you get a nice, solid coating. Don’t be shy!
Air Frying for Optimal Texture
Time to crank up the heat! Preheat your air fryer now to 380 degrees Fahrenheit. This temperature is crucial; too low and the coating gets sad, too high and the outside burns before the inside cooks. Place the breaded fish in your basket, but listen to me: DO NOT CROWD THEM. If you have to do two batches, do it! They need space to crisp up. Cook for 8 to 10 minutes total, but don’t forget to pull the basket out halfway through and flip every single piece. That ensures you get beautiful, even golden-brown color all around.
Assembling Your Walking Taco
While that fish is getting golden, it’s time for the signature move! Take your individual chip bags and carefully slice open one of the long seams—leave the bottom sealed tight. Gently crush the chips a little bit right there in the bag. Now, divide your perfectly crispy fish among the four bags. After that, it’s just topping time! Layer on your shredded lettuce, a spoonful of salsa, cheese, and finish it off with a dollop of sour cream. It’s ready to eat right out of the bag—no utensils required unless you want them, of course!
Topping Variations for Your Fish Taco Variations
So those basic toppings—lettuce, cheese, salsa—they are fantastic, truly! But if you’re like me, once you nail the base recipe, you start thinking about how to jazz up the next batch. This crispy air-fried fish is just begging for different flavor profiles, and we have so many fun Fish Taco Variations we can try out when we make these again.
The quickest way to change everything is swapping out the sauce. Instead of plain sour cream for your dollop, whip up a quick chipotle lime crema! It takes two minutes: mix sour cream or Greek yogurt with a squeeze of fresh lime juice and maybe half a teaspoon of adobo sauce from a can of chipotles. That smoky heat pairs unbelievably well with mild white fish.
If you want crunch and brightness, forget the shredded lettuce sometimes. Try making a quick, crunchy slaw. I often just toss thinly sliced cabbage with a little apple cider vinegar, a pinch of sugar, and some cilantro. It adds a fantastic texture contrast to the crispy fish. If you’re feeling adventurous and have extra berries around, you could even try topping these with a vibrant strawberry cucumber salsa—the sweetness is surprisingly incredible against the cumin spice rub!
Don’t forget about crunch factors! Besides the chips, though, I sometimes sprinkle on some toasted pepitas (pumpkin seeds) right before serving. It’s a little unexpected, but it adds such a great nutty flavor and boosts the crunch factor even more. Experimentation is half the fun of trying out new Creative Taco Fillings!
Making Air Fried Fish Walking Tacos Portable and Fun
Honestly, the best selling point of this dish, besides tasting amazing, is how easy it is to serve. This is peak casual dining, my friends. When I first served these at a friend’s casual backyard movie night, everyone instantly got excited about the format. They kept asking, “Wait, we eat it right out of the bag?” Yes! That’s the magic!
This whole concept leans right into the ‘One Bag Meals‘ philosophy. Cleanup is practically zero, and you don’t need plates or fussy cutlery. It makes them spectacularly well-suited for anything that involves people standing around like backyard BBQs or, even better, watching the game. They are fantastic Game Day Food Air Fryer material because you can keep a batch of that crispy fish warm and let people load up their own bags as they need them. If you want some other quick snack ideas for those events, you should definitely check out my recipe for sweet and salty trail mix!
I remember serving these after a big football win last year. Everyone loved that they could walk around, chat, and eat without having to balance a plate and a drink. If you’re looking for something less messy than traditional tacos but just as flavorful, this is your answer. Plus, they look so fun! You get all the satisfaction of a full meal packed into a crunchy, portable vessel. I even packed leftovers for lunch the next day—just keep the cold toppings separate, and you’re good to go with a quick reheat!
Storage and Reheating Instructions for Crispy Air Fried Fish
Now, these Air Fried Fish Walking Tacos are definitely best eaten straight out of the bag while the fish is scorching hot, but let’s be real—sometimes, you just have leftovers! The key to storing these components is separation. If you try to keep the assembled taco bag in the fridge, I promise you, the chips will go soggy, and the fish will weep.
Here is how I handle the aftermath. First, immediately scoop out any leftover fish pieces and store them in an airtight container in the fridge. Keep all your wet toppings—the salsa, the sour cream, the lettuce—in their own, separate containers. Those soggy chip bags? Toss those, my friend. We start fresh the next day!
When you are ready to enjoy the leftovers, the air fryer is your only friend for reheating that fish. Do not use the microwave; it will ruin the texture we worked so hard to achieve! Pop the cold fish pieces back into the air fryer basket. You want a medium temperature, around 350 degrees Fahrenheit, for just 3 to 4 minutes. This gently reheats the inside and brings that panko coating right back to life. Once it’s hot and crispy again, assemble a fresh bag with a new serving of chips, and enjoy your second round of amazing tacos!
Troubleshooting Common Air Fryer Seafood Issues
Even though the air fryer is amazing, it still has its quirks, especially when you are working with delicate fish. Don’t panic if your first attempt isn’t restaurant-perfect! I’ve run into pretty much every snag when testing recipes, and usually, there’s a super simple fix based on oven placement or prep. Let’s walk through the most common headaches when making anything crispy in the basket.
The biggest complaint I hear is about soggy breading. If your fish coating feels soft instead of crisp, nine times out of ten, it means one of two things: either you didn’t pat the fish dry enough before breading (leaving too much surface moisture), or you overcrowded the basket. The hot air needs to circulate completely around the food to create that crunch. If things are packed tight, the moisture gets trapped, and you end up steaming the crumbs instead of frying them!
What if the outside looks burnt but the inside is still raw? That’s common when the pieces are really thick. For this recipe, staying under that 1-inch chunk size helps a lot, but if you notice the breading darkening too fast, just lower your temperature by about 25 degrees for the last few minutes of cooking. This gives the center time to catch up without turning your panko crust black.
And finally, sticking! If your breaded fish is sticking to the air fryer perforated rack, don’t scrape it! That just tears off your beautiful coating. Make sure you lightly spray the basket or line it with a perforated parchment liner before you place the fish down. A little oil goes a long way to prevent sticking and actually helps achieve that beautiful golden-brown color we want. Trust me, a little foresight in prep saves a lot of heartache later!
Estimated Nutrition for Air Fried Fish Walking Tacos
One of the huge advantages of shifting from deep-frying to using the air fryer for things like this is the massive reduction in added fat. We’re aiming for a lighter meal without sacrificing any taco flavor, and I think we absolutely nailed it here. This recipe provides a fantastic, protein-packed meal that feels decadent but keeps things reasonably light.
These numbers below are estimates for one serving—that’s one loaded chip bag! Because we aren’t submerging the fish in oil, we see a reduction in overall fat content compared to a traditional fish fry, making this a truly Healthy Air Fryer Fish option.
Here’s the breakdown:
- Serving Size: 1 bag
- Calories: 450
- Protein: 30g
- Total Fat: 22g (with only 7g saturated fat)
- Carbohydrates: 35g
- Sugar: 4g
Keep in mind, these are just starting points! If you load yours up with extra cheese or swap your sour cream for a high-fat mayo, those numbers will definitely jump. That’s why I always put my nutritional disclaimer right up front! The beauty of the walking taco format is that you control the toppings. If you go heavy on the salsa and lettuce and lighter on the cheese, you’ll drop those calories and fat even further. It’s satisfying comfort food that doesn’t weigh you down!
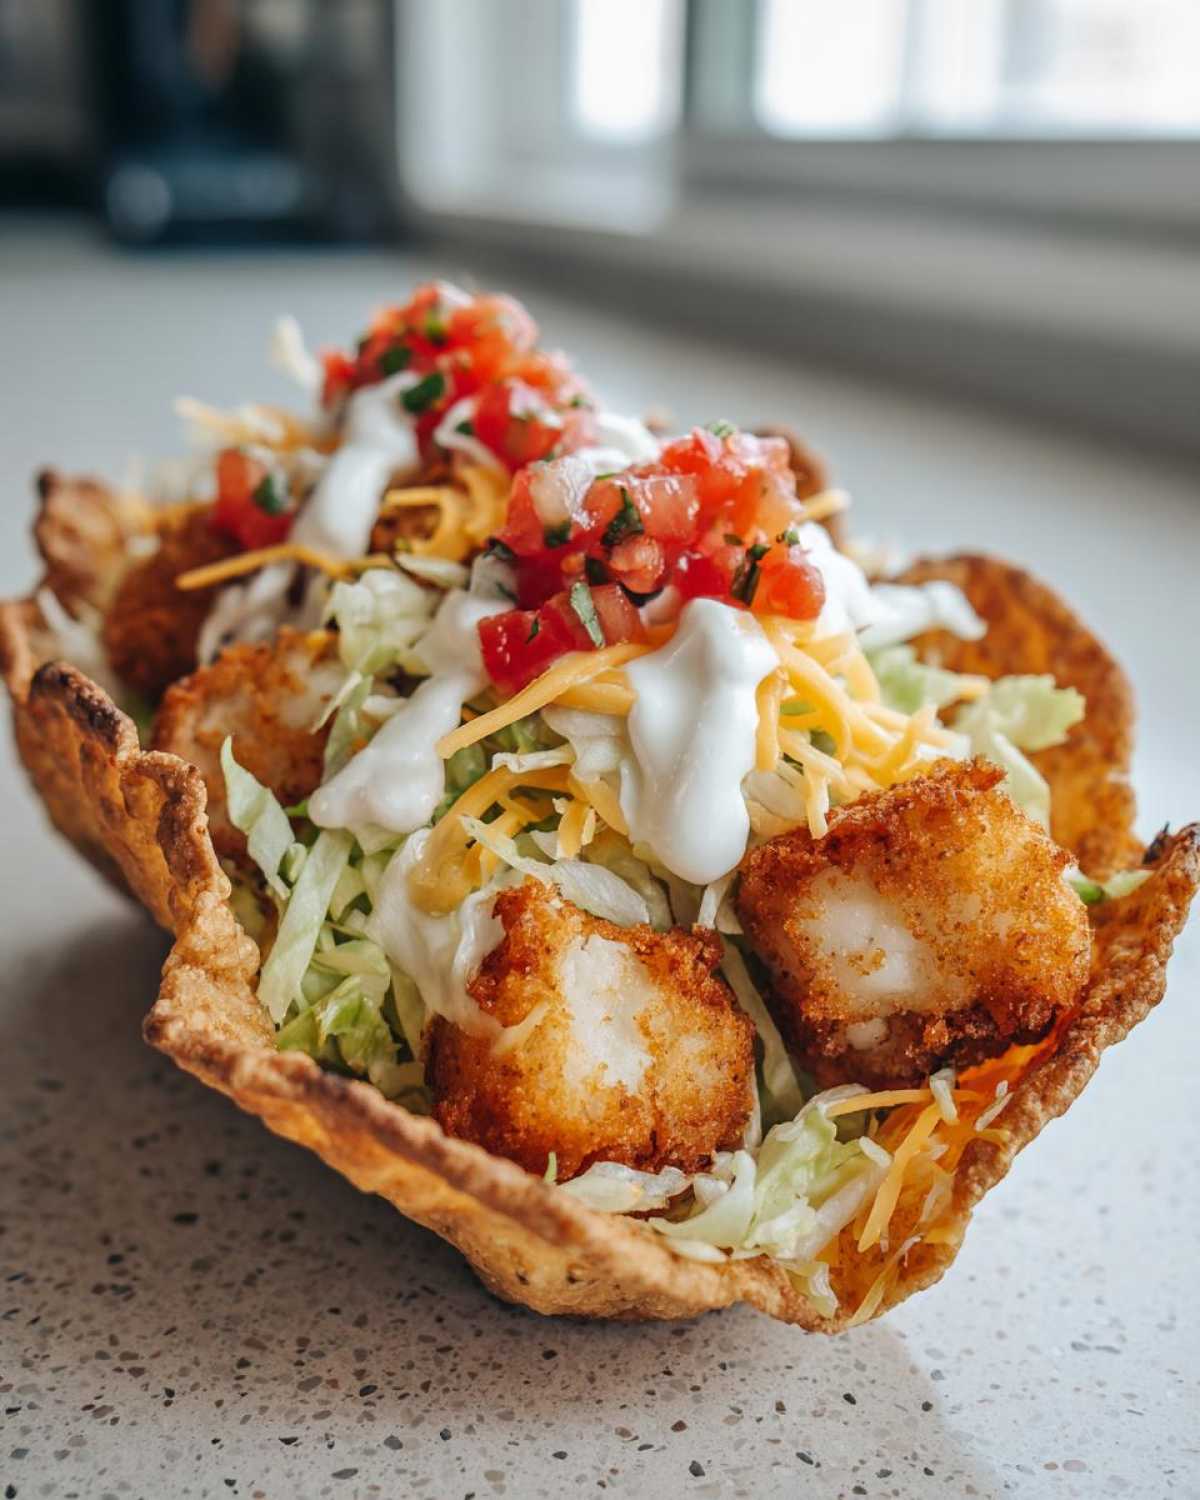
Share Your Air Fried Fish Walking Tacos Experience
Okay, now that you’ve got the tools and the perfect air-fried fish coating, I desperately want to know how they turned out for you! This recipe is meant to be playful and shared, right? So whether you stuck strictly to the classic toppings or went totally wild on your own—maybe you tried that spicy lime crema I mentioned—I want to hear all about it!
Please do me a huge favor and drop a comment below. Let me know how your fish turned out! Did the panko get extra crispy? What combination of toppings made YOUR walking taco perfect? Seeing what you all come up with is the absolute best part of sharing these recipes with you.
If you ended up loving these taco bags, please take a second to give the recipe a high rating right here on the site. It genuinely helps other people find this fun meal idea! And if you snapped a picture of your amazing creation—especially if it’s messy because that’s the point—tag me on social media! I always check my direct messages and I love seeing my recipes come to life in your kitchens. If you have any lingering questions on timing or technique, don’t hesitate to reach out through my contact page, too. Happy cooking, and enjoy that crunchy, portable fun!
PrintAir Fried Fish Walking Tacos

Prepare crispy air-fried fish and serve it in a bag with taco toppings for a fun, portable meal.
- Prep Time: 15 min
- Cook Time: 10 min
- Total Time: 25 min
- Yield: 4 servings
- Category: Lunch
- Method: Air Frying
- Cuisine: Mexican Inspired
- Diet: Low Fat
Ingredients
- 1 lb white fish fillets (cod, tilapia, or pollock), cut into 1-inch pieces
- 1 tablespoon olive oil
- 1 teaspoon chili powder
- 1 teaspoon cumin
- 1/2 teaspoon garlic powder
- 1/2 teaspoon salt
- 1/4 teaspoon black pepper
- 1/2 cup panko breadcrumbs
- 4 individual bags of tortilla chips (lunch size)
- 1 cup shredded lettuce
- 1/2 cup salsa
- 1/2 cup shredded cheese (cheddar or Monterey Jack)
- 1/4 cup sour cream or plain Greek yogurt
Instructions
- Pat the fish pieces dry with paper towels. In a bowl, toss the fish with olive oil, chili powder, cumin, garlic powder, salt, and pepper until coated.
- Place the panko breadcrumbs in a separate shallow dish. Dredge each seasoned fish piece in the breadcrumbs, pressing lightly so the crumbs adhere.
- Preheat your air fryer to 380 degrees Fahrenheit (195 degrees Celsius).
- Arrange the breaded fish in a single layer in the air fryer basket, avoiding overcrowding.
- Air fry for 8 to 10 minutes, flipping the pieces halfway through, until the fish is cooked through and the coating is golden brown and crisp.
- While the fish cooks, open each bag of tortilla chips along the side seam, leaving the bottom sealed. Gently crush the chips slightly inside the bag.
- Divide the crushed chips evenly among the four open chip bags.
- Top the chips in each bag with equal portions of the air-fried fish pieces.
- Add lettuce, salsa, shredded cheese, and a dollop of sour cream to each bag.
- Serve immediately with a fork or spoon.
Notes
- Use firm white fish like cod or tilapia for the best results in the air fryer.
- For extra crispiness, you can lightly spray the breaded fish with cooking spray before air frying.
- Adjust the seasoning blend to your preference; add a pinch of cayenne pepper for heat.
Nutrition
- Serving Size: 1 bag
- Calories: 450
- Sugar: 4
- Sodium: 550
- Fat: 22
- Saturated Fat: 7
- Unsaturated Fat: 15
- Trans Fat: 0
- Carbohydrates: 35
- Fiber: 3
- Protein: 30
- Cholesterol: 65