

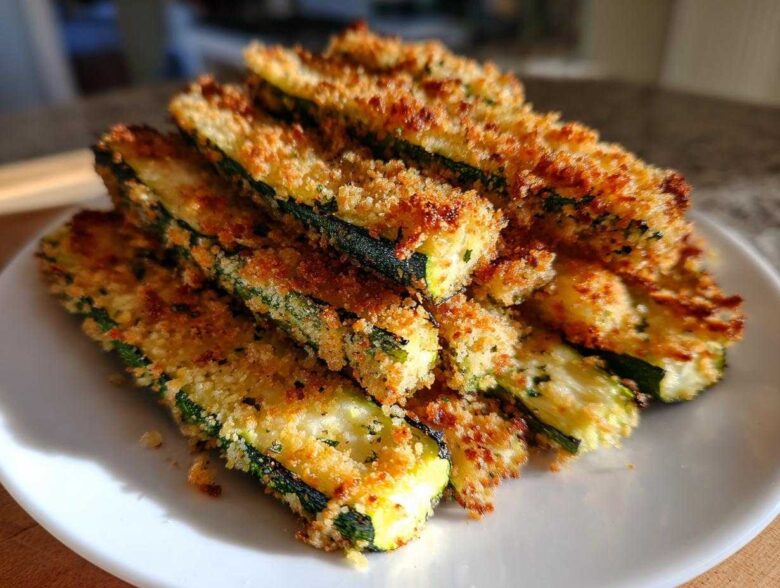
Oh, don’t even get me started on soggy vegetables! I think every home cook dreams of making something baked taste like it came straight out of a fryer, right? For years, I fought a losing battle with zucchini until I figured out the absolute non-negotiable steps required. If you’ve ever ended up with a tray of mush coated in wet cheese, trust me, I’ve been there. But now? We are making truly Crispy Baked Parmesan Zucchini. This isn’t just any recipe; it’s the method where we actively fight the zucchini’s natural desire to sweat all over your baking sheet. After years of trial and error—and wasting way too many expensive sticks of butter—I cracked the code using some focused moisture removal and the perfect breading station.
Why You Will Make This Crispy Baked Parmesan Zucchini Recipe Again
You need sides that are delicious but don’t derail your healthy eating goals, right? That’s what I love most about this recipe for Crispy Baked Parmesan Zucchini. It’s built around giving you that satisfying crunch without needing a deep fryer.
-
Guaranteed Crispy Vegetable Sticks Texture
Forget mushy middles! Because we spend a little time up front aggressively salting and drying those spears, we lock out almost all the water before they even see the oven. This simple step is the difference between sad steamed zucchini and genuinely crunchy sticks.
-
Easy Weeknight Vegetable Side Preparation
Honestly, the prep is mostly waiting while the zucchini draws out its own water. Once you set up your breading station, these dip and coat in seconds. You get incredible flavor in under 40 minutes total time!
Essential Ingredients for Perfect Crispy Baked Parmesan Zucchini
I’v laid out every single thing you need below, but I need you to pay close attention to the preparation of these items. It’s not just about quantity, it’s about quality and how you handle them. Getting the right kind of Parmesan cheese, for example, makes a huge difference when you’re trying to achieve that perfect coating for your Crispy Baked Parmesan Zucchini. We need our coating to adhere like glue, not fall off in sad little clumps when you flip them over.
The Breading Components: Flour, Egg, and Parmesan Crusted Vegetables Mix
You’ll be using the classic three-stage breading method, which ensures everything sticks nicely. Make sure your Parmesan is finely grated—I mean *really* fine, almost powdery. If it’s too chunky, it burns faster than the Panko breadcrumbs can crisp up. Panko is non-negotiable here; those big, airy flakes are what give us the structure for Parmesan Crusted Vegetables that stand up to high oven heat. The flour is just there to give the egg something to grab onto before we hit the final crunchy layer.
The Secret to Crispy Baked Parmesan Zucchini: Moisture Removal
Listen to me now, because if you skip this one thing, your beautiful Crispy Baked Parmesan Zucchini will end up tasting like sad, steamed cucumbers. I learned this the hard way—zucchini is basically a water balloon wrapped in a green skin! It holds a *ton* of moisture, and that moisture hates high oven heat. It creeps out while baking and ruins your carefully prepared coating. That’s why our first step isn’t the oven; it’s a salt bath!
You have to draw that water out before you do anything else. This waiting period is non-negotiable. Trust me, investing those 15 minutes upfront saves you from scraping mush off parchment paper later. If you want that fantastic, crunchy exterior, you need your spears bone-dry before they hit the breading station. This simple technique is what separates mediocre baked vegetables from incredibly satisfying, next-level sides. We even have a whole post over on the science of vegetable moisture if you want to read more!
Step-by-Step: How to Bake Zucchini Spears Perfectly
Once the zucchini is salted, rinse it off quickly just in case you used too much salt—we don’t want them tasting like the Dead Sea! Then, you blot. Blot them hard with paper towels until they feel relatively dry to the touch. Next, we cut them into spears, aiming for about half an inch thick. Don’t make them too thin, or they’ll shrivel up into nothingness in the oven.
After cutting, lay those spears out on a wire rack set over paper towels and sprinkle them again with just a tiny bit more salt to encourage any remaining internal water to rise. Let them sit there for a full 15 minutes. I usually use that time to get my breading station ready. When the time’s up, pat them one last time, making sure they are as dry as you can possibly get them before moving on to flour, egg, and that cheesy Panko mix!
Assembling Your Parmesan Zucchini Bites: The Breading Station
Okay, now that your zucchini spears are perfectly dehydrated—you sneaky master chef, you—it’s time for the fun part: the coating! This is where we build that armor against mushiness. Get three shallow dishes ready on your counter. The first dish gets the flour, the second gets the well-beaten eggs, and the third dish is where the magic happens: Panko, Parmesan, garlic powder, and seasoning, all mixed up well. This three-dish setup is crucial for making the Crispy Baked Parmesan Zucchini stick right.
We move in a specific order: flour first (dust off the excess!), then a quick dunk in that egg bath, and finally, that glorious Panko-Parmesan blend. When you put it in the final dish, press the coating against the spear firmly. I mean really press it in there! You want every single bit of that green vegetable covered. We want a thick, glorious crust for these Parmesan Zucchini Bites.
Baking Instructions for Oven Fried Zucchini Results
We’ve done all the hard work pulling the water out, so let’s not mess it up now! Since we are aiming for that almost-fried crunch, high heat is your best friend. Make sure your oven is cranked up to 425 degrees Fahrenheit *before* you even think about putting the trays in. Line your baking sheets with parchment paper—this helps with clean-up and promotes even baking underneath, which keeps things crispier. Lay out those fully coated spears in a single layer, making absolutely certain that none of them are touching. Seriously, give them space to breathe! That’s how you get true Crispy Baked Parmesan Zucchini.
Once they are spaced out nicely, grab your olive oil and just give them a very light drizzle over the tops. This helps the coating brown beautifully. Then, slide them in and set your timer!
Achieving Golden Brown Perfection
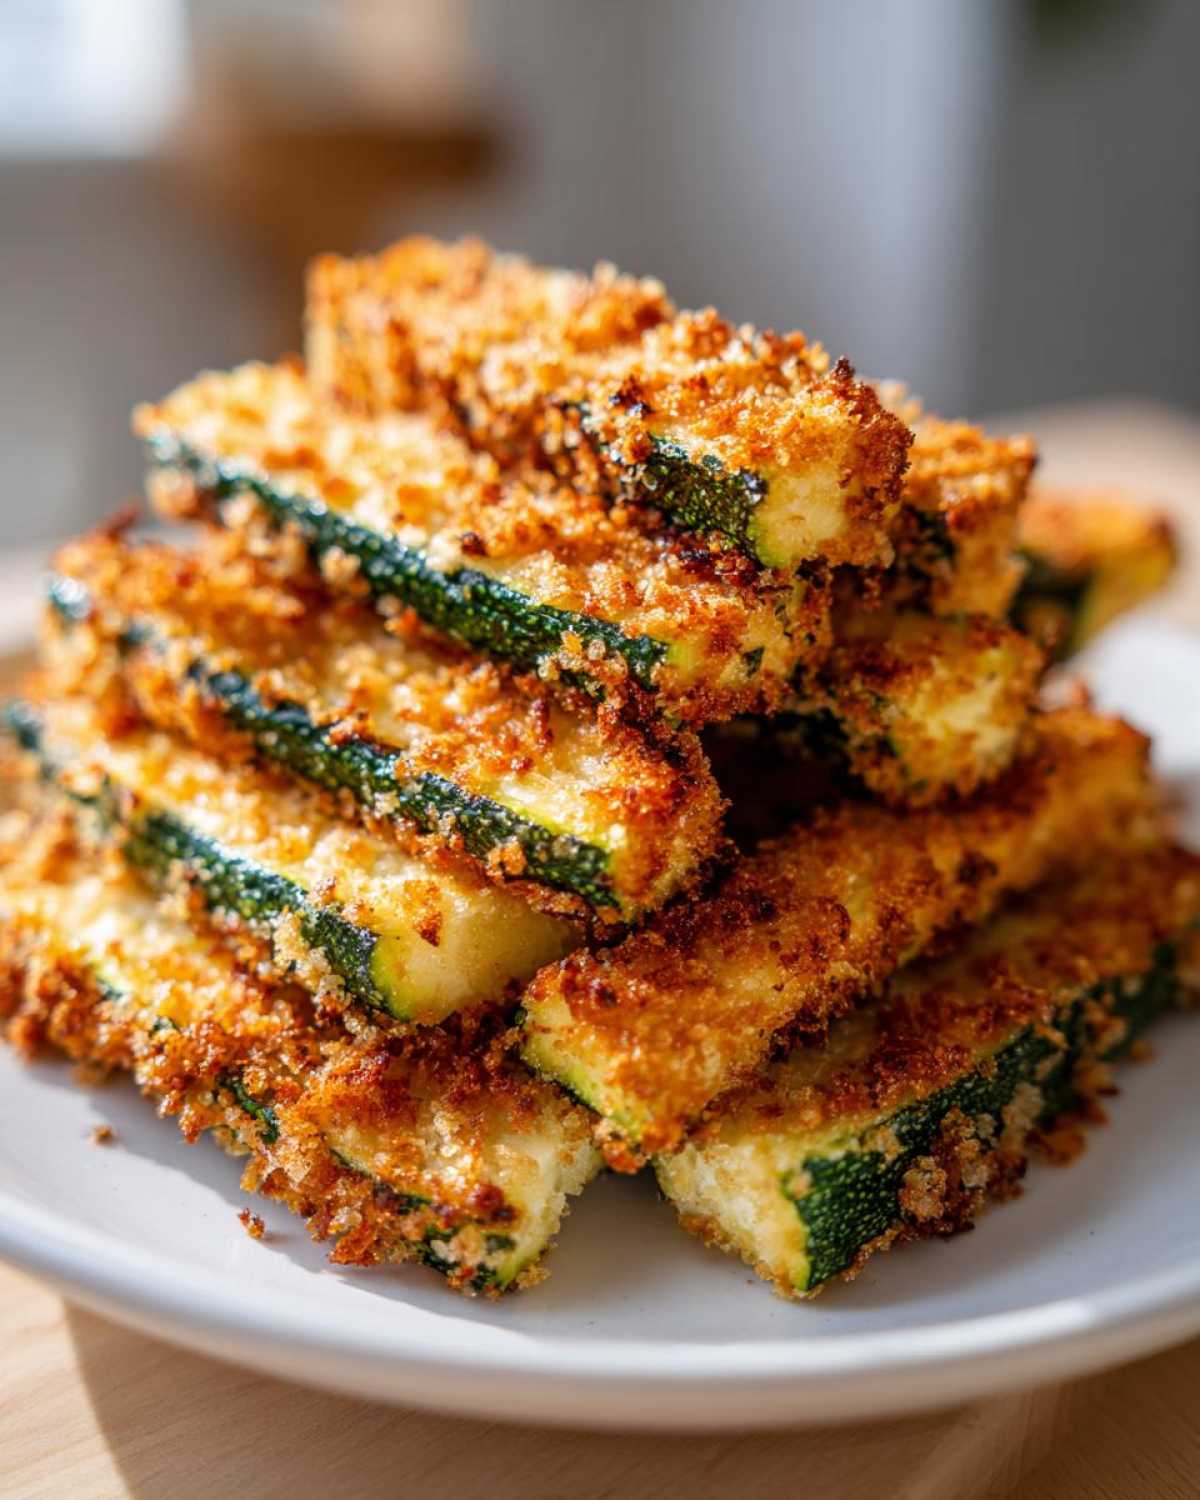
These need about 15 to 20 minutes total, but you cannot walk away! They need to be flipped over halfway through the baking time. This ensures both sides get that contact with the hot air and develop that beautiful, golden-brown look. When they are done, they should look deep golden, and when you tap the coating, it should sound hard and crunchy. That’s the sign that you have successfully created Oven Fried Zucchini!
Tips for Success with Your Crispy Baked Parmesan Zucchini
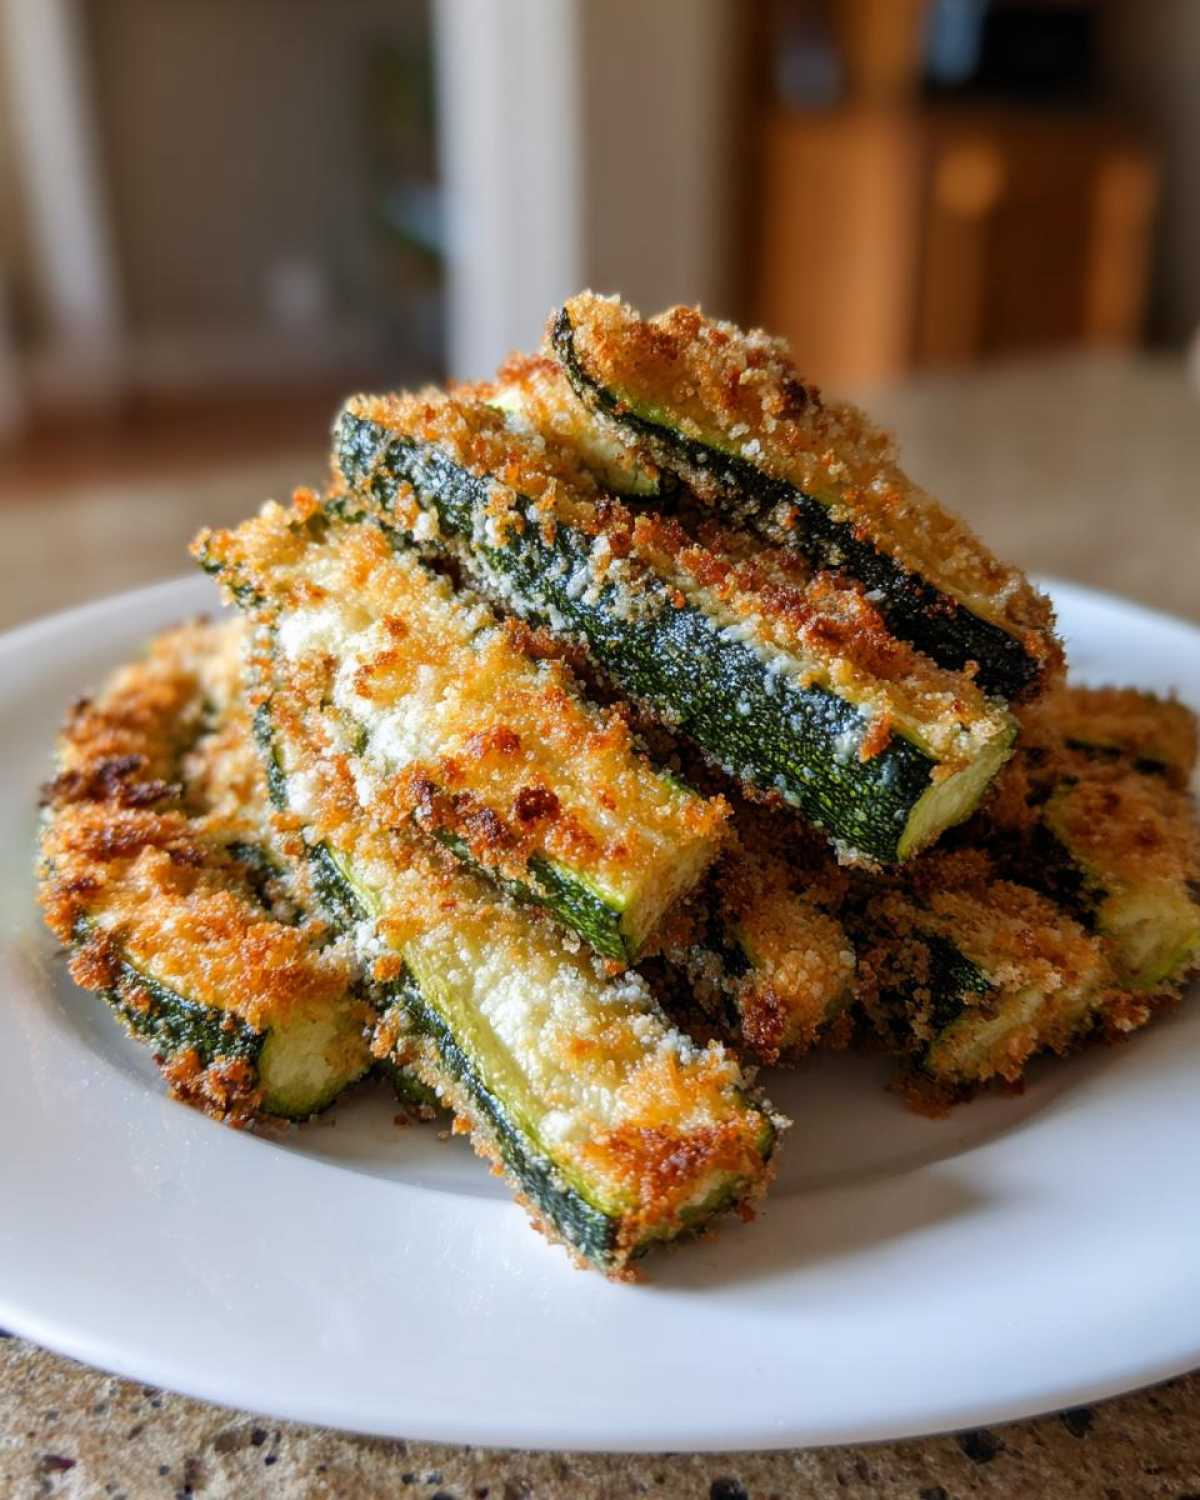
I know we’ve nailed it every time now that we know about the salting trick, but sometimes you just need a little extra insurance. If you are having trouble getting that perfect crust on your Crispy Baked Parmesan Zucchini, it usually comes down to two things: moisture or pan crowding. Don’t try to squeeze too many spears onto one tray—if they are touching, they steam each other! Slide more pans in if you have to; it’s worth it for the crunch. Also, remember using finely grated cheese is key for adhesion.
If you’re worried about the oven, or honestly, if it’s just too hot to turn the big oven on, I’ve got a great alternative, especially if you want to boost the crisp factor even more. You can find some fantastic snack ideas over there too, by the way!
Alternative Cooking Methods
The air fryer is honestly a dream for this recipe, especially if you want to reheat leftovers later. If you toss these coated spears right into an air fryer basket—again, make sure they aren’t piled up—you can cook them at 400 degrees Fahrenheit for only about 8 to 10 minutes. It speeds things up so much, and you usually get an even better crisp because the circulation is so intense. It’s a totally different experience than the oven, but still delivers that delicious crunch you want!
Storage & Reheating Instructions for Crunchy Zucchini Spears
Okay, so maybe you made too many—which, honestly, how? Leftovers of Crunchy Zucchini Spears aren’t always magical, I’ll be the first to admit it. The absolute worst thing you can do is put them into an airtight container in the fridge right away. That traps the steam and instantly kills any crispness we worked so hard to create!
If you have extras, let them cool completely on the counter first. Store them loosely covered at room temperature for a few hours, or for longer, keep them in a paper bag in the fridge. Never the microwave! To bring back that amazing texture, you have to use dry heat. Pop them back into a 400-degree oven or your air fryer for about five minutes until they are crunchy again. Just a quick flash of heat works wonders!
Frequently Asked Questions About This Baked Zucchini Recipe
I get so many questions about tweaking this recipe because everyone wants that perfect crunch, but sometimes you gotta work with what you have on hand! Here are the answers to the ones I hear the most. Don’t you worry, we’ll keep these Baked Zucchini Recipe hacks simple.
Can I make this recipe gluten-free?
Yes, absolutely! It’s really easy to adapt. Just swap out the all-purpose flour for a good quality gluten-free 1-to-1 baking blend. For the Panko, you can buy gluten-free Panko crumbs nowadays, or you can crush up some gluten-free crackers or cornflakes for a similar rough texture. Just make sure whatever you use is dry!
What is the best way to serve this as a Healthy Zucchini Side Dish?
Since we worked so hard to keep the moisture out of the coating, the last thing you want to do is drown them in a wet sauce! My favorite ways to serve these are with something cool and creamy on the side for dipping. A bit of plain Greek yogurt mixed with garlic powder, lemon juice, and salt is amazing. A warmed, good quality, low-sugar marinara sauce is also fantastic—just keep the dipping sauce on the side so people can control how much they use.
Can I use regular breadcrumbs instead of Panko?
You can, but I really, really caution against it if you are specifically chasing maximum crunch. Regular fine breadcrumbs tend to pack down much more densely when you press them onto the egg. Panko breadcrumbs are famous because they are large, airy flakes, and those flakes create little pockets of air that crisp up beautifully in the oven. If you use regular crumbs, you will still get a nice coating, but it won’t be quite the same crunchy texture we are aiming for with these Parmesan Zucchini Bites.
Nutritional Snapshot of Your Cheesy Baked Vegetable Serving
I know we’re focused on taste and texture, but it’s nice to know where this amazing side dish falls nutritionally, right? Since we are baking and not frying, these results are pretty favorable! Remember that these numbers for Cheesy Baked Vegetable serving are just estimates based on the ingredients listed, so they can vary slightly depending on the exact zucchini size you grab at the store. For the full details and ingredient breakdowns, check out our official disclaimer page here.
PrintCrispy Baked Parmesan Zucchini
A recipe for making zucchini spears crispy in the oven using a Parmesan coating, avoiding sogginess.
- Prep Time: 20 min
- Cook Time: 20 min
- Total Time: 40 min
- Yield: 4 servings
- Category: Side Dish
- Method: Baking
- Cuisine: American
- Diet: Vegetarian
Ingredients
- 3 medium zucchini
- 1/2 cup all-purpose flour
- 2 large eggs, beaten
- 1 cup Panko breadcrumbs
- 1/2 cup grated Parmesan cheese, finely grated
- 1 teaspoon garlic powder
- 1/2 teaspoon salt
- 1/4 teaspoon black pepper
- 2 tablespoons olive oil, for drizzling
Instructions
- Preheat your oven to 425 degrees Fahrenheit. Line two large baking sheets with parchment paper.
- Wash and trim the ends of the zucchini. Cut each zucchini lengthwise into spears, about 1/2 inch thick.
- Place the zucchini spears on a wire rack set over paper towels. Sprinkle lightly with salt and let them sit for 15 minutes to draw out excess moisture. Pat them completely dry with paper towels. This step is crucial for crispiness.
- Set up a standard breading station with three shallow dishes.
- In the first dish, place the flour. In the second dish, place the beaten eggs. In the third dish, combine the Panko breadcrumbs, grated Parmesan cheese, garlic powder, salt, and pepper. Mix well.
- Dredge each dried zucchini spear first in the flour, shaking off any excess.
- Dip the floured spear into the egg mixture, allowing excess to drip off.
- Finally, press the spear firmly into the Parmesan-Panko mixture, coating all sides evenly.
- Arrange the coated zucchini spears in a single layer on the prepared baking sheets, ensuring they do not touch.
- Lightly drizzle the tops of the coated spears with olive oil.
- Bake for 15 to 20 minutes, flipping halfway through, until the coating is golden brown and crispy. Serve immediately.
Notes
- For extra crispiness, you can use an air fryer instead of the oven, cooking at 400 degrees Fahrenheit for 8 to 10 minutes.
- If you skip the initial salting and drying step, your zucchini will likely be soggy.
- Use finely grated Parmesan for the best coating adhesion.
Nutrition
- Serving Size: 1 serving (approx. 6 spears)
- Calories: 210
- Sugar: 3
- Sodium: 350
- Fat: 10
- Saturated Fat: 3
- Unsaturated Fat: 7
- Trans Fat: 0
- Carbohydrates: 22
- Fiber: 3
- Protein: 10
- Cholesterol: 65