

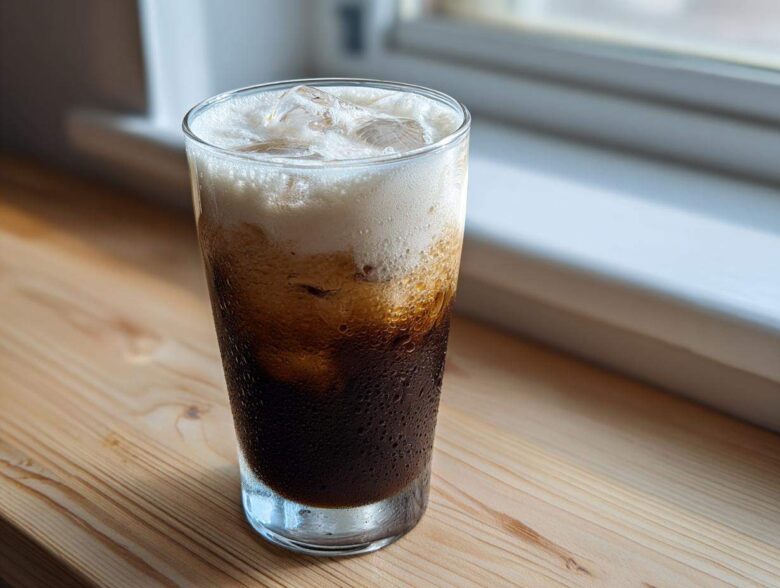
Okay, stop spending five dollars every morning! I get it; that coffee shop trip is a ritual, but let me tell you, mastering the art of the perfect **Vanilla Latte** at home is surprisingly easy and saves your wallet big time. I used to think getting that creamy, sweet, perfectly balanced flavor was impossible without their fancy steam wands. Truth is, once I figured out the secret to heating the milk just right—and honestly, the quality of the vanilla—I haven’t looked back. This simple recipe is my go-to morning fuel, whether I need the warmth or prefer it over ice. For more amazing kitchen tips and tricks, check out my main blog page. You’re going to nail this!
Why You Will Love This Easy Vanilla Latte Recipe
Honestly, what’s not to love about this easy recipe? It strips away all the confusing coffee shop jargon and gets you right to the good stuff. This isn’t some complicated espresso drink that needs a PhD to make.
- It’s lightning fast—we are talking under ten minutes total!
- You control the sweetness completely. No more syrupy drinks!
- It works perfectly hot in winter or refreshingly iced in summer.
- It’s super cost-effective compared to buying daily.
Essential Components for Your Homemade Vanilla Latte
To get that incredible flavor we’re aiming for—that signature coffee shop taste—you need to focus on just three core things: excellent coffee, the right kind of milk, and that sweet vanilla kick. Don’t overthink this; keeping the ingredient list short means quality really shines through in your finished **Vanilla Latte**.
It’s not about having the most expensive gear; it’s about knowing how to treat the base ingredients right. Trust me on this: a great **Homemade Vanilla Latte** starts long before you even turn on the kettle.
Selecting the Best Coffee for Vanilla Latte
So, you might not have a fancy machine, and that’s totally fine! While two shots of true espresso are ideal, we have fantastic workarounds. For the **Best Coffee for Vanilla Latte**, you want something seriously strong so the coffee flavor doesn’t get completely washed out by the milk and syrup.
If espresso isn’t an option, brew your coffee extra strong—think Moka pot coffee or French press using about half the water you normally would for the same amount of grounds. You need that deep, concentrated flavor to stand up to the sweetness!
Making Your Own DIY Vanilla Syrup Recipe
While the recipe card calls for pre-made syrup, I really encourage you to try making your own vanilla syrup just once. Seriously, the **DIY Vanilla Syrup Recipe** is just sugar, water, and a good vanilla bean, simmered for ten minutes. It tastes cleaner, and you can control how intense that vanilla flavor is.
If you don’t want to dive into syrup-making today, store-bought works, just be sure to taste as you go!
Gathering Ingredients for the Vanilla Latte
Alright, here’s what you need right here on your counter for one perfect serving. Keep these measured out before you start. Nobody wants to be frantically measuring vanilla syrup while their espresso is going cold!
We are keeping this simple, remember? We want the easiest **Vanilla Latte Recipe** on the internet, so stick to these amounts and adjust only after you taste it.
- It needs 2 shots espresso (that’s about 2 ounces total for you beginners).
- Grab 1 cup of milk—any kind works for now!
- You’ll want 2 tablespoons of vanilla syrup, or tweak that based on how sweet you like your coffee.
- Just keep some ice cubes ready if you are going for the cold version later!
Hot Vanilla Latte Instructions: Step-by-Step Guide
Making the hot version of your **Homemade Vanilla Latte** is so cozy and simple. We are going through the **Hot Vanilla Latte Instructions** now, and the key here is achieving that beautiful, velvety milk texture without special equipment. Ready? First things first: get your coffee brewing! Make sure your espresso or super-strong coffee is pulled or poured into your favorite mug.
Next, let’s treat that milk right. Take your 1 cup of milk and heat it up gently. I usually just put it in a small saucepan over medium-low heat. You want it hot, steaming even, but definitely **don’t** let it boil—boiling ruins the beautiful milk proteins and you won’t get foam! While the milk heats, sneak in your 2 tablespoons of vanilla syrup right into the hot coffee base and give it a gentle stir.
Now for the fun part: the foam! If you need some help, jump down to the tip below, but once that milk is hot, pour it over your sweetened coffee base. Spoon that nice thick foam right on top. That’s it! A perfect, steaming cup ready for sipping. If you are thinking about other morning delights, be sure to check out my recipes perfect for pairing with your coffee over at my breakfast category.
Frothing Milk Without Machine Tips
I know not everyone has a $400 steamer wand, so listen up! This is my favorite trick for fluffy milk if you don’t have a dedicated frother. Heat your milk gently on the stove as discussed. Then, pour that hot milk into a clean jar with a tight-fitting lid—don’t fill it more than halfway! Screw that lid on tight, and then shake, shake, shake it like you mean it for about 45 seconds.
When you open it, you’ll have lovely, dense microfoam right on top. If you used a French press, just pour the hot milk in and pump that plunger up and down rapidly until you’ve got a nice head of foam developing. It works like a charm every single time! That homemade foam really elevates what would otherwise just be flavored warm milk.
Creating the Perfect Iced Vanilla Latte Recipe
The **Iced Vanilla Latte Recipe** is fantastic because it requires even less fuss than the hot version, but we still need to respect the temperature difference. After you brew your espresso shots (or super-strong coffee), you MUST let them cool down for a minute or two before layering anything. If you pour hot espresso directly onto ice, it melts the ice too fast and waters down your beautiful coffee base, leading to a sad, weak drink.
Take your glass—a tall one is best!—and pour in your vanilla syrup first. Then, pour in those slightly cooled espresso shots. Next, load that glass up with ice cubes! For the milk, you can use it cold straight from the fridge. Pour the cold milk over the ice and coffee, and that’s genuinely it. Gentle stir before you sip, and for the very best cold coffee experience, make sure you peep my guide on the best iced coffee drinks for more inspiration!
Expert Tips for a Starbucks Copycat Vanilla Latte
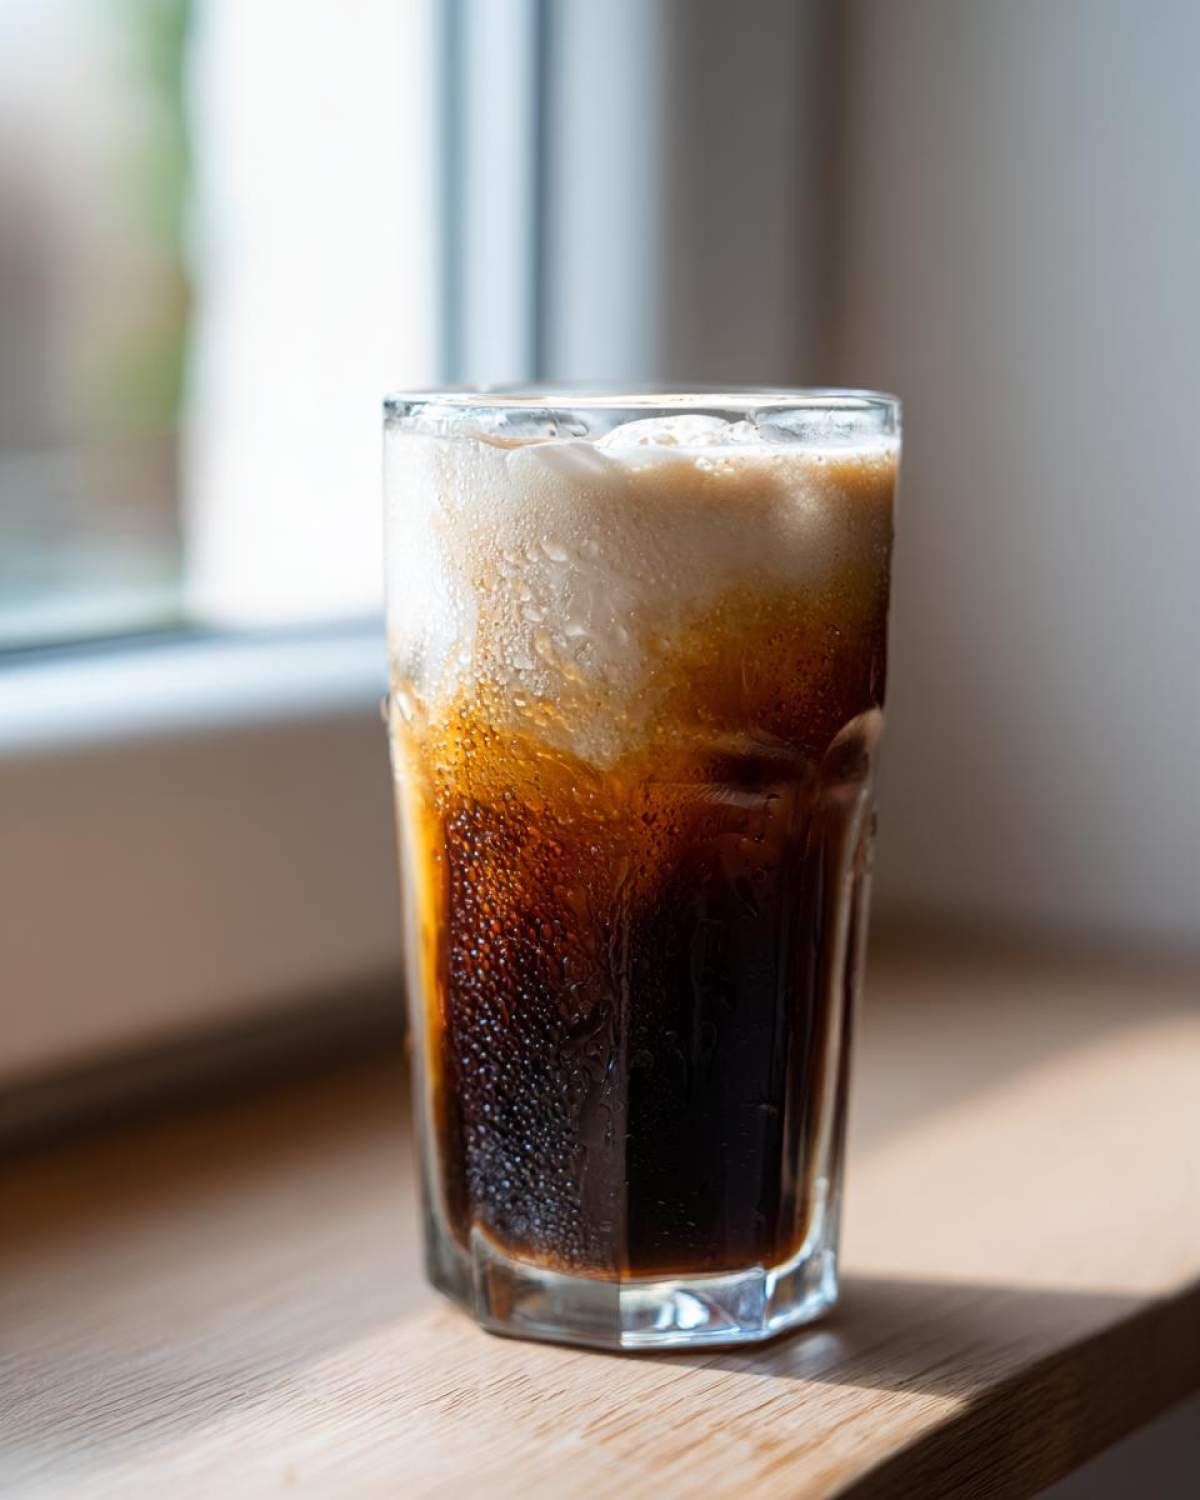
If you’re hunting for that specific, familiar taste you get when you order a **Starbucks Copycat Vanilla Latte**, there are two non-negotiable secrets I’ve picked up over the years. First is the milk; coffee shops almost always use whole milk or 2% because the fat content creates the most stable, silky microfoam possible, especially if you’re using the French press trick.
Second is the syrup ratio. I used to drown my lattes in syrup because I assumed they used a ton, but that just tastes cloyingly sweet. I realized their standard is actually quite balanced. When I first tried recreating it, I used 4 tablespoons of syrup and it tasted like dessert! I cut it back to just two tablespoons, which is what’s listed in the ingredients, and BAM—that sweet vanilla note complemented the espresso perfectly instead of beating it.
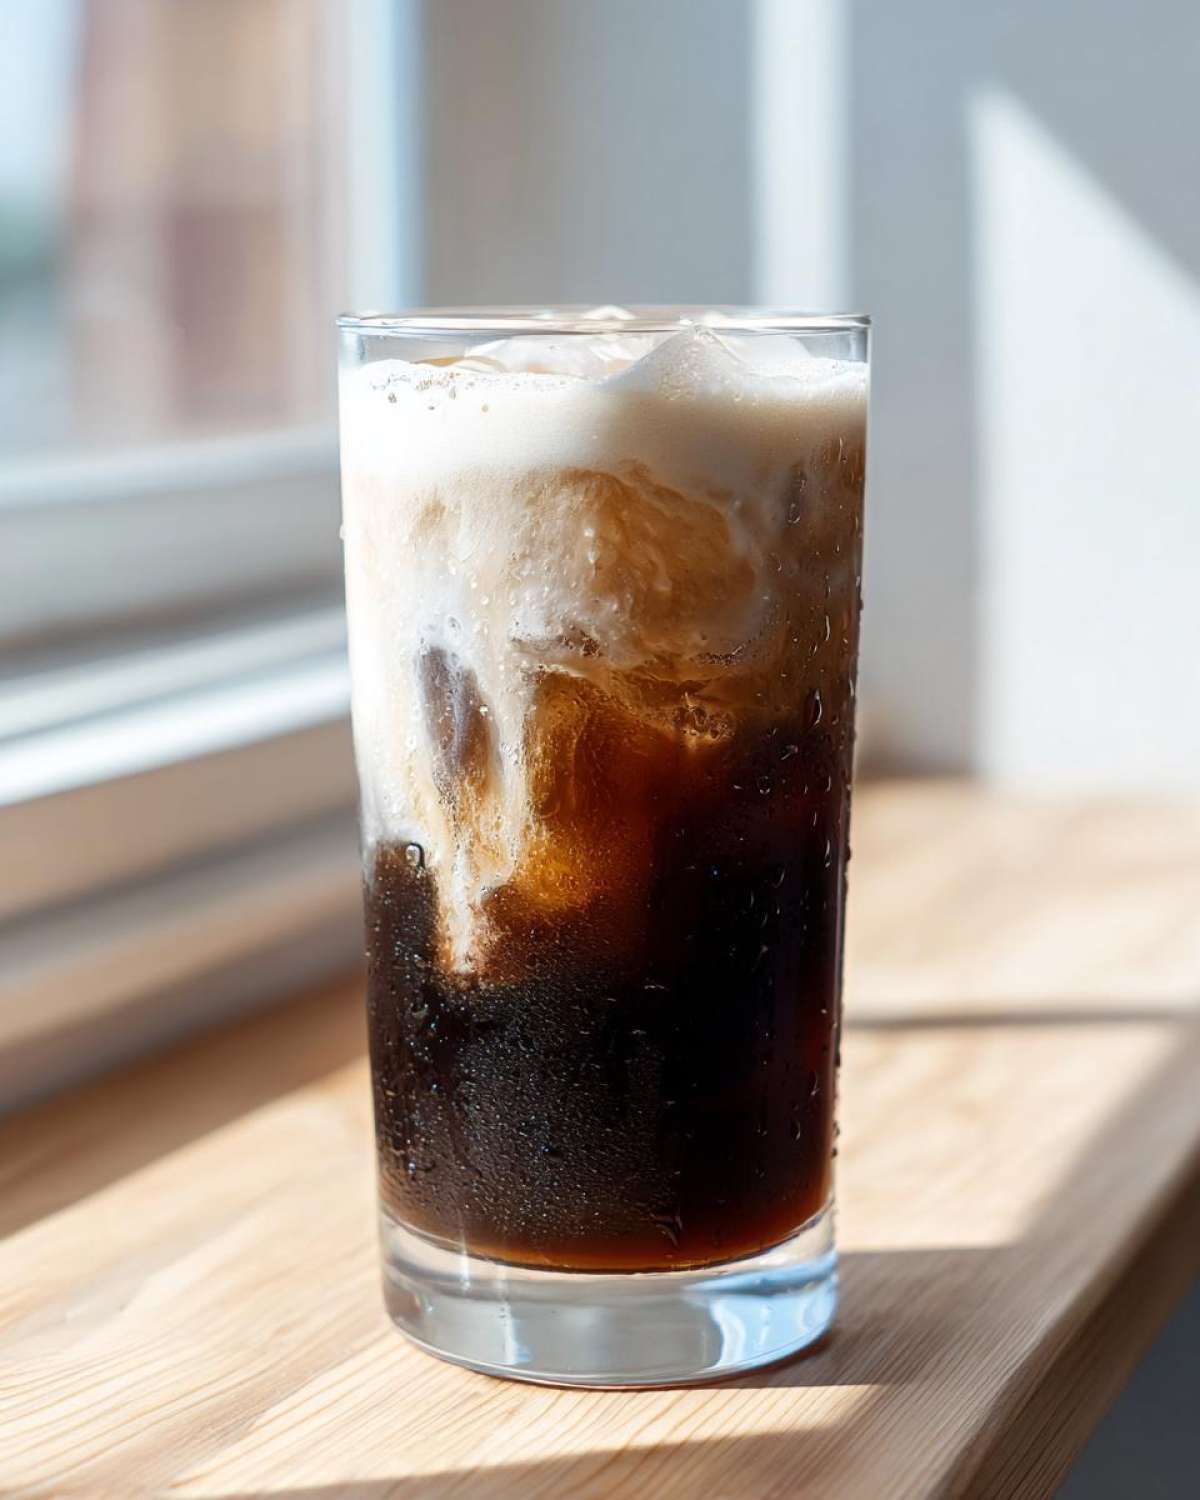
Stop guessing with your syrup, stick to the recipe amount, and focus on the milk; that’s the true magic trick for that coffee shop texture.
Customizing Your Vanilla Latte: Dairy Free and Sugar Free Options
I love that baking and coffee are so flexible because everyone has different needs, right? This recipe shines because it easily adapts to whatever your pantry dictates. If you’re making a **Dairy Free Vanilla Latte**, you’ve got tons of great choices now!
Oat milk is absolutely incredible here; it froths up beautifully and has a natural sweetness that works really well with the vanilla. Almond milk is an option, but remember it sometimes creates a thinner foam, so you might need to shake that jar extra hard!
For those aiming for a **Sugar Free Vanilla Latte**, swapping the syrup is key. You can use a zero-calorie sweetener blend designed for coffee, or even better, just use pure vanilla extract. Use about half a teaspoon of good quality extract stirred into the hot espresso. It gives you that wonderful aroma and flavor without any sweetness, letting you control it with stevia or monk fruit drops if you choose!
Storing and Reheating Your Vanilla Coffee Recipes
Now, let’s be real—a fresh **Vanilla Latte** is always best. The delicate foam on a hot one just doesn’t survive being tucked in the fridge overnight, and the ice in the cold version melts, making it weak.
If you make extra coffee for your **Vanilla Coffee Recipes**, the best thing to do is store the leftover coffee and the pre-mixed vanilla syrup separately. Keep the syrup sealed tight on the counter or in the fridge if you used fresh ingredients. Keep the brewed coffee in a sealed container in the fridge.
When you are ready for your next cup, simply reheat your coffee base gently—maybe on the stovetop—and then froth or steam a fresh cup of milk to pour over it. Don’t try to reheat milk that has already been frothed; it just turns rubbery, which is gross.
For the iced version, if you made a big batch of the sweetened coffee concentrate, you can keep that in the fridge for about 3 days. When you go to make your **Iced Vanilla Latte**, just pour that concentrate over fresh ice and top it with cold, un-frothed milk. It saves you the step of pulling espresso shots twice, which is a win in my book on a busy weekday!
Frequently Asked Questions About Making a Vanilla Latte
I always get asked the same things when teaching friends **how to make a Vanilla Latte at home**, so let’s knock out the common hangups right here. Don’t worry if you’re juggling equipment—we’ve got a fix for that!
What is the difference between a Vanilla Latte and a Vanilla Macchiato?
This trips a lot of people up! For our **Easy Vanilla Latte Recipe**, we pour the espresso *over* the milk and syrup. It mixes everything evenly. A classic Macchiato, which means “marked” or “stained,” usually involves pouring the milk and syrup into the cup first, and then carefully pouring the espresso on top so it sits in a distinct layer, often with just a dollop of foam.
Can I make this recipe ahead of time?
Yes and no, so listen close! You absolutely can prepare your **DIY Vanilla Syrup Recipe** days in advance—it keeps perfectly. You can also brew a very strong batch of coffee concentrate (cold brew style or extra Moka pot coffee) and keep that refrigerated. But do not mix the milk in! Heating and frothing milk needs to be done right before serving, otherwise, the texture goes completely flat, and nobody wants flat milk in their drink.
How much vanilla syrup is standard for one Vanilla Latte?
This is all personal, honestly, but for a standard 10 to 12-ounce drink, two tablespoons is the sweet spot for me. That gives you a nice flavor without making it taste like dessert soup. If you are making a larger cup, go up to three tablespoons, but always start with two. You can always add more syrup, but you can’t take it out once it’s mixed in!
Understanding the Nutrition of This Homemade Vanilla Latte
Okay, since we are making this at home, we have way better control over what goes into our cup compared to those big chains. That’s another win in my book! But just so you know exactly what you’re enjoying when you sip on this beautiful **Homemade Vanilla Latte**, here are the estimated nutritional facts. Remember, these numbers are based on using standard 2% dairy milk and the 2 tablespoons of syrup specified in the recipe. If you switch to oat milk or use zero-calorie sweetener, these numbers will definitely change!
I always recommend checking out my full site disclaimer page if you need super precise dietary info, but these estimates should give you a good idea!
- Serving Size: 1 drink
- Calories: 180
- Fat: 5g (with 3g being Saturated Fat)
- Protein: 10g
- Carbohydrates: 22g (Watch that Sugar, which sits around 20g in this base version)
See? Not bad at all for getting that amazing coffee shop experience right in your kitchen. If you swap to skim milk, you drop the fat down even more, and if you use my sugar-free vanilla option, you slash that sugar count way down!
Share Your Perfect Vanilla Latte Creation
Seriously, now it’s your turn! I want to know what you think. Did this finally crack the code on **How to Make Vanilla Latte at Home** that tastes just like that fancy shop downtown? Pour your drink, take a sip, and then scoot down to the comments right now.
Tell me how you customized it—did you use oat milk? Did you add extra vanilla? Did you use a Moka pot or a huge blob of instant coffee? I absolutely love hearing about the little tweaks you all make to keep things interesting. Don’t forget to give the recipe a rating if it made your morning!
PrintHomemade Vanilla Latte

Follow these steps to make a delicious vanilla latte at home, suitable for both hot and iced preparation.
- Prep Time: 5 min
- Cook Time: 3 min
- Total Time: 8 min
- Yield: 1 serving
- Category: Beverage
- Method: Stovetop/Assembly
- Cuisine: American
- Diet: Vegetarian
Ingredients
- 2 shots espresso (about 2 oz)
- 1 cup milk (dairy or non-dairy)
- 2 tablespoons vanilla syrup (or to taste)
- Optional: Ice cubes for iced version
Instructions
- Prepare your espresso shots using an espresso machine or strong brewed coffee.
- If making a hot latte, heat the milk gently in a saucepan or microwave until hot but not boiling.
- Add the vanilla syrup to your mug.
- Pour the hot espresso over the syrup.
- Froth the hot milk using a steamer wand, French press, or electric frother until foamy.
- Pour the frothed milk over the espresso mixture.
- For an iced latte, pour the espresso and syrup into a glass filled with ice.
- Top the iced drink with cold milk and stir gently.
Notes
- To froth milk without a machine, heat the milk, pour it into a French press, and rapidly pump the plunger until foam forms.
- Adjust the amount of vanilla syrup based on your preferred sweetness level.
- Use strongly brewed coffee or a Moka pot if you do not have an espresso maker.
Nutrition
- Serving Size: 1 drink
- Calories: 180
- Sugar: 20
- Sodium: 75
- Fat: 5
- Saturated Fat: 3
- Unsaturated Fat: 2
- Trans Fat: 0
- Carbohydrates: 22
- Fiber: 0
- Protein: 10
- Cholesterol: 25