

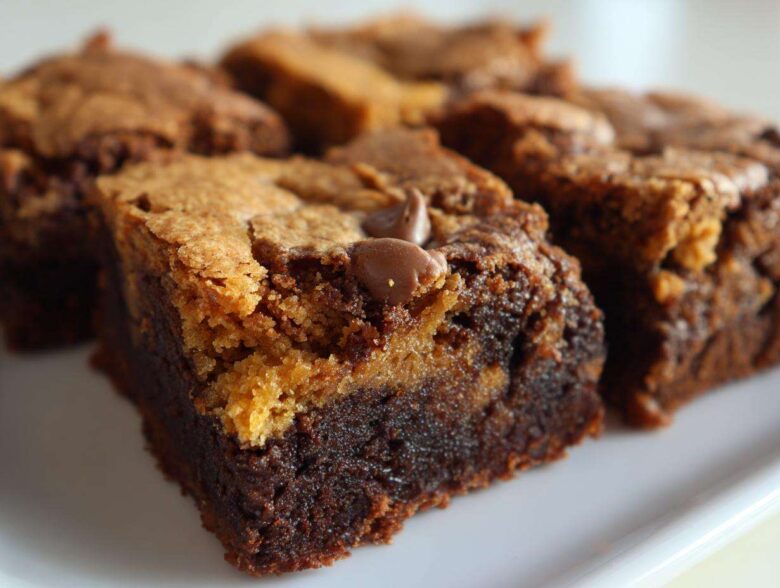
You know how absolutely *addicting* hybrid desserts are? Like when a cake meets a donut, or a blondie gets all fudgy? Well, nothing beats the Brookie. Honestly, these chocolate masterpieces—the gooey, fudgy brownie layer topped with a perfectly chewy chocolate chip cookie—are my absolute go-to when I need a showstopper dessert that’s actually simple. I’m not kidding, I think it took me three whole batches back in college to figure out what I call the Golden Rule of Brookies: the brownie layer has to be intensely rich, and the cookie layer has to fight to stay on top.
When you nail that balance, you get something incredible. Trust me, once you try this method for these Brookies, you won’t look back. It’s thick, it’s decadent, and it solves the age-old kitchen crisis of “Do I make cookies or brownies?” The answer, my friend, is always both!
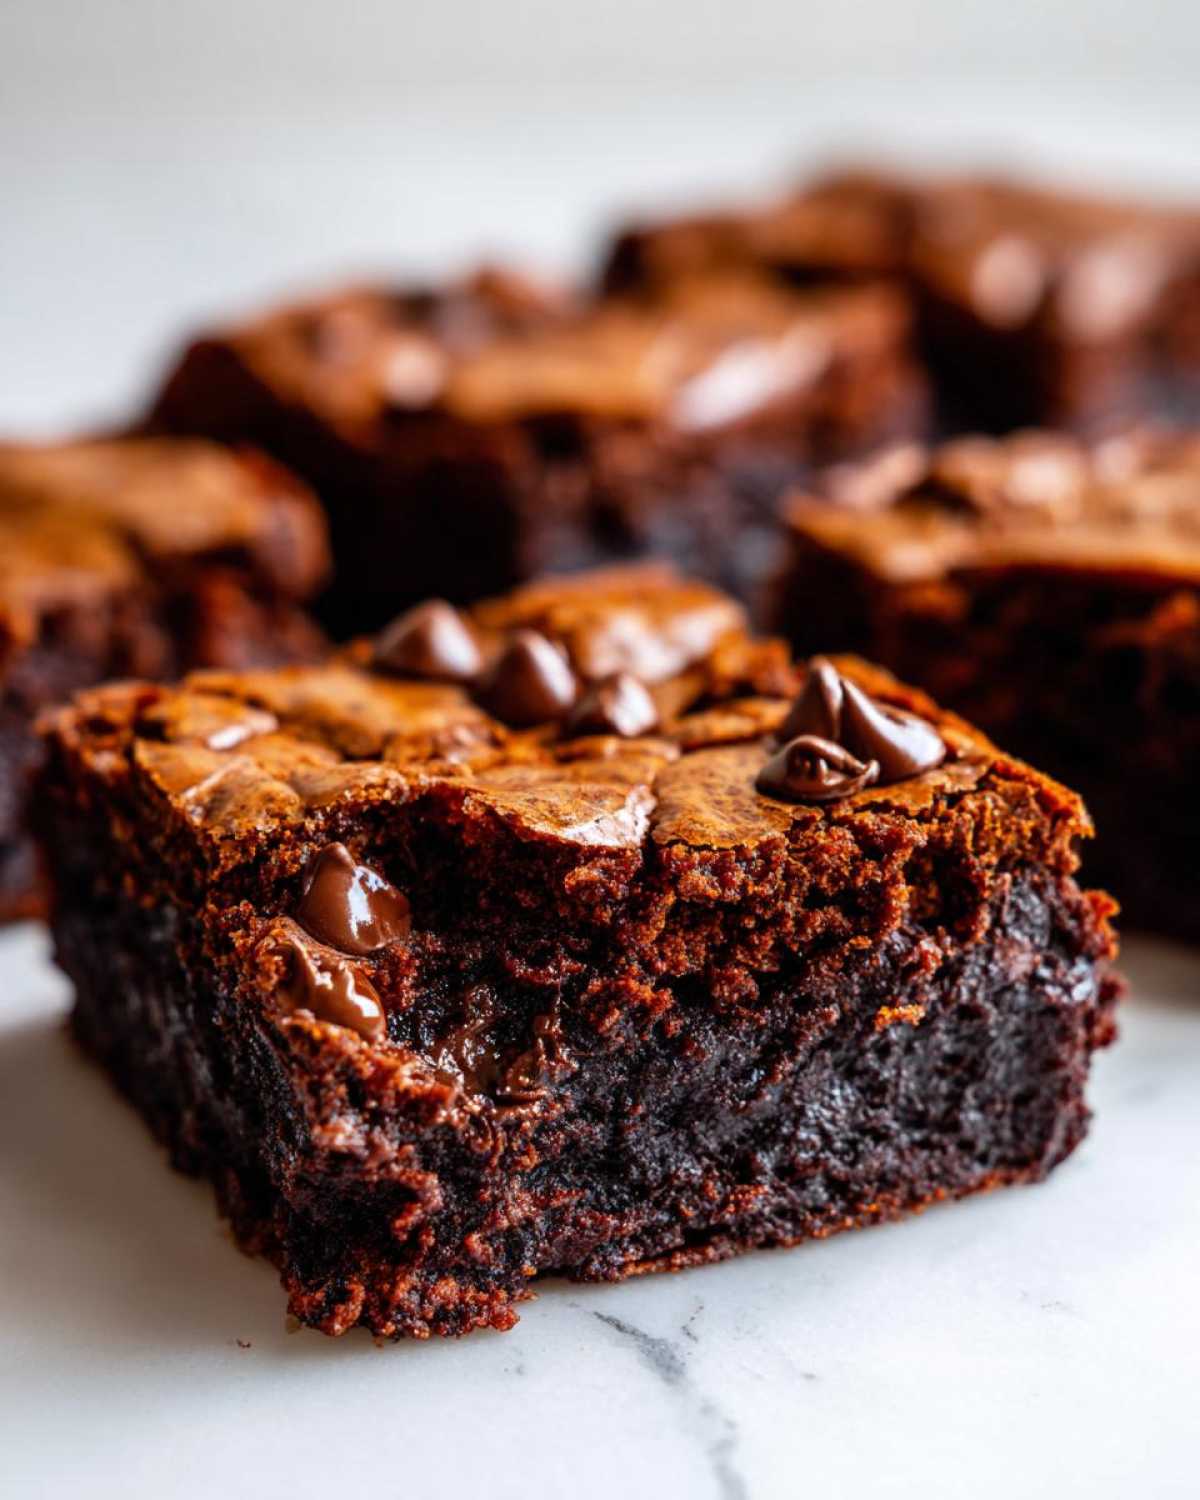
Why You Will Love These Easy Brookie Recipes
I’m telling you, these aren’t just any layered bar; they are engineered for maximum deliciousness with minimal fuss. If you want proof that some of the best desserts are the simplest, stick around. You’re going to want to bake these ASAP!
- That Incredible Texture Contrast: This is the real selling point! You get that dense, almost dark chocolate fudge texture from the bottom layer, and then you hit the top layer which is purely chewy, buttery cookie goodness. It’s the best of both worlds, folks.
- They really are Easy Brookie Recipes: Seriously, you’re just making two separate, straightforward batters. There’s no fancy piping or complex chilling involved. You mix one, pour it, mix the other, drop it, swirl it, and bake! Check out my latest baking adventures if you need more simple ideas!
- Perfect for Parties: Because they bake up thick and sturdy in a 9×13 pan, cutting them into neat squares is a breeze. They hold their shape perfectly, which is key when you’re serving a crowd.
- Built for Chocolate Lovers: We aren’t messing around here; we use chocolate chips in *both* layers. That means double the melted pockets of chocolate running through your final slice.
Gathering Ingredients for the Best Fudgy Brookie Bars
Okay, now that you’re convinced you need these masterpieces in your life—and believe me, you do—let’s talk supplies. Because we are making two different batters here, we have two separate ingredient lists. Don’t panic! It’s mostly pantry staples, but precision really matters when you’re balancing a fudgy brownie against a chewy cookie. Get these measured out before you turn the oven on, and everything flows so smoothly.
For these Brookies, you need to make sure your butter is softened—not melted!—for both batches. That’s the professional secret to getting that rich, airy base when you cream it.
Brownie Batter Components for Perfect Brookies
The key to that deep, intoxicating chocolate flavor? It comes down to good cocoa. I always grab the darkest, best quality cocoa powder I can find because it really punches up the fudge factor. And remember that full cup of butter for the base—don’t skimp!
- 1 cup (2 sticks) unsalted butter, softened
- 1 1/2 cups granulated sugar
- 3/4 cup packed brown sugar
- 4 large eggs
- 1 tablespoon vanilla extract
- 1 1/4 cups all-purpose flour
- 3/4 cup unsweetened cocoa powder (Use good stuff here!)
- 1/2 teaspoon baking powder
- 1/2 teaspoon salt
- 1 cup semi-sweet chocolate chips (for that gooey center)
Cookie Dough Components for Chewy Brookie Recipe
See how we switched up the leavening agent? The cookie layer uses baking soda for a little lift and spread, which gives us that classic chew we want. Also, notice the sugar ratio here is a bit leaner compared to the brownie batter; that helps keep the cookie layer distinct.
- 1 cup semi-sweet chocolate chips (Yes, more chocolate!)
- 1 cup all-purpose flour
- 1/2 teaspoon baking soda
- 1/4 teaspoon salt
- 1/2 cup (1 stick) unsalted butter, softened
- 1/2 cup granulated sugar
- 1/4 cup packed brown sugar
- 1 large egg
- 1 teaspoon vanilla extract
How to Prepare Brookies from Scratch: Step-by-Step
Alright, time to put on your apron! This is where the magic happens when you make Brookies from Scratch. First things first: get your oven warmed up to 350 degrees Fahrenheit. You absolutely must line that 9×13 inch pan with parchment paper, making sure you leave a little overhang on the long sides. This little overhang is your best friend later when you go to lift these beauties out—trust me on this trick!
Mixing the Fudgy Brownie Layer for Your Brookies
We start rich! Grab that full cup of softened butter and cream it aggressively with both sugars until it looks light and fluffy. That fluffiness is the air we need! Then, beat in your four eggs one at a time—don’t rush this part. Once the vanilla is in, mix your dry brownie components (flour, cocoa, salt, baking powder) in another bowl. Now, add the dry stuff to the wet stuff gradually. And here’s my expert tip to keep them fudgy: mix until it’s *just* combined. Seriously, stop as soon as you see no more streaks of white flour. Fold in that cup of chips and spread that dark batter smoothly into your waiting pan. I often let this layer chill for about 15 minutes while I whip up the cookie dough. It helps keep the layers distinct!
Assembling the Chocolate Swirl Brownie Cookie Bars
Now for the sweet contrast! Make your cookie dough—it’s just like making standard cookies, mixing the butter, sugars, egg, and vanilla, and then folding in the flour and chips. Once that’s done, take spoonfuls of the cookie dough and drop them kind of randomly all over the top of your brownie layer. Don’t worry if they don’t cover every inch yet. Grab a butter knife or a small offset spatula and gently spread that cookie dough to create our signature swirl. This is how we get those amazing Chocolate Swirl Brownie Cookie Bars!
Pop the whole thing into the preheated oven for 30 to 35 minutes. You want the edges to look set, but when you poke a toothpick near the middle, it should pull out moist crumbs, not wet batter. That’s the fudge indicator! Once cooled completely—and I mean completely, or they’ll fall apart—use those parchment handles to lift them onto a cutting board. You can find a great recipe for a layered dip that’s just as fun to assemble over at our favorite dips page!
Perfect Texture Brookie Baking Tips for Gooey Brownie Cookie Hybrid Dessert
Listen, these Brookies are notorious for being either too cakey or crumbling like dry sand. We do not want those things! We are aiming for the peak experience: the Gooey Brownie Cookie Hybrid Dessert. The textures have to work together, not fight each other.
My number one piece of advice for getting those Perfect Texture Brookie Baking Tips right is watching the bake time like a hawk. Thirty minutes feels early, especially if you’re using a dark pan, but trust me. If you bake these until bone dry, you’ve lost the whole battle. You want that toothpick coming out with moist crumbs attached—those crumbs are the sign the brownie layer is still perfectly fudgy underneath that cookie top.
If you struggle with keeping the brownie rich, try one of my little cheat codes from the recipe notes: I sometimes reserve about a quarter cup of that thick brownie batter *after* I’ve spread most of it in the pan. Then, I dollop that reserved batter right on top, in between the cookie dough pieces, before the final swirl. It guarantees a super rich bite right in the center of the bar.
Also, the chilling trick helps immensely for clean layers. If you have time, put that pan with just the brownie layer spread in the fridge for 15 minutes before you drop the cookie dough on top. Chilling the cold batter against the cold, set brownie layer really helps prevent them from immediately melding together into one uniform texture. If you love playing with white chocolate, check out how I adapt my blondies for swirls over here for some inspiration!
Ingredient Notes and Substitutions for Your Brookies
You know, figuring out substitutions is part of the fun, but for Brookies, we have to be careful! Because we’re balancing two very different textures, altering the core ingredients can throw off the whole structure. You really need that contrast between the fudgy bottom and the chewy top.
If you don’t have semi-sweet chips, you can absolutely use milk chocolate or even dark chocolate chips—I’ve done it! Just make sure you use the *same type* of chip in both the brownie and cookie layers so the flavors stay cohesive. If you switch to milk chocolate, you might want to slightly decrease the sugar in the cookie layer since milk chocolate is sweeter.
What about butter? Stick to butter if you can, please! It provides the right flavor and structure for both batters. Margarine just doesn’t cream the same way, and it could make your cookie layer too greasy or your brownie layer too soft. If you’re set on a different fat, maybe use coconut oil in the cookie layer for a different flavor profile, but I wouldn’t touch the brownie layer fat content—it needs that richness!
And for the flour? For the best results when making these Brookies from scratch, scoop and level your flour accurately. Don’t pack it into the measuring cup! If you absolutely must substitute for gluten-free needs, use a 1-to-1 GF blend for both sections, but expect the texture to change slightly—it might be a little less chewy overall.
Serving Suggestions for Dessert Bar Recipes for Parties
Once these magnificent Brookies are completely cool and cut into those *thick brookie slices* you’ve been dreaming about, the real fun starts: presentation! These bars are so rich they basically stand alone, but if you’re bringing them to a potluck or serving them after a big dinner, a little fancy touch goes a long way.
You want to offer something that cuts through all that chocolate richness, right? Milk is the obvious classic pairing, of course. But if you’re trying to elevate these for proper Dessert Bar Recipes for Parties, here are my favorite ways to serve them:
- A Scoop of Vanilla Bean Ice Cream: This is non-negotiable for me. The contrast between the cold, creamy vanilla and the slightly warm, room-temperature brookie is just heavenly. You get hot-cold gooiness in one bite!
- Light Powdered Sugar Dusting: A simple, elegant finish. Dust them lightly right before serving. It looks gorgeous against the dark chocolate surfaces and gives a little sweetness pop.
- Caramel Drizzle: Because when you have chocolate, you need caramel. A thin homemade salted caramel drizzled over the top of the entire platter just screams decadence.
- Fruity Contrast: For something a little unexpected, try serving these alongside a tart dipping sauce. You might think I’m crazy suggesting cheese with chocolate, but if you’re hosting a more grown-up event, you could even offer a sharp dip on the side—remember how amazing sharp cheddar is with apples? Maybe something similar, or even just a tart raspberry coulis. Check out that weirdly delicious fondue idea if you want to be bold!
They look fantastic stacked in a nice glass trifle bowl if you want to show off the layers, or just laid out neatly on a white platter. No matter how you serve them, these bars are guaranteed to vanish first!
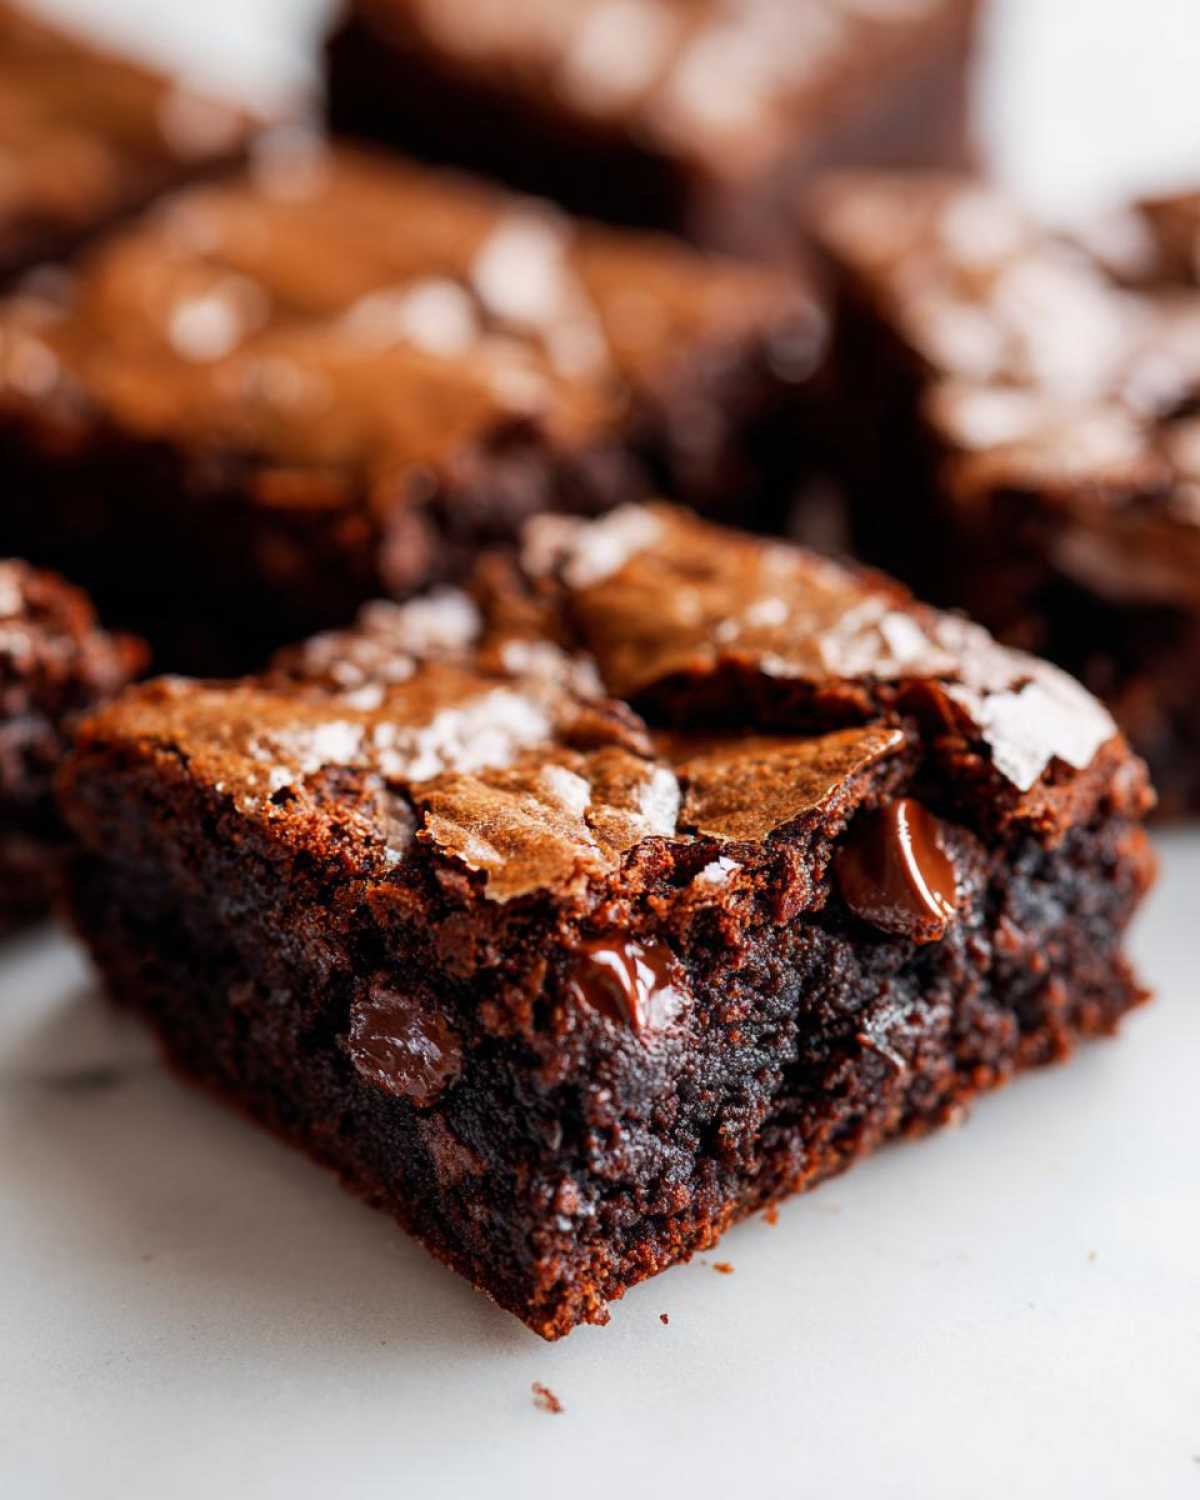
Storage and Reheating Instructions for Thick Brookie Slices
This is where patience comes in again, even after you’ve baked them! While I hope you eat most of these Thick Brookie Slices immediately (because when they are fresh, oh boy!), you might have some left over. Good news: they keep really well, but you have to store them correctly to maintain that fudgy-chewy balance.
For short-term enjoyment—say, the next 2 to 3 days—I store them right on the counter in an airtight container. Make sure they are completely cool before you seal them up, otherwise you encourage condensation and that leads to sticky goo, which is not what we want on the cookie top!
If you somehow manage to have leftovers longer than three days, they can go into the fridge. The cold will firm them up a bit, and they’ll seem denser, almost like a chilled candy bar. Wrap individual squares tightly in plastic wrap first, and then place them in a heavy-duty freezer bag. They last beautifully for up to two months this way!
Now for the best part: reheating! If they’ve been in the fridge, they deserve a revive. Don’t microwave the whole pan, obviously! Take a single Thick Brookie Slice and microwave it for just 10 to 15 seconds. That little burst of heat softens that top cookie layer and melts the chocolate chips in the brownie center just enough to make it feel like it just came out of the oven. Trust me, a warm brookie with a cold glass of milk? That’s perfection achieved.
Frequently Asked Questions About Making Brookies
I know you’re probably sitting there reading the recipe, thinking about all the ways you could mess up this glorious fusion dessert. It happens to all of us! I’ve answered the most common questions I get about achieving the perfect Chocolate Chip Cookie Brownie Combo right here. Don’t worry, we’ll nail these Brookies together!
Can I make these Brookies ahead of time?
Yes, you absolutely can! As I mentioned in the storage section, they are phenomenal if you bake them the day *before* you plan to serve them. Once they are completely cool—and I mean room temperature, otherwise they stick—you can store the whole uncut slab in an airtight container on the counter for up to three days. Sometimes, I think they actually taste better the next day because the fudgy brownie layer really sets up nicely against the chewy cookie top. They make fantastic picnic desserts because they travel so well!
What is the difference between these Brookies and a standard brownie?
That is such a great question and it gets right to the heart of why we love this Gooey Brownie Cookie Hybrid Dessert! A standard brownie is just one homogenous, fudgy (or cakey) layer. A true cookie bar, like a blondie, is also one texture throughout. But the Brookies recipe I swear by relies on making two distinct batters—a rich, low-flour brownie batter and a slightly higher-flour, baking-soda cookie batter—and carefully layering them. We are creating two separate flavor and texture profiles that bake *together* into one bar. If you just mix them all up, you get a muddy mess, not distinct layers or great swirls!
Also, if you want to learn more about my philosophy on baking and why I share these recipes, check out my About Us page! I’m always happy to share my kitchen lessons.
Nutritional Estimates for Your Chocolate Chip Cookie Brownie Combo
Okay, let’s talk numbers for a minute, because I know some of you are tallying things up, even when faced with something this spectacular!
Because these Brookies are packed with butter, sugar, and all that glorious chocolate, they are definitely a treat, not an everyday snack. But hey, everything in moderation, right? What matters most is that you’re making them with love from scratch. These estimates are based on cutting the 9×13 pan into 16 bars, using standard measurements for the ingredients listed. If you cut them into smaller Thick Brookie Slices, your numbers will change, of course!
Here’s a rough breakdown of what goes into one glorious slice of this Chocolate Chip Cookie Brownie Combo. For a heavy disclaimer, remember that exact values can vary depending on the brand of cocoa or chocolate chips you use. You can always see our full policy over at our dedicated disclaimer page.
- Serving Size: 1 bar
- Calories: 350
- Sugar: 35g (I know, I know, but that’s the chocolate talking!)
- Fat: 20g (mostly from that wonderful butter!)
- Saturated Fat: 12g
- Carbohydrates: 42g
- Protein: 4g
- Cholesterol: 80mg
See? Worth every single calorie. Just plan to enjoy these with a glass of milk or maybe a nice strong cup of coffee to balance out all that sweetness!
PrintClassic Fudgy Brookie Bars
Make thick, chewy dessert bars that combine a rich brownie layer with a classic chocolate chip cookie layer.
- Prep Time: 20 min
- Cook Time: 35 min
- Total Time: 55 min
- Yield: 16 servings
- Category: Dessert
- Method: Baking
- Cuisine: American
- Diet: Vegetarian
Ingredients
- 1 cup (2 sticks) unsalted butter, softened
- 1 1/2 cups granulated sugar
- 3/4 cup packed brown sugar
- 4 large eggs
- 1 tablespoon vanilla extract
- 1 1/4 cups all-purpose flour
- 3/4 cup unsweetened cocoa powder
- 1/2 teaspoon baking powder
- 1/2 teaspoon salt
- 1 cup semi-sweet chocolate chips (for brownie batter)
- 1 cup semi-sweet chocolate chips (for cookie batter)
- 1 cup all-purpose flour (for cookie batter)
- 1/2 teaspoon baking soda (for cookie batter)
- 1/4 teaspoon salt (for cookie batter)
- 1/2 cup (1 stick) unsalted butter, softened (for cookie batter)
- 1/2 cup granulated sugar (for cookie batter)
- 1/4 cup packed brown sugar (for cookie batter)
- 1 large egg (for cookie batter)
- 1 teaspoon vanilla extract (for cookie batter)
Instructions
- Preheat your oven to 350 degrees Fahrenheit. Line a 9×13 inch baking pan with parchment paper, leaving an overhang on the long sides for easy removal.
- Prepare the brownie layer: In a large bowl, cream together 1 cup softened butter, 1 1/2 cups granulated sugar, and 3/4 cup brown sugar until light and fluffy. Beat in 4 eggs one at a time, then mix in 1 tablespoon vanilla extract.
- In a separate bowl, whisk together 1 1/4 cups flour, cocoa powder, baking powder, and 1/2 teaspoon salt. Gradually add the dry ingredients to the wet ingredients, mixing until just combined. Fold in 1 cup of chocolate chips. Spread this brownie batter evenly into the prepared pan.
- Prepare the cookie layer: In a medium bowl, cream together 1/2 cup softened butter, 1/2 cup granulated sugar, and 1/4 cup brown sugar. Beat in 1 egg and 1 teaspoon vanilla extract.
- In another bowl, whisk together 1 cup flour, baking soda, and 1/4 teaspoon salt. Gradually add the dry ingredients to the wet ingredients. Mix until just combined. Fold in the remaining 1 cup of chocolate chips.
- Drop spoonfuls of the cookie dough randomly over the top of the brownie batter layer. Use a knife or offset spatula to gently spread the cookie dough to cover the brownie layer as much as possible, creating a swirl effect.
- Bake for 30 to 35 minutes. The edges should look set, and a toothpick inserted near the center should come out with moist crumbs attached, not wet batter.
- Let the brookies cool completely in the pan on a wire rack before lifting them out using the parchment paper overhang. Cut into squares.
Notes
- For a fudgier brownie layer, slightly reduce the amount of flour in the brownie batter by one tablespoon.
- To achieve distinct layers, chill the brownie batter for 15 minutes before spreading it in the pan.
- If you prefer a stronger swirl, reserve 1/4 cup of the brownie batter and dollop it over the cookie layer before baking.
Nutrition
- Serving Size: 1 bar
- Calories: 350
- Sugar: 35
- Sodium: 150
- Fat: 20
- Saturated Fat: 12
- Unsaturated Fat: 8
- Trans Fat: 0
- Carbohydrates: 42
- Fiber: 2
- Protein: 4
- Cholesterol: 80