

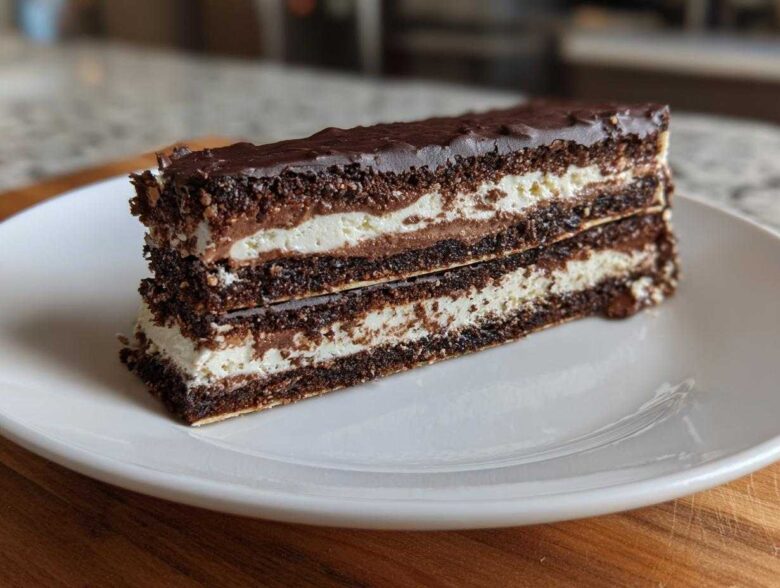
Oh my goodness, are you having one of those weekends? You know the one—you absolutely crave something ridiculously chocolatey and decadent, but the thought of turning on the oven feels like running a marathon? Trust me, I’ve been there a million times. That’s why I’m sharing the recipe I keep hidden for emergencies: the **Lazy Cat Cake**, which is hands-down the most indulgent no-bake chocolate cream dessert you’ll ever meet. It involves zero baking, but it tastes like you spent all day fussing over it! When I need a shortcut without sacrificing richness, this recipe comes to the rescue every single time. I’ve put a ton of work into perfecting this, just like all the great little tips you’ll find over at my main recipe inspiration page.
Why This Lazy Cat Cake is Your New Favorite No Bake Chocolate Dessert
Look, there are plenty of chocolate recipes out there, but this one is special because it delivers 100% decadence with about 15 minutes of active work. That’s right—it’s an ultimate No Bake Chocolate Dessert that tastes like it should take hours! It requires truly minimal fuss, which is why I named it the Lazy Cat Cake. We’re talking rich ingredient layering, not complicated baking science. If you need a Quick Chocolate Dessert Recipe that still bowls people over, grab your mixing bowl and let’s go!
Effortless Assembly for the Ultimate No Bake Chocolate Cake
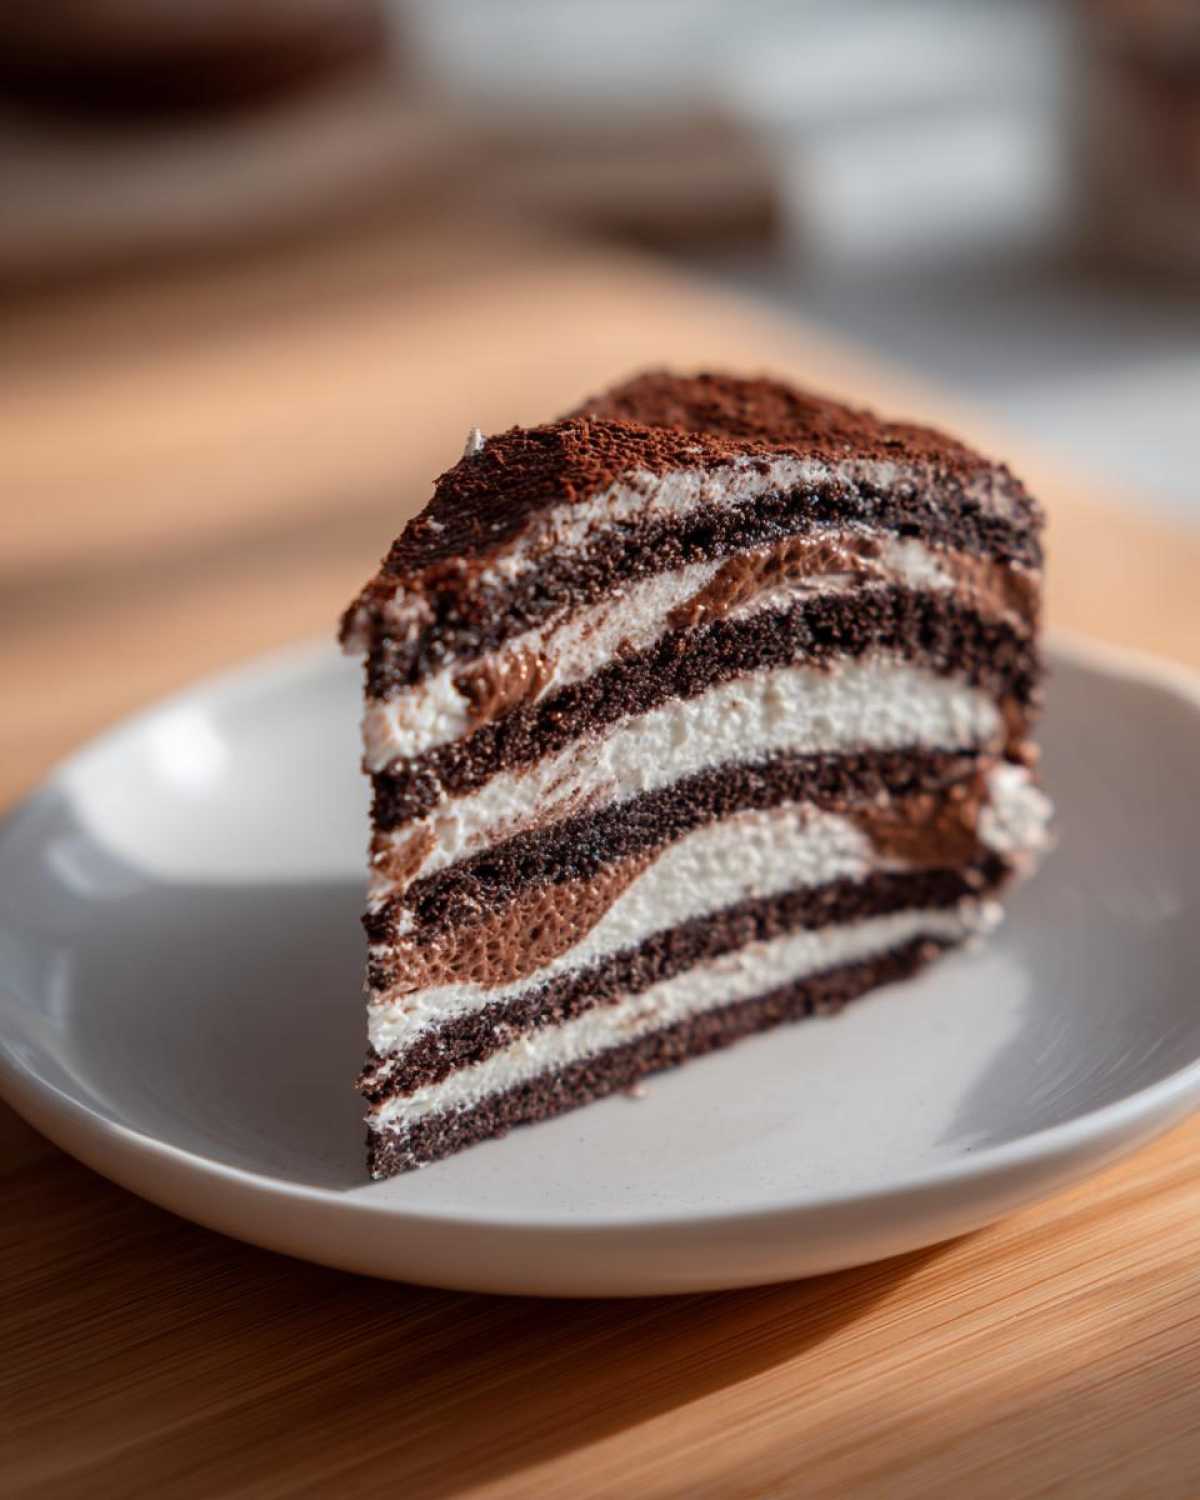
The beauty of this cake is that it’s essentially a really fancy, creamy chocolate lasagna. You mix the filling, you dip the cookies/crackers, and you stack them up. That’s seriously the entire effort before the magic of the fridge takes over! It’s perfect for beginners who are scared of ovens or for those sudden sweet cravings that hit at 8 PM. You just can’t mess this up!
Texture Profile: Rich Chocolate Cream Dessert Perfection
When you finally slice into this, you get this incredible contrast. The filling is silky, lightened up with whipped cream, but still incredibly dense because of all the cream cheese and butter. Then you hit that crisp, slightly softened chocolate wafer layer. It’s the dreamiest Rich Chocolate Cream Dessert you could imagine. The texture is just spot on—never grainy, always smooth.
Gathering Ingredients for Your Lazy Cat Cake
Okay, let’s talk ingredients because while this is no-bake, the quality of what you throw in matters! You’re going to need the basics to make that famously decadent filling. Remember, we need cream cheese and butter—make sure both are seriously softened! If they aren’t soft, your filling will be lumpy, and nobody wants a lumpy dream dessert, right? You’ll also need powdered sugar, heavy whipping cream for airiness, vanilla, and the chocolate chips, which have to be melted before they go in. And don’t forget those chocolate crackers or wafers—they are the crunch foundation!
Ingredient Notes and Substitution Tips
When it comes to chocolate, this is where you splurge a tiny bit! Use really good semi-sweet chocolate chips because you’re not baking the flavor out; you’re tasting it raw. If you are feeling extra bold, swap those standard chips for 60% cacao dark chocolate chips; it makes the whole thing incredibly deep. Also, make sure your butter is unsalted, that way you control the final salt level—it’s just cleaner tasting. Seriously, treat this filling well, and it rewards you tenfold!
Essential Equipment for This Easy Chocolate Cream Dessert
Even though we’re skipping the oven, you still need a few things for a smooth assembly. You absolutely must have two good mixing bowls—one for the heavy cream and one for that luxurious filling base. An electric mixer is a lifesaver here to get the cream cheese and butter fluffy without destroying your arm! Then grab your 8×8 inch dish and a big roll of plastic wrap. Trust me on the plastic wrap; it’s the hero that gets this beauty cleanly out of the pan later!
Step-by-Step Instructions for the Lazy Cat Cake
Okay, this is where the real magic happens, and it’s all assembly—no heat required! First things first, you have to prepare your dish. Line that 8×8 pan with plastic wrap, making sure you leave long flaps hanging over the sides. These flaps are your lifting handles later, so don’t skip them! Next, we tackle that ultra-rich filling base before moving onto the cracker layers. You’re going to see just how fast this Simple Chocolate Dessert comes together. Just remember, patience only comes into play when we put this in the fridge!
Creating the Indulgent Creamy Chocolate Filling
In your main bowl, start by creaming your softened butter and cream cheese until they look smooth and happy—no lumps allowed here! Now, slowly stream in that powdered sugar while mixing on low. Once that’s incorporated, switch to your second bowl, whip that heavy cream and vanilla until you get stiff peaks, which means they hold their shape perfectly. Now, gently fold that whipped cream into your sweetened butter mix. Then, melt those chocolate chips until liquid and fold them in last. Keep folding until it’s just combined; you don’t want to beat the air out of it!
Layering and Setting the No Oven Chocolate Cake
Time for the dipping! Pour your milk into a shallow dish. Take one cracker and dip it quickly—we mean a *fast* dip, just a second on each side. If you soak them, you get mush; we want firmness! Lay down the first layer of these dipped crackers in your prepared dish. Spread half of that amazing chocolate cream filling right over them. Make a second layer of dipped crackers, and then top it all off with the remaining filling. Cover it tightly with the plastic wrap you left hanging out earlier. Now, this is the hardest part: you’ve got to chill this for a minimum of six hours, but seriously, leave it overnight. The longer it sits, the better it slices!
Tips for Success with Your Creamy Chocolate No Bake Recipe
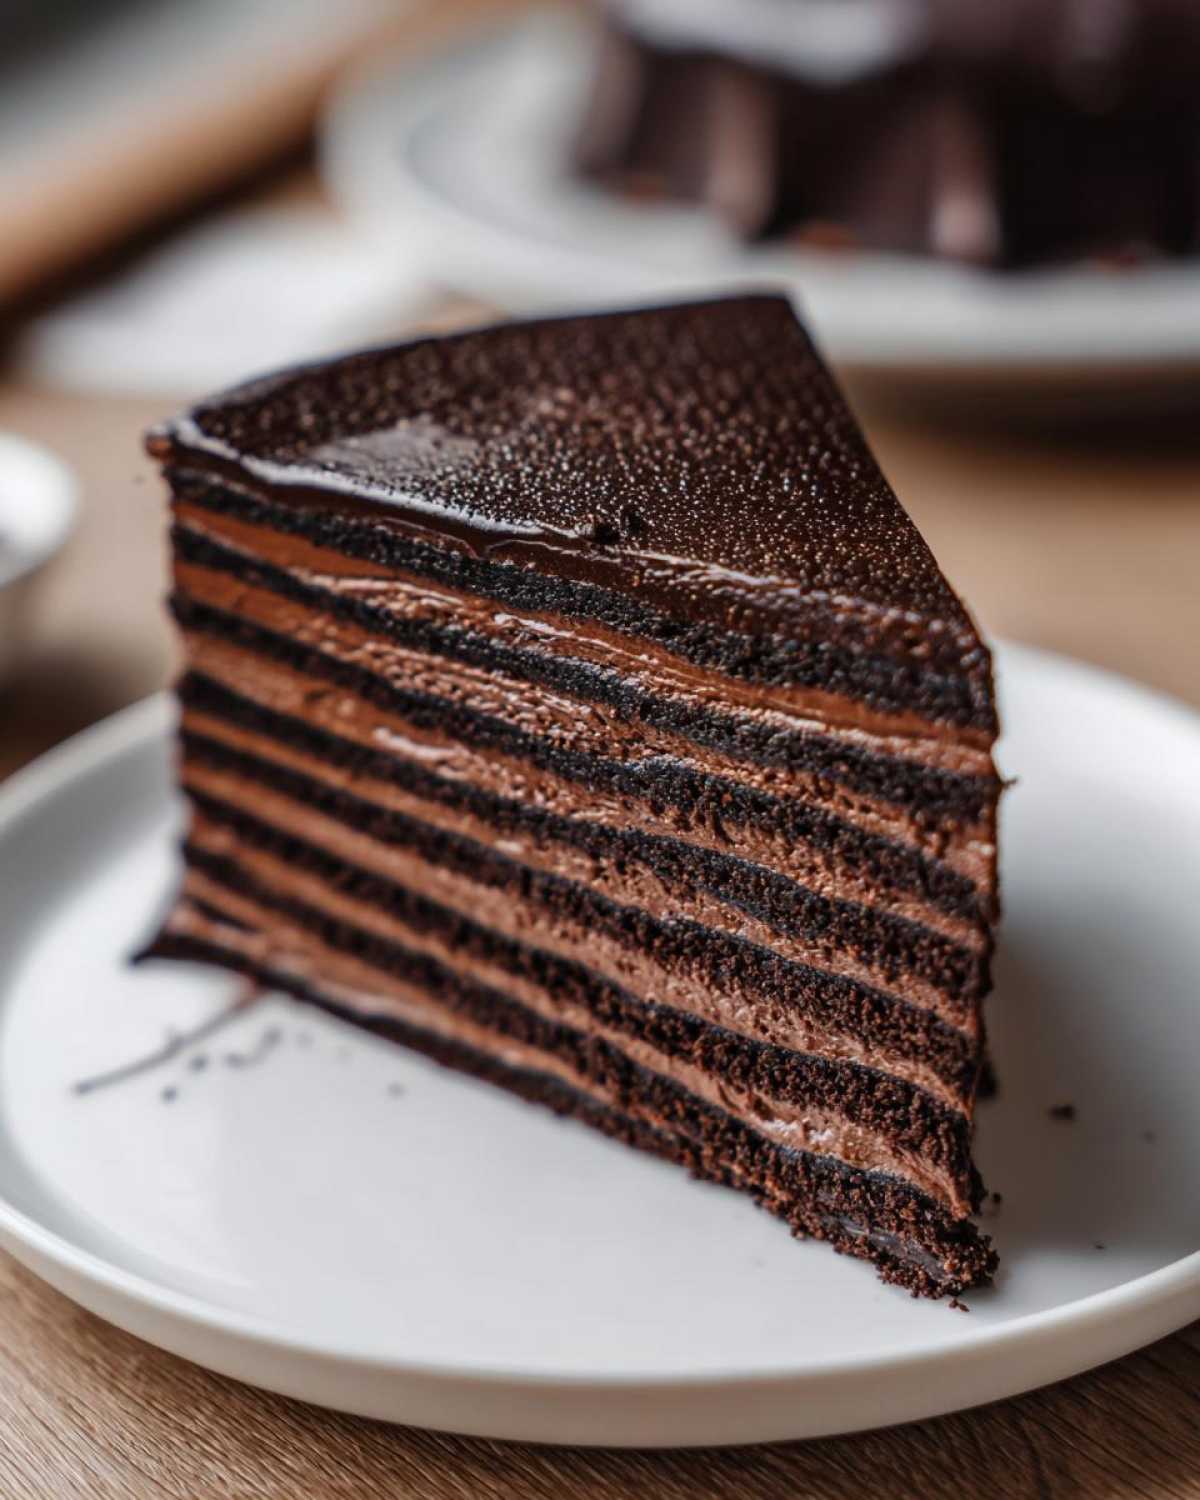
Honestly, keeping this Creamy Chocolate No Bake recipe perfect boils down to temperature and time. My number one tip is letting your dairy ingredients—the butter and the cream cheese—sit out until they are truly soft, not just barely yielding. If they’re cold, they won’t crush the sugar properly, and you end up with a slightly gritty filling texture. Also, when you whip your heavy cream, use a chilled bowl if you can; it makes those stiff peaks happen way faster!
And remember that chilling time? Don’t cheat it! You need those 6 hours minimum, but I find that letting it sit overnight makes the layers set up perfectly, giving you these gorgeous, clean slices. It lets the moisture from the filling even out with the wafers. Trust me on this; it turns a good dessert into the *best* one!
Make Ahead & Storage for This Decadent Chocolate Dessert
This is secretly the best part about making this dessert for a party: it practically begs you to make it early! Since it’s a no-bake recipe, it actually gets better as it sits in the fridge. It’s definitely my favorite Make Ahead Chocolate Dessert because waiting enhances the textures. Store it tightly covered in the refrigerator, and it stays absolutely perfect for up to four days. I often make it on a Tuesday just to enjoy a slice Wednesday night!
Because of the high fat and sugar content, this dessert freezes surprisingly well too, though the wafers might soften just a touch upon thawing. If you do freeze it, wrap it super tight in plastic wrap and then foil. You’ll want to thaw it in the fridge overnight before serving!
Serving Suggestions for the Indulgent No Bake Cake
You’ve made this show-stopping Indulgent No Bake Cake—now how do you serve it? Honestly, it’s rich enough that it stands alone, looking stunning in its square form. But if you want to dress it up for company, a light dusting of high-quality unsweetened cocoa powder looks so elegant. Or, for a bright pop of flavor that cuts through that richness, definitely add a few fresh raspberries or strawberries on the side. A cup of strong, hot coffee next to a slice? That’s my personal favorite way to end the night!
Frequently Asked Questions About the Lazy Cat Cake
I know when I first made this, I had a million little worries about whether I was doing it right. Don’t you worry! I’ve gathered the top questions people ask about making sure this dessert turns out absolutely perfect every time. We want to make sure your experience making this Easy Chocolate Cream Dessert is fantastic.
Can I substitute the chocolate graham crackers in this Easy Chocolate Cream Dessert?
Yes, you totally can switch up the cracker, but keep in mind what you are losing! The chocolate wafers give you that deep cocoa flavor layered in. If you use vanilla wafers, it’s still yummy, but it shifts toward a more cookies-and-cream vibe. They are a bit thinner, so you might get an extra layer of filling!
How long must the No Oven Chocolate Cake chill before serving?
The absolute minimum time for this No Oven Chocolate Cake to set enough to slice without looking messy is about six hours. But listen to me: if you can manage it, let it chill overnight—like 12 full hours. It firms up beautifully and gives you those picture-perfect, clean slices that make people think you actually baked something!
Does this rich chocolate cream dessert freeze well?
It does freeze quite well, actually! If you know you won’t eat it all in four days, just wrap the whole thing up tightly—plastic wrap first, then foil—and pop it in the freezer. Thaw it slowly in the fridge before serving. It comes out great, though sometimes the crackers soften just a hair right where the cold hits them first.
Why do the crackers only get a quick little dip in the milk?
This is crucial for any Simple Chocolate Dessert that relies on crisp layers! If you soak them, they disintegrate when you add the heavy cream filling on top, and you’re left with chocolate pudding instead of a layered cake. A quick dunk just softens them slightly so they aren’t tooth-breakingly hard when chilled.
Estimated Nutritional Data for Your Simple Chocolate Dessert
Now, full disclosure—since we’re using butter, cream cheese, and all that glorious melted chocolate, this isn’t exactly a health food, but wow, is it worth it! It’s a truly rich treat, so a little slice goes a long way. Here’s the breakdown per serving based on my standard measurements. Keep in mind these numbers are just estimates, so for the most accurate information, always check your own packaging! You can read more about how I calculate this over on my nutritional disclaimer page—but seriously, don’t look too close at the fat column if you value your sanity!
- Calories: 450
- Fat: 32g
- Carbohydrates: 38g (Sugar: 35g)
- Protein: 5g
The Most Indulgent No-Bake Chocolate Cream Dessert (Lazy Cat Cake)
Make this incredibly rich and creamy chocolate dessert without turning on your oven. This no-bake recipe delivers maximum indulgence with minimal effort.
- Prep Time: 25 min
- Cook Time: 0 min
- Total Time: 25 min
- Yield: 9 servings
- Category: Dessert
- Method: No Bake
- Cuisine: American
- Diet: Vegetarian
Ingredients
- 1 package (8 ounces) cream cheese, softened
- 1 cup unsalted butter, softened
- 2 cups powdered sugar
- 1 cup heavy whipping cream
- 1 teaspoon vanilla extract
- 1 cup semi-sweet chocolate chips, melted
- 1 package (14.3 ounces) chocolate graham crackers or chocolate wafers
- 1/4 cup milk (for dipping)
Instructions
- Line an 8×8 inch baking dish with plastic wrap, leaving an overhang on the sides for easy removal.
- In a large bowl, beat the softened cream cheese and butter together until smooth.
- Gradually add the powdered sugar, mixing until fully combined and fluffy.
- In a separate bowl, whip the heavy cream and vanilla extract until stiff peaks form. Gently fold the whipped cream into the cream cheese mixture.
- Fold in the melted chocolate chips until just combined, creating the chocolate cream filling.
- Quickly dip each chocolate graham cracker or wafer into the milk for just a second; do not soak them.
- Arrange a single layer of dipped crackers on the bottom of the prepared dish.
- Spread half of the chocolate cream filling evenly over the cracker layer.
- Top with a second layer of dipped crackers.
- Spread the remaining chocolate cream filling over the second cracker layer.
- Cover the dish with plastic wrap and refrigerate for at least 6 hours, or preferably overnight, to allow the cake to set firmly.
- Use the plastic wrap overhang to lift the cake out of the dish before slicing and serving.
Notes
- For an extra rich flavor, use dark chocolate chips instead of semi-sweet.
- If you prefer a layered look, you can use a 9×5 inch loaf pan instead of a square dish.
- This dessert tastes best after chilling for a full 12 hours.
Nutrition
- Serving Size: 1 square
- Calories: 450
- Sugar: 35
- Sodium: 180
- Fat: 32
- Saturated Fat: 19
- Unsaturated Fat: 13
- Trans Fat: 0
- Carbohydrates: 38
- Fiber: 1
- Protein: 5
- Cholesterol: 95