

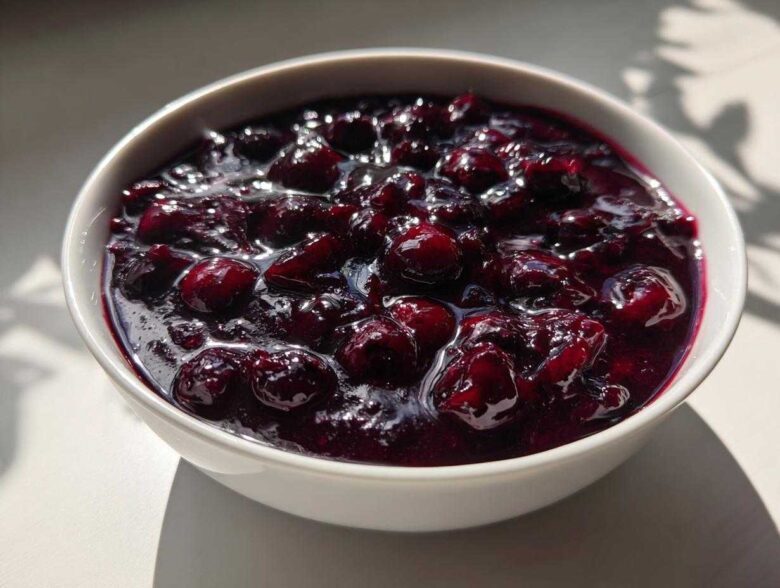
Oh, you have to try this! Forget those thin, overly sweet bottles sitting on the shelf at the store. There is nothing—and I mean *nothing*—that beats pouring rich, warm, homemade syrup over a stack of fluffy pancakes or crisp waffles on a lazy Sunday morning. This **Homemade Blueberry Syrup** isn’t just good; it’s the keeper recipe I’ve perfected over what feels like a hundred attempts to get that perfect balance.
Seriously, the best part about making your own is the sweetness control! You can dial it down if your berries are already super ripe, or amp it up just a touch. We’ve cracked the code on ingredient ratio and simmering time here, so trust me when I say this batch will be the one you stick with forever. You can find more of my favorite breakfast creations over at my breakfast archives. Let’s get cooking before the blueberries start looking sad!
Why This Homemade Blueberry Syrup Recipe Works Best
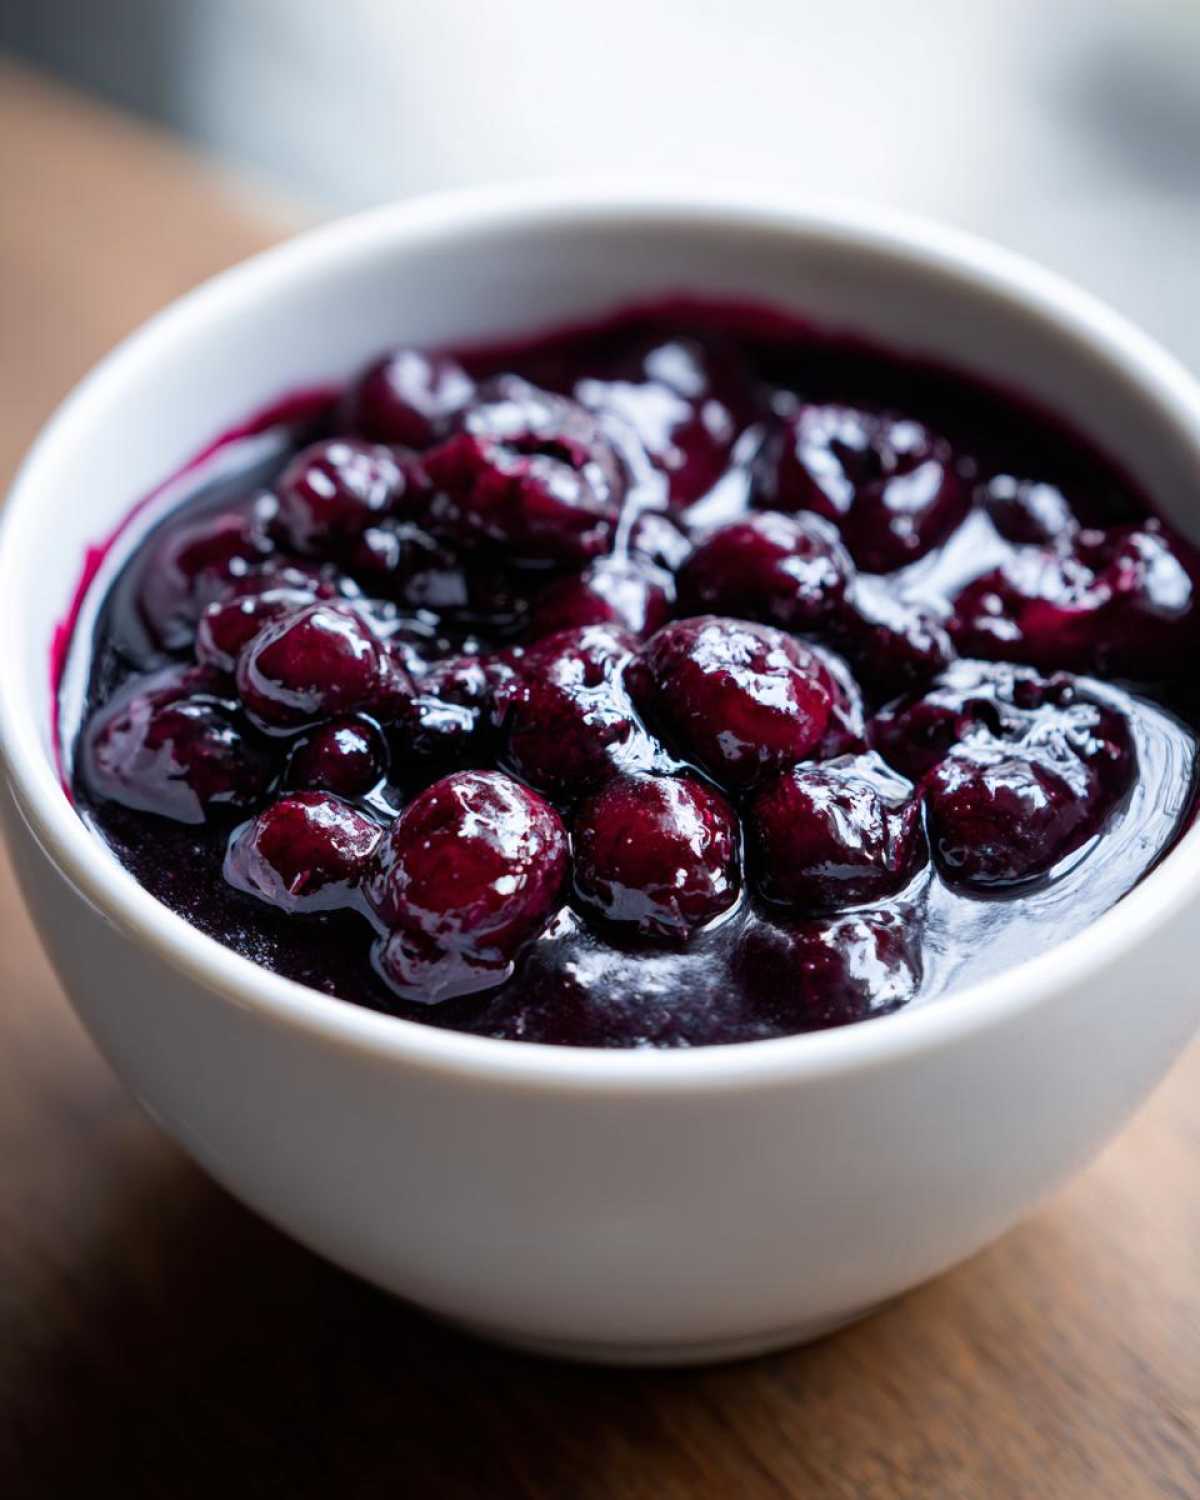
I developed this recipe because I got really tired of syrups that either tasted too much like pure sugar or weren’t thick enough to actually coat my food! What makes this the best **Homemade Blueberry Syrup** is how little effort it takes for such a huge flavor payoff.
- It uses simple pantry staples—no fancy stabilizers needed here!
- The texture is exactly what you want; it coats berries perfectly.
- It tastes intensely berry-forward, not just sweet.
Quick Preparation Time for Homemade Blueberry Syrup
Listen, my mornings are hectic, just like yours! That’s why I love this so much. We’re talking just five minutes of hands-on prep time before the simmering starts. Honestly, by the time you get your griddle warmed up, the **Easy blueberry syrup recipe** is practically done. Twenty minutes of cook time, that’s it!
Achieving the Perfect Thick Blueberry Syrup Consistency
The natural simmering process is where the magic happens. As the water reduces, you get that wonderful concentration of flavor, giving you a fantastic **Thick blueberry syrup tutorial** result right out of the pot! If you accidentally under-simmer, don’t panic. I always keep a tiny slurry of cornstarch and cold water handy, just in case you need to boost the thickness right at the end.
Ingredients for Your Homemade Blueberry Syrup
When you’re making something this simple, the quality of what you put in really shines through. You don’t need a ton of things, but the ratios are important to make sure it sets up right during cooking. Trust me, I’ve tried cutting the sugar way down before, and it just didn’t feel like *syrup* anymore! This gives you just the right amount of sweet to let those beautiful blueberries truly pop.
Ingredient Ratios for Homemade Blueberry Syrup
Here’s what you need for about a cup and a half of this amazing topping. Feel free to double this if you are having a huge pancake brunch! Remember, this works perfectly whether you grab fresh berries from the farmer’s market or pull a bag of frozen ones out of the deep freeze for your **Homemade Blueberry Syrup**.
- 2 cups fresh or frozen blueberries (No need to thaw them!)
- 1 cup granulated sugar (Regular white sugar is perfect here.)
- 1 cup water
- 1 teaspoon fresh lemon juice (This brightens everything up!)
Step-by-Step Instructions for Homemade Blueberry Syrup
Alright, this is the fun part where we turn fruit and sugar into pure breakfast gold! Don’t let the word “reduction” scare you—this is incredibly straightforward. We are going to follow the steps exactly as written, and I promise your trust in making this **Homemade Blueberry Syrup** from scratch will skyrocket. Follow my lead here, and you’ll have the best topping you’ve ever made.
Combining and Boiling the Homemade Blueberry Syrup Base
First things first: grab a sturdy medium saucepan. Dump everything in! That means your blueberries, your cup of sugar, and your water all go into the pot together. You want to place that over medium-high heat. Now, you’ll stir this mixture continuously until you see that sugar has completely vanished into the water. We need that base totally dissolved before we start reducing things down.
Simmering Time and Achieving Reduction for Natural Blueberry Topping
Once it’s boiling nicely, time to back way off the heat. Turn it down to low; we want a gentle simmer, not a rolling boil. You need to let this cook undisturbed, stirring only occasionally, for about 15 to 20 minutes. This part is crucial for developing that rich flavor, making it a fantastic **Natural blueberry topping**. You’ll notice the berries starting to look soft and a little deflated, and the liquid around them will look noticeably thicker. Keep an eye out during this time!
Straining Options for Your Homemade Blueberry Syrup
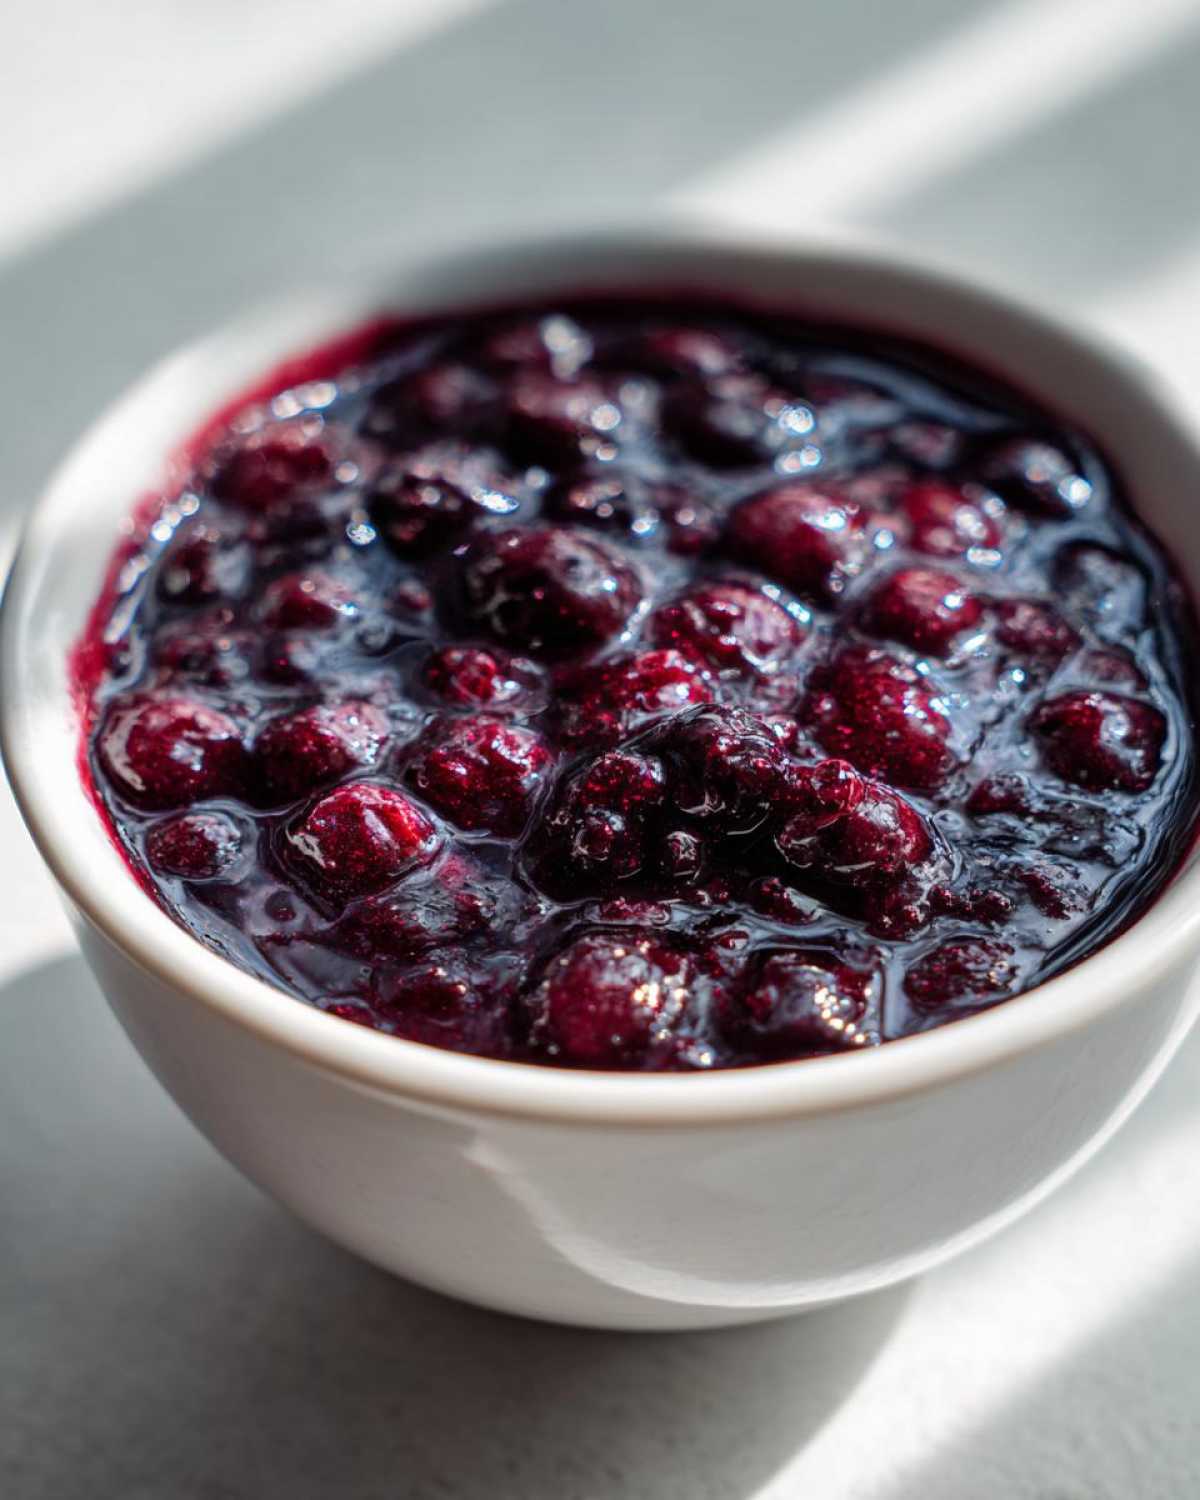
When that 20 minutes is up, pull the pan right off the burner. Now you have a major choice to make, one that defines your final syrup! If you want that perfectly smooth, elegant syrup—the kind that drizzles like silk—you need a fine-mesh sieve over a bowl. Gently press the berries through to extract all the thick goodness, and toss the skins behind. But, if you love finding those little bursts of cooked blueberry goodness in every pour, just stir in that teaspoon of lemon juice (don’t strain!) and skip this filtering step entirely. Both ways create delicious **Homemade Blueberry Syrup**!
Be sure to check out my latest kitchen adventures on my main blog page for more tips and tricks!
Tips for Success Making Homemade Blueberry Syrup
If you followed the simmering instructions, you should already have a lovely **Homemade Blueberry Syrup**, but honestly, sometimes the fruit just doesn’t cooperate, or maybe you want that extra decadent texture. Don’t worry, that’s why we cooks always have backups! These little tweaks are what take this recipe from ‘great’ to ‘you need to bottle this and sell it’ level delicious. I’ve learned a few tricks over the years for tweaking fruit syrups.
How to Thicken Blueberry Syrup Further
If, after cooling, your syrup is looking a bit thin—maybe it ran right off your spatula—you can easily save it! The trick here is using cornstarch. It’s a fantastic natural thickener that won’t cloud the beautiful color of the berries. You need to make what’s called a slurry. That just means taking one teaspoon of cornstarch and mixing it thoroughly with one tablespoon of *cold* water outside the pot. We use cold water because if you dump the powder straight into the hot syrup, you end up with little white clumps, and nobody wants that!
Take your syrup back to a low simmer, and slowly whisk in that cornstarch slurry. Keep stirring gently for about a minute or two. You’ll see it tighten up immediately. This is the secret weapon for achieving that super glossy, thick result that clings perfectly to your breakfast!
Flavor Enhancements for Your Homemade Blueberry Syrup
While the core recipe is perfect as is, that’s where the fun starts! Adding other elements can really elevate your **Homemade Blueberry Syrup**. After you finish the simmering and have taken the pot off the heat, stir in about a half-teaspoon of pure vanilla extract. It adds such a cozy, warm background note that you can’t quite place but you know is missing when it’s gone.
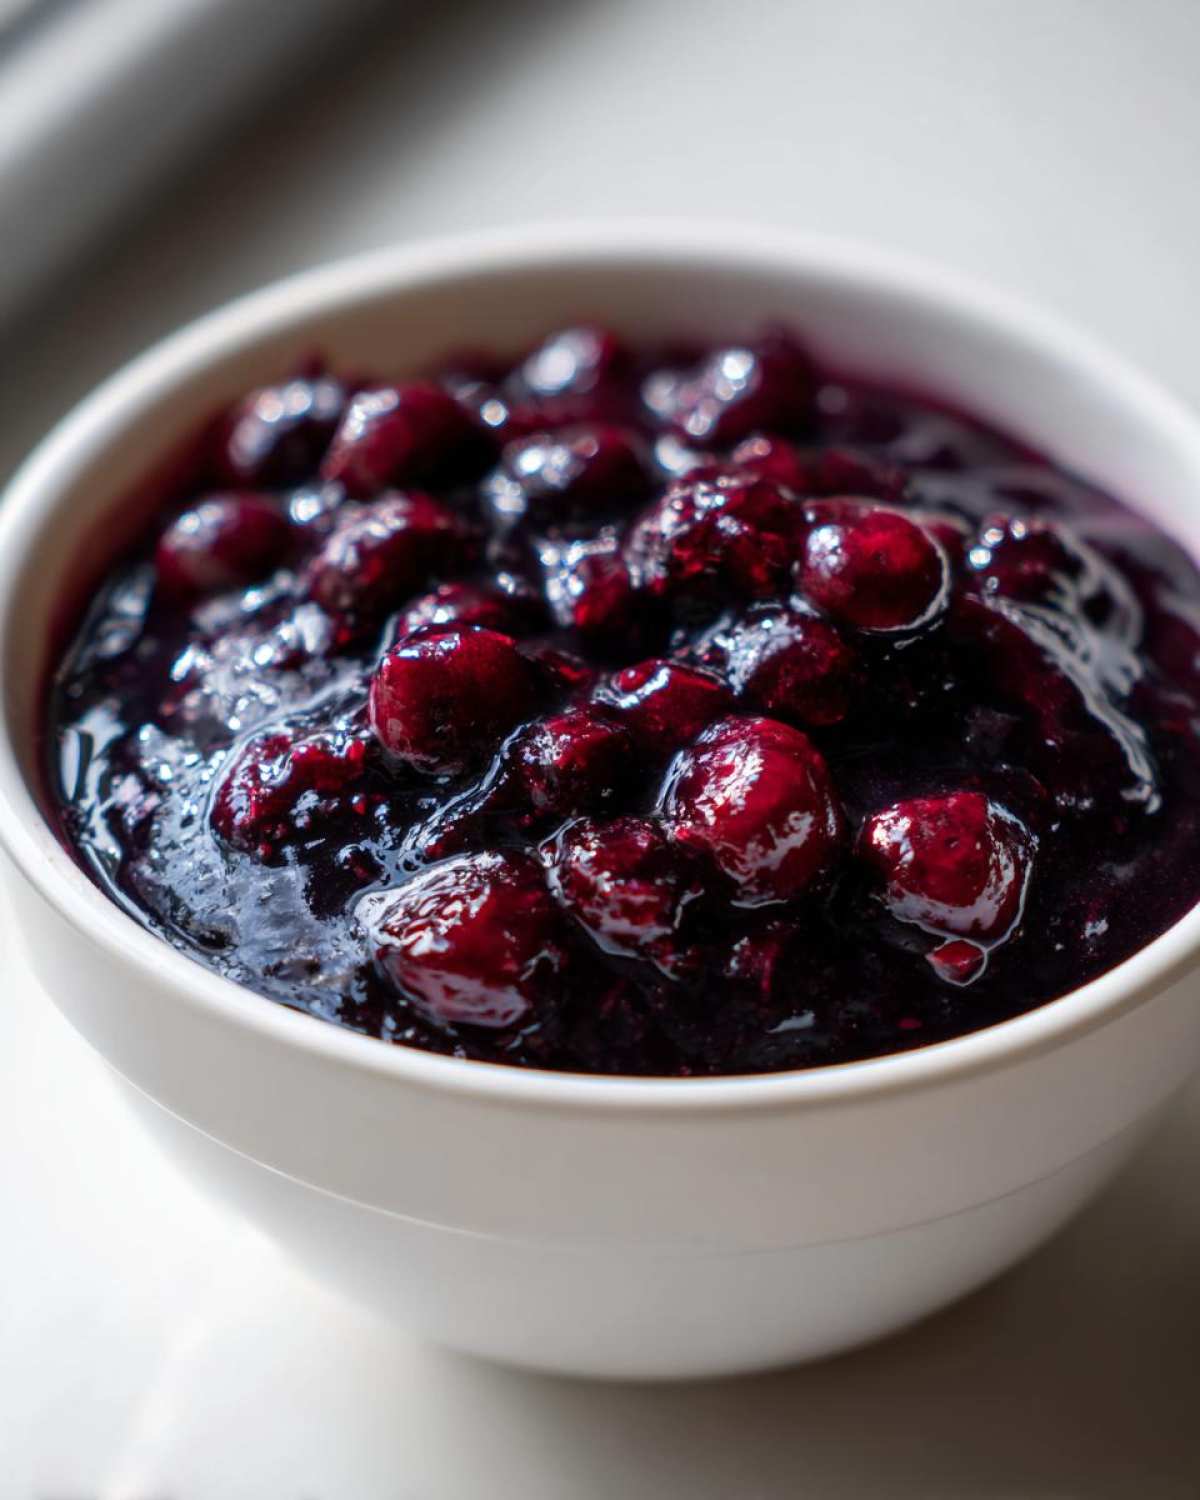
If you’re looking for creative **Blueberry syrup flavor variations**, try adding a small strip of fresh lemon zest while it simmers—just the yellow part, no bitter white pith! Or, if you’re making a batch in the fall, I love dropping one tiny stick of cinnamon into the mixture while it cooks down. It gives the syrup a spicy depth that tastes amazing on winter waffles!
Storage and Shelf Life for Long Lasting Homemade Syrup
Okay, you’ve made this gorgeous, thick, homemade syrup, and now you have to stare at it all day so nobody eats it in one sitting! Just kidding (mostly). When storing your finished **Homemade Blueberry Syrup**, remember that because we didn’t use commercial preservatives, it needs proper care. But don’t worry, it keeps beautifully!
The key here is an airtight container. I prefer using a clean glass jar—maybe one of those nice swing-top ones—because they seal really well. You want to let the syrup cool completely to room temperature before you seal the lid and pop it in the fridge. If you jar it up hot, condensation builds up, and that’s how spoilage gets invited to the party!
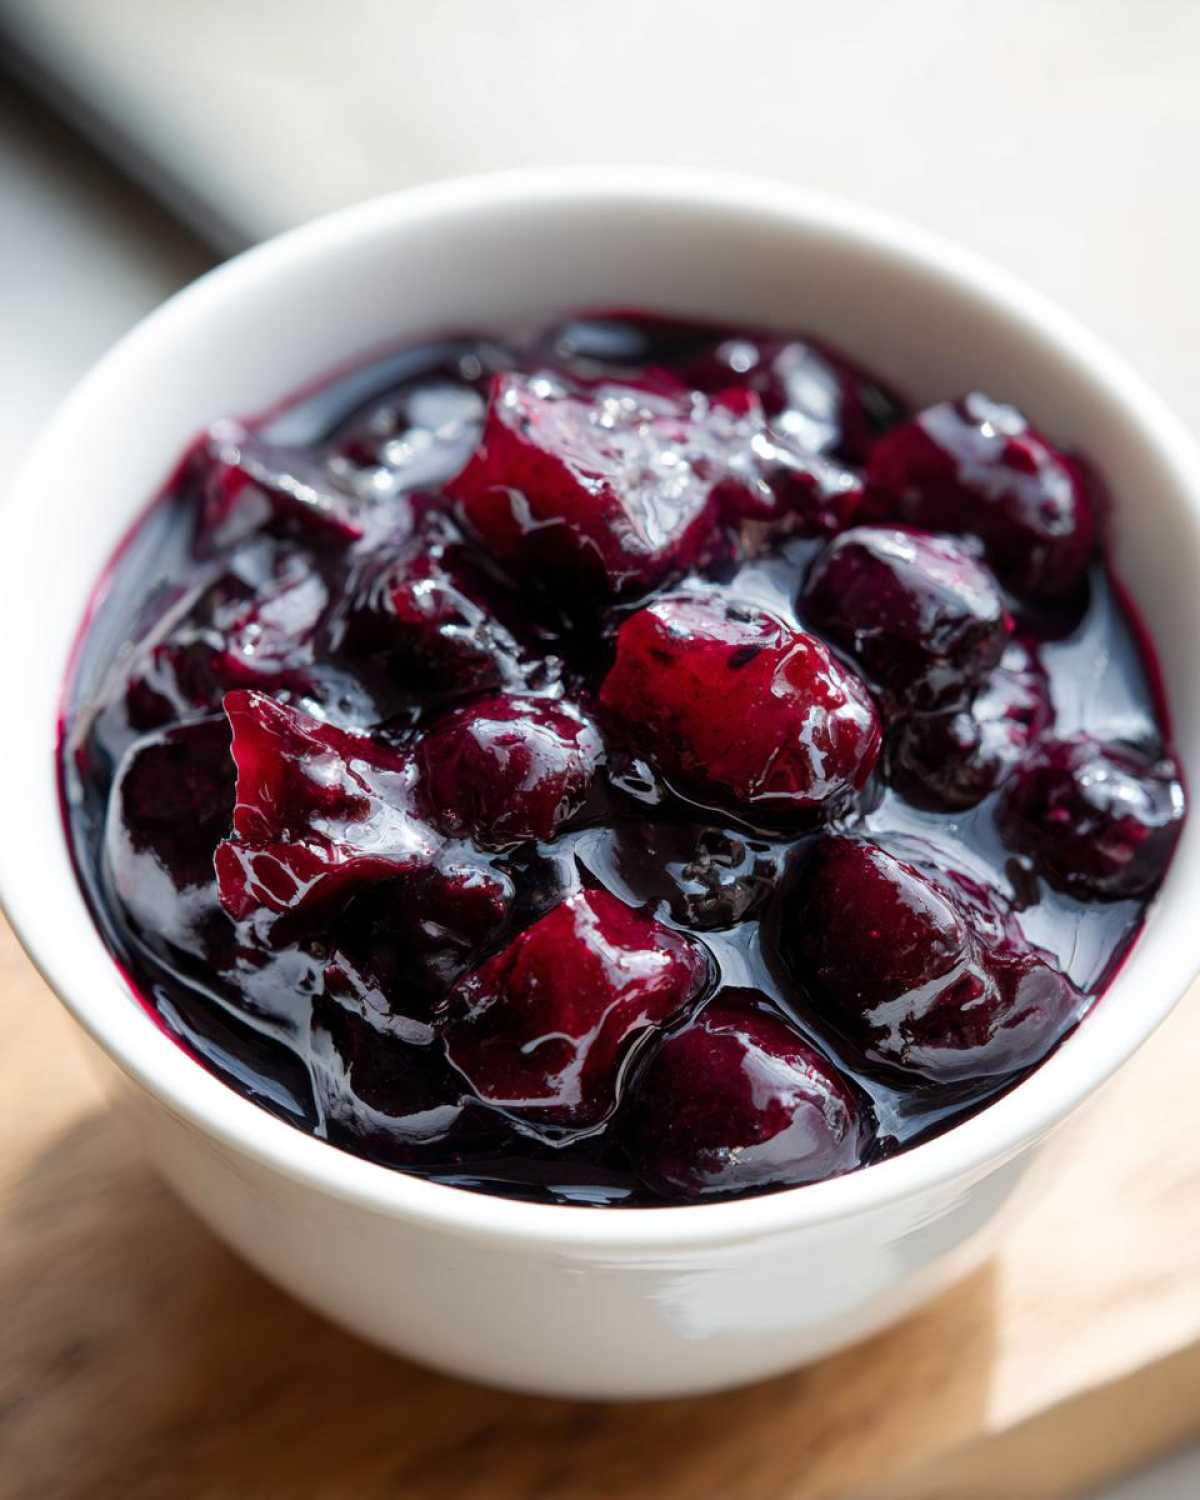
For standard refrigeration, this syrup lasts a fantastic two weeks. That gives you plenty of time to enjoy it on pancakes, swirl it into plain yogurt, or even drizzle it over cheesecake! If you make a big batch, which I highly recommend, you can absolutely freeze it. Just leave about an inch of headspace at the top of your jar if you plan on freezing it, because liquids expand when they freeze.
When frozen, this **Homemade Blueberry Syrup** stays good for up to three months. Just pull a jar out the night before you need it, let it thaw safely in the fridge, and it’s ready to rock! Always check for off smells or any cloudiness before using older batches, just to be safe. For more details on using recipes confidently, make sure you review my site disclaimer.
Serving Suggestions for Blueberry Syrup for Pancakes and Waffles
Now that you have this amazing, naturally sweet **Homemade Blueberry Syrup**, the real question is: where are you going to put it first? Well, obviously, you need a massive stack of fluffy pancakes waiting! This simple berry syrup is the perfect companion for any breakfast item—waffles, French toast, or even just spooned over biscuits.
But don’t stop at breakfast, please! I love drizzling this over Greek yogurt with a little sprinkle of granola for a bright afternoon snack. It works wonders when stirred into sparkling water for a fancy, all-natural soda, or you can totally shake up a cocktail with it. If you are looking for some wild breakfast ideas to go along with this, you have to check out my post on breakfast nachos! Seriously, this **Blueberry syrup for pancakes** will change your mornings!
Frequently Asked Questions About Homemade Blueberry Syrup
I always get a ton of questions after I post this recipe because people are usually shocked at how simple it is! It’s natural to wonder about variations or substitutions, especially when you’re moving away from store-bought options. Here are the few questions that pop up most often when folks are getting ready to make their first batch of this wonderful topping.
Can I use frozen blueberries for this easy blueberry syrup recipe?
Absolutely! Please don’t worry about thawing them first, either. If your blueberries are frozen solid, just toss them right into the saucepan with the sugar and water. The heat will take care of them in the first few minutes of boiling. Sometimes using frozen berries actually helps create a little extra liquid initially, which is fine because we simmer it down to concentrate the flavor anyway. It truly is the easiest way to ensure you can make this **easy blueberry syrup recipe** year-round!
Is this recipe suitable for making a simple berry syrup for waffles?
It’s more than suitable—it’s perfect! That’s exactly what we tested for when developing this flavor profile. The ratio of two cups of berries to one cup of sugar and one cup of water yields a syrup that is intensely flavorful but still thin enough at the beginning to mix well, yet thickens up beautifully as it reduces. It makes the absolute best **simple berry syrup for waffles** you can imagine. It clings just right without soaking the waffle into sogginess right away.
How do I make this a vegan blueberry syrup?
This is one of my favorite things about this recipe: it’s naturally vegan without needing any special swaps! We use plain granulated sugar, water, fruit, and lemon juice—zero egg yolks, zero butter, zero milk products in the base recipe for thickening. As long as you are using standard refined white sugar (which typically doesn’t use bone char filtration anymore, but if you are strictly avoiding that, just check your brand!), you are good to go. You simply have a delicious, homemade, **vegan blueberry syrup ingredients** recipe on your hands!
Estimated Nutritional Data for Homemade Blueberry Syrup
I always try to keep track of what we’re eating, even when it’s topping pancakes, but I need to give you all a little disclaimer before we look at the numbers. Since we’re using fresh fruit and sugar, the exact values can shift a tiny bit depending on how sweet your berries are or if you decide to add that extra vanilla I mentioned earlier. So, treat these numbers as a really solid guideline!
This data breakdown is based on a serving size of 1/4 cup of the finished syrup, which yields about 1.5 cups total from the recipe amounts we used. Remember, this doesn’t account for what you’re putting it *on*, like your waffles or yogurt, just the syrup itself.
- Serving Size: 1/4 cup
- Calories: Roughly 180 per serving. That’s mostly from the sugar, naturally!
- Sugar: About 40 grams. This is why you need that lemon juice—it cuts right through the sweetness!
- Fat and Cholesterol: Zero! Yep, this syrup is deliciously fat-free.
- Carbohydrates: Around 46 grams total.
- Protein: Less than 1 gram, so it’s not really adding much protein to your breakfast, sadly.
It’s a real treat, but a vibrant homemade one! You have full control over what goes into the pot, which is always better than buying a huge bottle of something you can’t quite pronounce the ingredients of.
Share Your Homemade Blueberry Syrup Creations
Whew! We made it—you’ve got the perfect **Homemade Blueberry Syrup** cooling on the counter right now, and I am genuinely excited for you to try it!
I’ve shared all my best tips and the secrets to getting that flawless consistency, but sharing food is always better when you get to see how others enjoy it. Please, please, please come back here after you pour this glorious topping over your favorite breakfast item and leave me a little note!
A simple 5-star rating helps other cooks find this straightforward recipe, and if you have a favorite way you use this syrup—maybe drizzled on ice cream or mixed into a smoothie—I’d love to hear about those usages, too!
- Did you try infusing it with lemon zest? Tell me how it turned out!
- Was the 20-minute simmer time just right for your preferred thickness?
- If you have pressing questions about storage or substitutions, drop them in the comments below, and I’ll jump in to help!
If you have any other burning kitchen questions or just want to say hello, you can always reach out to me through my contact page. Happy drizzling!
PrintEasy Homemade Blueberry Syrup
Make a simple, thick blueberry syrup at home using fresh or frozen berries. This recipe is quick and perfect for pancakes or waffles.
- Prep Time: 5 min
- Cook Time: 20 min
- Total Time: 25 min
- Yield: About 1.5 cups
- Category: Breakfast Topping
- Method: Stovetop Simmering
- Cuisine: American
- Diet: Vegetarian
Ingredients
- 2 cups fresh or frozen blueberries
- 1 cup granulated sugar
- 1 cup water
- 1 teaspoon fresh lemon juice
Instructions
- Combine blueberries, sugar, and water in a medium saucepan.
- Bring the mixture to a boil over medium-high heat, stirring until the sugar dissolves.
- Reduce the heat to low and simmer for 15 to 20 minutes, stirring occasionally. The berries will break down and the liquid will thicken slightly.
- Remove the saucepan from the heat. Stir in the lemon juice.
- For a smooth syrup, press the mixture through a fine-mesh sieve into a bowl, discarding the solids. For a chunkier syrup, skip this step.
- Let the syrup cool completely. It will thicken more as it cools.
- Transfer the syrup to an airtight container for storage.
Notes
- For a thicker syrup, simmer for an extra 5 minutes or add 1 teaspoon of cornstarch mixed with 1 tablespoon of cold water during the last 5 minutes of cooking.
- Add 1/2 teaspoon of vanilla extract after removing the syrup from the heat for added flavor.
- Store refrigerated for up to 2 weeks or freeze for up to 3 months.
Nutrition
- Serving Size: 1/4 cup
- Calories: 180
- Sugar: 40g
- Sodium: 1mg
- Fat: 0g
- Saturated Fat: 0g
- Unsaturated Fat: 0g
- Trans Fat: 0g
- Carbohydrates: 46g
- Fiber: 1g
- Protein: 0g
- Cholesterol: 0mg