

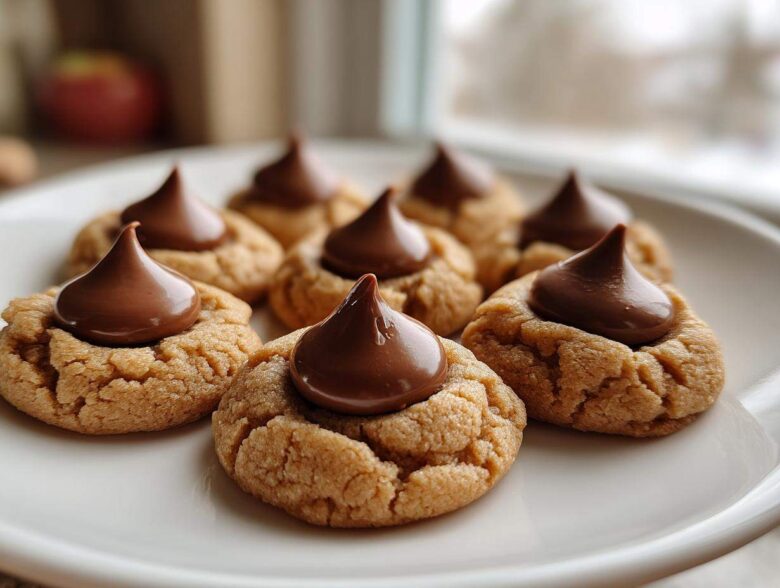
Oh my gosh, if there’s one thing that screams ‘home for the holidays’ or ‘I need a guaranteed crowd-pleaser stat,’ it’s the sight of those perfect, crinkly **Peanut Butter Blossom Cookies**! You know the ones, right? That soft, chewy peanut butter base cuddling a perfect, slightly melted Hershey’s Kiss right in the center. I’ve tried countless cookie recipes over the years—batches that spread into flat, sad puddles or ones that came out dry as sawdust—but I always, always come back to this foundational recipe. Trust me when I say this is the blueprint. It’s the easiest, most foolproof way to get that iconic holiday look and that amazing combination of salty peanut butter and sweet chocolate every single time. After years of tweaking, this one is locked in as my absolute favorite go-to for filling up the cookie tins!
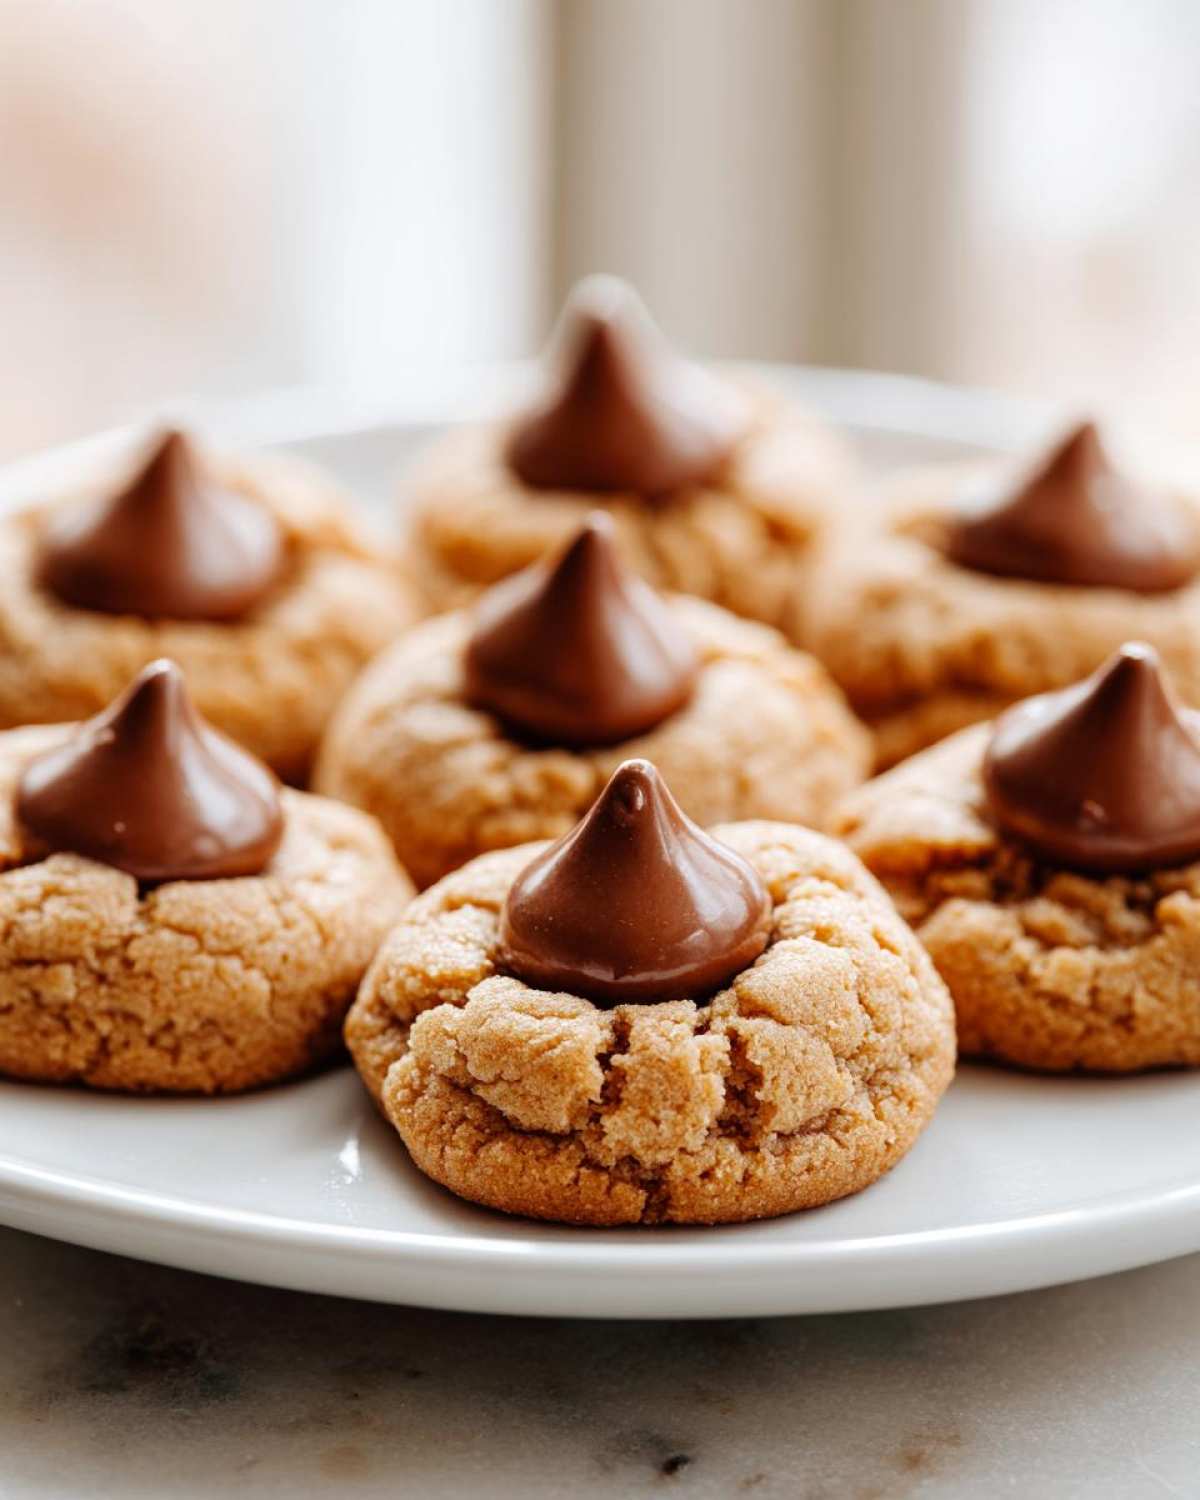
We need to make sure yours turn out just like mine—soft, rich, and with that signature indent. Don’t worry, I’m going to walk you through every little secret I learned from my baking disasters so you don’t have to repeat my mistakes!
Speaking of chocolate goodness, if you ever want to go totally over the top with a rich dessert, you absolutely have to check out my recipe for the Layered Peanut Butter Chocolate Dessert—it’s pure indulgence!
Why This is the Best Peanut Butter Blossom Recipe (Chewy Peanut Butter Cookie Recipe)
What separates an okay Blossom cookie from the absolute best? It’s all about texture! This recipe is my gold standard because we focus on creating a truly chewy peanut butter cookie recipe base. Most recipes dry out because they either get over-mixed or baked too long waiting for that perfect look. Not ours! When you follow these steps, you get these beautifully soft cookies that practically melt around the chocolate center. It’s such a simple thing to achieve, but those tiny details make all the difference when you’re assembling your holiday baking classics.
We’re not messing around with chilling the dough here, which is a huge bonus for anyone who needs fast, easy holiday cookie baking! That lack of chilling is part of what guarantees the classic fudgy dip when we press in the Kiss. You’ll see why this remains the best Peanut Butter Blossom Recipe!
Achieving the Perfect Crinkle Top Peanut Butter Cookies
The crinkle top is the signature look, isn’t it? The trick is simple: bake them just shy of being done. We want those edges set, but the middle still looking a little gooey when they go in (and come out!) of the oven. A hot oven helps them puff up and set quickly, creating those lovely cracks. Seriously, don’t be tempted to bake them until they look fully done; that’s instant cookie dry-out territory. If your oven runs hot, drop the temperature down 15 degrees and add two extra minutes. That consistency is gold!
Ingredients for Classic Peanut Butter Blossom Cookies
When you look at this list, it looks just like any old cookie recipe, right? But every single measurement here is important for making this **Chocolate Kiss Cookie Recipe** work the way it should! Don’t try to eyeball this; precise measuring is how we control the spread and keep these cookies thick and chewy.
Here is everything you’ll need to gather for about four dozen of these beautiful things. Seriously, plan ahead and make sure you have all 48 Kisses unwrapped before you even start mixing!
- 1 cup unsalted butter, softened so it’s nice and floppy
- 1 cup granulated sugar (this goes in the dough AND for rolling!)
- 1 cup packed light brown sugar (packed means push it down into the cup!)
- 2 large eggs, room temperature is best
- 1 teaspoon vanilla extract (use the good stuff, it matters!)
- 1 cup creamy peanut butter (I repeat, stick to creamy for this one!)
- 2 3/4 cups all-purpose flour
- 1 teaspoon baking soda
- 1/2 teaspoon baking powder
- 1/2 teaspoon salt
- About 48 Hershey’s Milk Chocolate Kisses, unwrapped and ready to go
Ingredient Notes and Substitutions for Peanut Butter Blossom Cookies
Okay, let’s talk about the peanut butter situation. While I know some of you are massive fans of crunchy additions, for this specific **Hershey Kiss Cookie Recipe**, you absolutely have to use creamy peanut butter. What happens if you use crunchy? The texture gets weirdly rough, and the dough ends up crumbling more when you try to roll it. We want that lovely melt into a soft texture!
When it comes to the sugars, please don’t swap out the light brown sugar for white sugar. The molasses in the brown sugar is what keeps these cookies moist long after they leave the pan, contributing hugely to that wonderful chewy texture.
As for those Kisses? Stick to the classic Hershey’s Milk Chocolate Kiss; that specific shape and melt time are what the bake time in this recipe is based on. If you use a different brand of chocolate, the timing for pressing them in will totally change, and you might end up with a broken cookie top. We want perfection here across all our **Simple Cookie Box Recipes**!
How to Make Peanut Butter Blossoms: Step-by-Step Instructions
Alright, let’s get messy! This is where the magic really happens, but honestly, it’s just like following any good baking plan. The key to success in **How to Make Peanut Butter Blossoms** is taking your time during the mixing and being lightning fast when the cookies come out of the oven. I’ve learned you can’t rush the creaming stage!
We are going straight from the mixing bowl to the oven—no chilling necessary. That’s what keeps them soft enough to get that beautiful, deep ‘blossom’ indentation. Grab your mixer and your baking sheets so we can get this done fast!
By the way, if you ever want to go totally over the top with a rich dessert after these cookies are gone, you absolutely have to check out my recipe for the Layered Peanut Butter Chocolate Dessert—it’s pure indulgence!
Preparing the Soft Peanut Butter Cookie Dough
First things first, crank that oven up to 375 degrees F and get those baking sheets lined with parchment paper. Trust me, this saves you a ton of scraping later! Now, grab your BIG bowl. We need to cream that softened butter with both the white and brown sugars until it looks pale and fluffy—this takes a solid few minutes. That fluffiness is air, and air equals a wonderfully soft peanut butter cookie dough.
Next, we beat in the eggs one by one, then add the vanilla and the creamy peanut butter. Once that’s smooth, we gradually introduce the dry stuff—flour, soda, powder, and salt—mixing on low until it *just* comes together. Stop mixing the second you don’t see white streaks anymore! If you overmix, you wind up with tough cookies, and we want soft!
Finally, roll those balls! I aim for a nice one-inch size. If you want that extra textural crunch, roll them gently in a little extra granulated sugar before placing them on the sheet, keeping them about two inches apart.
Baking and Applying the Chocolate Kiss on Peanut Butter Blossom Cookies
This next part is crucial for perfect **Peanut Butter Blossom Cookies**. Pop those trays into the oven for only 8 to 10 minutes. And I mean *only*! The edges should look set, but the center should still look a tiny bit underdone when you pull them out. That’s how you know they’ll be chewy later.
Ready? The second they hit the counter, you grab an unwrapped Hershey’s Kiss and gently, but firmly, press it right into the center of each warm cookie. You can’t wait, or the tops will cool and crack when you try to push the chocolate in! The residual heat from the cookie melts the bottom of the Kiss just perfectly, making it stick without making the entire cookie greasy.
Leave them on that hot pan for five minutes so the chocolate can set up just a touch. Trying to move them too soon means they’ll slide apart. After the five minutes, gently move them to a wire rack to cool completely. You just made the classic cookie!
Tips for Perfectly Shaped Blossom Cookies Every Time
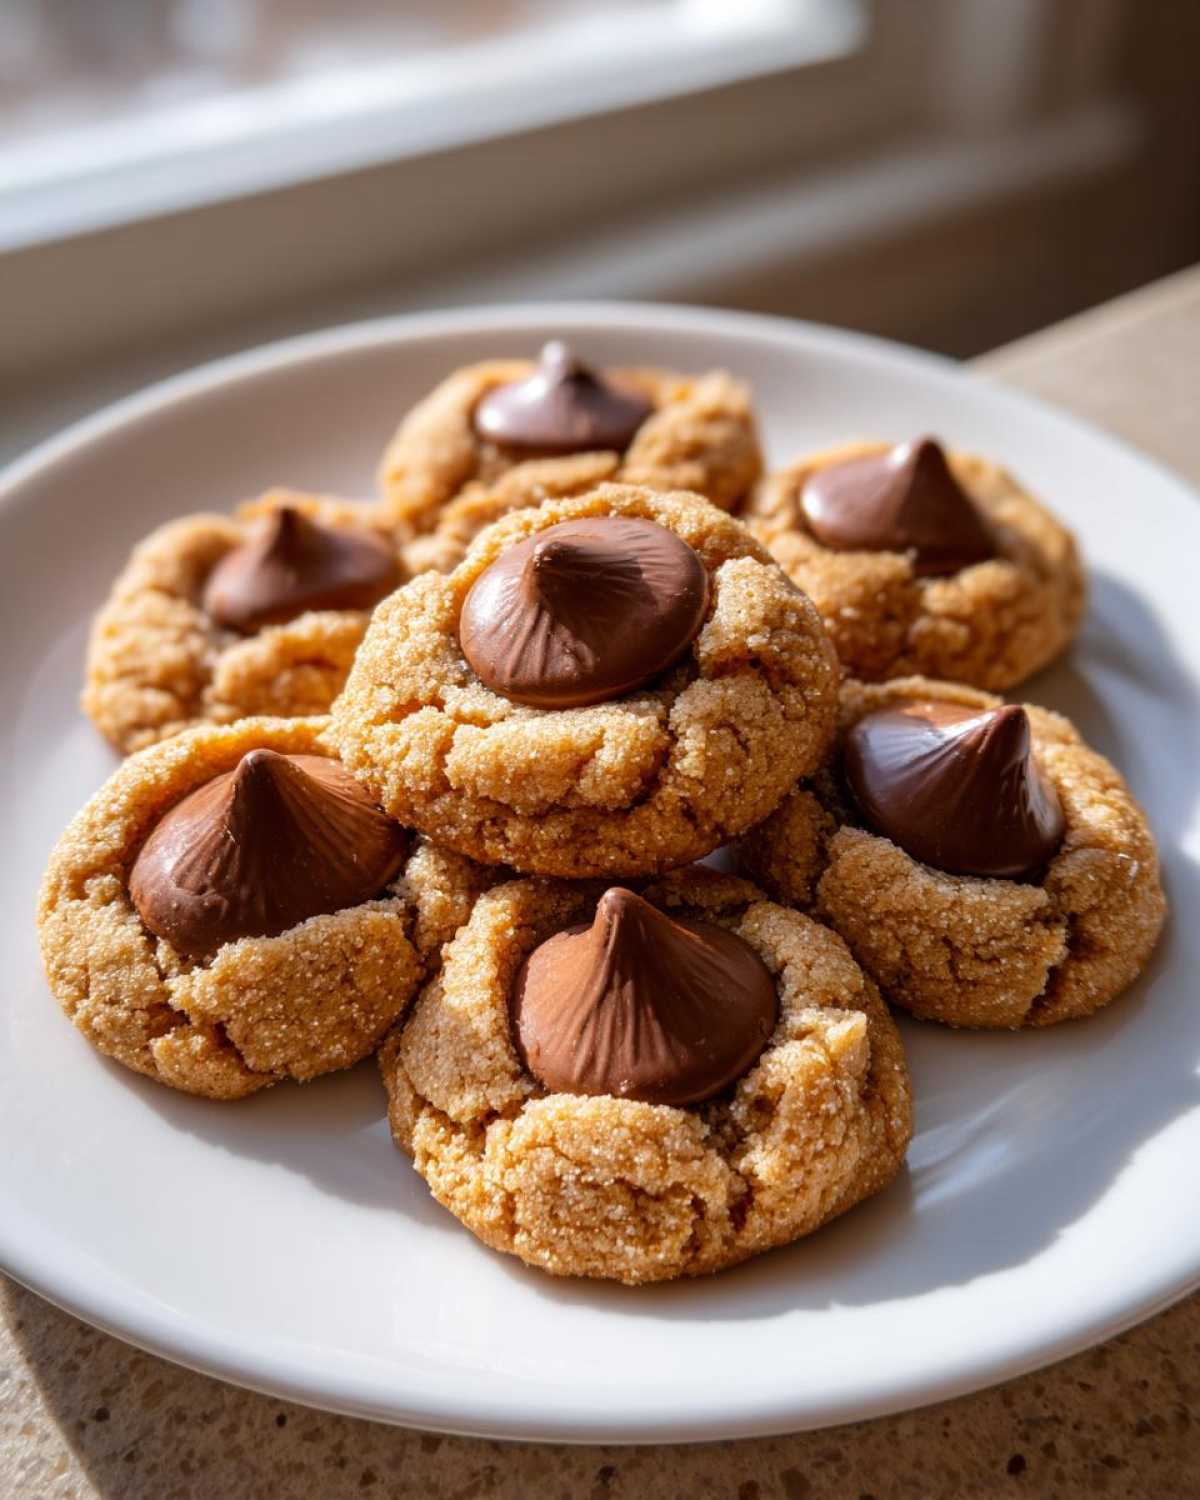
Okay, let’s talk troubleshooting because even the best recipes occasionally have a moment of drama, right? We all want those high, slightly domed cookies with that deep chocolate crater, not flat pancakes. The biggest issue people run into when trying to make these **Perfectly Shaped Blossom Cookies** is too much spread. That’s usually a temperature and ingredient issue, and I have the fixes ready for you!
First and foremost: I know some recipes scream at you to chill the dough for an hour to prevent spreading. For the classic Blossom look, you absolutely should NOT chill this dough. Seriously, pop them straight from the counter to the oven. If the dough gets cold, it won’t spread enough to form that perfect well for the Chocolate Kiss, and you end up with a dough ball with a dent on top, which isn’t what we want!
If you find your cookies still spread too much, check your butter! Was it too warm when you creamed it? Softened means it leaves an indent when pressed, not melted and greasy. If the dough smells faintly greasy before you even bake it, you have to roll the dough balls in a quick, thin coating of granulated sugar; this acts like a little barrier and helps them hold their shape while baking. It also adds that nice extra sparkle!
And when it comes to cracking—which happens if the cookie dries out too much—remember that golden 8-to-10-minute window. You need that residual heat from the pan to finish the baking process, which is why we press the Kiss in immediately. That heat keeps the cookie pliable. If you let them sit on the hot pan for too long before pressing, the edges get brittle and crack when you push the chocolate in. It’s a delicate dance, but once you hit that sweet spot, you’ll nail these every time. Don’t forget to check out my main baking tips page if you need more general advice!
Storage & Reheating Instructions for Your Peanut Butter Blossom Cookies
Okay, so you’ve managed to hide a few of these beauties from instant consumption—good job! Now, how do we keep these **Peanut Butter Blossom Cookies** tasting fresh for, say, more than two days? Since these rely on that soft, chewy factor, storage is everything. You want to keep that moisture locked in!
The number one rule is an airtight container. Do not just stick them on a plate covered with foil; that traps in humidity and makes them gummy quickly. Layer them between sheets of parchment or wax paper in a heavy-duty container. This prevents the chocolate tops from smearing onto the cookie above them. I try not to stack more than two layers high, just to be safe!
They are actually fantastic at resisting dryness thanks to the peanut butter and brown sugar, so they keep beautifully at room temperature for three to four days without an issue. I never put them in the fridge, though. Cold air zaps the softness right out of most cookies, and we want these chewy!
If you are baking way ahead of time for those big holiday gatherings, you are in luck! You can freeze the baked cookies, Kisses and all. Just make sure they are completely cooled—and I mean rock solid—before boxing them up for the freezer. They usually last great for up to two months this way. When you want to enjoy them again, just pull them out, let them thaw on the counter for an hour or so, and they are ready to go. No reheating needed, honestly!
Serving Suggestions for Classic Christmas Cookies
Now that you have a huge batch of the most perfect **Classic Christmas Cookies**, what do you serve them with? Honestly, they are amazing all by themselves—a perfect bite of chocolate and peanut butter is a complete snack event. But if you’re doing a proper cookie assortment or just having friends over for a quick holiday chat, you need something to wash down that richness.
The absolute, undeniable champion pairing for any cookie, especially a strong, salty-sweet one like this, is a big, cold glass of milk. Whole milk is my personal favorite because the fat content just cuts through the richness of the peanut butter perfectly. It’s nostalgic, it’s simple, and it never fails. My kids go nuts for them dipped in milk right after they’ve cooled a little!
If we’re talking about grown-up beverages, a hot cup of strong, black coffee is fantastic. The bitterness of the coffee is a beautiful contrast to the sweetness of the cookie and the chocolate. I sometimes add a little cinnamon stick right into the mug to really double down on that warm spice flavor.
But if you want something truly unexpected that breaks away from the standard cocoa, you have to try these cookies with a tall glass of iced tea. I know, it sounds weird, but trust me on this one! If you make a slightly tart, refreshing tea—like my Honey Hibiscus Iced Tea—the bright, floral notes cut through the heavy peanut butter, making the cookie taste even richer when you take the next bite! It’s the grown-up palate cleanser you didn’t know you needed for your holiday cookie platter!
Frequently Asked Questions about Peanut Butter Blossom Cookies
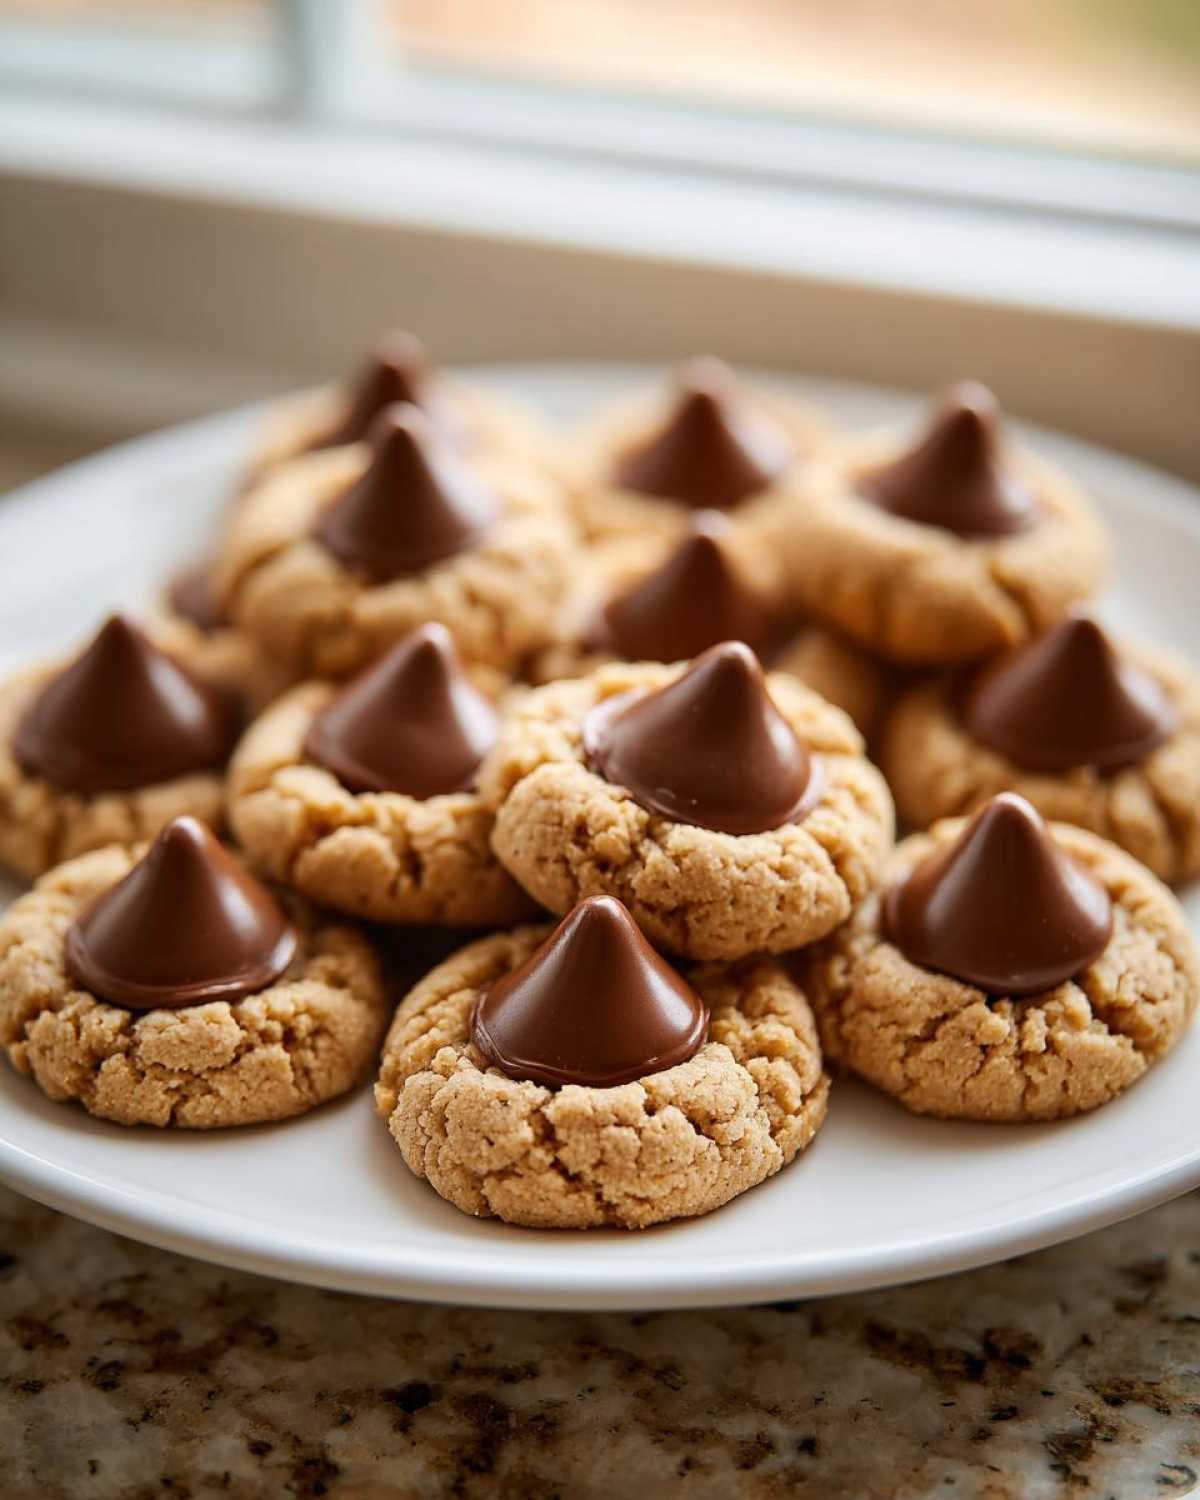
I know you’re probably eager to get baking after seeing how easy this is, but sometimes people have little lingering questions before they commit to a batch of these amazing **Chocolate Kiss Cookies Recipe** favorites. I tried to answer all the main ones I normally get asked about these beautiful cookies right here!
Can I use crunchy peanut butter in this Hershey Kiss Cookie Recipe?
Oh, I totally get the crunchy peanut butter craving! Now, my personal recipe, the one that guarantees that super-soft, crinkly top, relies on creamy peanut butter because it blends so smoothly into the dough, keeping everything uniform. If you absolutely must use crunchy, you can! Just be prepared for the dough to feel a bit more coarse, and you might not get that picture-perfect smooth appearance on the edges. It will still taste delicious, but for that classic texture we are aiming for, creamy is the way to go.
Can I make the Soft Peanut Butter Cookie Dough ahead of time?
This is the most important question for time management, right? And my firm answer is: No, don’t chill this dough! For almost every other cookie, chilling is a great way to control spread, but for **Peanut Butter Blossom Cookies**, it actually works against us. If you chill the dough, it won’t spread enough in the oven. That spread is what creates the classic, beautiful crinkle top and the necessary indent for the Kiss to sink into. You want to bake these right away, while the dough is at that perfect, creamy room temperature consistency, so they bake up right.
How long should I bake these to ensure they are soft?
Honestly, this is where most people accidentally dry out their cookies! Since the chocolate is added *after* they come out, you have to pull them before they look completely done. I stick strictly to 8 to 10 minutes at 375 degrees F. When you take them out, the edges should just be starting to look firm, but the centers still need to look a bit soft and almost underbaked. That residual heat from the baking sheet is what finishes cooking them through without turning them hard. Trust me on pulling them early; it’s the secret to the best **Soft Peanut Butter Cookie** texture!
What is the secret ensuring the chocolate kiss doesn’t crack the cookie?
Cracking happens when you press the chocolate onto a cookie that has already cooled down too much, making the peanut butter base brittle. If you follow the instructions to press the Hershey Kiss in *immediately* upon removing the cookies from the oven, the residual heat melts the base of the Kiss, allowing it to gently adhere and sink in without forcing the cookie edge to break. Just press gently and steadily—don’t jab it! If you’re worried, let them cool on the sheet for that mandatory five minutes first, but certainly don’t wait longer than that before applying the chocolate element!
Estimated Nutritional Data for Peanut Butter Blossom Cookies
Okay, let’s talk fuel! Now, I always have to give you the big disclaimer here: I’m a cook, not a certified nutritionist, so these numbers are just estimates based on the standard ingredients I use here in the kitchen, like that creamy peanut butter and the sugar proportions. If you start swapping things out, these numbers will definitely change! You can always run the exact ingredients through an online calculator if you need super precise figures for things like counting carbs or tracking specific fats.
But for a classic, single, wonderfully large **Peanut Butter Blossom Cookie** made exactly how I’ve laid it out, here’s what you are generally looking at. It’s rich, which is why just one is usually the perfect serving!
- Serving Size: 1 cookie
- Calories: 150
- Sugar: 15g
- Fat: 8g (This includes the goodness from the peanut butter!)
- Saturated Fat: 4g
- Carbohydrates: 18g
- Protein: 3g
- Sodium: 85mg
- Cholesterol: 20mg
See? Definitely a rich treat! These are meant for savoring, with a big glass of milk, perhaps alongside that full recipe disclaimer if you’re doing strict tracking. Enjoy them, because they are worth every single calorie for a holiday treat!
Share Your Classic Holiday Baking Classics Experience
Seriously, now that you’ve made these, I want to hear everything! Did they come out soft? Did you manage to get that perfect little sinkhole for the Chocolate Kiss, or did disaster strike? Baking is all about the journey, and I learn almost as much from what people tweak at their own tables as I do from my own kitchen experiments!
Please, please, please leave a star rating right at the bottom of this post! It genuinely helps other bakers deciding if they should try this recipe next. If you have two seconds, tell me in the comments how the **Peanut Butter Blossom Cookies** turned out for you. Were they an instant family hit? Did you manage to save any for yourself after the kids found them?
If you snapped a picture of your beautiful crinkly, chocolate-topped creations, tag me on social media so I can see your success! Seeing your batch makes my entire day, knowing I helped keep this wonderful tradition alive in another kitchen. It’s so much fun connecting with you all. If you ever want to know more about the team making this recipe magic happen, check out my About Us page—we love hearing from our baking community!
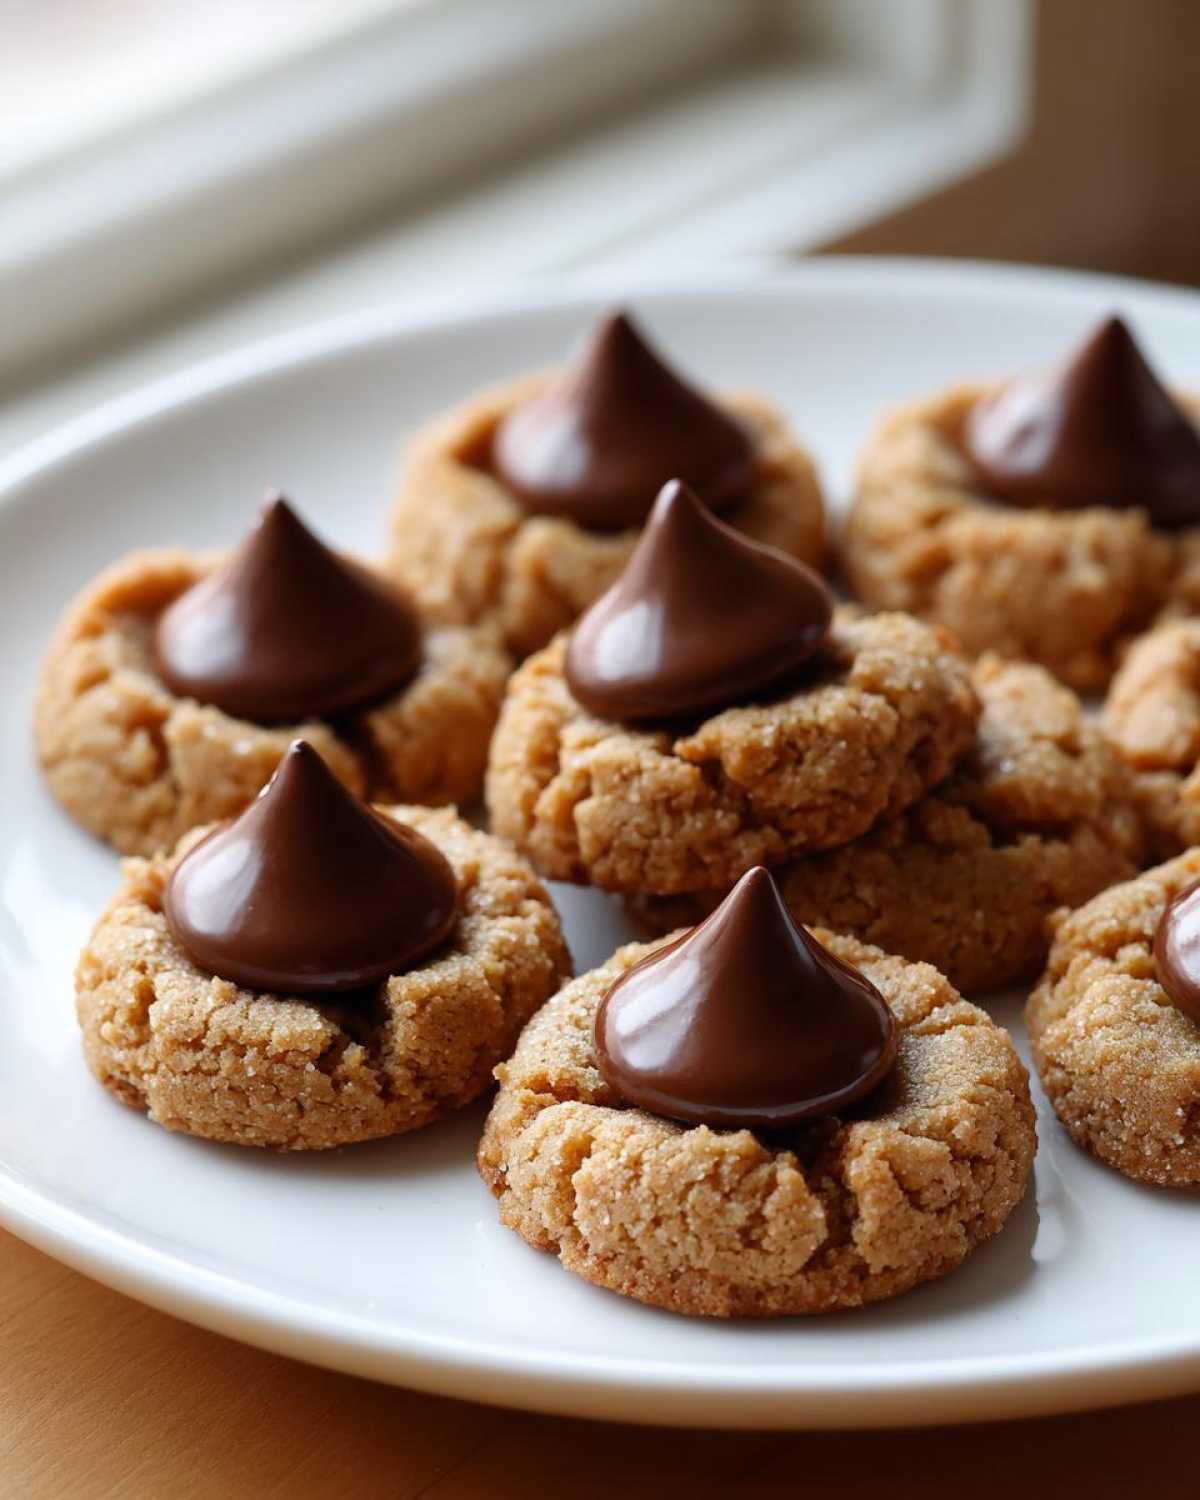
Classic Peanut Butter Blossom Cookies
Follow this simple recipe to make soft, chewy peanut butter cookies topped with a melted chocolate kiss.
- Prep Time: 20 min
- Cook Time: 10 min
- Total Time: 30 min
- Yield: About 4 dozen cookies
- Category: Dessert
- Method: Baking
- Cuisine: American
- Diet: Vegetarian
Ingredients
- 1 cup unsalted butter, softened
- 1 cup granulated sugar
- 1 cup packed light brown sugar
- 2 large eggs
- 1 teaspoon vanilla extract
- 1 cup creamy peanut butter
- 2 3/4 cups all-purpose flour
- 1 teaspoon baking soda
- 1/2 teaspoon baking powder
- 1/2 teaspoon salt
- About 48 Hershey’s Milk Chocolate Kisses, unwrapped
Instructions
- Preheat your oven to 375 degrees F. Line baking sheets with parchment paper.
- In a large bowl, cream together the softened butter, granulated sugar, and brown sugar until light and fluffy.
- Beat in the eggs one at a time, then mix in the vanilla extract and peanut butter until combined.
- In a separate bowl, whisk together the flour, baking soda, baking powder, and salt.
- Gradually add the dry ingredients to the wet ingredients, mixing on low speed until just combined. Do not overmix the dough.
- Roll the dough into 1-inch balls. Roll each ball in granulated sugar for a coating, if desired.
- Place the dough balls about 2 inches apart on the prepared baking sheets.
- Bake for 8 to 10 minutes, or until the edges are lightly set but the centers still look slightly soft.
- Immediately upon removing the cookies from the oven, press one unwrapped chocolate kiss gently into the center of each warm cookie. The residual heat will soften the chocolate.
- Let the cookies cool on the baking sheet for 5 minutes before transferring them to a wire rack to cool completely.
Notes
- Use creamy peanut butter for the best texture in the dough.
- Do not chill the dough; bake immediately for the classic crinkled appearance.
- Press the chocolate kiss down firmly but carefully to avoid cracking the cookie edges.
Nutrition
- Serving Size: 1 cookie
- Calories: 150
- Sugar: 15
- Sodium: 85
- Fat: 8
- Saturated Fat: 4
- Unsaturated Fat: 4
- Trans Fat: 0
- Carbohydrates: 18
- Fiber: 1
- Protein: 3
- Cholesterol: 20