

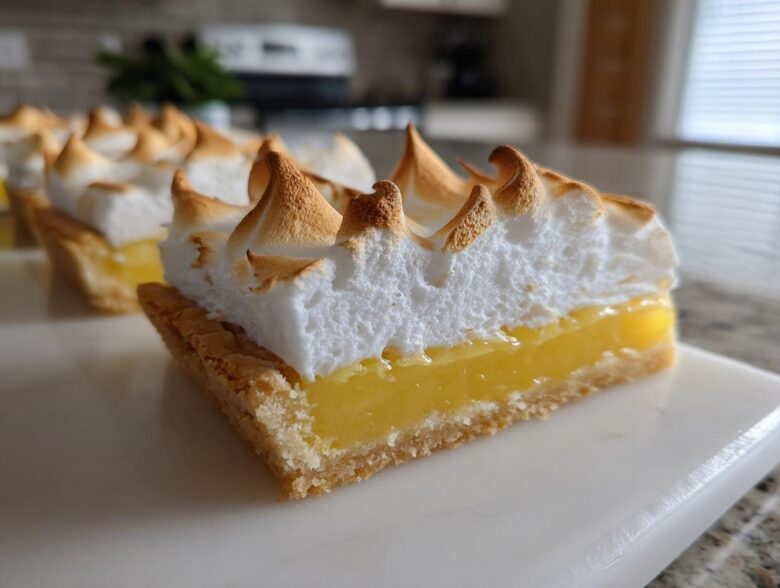
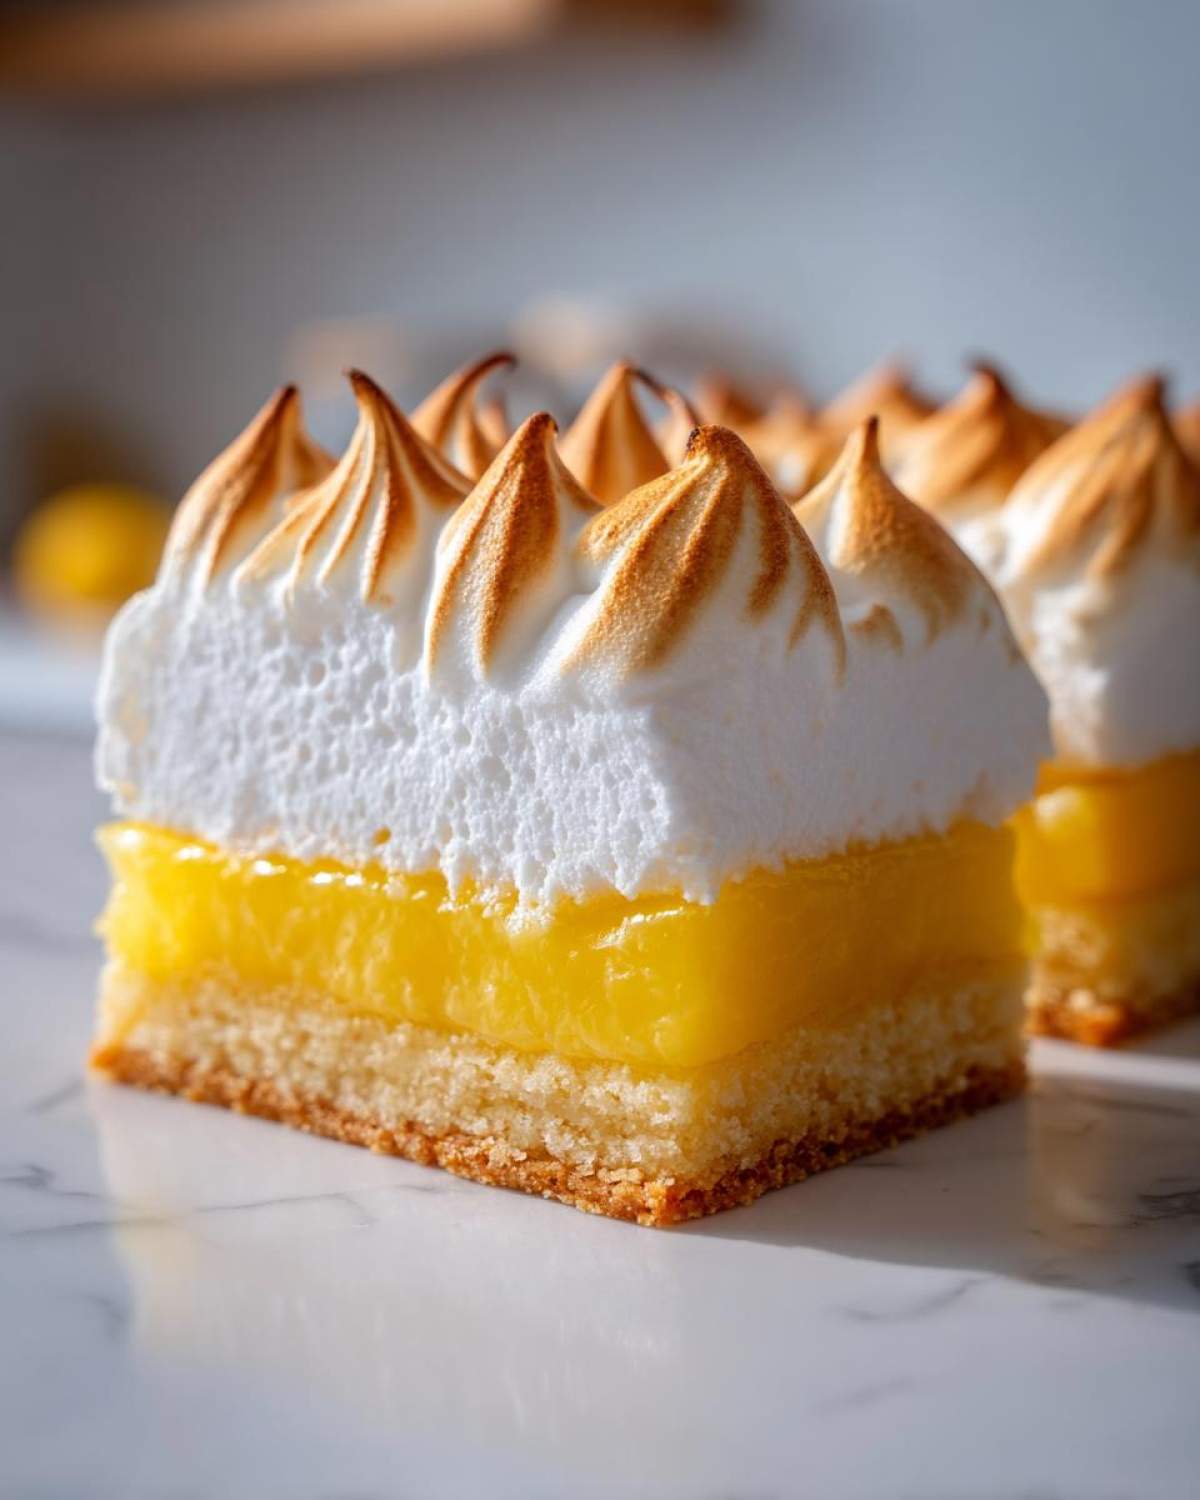
Okay, let’s be real. Who hasn’t tried to serve a slice of classic Lemon Meringue Pie only to have the beautiful wedge collapse into a sugary, curd-y puddle on the plate? It’s a disaster every single time when you want that perfect picnic dessert! That’s why I spent what felt like ages tweaking this recipe until I landed on the absolute best solution: **Lemon Meringue Pie Bars**. We get all the incredible tang, the sweet, fluffy cloud of meringue, and the buttery crust, but shrunk down into stable, easy-to-serve squares. Trust me when I say my experience made sure this one has a sturdy shortbread base, a bright lemon curd layer, and a meringue top that resists weeping—that took some serious trial and error!
You can check out more of my latest baking adventures over at my baking archives if you need more inspiration!
Why You’ll Love These Lemon Meringue Pie Bars
I promise, these are the best lemon meringue bar recipe you’ll ever try. Why? Because they solve all the classic pie problems!
- They deliver that perfect sweet and tart bar dessert balance we crave instantly.
- The **shortbread base lemon bars** stay firm, making these truly picnic friendly lemon treats.
- This is the best lemon meringue bar recipe for a no mess lemon meringue experience, I swear!
- It’s a fantastic make ahead lemon dessert since chilling helps them set up perfectly.
Seriously, they are so stable you don’t even need a plate!
Gathering Ingredients for Perfect Lemon Meringue Pie Bars
Okay, getting the right ingredients is the foundation for these bright citrus dessert squares. Don’t skimp here! We need three distinct groups for the crust, the filling, and the amazing meringue topping. Think of this as setting up your station before you start baking one of my favorite make ahead lemon desserts.
For the crust, make sure your butter is cold and cubed—that’s key for that crumbly texture. You’ll also need flour, just a bit of sugar, and that one lucky egg yolk. Then for the filling, wow, it needs fresh lemon juice and zest for that true tang! We’re using cornstarch to help thicken, and four extra egg yolks for richness in that lemon curd.
Finally, for the topping, you must use room temperature egg whites and cream of tartar; this helps them whip up like magic. If you’re looking for other amazing dessert recipes, you can always check out my guide to layer desserts for more fun ideas!
Step-by-Step Guide: How to Make Lemon Meringue Pie Bars
Alright, this is where the magic happens! We have three distinct layers to build here, and timing is everything, trust me. We need a solid foundation before we get to that sunshine-yellow lemon layer and the sky-high meringue. Make sure your oven is humming along at 350°F (175°C) and you’ve got that 9×13 pan lined with parchment—leaving those edges hanging over is your future self’s shortcut to cake freedom!
Baking the Sturdy Shortbread Base
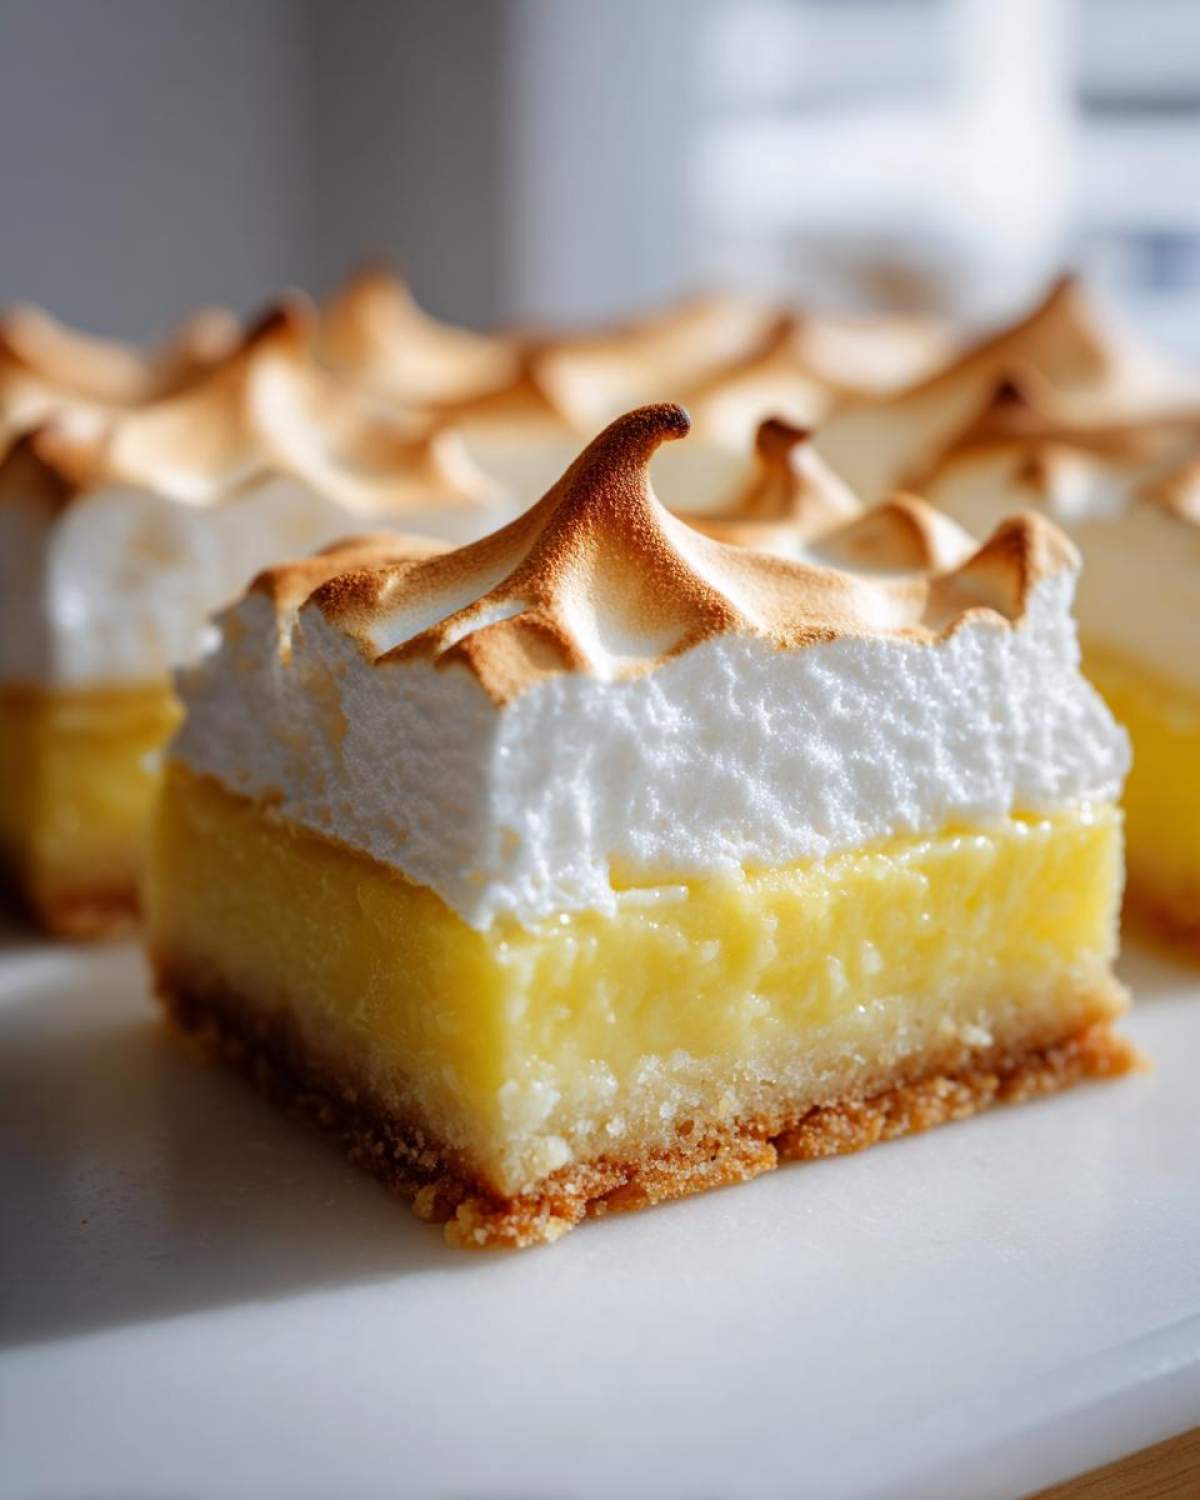
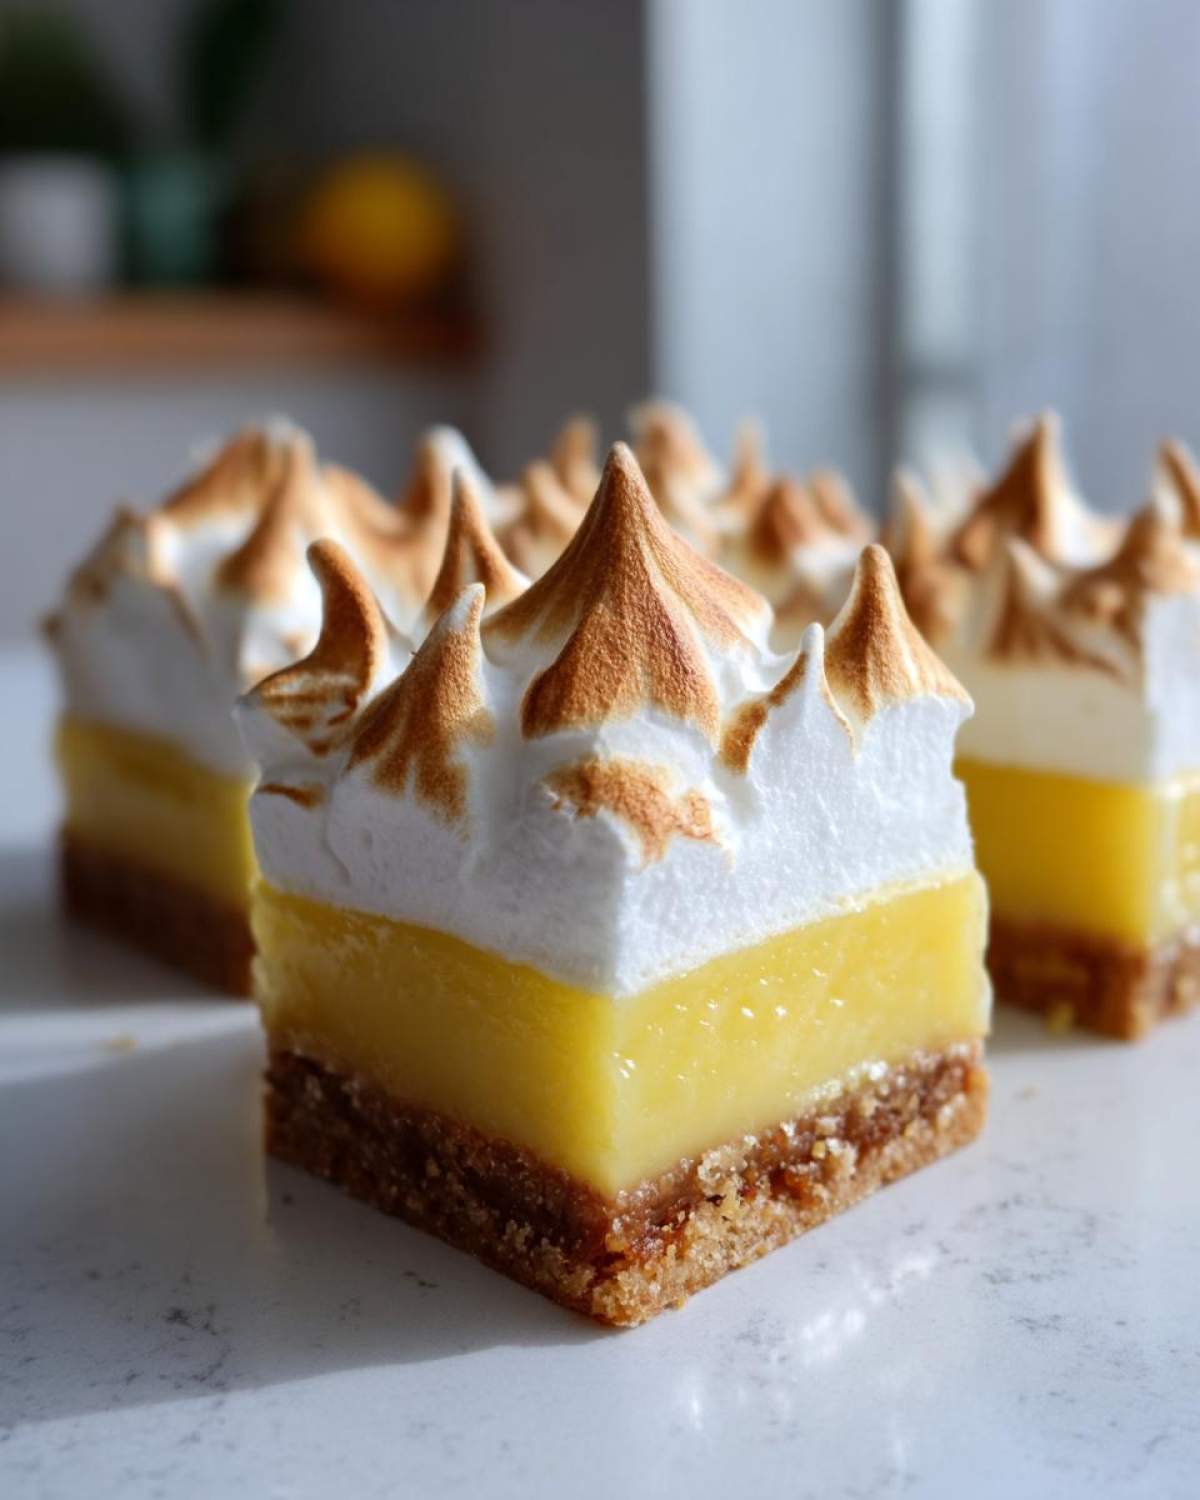
For our **shortbread base lemon bars**, start by hacking that cold butter into the dry ingredients until it looks like rough sand. Then, just work in that egg yolk until it barely clings together—don’t turn it into a hard dough! Press it evenly into the bottom of your prepared pan. I always bake this first crust for a good 15 to 18 minutes until I see it just barely kissed with gold. My biggest tip? Make sure this crust is set before you pour in the wet filling, or you’ll end up with a soggy bottom, and nobody wants that!
Creating the Bright Lemon Filling for Your Lemon Meringue Pie Bars
Time for the tart stuff! In a saucepan, whisk your sugar, cornstarch, and salt, then slowly incorporate the cold water until it’s smooth enough to glide. Cook this over medium heat, stirring constantly until it’s super thick and bubbling hard for about a minute. Now, the vital step for truly creamy lemon filling: tempering the egg yolks. Seriously, don’t skip this or you’ll have scrambled egg bits! Take a big scoop of that hot sugar goo and slowly drizzle it into your beaten egg yolks while whisking like crazy. Once those yolks are warmed up, pour that tempered mix right back into the saucepan. Cook for just one more minute, stirring gently. Off the heat, stir in your fresh lemon juice, zest, and that final pat of butter until everything is glossy. Pour this hot filling right over your warm baked crust immediately.
Achieving a Fluffy Meringue Topping for Bars
You want stiff, glossy peaks, and we’re going for it! Make sure your bowl is spotless and your egg whites are at room temperature—they whip up way higher that way. Beat those whites with the cream of tartar until they look foamy, then start sprinkling in the sugar, a tablespoon at a time. You need patience here! Keep beating until you can lift the whisk and the peaks stand up tall and shiny without flopping over. Gently spread that beautiful meringue over the hot lemon layer below. Pro tip: really push the meringue right up against the edges of the pan. This seals everything in and stops your **fluffy meringue topped bars** from shrinking inward while they bake those final 10 to 12 minutes until they get those lovely toasted tips!
If you want to peek at how I make other fun, sturdy desserts that travel well, you should take a look at my recipe for raspberry blondies. They share that same ‘no-fuss’ vibe!
Tips for Perfect Lemon Meringue Squares Recipe Results
Listen, getting this right means you have successfully created the **best lemon meringue bar recipe** out there. The stability is the name of the game here, not just the flavor! We already baked that crust slightly, which is key, but the cooling process is just as important as the baking.
If you’re worried about a crumbly crust, remember that slightly under-mixing the dough—just until it barely holds—is actually what you want for that sandy texture. If you overwork it, it gets tough. Also, don’t forget that if everything seems a little messy during baking, all that sweetness might remind you of my famous cheddar dip—but this one needs to chill out before it’s ready!
Cooling and Cutting Your Lemon Meringue Pie Bars Neatly
This is where we win the war against messiness. To guarantee those beautiful **no mess lemon meringue** squares, you absolutely cannot rush the cooling! Let them sit on the counter for at least two hours until they feel fully set. The real secret, though, is chilling them in the fridge for another couple of hours after that. When they are chilled through, grab those parchment paper slings I told you about and lift the whole slab out onto your cutting board. Use a long, sharp knife and wipe the blade clean between every slice. That’s how we get those clean, amazing edges!
Ingredient Notes and Substitutions for Lemon Meringue Pie Bars
I have to emphasize this: please, please use fresh lemon juice here. Bottled stuff just doesn’t have that vibrant, zesty punch you need to cut through all that sugar. The bottled kind often has preservatives that dull the flavor. If you want truly bright citrus dessert squares, use real lemons!
Also, if you ran out of flour or just aren’t feeling the shortbread vibe, feel free to swap it out! You can make fantastic **graham cracker crust lemon bars** instead. Just use about 2 cups of finely crushed graham crackers mixed with 1/2 cup of melted butter and 1/4 cup of sugar. Press that into the pan and bake it just like the flour crust. Either way works beautifully. Let me know what you try in the comments; I’m always curious about variations on my savory cheese dips, but these sweet ones are worth the fresh squeeze!
Make Ahead Lemon Desserts: Storing Your Lemon Meringue Pie Bars
One of the best things about these bars is that they absolutely love being made ahead of time! Remember how I stressed chilling them before cutting? That initial refrigeration of at least two hours is crucial, but for the absolute best flavor and firmest square, leave them refrigerated for up to four hours.
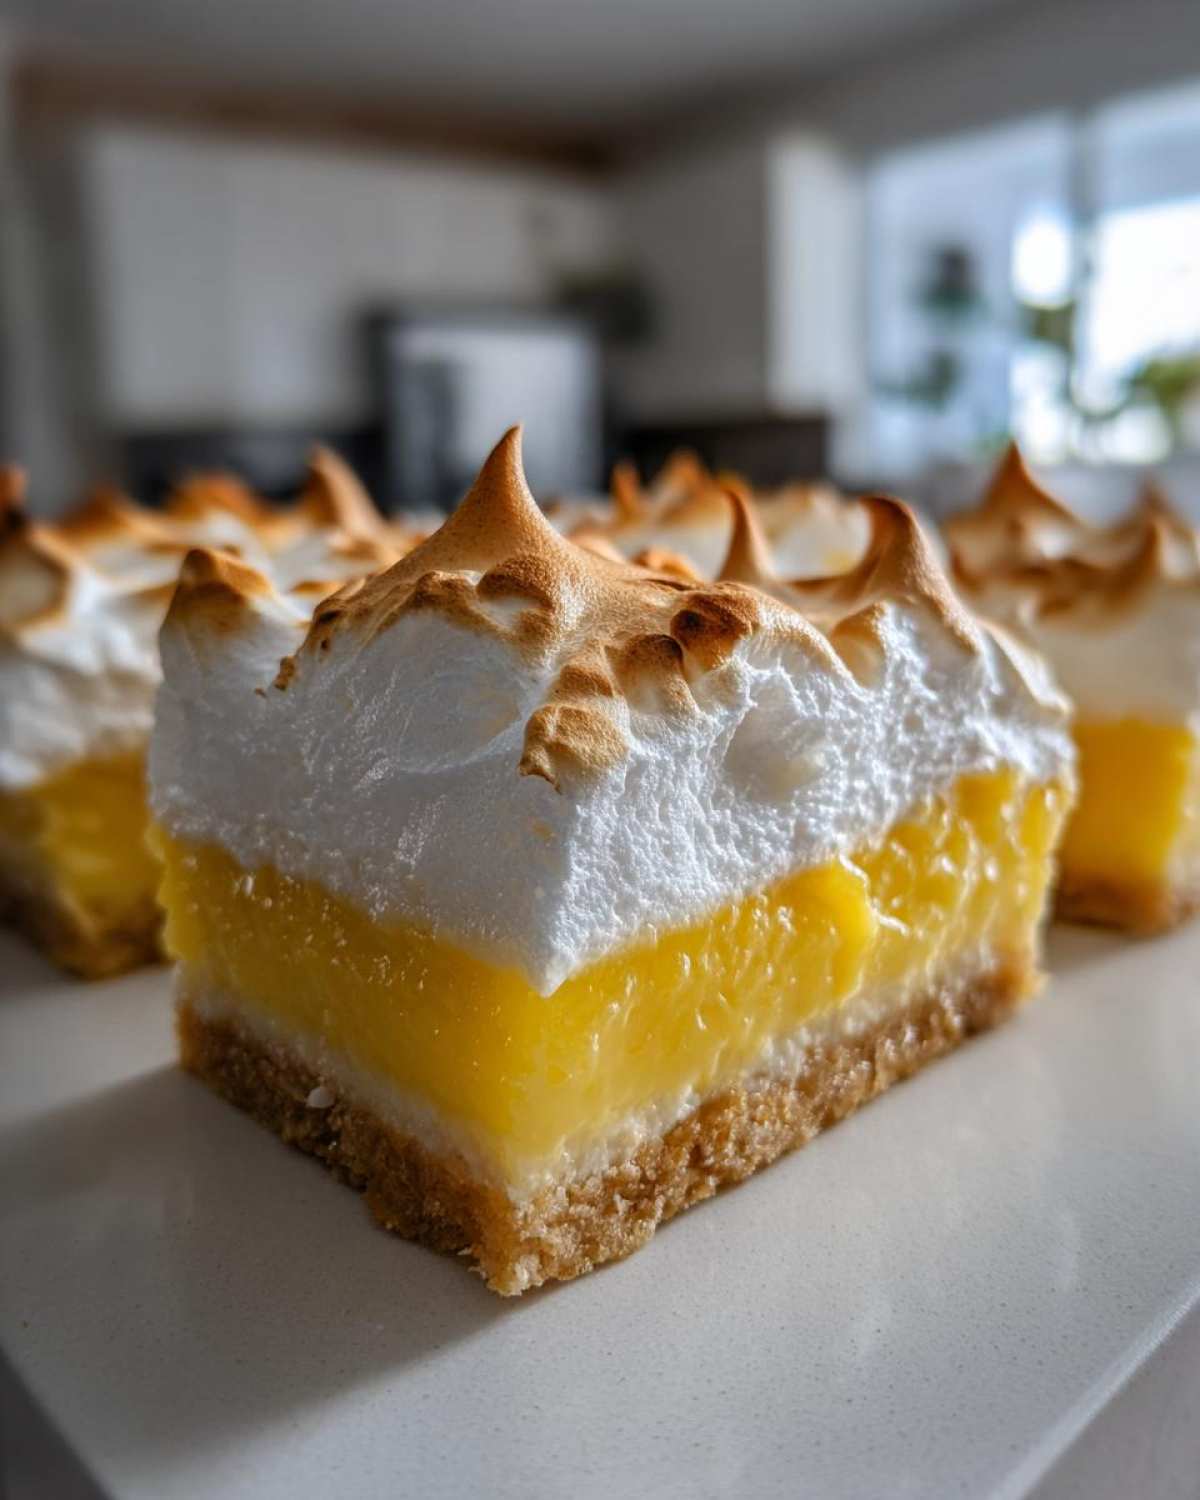
Once they are sliced, you can store leftovers in a single layer in an airtight container right in the fridge. They honestly stay wonderful for about three days. The flavor even seems to deepen overnight. Just grab one straight from the cold whenever you need a bright, zesty pick-me-up!
Frequently Asked Questions About Lemon Meringue Squares Recipe
I’ve gathered a few questions I always get about making the perfect batch of these **lemon meringue squares recipe** treats. Everyone wants that amazing, bright flavor but needs them to hold together for the party!
Can I use a different citrus base instead of lemon for these bars?
That’s a fun idea! You certainly could try lime for a key lime-style bar, or maybe even orange. But just a heads-up, the balance of sugar and acid is super specific here because of the cornstarch, so if you swap out the lemon juice, you might need to adjust the sugar or cornstarch a little bit to get the right texture. Honestly though, the lemon is just unbeatable for that classic zing!
Why is my meringue weeping after baking?
Ugh, weeping meringue—the bane of all pie bakers! In general, weeping happens when the sugar hasn’t fully dissolved, or if there’s moisture trapped between the filling and the meringue. Now, since we top our filling while it’s hot in this **easy lemon dessert bars** recipe, you need to make sure that meringue mixture is beaten until those stiff, glossy peaks are rock solid before it hits the oven. That’s your best defense against a sad, soggy topping!
If you ever run into trouble or just want to chat baking in general, please don’t hesitate to send me a note on my contact page!
Estimated Nutritional Data for Lemon Meringue Pie Bars
I always tell folks that keeping track of nutrition is important, but sometimes you just need a wonderful slice of sunshine! Just remember that these numbers are estimates based on the recipe yield of 24 bars. Since we are talking about a summer lemon dessert recipe that pairs sweet crust with tart curd, here’s what the breakdown looks like per serving:
- Calories: 210
- Fat: 10g
- Carbohydrates: 32g
- Sugar: 25g
- Protein: 3g
For the most accurate details or further information regarding our recipe sourcing, please view our full nutritional disclaimer.
Share Your Bright Citrus Dessert Squares Experience
Now it’s your turn! I’ve shared all my secrets to making the most perfect, no-fuss **Lemon Meringue Pie Bars**, and now I’d absolutely love to hear how they turned out for you. Did your meringue get those perfect little toasted peaks? How clean were those slices?
Please leave a star rating right below and tell me all about it in the comments! If you made an amazing batch of these bright citrus dessert squares, snap a picture and tag us—I love seeing your beautiful bakes on social media! You can learn more about who is behind all this baking on my About Us page. Happy baking, friends!
PrintLemon Meringue Pie Bars

A recipe for lemon meringue pie presented in a stable, easy-to-serve bar format with a shortbread crust, tart lemon filling, and fluffy meringue topping.
- Prep Time: 25 min
- Cook Time: 35 min
- Total Time: 60 min
- Yield: 24 bars
- Category: Dessert
- Method: Baking
- Cuisine: American
- Diet: Vegetarian
Ingredients
- For the Crust: 1 1/2 cups all-purpose flour
- 1/2 cup granulated sugar
- 1/4 teaspoon salt
- 1/2 cup (1 stick) cold unsalted butter, cut into cubes
- 1 large egg yolk
- For the Lemon Filling: 1 1/2 cups granulated sugar
- 1/4 cup cornstarch
- 1/4 teaspoon salt
- 1 1/2 cups cold water
- 4 large egg yolks, lightly beaten
- 1/2 cup fresh lemon juice
- 1 tablespoon lemon zest
- 2 tablespoons unsalted butter
- For the Meringue Topping: 4 large egg whites, room temperature
- 1/4 teaspoon cream of tartar
- 1/2 cup granulated sugar
- 1 teaspoon vanilla extract
Instructions
- Preheat your oven to 350°F (175°C). Line a 9×13 inch baking pan with parchment paper, leaving an overhang on the sides for easy removal.
- Prepare the crust: In a medium bowl, whisk together the flour, 1/2 cup sugar, and salt. Cut in the cold butter using a pastry blender or your fingers until the mixture resembles coarse crumbs.
- Mix in the egg yolk until the dough just comes together. Press the dough evenly into the bottom of the prepared pan.
- Bake the crust for 15 to 18 minutes, or until lightly golden brown. Remove from the oven and set aside while you prepare the filling. Keep the oven on.
- Prepare the lemon filling: In a medium saucepan, whisk together the 1 1/2 cups sugar, cornstarch, and salt. Gradually whisk in the cold water until smooth.
- Cook over medium heat, stirring constantly, until the mixture thickens significantly and begins to bubble. Cook for 1 minute more, stirring.
- Remove the saucepan from the heat. In a separate small bowl, whisk the 4 egg yolks. Slowly temper the yolks by whisking about 1/2 cup of the hot sugar mixture into the yolks.
- Pour the tempered yolk mixture back into the saucepan with the remaining hot mixture. Return to medium-low heat and cook, stirring constantly, for 1 minute. Do not boil.
- Remove from heat. Stir in the lemon juice, lemon zest, and 2 tablespoons of butter until smooth.
- Pour the hot lemon filling evenly over the warm baked crust.
- Prepare the meringue: In a clean, grease-free bowl, beat the egg whites and cream of tartar with an electric mixer on medium speed until soft peaks form.
- Gradually add the 1/2 cup sugar, one tablespoon at a time, beating until stiff, glossy peaks form. Beat in the vanilla extract.
- Spread the meringue evenly over the hot lemon filling, making sure to seal the meringue to the edges of the crust to prevent shrinking.
- Bake for 10 to 12 minutes, or until the meringue tips are lightly golden brown.
- Cool the bars completely on a wire rack at room temperature for at least 2 hours.
- Use the parchment overhang to lift the cooled bars from the pan. Cut into squares. Chill before serving for cleaner cuts.
Notes
- For the cleanest cuts, chill the finished bars in the refrigerator for at least 4 hours before slicing.
- Use fresh lemon juice for the best tart flavor.
- Store leftovers in an airtight container in the refrigerator for up to 3 days.
Nutrition
- Serving Size: 1 bar
- Calories: 210
- Sugar: 25
- Sodium: 75
- Fat: 10
- Saturated Fat: 6
- Unsaturated Fat: 4
- Trans Fat: 0
- Carbohydrates: 32
- Fiber: 1
- Protein: 3
- Cholesterol: 55