

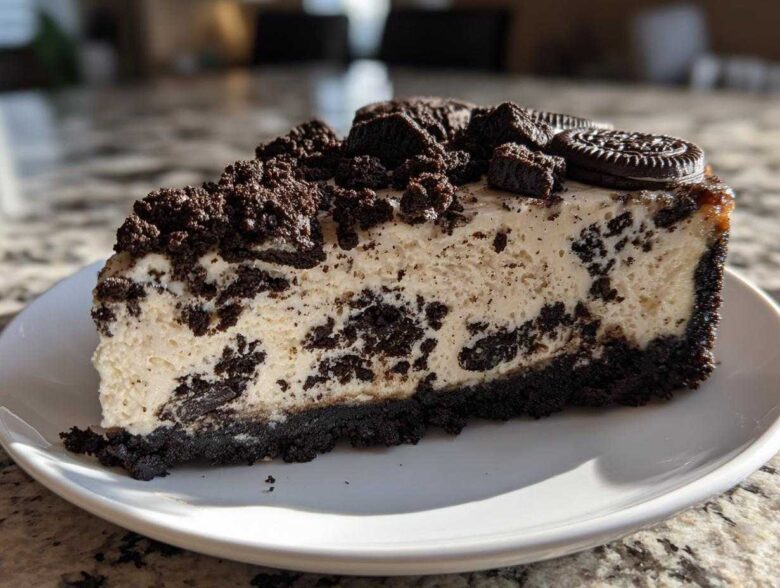
Oh, trust me on this one, friends—if you’ve ever dreaded turning on the oven during a heatwave or panicked about that dreaded cheesecake crack, I have your savior right here! Forget everything you think you know about fussy desserts. This is the ultimate No-Bake Oreo Cheesecake, and it is shockingly easy, outrageously rich, and creamy enough to make you weep happy tears. My favorite part? You literally just mix, press, and chill. I keep this recipe on hand for last-minute guests because its flavor develops beautifully overnight, making it my go-to make-ahead showstopper. It tastes like pure, decadent magic! Seriously, if you love my chocolate layering recipes, this one is going to blow your mind.
Why This No-Bake Oreo Cheesecake is Your New Favorite Simple Dessert Recipes No Oven Pick
I am telling you, ditching the oven is the best thing that ever happened to my dessert routine! Honestly, this recipe eliminates almost every stress point associated with baking the traditional kind. Who has time to worry about water baths and cracked tops when you can have this amazing treat ready in under 30 minutes of actual work?
Here’s why this cheesecake will become your secret weapon for any gathering:
- Speedy Prep: We are talking maybe 20 minutes of active work before it heads to the fridge. It’s one of the best Easy Oreo Cheesecake Recipe shortcuts out there!
- Zero Oven Heat: Since we aren’t baking, your kitchen stays cool and happy—perfect for summer entertaining.
- Unbeatable Texture: It sets up perfectly! You get that rich, thick cream cheese layer that just melts in your mouth.
- Flavor Punch: It’s packed with crunchy, creamy Oreo goodness in every single bite.
If you need a dessert that lets you relax while it sets up perfectly, this is absolutely it.
Gathering Ingredients for Your No-Bake Oreo Cheesecake
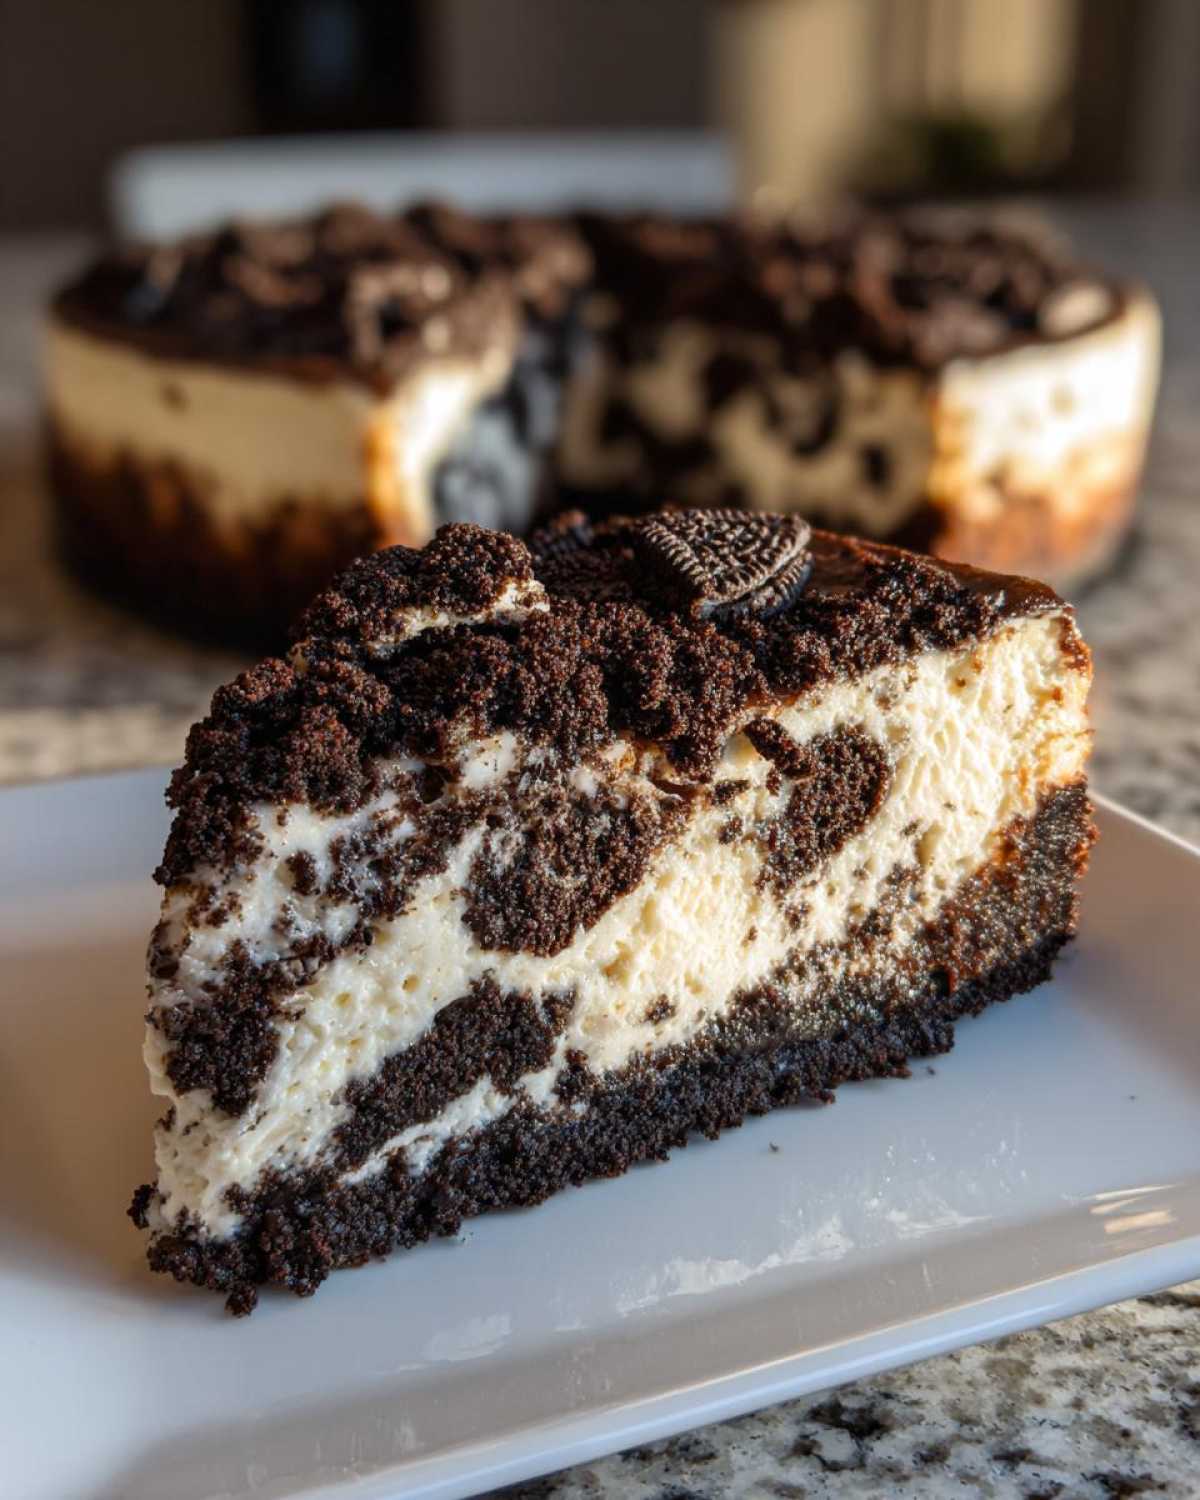
Okay, grabbing the ingredient list is exciting because it’s surprisingly short! That’s the beauty of these Rich Cream Cheese Dessert recipes—no obscure extracts or specialized flours needed. We are keeping this simple and Oreo-forward. You’ll need a full package of those classic cookies, split into two groups.
First up, the base. You need 24 Oreos total, and 6 tablespoons of butter that’s been melted gently. Make sure you have your 16 ounces of cream cheese ready, but here’s a massive tip for a smooth filling: it absolutely must be room temperature. I usually take mine out an hour before I plan to start mixing. If it’s cold, you’re going to get lumps, and we don’t want that!
For the filling fluffiness, we are using everyday white sugar (about a cup) and a splash of vanilla extract for warmth. The real secret to that airy texture comes from having 1 1/2 cups of heavy whipping cream that is freezing cold—seriously, keep it in the coldest part of your fridge! And finally, we need about 8 ounces of frozen whipped topping, thawed but still cool. That combination of whipped cream and topping is what stabilizes this beautiful dessert perfectly.
Step-by-Step Instructions for the Best No Bake Cheesecake
This is where the magic happens, but honestly, it’s so easy you’ll feel like you cheated! We’re going to get this whole beautiful No-Bake Oreo Cheesecake built in a flash. The key is organization, so have all your bowls and your springform pan ready before you even touch the cookies.
Creating the Chocolate Cookie Crust Desserts Base
First things first, we need that crunchy chocolate foundation. Take 16 of your Oreos—make sure the cream filling stays in there!—and crush them up until they look like fine sand. A food processor is fast, but if you seal them in a sturdy zip-top bag and just go wild with a rolling pin, it’s surprisingly therapeutic. Mix those fine crumbs right into your 6 tablespoons of melted butter. It should look like wet sand, just barely holding together when you squeeze a bit.
Now, press that mixture firmly into the bottom of your 9-inch springform pan. Use the flat bottom of a measuring cup or glass to really compact it down—you want a solid base so it doesn’t crumble when you slice it later. Once it’s packed tight, slide that pan into the freezer while you work on the delicious filling. Giving the crust 10 minutes in the freezer really helps it set up!
Mixing the Creamy Oreo Dessert Ideas Filling
Time for the creamy part! Grab that room temperature cream cheese, the sugar, and the vanilla. Beat them together with your electric mixer until they are perfectly smooth. Stop and scrape down the sides of the bowl constantly; we want zero little cheese lumps hanging around. That’s crucial for that silky texture!
Next up is maintaining the airiness. In a completely separate, chilled bowl, whip your cold heavy cream until you get stiff peaks. You know it’s ready when you can lift the beaters out and the cream stands straight up! Now, gently fold that whipped cream into the cream cheese base. And I mean *gently*! Overmixing here deflates all that beautiful air we just created. Once that’s combined, fold in your thawed whipped topping until you see just a whisper of streaks.
Finally, chop up the remaining 8 Oreos into medium chunks—we want bits, not dust! Fold those crunchy surprises into your filling. Spread that whole glorious concoction over your frozen crust. Now for the hard part: you must cover it loosely and let it chill in the fridge for a minimum of 6 hours, but I always push for overnight. That chilling time is non-negotiable for achieving that clean slice!
Tips for Success Making Your No-Bake Oreo Cheesecake
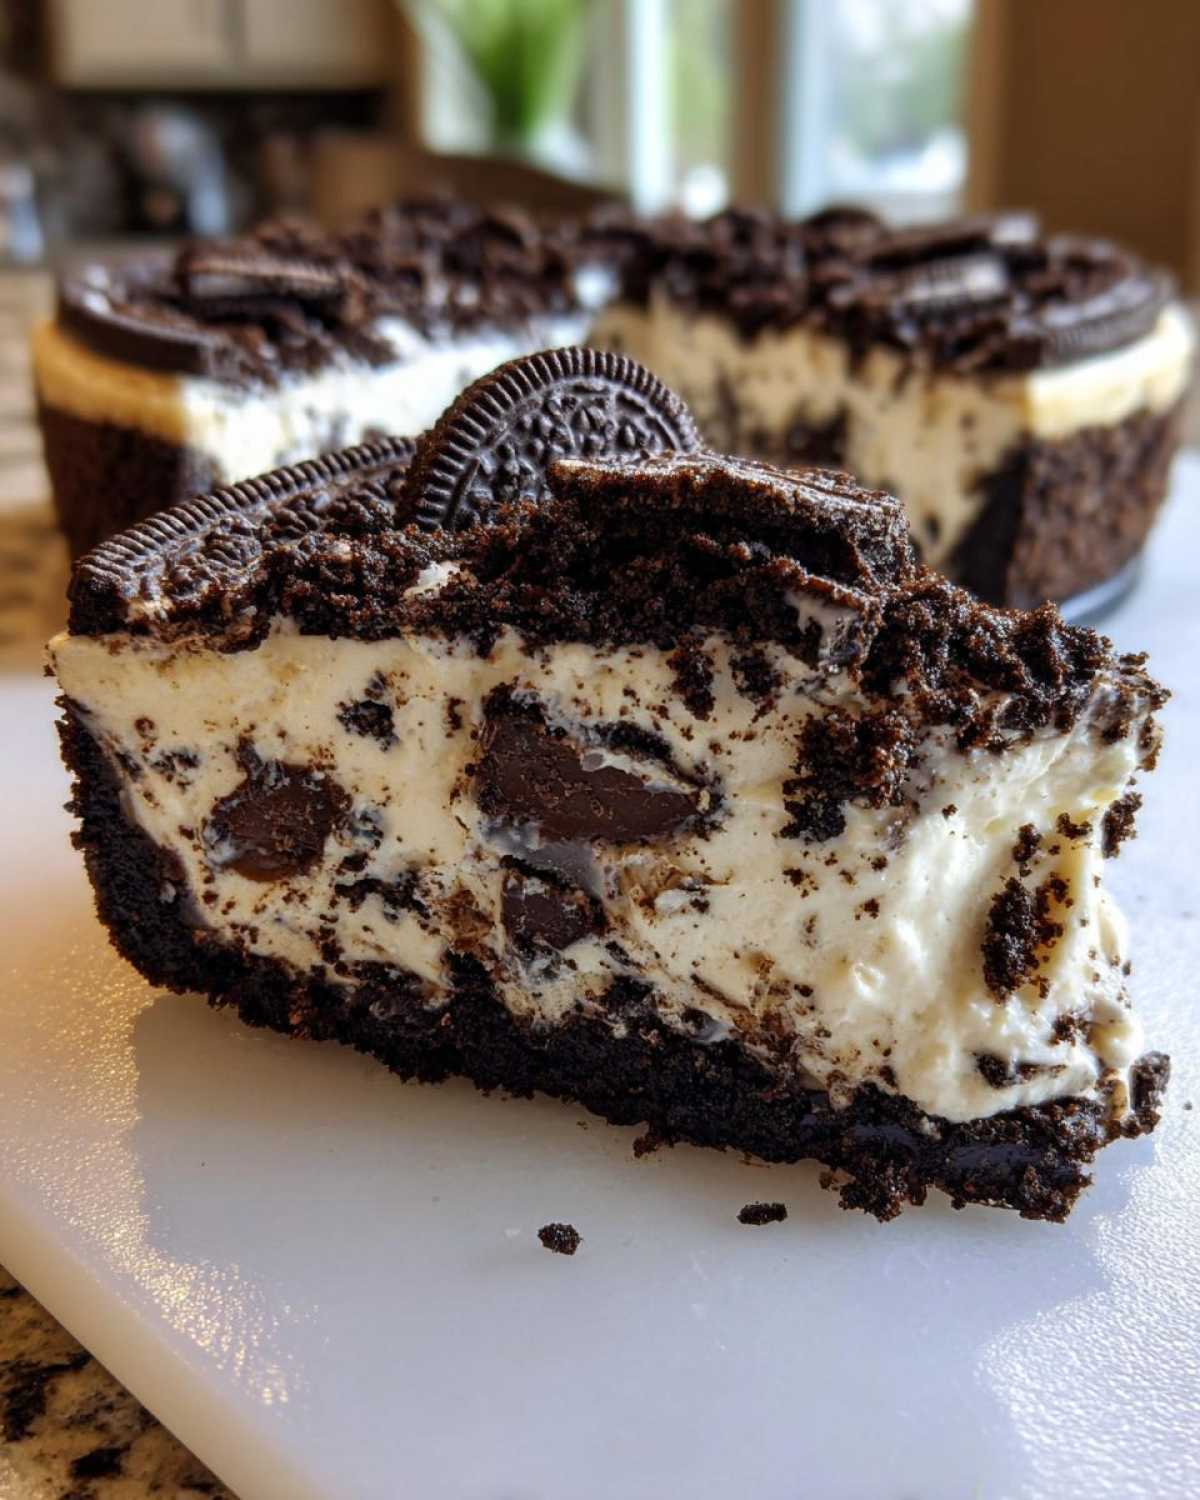
Even though this is so simple—truly one of the easiest Oreo Dessert for Beginners recipes available—a couple of small checks guarantee perfection. I learned these tricks the hard way, so listen up! Remember how I insisted on room-temperature cream cheese? That stays crucial. If your cheese is cold, your filling will look chunky, not cloud-like.
For removal stress, I always cheat a little bit. Before pressing the buttery crust in, I cut a circle of parchment paper to fit the bottom of the springform pan exactly. That way, once the cheesecake is rock solid, the base lifts right out, and cleanup is a breeze! Also, when you’re folding in that whipped cream, switch to a rubber spatula and use deliberate, slow scooping motions. You are trying to keep all those tiny air bubbles intact, which is what makes this dessert so wonderfully light instead of dense.
And finally, please, please let it chill! Six hours is the minimum recommended time, but if you can manage to wait for 10 or 12 hours—or even better, overnight—it sets up firmer, slices cleaner, and tastes even more integrated. Patience is the secret ingredient in every good cold-set cheesecake!
Variations for Your Delicious Oreo Treats
Part of the fun with this dessert is how easily you can switch things up! If you don’t have Oreos on hand, or just feel like branching out, grab some chocolate graham crackers or even peanut butter cookies for the crust. That instantly changes the whole vibe! For the filling, you might want to grab some semi-sweet chocolate chips—just melt about a cup, let them cool slightly, and fold them in for a real double-chocolate kick. That’s a fantastic way to turn this into one of my favorite No Bake Chocolate Dessert Recipes.
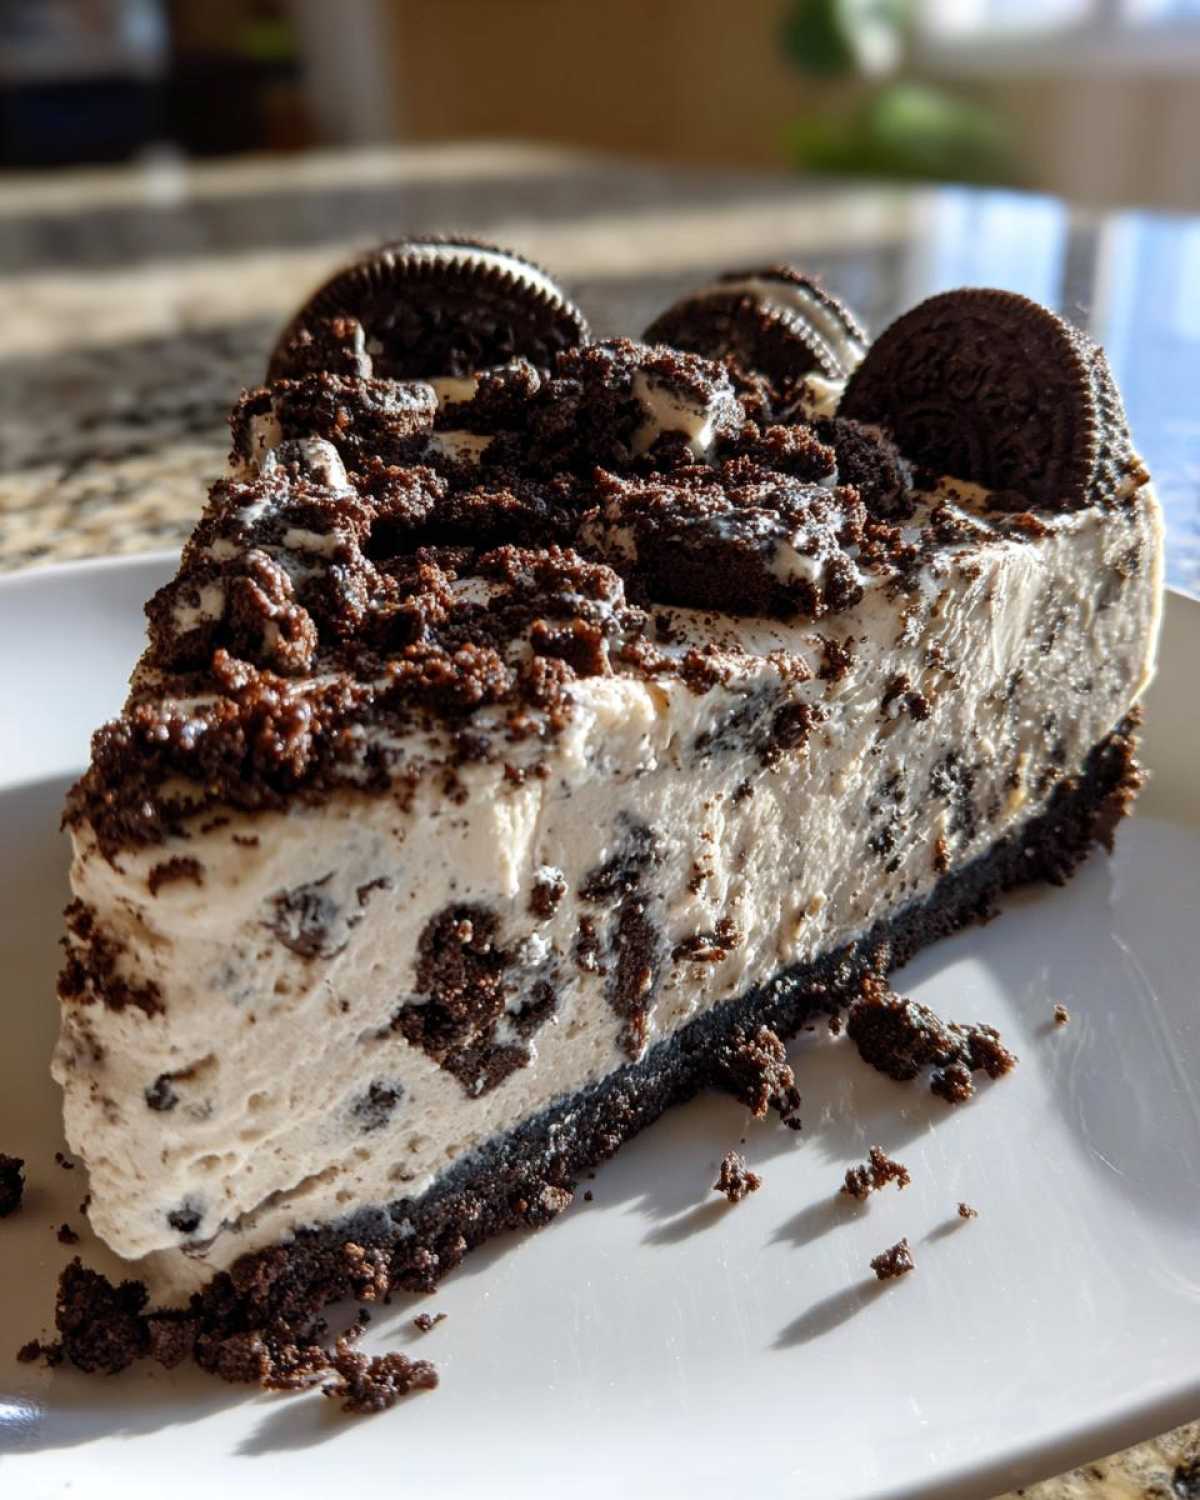
You can also play around with extracts instead of vanilla! A tiny bit of almond or even mint extract paired with the chocolate cookies gives it a whole new, sophisticated flavor profile. It’s still no-bake, and it’s still super simple!
Serving Suggestions for Your No-Bake Oreo Cheesecake
Once that beauty has firmed up overnight, it’s time to make it look as good as it tastes! Since this No-Bake Oreo Cheesecake is already so rich, you really don’t need complicated toppings. My go-to is just sprinkling a few extra crushed Oreos right on top before I serve it—it signals to everyone exactly what amazing flavor bomb they are about to enjoy.
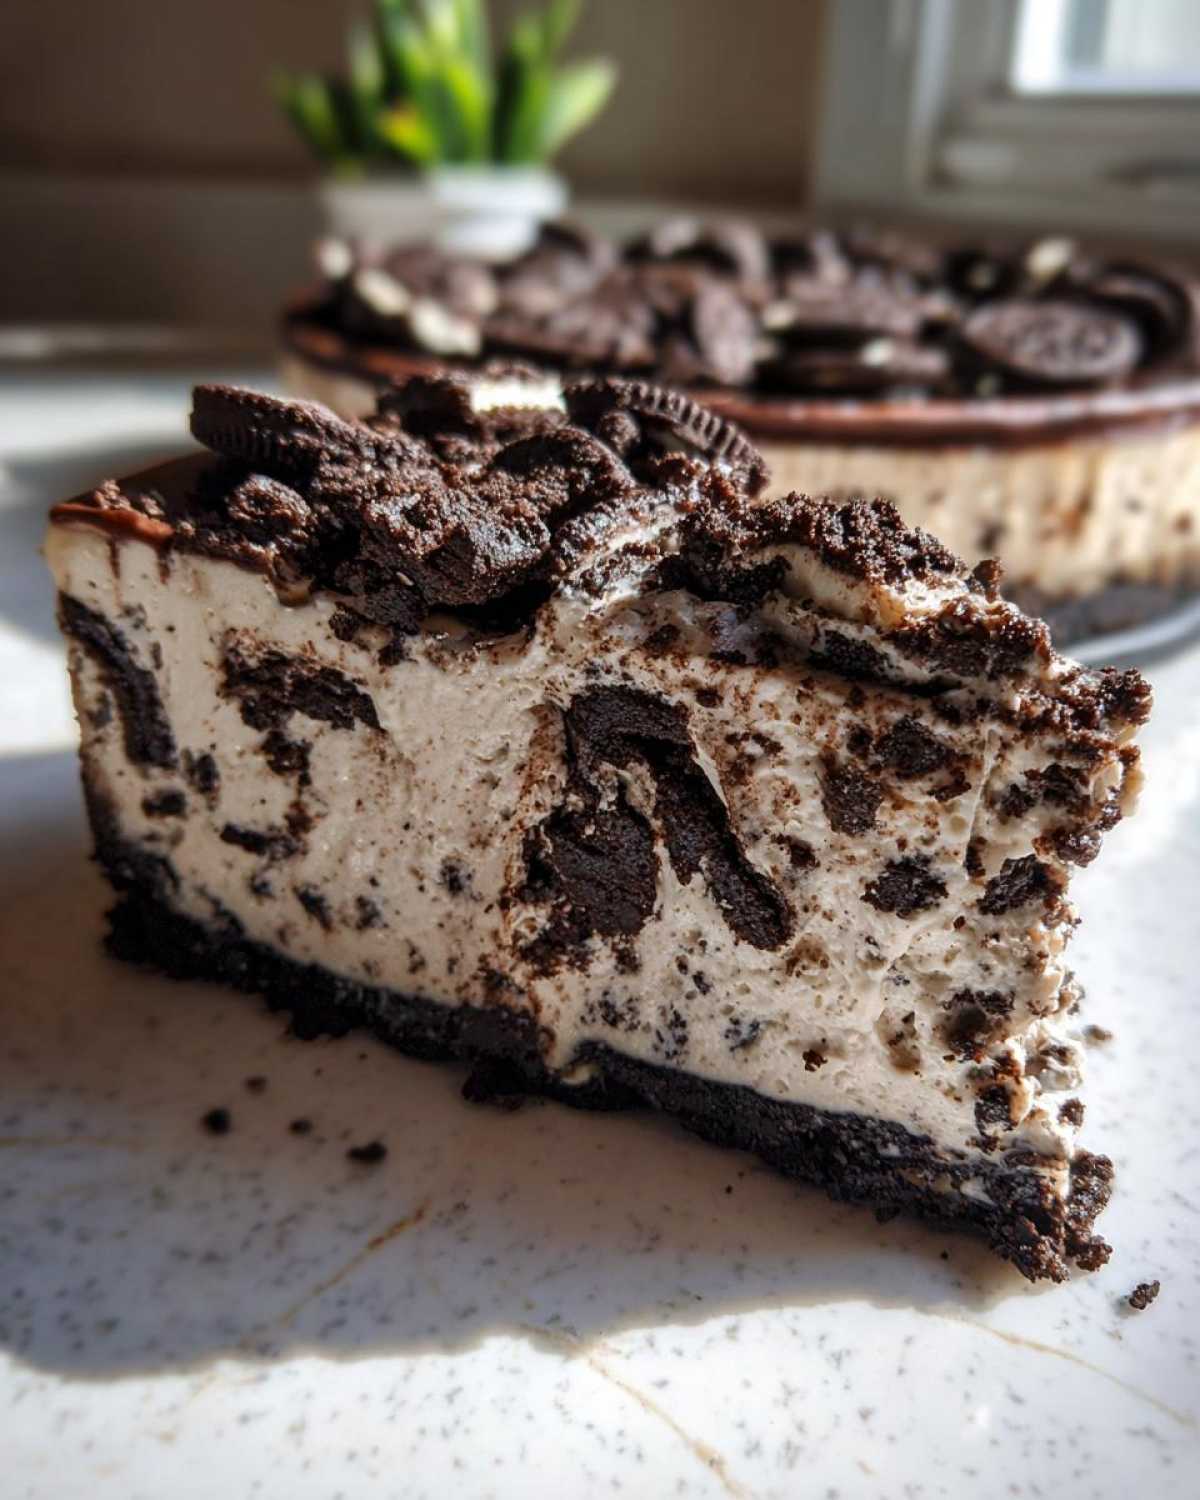
If you’re feeling fancy, nothing beats a simple drizzle of warm fudge sauce or perhaps a cloud of freshly whipped cream around the edges. A little dusting of powdered sugar works great too, especially if you use a stencil for a bit of visual flair. It looks elegant but took zero effort!
Storage and Reheating Instructions for Cold Set Cheesecake Recipe
When you have a lovely Quick No Bake Desserts masterpiece like this, you’ll want to know how to keep it perfect! Since there’s no egg in the structure, we keep it simple: refrigeration is your best friend. It will stay beautifully creamy and firm in the fridge, tightly covered with plastic wrap, for about 3 to 4 days. Just make sure it’s on a flat shelf so it doesn’t shift!
Now, can we freeze it? Yes, we absolutely can! For make-ahead moments, wrap the entire chilled cheesecake (or individual slices) tightly in plastic wrap, then pop it into a layer of aluminum foil. It freezes wonderfully for up to a month, and trust me, you don’t reheat these—just move the frozen cheesecake to the fridge for an afternoon to slowly thaw. It comes out tasting freshly made!
Frequently Asked Questions About Making No-Bake Oreo Cheesecake
Whenever I share this recipe with friends, there are always a few things people need to double-check, especially since it’s a “no-bake” situation. It’s good to ask! Getting these little details right means you avoid any dessert disasters. Here are the most common questions I get asked about making this spectacular No Bake Dessert Classic.
Can I use real whipped cream instead of Cool Whip in this Easy Oreo Cheesecake Recipe?
That’s a question I get all the time! You absolutely can substitute heavy whipping cream for the thawed whipped topping, but you have to be a little more careful. In fact, I often use a mix, just like the recipe calls for! If you decide to skip the Cool Whip entirely, you need to make sure you whip your heavy cream until you get *really* stiff peaks—stiffer than you might normally aim for.
The reason companies use stuff like Cool Whip is for stability, you know? Real cream can sometimes soften up too much when held in the fridge alongside the cream cheese. So, if you switch totally, you might lose a tiny bit of that super airy feel, and it might need an extra hour of chilling time. But yes, it totally works if you whip that cream until it sings!
How long does the No-Bake Oreo Cheesecake need to chill?
Listen, this is probably the most important part of the whole process! If you try to slice this too soon, you’ll end up serving cheesecake soup, and nobody wants that mess. The absolute bare minimum time required for the filling structure to set up and firm up properly is 6 hours. I always tell people to aim for that long if they’re in a hurry.
But if you’re making this for a weekend party, please, please give it the overnight treatment. When I leave mine in the fridge overnight, it sets up so perfectly firm that I can slice it with a warm knife and the pieces are gorgeous. That long, cold set time is what turns these simple ingredients into the Best No Bake Cheesecake.
Nutritional Estimate for This Rich Cream Cheese Dessert
Now, I always get questions about the numbers for treats like this, and I totally get it! When something tastes this decadent, you just want to know what you’re dealing with, right? But here’s the thing about homemade desserts, especially something amazing like this Rich Cream Cheese Dessert—the final count can swing wildly depending on what brand of Oreos you grab or even how thick you cut your slice!
Because of that little bit of variability, I rely on general estimates for these simple treats. What I’ve listed here is just a ballpark number based on standard supermarket ingredients and serving slices that are realistic but still generous. If you’re tracking very strictly, you might want to plug your exact brands into a separate calculator, but for everyday enjoyment, please treat these figures as guidance only.
Knowing that, just enjoy this creamy goodness! It’s a special indulgence, and the fact that it came together without needing an oven makes it a victory in my book, regardless of the macros!
PrintThe Ultimate No-Bake Oreo Cheesecake
Make a rich, creamy cheesecake without turning on your oven. This recipe uses Oreo cookies for both the crust and the filling, offering a simple, make-ahead dessert perfect for any occasion.
- Prep Time: 20 min
- Cook Time: 0 min
- Total Time: 6 hr 20 min
- Yield: 10 servings
- Category: Dessert
- Method: No Bake/Chilling
- Cuisine: American
- Diet: Vegetarian
Ingredients
- 24 Oreo cookies, divided
- 6 tablespoons unsalted butter, melted
- 16 ounces cream cheese, softened
- 1 cup granulated sugar
- 1 teaspoon vanilla extract
- 1 1/2 cups heavy whipping cream, cold
- 8 ounces frozen whipped topping (like Cool Whip), thawed
Instructions
- Crush 16 Oreo cookies finely in a food processor or by placing them in a sealed bag and crushing with a rolling pin.
- Mix the crushed cookies with the melted butter until combined. Press this mixture firmly into the bottom of a 9-inch springform pan. Place the crust in the freezer while you prepare the filling.
- Beat the softened cream cheese, sugar, and vanilla extract in a large bowl with an electric mixer until smooth and creamy. Scrape down the sides of the bowl.
- In a separate, chilled bowl, whip the heavy whipping cream until stiff peaks form. Gently fold the whipped cream into the cream cheese mixture until just combined.
- Gently fold in the thawed whipped topping until no streaks remain. Do not overmix.
- Chop the remaining 8 Oreo cookies into medium pieces. Fold these chopped cookies into the cheesecake filling.
- Spread the filling evenly over the chilled crust. Cover the pan loosely with plastic wrap.
- Refrigerate for at least 6 hours, or preferably overnight, until the cheesecake is firm.
- Before serving, carefully remove the springform ring. Garnish the top with extra crushed Oreos if desired.
Notes
- For the easiest cleanup, line the bottom of the springform pan with parchment paper before adding the crust mixture.
- If you do not have a springform pan, you can use an 8×8 inch square pan, but the chilling time may vary slightly.
- Ensure your cream cheese is fully softened to prevent lumps in the filling.
Nutrition
- Serving Size: 1 slice
- Calories: 420
- Sugar: 35
- Sodium: 310
- Fat: 28
- Saturated Fat: 17
- Unsaturated Fat: 8
- Trans Fat: 0.5
- Carbohydrates: 40
- Fiber: 1
- Protein: 5
- Cholesterol: 85