

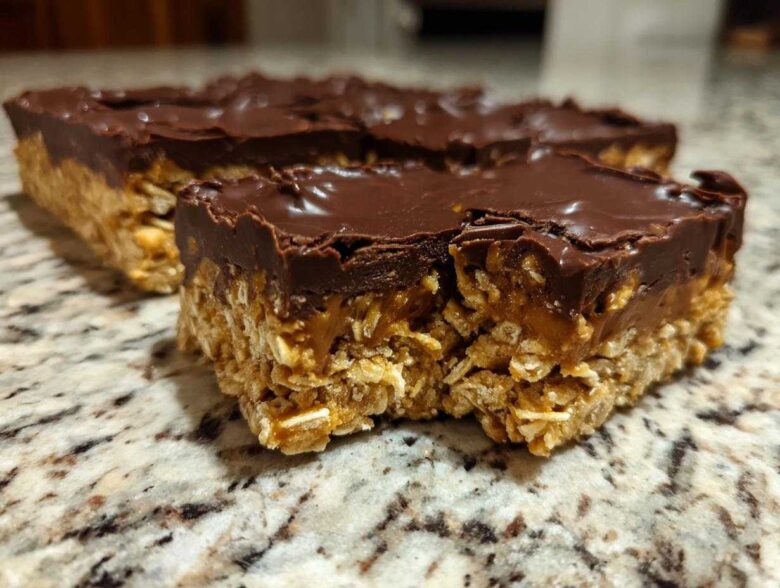
Oh my gosh, you know those holidays when the oven is packed solid, or maybe it’s just a sweltering Tuesday afternoon and the last thing you want to do is turn on the heat? That’s when I reach for my secret weapons! I’m talking about the legendary No-Bake Chocolate Peanut Butter Oat Bars. Seriously, these are the ultimate no-oven dessert bars known to humankind. They come together faster than you can decide which streaming service to watch next. I swear, I made a batch last week because I needed a quick pick-me-up snack, and they were already set in the fridge before my afternoon slump even settled in. If you need something chewy, sweet, chocolatey, and unbelievably easy, you are in the right place! For more incredible sweet and savory concoctions, check out my recipe for the 7-Layer Chocolate Peanut Butter Dip.
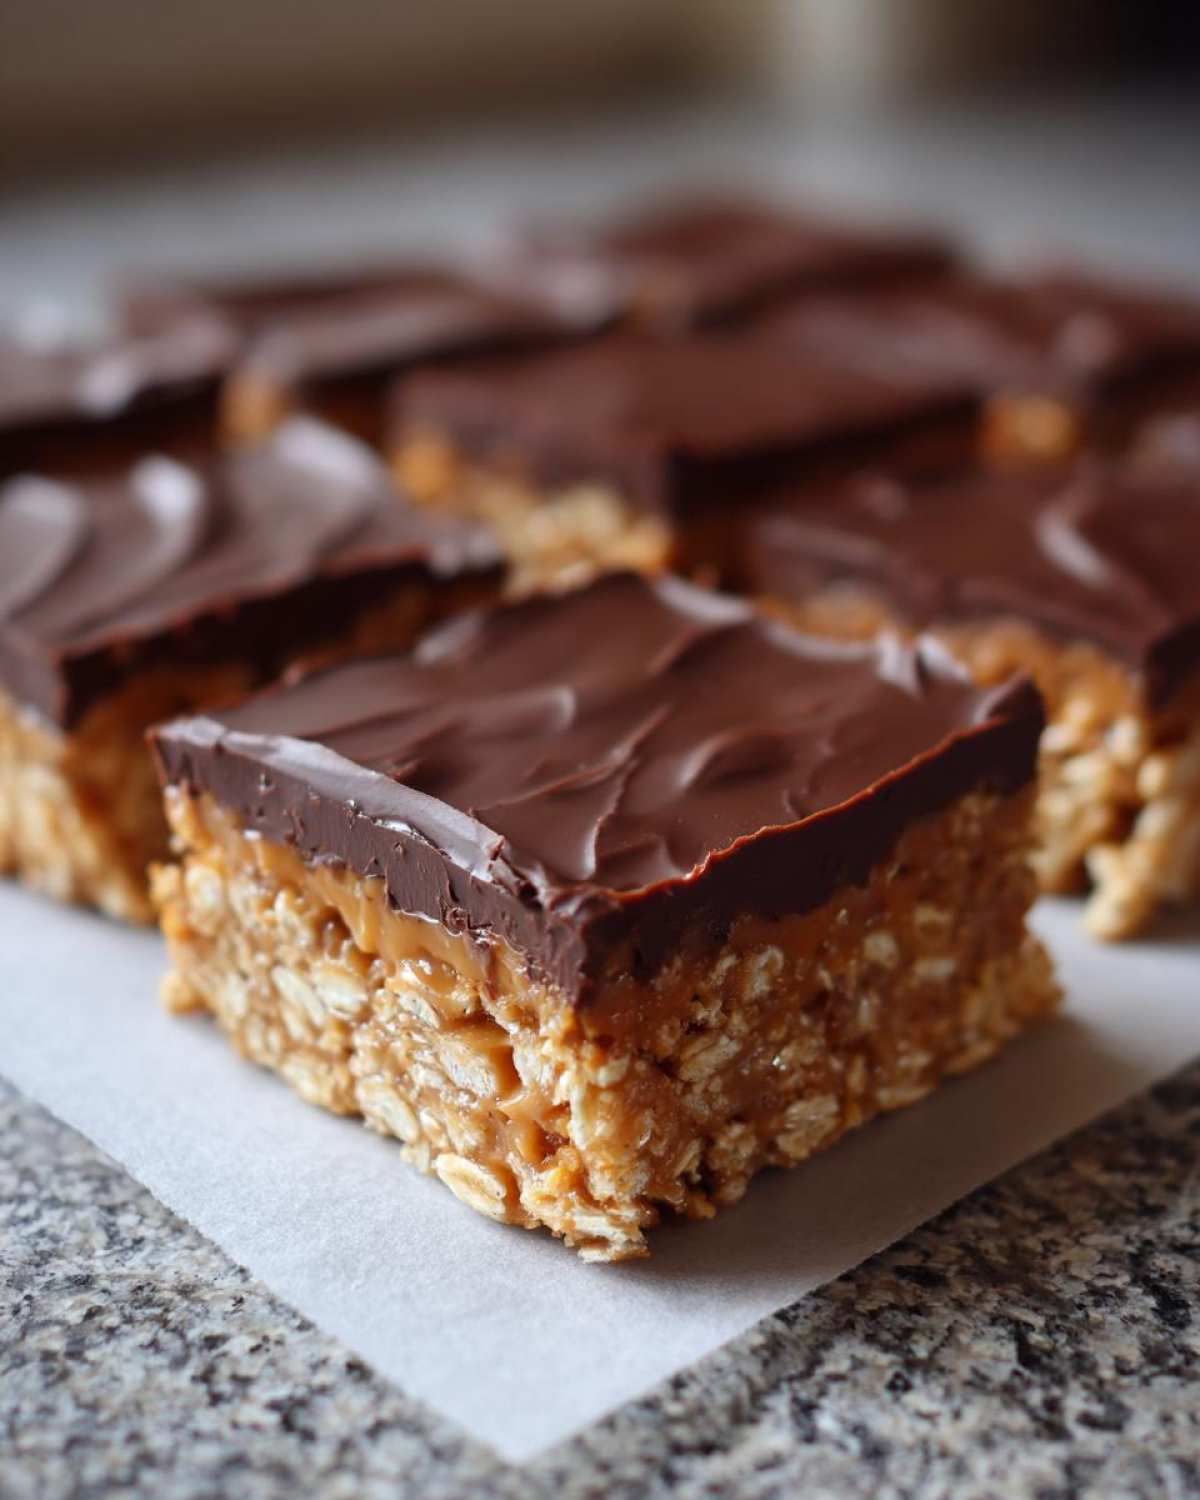
Why You Need These No-Bake Chocolate Peanut Butter Oat Bars Today
Listen, there’s no excuse not to make these right now! If I could give you one recipe for instant gratification, it would be this one. We’re skipping the preheating, skipping the waiting, and diving straight into pure, delicious satisfaction. If you’re looking for no oven dessert recipes that deliver big flavor without the fuss, these are it.
- They are ridiculously fast to pull together. I mean, 15 minutes of work, tops!
- That perfect combination of chewy oats, creamy peanut butter, and that snap of chocolate on top? Perfection.
- They are the ultimate simple grab and go snack bars for busy mornings or late-night cravings.
- Seriously, they taste like something you’d pay way too much for at that fancy local bakery.
Essential Ingredients for Perfect No-Bake Chocolate Peanut Butter Oat Bars
You only need a handful of simple things for these bars, which is why I love keeping the ingredients on hand all the time. We aren’t messing around with complicated extracts or specialty flours here! For the base, we start with one cup of good old-fashioned **rolled oats**. Don’t grab the instant stuff; we need that hearty, chewy texture that only the rolled kind provides.
The gooey magic comes from one cup of smooth, **creamy peanut butter**—and yes, you *must* use creamy here, or the texture gets all weird and chunky in the base! Then we bind it all together with a quarter cup of melted, unsalted butter and just a splash of vanilla extract. Oh, and powdered sugar whisked in there for sweetness, obviously! For the top layer, you’ll want semi-sweet chocolate chips combined with just a tiny bit of coconut oil. That oil is a game-changer; it helps the chocolate set up beautifully and gives it that nice clean snap, making them proper two layer chocolate peanut butter bars.
Ingredient Notes and Simple Substitutions
Now, if you have dietary concerns, don’t stress! This recipe is surprisingly flexible. If you need these to be certified gluten-free, just make sure you buy **gluten free no bake oat bars options**—certified gluten-free rolled oats are easy to find these days. If someone has a peanut allergy, I’ve successfully swapped the peanut butter for smooth almond butter or even sunflower seed butter in a pinch. Just remember that sunflower butter can sometimes be a bit runnier, so you might need to chill the base a little longer before topping it!
Step-by-Step Guide to Making Chewy No Bake Oat Bars
Okay, this is where the magic really happens! Remember, we don’t need an oven, but we do need a little bit of patience while things chill out—trust me, that chilling time is non-negotiable if you want clean cuts. Pull out that 8×8 pan right away! Line it with parchment paper, making sure those little overhang handles are sticking up high on two sides. This parchment sling is your best friend when it comes time to lift these beauties out later. These are going to be the most fantastic chewy no bake oat bars you’ve ever had, no baking required! If you are looking for more amazing baking tips and tricks, hop over to the main recipe blog page!
Preparing the Base Layer for Your No-Bake Chocolate Peanut Butter Oat Bars
First things first, get that base mixed up. Dump the oats, peanut butter, powdered sugar, melted butter, and vanilla into one big bowl. Now, grab a spatula and mix until your arm gets tired! You want everything completely homogenous—no dry pockets of sugar hiding anywhere. Once it looks like thick, delicious cookie dough, move it to your prepared pan. This step is important: use the bottom of a sturdy glass or a flat spatula and press that mixture down *hard*. Compact it right into the corners. The firmer you press it now, the better it will hold its shape when you slice it into those perfect two layer chocolate peanut butter bars later on.
Creating the Rich Chocolate Topping
While the base is settled in, let’s deal with the luscious topping. You’ll melt the chocolate chips with that tablespoon of coconut oil in a microwave-safe bowl. I always do the chocolate in quick 30-second blasts, stirring really well in between each zapping session. Don’t walk away! Chocolate burns faster than you can blink! The coconut oil is critical here because it helps the chocolate melt smoothly, and when it hits the cold base, it sets up super firm. You want this chocolate layer to be smooth and even. Pour it right over your pressed oat base and use an offset spatula to gently guide it all the way to the edges. You don’t want any of that peanut butter base peeking through!
Setting and Cutting Your No-Bake Chocolate Peanut Butter Oat Bars
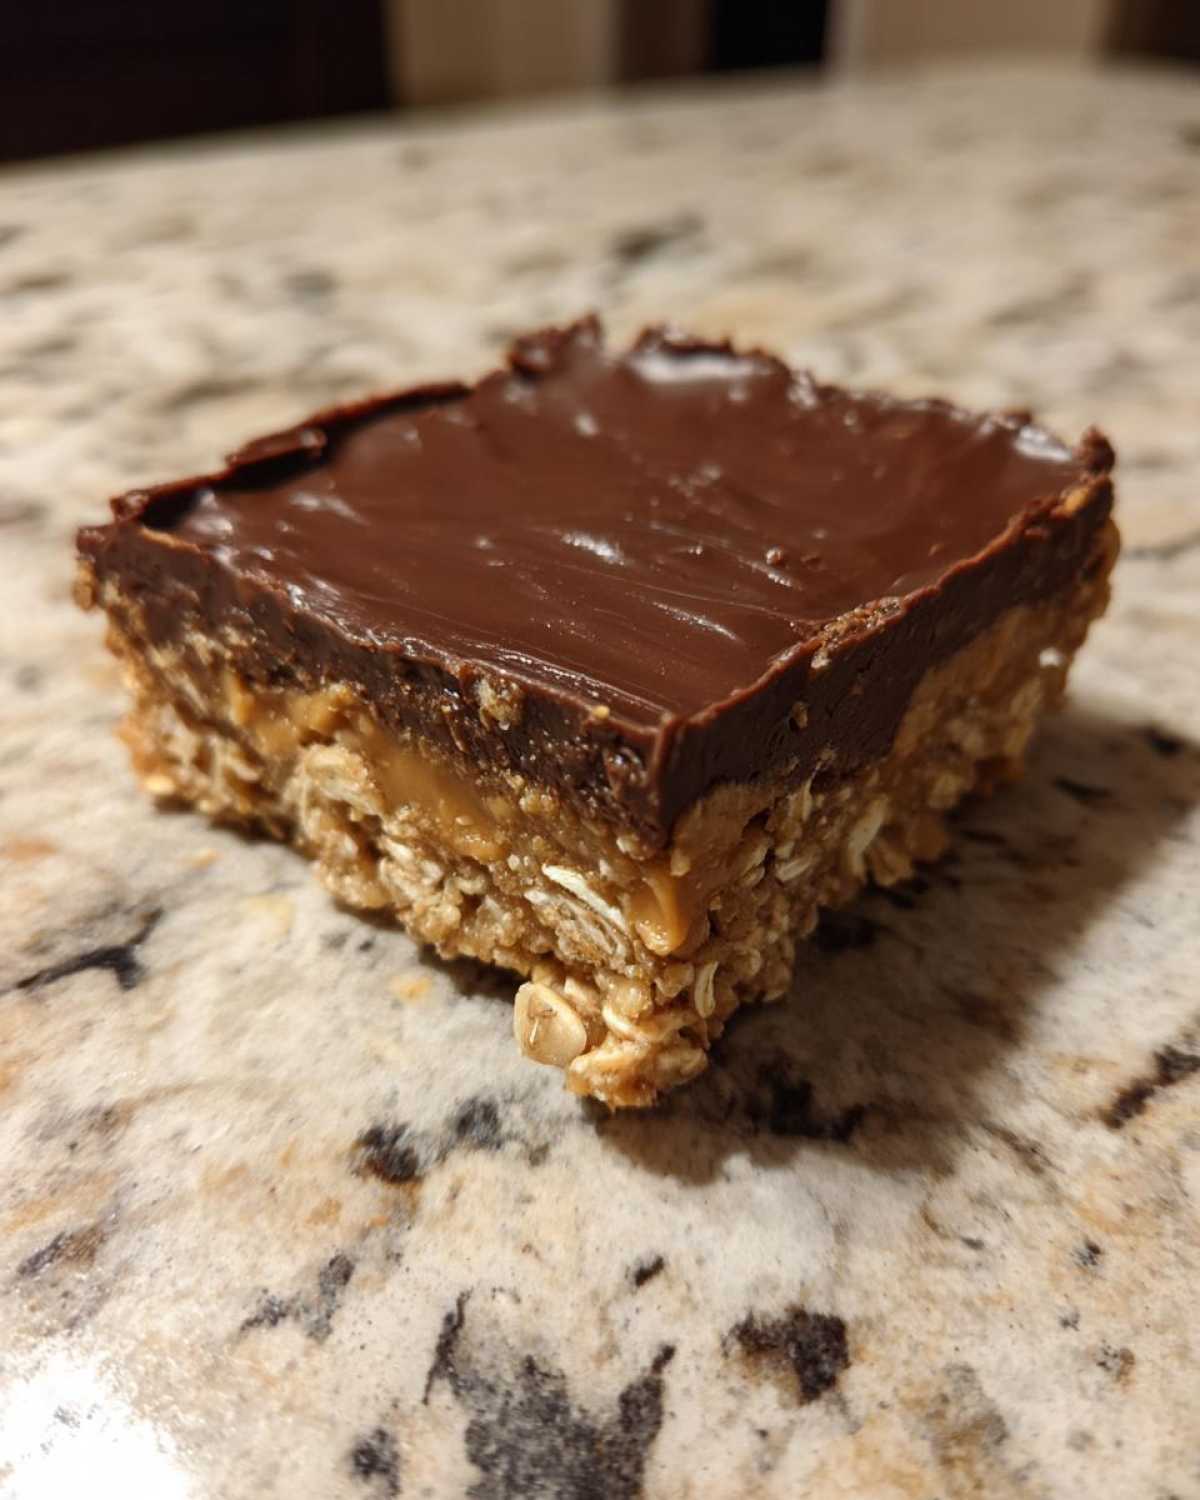
Alright, we are so close! Right now, you have a beautiful, gooey, chocolate-topped creation in your pan, but if you try to cut it now, you’re just going to get chocolate smears and a crumbled oat mess. Trust me, I’ve learned this the hard way!
The absolute most crucial step for getting those perfect squares is the chilling time. You need to get these bars into the refrigerator for a solid minimum of two hours. If you’re impatient—and who isn’t when peanut butter is involved?—four hours is even better. This slow chill is what allows the coconut oil in the chocolate top to firm up completely, and it helps the peanut butter base solidify enough so it doesn’t fall apart when you slice it.
Once they are thoroughly chilled and the chocolate top is firm to the touch—like a proper fudge layer—it’s time to cut! Remember those parchment paper handles we left sticking up? Grab both sides gently and lift the entire block of bars right out of the pan and onto a cutting board. That makes your life about a million times easier!
For the cleanest cuts, I use a large, sharp knife. Don’t saw at these bars! If the chocolate topping is super hard, you might need to quickly dip your knife in hot water and wipe it dry between a couple of cuts. That little bit of heat melts the chocolate just enough to glide through without cracking. Once you have your template lines marked, slice straight down to get 16 beautiful squares. If you cut them into squares right after chilling, they hold their shape perfectly and look so professional!
Tips for Success with Easy No Bake Peanut Butter Bars
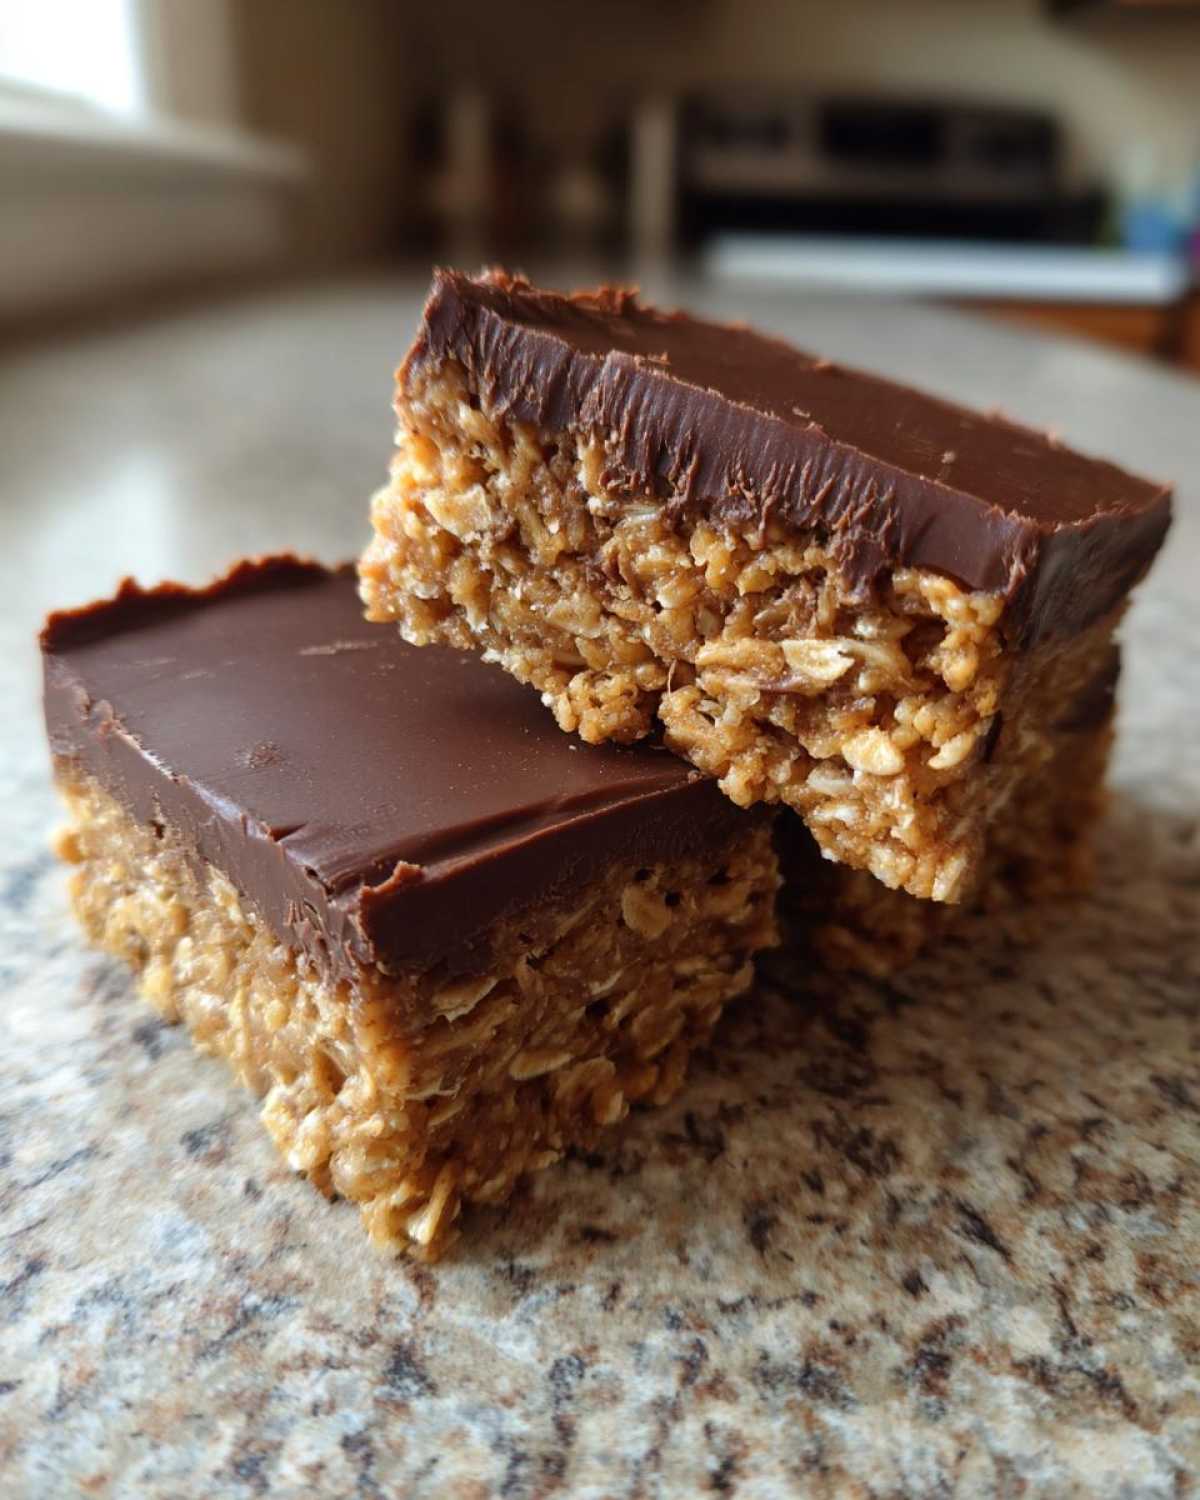
Even though these treats are super basic, a couple of little tricks I’ve learned over the years can take them from good to absolutely perfect! First off, let your peanut butter sit out for just 15 minutes before you start mixing the base. If it’s rock hard straight from the fridge, it won’t blend smoothly with the powdered sugar and the melted butter—you want that smooth, pliable texture so you don’t have to overwork the batter.
My next big tip for making these Easy no bake peanut butter bars is about that melted butter. Don’t let it get hot! If you melt the butter and then let it cool down just slightly so it’s warm to the touch, it incorporates so much better into the dry ingredients than if it’s scalding hot—it prevents the oats from getting soggy too fast.
Also, if you want to add a little salt kick to balance out all that sugar and chocolate, throw about a quarter teaspoon of flaky sea salt into the chocolate coating right before you spread it on. It makes the whole bar taste richer! For another fun chocolate pairing, check out my recipe for the Layered Peanut Butter Chocolate Dessert Dip—totally different technique, same amazing flavor profile!
Storage and Make Ahead Dessert Bars Instructions
This is one of the main reasons I love making these so much: they are absolutely fantastic for planning ahead! If you need a dessert ready for a party on Saturday, you can easily whip these up on Thursday night because they are truly wonderful make ahead dessert bars.
Once you’ve cut them into those beautiful squares we talked about, you need to store them correctly to keep that peanut butter layer wonderfully chewy and the chocolate top snappy. Don’t leave them sitting out on the counter uncovered, or they’ll get a little sweaty and soft, especially if your kitchen is warm.
The trick is an airtight container. Make sure those squares are stacked with little pieces of wax or parchment paper between the layers. This stops the chocolate coating of one bar from sticking to the oat base of the bar above it—we want clean squares, remember?
Keep them tucked away in the refrigerator. I know we usually store cookies in jars, but these peanut butter treats are happiest when they are cool. If you keep them sealed up tight, they stay fresh and delicious for up to a full week. Honestly, they usually don’t last that long in my house, but it’s good to know you have that built-in freshness window!
Serving Suggestions for Your Quick Chocolate Oat Squares Recipe
These bars are intensely satisfying all on their own, but sometimes you want to dress them up a little, or maybe you need something to cut through that richness. Since these are perfect Quick chocolate oat squares recipe, they pair beautifully with simple things because they are already so dense and flavorful.
If you’re enjoying these as an afternoon snack, you absolutely cannot beat them next to a steaming mug of coffee. The slight bitterness of the coffee is a wonderful contrast to the sweet peanut butter and chocolate. If you’re serving these to the kids (and trust me, they will devour them!), a tall glass of cold milk is the only way to go. That classic combo never fails!
For a slightly healthier, fresher option that lightens up the richness, try serving one square alongside a small handful of fresh berries—strawberries or raspberries work wonders because their tartness cuts right through the fat. They are wonderful served slightly chilled, straight from the fridge. If you want another boost of dark chocolate flavor in your day, I highly recommend checking out my recipe for a Dark Chocolate Mint Breakfast Smoothie!
Frequently Asked Questions About No-Bake Chocolate Peanut Butter Oat Bars
I get so many wonderful messages about these bars! People ask me about substitutions all the time, and some folks even run into tiny little setbacks along the way. Don’t worry if your first batch isn’t perfect; baking without an oven requires a slightly different touch sometimes. Here are some of the most common things readers ask me about when they are trying to master these Easy no bake peanut butter bars.
Can I make these peanut butter fudge oats bars vegan?
Oh yes, absolutely! You can easily pivot these to be completely plant-based, and they still turn out wonderfully. The main swaps you need to worry about are the butter and the chocolate chips. For the butter, just use a good quality vegan butter substitute—make sure it’s one that’s firm when cool, not soft margarine spread. For the chocolate chips, grab any store-bought brand that labels itself as vegan (most semi-sweet chips are accidentally vegan, but always double-check the label!). If you want thicker fudge oats bars, just follow that note in the recipe about adding a little extra chocolate and coconut oil!
My base layer is too crumbly. What went wrong?
This is usually a sign that the base didn’t have quite enough binder, or maybe your peanut butter was super dry and stiff right out of the jar. When you mix up the base, it should feel like thick dough that definitely holds its shape when you squeeze a bit between your fingers. If yours was crumbly straight into the pan, you might have unintentionally under-measured the peanut butter or the melted butter slightly. Unfortunately, once it’s mixed, it’s hard to fix completely, but here’s a little trick: If you notice it happening *while* you’re mixing, add one extra tablespoon of warm peanut butter at a time until it starts clinging together better. Next time, remember to check the temperature of your peanut butter!
Are these a healthy no bake energy bites alternative?
That’s a great question, and I want to be honest with you! While these bars contain wholesome ingredients like oats, they are definitely more of a satisfying treat than a strict health food. Think of them as an upgrade from a candy bar, not a replacement for your post-workout shake. The powdered sugar and the amount of peanut butter push these into the dessert category, which is totally fine because we deserve delicious things! But hey, the oats give you a good serving of fiber and those oats do make them feel substantial, so they are great fuel for a busy afternoon—just maybe not for every single day if you’re watching your sugar intake. They are certainly much better than a highly processed snack bar you grab at the gas station!
Nutritional Estimate for Chocolate Peanut Butter Refrigerator Desserts
You know, sometimes even when we’re making an easy, decadent treat, we still wonder what exactly we’re diving into! Since these chocolate peanut butter refrigerator desserts are so rich and satisfying, I always get curious about the breakdown. Now, please remember this is just an estimate based on the standard ingredients I listed—like using creamy peanut butter and semi-sweet chips—so your mileage might vary slightly based on what brands you choose.
But generally speaking, when you cut this recipe into 16 bars, you’re looking at something pretty substantial for a treat. Each bar clocks in around 195 calories, which feels pretty fair for the amount of peanut butter and chocolate packed into that chewy oat base. You’re getting about 13 grams of total fat per bar, which gives them that wonderful mouthfeel that keeps you full until dinner time!
For the macros, we’re looking at roughly 17 grams of carbohydrates, with about 12 of those coming from sugar—again, that’s the natural sweetness from the peanut butter and the sugar we added for binding. Protein sits around 5 grams, thanks to those wonderful oats and the peanut butter helping to hold everything together. They do have about 1 gram of fiber, which is a nice little bonus from the oats.
I always like to share these rough numbers just so readers are informed, but honestly, I don’t sweat the details too much when it comes to simple recipes like this! If you want to dive deeper into the specifics of ingredients and potential dietary impacts, you can always read my full site disclaimer regarding nutritional information.
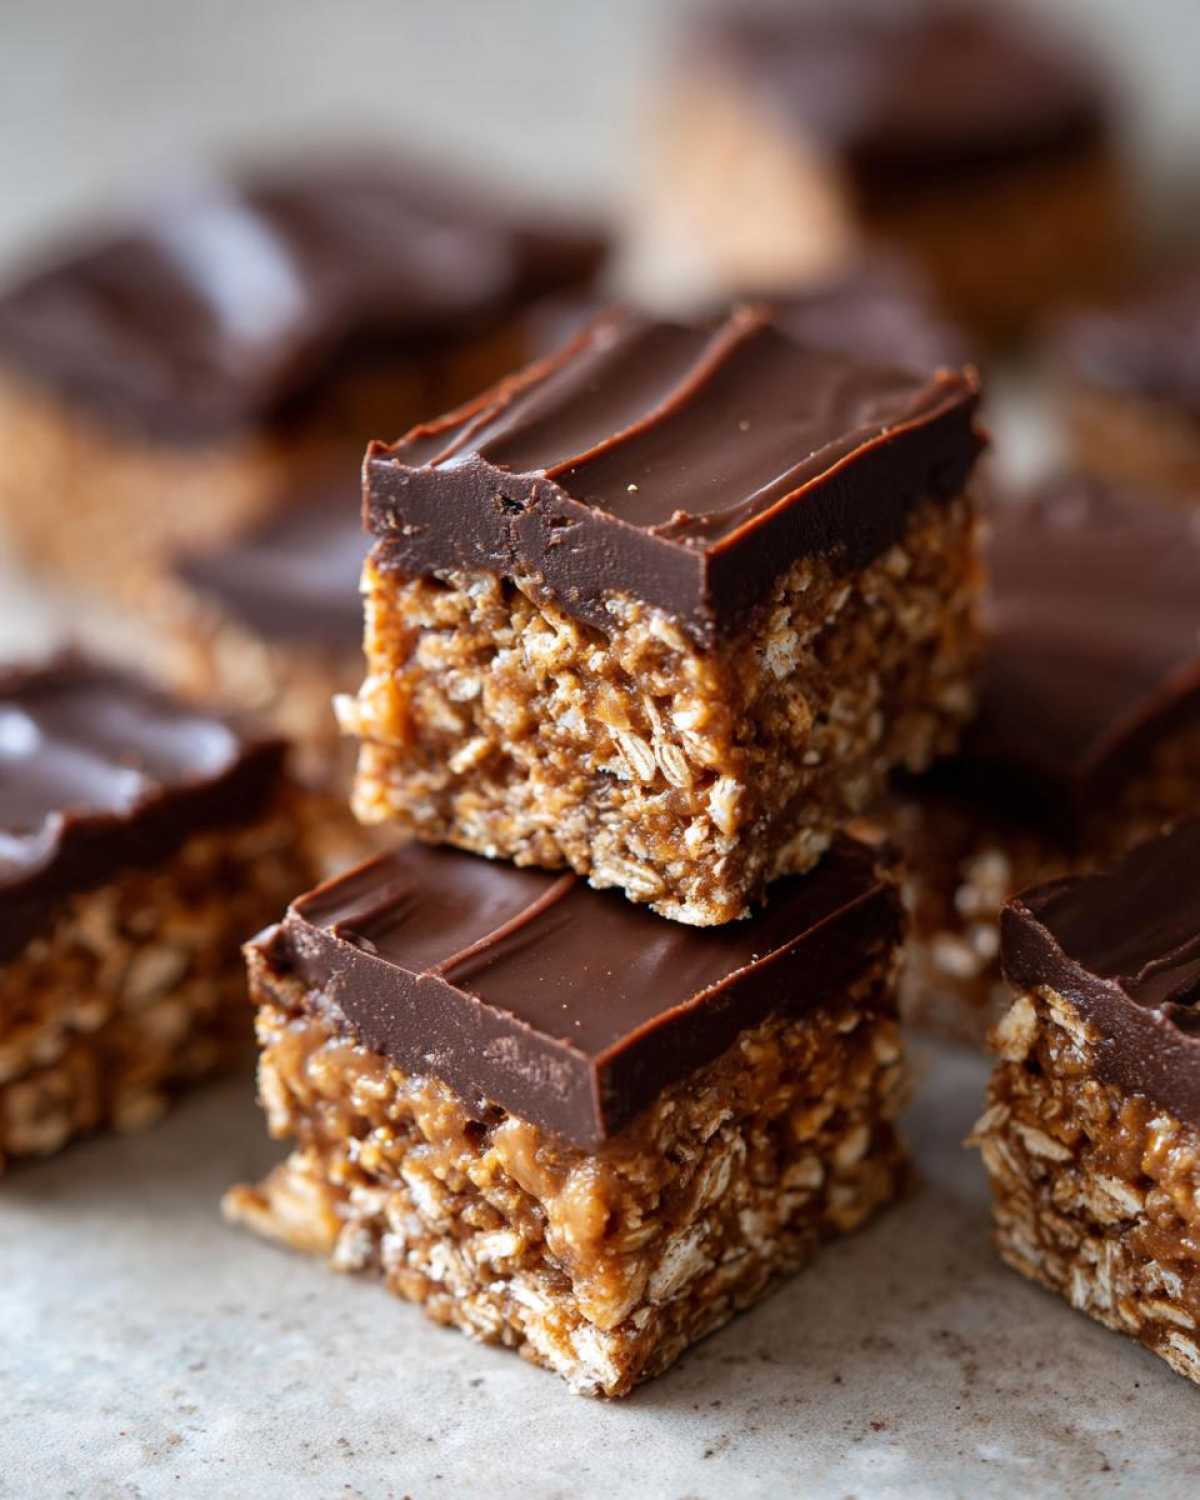
Share Your Favorite No Bake Treats with Peanut Butter
Well, that’s it! We’ve made it through the whole process, and now you have these incredible, rich, and chewy bars chilling in your fridge. I really hope you dive in and try these No-Bake Chocolate Peanut Butter Oat Bars this week. They are truly my go-to when I need a dependable homemade treat that doesn’t require turning on the stove for more than five minutes!
I am always so excited to hear what you all think! Did you make them for a kid’s lunchbox? Did you sneak one (or three!) right after you cut them? Please, please, please let me know how they turned out for you. Down below, you can drop a rating using the five stars—it helps me know which of my favorite recipes are hitting the spot for you!
Also, if you decided to try a fun variation—maybe you used dark chocolate, or perhaps you tried that sunflower butter substitution—I want to hear about it! Sharing those little tweaks helps the whole community bake better and smarter. Don’t be shy about leaving your tips in the comments!
If you have any general questions about this recipe, storage, or anything else baking related, feel free to reach out to me directly through my contact page. Happy baking (or, well, happy *no-baking*)!
PrintNo-Bake Chocolate Peanut Butter Oat Bars
Make simple, chewy no-bake bars featuring oats, peanut butter, and a rich chocolate topping. These require no oven time.
- Prep Time: 15 min
- Cook Time: 0 min
- Total Time: 2 hr 15 min
- Yield: 16 bars
- Category: Dessert
- Method: No-Bake
- Cuisine: American
- Diet: Vegetarian
Ingredients
- 1 cup rolled oats
- 1 cup creamy peanut butter
- 1/2 cup powdered sugar
- 1/4 cup unsalted butter, melted
- 1 teaspoon vanilla extract
- 1/2 cup semi-sweet chocolate chips
- 1 tablespoon coconut oil
Instructions
- Line an 8×8 inch baking pan with parchment paper, leaving an overhang on two sides for easy removal.
- In a medium bowl, combine the rolled oats, peanut butter, powdered sugar, melted butter, and vanilla extract. Mix well until everything is evenly incorporated and the mixture holds together when pressed.
- Press the oat mixture firmly and evenly into the prepared pan. Use the bottom of a glass or a spatula to compact it.
- In a separate small, microwave-safe bowl, combine the chocolate chips and coconut oil. Microwave in 30-second intervals, stirring between each, until the chocolate is smooth.
- Pour the melted chocolate mixture over the oat base. Spread it evenly across the top layer.
- Refrigerate the bars for at least 2 hours, or until the chocolate topping is completely firm.
- Use the parchment paper overhang to lift the bars from the pan. Cut into 16 squares before serving.
Notes
- For a gluten-free option, use certified gluten-free rolled oats.
- You can substitute creamy peanut butter with almond butter or sunflower seed butter if needed.
- Store leftovers in an airtight container in the refrigerator for up to one week.
- If you prefer a thicker chocolate layer, increase the chocolate chips and coconut oil to 3/4 cup and 2 tablespoons, respectively.
Nutrition
- Serving Size: 1 bar
- Calories: 195
- Sugar: 12
- Sodium: 75
- Fat: 13
- Saturated Fat: 4
- Unsaturated Fat: 9
- Trans Fat: 0
- Carbohydrates: 17
- Fiber: 1
- Protein: 5
- Cholesterol: 5