

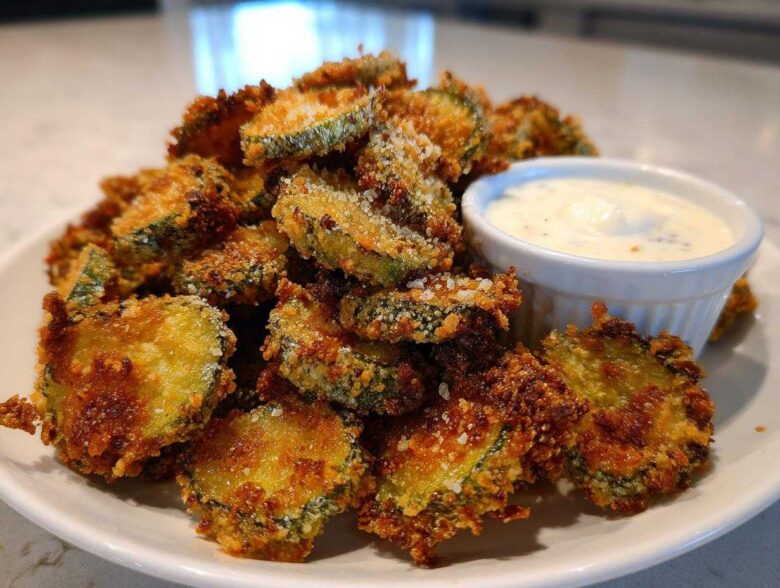
Doesn’t that sudden craving hit you hard sometimes? You know the one—you need something salty, something tangy, and absolutely, positively, mouth-wateringly crispy. For me, that’s always been Fried Pickles. Hana and I used to scour the menus for the best pub style fried pickles, but honestly, nothing beats making them fresh in our own kitchen. I spent weeks testing the seasoning mix, trying to nail that perfect blend of spices that makes them pop without overpowering that signature dill flavor. Trust me, this recipe delivers restaurant quality crunch right to your table. And because we know everyone has different kitchen setups, we even worked out the kinks for both the classic deep-fried version and a fantastic, lighter approach using the air fryer! You can read more about our kitchen philosophy over at our story.
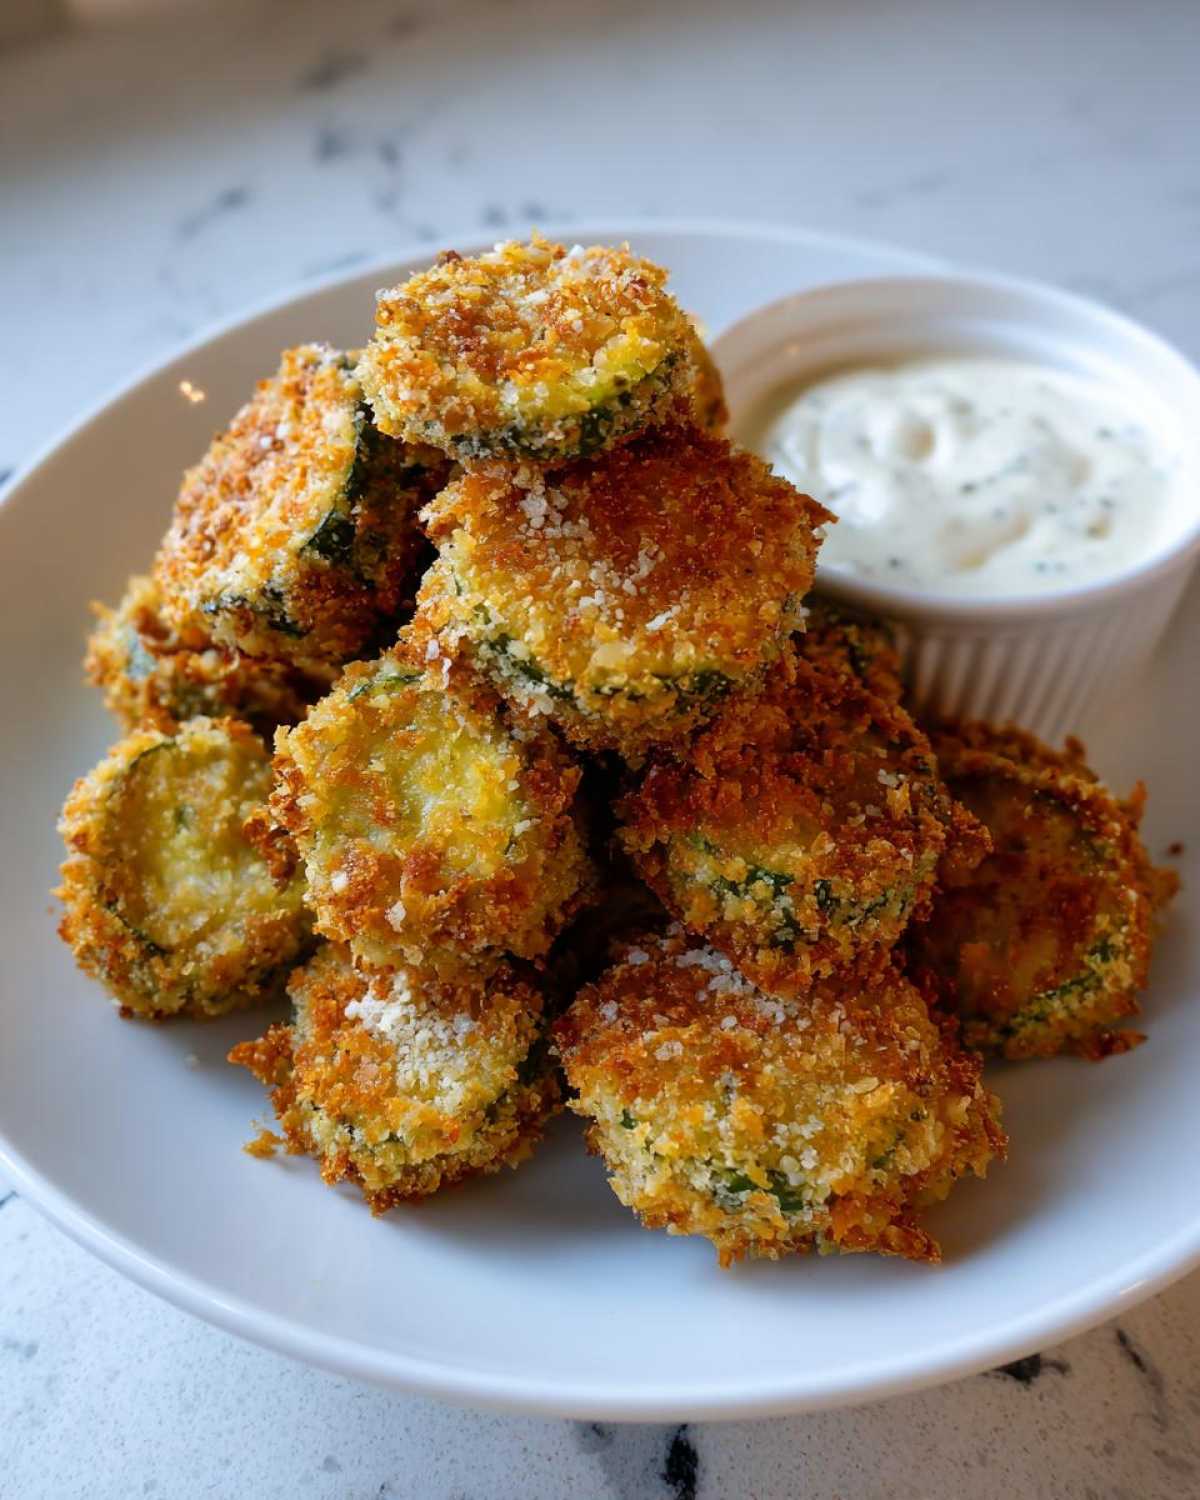
Why You Will Make These Crispy Fried Pickles Again and Again
When I finally nailed the technique for these, Hana told me I had to put them in the main rotation immediately. And she was right! We’re talking about the Best Fried Pickles Appetizer you’ve ever tasted. Here’s why you’re going to love this Easy Fried Pickle Recipe:
- Absolute crunch factor: Thanks to the panko and the drying step, these are the Crispy Fried Pickles you dream about.
- Perfectly balanced tang: The seasoning mix hits that salty-sour note without being overwhelming.
- Speedy satisfaction: Prep time is only 15 minutes, so you can have these hot Tangy Pickle Snacks ready fast!
Gathering Ingredients for the Best Fried Pickles Appetizer
Okay, this is where we set ourselves up for success. When I was first developing this recipe, the absolute biggest problem was soggy results. That’s why the very first step in the instructions (which we cover in detail next) is making sure those pickles are bone dry. Moisture is the enemy of crisp when it comes to perfect Fried Pickles. But once you have your pickles prepped, grabbing your ingredients is quick. Since we’re aiming for that incredible crunch, make sure you spring for the Panko breadcrumbs—they are the secret weapon for getting those beautiful, jagged edges.
If you want to explore other ways to snack on tangy flavors, check out our recipe for Dill Pickle Seasoned Popcorn—it scratches a similar itch!
For the Crunchy Pickle Coating and Seasoning
This is your dredging station setup! You need three bowls lined up in this order: flour, egg wash, panko. It’s a rhythm you’ll get into instantly.
- 1 (16 ounce) jar dill pickle chips, drained well
- 1 cup all-purpose flour
- 1 teaspoon salt
- 1 teaspoon black pepper
- 1 teaspoon garlic powder
- 1 teaspoon paprika
- 1/2 teaspoon cayenne pepper (optional, for that subtle kick)
- 2 large eggs
- 1/2 cup milk
- 1 cup panko breadcrumbs (This is what gives you those amazing Crunchy Pickle Chips!)
For the Zesty Fried Pickle Dipping Sauce
You absolutely cannot serve deep-fried or air-fried treats without a dipping sauce, it just feels wrong! This sauce is super simple, creamy, and has just enough zip to balance the tang of the pickle. It pairs perfectly with your Fried Pickles.
- 1/2 cup ranch dressing (use your favorite brand!)
- 1 teaspoon hot sauce
- 1/2 teaspoon lemon juice
Step-by-Step Instructions for Perfect Fried Pickles
Now we get to the fun part! This whole process, from getting out the bowls to the first perfect bite, takes about 25 minutes total—we’re talking 15 minutes of prep time and maybe only 10 minutes of active cooking time. It’s unbelievably fast for such a show-stopping appetizer. Remember, whether you’re deep frying or air frying, the steps leading up to the cooking really matter for achieving those legendary Golden Fried Pickles.
Crucial Preparation: Drying the Pickles
Listen up, because this is the single most important thing you can do to make your Fried Pickles crispy! We have to get rid of every bit of surface moisture clinging to those dill chips. Take your drained pickles and spread them out on a few layers of paper towels. Then, you need to press down firmly—I mean really press!—with more paper towels on top. If you skip this, I promise, your coating will turn into soggy mush the minute it hits the heat. Moisture is the absolute enemy of Crispy Fried Pickles.
Setting Up the Dredging Stations
Once the pickles are dry, it’s assembly line time. Setting up your dredging stations in order is key for efficiency. You want three bowls ready to go. First bowl is your seasoned flour mix—that’s where all the flavor lives! Second bowl is your egg and milk wash, which acts like the glue. The final bowl is for the panko breadcrumbs. Dip those dried pickle chips first into the flour, covering them completely, then into the egg, letting the excess drip off. The final step is pressing them firmly into the panko. Don’t just toss them—really press that crunchy coating on so it sticks through the entire cooking process!
Cooking Method 1: Classic Deep Fried Pickles
If you’re aiming for that classic, pub-style bite, deep frying is the way to go. You’ll want about two inches of vegetable oil heated up in a heavy pot until it hits 375°F (190°C). Work in small batches here! If you overcrowd the pot, the oil temperature drops instantly, and you end up with oily, sad pickles instead of Deep Fried Pickles. Drop them in carefully and let them fry for just one to two minutes until they are perfectly golden brown. When they come out, pull them out with a slotted spoon and place them on a wire rack over a baking sheet, not just paper towels. The rack lets air circulate beneath them, which keeps the bottoms from steaming and getting soft!
Cooking Method 2: Air Fryer Fried Pickles for a Lighter Snack
If you want a lighter approach to your Tangy Pickle Snacks, the air fryer is your best friend. Preheat it up to 390°F (199°C). You need to lightly spray your air fryer basket with cooking spray—don’t forget this, or they might stick! Arrange your breaded pickles in a single layer. If you pile them up, you won’t get that gorgeous crispness! Seriously, spray the tops of the coated pickles with a little more cooking spray, or they can dry out a bit. Cook these beauties for about 8 to 10 minutes total, but make sure you flip them halfway through so both sides get that lovely golden color. They crisp up amazingly well!
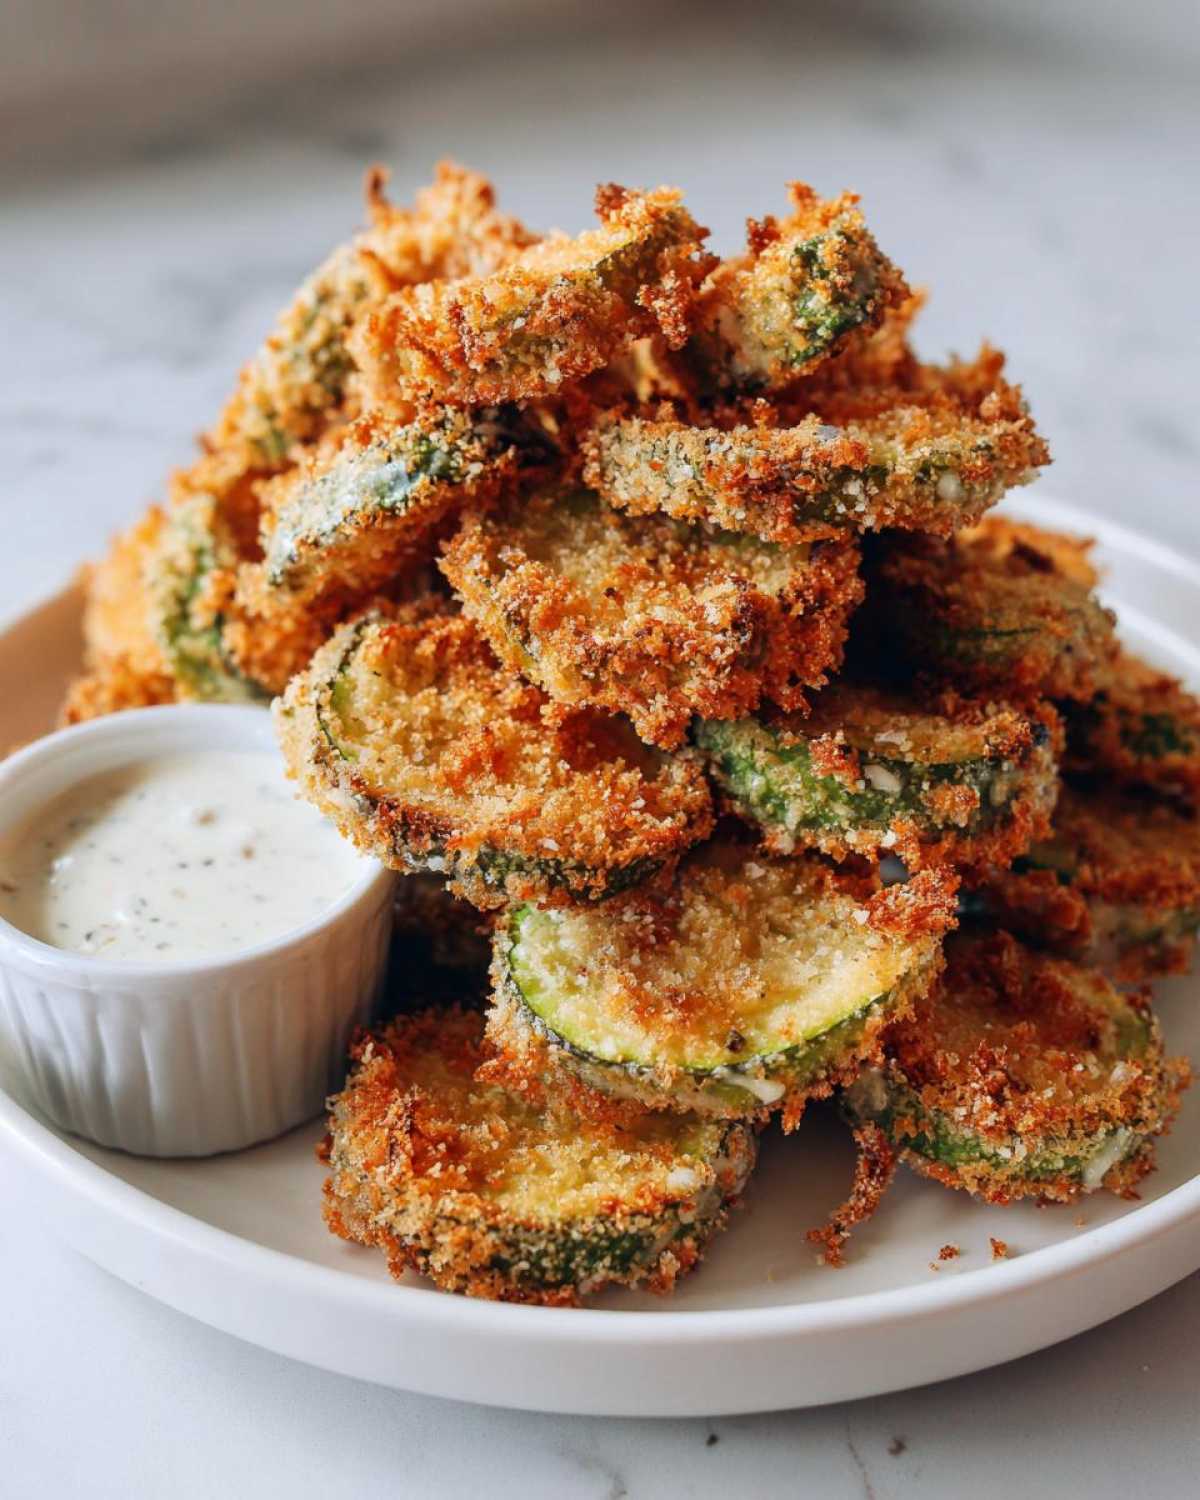
If you’re looking for other quick ideas for your next gathering, check out some of my other quick snack recipes!
Tips for Achieving Texas Roadhouse Fried Pickles Copycat Perfection
We all know that craving for those perfectly seasoned, tangy bites from the big chain restaurants, right? Making a true Texas Roadhouse Fried Pickles Copycat comes down to nailing that seasoning mix. I made sure to be heavy-handed with the paprika and garlic powder in the flour mixture—that’s where most of their signature flavor comes from. If you want to see how they do it across the web, this version online is worth a look: Texas Roadhouse Fried Pickles Copycat.
Now, if you’re making a huge batch for game day gatherings, you’re going to be frying a few rounds. Don’t just stack them on a plate! My favorite trick, which I pulled straight from my notes, is to place a wire rack over a baking sheet and put that sheet into a really low oven—about 200°F. Pop the finished pickles on the rack as they come out of the oil. This keeps them wonderfully warm and lets any extra oil drip away, ensuring your whole platter stays hot and crunchy while you finish the rest.
Also, don’t feel like you have to skip the flour dredge! We call that the crucial first layer that locks everything in. If you skip that initial coating, the panko just won’t adhere the way it needs to during the high heat!
If you’re looking for another intensely flavorful, cheesy appetizer to build out that spread, you have to try my Jalapeño Cheddar Million Dollar Dip. It’s ridiculously good.
Serving Suggestions for Your Tangy Pickle Snacks
The moment these Fried Pickles come out of the oil or the air fryer, you have to get them onto the table fast. These snacks disappear quicker than you can say “dill!” While the zesty ranch sauce we made earlier is my absolute go-to—it’s just the right creamy counterpoint—don’t feel like you have to stop there!
If you want to amp up the heat a bit, a spicy mayo works miracles. Just mix up some mayonnaise with a little sriracha or your favorite chili garlic sauce. Honestly, if you love the classic pairing, just serving a big bowl of your fresh Fried Pickle With Ranch is always a winner. Who can resist that combo?
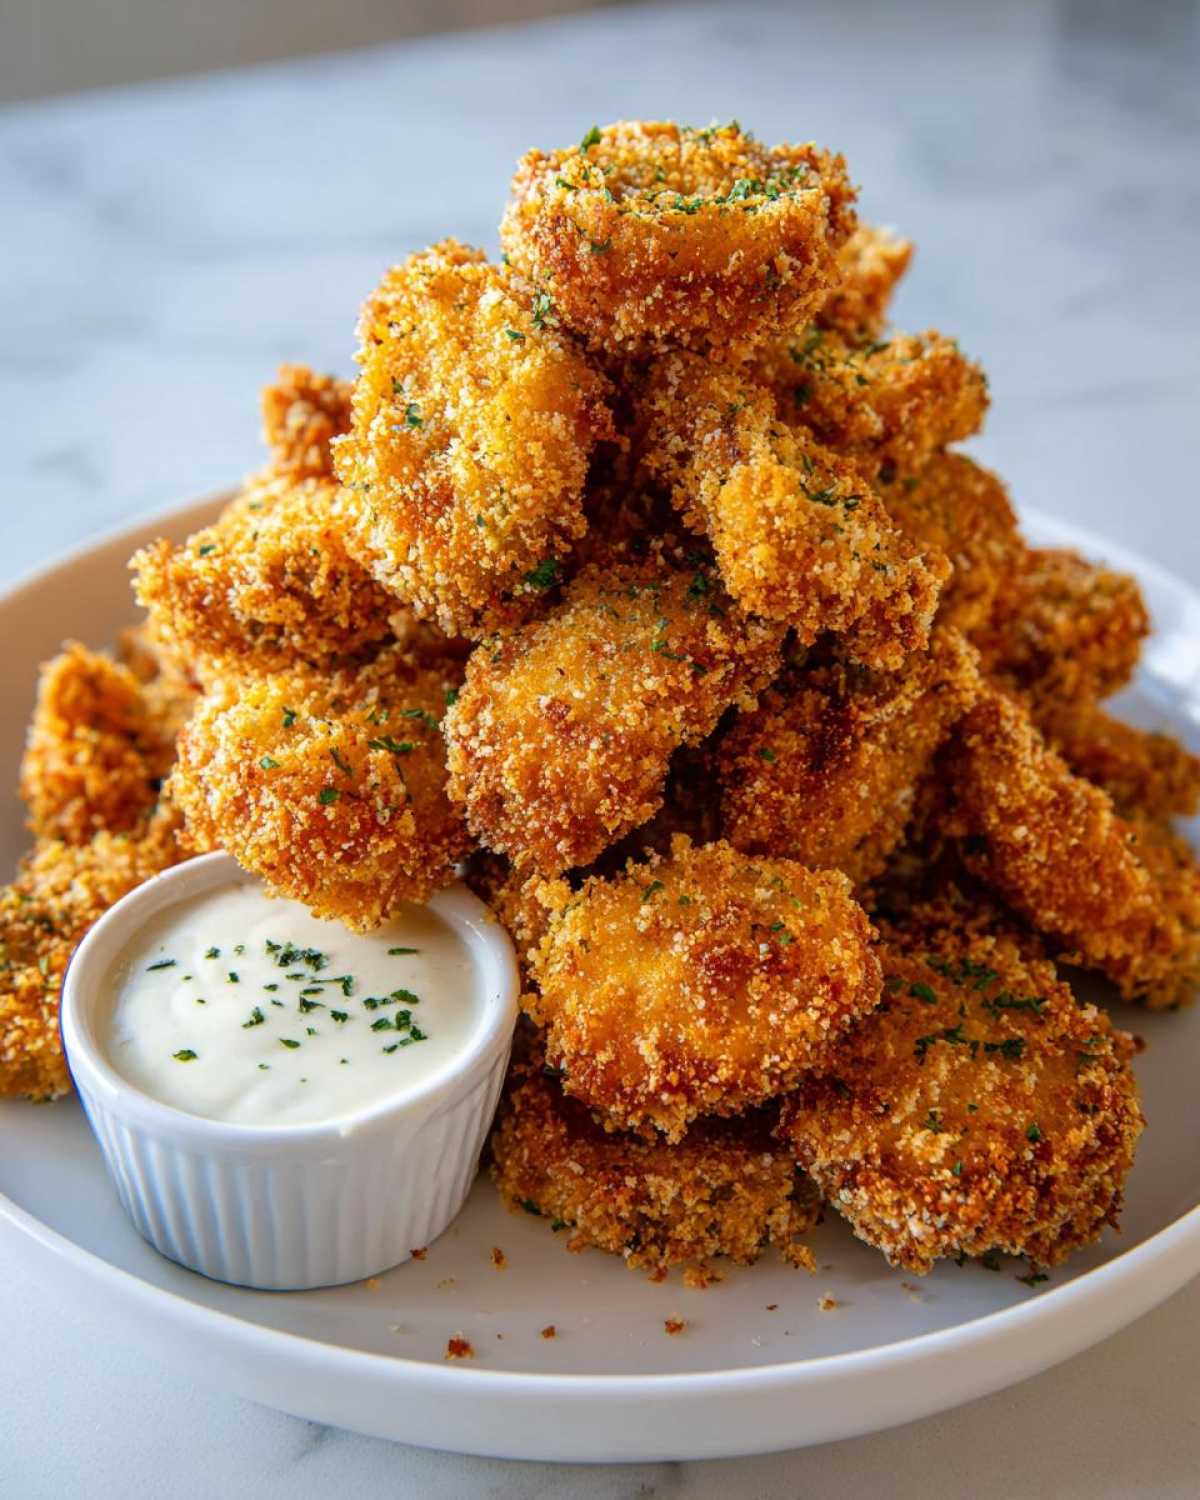
These are truly the ideal Game Day Fried Pickles. Seriously, set a big platter out during the big match, and they will be gone by halftime. They are perfect for grabbing between plays while you’re cheering. If you’re putting together a bigger spread for your gathering, you might want to make a batch of my sweet and salty trail mix to balance out the savory crunch!
The most important thing is that they are served while piping hot and crunchy. That immediate contrast between the hot, savory crust and that cold, sharp dill pickle center is what makes this appetizer legendary.
Storage and Reheating Instructions for Leftover Fried Pickles
Now, I’m going to be completely honest with you: these Fried Pickles are always, 100% better eaten the second they come out of the fryer or air fryer. That initial crunch? You just can’t replicate it the next day! Because of the pickle’s high water content, storing them in the fridge is risky; they tend to steam themselves into mushy sadness.
If you absolutely must store leftovers, make sure they are completely cool first. Pop them into a breathable container—not an airtight one—and keep them in the fridge for no more than a day. But here’s the real secret if you have any left over: reheating them is an absolute necessity if you want that crunch back.
The Best Way to Reheat for Maximum Crispness
Forget the microwave, please! It turns everything soft. We want to bring back that beautiful, golden texture we worked so hard for.
The air fryer is your best friend here. It’s fast and it dries out the coating just enough. Set your air fryer to about 375°F (190°C). Lay the cold pickles in a single layer in the basket. Give them just about 4 to 6 minutes, flipping them once halfway through. They’ll heat up fast and you’ll hear that satisfying little crackle when you pull them out!
If you don’t have an air fryer, the oven works well too. Spread them on a baking sheet and bake them at 400°F (200°C) for about 8 to 10 minutes. Keep an eye on them, because the panko breadcrumbs can go from perfect to burnt pretty quickly when you’re just reheating!
Troubleshooting Common Issues with Homemade Fried Pickles
Look, even for me—Noah, the guy who tests things probably ten times too many—things sometimes go sideways in the kitchen, especially when dealing with moisture-heavy ingredients like pickles! If your delicious Fried Pickles didn’t turn out exactly like the picture, don’t panic! Most issues are super easy to fix next time. When Hana and I first started messing around with these, we ran into a few classic problems, but we figured out the cheats to avoid them.
Here are the common trip-ups that can happen when making these Crunchy Pickle Chips, and the simple way to fix them:
Problem 1: The Breading Keeps Falling Off During Frying
This is the classic tell. You pull out a golden pickle, and the breading slides right off. Bummer! If your coating falls off, you 99% of the time skipped the flour dredge or, more likely, you didn’t press the panko firmly enough onto the egg wash. Think of the flour as the primer on a wall—it gives the egg something to stick to, and then the egg is the glue for the panko.
The Fix: Make sure you shake off the excess flour *completely* before dipping into the egg. Then, when you press those pickles into the panko, actually use your fingers to pat and press the breadcrumbs onto the surface. Don’t just gently roll them.
Problem 2: The Fried Pickles Taste Watery or Soggy
If you bite into one and it feels heavy and wet instead of light and crispy, that points straight back to Step One in our recipe—drying those pickles! Pickles are practically swimming in brine, and if you don’t wick that moisture away, it steams under your coating as the pickle heats up, turning everything soft.
The Fix: You need more paper towels! Lay them down, put the pickles out in a single layer, and use a second set of towels to press down hard. If you can, let them sit, patting them again after about five minutes. This step is non-negotiable for achieving that restaurant-style crispness.
Problem 3: The Breading Burned Before the Pickle Heated Through
This usually happens when you are deep frying. The outside is cooking much faster than the inside, and that usually means your oil is way too hot, or you are overcrowding the basket, causing the oil temperature to fluctuate wildly.
The Fix: Always trust your thermometer! For deep frying, stick right to 375°F (190°C). If you notice the coating browning too fast, immediately turn the heat down. For the air fryer, keep that temperature set to 390°F, but always work in single layers. If you pile them up, the middle pickles steam instead of crisping up properly.
If things go completely off the rails and you need some backup, don’t hesitate to reach out to us through our contact page. We’re always happy to troubleshoot an ingredient swap or a technique issue!
Frequently Asked Questions About Making Fried Pickles
I know you’re likely excited to get these in the fryer, but sometimes those little lingering questions pop up right before you start mixing everything. That’s totally normal! Hana and I always have questions, especially when we try a slight variation. We pulled together some of the most common things we hear about making the Best Fried Pickles Appetizer.
Can I use sweet pickles instead of dill pickles?
Oh, you can certainly try! These instructions are specifically written for dill pickle chips because we are going for that classic, tangy flavor profile that cuts through the richness of the fried coating. If you use sweet pickles, you’ll end up with a very delicious, but much sweeter, snack—almost like a fried bread-and-butter chip. Stick with dill for the true Dill Pickle Appetizer experience we talked about!
What is the ideal oil temperature for deep frying?
This is key, my friends! If the oil isn’t hot enough, those beautiful breaded pickles will just sit there soaking up oil instead of blistering up into crisp perfection. For the deep-fried method, you absolutely must aim for 375°F (190°C). If you notice the breading browning instantly upon hitting the oil, your temperature is probably too high. If it just sits there bubbling slowly, it’s too low. Getting that temperature dialed in is a big part of knowing How to Make Fried Pickles Crispy.
Can I prepare the breaded pickles ahead of time?
This is tricky, and my answer is a soft “no” for the best texture. Because the pickle chips are naturally wet, if you dredge them and let them sit for too long (say, more than 30 minutes), the moisture will start migrating through the flour and the Panko, making your coating wet before it even hits the heat. For the best Homemade Fried Pickles Recipe that comes out crunchy, I really advise setting up your dredging stations and cooking them right away. If you absolutely must prep ahead, try wrapping the dredged pickles loosely on a baking sheet in the fridge, but eat them within the hour for success.
What’s the difference between this recipe and Texas Roadhouse Fried Pickles Copycat?
Honestly, the main difference often comes down to the specific seasoning blend in the flour and what they serve them with! This recipe nails the spicy, savory profile you want for a true Texas Roadhouse Fried Pickles Copycat. We made sure our seasoning uses enough paprika and garlic powder, and we pair it with that zesty ranch, which is usually spot on for those pub favorites. Keep that spice blend generous, and you’ll be there!
If you want to read more general cooking tips and behind-the-scenes stuff, feel free to check out the rest of our Spoon Swirl Blog!
Nutritional Estimates for This Fried Pickle Recipe
When we’re making a batch of these incredible Fried Pickles for a party or game day—especially the deep-fried ones—I always get asked about the numbers. Look, these are a treat, right? They’re not an everyday green salad, and that’s totally okay! We believe in enjoying food with passion, and knowing what’s in your snack helps you plan the rest of your day. Please remember these figures are just estimates based on the ingredients we listed and the yield of four servings. For the most detailed breakdown, always check out our official recipe disclaimer page.
Here is a quick look at what you can expect from one serving of these phenomenal, perfectly crunchy bites:
- Serving Size: 1/4 of recipe (approx. 12 chips)
- Calories: 280
- Total Fat: 18g (Keep an eye on Saturated Fat at 3g!)
- Total Carbohydrates: 22g
- Protein: 6g
- Sugar: 3g
If you opt for the Air Fryer Fried Pickles method, those fat numbers will generally be lower, which is nice if you’re watching that intake but still craving that crispy goodness. Either way, they make for an addicting, savory snack!
Share Your Golden Fried Pickles Experience
Well, we’ve done it! We’ve gone from dry pickles to perfectly seasoned, crispy, golden-brown beauties. Whether you went for the deep fryer or chose the lighter air fryer route, I really hope you enjoyed the process as much as Hana and I enjoy ours every time we make a batch. Remember how I talked about how baking is our way of connecting and swirling the stress away? Making these Fried Pickles together is exactly that kind of connection moment!
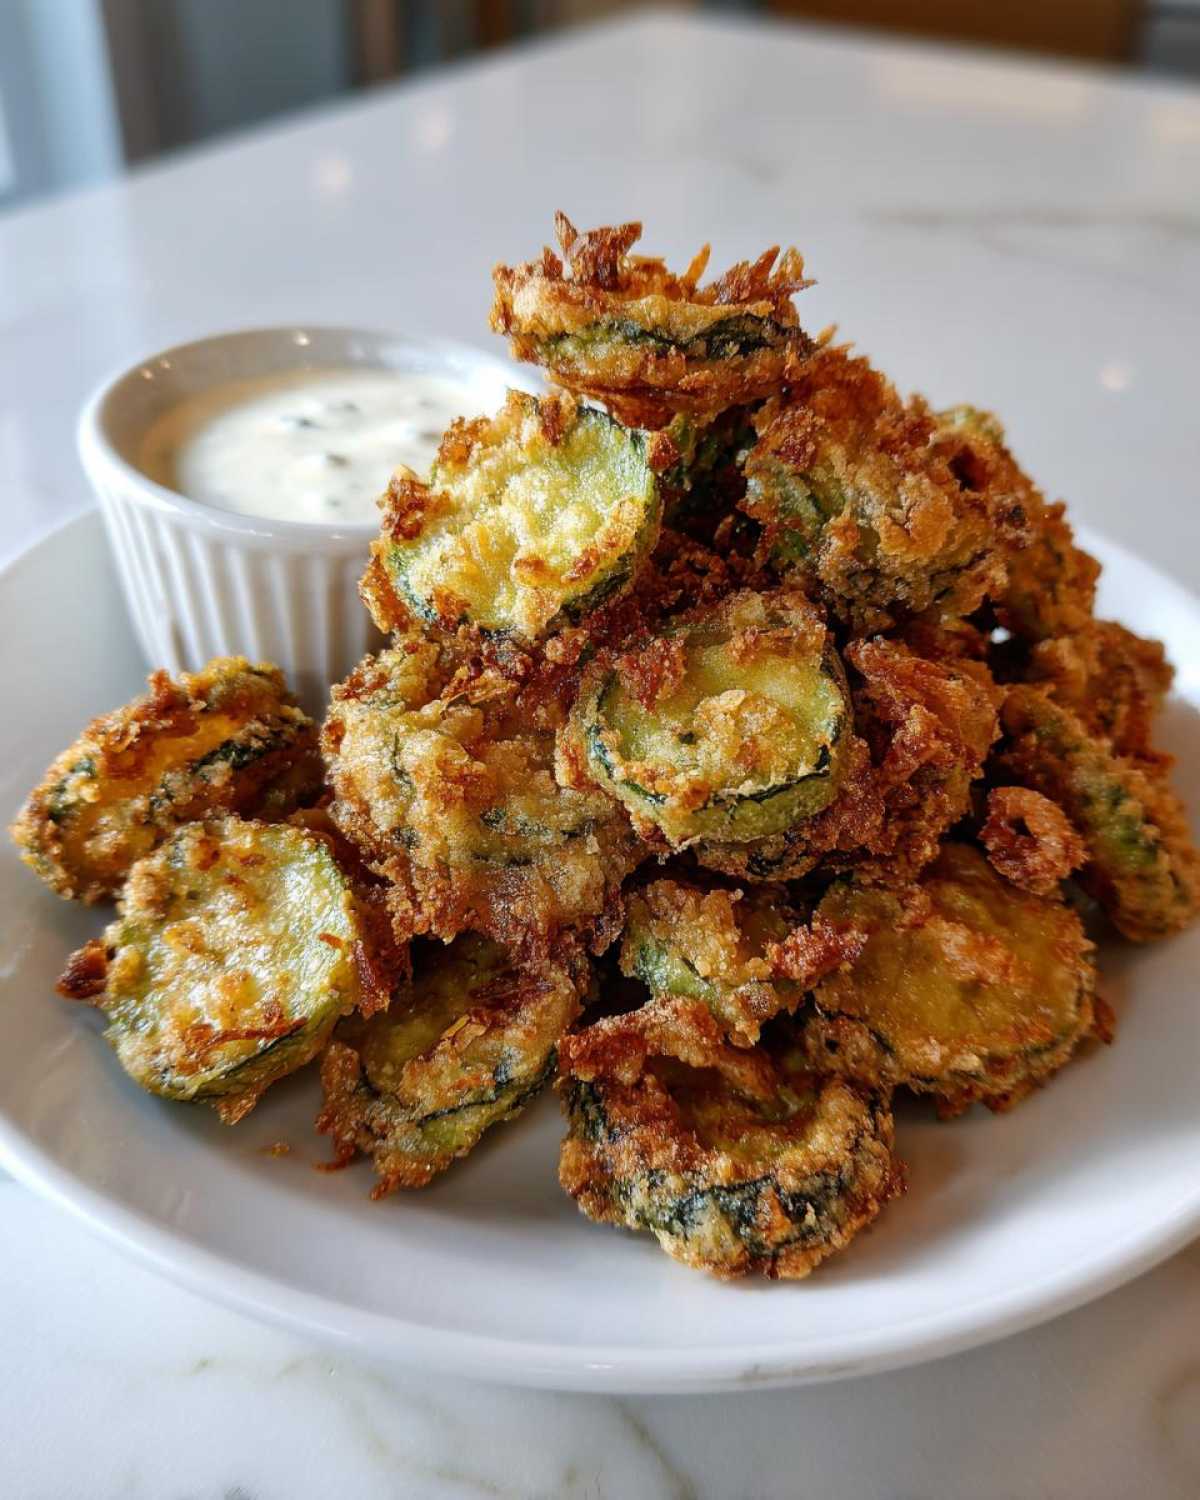
I really, genuinely want to know how they turned out for you! Did you manage to get that perfect Panko crunch we were aiming for? Did your zesty dipping sauce hit the spot?
Please take a minute to scroll down and hit that rating button—five stars if they blew you away! And if you snapped a picture of your beautiful spread of Crispy Fried Pickles ready for game day, please tag us over on social media. Seeing your creations is the best part of running Spoon Swirl.
If you ran into any trouble at all, or if you even tried a wild seasoning variation that worked great, leave a comment below. We love reading your feedback, and it helps everyone in our little kitchen community. If you need to reach out directly with a question, you can always find us at our contact page anytime!
Thanks for cooking with us today. May your snacks always be salty, tangy, and delightfully crunchy!
PrintThe Ultimate Crispy Fried Pickles Recipe (Restaurant-Style & Air Fryer Options)
Learn how to make perfectly crispy, tangy fried pickles at home. This guide includes the classic deep-fried method and a lighter air fryer alternative, plus a simple zesty ranch dipping sauce.
- Prep Time: 15 min
- Cook Time: 10 min
- Total Time: 25 min
- Yield: 4 servings
- Category: Appetizer
- Method: Deep Frying / Air Frying
- Cuisine: American
- Diet: Vegetarian
Ingredients
- 1 (16 ounce) jar dill pickle chips, drained well
- 1 cup all-purpose flour
- 1 teaspoon salt
- 1 teaspoon black pepper
- 1 teaspoon garlic powder
- 1 teaspoon paprika
- 1/2 teaspoon cayenne pepper (optional, for heat)
- 2 large eggs
- 1/2 cup milk
- 1 cup panko breadcrumbs (for extra crispiness)
- Vegetable oil, for deep frying (or cooking spray for air fryer)
- For Dipping Sauce: 1/2 cup ranch dressing, 1 teaspoon hot sauce, 1/2 teaspoon lemon juice
Instructions
- Prepare the pickles: Lay the drained pickle chips on several layers of paper towels. Place more paper towels on top and press firmly to remove as much moisture as possible. This step is key for crispy fried pickles.
- Set up the dredging stations: In one shallow bowl, whisk together the flour, salt, pepper, garlic powder, paprika, and cayenne pepper. In a second bowl, whisk the eggs and milk until combined. Place the panko breadcrumbs in a third shallow bowl.
- Dredge the pickles: Working in small batches, dip the dry pickle chips first into the flour mixture, shaking off excess. Next, dip them into the egg mixture, allowing excess to drip off. Finally, press them firmly into the panko breadcrumbs, coating completely. Place the coated pickles on a clean, dry baking sheet.
- Prepare the dipping sauce: In a small bowl, mix the ranch dressing, hot sauce, and lemon juice. Set aside.
- Cook the pickles (Deep Fry Method): Pour about 2 inches of vegetable oil into a heavy-bottomed pot or deep fryer. Heat the oil to 375°F (190°C). Carefully drop the breaded pickles into the hot oil in a single layer, being careful not to overcrowd the pot. Fry for 1 to 2 minutes, turning once, until golden brown and crunchy. Remove with a slotted spoon and place on a wire rack lined with paper towels to drain excess oil.
- Cook the pickles (Air Fryer Method): Preheat your air fryer to 390°F (199°C). Lightly spray the air fryer basket with cooking spray. Arrange the breaded pickles in a single layer in the basket (work in batches). Lightly spray the tops of the pickles with cooking spray. Air fry for 8 to 10 minutes, flipping halfway through, until golden brown and crispy.
- Serve immediately with the zesty dipping sauce.
Notes
- For Texas Roadhouse Fried Pickles copycat flavor, ensure your seasoning mix is generous.
- If you skip the flour dredge and go straight to egg/panko, the coating may fall off during frying.
- To keep them warm while frying in batches, place finished pickles on a wire rack set over a baking sheet in a 200°F oven.
Nutrition
- Serving Size: 1/4 of recipe (approx. 12 chips)
- Calories: 280
- Sugar: 3
- Sodium: 750
- Fat: 18
- Saturated Fat: 3
- Unsaturated Fat: 15
- Trans Fat: 0
- Carbohydrates: 22
- Fiber: 1
- Protein: 6
- Cholesterol: 55