

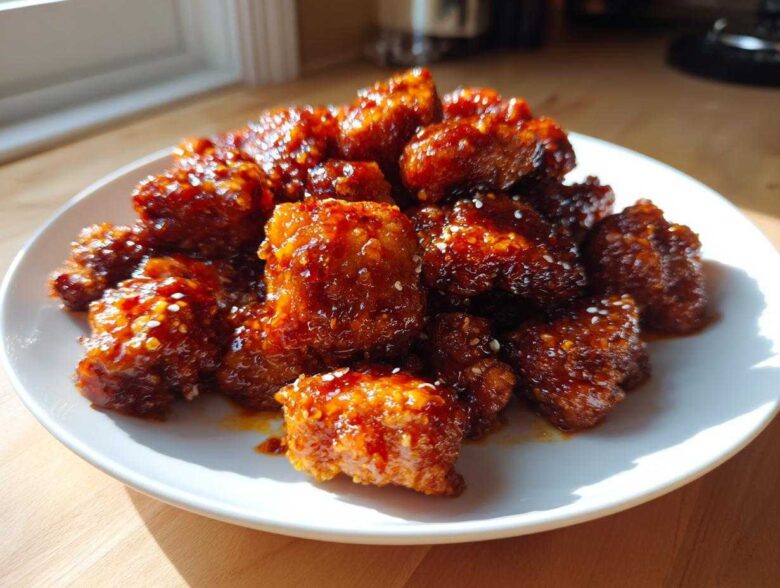
You know that feeling, right? You order Chinese takeout—the fancy orange chicken—only to get lukewarm, slightly soggy chicken drowning in a watery, overly sweet sauce? It’s always a letdown! Well, stop settling! I’m here to tell you we can absolutely make Sticky Orange Chicken Thighs Better Than Takeout, right here in your own kitchen. That’s the whole point of this recipe! If you want to see more of my kitchen adventures, check out the rest of my recipes over at my blog.
Forget those dry, boring chicken breasts. We are using chicken thighs because they hold up to frying and soak up that incredible glaze like nothing else. My secret focuses on two things: getting craggy, crispy edges on the meat and developing a glaze so thick and perfectly balanced that it actually clings to the chicken. Trust me, once you try this homemade version, you won’t look at your local spot the same way again!
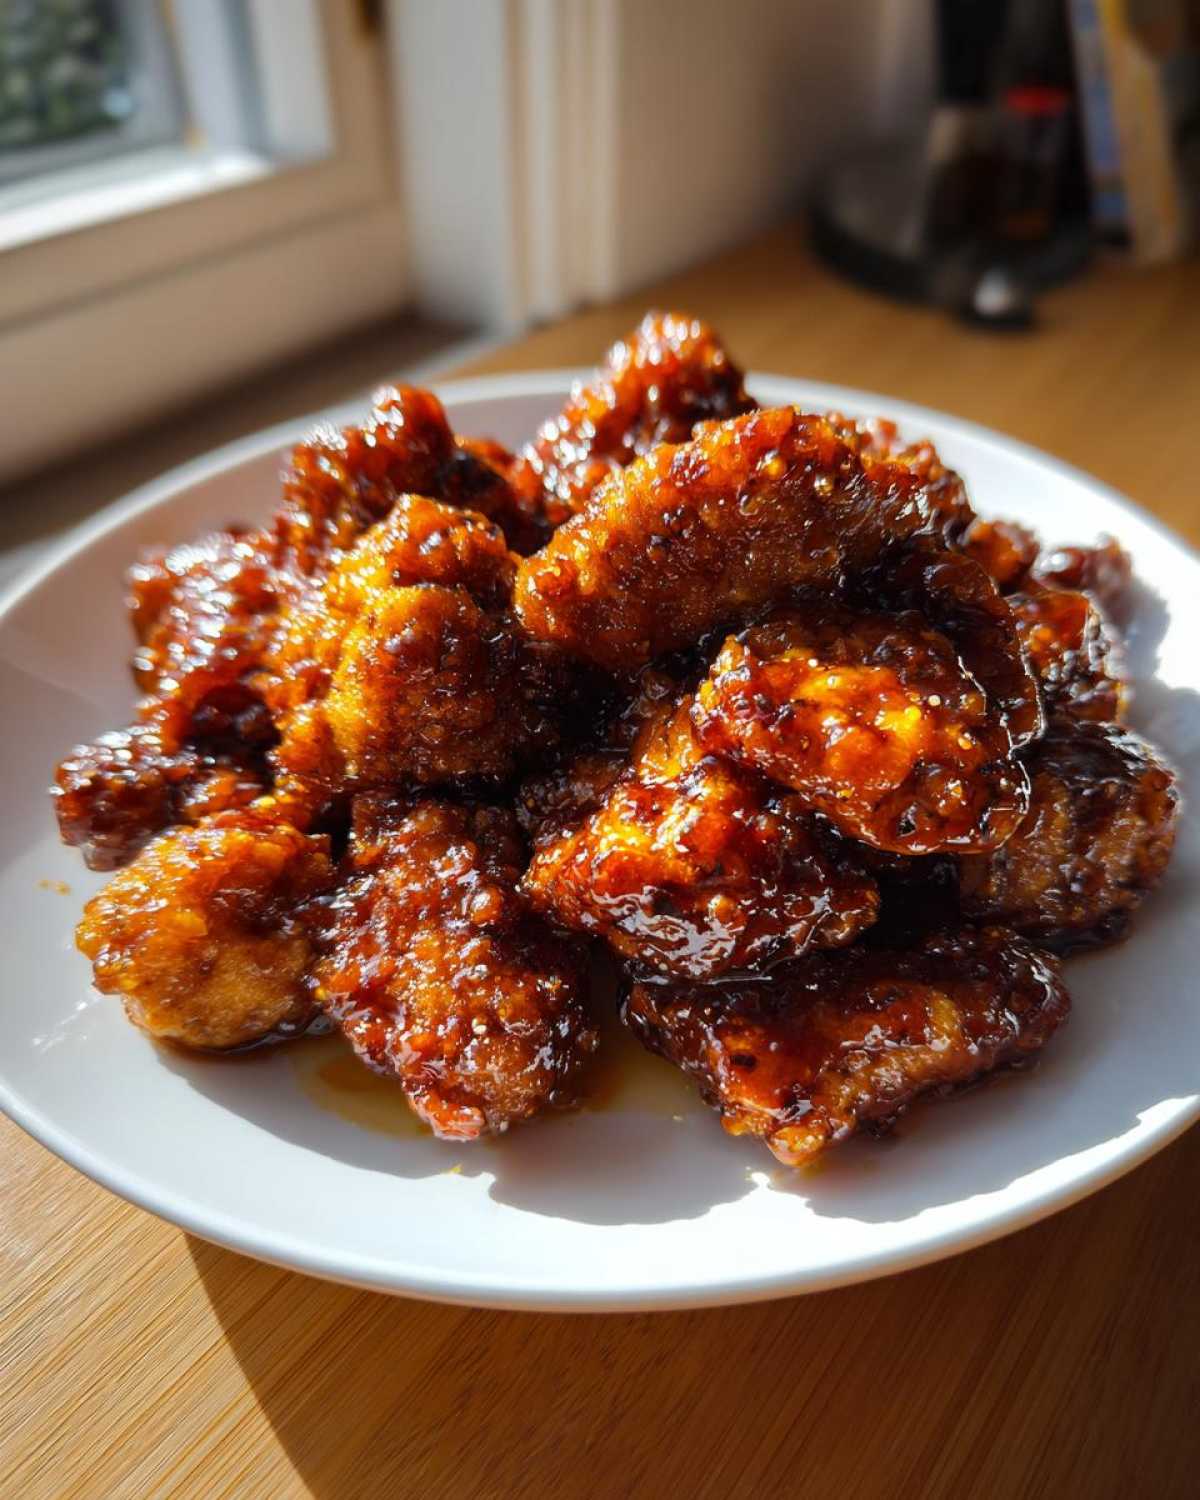
Why These Sticky Orange Chicken Thighs Are Better Than Restaurant Versions
When I set out to create the ultimate Sticky Orange Chicken, I knew breasts just wouldn’t cut it. Restaurant versions often use breast meat because it’s cheaper, but that means it dries out the second it hits the hot oil or, worse, sits in the warming tray. Not here! We are going for juicy, flavorful meat inside, wrapped up in something that snaps when you bite it. If you want to see some of my other quick dinners, check out my take on weeknight orange chicken!
The goal for this Homemade Takeout Style dish is textural perfection. I want that thick, slow-poured glaze coating every craggy surface, not running off into a puddle at the bottom of the bowl. Achieving the ‘better than restaurant chicken’ mark means controlling the crisp factor and ensuring every single bite is a flavor explosion.
The Advantage of Using Chicken Thigh Meat Recipes
Chicken thighs have a little more fat marbled through them than breasts do, and that extra fat is non-negotiable for this recipe. It keeps the meat unbelievably tender during the high heat of frying. This is the foundational secret to a truly incredible Sticky Orange Chicken Thigh Recipe; the thighs stay moist even after being coated in starch and cooked until perfectly golden. They simply hold moisture better, period, which means you get a much more satisfying, flavorful piece of meat every time.
Gathering Ingredients for Your Sticky Orange Chicken Thighs Better Than Takeout
Okay, now that we’ve established using thighs is the only way to go, let’s look at what you need to pull off this winning recipe. Make sure you read the ingredient list carefully because the sauce relies on fresh components for that authentic tang. We’re keeping the chicken pieces bite-sized, about one inch, so they cook evenly and get totally coated later on.
Gather these basics! You’ll need about two pounds of boneless, skinless chicken thighs cut into those nice chunks. For the sauce, always use fresh orange juice if you can—the bottled stuff just tastes flat next to freshly squeezed! We’re hitting that sweet and tangy balance with sugar, soy sauce, and a kick from fresh ginger and garlic. Don’t forget the little bit of starch we use to make the sauce thicken up into that beautiful, glossy coating.
And for the finishing touches, which really sell the whole “better than takeout” look? Have some sesame seeds ready, maybe a few thinly sliced green onions if you’re feeling fancy. They don’t change the flavor much, but wow, do they make it look restaurant-quality!
Preparing the Coating for Crispy Orange Chicken Thighs
This part right here is where we beat the takeout guys! If you want truly Crispy Orange Chicken Thighs, you cannot skimp on the coating process. We aren’t just shaking the chicken in flour; we are creating a fortress around every piece to trap that moisture inside and create that satisfying crunch on the outside. You need a shallow bowl for the dry mix, which includes flour, potato starch (that’s my secret weapon for crispiness!), salt, and pepper.
Once you’ve got your coating ready, make sure you dip those thigh pieces first into that lightly beaten egg. That egg is the glue! Don’t just let the coating fall off; you need to press it on gently but firmly with your fingers. Really massage that coating into the meat. This direct attention builds a bond that baking or a quick fry just won’t break. If you’re looking for inspiration on getting amazing texture, check out the techniques I use over on my Korean Fried Chicken post; they use a similar concept!
Achieving the Best Coating Texture
The ratio of starch to flour is key to that slightly craggy, light crust. If you use only flour, it gets heavy and dense, but the starch keeps it airy yet firm. Make absolutely sure you press that coating on—don’t skip that step! That adherence means when the chicken hits the hot oil, the crust sets instantly without just falling off into the fryer. It takes just a few extra seconds of pressing, but it makes a world of difference for your final Glazed Chicken Recipe.
Frying Techniques for Perfect Sticky Orange Chicken Thighs Better Than Takeout
Time to talk heat! This is where most people go wrong with their Asian Chicken Dinner at home. You absolutely must get your oil temperature right before those coated thighs ever see the pan. I use a thermometer—don’t guess!—and aim for a steady 350°F (175°C). If your oil isn’t hot enough, that lovely starch coating will just soak up grease, and you’ll end up with soggy disappointment, not crispy perfection.
Here’s the rule: work in batches! Do not overcrowd your pan. If you pile too much chicken in at once, the temperature of the oil plummets instantly, and we are back to square one with greasy chicken. Fry them for about 4 to 6 minutes until they look beautifully golden brown, then pull them out onto a rack to drain. They need a little rest before we toss them in the glaze!
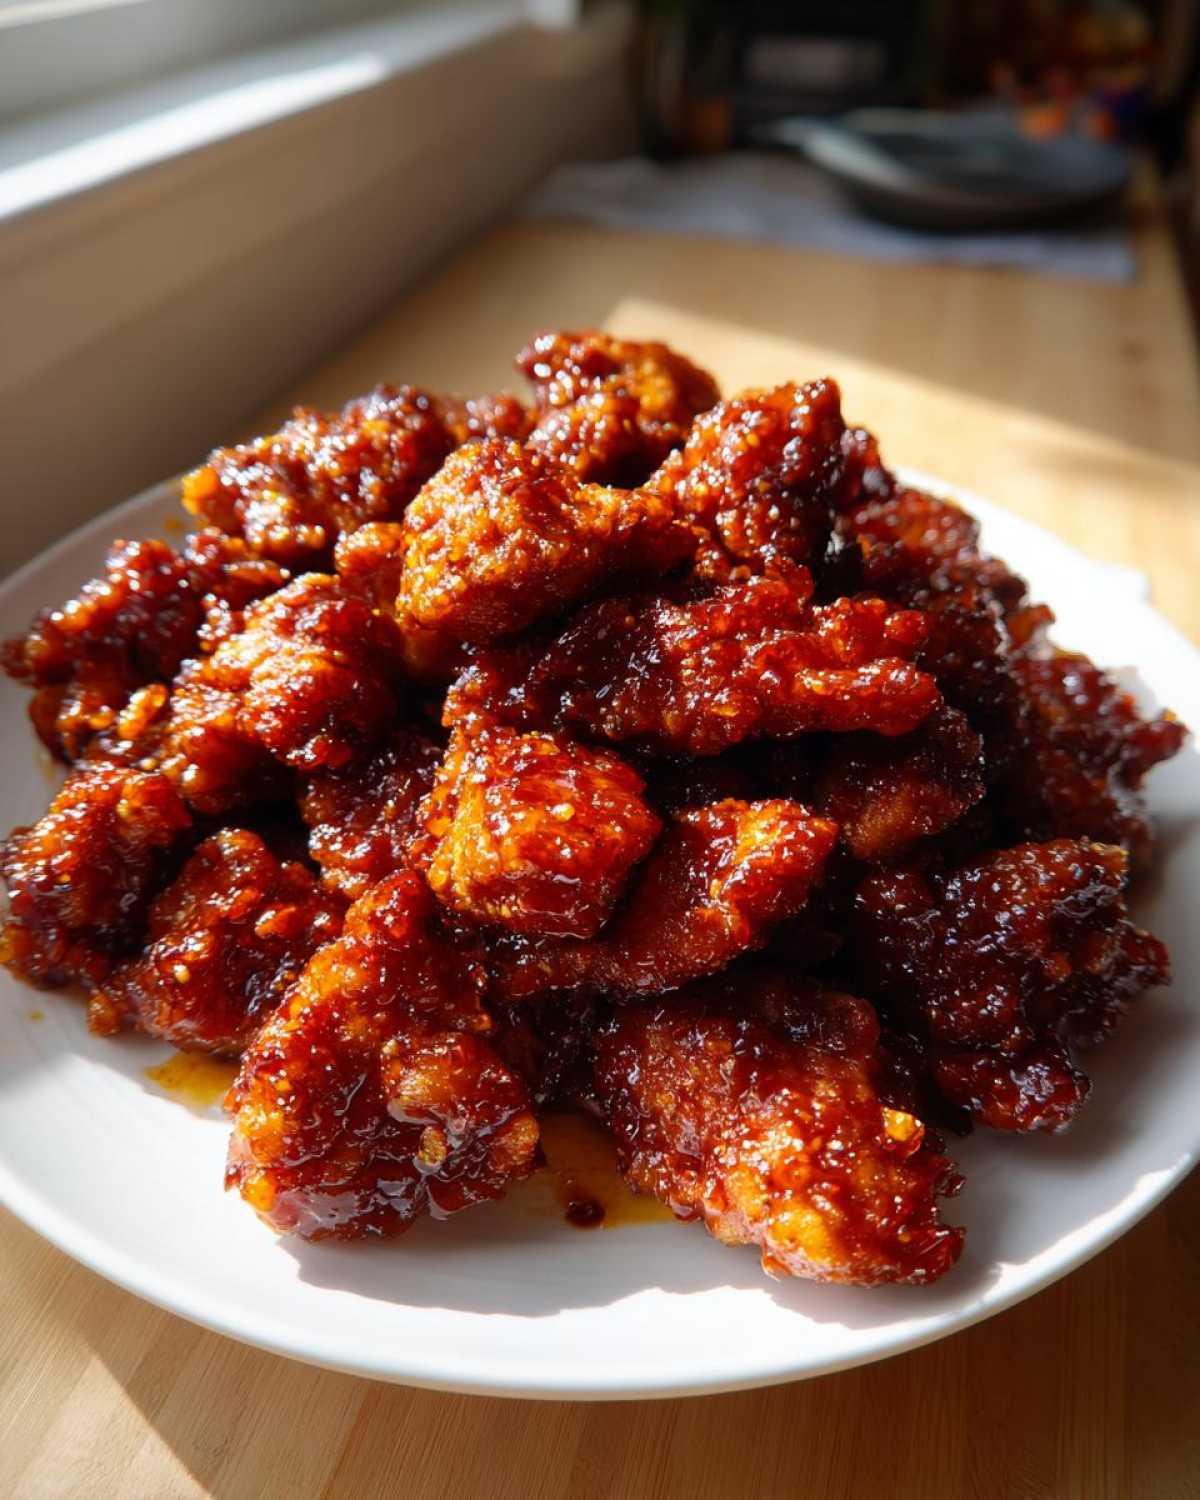
Double Frying Tip for Extra Crispy Orange Chicken
If you really want to commit to that ‘Better Than Takeout’ promise, you need to double fry. This is my biggest secret for that crackle that holds up against the thick glaze! After you pull the chicken out the first time, let it rest on the wire rack for about five minutes. It looks done, but it isn’t fully set yet.
Then, crank your oil up just a little hotter—say, 375°F (190°C). Drop the partially cooked chicken back in for just one more minute. That quick blast of higher heat evaporates any remaining surface moisture and locks everything down tight. That second fry ensures the crust stays crunchy while the meat inside stays unbelievably juicy. It’s phenomenal!
Making the Signature Sticky Sauce Chicken Glaze
Alright, we have our crispy chicken pieces waiting patiently. Now it’s time for the main event—the glaze! This is what separates a decent homemade dinner from something you’d genuinely pay top dollar for at a restaurant. If your sauce is thin, it’s just orange soup, and no one wants that. We need it thick, glossy, and clinging.
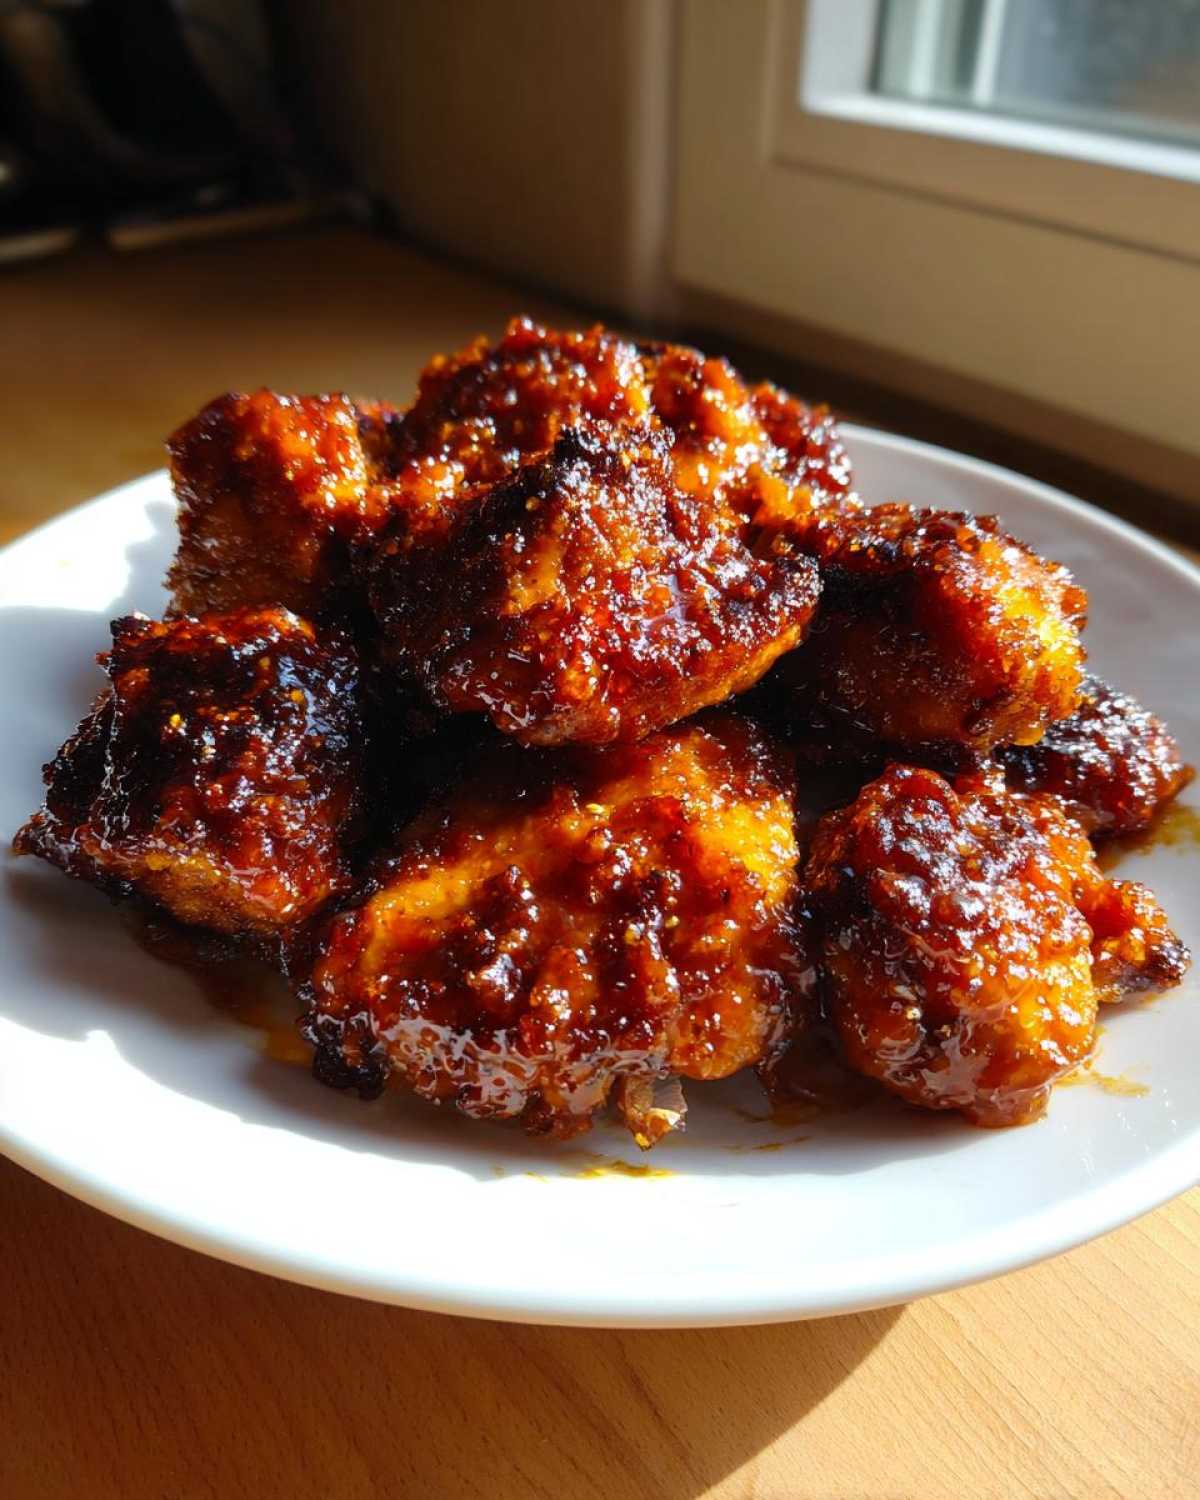
For the best flavor, we start heating up that fresh orange juice, sugar, soy sauce, vinegar, along with our aromatics—the garlic and ginger. Let this simmer for a few minutes so the sugar dissolves and the flavors really marry. You gotta smell this happening; it’s pure heaven! If you’re looking for an exceptionally tasty sauce, make sure you check out my recipe for sweet and salty trail mix for some similar flavor balancing ideas.
The magic trick for that perfect consistency comes right at the end with our slurry. You mix a little cold water with cornstarch until it’s totally smooth—that’s your thickening agent. Whisk that slurry straight into the simmering liquids, and stand by! As soon as you pour it in, you’ll see that liquid transform into a beautiful, thick, **Sticky Sauce Chicken** glaze. A final stir of sesame oil off the heat gives it that signature sheen. This simple step ensures you get the ultimate **Easy Orange Glaze** that sticks perfectly!
Tossing and Finishing Your Sticky Orange Chicken Thighs Better Than Takeout
This is the moment we’ve been waiting for! We have crispy chicken, and we have our thick, beautiful glaze. The very next step is combining them—and here’s the key: move fast! You want to pour that hot, sticky glaze over the drained chicken in a big bowl and toss everything together gently but thoroughly. Don’t stir it like soup! Gently fold it so you coat every single piece without smashing that hard-earned crispiness we worked so hard for.
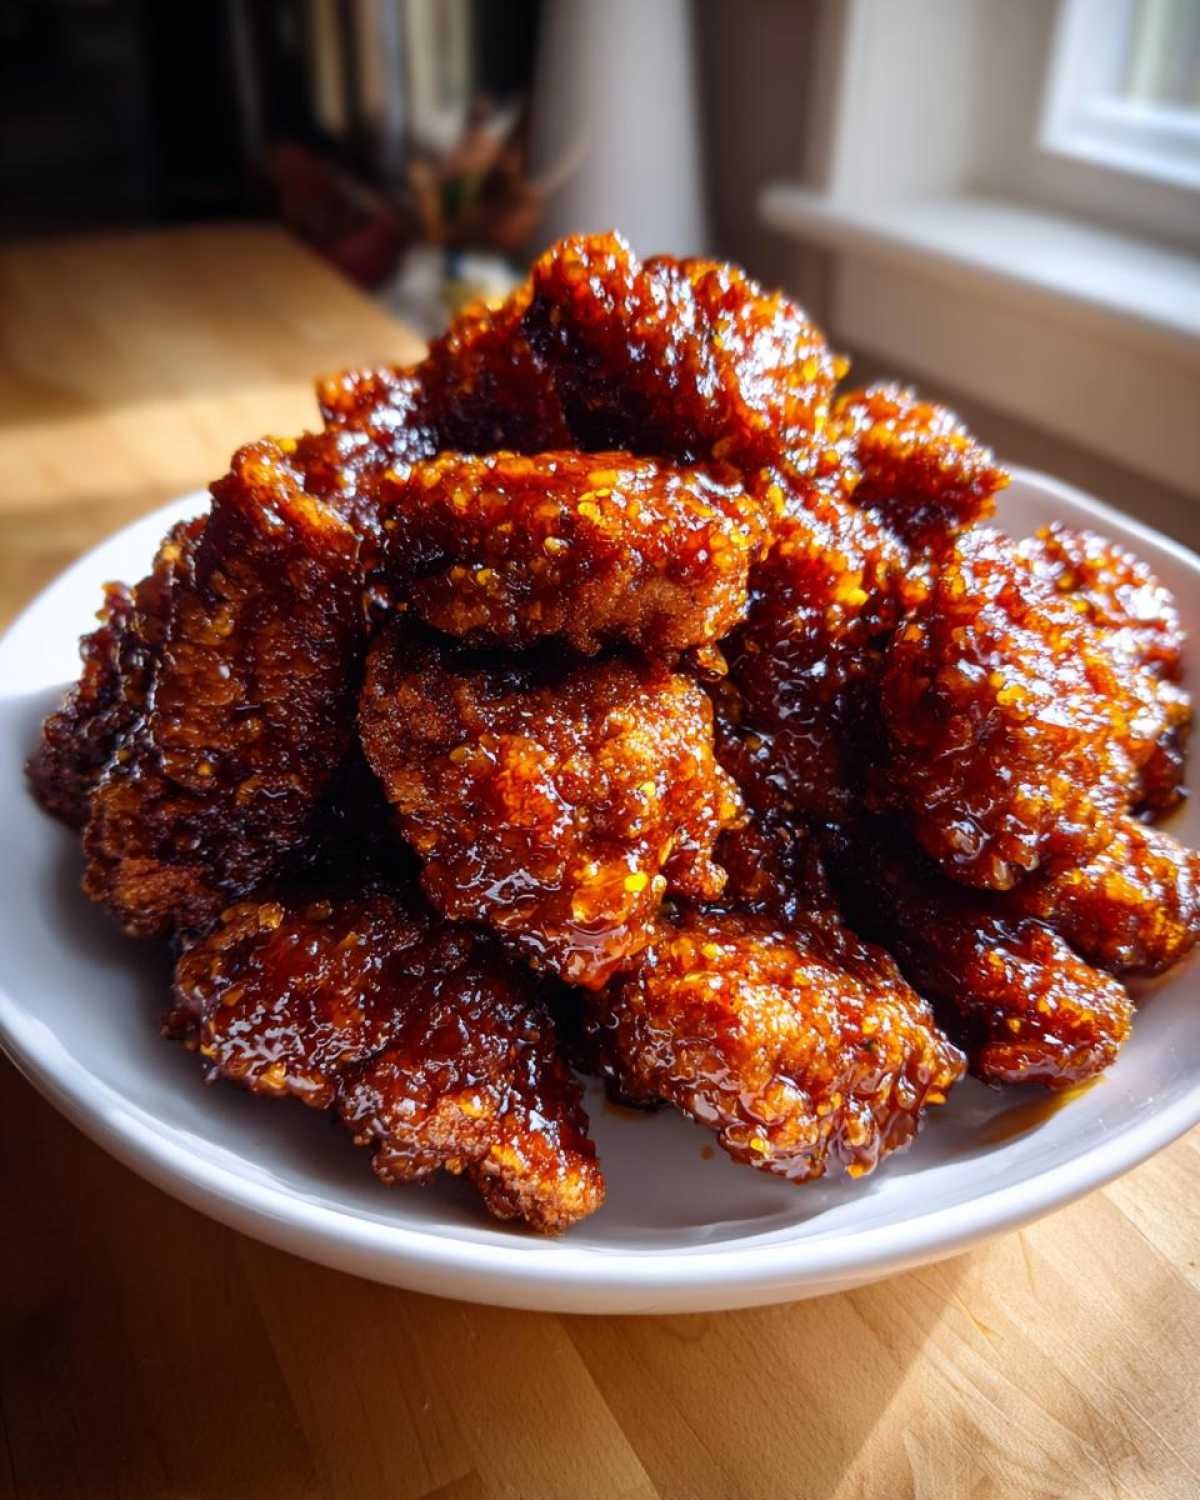
As soon as everything is coated—and I mean *every* piece looks glossy—plate it up immediately. That’s when you sprinkle on those sliced green onions and a shower of sesame seeds for color and texture contrast. That’s it! No more waiting. Serve this Glazed Chicken Recipe right away, and I promise you won’t have leftovers anyway.
Tips for Success with Your Asian Chicken Dinner
Even with the best recipe, I’ve had a few kitchen fails, especially with sauces that look great on the stove but turn slimy or watery once they hit the hot food. That’s why I stress using that cornstarch slurry right at the end for this Asian Chicken Dinner—it has to be cold water mixed separately, or you get lumps! Seriously, I once dumped the cornstarch right into the simmering pot, and I ended up with savory orange marbles instead of a glaze.
Remember what I said about fresh orange juice? Please, use the fresh stuff! It makes the whole flavor profile pop. If you’re trying to skip frying—maybe for a quicker cleanup—you can definitely bake these coated thighs. Toss the coated chicken with just a tablespoon of oil and pop them in the oven at 400°F for about 20 minutes. They won’t be *quite* as shatteringly crisp as the deep-fried ones, but they soak up the sauce beautifully. For more oven-baked goodness, take a look at my crab leg bake; that technique is fantastic for dry heat, too!
Frequently Asked Questions About This Chicken Thigh Recipe
Can I make the Sticky Orange Chicken sauce ahead of time?
Oh yes, you totally can! The sauce is actually great to make ahead of time, which makes this an amazing Weeknight Orange Chicken option when you’re short on time. Once cooled, store it in an airtight container in the fridge for up to four days. When you’re ready to use it, just reheat it gently on the stove until it’s simmering again. You might need to whisk in an extra splash of water if it has thickened too much while sitting, but it should come right back to life!
What is the best oil temperature for frying the Crispy Orange Chicken Thighs?
I really hammered this point home because it’s essential for that crackly crust! You want the oil rolling right at 350°F (175°C) for the first fry. If you are trying to create the ultimate Crispy Orange Chicken Thighs, remember the double-fry trick—you bump that temperature up to 375°F (190°C) for that very quick second dip. Keeping the oil hot ensures the coating cooks quickly and doesn’t bleed oil into the meat. If you’re looking for other great dinner ideas, check out the main dinner category on my site!
How do I adjust the Sweet and Tangy Chicken flavor profile?
Everyone has their personal preference when it comes to the balance of sweet and sour, right? This recipe aims for that classic Chinese American taste, but you can tweak it easily! If you like it sweeter, add another tablespoon of sugar while the sauce is simmering. If you want more of that zing or tang, don’t cook the sauce down quite as long—less simmering means less evaporation, so the vinegar and citrus notes stay much stronger. It’s your **Sweet and Tangy Chicken**, so make it sing your song!
Storage and Reheating Instructions for Leftover Orange Chicken
Even though this Glazed Chicken Recipe disappears fast, sometimes you get lucky and have some leftovers! You want to treat them right so they aren’t sad and soggy tomorrow. Store any leftover orange chicken in a shallow, airtight container in the fridge. Try to keep it less than three days, though honestly, it rarely lasts that long around here.
When you reheat, forget the microwave—that’s the enemy of crispiness! The best way to bring back that wonderful texture is in a toaster oven or a regular oven set to about 375°F (190°C). Just spread the chicken in a single layer on a baking sheet without overcrowding it, and heat for about 8 to 10 minutes. It re-crisps beautifully! If you have an air fryer, use that at 350°F until hot; it’s even faster!
PrintSticky Orange Chicken Thighs Better Than Takeout

Make crispy, flavorful orange chicken thighs at home that surpass standard takeout quality using a thick, sticky orange glaze.
- Prep Time: 20 min
- Cook Time: 25 min
- Total Time: 45 min
- Yield: 4 servings
- Category: Dinner
- Method: Frying
- Cuisine: Chinese American
- Diet: Low Fat
Ingredients
- 2 lbs boneless, skinless chicken thighs, cut into 1-inch pieces
- 1/2 cup all-purpose flour
- 1/2 cup potato starch or cornstarch
- 1 teaspoon salt
- 1/2 teaspoon black pepper
- 1 large egg, lightly beaten
- Vegetable oil, for frying
- 1 cup fresh orange juice
- 1/2 cup granulated sugar
- 1/4 cup rice vinegar
- 1/4 cup soy sauce (low sodium preferred)
- 2 tablespoons orange zest
- 1 tablespoon grated fresh ginger
- 2 cloves garlic, minced
- 1 teaspoon sesame oil
- 1/4 cup cold water
- 2 tablespoons cornstarch (for slurry)
- Optional: Sesame seeds and sliced green onions for garnish
Instructions
- In a medium bowl, combine the flour, potato starch, salt, and pepper for the coating.
- Dip the chicken pieces first into the beaten egg, letting excess drip off, then dredge thoroughly in the dry coating mixture. Press the coating onto the chicken so it adheres well.
- Heat about 2 inches of vegetable oil in a deep skillet or Dutch oven to 350°F (175°C).
- Fry the chicken in batches, careful not to overcrowd the pan, for 4 to 6 minutes until golden brown and cooked through. Remove chicken and place on a wire rack set over a paper towel-lined plate to drain excess oil.
- While the chicken drains, prepare the sauce. In a small saucepan, combine the orange juice, sugar, rice vinegar, soy sauce, orange zest, ginger, and garlic.
- Bring the mixture to a simmer over medium heat, stirring until the sugar dissolves. Cook for about 5 minutes until slightly reduced.
- In a small bowl, whisk together the 1/4 cup cold water and 2 tablespoons of cornstarch to create a slurry.
- Pour the slurry into the simmering sauce while whisking constantly. Continue to cook for 1 to 2 minutes until the sauce thickens significantly and becomes sticky. Remove from heat and stir in the sesame oil.
- Add the fried chicken pieces to the thickened sauce in a large bowl or skillet. Toss gently until every piece is evenly coated with the sticky glaze.
- Serve immediately, garnished with sesame seeds and green onions if desired.
Notes
- For extra crispiness, fry the chicken twice: once at 325°F for 3 minutes, rest for 5 minutes, then fry again at 375°F for 1 minute until deep golden.
- If you prefer baking, toss the coated chicken with 1 tablespoon of oil and bake at 400°F (200°C) for 20-25 minutes, flipping halfway.
- Use fresh orange juice for the best flavor in the glaze.
Nutrition
- Serving Size: 1 serving
- Calories: 550
- Sugar: 35
- Sodium: 650
- Fat: 25
- Saturated Fat: 5
- Unsaturated Fat: 20
- Trans Fat: 0
- Carbohydrates: 45
- Fiber: 1
- Protein: 40
- Cholesterol: 150