

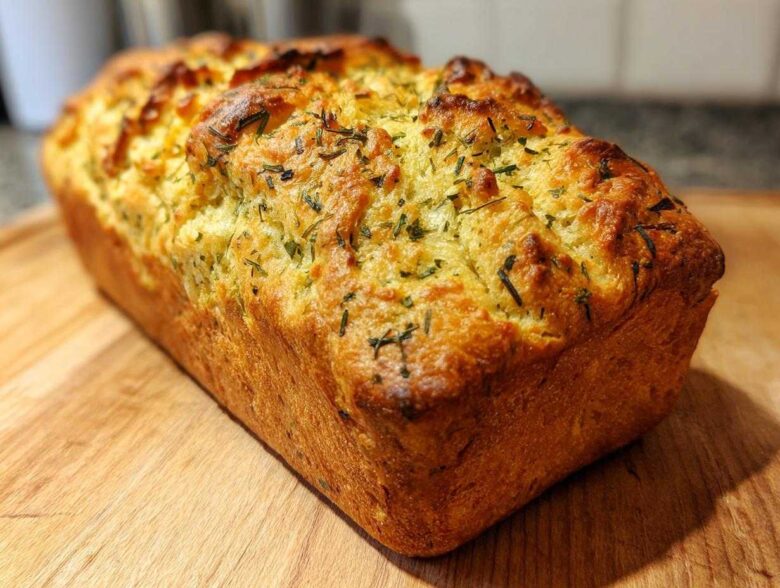
There is just nothing—and I mean nothing—that beats the smell of truly fresh, yeasty bread filling your kitchen, right? It instantly makes everything feel calmer, safer, and a whole lot more delicious. When life gets a little hectic—and trust me, it does for me all the time—I turn immediately to my bread machine. It’s my little countertop miracle worker!
Today, we’re ditching the plain white stuff and diving headfirst into something truly special: the best Italian herb and cheese bread you can make with zero fuss. This is my absolute favorite easy bread machine recipe because it delivers that savory, cheesy, rosemary-oregano punch without any major kneading or shaping. It’s the perfect comfort baking for when you need a win quickly. Welcome to the Spoon Swirl kitchen!
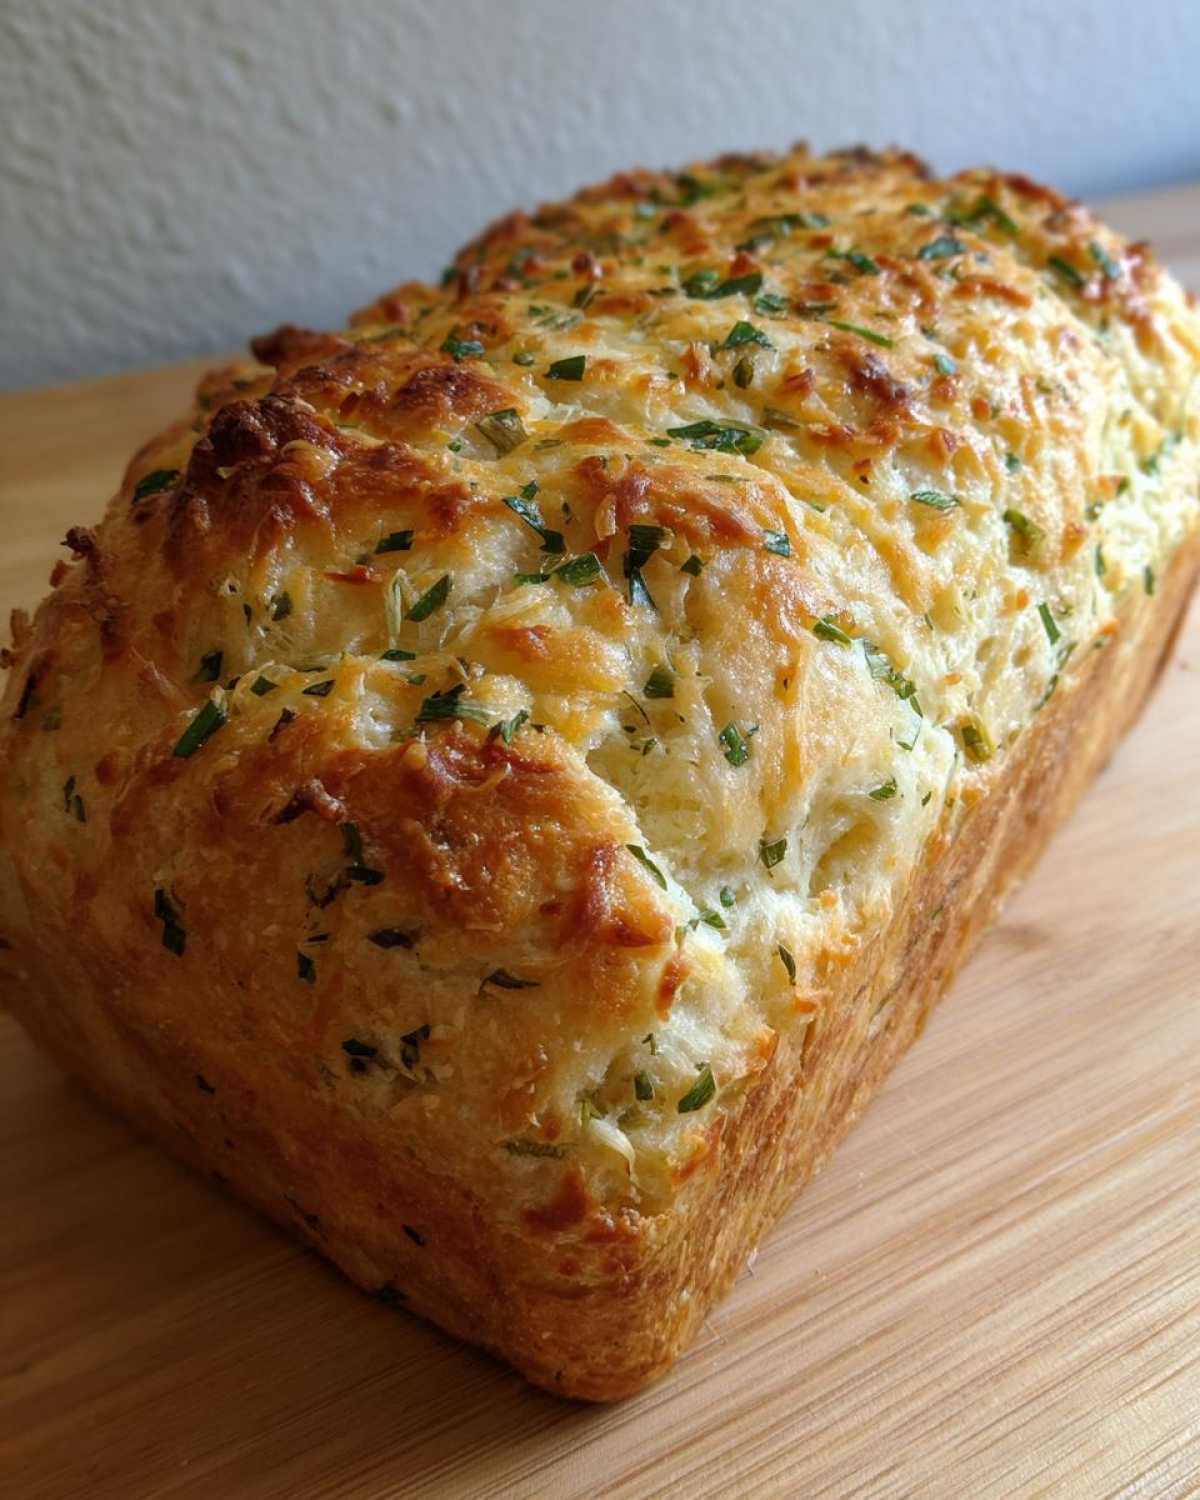
Why This Italian Herb and Cheese Bread is Your New Favorite Easy Bread Machine Recipe
I know that baking savory loaves from scratch can seem intimidating, but honestly, this Italian herb and cheese bread recipe is a game-changer. The bread machine does 99% of the heavy lifting, which means we get that incredible, robust flavor without watching dough rise all afternoon.
What I love most is the structure. This turns into a beautiful, sturdy sandwich loaf when it’s done—perfect for thick slices dipped in soup or piled high with lunch meat. Plus, that little bite of salty Parmesan herb bread flavor hits just right.
Perfect for the Beginner Bread Machine Baker
If you just unboxed your machine or you’re feeling nervous about yeast, this is your go-to! Seriously, you just dump, press a button, and walk away. This is the ultimate beginner bread machine recipe because the internal cycles time everything perfectly. You don’t need to worry about proving times or humidity; the machine handles all the science. You just get the wonderful aroma!
Ingredients for Your Italian Herb and Cheese Bread
Okay, now for the fun part! Gathering our components for this glorious Italian cheese bread. Because we are relying on the machine to do the mixing, we have to be really clear about what goes in first. Don’t worry, I’ve listed everything out below based on exactly what I use to ensure that amazing rosemary oregano bread flavor comes through perfectly.
Liquid and Base Components
The machine needs the liquids in first, always! You’ll need one cup of water, and please make sure it’s warm—think bathwater temperature, around 105 to 115 degrees Fahrenheit. We mix that with two tablespoons of lovely olive oil. That oil is important; it keeps the crust from getting too tough.
Dry Ingredients and Flavorings for Your Parmesan Herb Bread
For the main structure, we use 2 and 3/4 cups of bread flour. Then, we get savory! Add 1 and 1/2 teaspoons of salt, 2 tablespoons of sugar for the yeast, and 1 and 1/2 teaspoons of active dry yeast. The whole *rosemary oregano bread* vibe comes from one tablespoon of dried Italian seasoning and one teaspoon of garlic powder. Smell that already?
The Cheesy Element in This Italian Cheese Bread
This is where we add the salty, nutty goodness! You’ll need exactly 1/2 cup of grated Parmesan cheese. Remember our note about timing? We don’t add this right away; we let the machine work its bulk magic first before we drop in the star.)
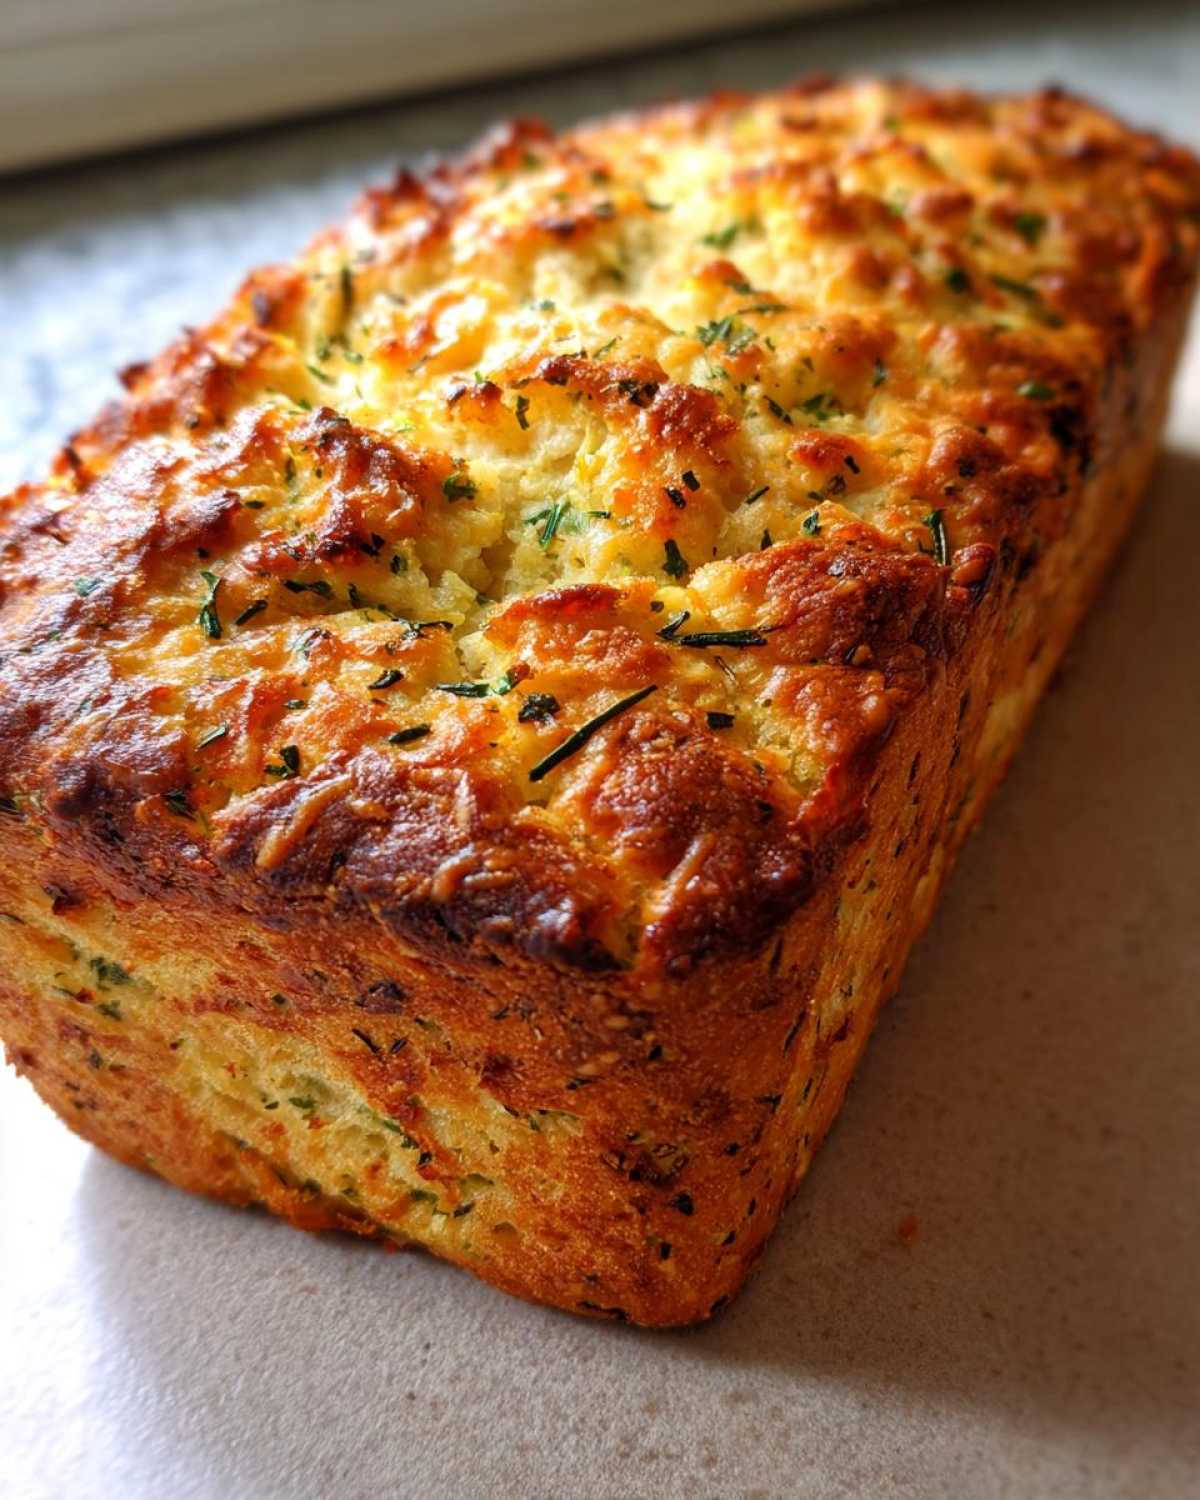
Step-by-Step Instructions for Bread Machine Herb Bread
Now that we have everything measured out, let’s talk about the actual process of making this fabulous bread machine herb bread. Because we are using a machine, timing is everything, so pay close attention to your machine’s manual for when it pauses for mix-ins—that makes all the difference!
Loading the Pan and Setting the Cycle
First things first, liquids go in! Pour your warm water and olive oil into the bread pan. Then, gently layer in your bread flour, salt, and sugar. Make a tiny little divot, like a bird’s nest, right in the center of the flour, and drop your yeast in there. Once everything is loaded, set your machine to the Basic White Bread cycle. This whole process for your loaf will take about three and a half hours total, but most of that is baking time!
Adding Herbs and Garlic Powder During Kneading
This is where we infuse that glorious Italian flavor! Once that Base cycle is running, the machine will go through a kneading phase, usually pausing around the ten-minute mark to mix the ingredients properly. That pause is crucial! This is your cue to drop in your dried Italian seasoning blend and the garlic powder. Give it a quick peek to make sure the ingredients mix in nicely before closing that lid back up.
Incorporating Parmesan Cheese for Cheesy Dinner Bread
We save the cheese for last because we don’t want the fat from the Parmesan interfering with the initial dough strength—that’s a machine baking rule! Wait until the very end of the kneading phase, usually the last five minutes. If you have a dispenser, just drop it in there. If you don’t, very carefully pull the lid open and sprinkle the cheese straight over the top of the dough ball. Gently reshape the dough with your hands if you need to, then close up and let the machine handle the bake for that perfect cheesy dinner bread finish.
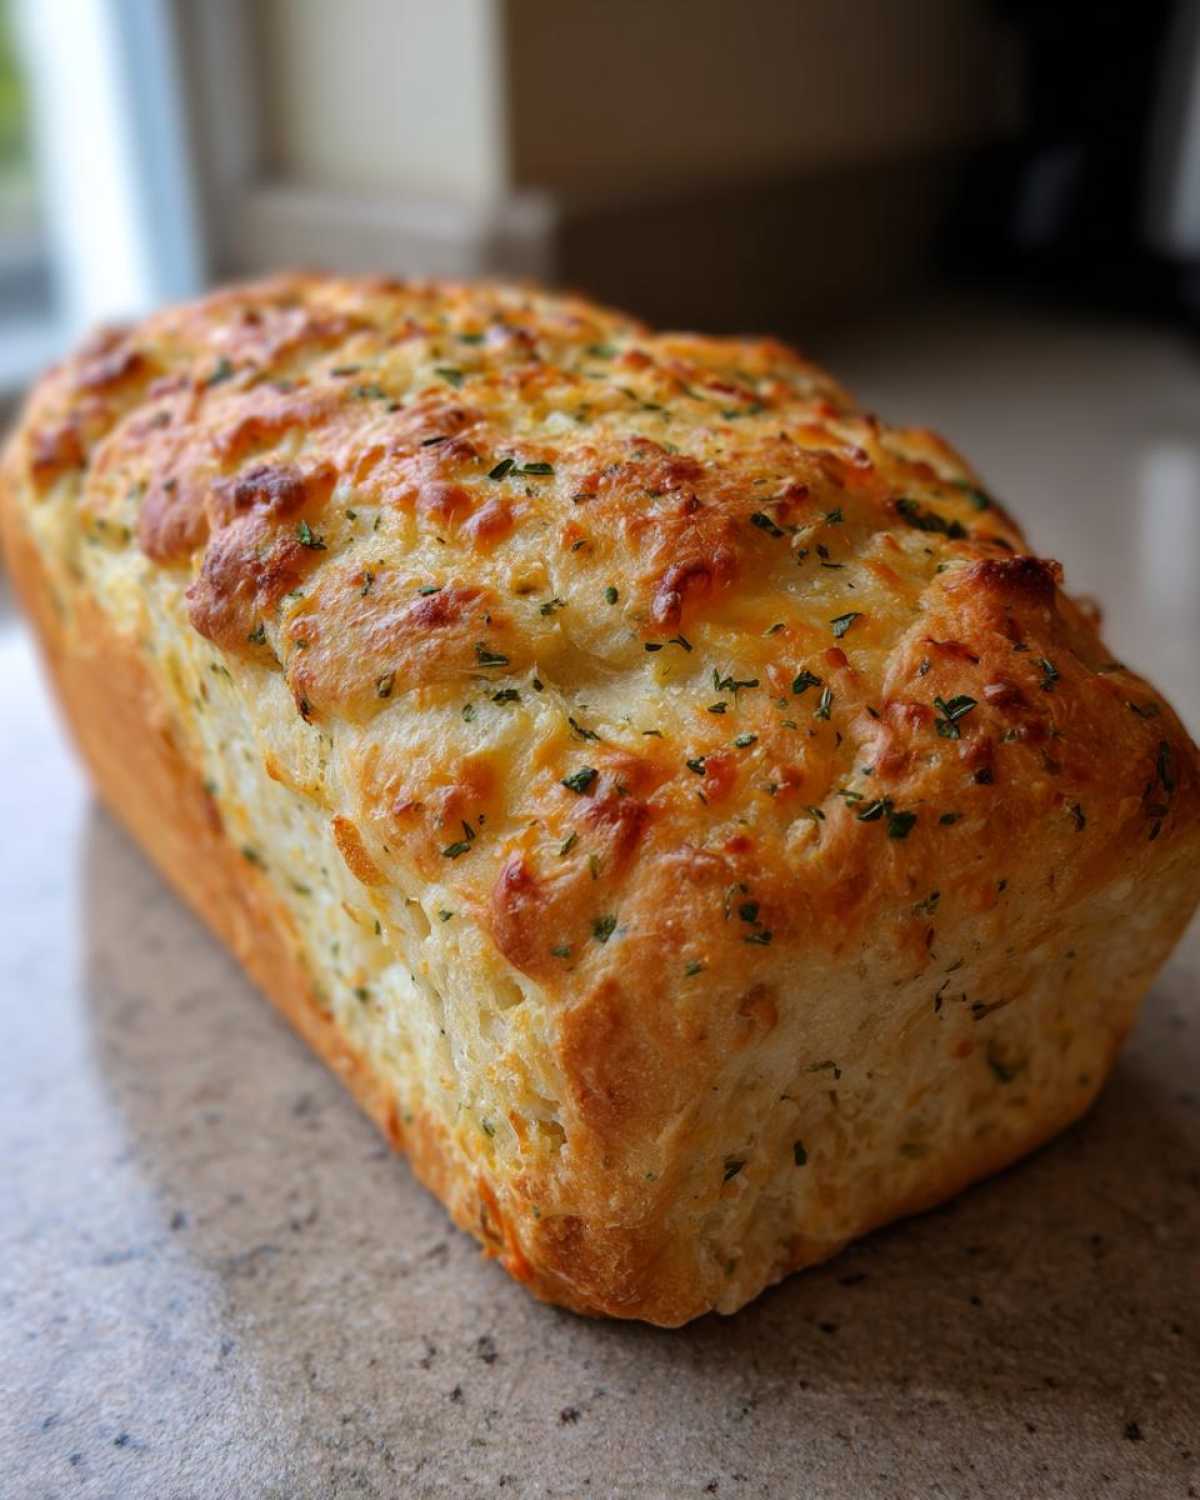
Tips for Success Making Your Italian Herb and Cheese Bread
Even though the bread machine is doing the heavy lifting, Noah (my resident technical whiz!) always reminds me that the initial step sets the whole tone for your Italian herb and cheese bread. Getting the liquid ratio just right is key, especially since flour types vary so much!
We want that dough to be just right when the kneading starts. It should look like a smooth, slightly tacky ball rotating gently in the pan.
Achieving the Ideal Dough Consistency
If your dough seems crumbly or dry during that first kneading phase, add water, one teaspoon at a time. If it looks like a sticky mess clinging to the sides, add bread flour, one tablespoon at a time. This simple adjustment makes all the difference for your bread machine herb bread!
Storing Your Savory Sandwich Loaf
The hardest part of this whole process is waiting, I know! But resisting temptation is crucial here, especially with such a cheesy, flavorful loaf.
You absolutely must let this sandwich loaf cool completely—and I mean completely—on a wire rack before you even think about slicing it. If you cut into this Italian cheese bread while it’s warm, the steam gets trapped, and you end up with a gummy, squishy center. Patience pays off!
Once totally cool, store it airtight at room temperature for up to three days. If you know you won’t finish it that fast, the freezer is your best friend! Slice it first, then freeze the slices flat in a freezer bag. That way, you can pop out just what you need later!
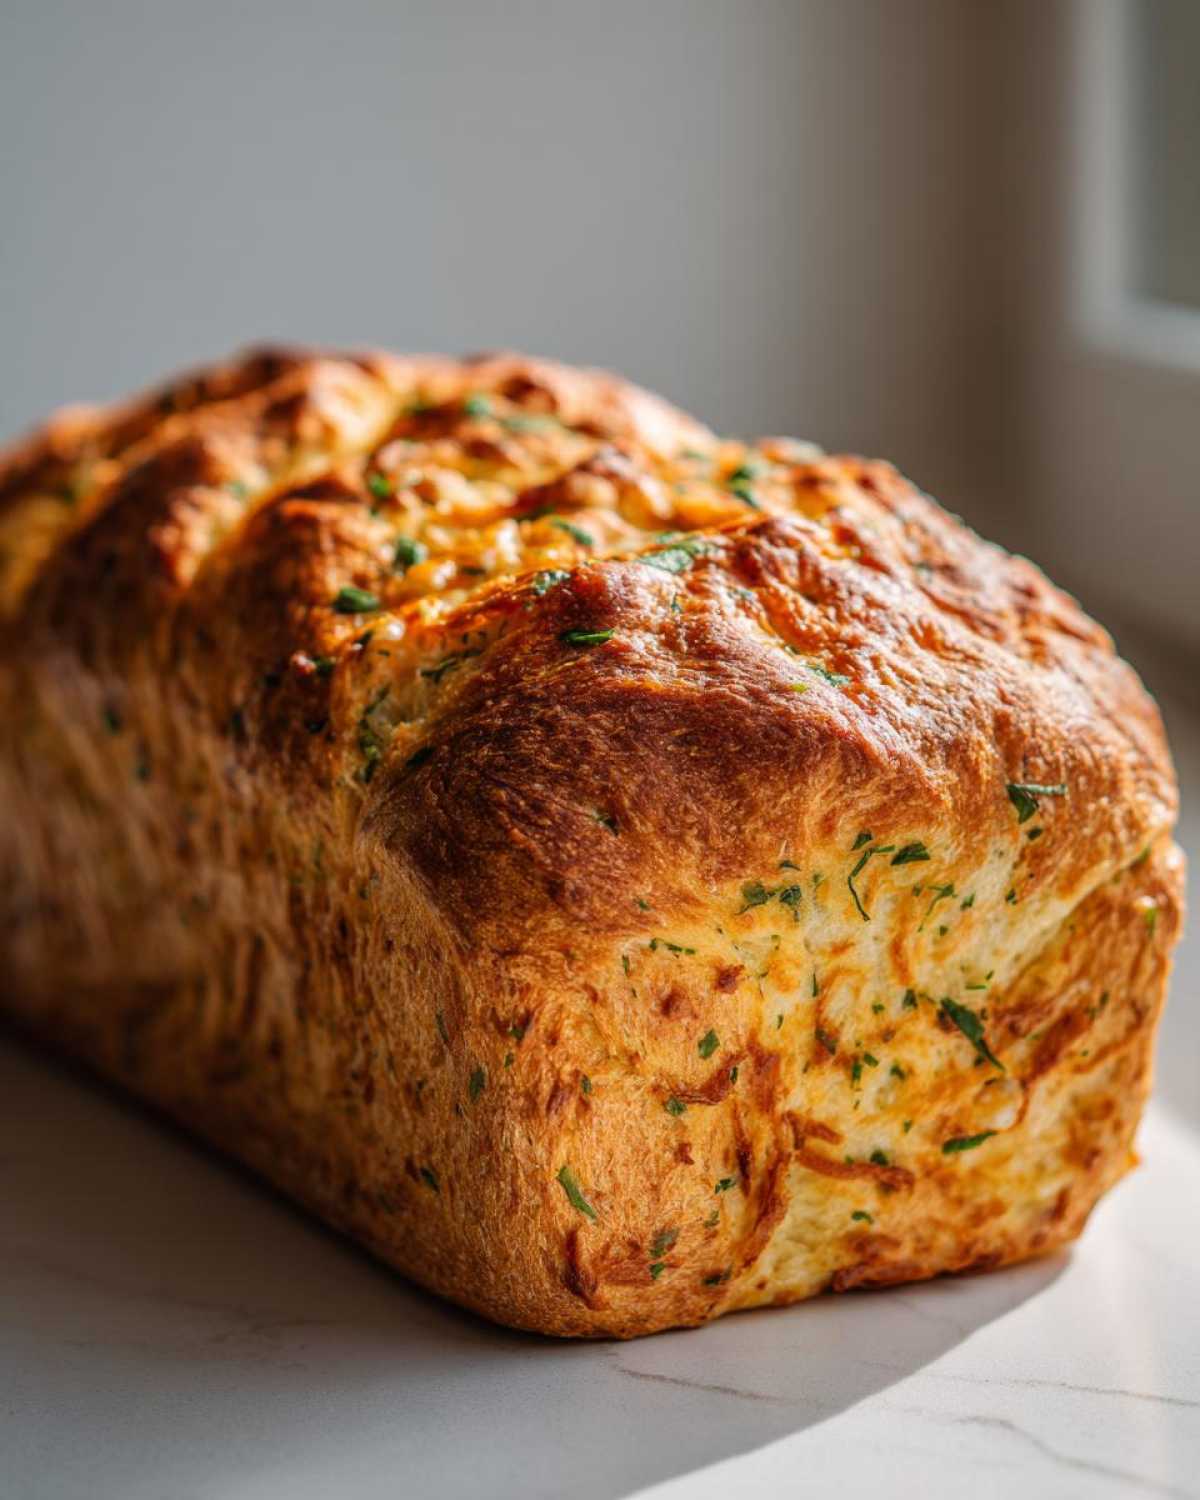
Frequently Asked Questions About This Garlic Herb Bread
When you’re diving into a new recipe, especially with a gadget like a bread machine, I totally get why you might have questions! Noah and I hear from so many of you over at the blog asking for tweaks to our favorite comfort recipes. This Italian herb and cheese bread is no exception. Here are some of the things we get asked most often about making this perfect savory loaf!
Can I use fresh herbs instead of dried in this Italian herb and cheese bread?
Oh, absolutely! I love when people want to use fresh things from the garden. If you swap dried for fresh in this Italian herb and cheese bread, you need to bulk it up because fresh herbs have so much water. My rule of thumb is to use about three times the volume of fresh herbs as the recipe calls for in dried. Also, make sure they are finely chopped! Because fresh herbs can sometimes release too much moisture, I actually suggest skipping adding them during the main kneading cycle and tossing them in right at the very end with the Parmesan cheese for that final mix in.
What cycle should I use if my machine doesn’t have a Basic White setting?
Don’t sweat it if your machine doesn’t have that exact label! For this recipe, we need the machine to do a full dough development, a rise, and a solid bake. Usually, if you’re using another beginner bread machine, you can substitute with the ‘Regular’ or ‘Standard’ cycle. The main thing is making sure whatever cycle you choose includes a full bake time at the end. Don’t use a ‘Dough Only’ cycle; we want this fully baked until golden brown!
How do I ensure my cheesy dinner bread doesn’t crumble when sliced?
This goes back to the absolute most important rule for any loaf, but especially for a rich cheesy dinner bread like this one: cooling time is everything. I can’t stress this enough! You must let the loaf sit on a wire rack, completely untouched, for at least two to three hours until it’s room temperature. Slicing warm bread compresses the crumb structure because the gluten is still setting up. Resist the urge, and you’ll get those beautiful, non-crumbling slices for your sandwiches!
Nutritional Estimates for Slices of Italian Herb and Cheese Bread
I always get nervous posting nutrition facts because, honestly, I’m not a registered dietitian—I’m just a baker who loves flavorful food! Noah will joke that the only thing I truly calculate is how many slices I can eat in one sitting. But because we believe in transparency here at Spoon Swirl, I wanted to provide a general idea of what’s in a standard slice of this delicious loaf.
These numbers are based only on the core ingredients listed in the recipe and assume you get 16 even slices from the finished loaf. Please keep in mind these are just estimates, as the exact brand of flour or the amount of oil absorbed by the bread can shift things around a bit! For full disclosures on how we approach this, you can check out our full disclaimer here: our nutritional disclaimer.
Here is the breakdown for approximately one slice:
- Serving Size: 1 slice
- Calories: 150
- Fat: 5g (with 2g Saturated Fat)
- Carbohydrates: 24g
- Protein: 5g
- Sugar: 2g
- Sodium: 350mg
See? Not too bad for a cheesy, herb-packed loaf that tastes like it took hours of slow fermentation! It’s honest, home baking, and exactly what you need for those hearty lunch sandwiches.
Share Your Spoon Swirl Moment
Honestly, seeing my recipes come to life in your kitchens is the absolute best part of this whole journey for Noah and me. It takes all the stress out of the week, doesn’t it?
We built Spoon Swirl around that feeling—that deep sense of peace you get when you pull something homemade and delicious out of the oven (or, in this case, your bread machine!). Now that you’ve made this wonderful easy bread machine recipe, I would be so thrilled if you shared your experience!
Did you rate the loaf out of five stars? Did you experiment with the cheese mixture? Snap a picture of your gorgeous Italian herb and cheese bread cooling on the rack! Please hop down into the comments below and tell me everything. Knowing that this cheesy dinner bread made someone’s week just a little easier or tastier truly makes my day. Happy baking, and thank you for swirling with us!
PrintEasy Italian Herb and Cheese Bread Machine Loaf
Make a flavorful Italian herb and cheese bread right in your bread machine. This recipe yields a perfect sandwich loaf with savory herbs and Parmesan cheese.
- Prep Time: 10 min
- Cook Time: 3 hr 30 min
- Total Time: 3 hr 40 min
- Yield: 1 loaf
- Category: Baking
- Method: Bread Machine
- Cuisine: Italian
- Diet: Vegetarian
Ingredients
- 1 cup water (warm, about 105-115°F)
- 2 tablespoons olive oil
- 2 3/4 cups bread flour
- 1 1/2 teaspoons salt
- 2 tablespoons granulated sugar
- 1 1/2 teaspoons active dry yeast
- 1 tablespoon dried Italian seasoning blend
- 1 teaspoon garlic powder
- 1/2 cup grated Parmesan cheese
Instructions
- Add the warm water and olive oil to the bread machine pan first.
- Add the bread flour, salt, and sugar on top of the liquids. Create a small well in the flour and add the yeast to the well.
- Select the Basic White Bread cycle on your machine. Start the cycle.
- Wait until the machine reaches the kneading phase. When the machine pauses for the first mix-in (usually around the 10-minute mark of the kneading cycle), add the dried Italian seasoning blend and garlic powder.
- During the final 5 minutes of the kneading cycle, add the grated Parmesan cheese slowly through the dispenser, if your machine has one, or carefully through the lid opening.
- Allow the bread machine to complete the full cycle, including the baking and keep-warm phases.
- Once the cycle finishes, carefully remove the loaf from the pan and place it on a wire rack to cool completely before slicing.
Notes
- For the best flavor, use high-quality dried herbs.
- If your bread machine does not have a fruit/nut dispenser, wait until the dough has formed a smooth ball during the first kneading cycle, then carefully remove the paddle, add the cheese and herbs, and gently reshape the dough ball before replacing the paddle and closing the lid.
- This cheesy dinner bread slices well for sandwiches once fully cooled.
Nutrition
- Serving Size: 1 slice
- Calories: 150
- Sugar: 2
- Sodium: 350
- Fat: 5
- Saturated Fat: 2
- Unsaturated Fat: 3
- Trans Fat: 0
- Carbohydrates: 24
- Fiber: 1
- Protein: 5
- Cholesterol: 8