

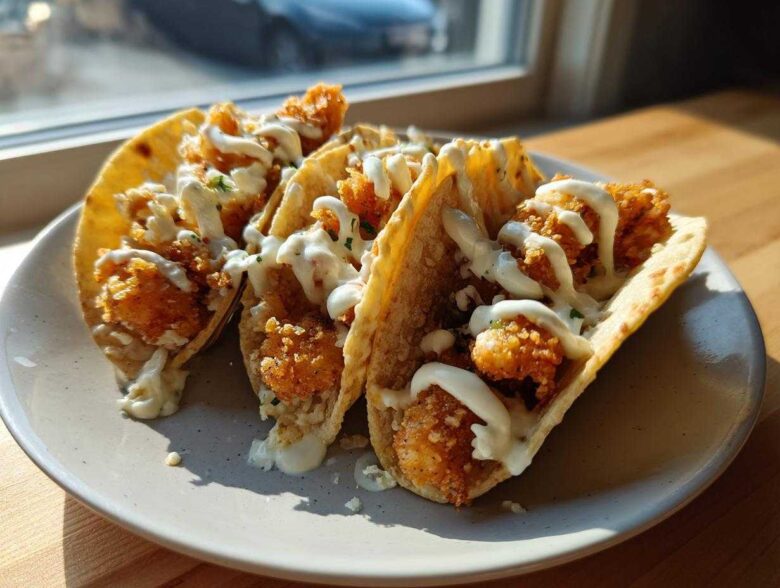
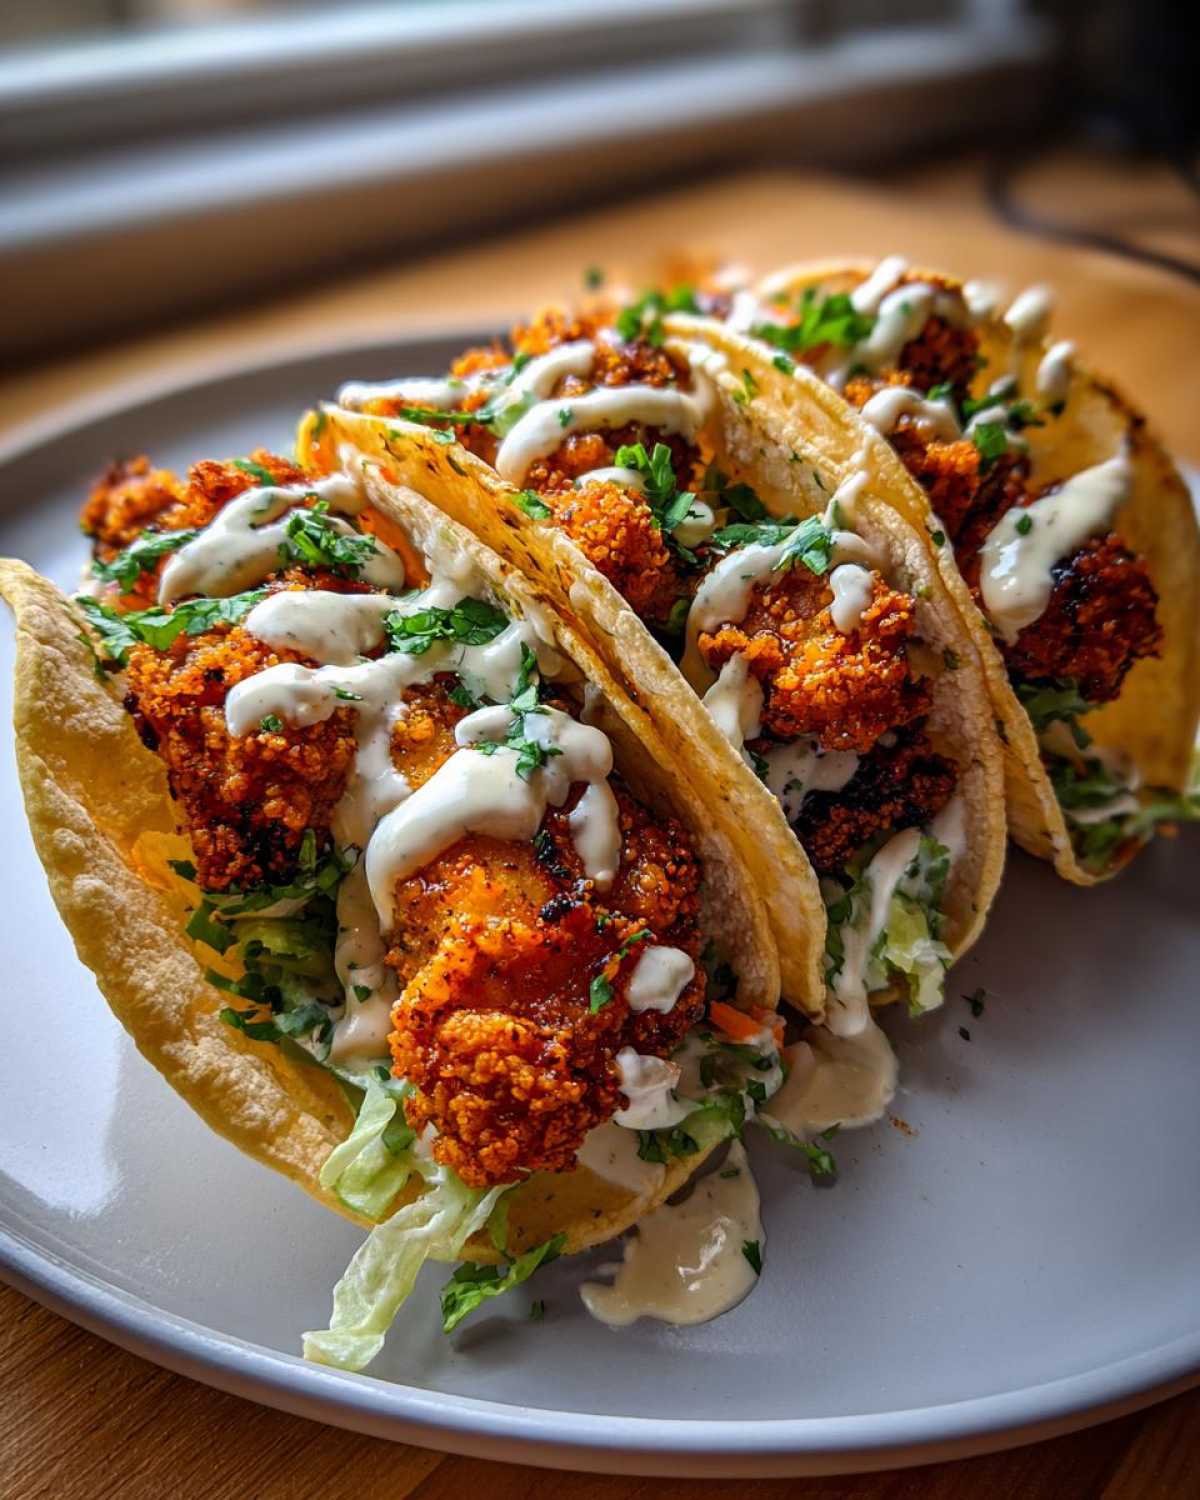
Listen, I’ve eaten a lot of tacos in my life, and I’ll tell you right now: the ones that fail are soggy. The ones that win? They have that shatteringly loud crunch you crave. For years, I chased the phantom of restaurant-quality crispy chicken tacos, and I finally nailed it. Forget limp, sad tortillas; we are building something magnificent here today. These **Crispy Chicken Tacos with Garlic Lime Sauce** aren’t just good, they are genuinely the ultimate weeknight indulgence. I swear, I messed up my coating technique, like, five times before I realized the secret was pressing the Panko on like my life depended on it.
The real game-changer, though, is that sauce. It’s bright, it’s zesty, and it cuts through the richness of the fried chicken perfectly. When you get that perfectly crunchy chicken, the tangy sauce, and a little shredded cabbage all together? Forget about it. You’ve peaked.
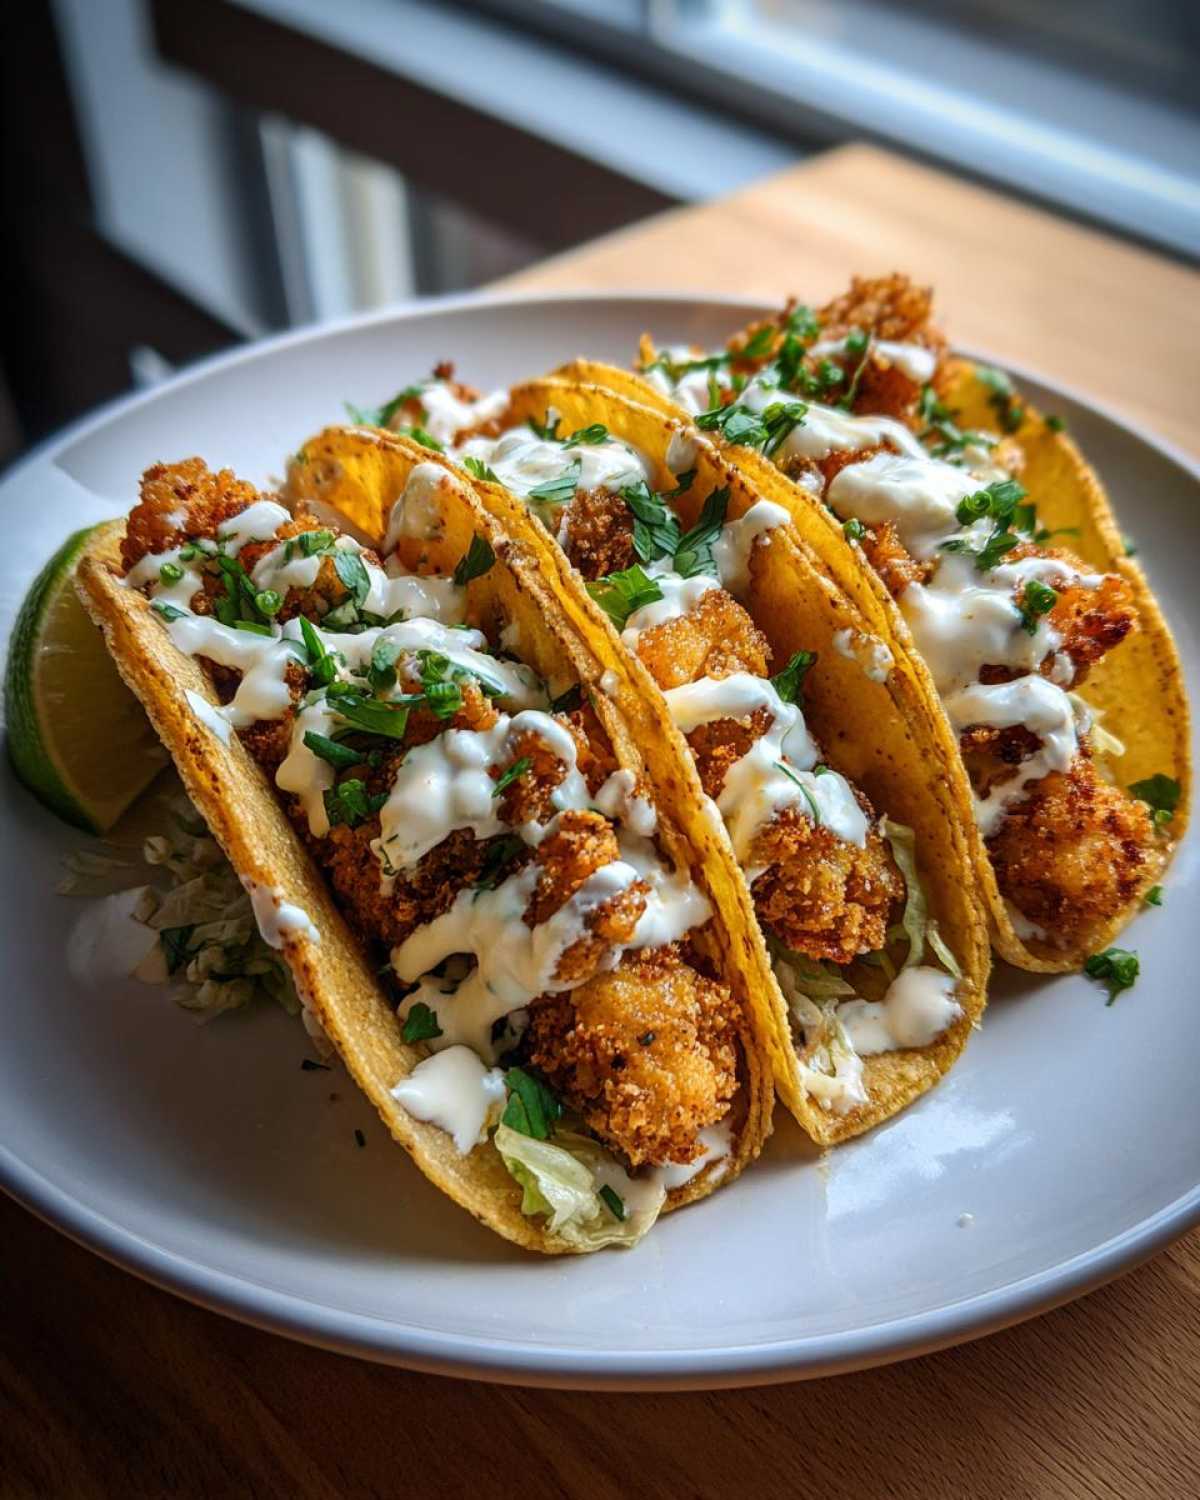
Why This Crispy Chicken Tacos with Garlic Lime Sauce Recipe Works
When you make these tacos, you are signing up for fireworks in your mouth, trust me! The whole reason these **Crispy Chicken Tacos with Garlic Lime Sauce** beat everything else is that we are hitting two core needs perfectly: intense crunch and bold freshness. Nobody wants a chewy taco center, right?
- The chicken gets that incredible, shatteringly crispy exterior because we skip regular breadcrumbs entirely—Panko is the MVP here!
- The Garlic Lime Sauce is packed with fresh lime juice and raw garlic, so it stays bright and zesty, balancing out the delicious, fried chicken richness.
- You get the perfect ratio of coating, protein, and tang in every single bite. It just *works*.
Achieving Maximum Crunch: The Secret to Crispy Chicken Tacos with Garlic Lime Sauce
It all comes down to layering your coatings. You can’t just toss chicken in flour and call it a day; we need an armored exterior for this crunchy goal! First, we dust the chicken pieces in seasoned flour—that’s what helps the egg stick, you see.
Next, we dip it thoroughly in the beaten egg mixture. This acts like glue. Then, the magic happens: Panko breadcrumbs. Panko flakes are bigger and lighter than standard breadcrumbs, which means they absorb less oil while frying. They puff up during those few minutes in the hot oil and turn into these beautiful, golden, crunchy shards that stay crisp even after you drizzle them with sauce.
Ingredients for Crispy Chicken Tacos with Garlic Lime Sauce
Getting the ingredients lined up is half the battle, so let’s get organized! I always lay out three shallow dishes for the chicken dredging station—it makes the assembly line super fast. It’s worth noting that everything here is measured for four hungry people, which should yield about 12 tacos.
Here is everything you need for these amazing **Crispy Chicken Tacos with Garlic Lime Sauce**:
For the Chicken & Coating:
- 1.5 lbs boneless, skinless chicken breasts, cut into perfect little 1-inch pieces—don’t make them too big or they won’t crisp up evenly!
- 1 cup all-purpose flour (your first layer!)
- 1 teaspoon salt (for the coating mix)
- 1/2 teaspoon black pepper
- 1/2 teaspoon paprika (for color more than heat)
- 1/4 teaspoon cayenne pepper (just a tiny kick)
- 2 large eggs, beaten until they look frothy
- 1 cup Panko breadcrumbs (seriously, don’t skip the Panko!)
- Vegetable oil, for frying (you’ll need about 2 inches deep in the skillet)
- 12 small corn or flour tortillas
For the Garlic Lime Sauce:
- 1/2 cup good quality mayonnaise
- 1/4 cup sour cream or Greek yogurt (I sometimes use all yogurt if I’m trying to cut a little richness)
- 3 cloves garlic, minced until paste-like—you want that sharp flavor!
- Juice of 2 limes (about 1/4 cup total—measure it, fresh is best!)
- 1 tablespoon chopped fresh cilantro (don’t use dried, please!)
- 1/2 teaspoon salt
Optional Toppings to Finish:
- Shredded cabbage (for crunch)
- Cotija cheese (crumbly and salty)
- Sliced radishes (for color and pepperiness)
Ingredient Notes and Substitutions for Your Crispy Chicken Tacos with Garlic Lime Sauce
I know sometimes we don’t have everything on hand, so here are my tricks for making this recipe work even if you need to swap something out. Remember, these are **Crispy Chicken Tacos with Garlic Lime Sauce**, so the texture and the zestiness are non-negotiable!
When it comes to oil for frying, I always go with vegetable or canola oil because they have a high smoke point, which means they won’t break down at the 350°F we need. That heat level is crucial for crispy chicken!
For the chicken itself, if you’re feeling lazy or just want longer strips instead of cubes, you can absolutely use chicken tenders instead of cutting up breasts. They cook just as fast. Just make sure you press that Panko coating on really well.
If you are out of sour cream for the sauce, full-fat Greek yogurt is a perfect 1:1 swap; it adds that sour tang without needing extra fat. If you absolutely must avoid mayo, you could try using all Greek yogurt, but you might need just a touch more lime juice to keep that characteristic creaminess and zest.
How to Make the Homemade Garlic Lime Sauce for Tacos
Okay, let’s pivot for a second because while the chicken is the star, this sauce is the stunning spotlight it deserves! This **Homemade chicken taco sauce** is so much better than anything bottled. Seriously, the flavor difference when you use fresh garlic and actual lime juice is unbelievable.
You don’t need a blender or anything fancy here. This is pure whisk-and-done magic. We want all those fresh flavor components singing together! This sauce comes together literally while your frying oil is heating up, so it’s perfect for making right before assembly.
In a small bowl—I prefer one where I can really get a good whisk going—you’re going to combine your base: the mayonnaise and the sour cream (or the Greek yogurt if you went that route). These two give us that lovely creamy texture that makes the sauce coat the chicken so beautifully.
Next, hit it with the flavor bombs! Three cloves of garlic minced up—make sure they are really fine because nobody wants a big chunk of raw garlic in their sauce! Then, pour in the juice of two limes. That bright, zesty lime is what balances all that richness we’re about to fry up! Don’t forget to swirl in that chopped fresh cilantro and the salt. Give it a really good, vigorous whisk until everything is completely smooth, pale green, and emulsified. It should look glossy!
Once it’s mixed, taste it! This is important. If you used a juicier lime, you might want another tiny squeeze. If you want it even zestier, maybe grate a tiny bit of lime zest in there too. If you find that your sauce is a little too thick—maybe your mayo was extra dense—you can thin it out just a tiny bit by whisking in one teaspoon of water until it drizzles nicely. If you’re looking for other ways to bring fresh flavor to the table, you might want to check out my recipe for strawberry cucumber salsa with lime; it uses that same bright citrus base!
Step-by-Step Instructions for Crispy Chicken Tacos with Garlic Lime Sauce
Alright, this is where the actual cooking happens, and honestly, it moves fast once you get your dredging station set up. Remember, the key to **Crispy Chicken Tacos with Garlic Lime Sauce** is efficiency and making sure your oil is happy. I always keep my Garlic Lime Sauce chilling in the fridge while I handle the hot oil—that way everything is ready at the same time.
Step 1 & 2: The Coating Station
First thing: get your three coating stations ready. Shallow dish one: flour seasoned with salt, pepper, paprika, and that tiny pinch of cayenne. Dish two: your beaten eggs. Dish three: Panko breadcrumbs. Take one piece of your chicken and lightly dredge it in the flour, shaking off any excess that doesn’t want to stick.
Next, dip that floured piece into the egg—let it drip for just a second! Then, and this is crucial, press it firmly into the Panko. I mean really press it in there so all sides are completely covered. Lay those coated pieces on a clean plate while you finish the rest of the batch. Don’t let them sit too long, or the breading can start getting soft!
Step 4 & 5: Frying Time!
Now for the deep dive! You need to heat about 2 inches of vegetable oil in a deep skillet or a Dutch oven. You absolutely must get that oil up to 350°F (175°C). If you try frying when the oil is too cool, the chicken soaks up grease instead of getting crispy, and we absolutely cannot have that happening with these **Crispy Chicken Tacos with Garlic Lime Sauce**.
Carefully lower your coated chicken into the oil. Do this in small batches! Overcrowding the pan drops the oil temperature immediately, leading to soggy chicken. You want to fry these for about 4 to 6 minutes total, turning them gently halfway through. You are looking for that beautiful golden brown color all over, and most importantly, the internal temperature needs to hit 165°F (74°C) to be safe and cooked through. I use my instant-read thermometer constantly for this part—it’s the best tool for safe, perfectly cooked poultry!
Step 6: Draining
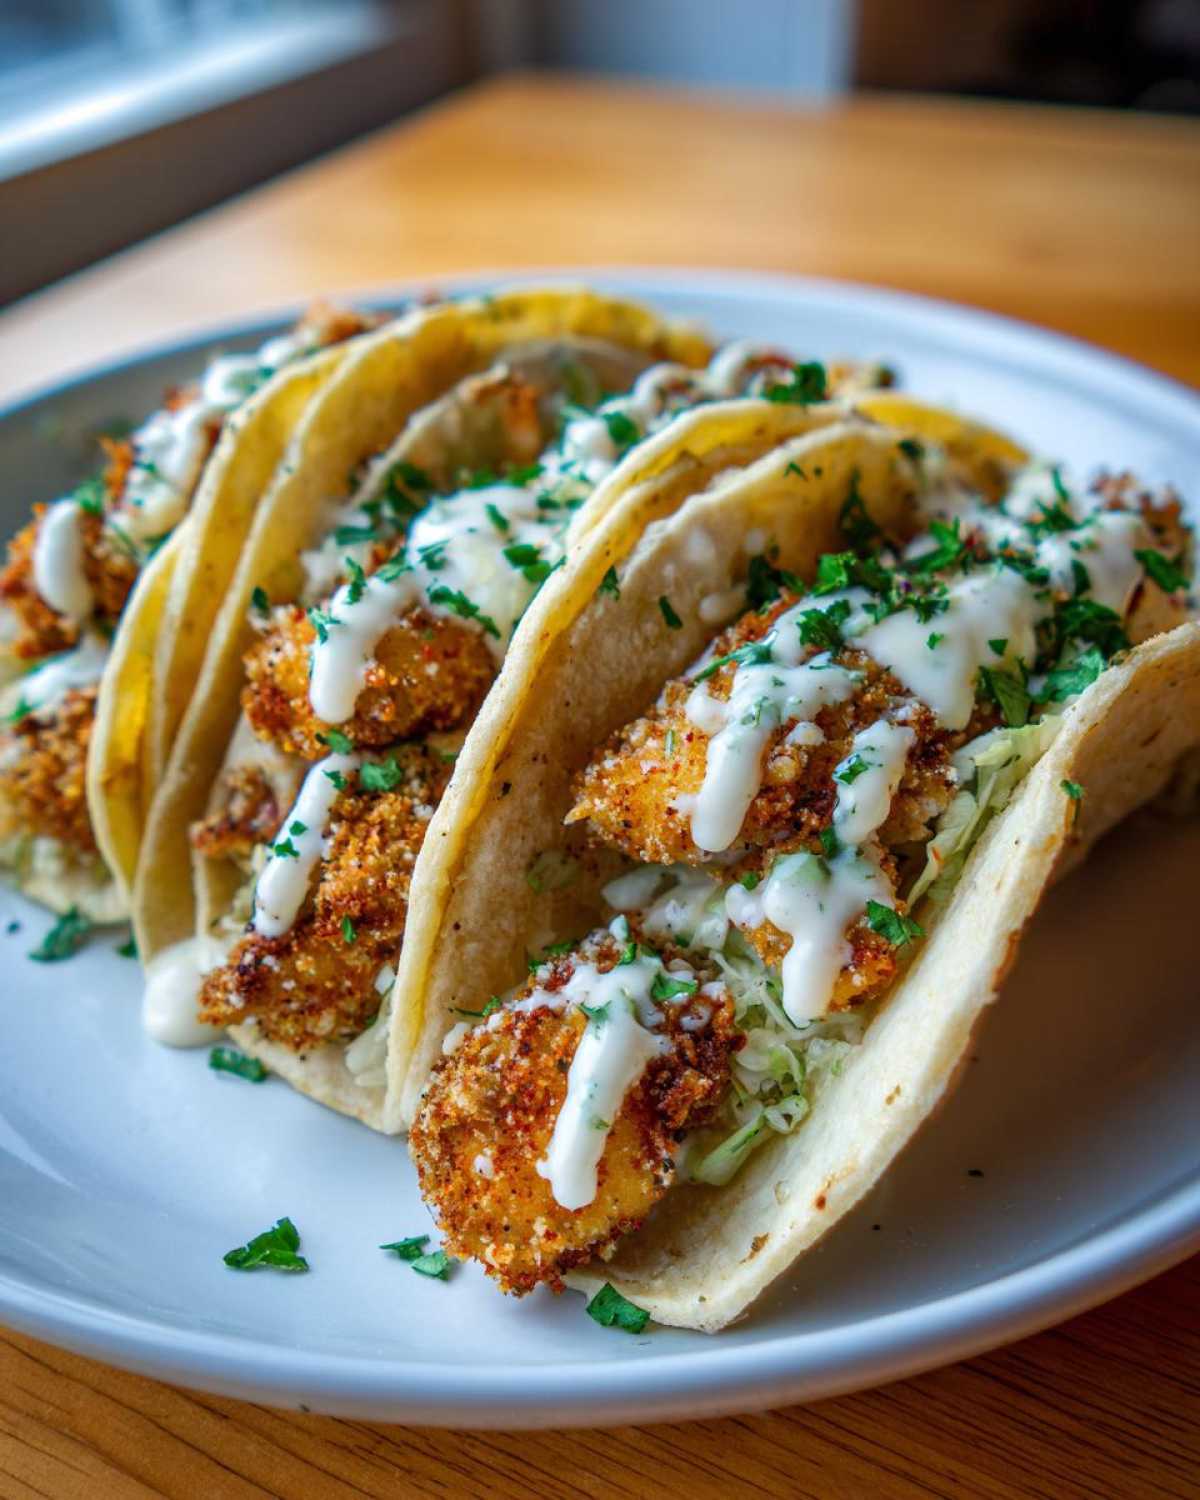
Use a slotted spoon to pull the chicken out when it’s done. Don’t put it directly on paper towels—they trap steam! Instead, set a wire rack over a baking sheet lined with a paper towel, and let the excess oil drip off there. As soon as they come out, give them a final, light sprinkle of salt. That salt sticks best right when the oil falls off.
Step 7 & 8: Tortillas and Assembly
While the chicken is resting, handle your tortillas! I prefer the dry skillet method: medium heat, about 30 seconds per side until they are soft and smell a little toasty. If you’re in a crazy rush, wrap them in a damp paper towel and microwave them for thirty seconds—that steaming softens them up perfectly for taco folding. You want soft tortillas so they contrast nicely with the crunchy chicken!
Now, build those beautiful **Crispy Chicken Tacos with Garlic Lime Sauce**! A scoop of that crispy chicken in the warm tortilla, a very generous drizzle of that zesty sauce we made earlier, and then pile on your favorite toppings. Serve immediately so that crunch lasts!
If you are looking for other great taco uses for that crispiness, you might enjoy my recipe for taco pizza with corn chip topping! It works great with slightly smaller pieces of chicken.
Alternative Method: Air Fryer Crispy Chicken Tacos with Garlic Lime Sauce
I know some of you don’t want to deal with deep frying, and that’s totally fine! You can absolutely get fantastic results with an air fryer, and it’s way less messy. This is my go-to method when I want **Crispy Chicken Tacos with Garlic Lime Sauce** during a busy weeknight.
You coat the chicken exactly the same way—flour, egg, Panko—but this time, before you place them in the air fryer basket, you need to spray them very lightly with cooking spray. This helps them brown instead of feeling dusty in the dryer heat.
Set your air fryer to 400°F (200°C). Cook the chicken for about 10 to 12 minutes total. The most important part here is that you *must* flip them halfway through the cooking time. This ensures both sides get that golden, crispy coating we are looking for. They’ll come out perfectly cooked internally and wonderfully crunchy on the outside!
Preparing Tortillas and Assembling Your Zesty Lime Chicken Tacos
We’ve got the crunch, we’ve got the tang; now we have to put it all together without ruining our hard work! The final assembly step is fast, but you have to treat those tortillas right. Remember, we worked hard to get that chicken shatteringly crispy, so we do not want to steam it by wrapping it in a wet towel and setting it on the counter for twenty minutes!
If you’re making these **Zesty lime chicken tacos**, you want the tortillas soft but not soggy. My favorite way is totally dry; just get a skillet or a cast iron pan over medium heat. Toss your corn or flour tortillas in there for about 30 seconds on each side. You’ll see those little brown toast marks start to appear, and the whole thing smells wonderful. That’s how you know they are ready—they are flexible and warm, perfect for holding all that filling.
If you are truly running behind schedule, heating them in the microwave wrapped in a slightly damp paper towel for about 30 seconds works to soften them up, but honestly, the skillet does give them a better flavor base. Don’t let them sit around once they are warm, or they’ll stiffen up again!
Assembly time! This is the fun part where you get to see the final product of all your efforts. Lay out your warmed tortillas. You want to start by placing a good amount of that perfectly golden, crispy chicken right down the center. Don’t overstuff them right away; give yourself room to add the sauce and toppings.
Now, go easy on my Garlic Lime Sauce recipe—just kidding, drizzle it liberally! You want that cool, creamy tang dripping down the sides of the hot, crunchy chicken. Once the sauce is on, hit it with your toppings. I love the crunch of shredded cabbage mixed with the crumbly saltiness of cotija cheese. A few thin slices of radish add a beautiful color pop, too. Serve these immediately, and prepare for happy noises!
Serving Suggestions for Gourmet Chicken Tacos
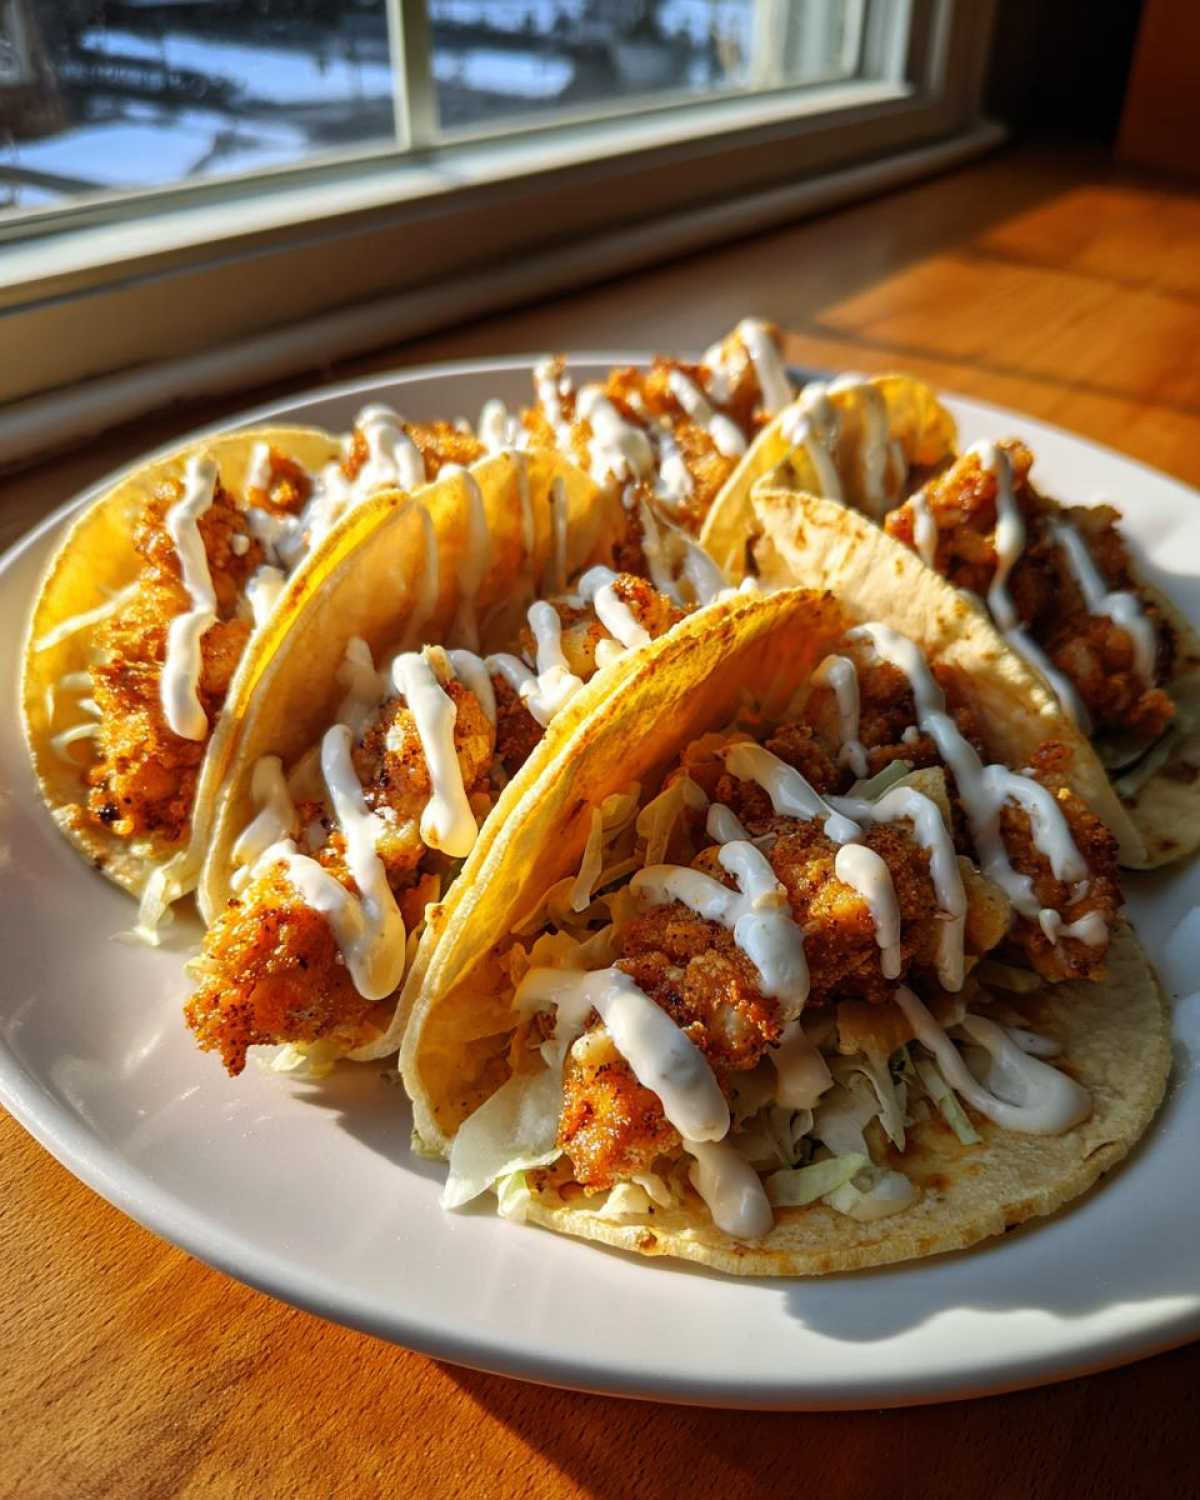
We’ve got the crunchy chicken and that vibrant Garlic Lime Sauce, but what takes these tacos from Tuesday dinner to “gourmet” status? Toppings that add another layer of texture or cut right through that richness! You want balance, right? These are some of my go-to additions that really complement that zesty flavor profile we spent all that effort creating.
First off, you need something cool and fresh. Shredded cabbage works wonders because it gives you that light, watery crunch right underneath all that savory chicken. Cotija cheese is non-negotiable for me; its salty, crumbly nature just melts perfectly on top.
If you want to step it up even more, think about adding a simple fruit salsa. Since the sauce is so heavy on lime, something sweet and a little spicy plays beautifully. I highly recommend a pineapple or corn salsa with a tiny bit of heat. If you’re feeling adventurous and want a salsa recipe that really sings with these flavors, you should check out my strawberry peach habanero salsa recipe—it has loads of lime in it, too!
And don’t forget the radishes! Thinly sliced radishes add this beautiful pop of pink color and a little peppery bite that cleanses your palate between these amazing, flavorful bites.
Storage and Reheating for Crispy Chicken Tacos with Garlic Lime Sauce
Okay, let’s talk about leftovers because nobody wants to eat a second-day soggy taco—it’s a culinary tragedy! If you somehow manage to have any of these incredible **Crispy Chicken Tacos with Garlic Lime Sauce** left over (which I doubt, but we plan for the best!), proper storage is everything. You absolutely must keep the components separate. I mean it!
The chicken, the sauce, and the tortillas all need to live independently in the fridge. Store the crispy chicken in an airtight container, but here’s my little trick: put a piece of paper towel on the bottom of the container first. This helps wick away any moisture that tries to sneak in and attack your beautiful crunch.
Your Garlic Lime Sauce will keep happily in the fridge for about four or five days. Since it’s mayo-based, just make sure it’s sealed tightly. If it seems a little stiff when you pull it out, just give it a quick whisk or add a splash of milk to loosen it back up to drizzling consistency.
Reheating the Chicken to Bring Back the Crunch
Do not, I repeat, DO NOT put the leftover crispy chicken in the microwave. That heat generates steam, and steam equals soft, mushy chicken wrap. We are not making mushy **Crispy Chicken Tacos with Garlic Lime Sauce**!
You need dry heat to revive that Panko armor! The best method is grabbing your air fryer again. Spread the chicken pieces in a single layer in the basket and heat them up at 375°F (190°C) for just about 4 minutes. They heat through fast and crisp right back up!
If you don’t have an air fryer, the oven works well too. Spread the chicken on a baking sheet, maybe slide it under the broiler for two minutes (watch it like a hawk—broilers work fast!), or just bake it at 400°F (200°C) for about 6 to 8 minutes until hot and crunchy again. Once the chicken is hot, reheat your tortillas quickly, and you’re back in business!
Frequently Asked Questions About Crispy Chicken Tacos
It’s totally normal to have questions when you are striving for the perfect **Crunchy chicken tacos** at home! Getting that balance of texture and flavor right takes a little know-how, but I’ve answered the most common things folks ask me when they try this recipe for the first time.
Can I cook the chicken without frying for these Crispy Chicken Tacos with Garlic Lime Sauce?
You certainly can bake them, but I have to be honest—they won’t achieve the *same* level of crispiness we are aiming for here. Baking is fine for a healthier option, but to get that truly professional, shattering crunch that holds up to the sauce, frying (or air frying) is the best route. If you must bake, you’ll need to use a rack over a sheet pan and bake at 425°F (220°C) until golden, maybe 18 to 20 minutes, and make sure you spray them really well. For my very best tips on oven-baking crispy chicken, you can check out my deep dive on how to make crispy chicken for tacos!
How far ahead of time can I make the Garlic Lime Sauce for tacos?
This is the beauty of the sauce! It’s great for meal prep. You can whip up that **Homemade chicken taco sauce** up to three days in advance. Keep it covered tightly in the fridge. Just remember what I mentioned earlier: it might thicken up a little bit when it’s cold, so pull it out about 15 minutes before serving, or give it a quick whisk with a tiny bit of water or milk to restore that easy drizzling consistency.
What is the absolute best oil for frying the chicken for these tacos?
When you’re making **Easy crispy chicken dinner** components like this, the oil choice matters because of the smoke point. You want something neutral that won’t leave a weird taste, and it needs to handle 350°F safely. My first choice is always canola oil because it’s economical and handles heat beautifully. Vegetable oil works just as well, and peanut oil is fantastic if you have it, though it’s a bit more expensive. Avoid using olive oil for deep frying; it smokes way too easily!
Do I have to use Panko breadcrumbs for this recipe?
If you want the absolute *best* texture, yes, you really need Panko! That’s what gives you the light, airy crunch that contrasts so well with the juicy chicken inside. Regular breadcrumbs tend to flatten out and get dense when they fry, making the chicken feel heavy rather than crunchy. For maximum crispiness in your **Zesty lime chicken tacos**, stick with Panko!
Estimated Nutritional Data for Crispy Chicken Tacos with Garlic Lime Sauce
Since we are frying up some of the best **Taco night recipes with sauce** around, I always like to be upfront about what we are putting into the mix. Please remember that these numbers are just estimates, and they can change wildly depending on how much oil your chicken actually absorbs and exactly how heavy-handed you are with that amazing Garlic Lime Sauce!
The following data is calculated based on the serving size of 3 tacos, including the fried chicken and a standard amount of sauce. If you load up on extra cheese or heavy toppings, you’ll need to adjust accordingly!
- Serving Size: 3 tacos
- Calories: 550
- Fat: 28g (But hey, most of that is the good unsaturated kind!)
- Saturated Fat: 5g
- Protein: 35g (Great fuel for your evening!)
- Carbohydrates: 45g
- Sugar: 4g
- Sodium: 750mg
Crispy Chicken Tacos with Garlic Lime Sauce

A recipe for making exceptionally crispy chicken pieces for tacos, served with a bright, homemade garlic lime sauce.
- Prep Time: 20 min
- Cook Time: 15 min
- Total Time: 35 min
- Yield: 4 servings
- Category: Dinner
- Method: Frying
- Cuisine: Mexican-Inspired
- Diet: Low Fat
Ingredients
- 1.5 lbs boneless, skinless chicken breasts, cut into 1-inch pieces
- 1 cup all-purpose flour
- 1 teaspoon salt
- 1/2 teaspoon black pepper
- 1/2 teaspoon paprika
- 1/4 teaspoon cayenne pepper
- 2 large eggs, beaten
- 1 cup panko breadcrumbs
- Vegetable oil, for frying (about 2 inches deep)
- 12 small corn or flour tortillas
- For the Garlic Lime Sauce:
- 1/2 cup mayonnaise
- 1/4 cup sour cream or Greek yogurt
- 3 cloves garlic, minced
- Juice of 2 limes (about 1/4 cup)
- 1 tablespoon chopped fresh cilantro
- 1/2 teaspoon salt
- Toppings (optional): Shredded cabbage, cotija cheese, sliced radishes
Instructions
- Prepare the chicken coating: In a shallow dish, mix flour, salt, pepper, paprika, and cayenne. In a second dish, place the beaten eggs. In a third dish, place the panko breadcrumbs.
- Dredge each chicken piece first in the flour mixture, shaking off excess. Dip it into the egg, letting excess drip off. Finally, press the chicken firmly into the panko breadcrumbs to coat completely. Place coated chicken on a plate.
- Make the Garlic Lime Sauce: In a small bowl, whisk together the mayonnaise, sour cream, minced garlic, lime juice, cilantro, and salt until smooth. Taste and adjust seasoning if needed. Set aside.
- Heat the oil in a deep skillet or Dutch oven to 350°F (175°C). If you do not have a thermometer, test the oil by dropping a small breadcrumb in; it should sizzle immediately.
- Carefully add the coated chicken to the hot oil in batches, ensuring not to overcrowd the pan. Fry for 4 to 6 minutes, turning occasionally, until the chicken is golden brown and cooked through (internal temperature of 165°F or 74°C).
- Remove the crispy chicken with a slotted spoon and place it on a wire rack set over a paper towel-lined baking sheet to drain excess oil. Sprinkle lightly with salt immediately after removing from oil.
- Prepare the tortillas: Heat a dry skillet over medium heat. Warm each tortilla for about 30 seconds per side until soft and pliable. Alternatively, wrap them in a damp paper towel and microwave for 30 seconds.
- Assemble the tacos: Place a portion of crispy chicken inside each warm tortilla. Drizzle generously with the Garlic Lime Sauce. Add your desired toppings, such as shredded cabbage and cotija cheese. Serve immediately.
Notes
- For an air fryer method, spray the coated chicken lightly with cooking spray and cook at 400°F (200°C) for 10 to 12 minutes, flipping halfway through, until golden and crisp.
- Use chicken tenders instead of cut breasts for a different shape.
- If you prefer a thinner sauce, add one teaspoon of water or milk to the sauce mixture.
Nutrition
- Serving Size: 3 tacos
- Calories: 550
- Sugar: 4
- Sodium: 750
- Fat: 28
- Saturated Fat: 5
- Unsaturated Fat: 23
- Trans Fat: 0
- Carbohydrates: 45
- Fiber: 3
- Protein: 35
- Cholesterol: 110