

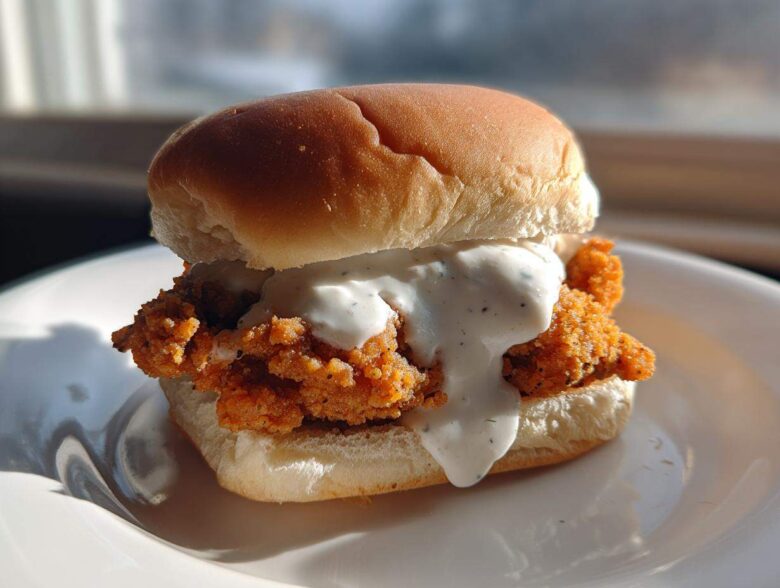
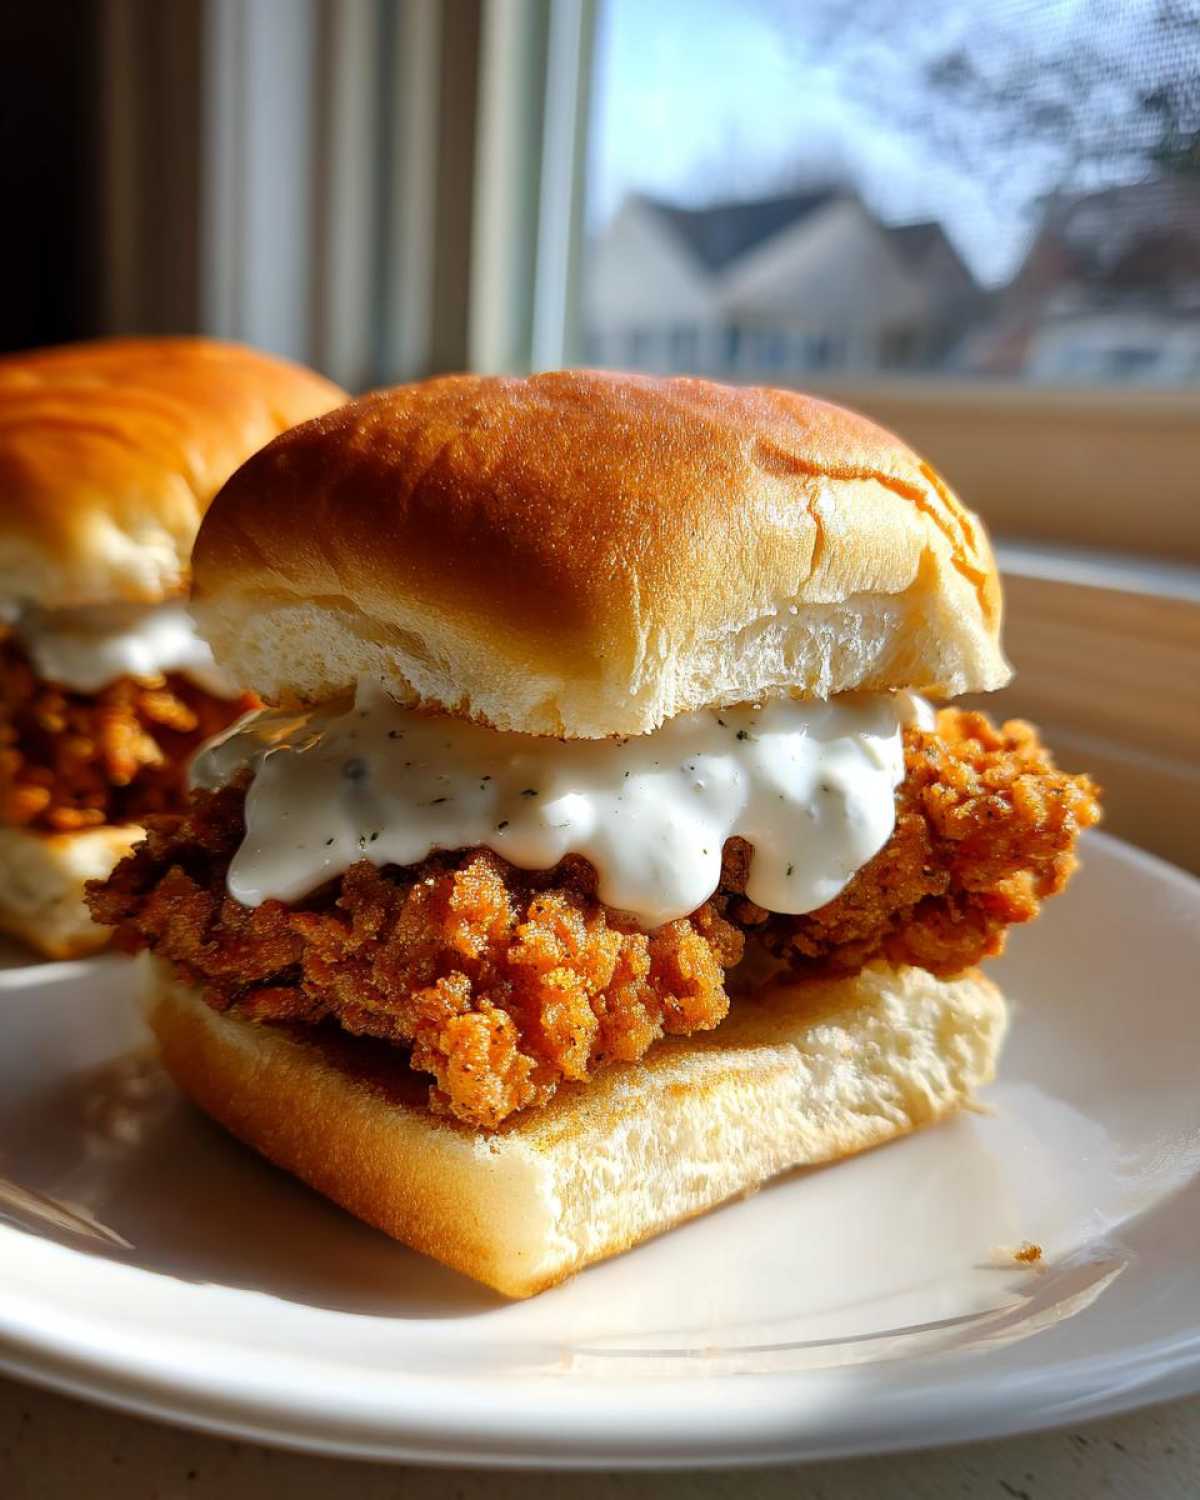
Look, if you’re hosting game day or just deciding what to make for a super satisfying weeknight treat that feels fancy but isn’t, you need these in your life. I spent ages testing different breading ratios—seriously, my kitchen looked like a flour bomb went off—just to master that shatteringly crisp coating you crave. That crunch, paired with spicy, tangy bites of chicken nestled on soft mini buns and smothered in my homemade, punchy garlic sauce? It’s perfection.
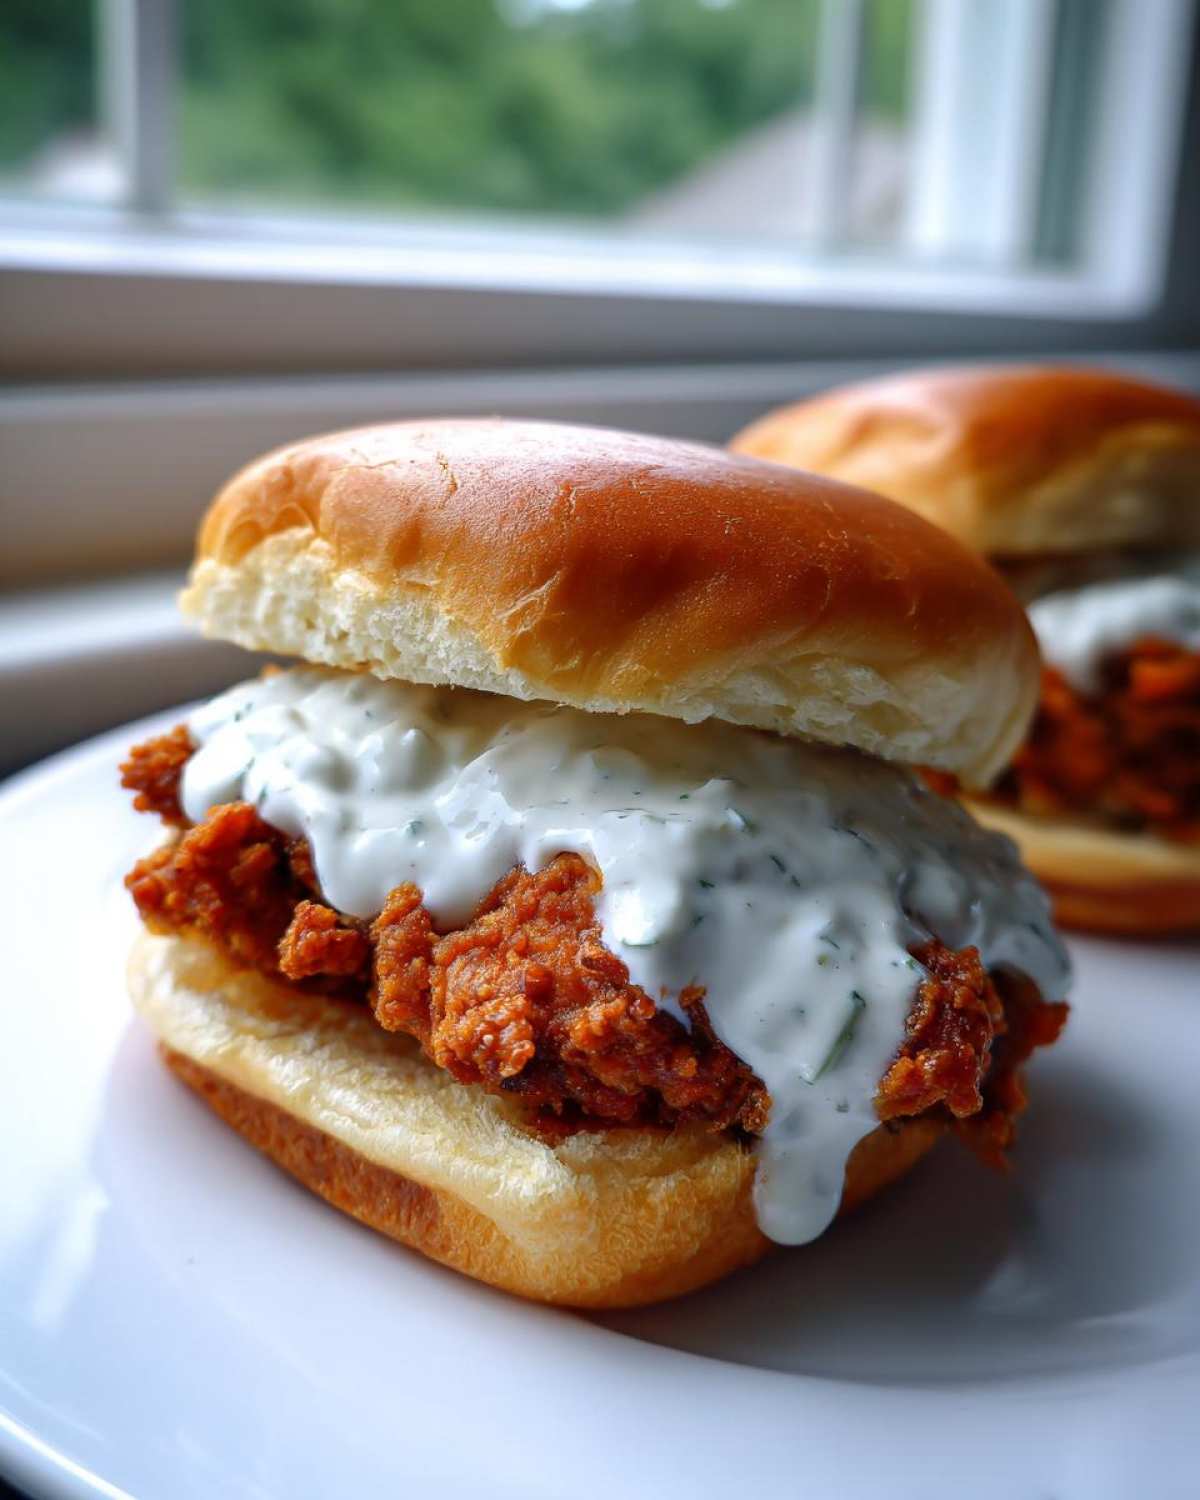
Forget soggy sandwiches; these Crispy Chicken Sliders with Garlic Sauce stay unbelievably crisp. Trust me, the secret is in the buttermilk and that tiny bit of cornstarch in the dredge. They’re small, they’re easy to handle, and honestly, you can’t have just one. Get ready to wow everyone! For more quick dinner ideas and tips, check out what else is cooking over on my main food blog.
Why This Crispy Chicken Sliders with Garlic Sauce Recipe Works
When you need something that travels well from the kitchen to the couch without collapsing into mush, this recipe is your winner. It hits all the right notes every single time, which is why I keep coming back to it for parties.
- Ultimate Crisp: We achieved a shatteringly crunchy exterior that holds up, even when stacked on the bun.
- Big Flavor Impact: The homemade garlic sauce is the star—it’s bright, garlicky, and cuts through the richness of the fried chicken perfectly.
- Perfect Size: They are small batch, built for appetizers, Game Day munching, or a fun, lighter family dinner. Check out this link for more party appetizer ideas!
Achieving the Ultimate Crunch on Your Crispy Chicken Sliders
Crispiness isn’t luck; it’s chemistry! Two things make the coating unbeatable for these sliders. First, the quick buttermilk brine helps tenderize the chicken and gives the flour something sticky to grab onto. Second, we mix cornstarch right into the flour coating. That cornstarch is the secret weapon; it absorbs surface moisture during frying, giving you that satisfying, jagged crunch that lasts!
Gathering Ingredients for Crispy Chicken Sliders with Garlic Sauce
Alright, let’s get organized! Making these sliders is simple, but you need to make sure you have all your components ready before you start frying or air frying, because once that chicken is coated, it needs to go straight into the heat. Don’t try to rush the brine—that downtime is crucial for tenderizing the meat!
We’ve broken the ingredient list down so you can easily gather everything for the chicken first, then the sauce, and finally what you need to pile it all onto. If you’re thinking about making these in the air fryer, I have tons of tips over on my air fryer slider page!
For the Crispy Chicken Breading and Brine
This is the part that delivers the crunch, so pay close attention to dividing the wet versus the dry!
- 1 lb boneless, skinless chicken breast, cut into 12 small pieces
- 1 cup buttermilk
- 1 teaspoon salt
- 1/2 teaspoon black pepper
- 1 cup all-purpose flour
- 1/2 cup cornstarch
- 1 teaspoon paprika
- 1/2 teaspoon garlic powder
- Vegetable oil, for frying (or cooking spray for air frying)
For the Homemade Garlic Sauce
This bright sauce pulls everything together. It’s basically a quick, fresh take on a classic Homemade Aioli Recipe built right on the spot!
- 1/2 cup mayonnaise
- 2 cloves garlic, minced
- 1 tablespoon lemon juice
- 1 teaspoon Dijon mustard
- Pinch of salt
For Slider Assembly
You just need the buns and whatever extras you love to pile on top to make these perfect mini sandwiches.
- 12 slider buns
- Optional: Shredded lettuce, pickles
Step-by-Step Instructions for Crispy Chicken Sliders with Garlic Sauce
Now for the fun part! Getting these Crispy Chicken Sliders with Garlic Sauce assembled doesn’t have to be a mess if you keep things organized. I always make my garlic sauce first so the flavors really bloom while I’m busy with the chicken crunch. It’s all about keeping that texture locked in, which takes a little bit of timing and structure. You’ll see, following these steps makes everything smooth sailing!
Marinating and Preparing the Chicken Coating
First things first: get those chicken pieces soaking! Put the chicken in a bowl and pour that buttermilk mixture over it, adding the salt and pepper. You need at least half an hour for that buttermilk to work its magic and tenderize the meat. While they’re chilling, whisk up your flour, cornstarch, paprika, and garlic powder in a wide, shallow dish for your dredging station.
When the marinating time is up, pull the chicken out, letting the extra buttermilk drip off just a bit. Then, the coating step! Dredge each piece thoroughly in the flour mix, making sure you press that coating on firmly. Seriously, push the flour into the meat—that friction creates the best rugged texture for crunch!
Making the Best Garlic Sauce for Sandwiches
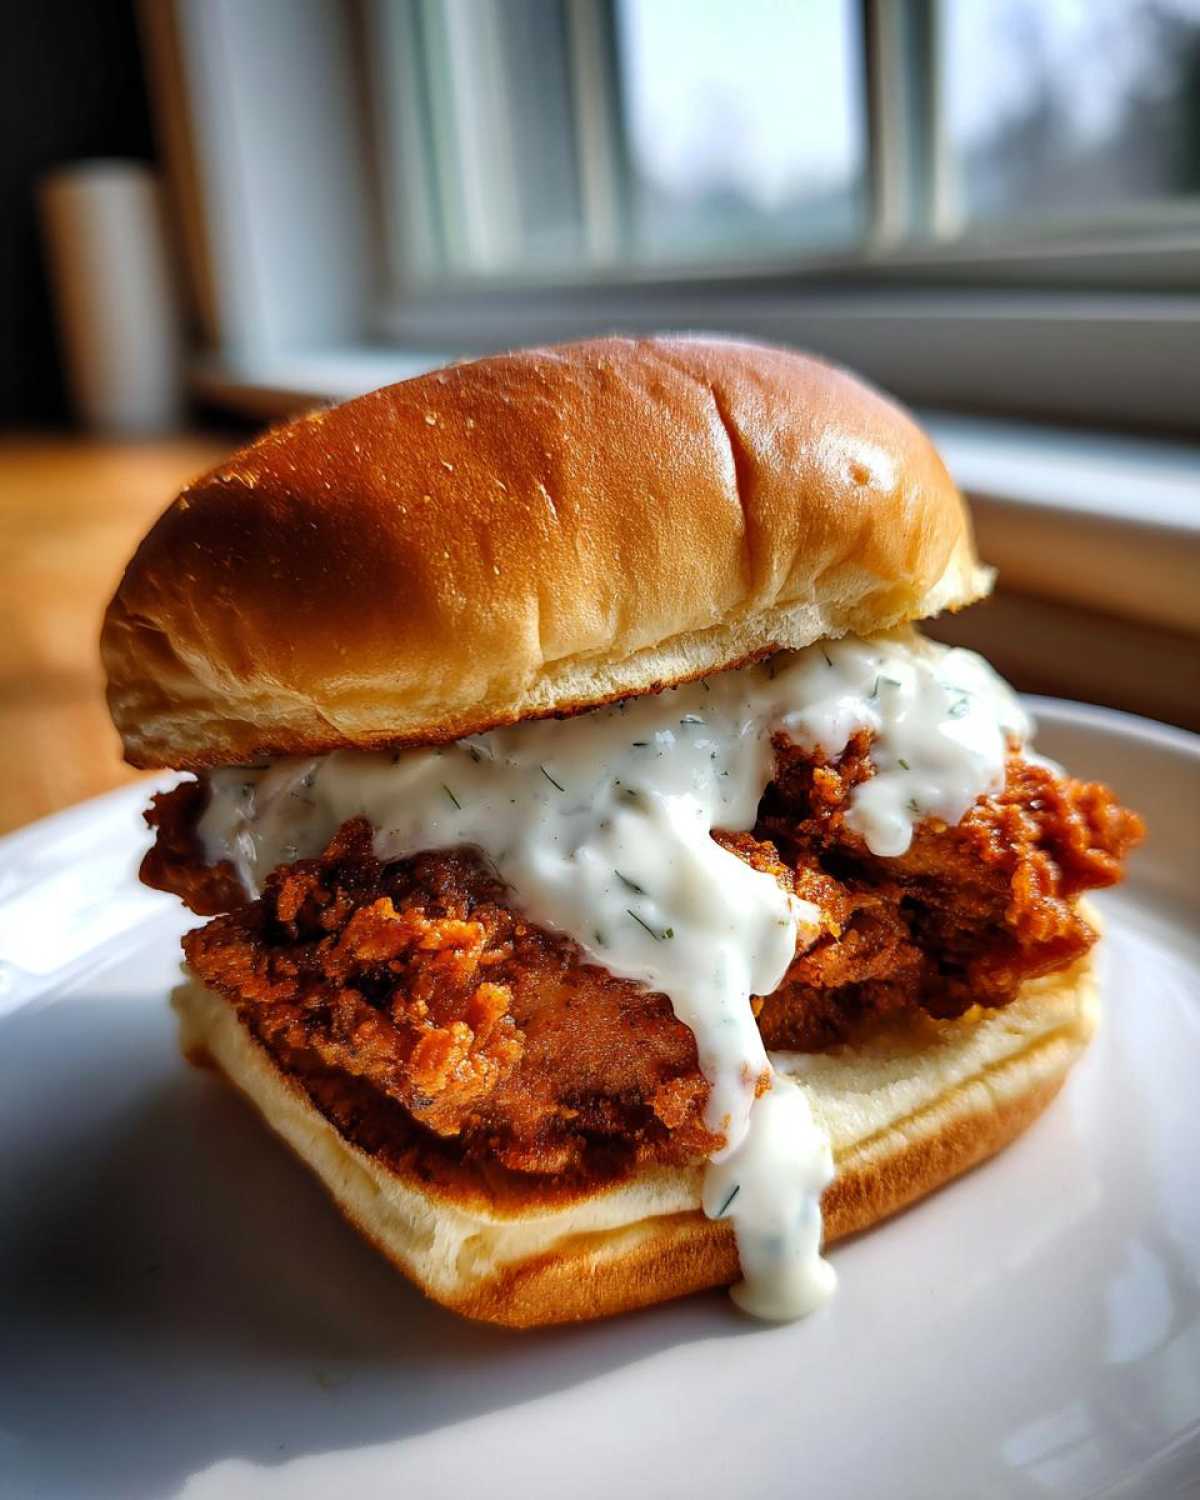
This is so incredibly easy, and it gives you the Best Garlic Sauce for Sandwiches you’ve ever tasted, no contest! Just grab a small bowl and mix your mayo, the two cloves of minced garlic (use fresh, please!), lemon juice, Dijon, and a tiny bit of salt. Whisk it until it’s totally smooth. Put a lid on it and pop it in the fridge while you handle the cooking. It really benefits from those few minutes of chill time.
Cooking Methods: Frying vs. Air Frying Your Crispy Chicken
You have two fantastic roads to glorious crunch here. If you go the frying route, you have to watch that oil—aim for a steady 350°F (175°C). Don’t try to crowd the pan, or the temperature will dip, and we’ll end up sad and greasy! Fry for just 3 to 4 minutes on each side until they turn that perfect deep golden brown. If you want to see my absolute best practices for making small batch fried chicken, check out that guide!
If you’re using the air fryer—which is totally great for speed—you must load the basket in a single layer. Spray them lightly with oil so they get golden everywhere. Cook at 380°F (195°C) for about 10 to 12 minutes total, but remember to flip them halfway through to guarantee uniform crispiness and cook them all the way through!
Assembling Your Crispy Chicken Sliders with Garlic Sauce
It’s build time! Slice those mini buns. Take your perfectly cooked, crispy chicken piece, lay it right down on the bottom bun. Now, this is where you bring that amazing sauce back out—be generous with that garlic mayo! If you grabbed any optional lettuce or pickles, stack those on last. Put the top bun on, give it a little press, and get them served right away for maximum structural integrity!
Expert Tips for Perfect Crispy Chicken Sliders with Garlic Sauce
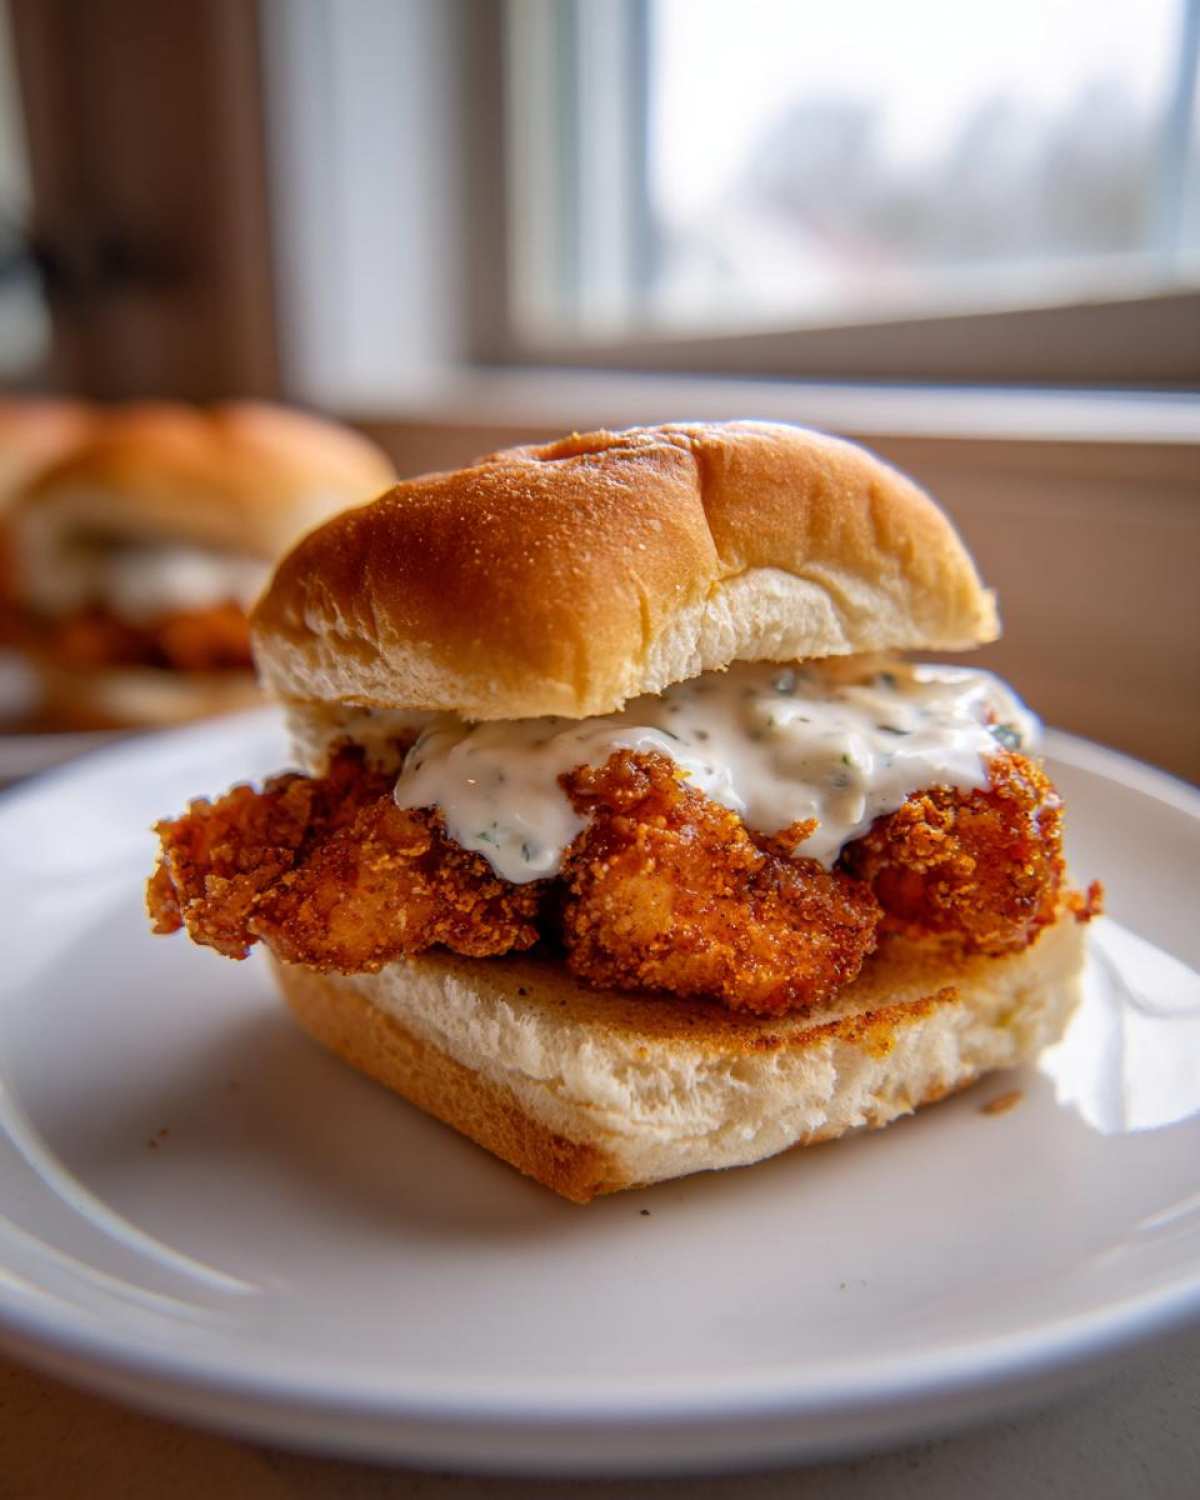
Honestly, making these sliders is easy, but if you want them to go from “good” to “absolutely legendary,” you need to pay attention to a couple of little secrets I figured out trying to perfect the crunch. These tiny details are what separate a nice snack from true showstopper appetizer material!
Achieving Double-Dredged Crispiness
If you really, truly want a crust that cracks when you bite into it, you need to double down on that coating. After you do the first dredge in the flour mixture, take the chicken piece for a quick, one-second dip back into the buttermilk, then immediately back into the dry flour mix. Press it on again! That second layer of coating builds up tiny little ridges that crisp up into serious crunch when they hit the hot oil. It’s all detailed in my guide on buttermilk brined chicken, and it’s a game-changer.
Spice Variations for Your Chicken Coating
My base recipe gives you that perfect savory warmth, but sometimes you just need heat, right? For a killer kick that goes great with the cool garlic mayo, toss about a quarter teaspoon of cayenne pepper right into your dry flour and cornstarch mix. If you’re looking for more ways to spice things up, I’ve written about a bunch of spicy chicken slider variations that you can totally adapt here!
Serving Suggestions for Your Crispy Chicken Sliders with Garlic Sauce
These little guys are superstars all by themselves, especially when you’re watching a big game! They make phenomenal Game Day slider recipes because they are easy to hold and don’t require a fork. But if you want to fill out the plate, keep things bright and refreshing to contrast that rich, crispy chicken.
Think about adding crisp, crunchy sides. Quick vinegar slaw or thin, salty potato chips are wonderful complements. For a few more Savory Slider Toppings you can add right on the bun, try layering thin slices of sweet onion or even a tiny bit of finely sliced jalapeño if you need even more heat!
Storage and Reheating Instructions for Leftover Crispy Chicken
Now, I’ll be honest, these sliders are best eaten the *second* they are assembled. If you have leftovers, the real key is isolating the crunchy chicken from the sauce and bun!
Store the leftover crispy chicken pieces in an airtight container in the fridge—don’t stack them too tightly, or they’ll steam! When you’re ready to eat them again, skip the microwave completely. It’s a soggy-chicken disaster waiting to happen. Pop the chicken back in an air fryer or a hot oven (around 400°F) for about five minutes. That blast of dry heat brings back most of that beautiful crunch we worked so hard to achieve!
Frequently Asked Questions About Crispy Chicken Sliders with Garlic Sauce
It’s always smart to ask questions before you dive in! I’ve rounded up the things I get asked most often when people try making these amazing Crispy Chicken Sliders with Garlic Sauce for the first time. It’s usually about scheduling or making substitutions, so let’s clear those up!
Can I make the garlic sauce ahead of time?
You totally can! I think making it fresh gives you the brightest garlic flavor, but if you’re prepping for a big event, whip up that garlic sauce and store it wrapped tightly in the fridge for up to three days. What you might find is that the garlic flavor mellows slightly overnight, which isn’t a bad thing for some folks! Just make sure to let it come up close to room temperature before you spoon it onto the sliders so it spreads nicely.
What is the best way to keep the chicken crispy if I make these for a party?
Prep is key here, especially if you want to keep that crunch alive while you deal with guests. My absolute best advice for party apps is to fry or air fry the chicken pieces completely and let them cool on a wire rack (not paper towels!) for about 15 minutes to let the exterior firm up. Then, right before you serve, pile them on the buns. If you have to hold them longer, keep the cooked chicken in a single layer in a 200°F oven—the low, dry heat keeps them warm without steaming them into sogginess. It saves you from running back to the fryer constantly!
Can I use chicken thighs instead of breast for these sliders?
Oh yes, chicken thighs are a fantastic swap! They are naturally fattier and stay juicier, which means they are super forgiving if you happen to leave them in the heat a minute too long. Since thighs are a bit denser than breast pieces, you might need to add about one to two minutes to your cooking time, whether you’re frying or air frying. They absorb the brine and seasoning just as well. If you’re looking for more easy chicken slider ideas that use thighs, check that link out!
Nutritional Estimates for Crispy Chicken Sliders with Garlic Sauce
Because we all want to know what we’re putting into our bodies, especially when these little guys are so addictive! I ran the numbers based on using the deep-fried chicken method and the full amount of mayo in the garlic sauce. Please remember these are just estimates, calculated per slider, so your final numbers might look a little different depending on bun size and how heavy-handed you are with the sauce!
- Calories: 320
- Fat: 18g (Saturated Fat: 3g)
- Carbohydrates: 22g (Fiber: 1g, Sugar: 4g)
- Protein: 18g
Share Your Crispy Chicken Slider Success
Whew! We made it through the crunch, the brine, and the glorious garlic sauce! Now, it’s your turn to tell me how they turned out. Seriously, I want to see the pictures!
When you make these Crispy Chicken Sliders with Garlic Sauce, please come back and leave me a rating—five stars if they rocked your world! And if you’re looking for more inspiration for fast meals, don’t forget to browse my quick weeknight dinner sliders collection!
PrintCrispy Chicken Sliders with Garlic Sauce

Make small sandwiches with crispy, seasoned chicken and a simple homemade garlic sauce.
- Prep Time: 20 min
- Cook Time: 15 min
- Total Time: 35 min
- Yield: 12 sliders
- Category: Appetizer
- Method: Frying or Air Frying
- Cuisine: American
- Diet: Low Lactose
Ingredients
- 1 lb boneless, skinless chicken breast, cut into 12 small pieces
- 1 cup buttermilk
- 1 teaspoon salt
- 1/2 teaspoon black pepper
- 1 cup all-purpose flour
- 1/2 cup cornstarch
- 1 teaspoon paprika
- 1/2 teaspoon garlic powder
- Vegetable oil, for frying (or cooking spray for air frying)
- 12 slider buns
- 1/2 cup mayonnaise
- 2 cloves garlic, minced
- 1 tablespoon lemon juice
- 1 teaspoon Dijon mustard
- Pinch of salt
- Optional: Shredded lettuce, pickles
Instructions
- Place the chicken pieces in a bowl and cover them with buttermilk, salt, and pepper. Let this marinate for at least 30 minutes.
- In a separate shallow dish, whisk together the flour, cornstarch, paprika, and garlic powder.
- Remove the chicken from the buttermilk, letting excess drip off, and dredge each piece thoroughly in the flour mixture, pressing to coat well.
- Prepare the Garlic Sauce: In a small bowl, mix the mayonnaise, minced garlic, lemon juice, Dijon mustard, and a pinch of salt until smooth. Set aside.
- To fry: Heat about 1 inch of oil in a deep skillet to 350°F (175°C). Fry the chicken in batches for 3 to 4 minutes per side, until golden brown and cooked through (internal temperature of 165°F or 74°C). Remove and drain on a wire rack.
- To air fry: Place coated chicken in the air fryer basket in a single layer. Spray lightly with oil. Cook at 380°F (195°C) for 10 to 12 minutes, flipping halfway, until crispy and cooked through.
- Assemble the sliders: Slice the slider buns. Place a piece of crispy chicken on the bottom bun. Top generously with the garlic sauce, and add lettuce or pickles if desired. Place the top bun on the chicken.
Notes
- For extra crispiness, double dredge the chicken: dip the coated chicken back into the buttermilk briefly, then back into the flour mixture.
- You can substitute Greek yogurt for half the mayonnaise in the sauce for a lighter option.
- If you prefer a spicy kick, add 1/4 teaspoon of cayenne pepper to the flour mixture.
Nutrition
- Serving Size: 1 slider
- Calories: 320
- Sugar: 4
- Sodium: 550
- Fat: 18
- Saturated Fat: 3
- Unsaturated Fat: 15
- Trans Fat: 0
- Carbohydrates: 22
- Fiber: 1
- Protein: 18
- Cholesterol: 65