

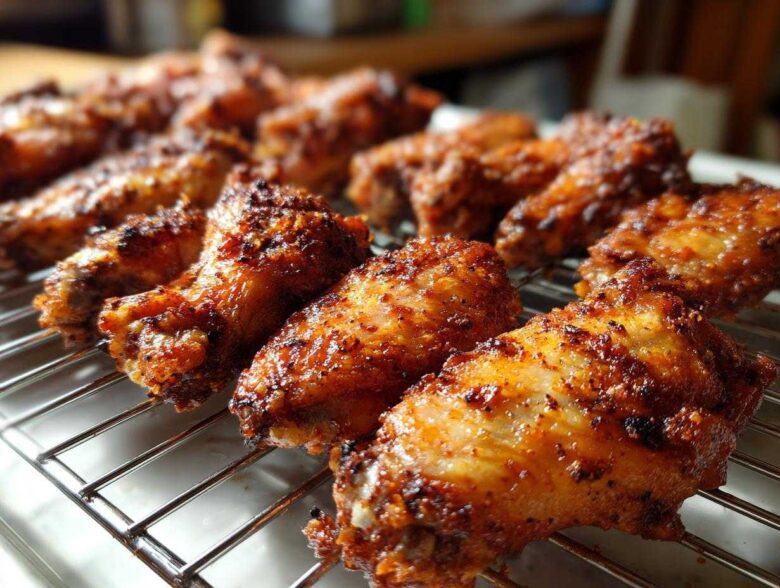
Oh, friends, have you ever endured the crushing disappointment of pulling wings out of the oven only to find them pale, floppy, and sad? I have, trust me! It feels like a kitchen failure that’s impossible to overcome without deep frying, right? Well, I’m Hana, and I’m here to tell you that we can make truly crispy baked chicken wings right in our normal oven. This recipe is all about one little magic powder that transforms the skin, giving us that satisfying shatter-crunch we crave. It’s simple, it’s clean, and it brings me so much joy to share because it proves you don’t need complicated methods for perfect food! If you want to know more about why Noah and I started sharing these simple kitchen moments, you can read all about our journey here.
Why This Baking Powder Trick Creates Amazing Crispy Baked Chicken Wings
I know, I know, throwing baking powder on meat sounds wild, but trust me, this is the secret weapon for achieving those legendary crispy baked chicken wings without turning on the deep fryer! Baking powder is magical here because it raises the pH level of the skin slightly. Don’t worry about the science too much, okay? All you need to know is that this change helps dry out the skin faster while it bakes. As it dries, it promotes rapid browning, giving you that beautiful golden color and the ultimate crunch everyone hunts for.
The Essential Equipment for Perfect Crispy Baked Chicken Wings
For this method to really shine, you need the right setup. We’re going to let the oven do most of the heavy lifting, but air flow is essential. Make sure you have a sturdy rimmed baking sheet, though we cover the foil for easy cleanup later! The most important piece is the wire rack. You absolutely must use a wire rack set on top of that sheet. This allows air to circulate all the way around the wing—top, bottom, and sides—which is what prevents that depressing soggy bottom we’ve all dealt with before.
Gathering Ingredients for Your Crispy Baked Chicken Wings
Okay, let’s talk supplies! Gathering these few staples is the easiest part of making your crispy baked chicken wings. We keep things simple so the crunch is the real star here. You’ll need about 2 pounds of wings, making sure they are separated into the flats and drumettes—we want them all laying flat later! Then, we mix up a quick seasoning blend including salt, pepper, paprika, and garlic powder. That’s it for the main components!
Ingredient Notes and Substitutions for Crispy Baked Chicken Wings
Listen closely on this one point: You MUST use baking powder, not baking soda. We talked about how it affects the skin’s pH, and trust me, using soda will give you a metallic, awful taste instead of crispiness. If you don’t have garlic powder, you can swap in a teaspoon of onion powder, but I really love that savory garlic flavor with the paprika. For an extra layer of flavor, you could also add a teaspoon of smoked paprika to your blend!
Step-by-Step Guide to Making Crispy Baked Chicken Wings
Okay, here is where the magic happens, and it’s all incredibly straightforward! First things first—we need that oven nice and hot. Preheat it to 425°F (220°C) before you even mix anything. We want that heat ready to shock the skin into crispiness! Lining the sheet and setting up that rack are next, just like we talked about. This whole process moves quickly once you have your space ready, and I promise, these crispy baked chicken wings will make your game day appetizer spread legendary.
The Crucial Drying and Seasoning Stage for Crispy Baked Chicken Wings
If you only listen to one thing I say today, make it this: Pat those wings bone dry! Seriously, grab a whole roll of paper towels. Noah always laughs because I stand there patting every single wing like I’m tucking it in for the night. Moisture is the enemy of crunch, so get them as dry as you possibly can. Once they are dry, toss them generously with our seasoned baking powder mix until they are totally coated. This is the key to crispy baked chicken wings that defy the oven!
Baking Technique for Maximum Crunch
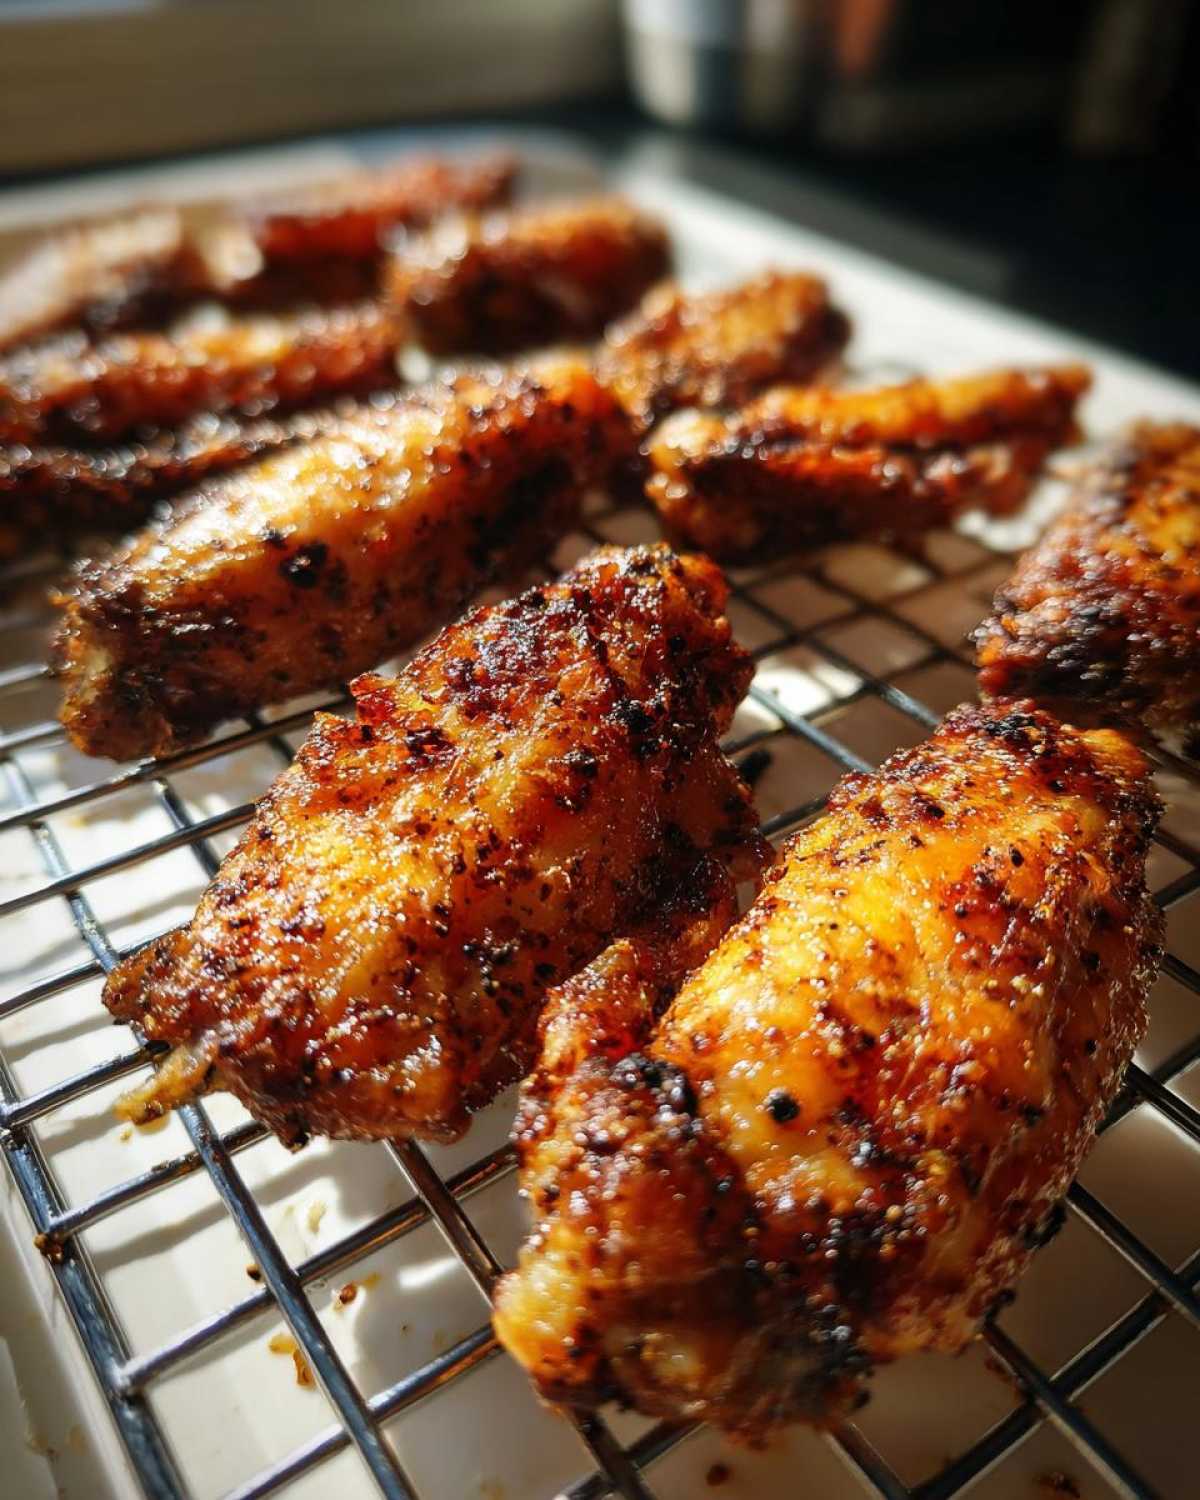
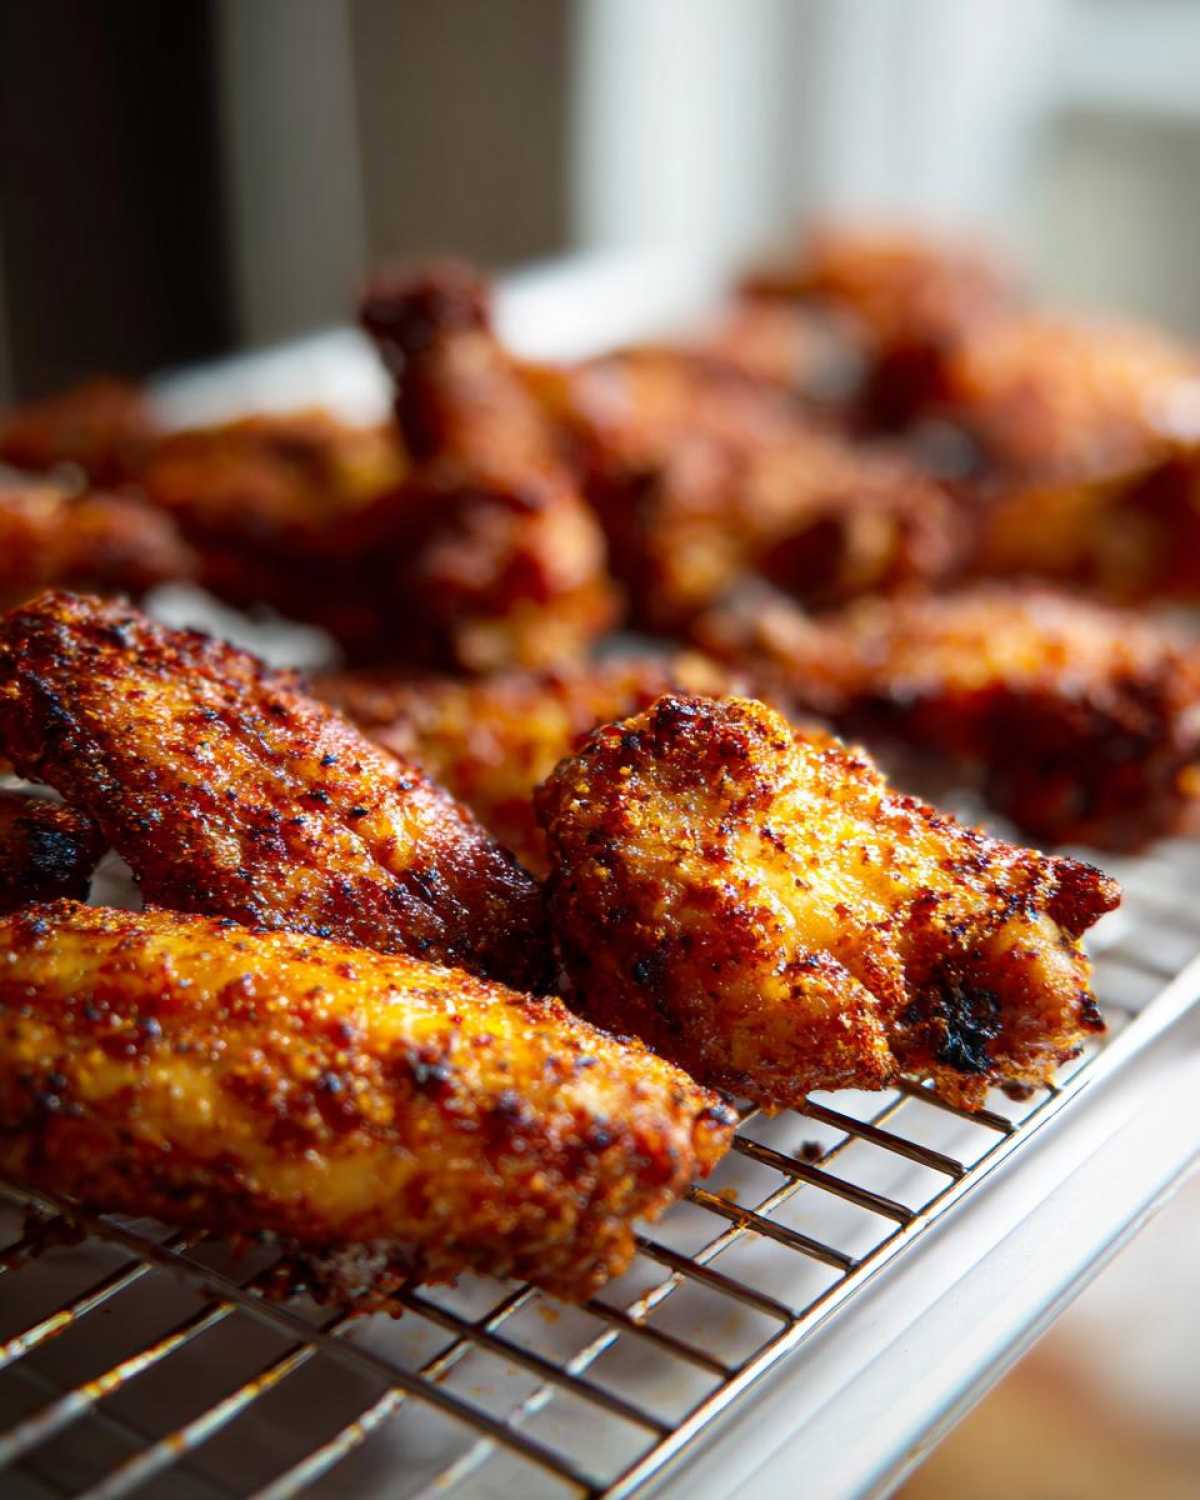
Don’t crowd your wings, ever! It’s essential they sit in a single layer on that wire rack so the hot air can actually hit every side. Slide them into the 425°F oven for exactly 20 minutes. Then, flip them over! They go back in for another 20 to 25 minutes until they look deeply golden brown and sound hollow when you tap them. For an extra-special crunch, if they look pale but are cooked through, pop them under the broiler for just 60 seconds—but watch them like a hawk, they burn fast!
If you’re looking for another great snack while you wait those 45 minutes, check out my recipe for Air Fryer Ranch Chickpeas; they are also super crunchy!
For more tips on getting that perfect shatter, take a peek at this method from our friends over at My Kitchen Kind, it really reinforces why we use that rack: Make Amazing Crispy Baked Chicken Wings At Home.
Saucing Your Crispy Baked Chicken Wings After Baking
This is the moment of truth! You’ve achieved perfection—golden, crunchy, magnificent crispy baked chicken wings. Now, if you want to keep them that way, you have to move fast! Don’t let them sit around cooling down before you sauce them. You need to toss them the second they come off that hot rack and into a clean big bowl.
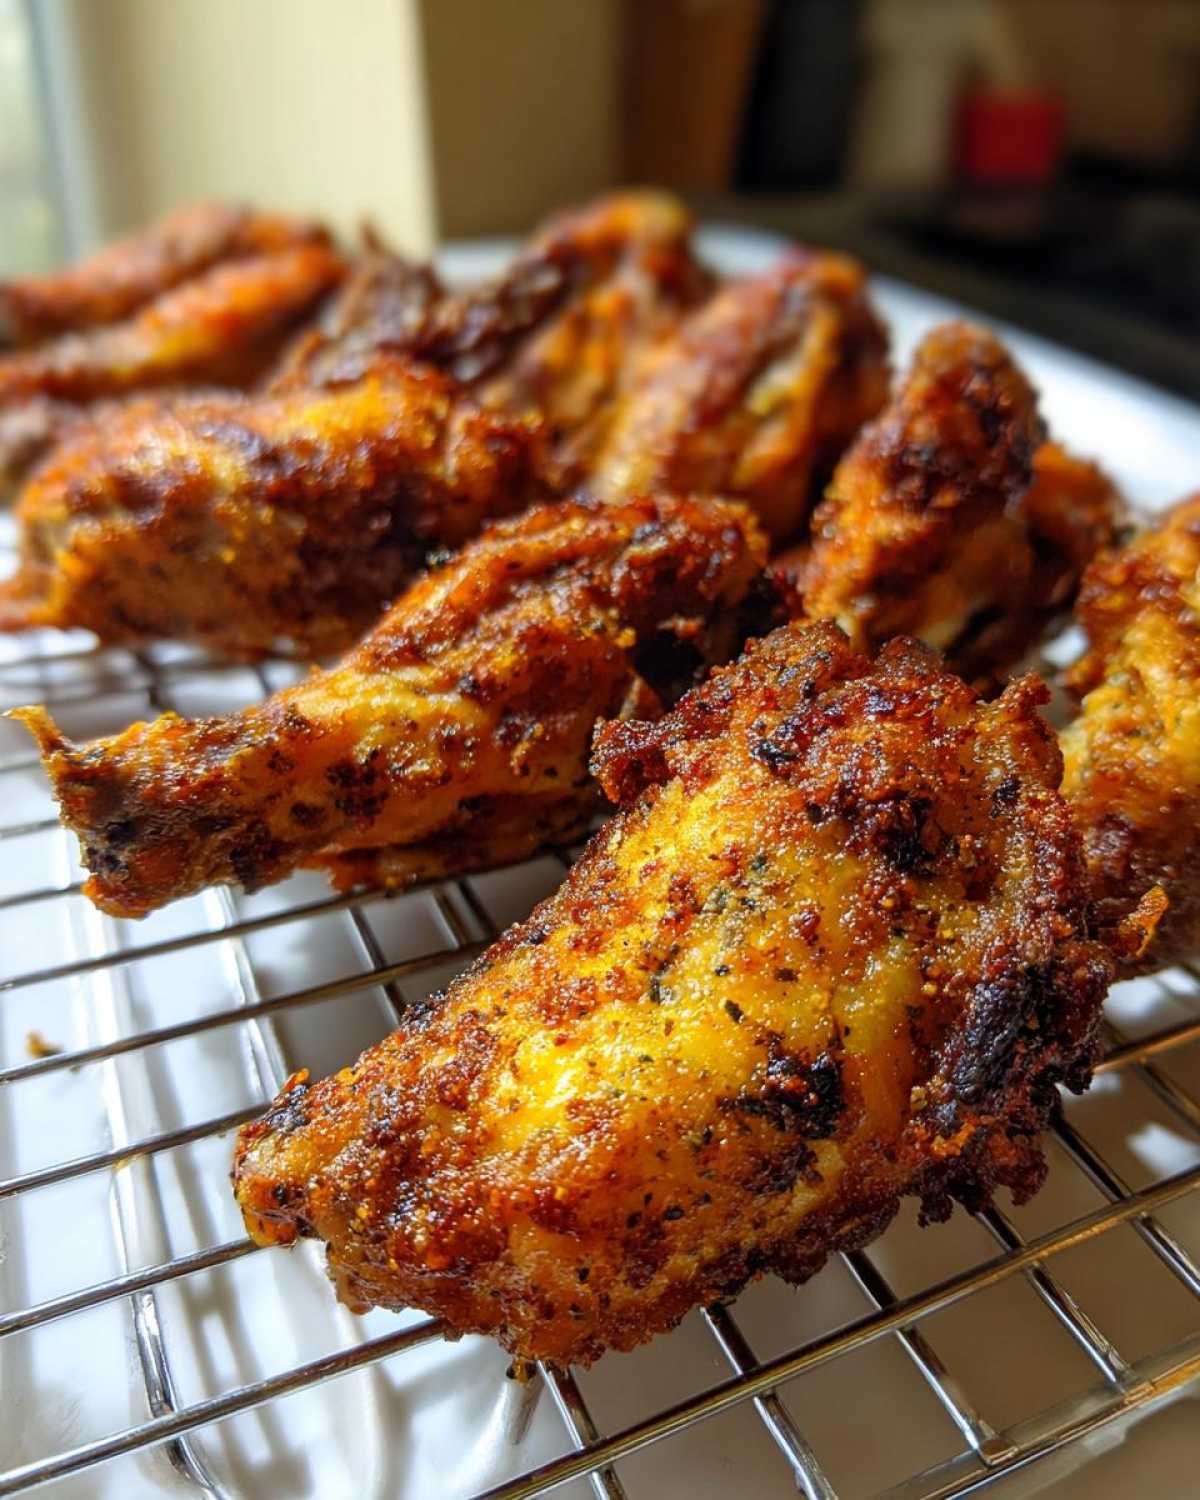
Why immediately? If the wings cool, the skin tightens up and gets less sticky. By tossing them while they are still steaming hot, the sauce adheres perfectly and warms up through to the meat without steaming the exterior and turning your amazing crispiness soggy. It’s the fastest way to get robust flavor on these crispy baked chicken wings!
If you’re looking for a great sweet and salty treat to balance out the spice of your wings, you have to try my Game Day Trail Mix. For killer sauce ideas, check out what my friends at The Chickn developed: Buffalo Style Baked Chicken Wings Recipe.
Serving Suggestions for Your Oven Baked Wings
So, you’ve got that perfect batch—juicy inside, shatteringly crisp wrapper—what now? It’s not really a wing night unless you have the classic lineup of cool, crisp sides, right? For me, this is where it all comes together, especially if the game is on or friends are over!
You simply must have celery sticks and carrot sticks nearby. They offer that cool, watery crunch that is the perfect palate cleanser between spicy wings. And of course, you need a wonderful dip. Ranch is classic, but if you want to up the flavor game, my Jalapeño Cheddar Dip is ridiculously good with wings—it’s warm, cheesy, and just spicy enough!
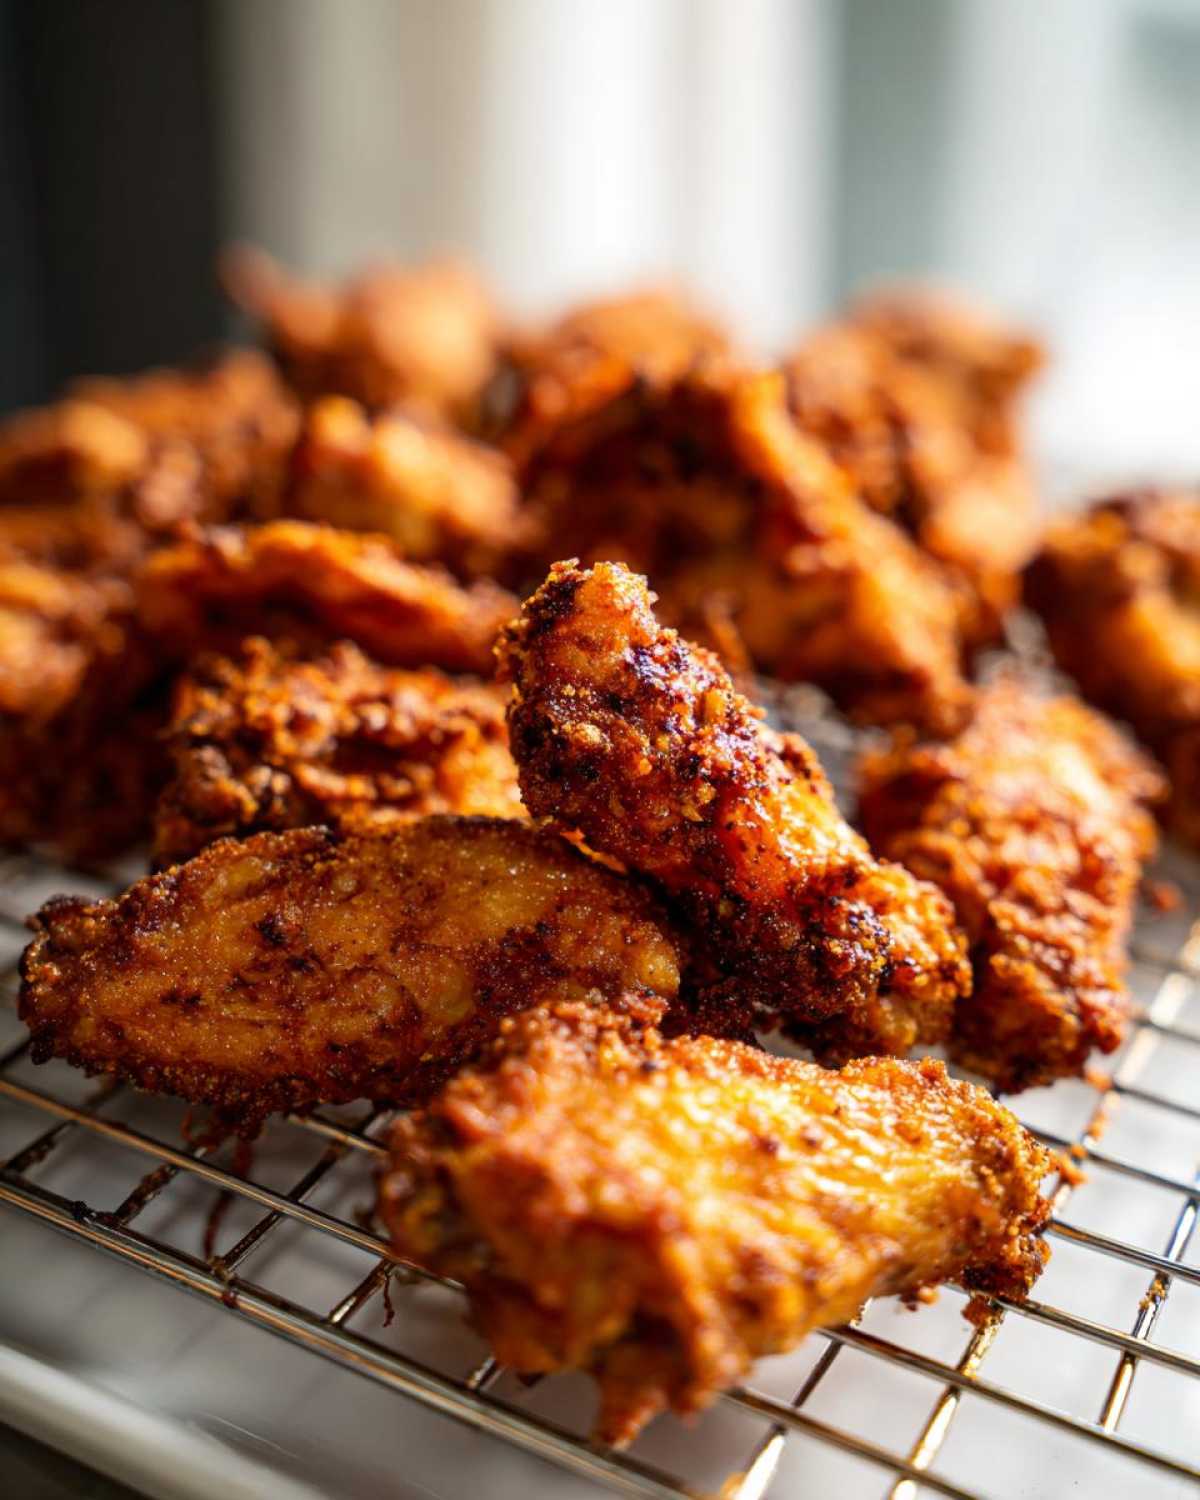
If you’re serving these as a main dish instead of an appetizer, pairing them with a simple side salad or some oven-roasted potatoes makes it a complete, satisfying meal. Don’t forget the blue cheese dressing, though! If you need more inspiration for party spreads, check out this guide from Recipe by Sara: Crispy Baked Chicken Wings.
Storage and Reheating Tips for Crispy Baked Chicken Wings
Even the best batch of crispy baked chicken wings rarely lasts long, but if you are lucky enough to have leftovers, we need to handle them carefully! The number one rule here is to store the sauce completely separately. Don’t ever toss the remaining wings in sauce if you plan on saving them; that moisture will guarantee a soggy texture overnight.
Store the plain, cooled wings in a shallow container in the fridge. When you are ready to enjoy your leftover crispy baked chicken wings again, throw them back onto a wire rack over a baking sheet and reheat them in a 375°F oven for about 8 to 10 minutes. This little trick brings back almost all of that glorious crispiness we worked so hard to achieve!
Frequently Asked Questions About Crispy Baked Chicken Wings
I totally get it; sometimes when you’re making something new, you just have practical questions pop up! We’ve all been there, staring into the oven wondering if we’ve gone too far or not far enough. Getting that perfect texture is key, and tackling these common worries will guarantee you end up with the best crispy baked chicken wings!
Can I use baking soda instead of baking powder?
Oh, please don’t! I have to say this strongly: use baking powder. While they sound similar, using baking soda instead throws off the whole flavor profile. Baking soda is much stronger and will leave a noticeable, unpleasant metallic taste on your beautifully seasoned wings. We need the lighter reaction from the baking powder to work its drying magic on the skin without altering the taste of those lovely spices.
How long can I bake chicken wings before they dry out?
That’s a great question about keeping your wings juicy! Because we bake at a higher temperature (425°F), the time stays fairly controlled—about 40 to 45 minutes total is usually perfect. If you’re worried about dryness, start checking visually around the 38-minute mark. You want the skin deep golden brown while the meat is still plump. Also, remember that the internal temperature should hit 165°F, but honestly, I trust the look of that crisp skin more for fantastic crispy baked chicken wings!
If you want to see more of my latest recipes and kitchen experiments, feel free to browse my general Blog here!
Estimated Nutritional Information for Crispy Baked Chicken Wings
I always feel a little awkward sharing this part because, honestly, when I’m making these wings for a game day gathering or a quick, fun dinner, I’m certainly not thinking about macronutrients! But because we want you to have all the information possible, I put together the numbers based on what our recipe yields, serving four people four wings each. We strive for deliciousness over exact counts, of course!
Here is our best educated guess for the nutrition facts based on the ingredients we used in the recipe. Remember, if you drown them in a sugary BBQ sauce, these numbers are definitely going to change, so keep that decision for the final toss!
- Serving Size: 4 wings
- Calories: About 250
- Fat: 15 total (with 4 grams being saturated fat)
- Protein: A whopping 26 grams! That’s why they’re so satisfying.
- Carbohydrates: Very low, just around 1 gram.
- Sodium: 350 mg
Please keep in mind that these figures are just estimates, especially since the amount of salt or the exact type of wing you use can shift these slightly. For the most detailed breakdown and to understand our general policies on nutrition estimates on Spoon Swirl, you can always check out our official disclaimer page. Happy eating, my friends!
Share Your Crispy Baked Chicken Wings Success
Now it’s your turn! I put my whole heart into perfecting these crispy baked chicken wings for you, and I absolutely love hearing how they turn out in your kitchens. Did the baking powder trick work its magic for you? Please leave a star rating below and tell me in the comments if they were game-day worthy!
If you snapped a photo of your perfect, crunchy batch, please tag us—I want to see them! For more easy, comforting food that brings people together, don’t forget to check out some other great recipes like the one shared by Thirsty Pals: Easy Oven-Fried Crispy Baked Chicken Wings Recipe. Happy baking (or wing-making)!
PrintHow to Make Truly Crispy Baked Chicken Wings Without Frying

You can achieve shatter-crisp, juicy baked chicken wings right in your oven. Follow this simple method using baking powder for the ultimate crunch, making them a perfect, healthier game-day snack or easy dinner.
- Prep Time: 10 min
- Cook Time: 45 min
- Total Time: 55 min
- Yield: 4 servings
- Category: Appetizer
- Method: Baking
- Cuisine: American
- Diet: Low Fat
Ingredients
- 2 lbs chicken wings, separated into drumettes and flats
- 1 tablespoon baking powder (not baking soda)
- 1 teaspoon salt
- 1 teaspoon garlic powder
- 1 teaspoon paprika
- 1/2 teaspoon black pepper
- Optional: Your favorite sauce for tossing (e.g., Buffalo, BBQ)
Instructions
- Preheat your oven to 425°F (220°C). Line a large baking sheet with aluminum foil for easier cleanup. Place a wire rack on top of the baking sheet.
- Pat the chicken wings completely dry using paper towels. This step is crucial for crispiness.
- In a large bowl, combine the baking powder, salt, garlic powder, paprika, and black pepper. Mix the dry ingredients well.
- Add the dried chicken wings to the bowl. Toss them thoroughly until every piece is evenly coated with the seasoning mixture. The baking powder helps dry out the skin.
- Arrange the coated wings in a single layer on the wire rack set over the baking sheet. Do not let the wings touch each other; give them space for air circulation.
- Bake for 20 minutes.
- Flip the wings over. Return them to the oven and bake for another 20 to 25 minutes, or until the skin is deeply golden brown and very crispy.
- Remove the wings from the oven. If you are using sauce, place the hot wings in a clean bowl and toss them immediately with your desired sauce until coated.
- Serve your extra crispy baked chicken wings right away with celery sticks and blue cheese or ranch dressing.
Notes
- Using a wire rack allows air to circulate completely around the wings, which is the secret to getting that shatter-crisp skin without deep frying.
- Make sure you use baking powder, not baking soda, as baking powder reacts with the chicken skin to create a crispier texture.
- If you want extra crispy wings, you can broil them for the last 1-2 minutes after baking, watching carefully to prevent burning.
Nutrition
- Serving Size: 4 wings
- Calories: 250
- Sugar: 0
- Sodium: 350
- Fat: 15
- Saturated Fat: 4
- Unsaturated Fat: 11
- Trans Fat: 0
- Carbohydrates: 1
- Fiber: 0
- Protein: 26
- Cholesterol: 90