

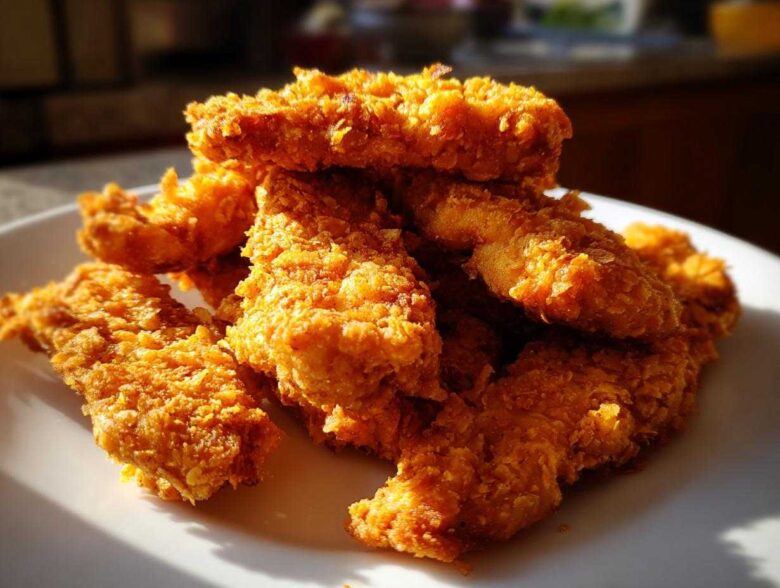
Okay, let’s talk seriously about chicken tenders. For years, I gave up on making truly crunchy tenders in the oven. They always came out either pale, soggy messes or dry little rocks. Frying? Forget it, too much oil, too much cleanup, and honestly, I just don’t want to deal with that mess on a Tuesday night!
But friends, I cracked the code. I finally perfected the technique that gives you that amazing, deep-fried *crunch* using just your oven and some humble cornflakes. I spent way too many afternoons testing buttermilk soaks and spray techniques so you don’t have to. This recipe for Crispy Baked Chicken Tenders with Cornflake Crust is the game-changer your weeknight dinners have been begging for. Trust me when I say, the whole family will ask if you snuck out to the fryer!
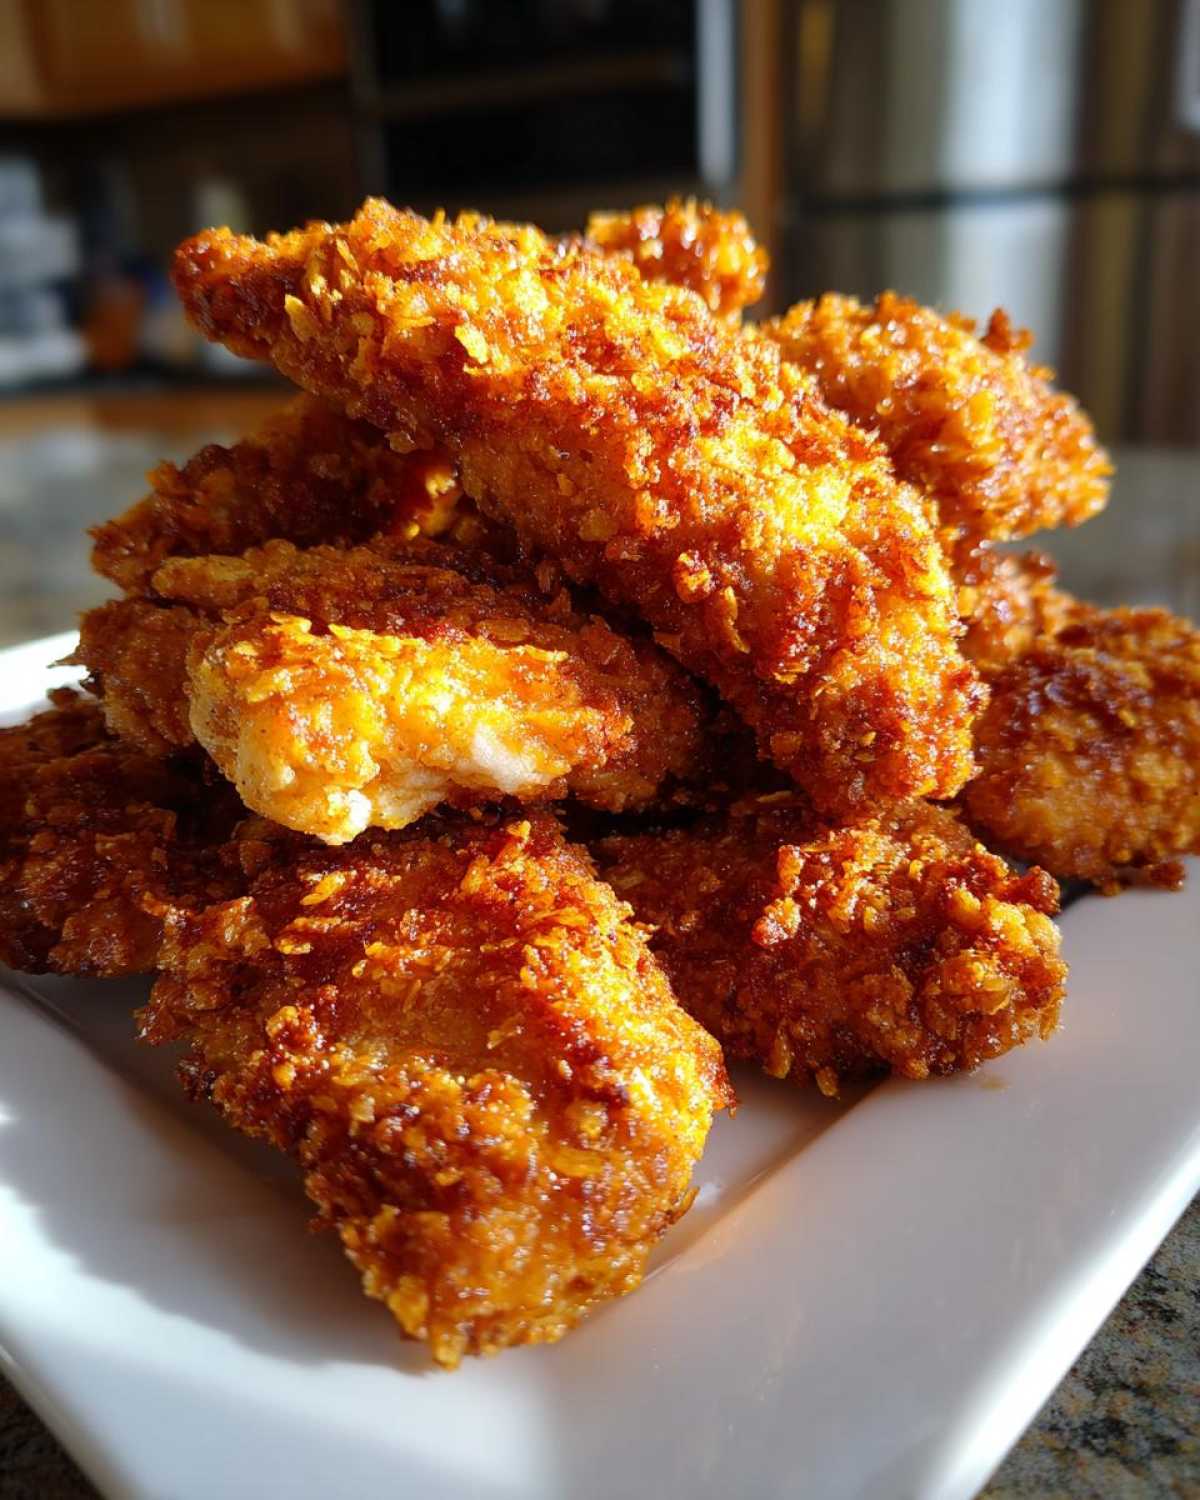
If you want the full breakdown on all my baking secrets, you can always check out more tips over on the main blog page—but this recipe is the star!
Why This Crispy Baked Chicken Tenders with Cornflake Crust Recipe Works (E-E-A-T)
The reason these tenders don’t turn into sad, floppy chicken sticks is all in the prep work. We’re fighting moisture at every turn! That quick 15-minute soak in buttermilk isn’t just for flavor; the acid in the buttermilk actually tenderizes the meat *and* helps the flour grip tightly. That’s step one of our perfect Oven Fried Chicken Tender Technique.
Then, we rely on two things to get that golden color and crunch: we coat them thoroughly—and I mean really press that crust on—and then we hit the tops with a good amount of cooking spray. That spray mimics the fat from deep frying, encouraging rapid crisping in the oven.
The Secret to Crunchy Coating Chicken Breast
You absolutely must crush your cornflakes right. If they are too big, they pop right off the chicken when you flip them. If they are turned into dust, you lose that great texture! I love using a Ziploc bag and a rolling pin because it gives me control—I want a mix of very fine crumbs for adherence and some slightly larger shards for that satisfying crunch.
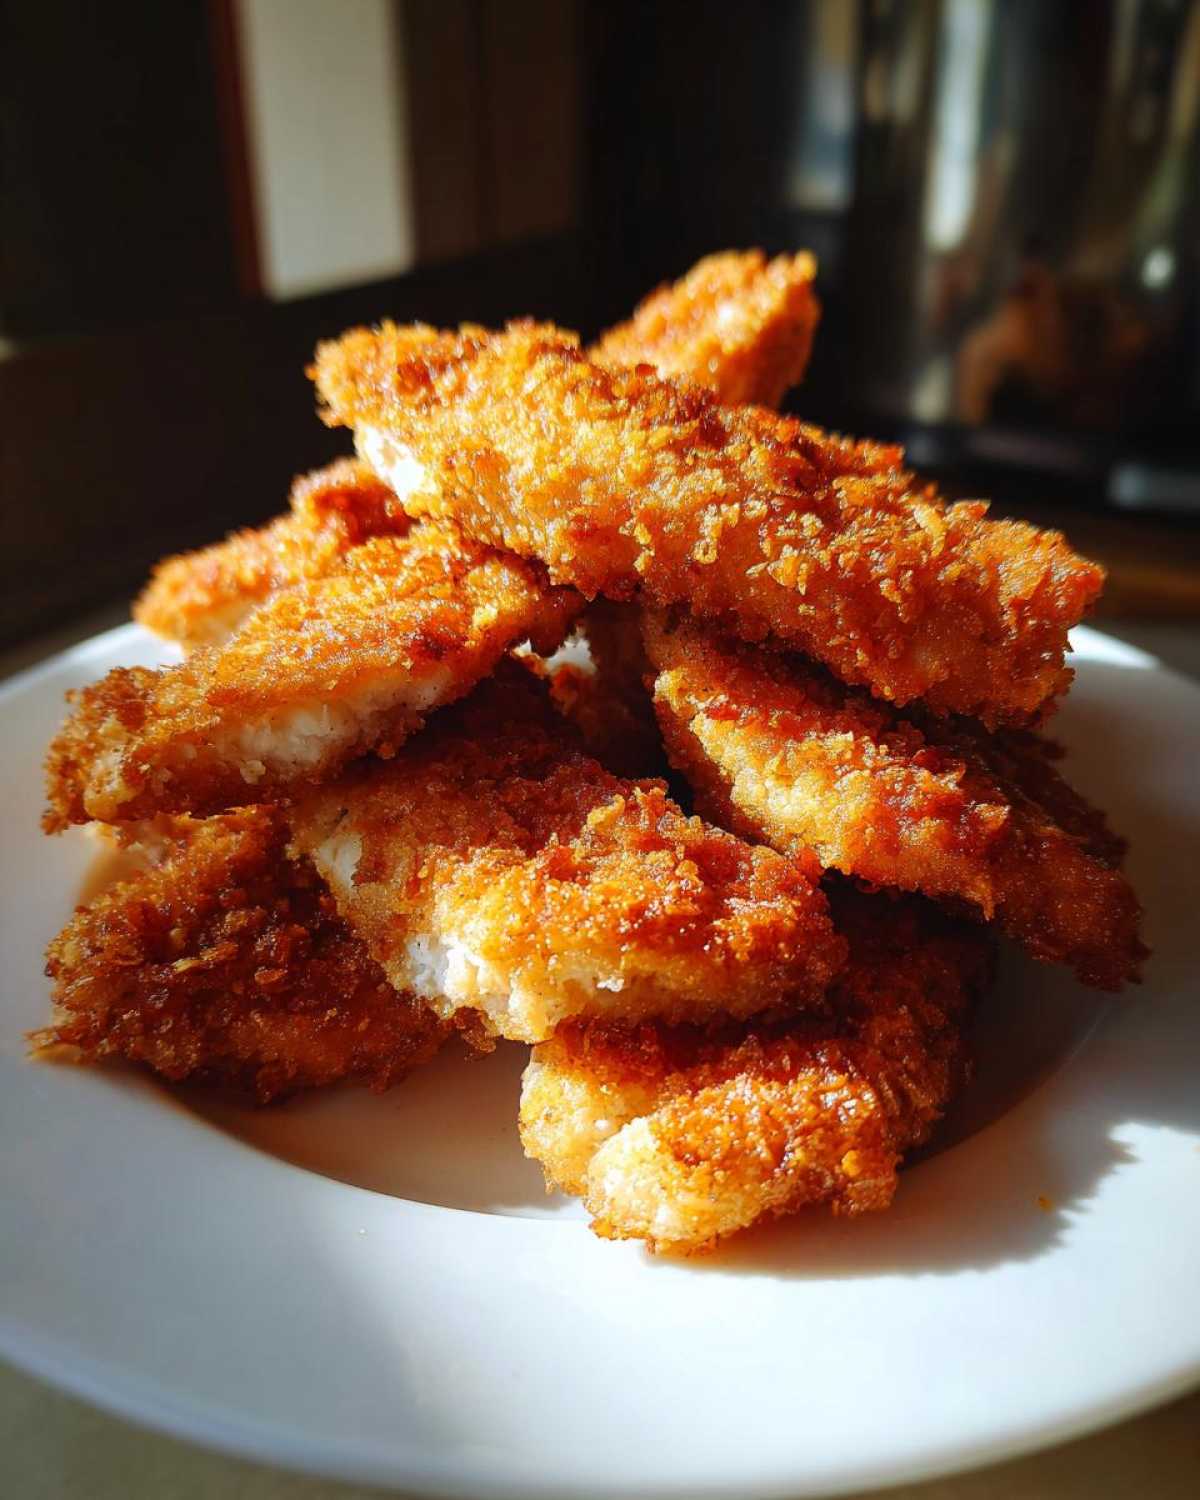
And listen to this part, because it’s cheating: you need air underneath! If you have a wire rack, put it on top of your baking sheet. Setting the tenders on the rack lets heat circulate completely around the bottom, so you don’t end up with a soggy underside. Total game-changer for getting that all-over crispiness.
Ingredients for Crispy Baked Chicken Tenders with Cornflake Crust
You don’t need a ton of fancy stuff for these, which is why they work so well for a weeknight meal! The magic is in the quantities and the setup. Just make sure you have your three dishes ready to go for the breading station before you even pull the chicken out of the buttermilk soak.
Here’s what you need to gather:
- 1.5 lbs boneless, skinless chicken breasts, and make sure you cut these into nice, even 1-inch strips. Uniform size means uniform cooking!
- 1 cup buttermilk—this is non-negotiable for the best texture.
- Just 1 teaspoon of salt, 0.5 teaspoon black pepper, and 1 teaspoon garlic powder for the marinade flavor.
- 2 cups of cornflakes. Don’t use the sugary ones, though! You will crush these finely, so have your food processor or rolling pin ready.
- 0.5 cup all-purpose flour for the first dip.
- 2 large eggs, which you’ll just lightly beat—not too frothy.
- And finally, you need cooking spray! Don’t skimp on spraying the tops before they go in the oven.
That’s it! Simple pantry staples that transform into the crunchiest chicken you’ve ever made without frying a single one. It’s amazing what a little buttermilk can do, honestly.
Step-by-Step Instructions for Perfect Crispy Baked Chicken Tenders with Cornflake Crust
Alright, let’s get cooking! Baking these to perfection requires a smooth assembly line process, which is why setting up your station first is so important for the best Tips for Crispy Baked Coating. You want everything ready to go before that chicken comes out of the buttermilk bath!
First things first, make sure your oven is blasting away at 400 degrees Fahrenheit (200 degrees Celsius). I always line my sheet pan with parchment paper—it saves scrubbing! Then, grab your cooking spray and give that pan a good, even coating. We are baking, but we are treating this almost like a shallow fry on top!
You can find more great meal ideas in my Dinner category if you need inspiration for sides!
Preparing the Chicken and Setting Up the Breading Station
While your oven heats up, get that chicken bathing! Mix your buttermilk with the salt, pepper, and garlic powder in a simple bowl. Toss those 1-inch strips in there. No less than 15 minutes, okay? I often let mine sit for 20 if I’m prepping veggies or grabbing bowls. This is crucial for flavor and surface moisture management!
Now, this is the three-step sequence: Dish one gets your flour. Dish two holds your lightly whisked eggs. And Dish three? That’s your finely crushed cornflakes. Take a piece of chicken out of the buttermilk, let the extra drip off—seriously, don’t skip the drip—then dredge it fully in the flour first. Shake off the excess flour!
Next, straight into the egg bath. Don’t let it sit! Immediately press that wet piece firmly into the cornflakes. You have to really press the coating on with your fingers. They won’t stick well if you just gently toss them in there. Make sure every bit is covered, then place it on your prepared, sprayed pan in a single layer. Remember, no touching!
Baking Time and Temperature for Crispy Baked Chicken Tenders with Cornflake Crust
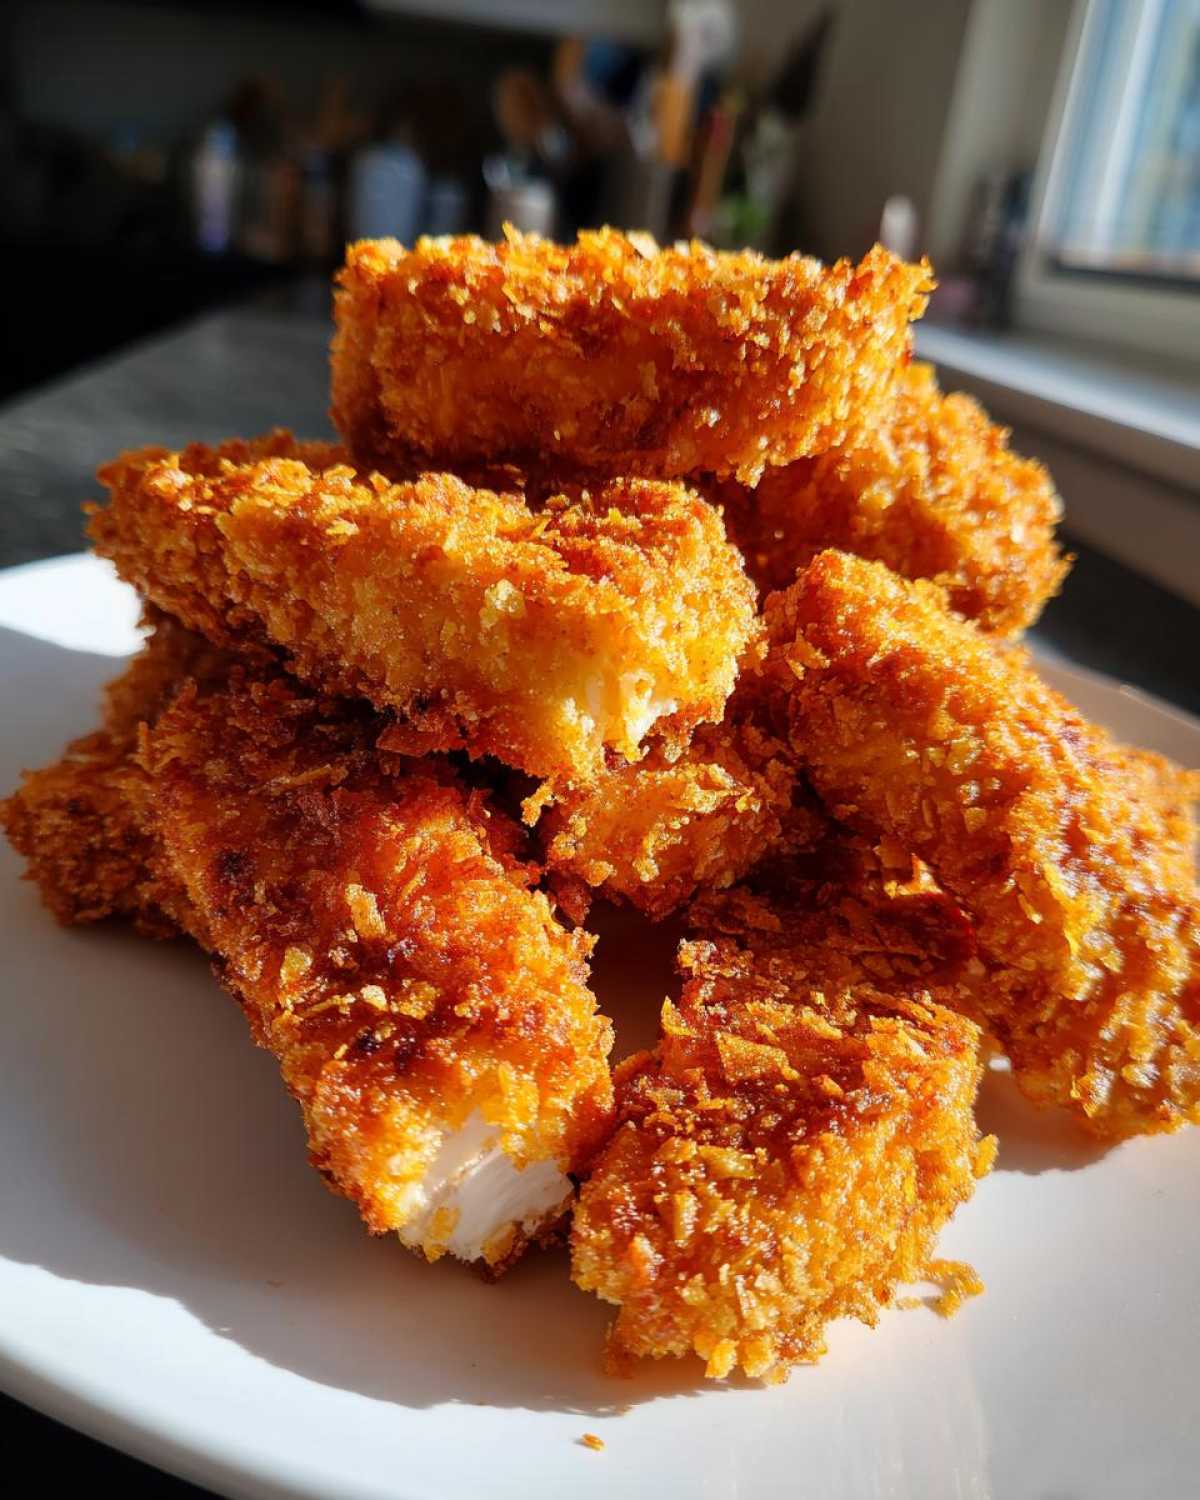
Once they are all breaded and happily sitting on the pan (and you’ve sprayed the tops!), it’s time for the heat! Pop them in your preheated 400°F oven. They need about 18 to 22 minutes total to cook through perfectly.
Here’s the magic halfway step: at the 10-minute mark, you must carefully flip every single tender. This ensures both sides get that amazing golden, crunchy crust we are chasing. Don’t worry about the spray on the second side; the pan spray underneath helped crisp the bottom, and the heat will crisp the top as they bake.
You are done when the crust is golden brown and looks super crunchy, and the internal temperature hits that safe 165 degrees Fahrenheit (74 degrees Celsius). If you don’t believe it’s done, check with a thermometer, that’s way better than guessing!
Tips for Success with Your Cornflake Chicken Coating Tutorials
Phew! If you followed those steps, you should have some incredibly crunchy tenders, but let’s nail down a few final bits of wisdom for your Cornflake Chicken Coating Tutorials. My biggest piece of advice, which I pulled right from my notes pages, is about the wire rack. If you skipped it earlier, I’m telling you now, use it! Air circulation under the chicken is the secret weapon against sogginess.
Also, remember that little extra step Grandma taught me about soaking the raisins? It applies here too, sort of! Make sure that chicken isn’t dripping wet when it comes out of the buttermilk. If it’s practically swimming, give it a little shake over the bowl before it hits the flour. Too much surface moisture means the flour can’t stick!
If, for some reason, you skipped the buttermilk soak—and please don’t make that a habit—you absolutely must pat the raw chicken dry with paper towels first. Any standing moisture will just turn into a gummy layer between the chicken and the flour coating. We want maximum sticking power here so that beautiful crunch stays right where it belongs!
Serving Suggestions for Your Baked Chicken Tenders Recipe
Honestly, the best part about making homemade chicken tenders is deciding what to dunk them in! After all that hard work getting that cornflake crust perfectly crunchy, you need a sauce that compliments that texture, not hides it. You’ve got crispy chicken perfection ready to go, so let’s talk dips!
For my family, especially the kids, you absolutely cannot go wrong with a classic, tangy honey mustard. I just buy a good quality grainy mustard and whip it with a little local honey and maybe a splash of apple cider vinegar. It’s sweet enough to make them happy, but the mustard gives it a nice bite.
If you’re feeling a little more country, skip the bottled ranch and make a super quick homemade version. Seriously, it takes two minutes: good mayonnaise, a little sour cream or Greek yogurt if you want it tangier, a splash of buttermilk (see, buttermilk shows up everywhere!), and a good shake of dried dill and onion powder. It’s cool and creamy against that hot, crunchy exterior. Heavenly!
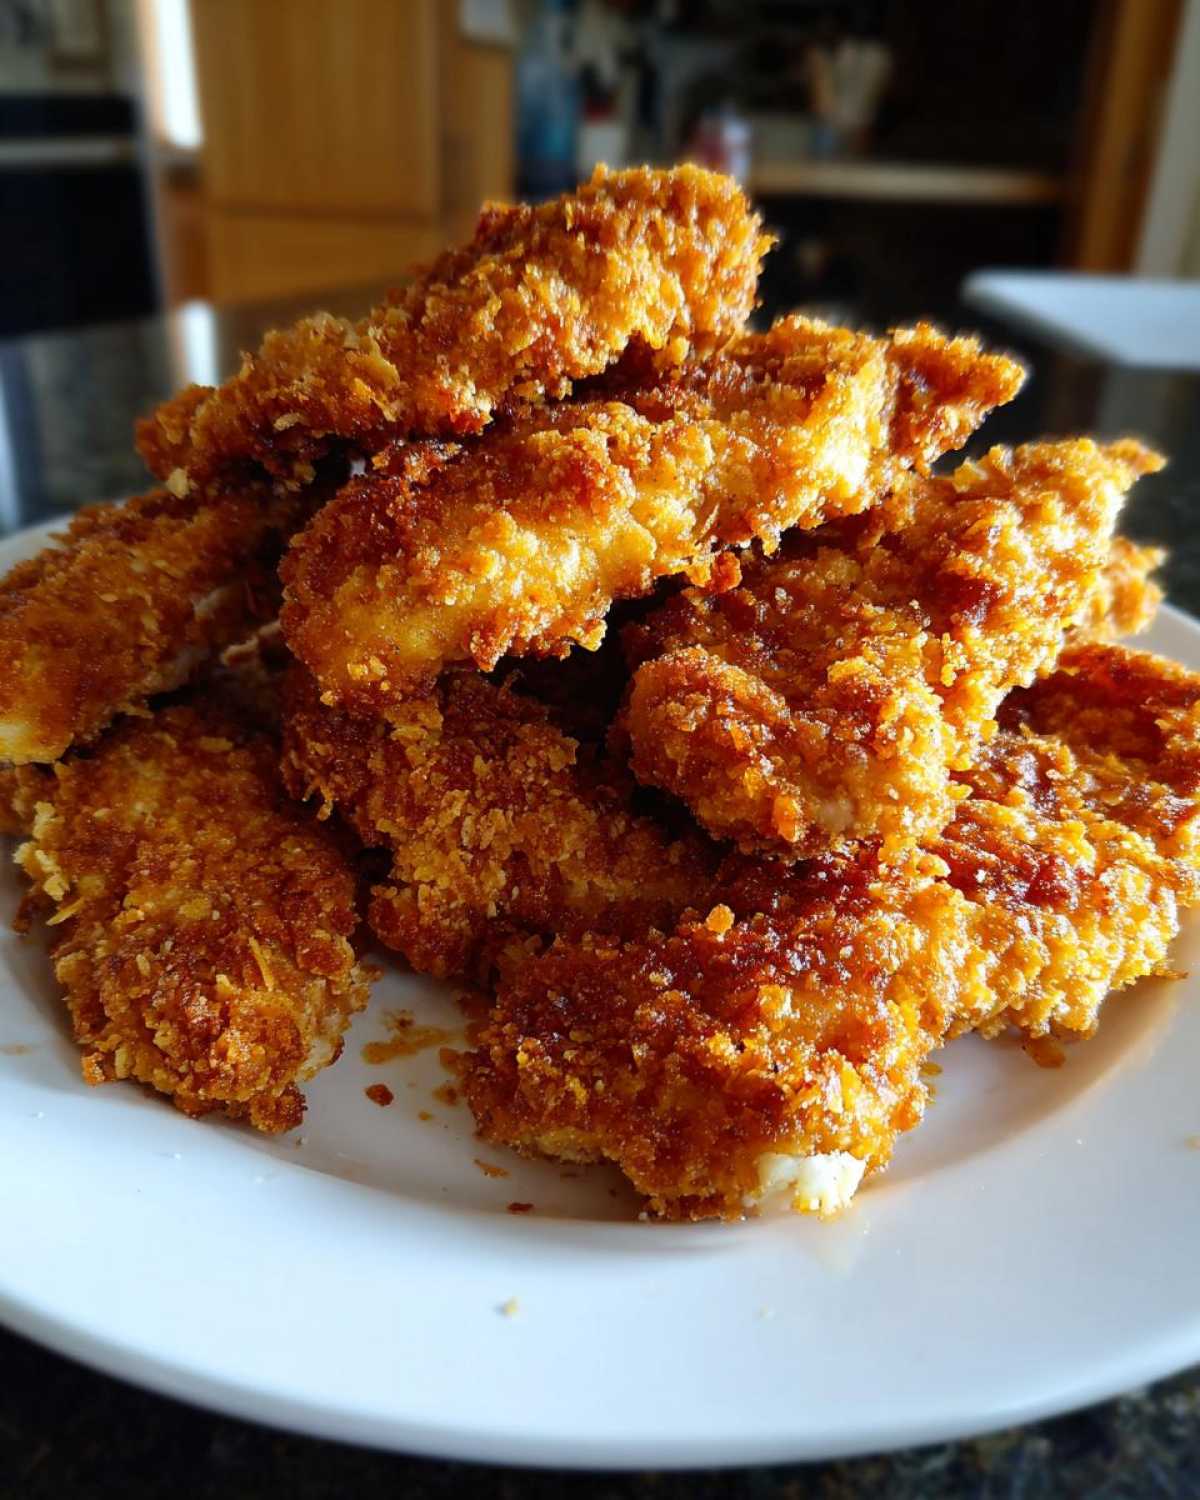
For the adults, or when I’m taking these to a party, I love a good, smoky BBQ sauce, but I always warm it up first. Cold sauce on hot chicken is just jarring, you know? Serving them warm alongside a big batch of my Sweet & Salty Gameday Trail Mix makes for the perfect appetizer spread!
Make Ahead Chicken Tenders and Storage Instructions
I know, I know, they are best eaten the second they come out of the oven looking all gold and crunchy. But sometimes life happens, and you need to make these Make Ahead Chicken Tenders! If you have leftovers, or if you want to prep them completely before dinner, you can totally do it.
Once they have cooled completely—and I mean stone cold—store them in an airtight container. Make sure there is a layer of paper towel on the bottom and maybe one inside, too, just to absorb any sneaky moisture overnight. They keep great in the fridge for up to three days.
The golden rule for reheating, if you want to keep that glorious crunch we worked so hard for? Absolutely no microwave! Microwaves are the enemy of crispiness, period. Instead, reheat them in a 375°F oven or, if you have one, an air fryer for maybe 5 to 8 minutes. That blast of dry heat brings back that awesome texture. You can find more easy recipes in my Snacks category, too!
Frequently Asked Questions About Crispy Chicken Without Frying
I know you might have questions, especially if you’ve struggled with soggy oven chicken before! That’s totally fair. Baking chicken that tastes close to fried takes a bit of knowing the secret levers to pull. Here are some of the things I get asked most often about making these the best Baked Chicken Tenders Recipe you’ll ever try.
Can I use Panko breadcrumbs instead of cornflakes for this Baked Chicken Tenders Recipe?
You absolutely can, and they will still be crunchy! But they won’t be *this* recipe crunchy, if that makes sense. Panko gives you a lighter, airier crunch—almost delicate. Cornflakes, when crushed the way we did them, give you a thicker, more substantial coating that reminds me a lot of good old-fashioned fried chicken batter. If you swapped to Panko, I’d recommend making sure your buttermilk soak is spot on, because Panko doesn’t adhere quite as aggressively as the crushed cereal does.
How do I ensure these tenders stay crispy when packing them for lunch?
This is the hardest part for any baked item, right? The enemy is condensation! When you pack them while they are still warm, the steam gets trapped and softens that lovely crust. So, step one: cool them completely first, as I mentioned before. Step two, and this is key when packing school lunches: don’t put them in a closed container with anything wet, like fruit or a sauce packet!
I pack the tenders loosely in a paper bag folded inside their lunchbox. If you have to pack them warm, leave the container lid slightly ajar for the first 10 minutes after you put them in. That lets that initial steam escape before sealing them up tight for storage. No soft coatings on my watch!
Are these tenders suitable for a Kid Friendly Dinner Ideas Crunch?
Oh my gosh, yes! These are designed for kids! They love the crunch factor, and because we aren’t deep-frying them, they are much lower in fat and safer to manage in the kitchen with little helpers. They are perfect for dipping, cutting into small chunks for salads, or just eating plain. They are definitely a staple for any Kid Friendly Dinner Ideas Crunch in my house. If you cut them smaller and cook them a little quicker, they are basically Healthy Baked Chicken Nuggets that taste way better than anything frozen!
Estimated Nutritional Data for Healthier Chicken Tender Recipes
Now, I always feel a little weird putting numbers up because, honestly, I’m a home cook, not a lab scientist! I’m usually more worried about whether the crust is sticking than counting every milligram. But since so many of you ask about making these a part of your regular routine, I wanted to give you the rundown based on the recipe amounts.
Keep in mind, these numbers change depending on the size of your chicken breast strips and exactly how much spray you use, but this gives you a great baseline for these Healthier Chicken Tender Recipes. We like to think of them as a fantastic, lean dinner option!
For one serving size, which we figure is about 4 tenders, here are the estimates:
- Calories: around 310—that’s fantastic for a crunchy dinner!
- Protein: A whopping 38 grams. Hello, energy!
- Total Fat: Only about 6 grams (and most of that is the good stuff from the chicken itself, not heavy oils).
- Carbohydrates: 25 grams, mostly coming from that cornflake crust.
- Sugar: Just 3 grams! See? No need for heavy sauces mixed into the coating.
- Sodium: We kept this around 450mg just by relying on the buttermilk flavor and only adding a teaspoon of salt.
It proves you absolutely can have that crunchy satisfaction without overloading on fat or sugar. It’s honestly why I love baking them this way so much for the kids – I feel way better serving this up than anything deep-fried!
Share Your Perfect Crispy Baked Chicken Tenders with Cornflake Crust
Well, friend, now the magic is in your oven! I truly hope these tips helped you conquer the world of crispy baked chicken. I’ve poured my best knowledge into this method to make sure you get that crunch without the mess or the guilt.
Once you try these, I absolutely need to know what you think! Did the buttermilk soak work its magic? How golden brown did your cornflake crust get? Please leave a rating right here on the recipe card so others can see how awesome this oven trick is. No one should walk away from dinner feeling like they missed out on texture!
And if you snap a picture of those golden beauties—maybe sitting next to a bowl of homemade ranch or honey mustard—tag me! I live for seeing your kitchen successes. You can always reach out directly with questions or feedback using my contact page, too. Happy crunching!
PrintCrispy Baked Chicken Tenders with Cornflake Crust
Make crunchy chicken tenders in the oven using a simple cornflake coating. This recipe delivers maximum crispiness without frying.
- Prep Time: 20 min
- Cook Time: 22 min
- Total Time: 42 min
- Yield: 4 servings
- Category: Dinner
- Method: Baking
- Cuisine: American
- Diet: Low Fat
Ingredients
- 1.5 lbs boneless, skinless chicken breasts, cut into 1-inch strips
- 1 cup buttermilk
- 1 teaspoon salt
- 0.5 teaspoon black pepper
- 1 teaspoon garlic powder
- 2 cups cornflakes, crushed finely
- 0.5 cup all-purpose flour
- 2 large eggs, lightly beaten
- Cooking spray
Instructions
- Preheat your oven to 400 degrees Fahrenheit (200 degrees Celsius). Line a baking sheet with parchment paper and lightly coat it with cooking spray.
- In a medium bowl, combine the buttermilk, salt, pepper, and garlic powder. Add the chicken strips and let them soak for at least 15 minutes.
- Set up a standard breading station with three shallow dishes. Place the flour in the first dish. Whisk the eggs in the second dish. Place the finely crushed cornflakes in the third dish.
- Working with one piece at a time, remove the chicken from the buttermilk, letting excess drip off. Dredge the chicken first in the flour, shaking off any excess.
- Dip the floured chicken into the beaten egg, ensuring full coverage.
- Press the chicken firmly into the crushed cornflakes until it is completely coated. Press the coating on to help it adhere.
- Place the coated tenders on the prepared baking sheet in a single layer, ensuring they do not touch.
- Spray the tops of the coated tenders generously with cooking spray. This helps achieve browning and crispness.
- Bake for 18 to 22 minutes, flipping the tenders halfway through the cooking time, until the internal temperature reaches 165 degrees Fahrenheit (74 degrees Celsius) and the crust is golden brown and crisp.
- Serve immediately with your preferred dipping sauce.
Notes
- For extra crispiness, place a wire rack on top of your baking sheet before arranging the tenders. This allows air to circulate underneath.
- Crush the cornflakes using a food processor or by placing them in a zip-top bag and crushing them with a rolling pin. Aim for a mix of fine crumbs and small flakes for texture.
- If the coating seems loose after dipping, return the coated tender to the egg wash briefly before the final cornflake coating.
Nutrition
- Serving Size: 4 tenders
- Calories: 310
- Sugar: 3
- Sodium: 450
- Fat: 6
- Saturated Fat: 1
- Unsaturated Fat: 5
- Trans Fat: 0
- Carbohydrates: 25
- Fiber: 1
- Protein: 38
- Cholesterol: 110