

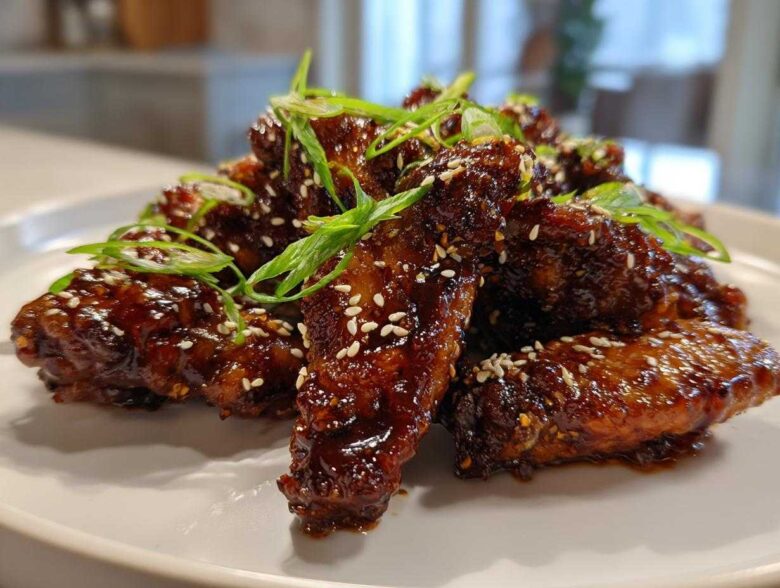
You know that moment when you crave wings—that perfect crunch, dripping with savory, sticky sauce—but the thought of oil splattering everywhere makes you sigh? Me too! That’s why I spent months perfecting these **Sticky Teriyaki Chicken Wings Crispy Oven Baked**. Honestly, my kitchen used to be a disaster zone trying to get that deep-fried texture using just an oven. It felt impossible, right? But trust me, I cracked the code. We’re using a super simple dry rub technique that locks in the juices while creating a crackling exterior. I learned so much about the science of baking crispy skin when developing this method. If you want to know more about what drives my passion for perfecting classic dishes, check out my philosophy over on the About Us page! Once you see how easy it is to get that Juicy Inside Crispy Outside Wings texture without touching a fryer, you’ll never look back. I finally stopped making soggy wings, and you will too!
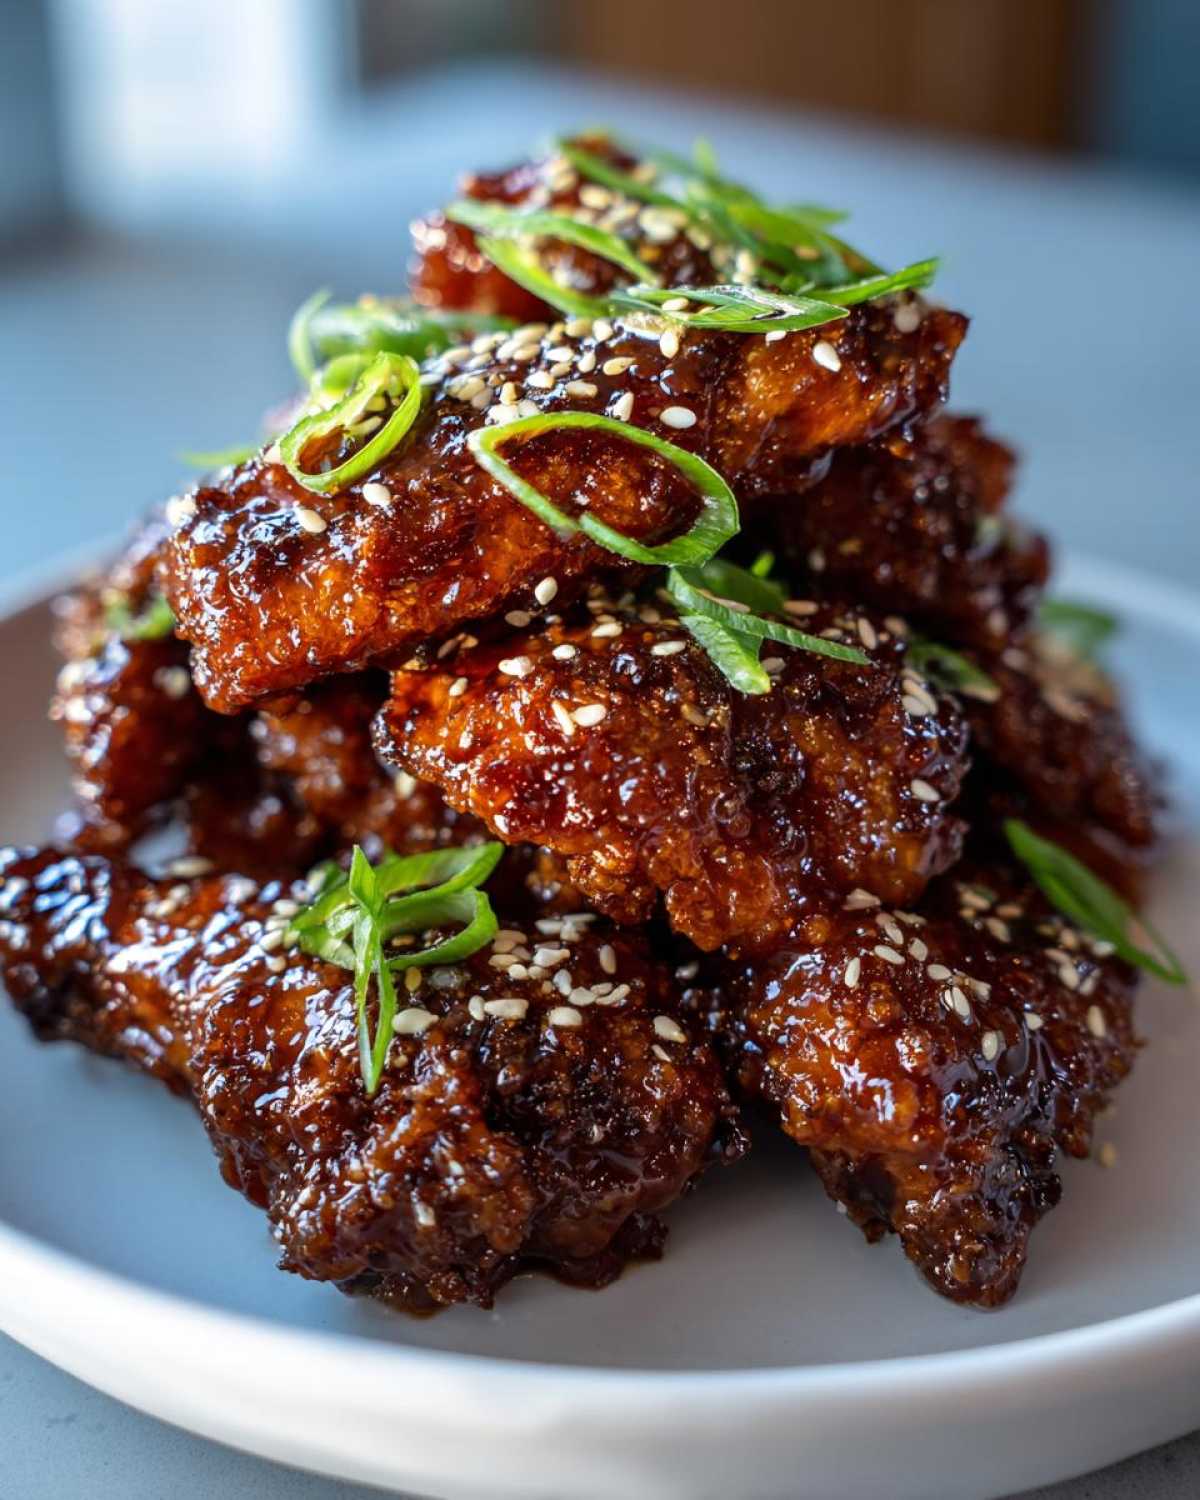
Why This Recipe Guarantees Sticky Teriyaki Chicken Wings Crispy Oven Baked
I’m telling you, these wings come out better than half the places I pay way too much for on Game Day! We aren’t cutting corners here; we’re using smart oven techniques to trick everyone into thinking these were fried. You want crispy, you want glazed, and you want that satisfying crunch? You got it.
- Baking Powder Magic: We rely on a sneaky little helper—baking powder—to wick away surface moisture and help that skin get impossibly crisp. It’s the key to that “oven-fried” texture!
- Perfect Glaze Adhesion: Because the skin is dried and textured, the final sticky glaze really clings on instead of sliding off into a sugary puddle on the pan. Talk about maximum flavor in every bite!
- Juicy Inside Crispy Outside Wings: The high initial heat cooks the wings fast enough to render the fat, keeping the inside totally juicy, while the rack lets air circulate underneath for all-around crispiness.
- No Frying Mess: Seriously, cleanup is a dream. We use foil and a rack on a sheet pan. You’re getting restaurant quality wings without heating up a giant pot of oil.
- Balanced Teriyaki Flavor: The homemade sauce isn’t just sweet; it hits that perfect savory, umami note that makes you reach for another one immediately. It’s truly the Best Baked Chicken Wings experience.
- Simple Prep for Big Payoff: You only need about 15 minutes of active prep time before the oven does all the heavy lifting. This is your new favorite Quick Sticky Wing Recipe.
Essential Ingredients for Sticky Teriyaki Chicken Wings Crispy Oven Baked
Okay, let’s talk about what you need to pull these off. I know you want the perfect Sticky Teriyaki Chicken Wings Crispy Oven Baked, and believe me, the magic starts right here with measuring everything out!
- 2 lbs chicken wings, separated into flats and drumettes
- 1 tablespoon baking powder (aluminum-free – this is important!)
- 1 teaspoon salt
- 1/2 teaspoon black pepper
- 1/2 cup soy sauce
- 1/2 cup mirin (sweet rice wine)
- 1/4 cup brown sugar, packed
- 2 tablespoons honey
- 1 tablespoon grated fresh ginger
- 2 cloves garlic, minced
- 1 teaspoon sesame oil
- 1 tablespoon cornstarch
- 2 tablespoons cold water
- Sesame seeds, for garnish
- Sliced green onions, for garnish
Ingredient Notes and Crispiness Secret
You might be looking at that baking powder and thinking I’m crazy, but trust me on this one! Baking powder is the absolute game-changer for making Crispy Chicken Wings Oven Baked. It slightly raises the skin’s pH level, which helps the proteins brown faster and creates that amazing, dry, crisp texture we’re looking for. Before anything touches that powder, though, you must pat your wings completely dry with paper towels. Any lingering moisture is the enemy of crispiness, so grab a few sheets and really soak it up!
The Sticky Teriyaki Sauce Recipe for Perfect Glazing
Now we move onto the part that makes these wings unforgettable: the glaze! If you’re looking for something better than just pouring bottled sauce over cooked wings, you’re in the right place. We are building a beautiful, rich, thick glaze right here on the stovetop. This is what separates a good wing from a spectacular one. It brings that perfect balance of salty, sweet, and deep umami flavor we want in a great Asian wing.
This sauce needs to be thick enough to actually stick to the wing when you toss it, not just run right off. That’s why reducing it down is a step we absolutely cannot skip. If you want another super easy sauce option, I have another great recipe that’s even faster, but this layered teriyaki flavor is my favorite for these crispy wings.
Making the Homemade Teriyaki Glaze for Wings
Get a small saucepan out, because this is where the magic starts thickening up. First, combine the soy sauce, mirin, brown sugar, honey, ginger, and garlic. You want to bring that mixture up to a nice simmer over medium heat—just get those sugars melted and dissolved completely. Once it’s gently bubbling, drop the heat to low. Let it simmer for about five minutes; this gives the ginger and garlic time to really infuse everything.
Here comes the critical part for achieving that perfect sticky texture: the cornstarch slurry. In a tiny bowl—seriously, the smaller the better—whisk together your tablespoon of cornstarch with that cold water until it looks milky and smooth. Now, you have to whisk that slurry into your simmering sauce slowly while constantly stirring the sauce itself. Keep stirring! It will miraculously thicken up in about 60 to 90 seconds. You’ll see it transition from thin liquid to something that actually coats the back of your spoon. When it passes that test, yank it off the heat immediately! Taste it now—if you want it sweeter, throw in a tiny bit more honey, but honestly, the balance should be spot on.
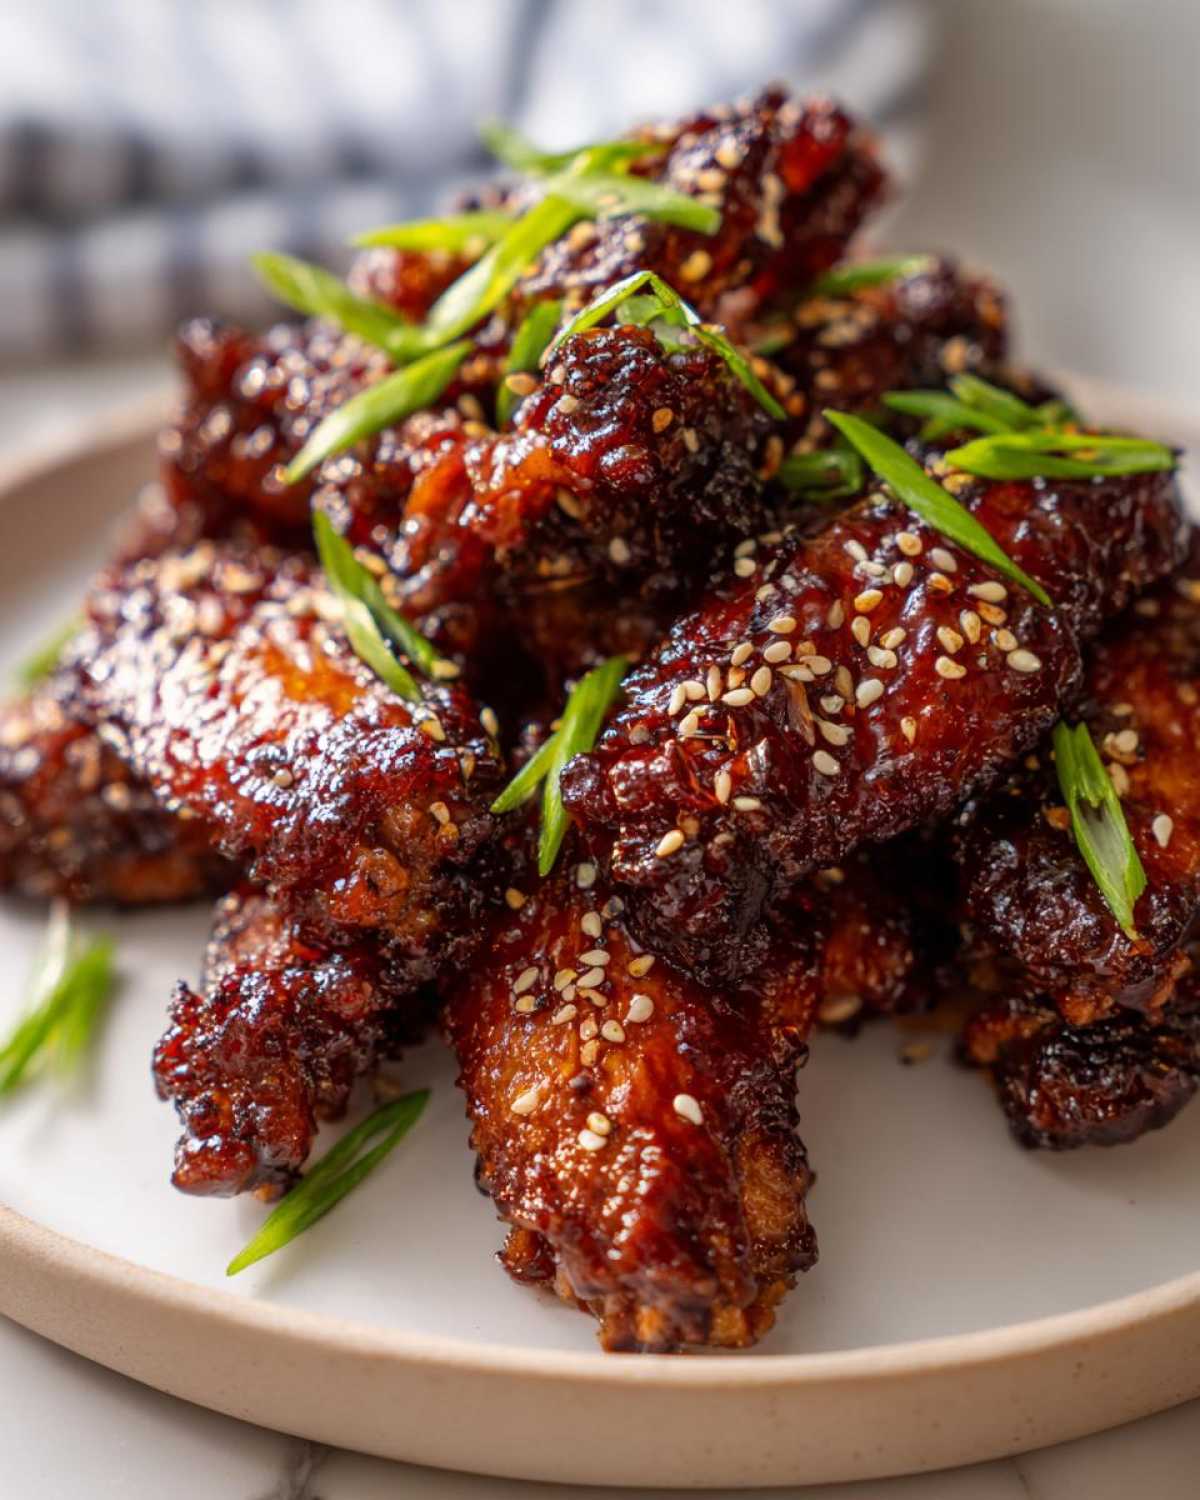
Step-by-Step Guide: Sticky Teriyaki Chicken Wings Crispy Oven Baked
This is where we put all that theory to work! Achieving truly crispy wings in the oven isn’t about luck; it’s about airflow and preparation. Remember, we are baking these, not frying, so we need that high, dry heat working for us. Make sure your oven is nice and hot—we are preheating to 425°F (220°C). Also, please grab a sturdy baking sheet and line it with foil. Then, you need a wire rack to sit right on top of that foil. This setup is crucial for letting air bathe the entire wing, which is how we get that Sheet Pan Teriyaki Chicken Wings texture! If you’re using a different setup, I talk about optimizing airflow across various pans in my Sheet Pan Teriyaki Chicken Wings post.
Preparing Wings for Maximum Crispiness
Do not cheat this step! Take your wings and dry them out like you’re trying to win a prize for the driest chicken on earth. Grab paper towels and press down, press down again. Seriously, get every bit of moisture gone. Once they are bone dry, toss them into a clean bowl. Add your baking powder, salt, and pepper. You want to toss them until every single piece looks lightly coated in that white dry rub. Don’t be shy, it works miracles! Then, arrange them on that waiting wire rack. They MUST be in a single layer. If they are touching, they steam, and steaming equals sad, soggy skin. We need space between every flat and drumette for maximum crisping power.
Baking and Final Glazing for Sticky Teriyaki Chicken Wings Crispy Oven Baked
The first bake is all about getting the skin rendered and crisp before we add the sugar for the glaze. Pop those racks into that 425°F oven. Bake them for a solid 25 minutes. See how they look? Now, carefully flip every single wing over—we need even browning! Put them back in for another 15 to 20 minutes. They should look golden brown and feel quite firm and crisp to the touch when done.
While they are finishing that last bit of baking, quickly toss the crispy wings into a big bowl. Pour about half of that beautiful, thick teriyaki sauce you made over them and toss gently so they are fully coated. Now, we return them to the wire rack for their final dance in the oven. This blast of heat sets that sugary glaze. Bake for just 5 more minutes. And I mean *just* 5 minutes! That honey and brown sugar can go from glazed to burnt faster than you can blink, so stand right there and watch them! Once they come out looking beautifully shiny and sticky, toss them with a tiny bit more of that reserved sauce for extra gooeyness, garnish with your seeds and onions, and serve immediately!
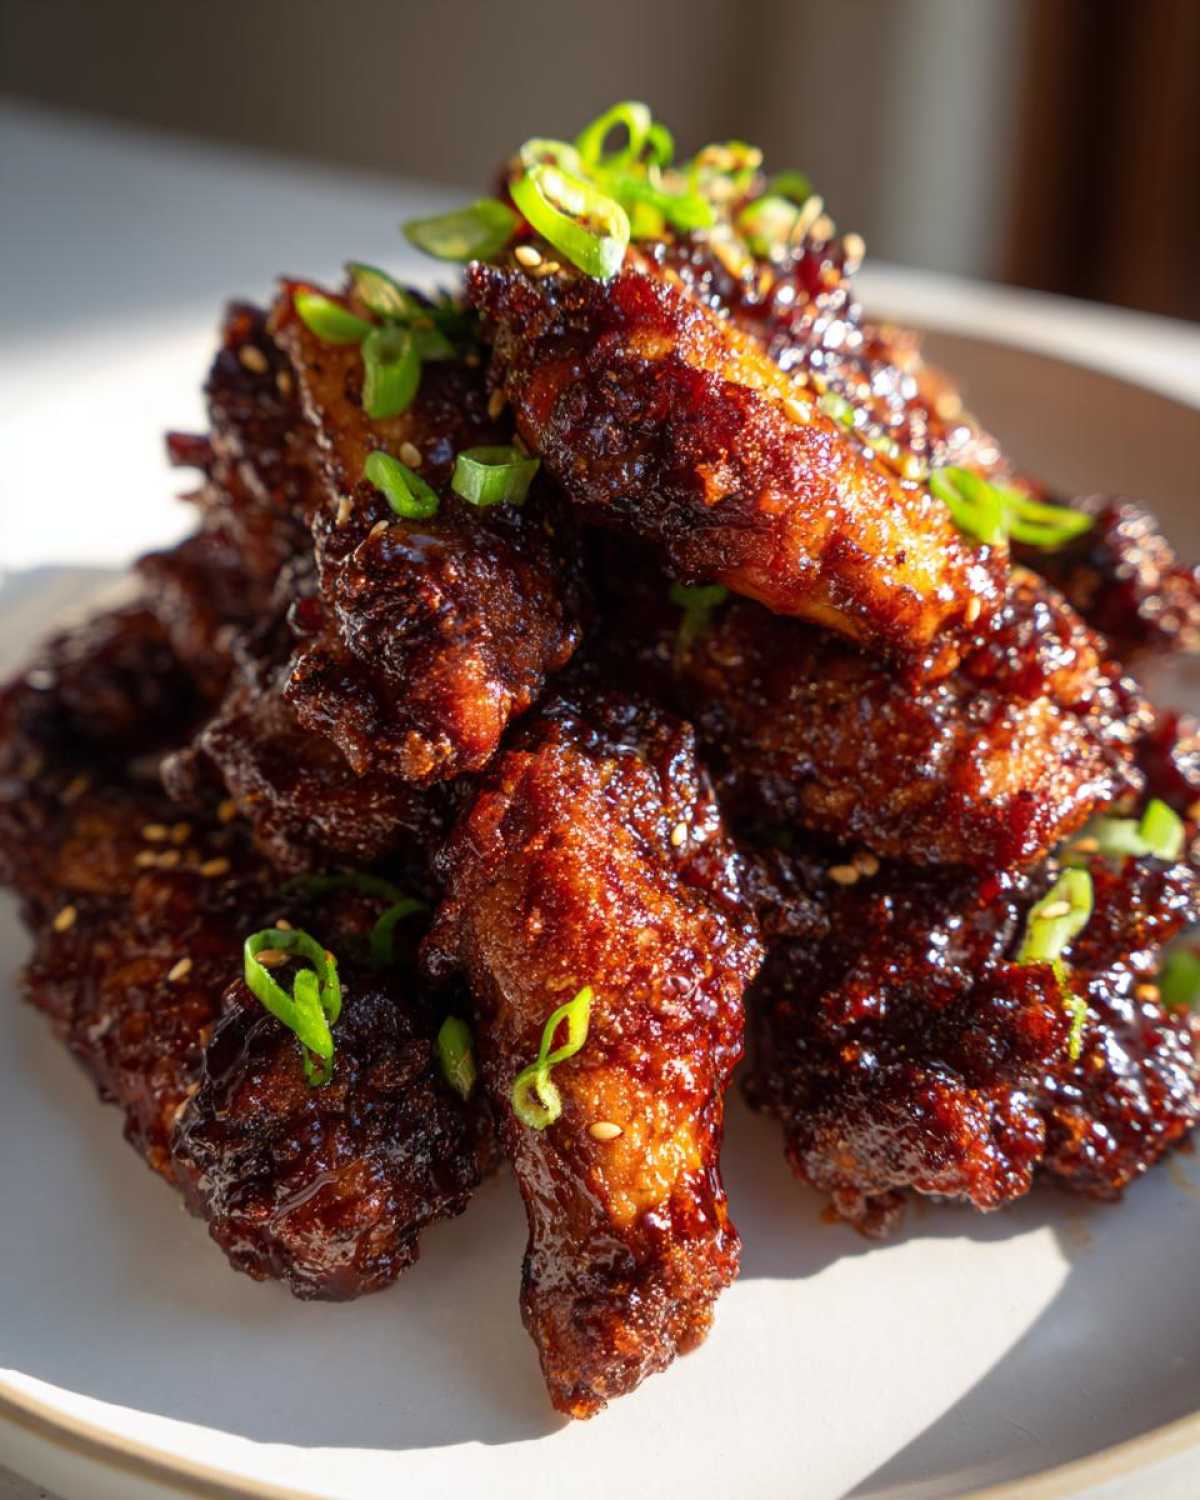
Tips for Oven Fried Crispy Wings Every Time
Okay, if you’ve followed the main steps and you’re still feeling like your wings could use a little *more* crunch, I’ve got a few extra secrets I’ve picked up over the years of tinkering. This is the part where we lean into the science a bit, which is what makes me feel like I’m cooking with authority, you know? Don’t worry, it’s still super easy!
The biggest hurdle in getting truly Oven Fried Crispy Wings is fighting the natural moisture in the chicken and the sugar in the glaze. But we can beat that!
Here are my go-to adjustments when I need that next level of crispness:
- Crank the Heat for Airflow: If you’re in a hurry, push that oven up to 450°F (230°C) for the initial bake! The higher heat causes the fat to render out much faster and puffs the skin up nicely. Just be super vigilant, especially when you add the glaze later, because high heat means high burn risk. I usually stick closer to the 425°F listed in the recipe unless I’m making these for the big game.
- Don’t Skip the Rack: I mentioned it before, but I’m saying it again—the wire rack is non-negotiable! If you don’t have one, you need to grab one; they are worth their weight in gold for any kind of baking where airflow matters. If you ever want to look at fun ideas for making wings for a crowd, check out my post on Game Day Chicken Wings Baked for more presentation tips!
- The Double Fry Mentality: In the recipe, we bake naked, then flip, then sauce, then bake again for five minutes. That final 5-minute bake is your “fry.” It sets the glaze, turning it into a hard, sticky shell instead of a wet coating. Never skip that final trip back into the heat!
- Use Aluminum-Free Baking Powder: This is a small detail, but it matters for flavor. Aluminum-free baking powder gives you the lift you need without leaving that slightly metallic or bitter aftertaste that regular baking powder can sometimes leave when baked at high heat for a long time.
Follow those tuning tips, and you will absolutely achieve that perfect, shatteringly crisp exterior wrapped around a juicy interior. It’s the best way to make Healthy Baked Chicken Wings that taste totally indulgent!
Serving Suggestions for Your Easy Teriyaki Wings
Oh my gosh, now that you have these perfectly sticky and crispy wings, what are you going to serve them with? This is where you can balance out all that wonderful sweet and savory punch. I always feel like you need something fresh and cooling to really cut through the richness of that glaze. Don’t just dump them on a plate next to a pile of plain fries; let’s give these wings the side dishes they deserve!
For a full Asian-inspired meal, you absolutely must have a bowl of fluffy white rice. The rice soaks up any little drips of glaze that might escape, and it’s super comforting. Steamed broccoli or simple bok choy tossed with a tiny bit of garlic is also fantastic. It’s healthy, easy, and offers a great textural contrast.
But if you’re making these for a party or Game Day spread, you need crunch and tang! My secret weapon is a super simple slaw. Just shredded cabbage, carrots, a dash of rice vinegar, and a tiny drizzle of oil. It’s bright and cleanses your palate between wings. If you’re looking for a totally different direction for crowd-pleasing appetizers, you should check out my recipe for Greek Chicken Nachos—it’s a fun change of pace!
Honestly, these Easy Teriyaki Wings are so flavorful on their own, they don’t need much fuss. A sprinkle of toasted sesame seeds and those green onions, a side of brightness, maybe a handful of crunchy pickles, and you are ready to serve! Enjoy every single crispy bite!
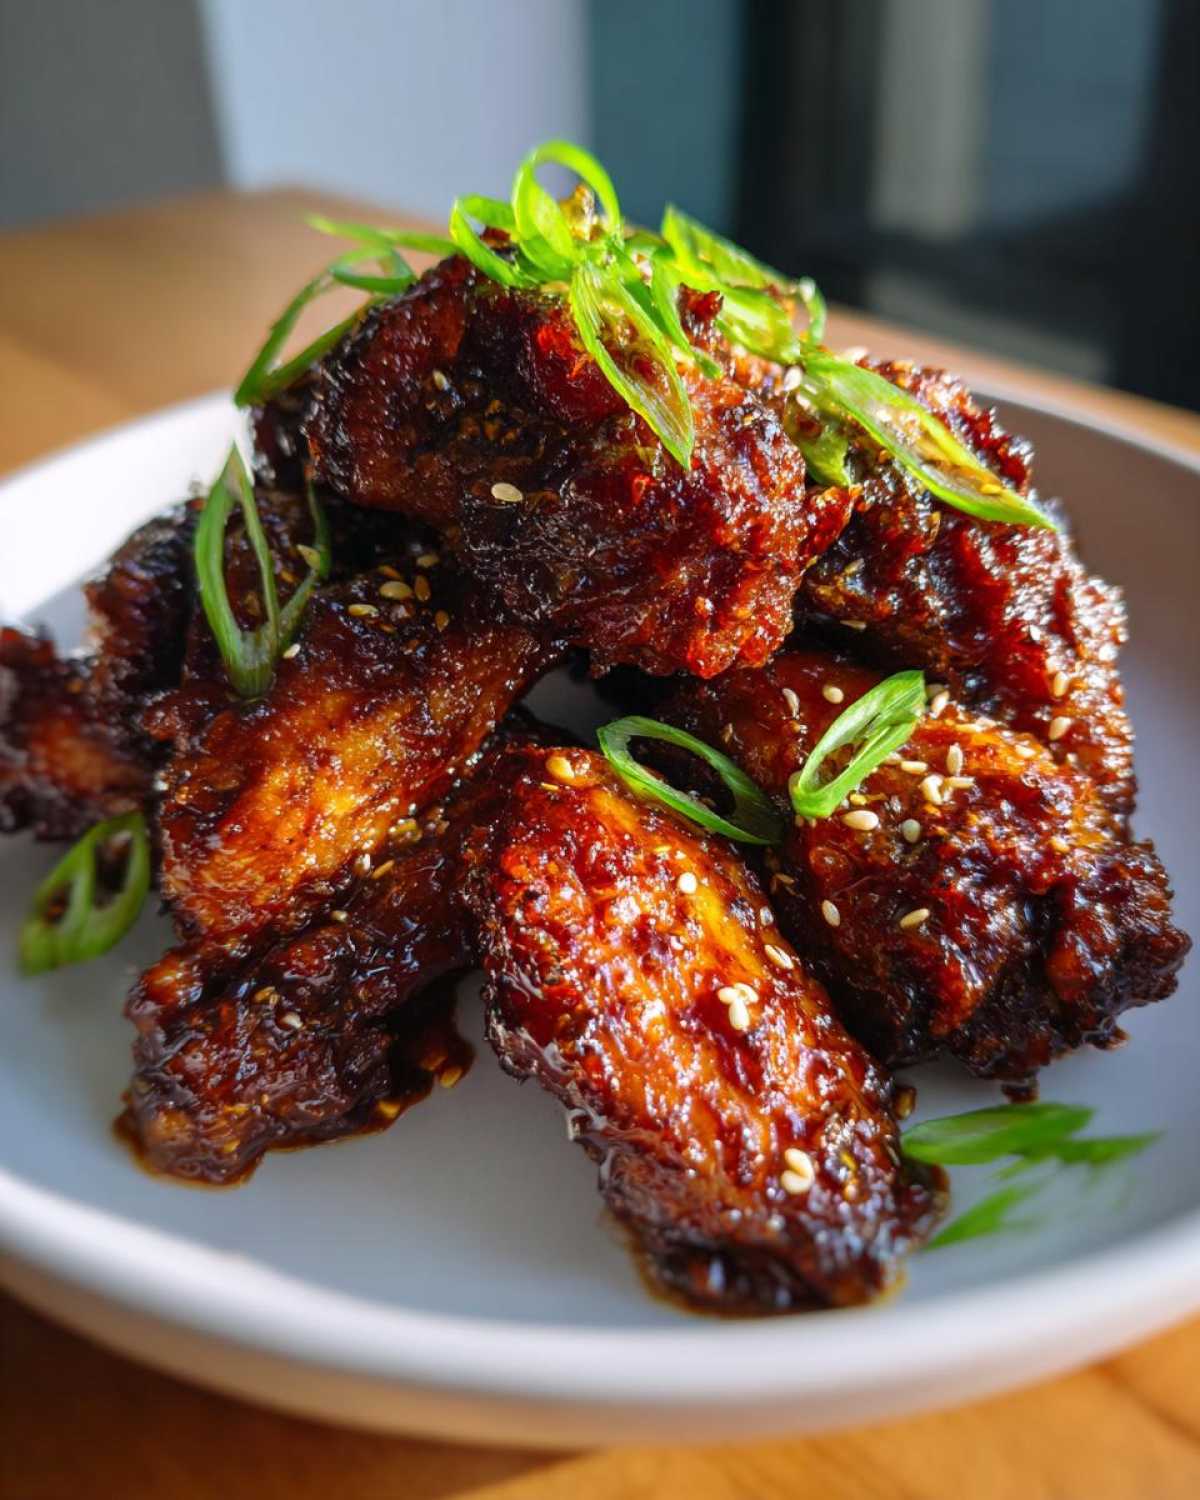
Storage and Reheating Instructions for Sticky Teriyaki Chicken Wings Crispy Oven Baked
First off, I hope you have leftovers, because that means you made enough! Though, honestly, these wings disappear so fast around my house, I’m lucky if I get one hidden away for lunch the next day. But if you do manage to stash some of these beautiful, sticky wonders away, storage and reheating are important! We worked so hard to get that crisp exterior, and we sure don’t want to ruin it on day two.
The main problem with leftovers, especially anything glazed with sugar like this teriyaki sauce, is that the moisture gets trapped when it cools down in the fridge. When that moisture escapes, it turns that lovely crisp skin instantly soft and almost gummy. That’s why the refrigerator is their temporary home, but the microwave is an absolute no-go zone for reheating wings—it just steams everything and destroys all that hard work we just did!
Here is my tried-and-true method for bringing these Sticky Teriyaki Chicken Wings Crispy Oven Baked back to life:
Storage:
- As soon as they cool down a bit after eating, get them straight into the fridge. Don’t leave them sitting out for more than two hours, ever.
- I like to use an airtight container. If you want to try to preserve some texture, you can line the container with a paper towel first. This sometimes absorbs a little surface moisture, though it’s not a foolproof cure.
- If you followed the recipe perfectly, they should last a good 3 to 4 days in the fridge.
Reheating for Crispness:
We have to bring the heat back to dry out that skin again! Forget the microwave; we need dry heat. The absolute best tool for this job is a toaster oven or a regular oven set to a higher temperature.
- Preheat your oven to a solid 375°F (190°C). If you have a toaster oven, use that; it usually heats up faster and gets crispier in small batches!
- I highly recommend putting the wings back on a clean wire rack set over a foil-lined baking sheet. Yes, we’re pulling out the rack again! Airflow is your friend here.
- Bake them for about 8 to 10 minutes. You just want them hot all the way through, and you should see the glaze start to look shiny and set again.
- If they seem a little dry after 10 minutes and still aren’t quite right, you can do what I sometimes do for a final touch: lightly brush them with a teaspoon of saved sauce you kept cold in the fridge and pop them back in for just 2 more minutes. That little refresh coats them beautifully without over-sugaring.
This oven method gets 90% of that initial oven-baked crispness back, which is miles better than nuking them! Handle your leftovers with care, and you’ll be enjoying these sticky wings all week long!
Frequently Asked Questions About Sticky Teriyaki Chicken Wings Crispy Oven Baked
I get so many questions when people first try my technique because it feels a little unconventional to get wings this crispy without deep frying! It’s all about those little tricks we talked about. Here are the top things folks ask me when they are trying to nail the perfect **Sticky Teriyaki Chicken Wings Crispy Oven Baked** at home.
Can I make the Sticky Glazed Wings Recipe ahead of time?
This is super common, especially if you’re prepping for a big party. Yes, you totally can make parts of this ahead of time, but you have to separate the steps! I absolutely recommend baking your plain, dry wings (with the baking powder rub) all the way until they are done and crispy. Let those cool completely and store them in a zipper bag or airtight container in the fridge. Then, make your Sticky Teriyaki Sauce Recipe completely and store that in a separate container. The important thing is DO NOT glaze the wings until you are ready to serve or re-crisp them. The sugar in the sauce will start to soften the skin the minute they combine if they sit too long!
Can I use baking soda instead of baking powder?
Oh, that’s a good question because people always mix those up! While baking soda is also a leavener, I strongly advise sticking to baking powder for this specific recipe. Baking soda is much more alkaline, and if you use too much, it can give your wing coating a distinctively soapy or metallic taste, which is not what you want with a delicate teriyaki flavor. The baking powder we use is gentler and does a better job specifically at wicking surface moisture for that beautiful Oven Fried Crispy Wings texture without changing the taste profile.
How can I make these wings spicy?
You want heat with your sweet, I love that! There are a couple of easy ways to layer in some spice without ruining the teriyaki balance. The easiest way is to add about a teaspoon of garlic chili sauce (like Sriracha or Gochujang) directly into your sauce mixture when you are simmering the soy sauce and sugar. If you want an extra kick that hits the back of your throat, you can also dust a pinch of cayenne pepper right onto the wings along with the salt and pepper before the first bake. Mixing it into the glaze is generally best because the heat from the oven helps cook out the raw garlic/chili flavor, making it a much richer component of the overall How to Bake Crispy Sweet Chicken Wings flavor!
What oven temperature is best for that super-crispy skin?
While the recipe calls for 425°F (220°C), which is my go-to standard for a good, reliable texture, if you really want to push for ultra-crispy results (almost like you deep-fried them), you can push that initial bake up to 450°F (230°C). Just be quick to flip them after 20 minutes! The most crucial temperature control, though, is during that final 5 minutes *after* you glaze them. That’s where they can go from perfect glaze to burnt sugar instantly. If you are feeling nervous, stick to 425°F all the way through, and trust that the baking powder did most of the heavy lifting for you!
Final Thoughts on Making Sticky Teriyaki Chicken Wings Crispy Oven Baked
Wow, we made it! I hope you can already smell those wings baking away in your oven. I know I’ve thrown a lot of steps at you, especially about drying the wings and using that weird baking powder trick, but the final product is just unbeatable!
If you remember just one thing from this whole process, let it be this: that combination of the aluminum-free baking powder, the wire rack allowing air circulation all around the wing, and that final high-heat blast once the glaze is added is the secret sauce to getting real, honest-to-goodness crisp without the fryer drama. We nailed the **Sticky Teriyaki Chicken Wings Crispy Oven Baked**!
This recipe proves that homemade versions of your favorite takeout wings can be healthier, cleaner, and frankly, taste way better because you controlled the ingredients. I really want to know how they turned out for you! Did your family love them? Were they crispy enough? Please drop a note in the comments below or shout at me on social media—I’m always down to chat kitchen success stories! You can easily reach me via the Contact Page if you have questions once you start cooking!
PrintCrispy Oven Baked Sticky Teriyaki Chicken Wings
Follow this recipe to bake chicken wings in the oven until they are crispy on the outside and coated in a thick, sticky teriyaki glaze.
- Prep Time: 15 min
- Cook Time: 50 min
- Total Time: 65 min
- Yield: 4 servings
- Category: Appetizer
- Method: Baking
- Cuisine: Asian
- Diet: Low Lactose
Ingredients
- 2 lbs chicken wings, separated into flats and drumettes
- 1 tablespoon baking powder (aluminum-free)
- 1 teaspoon salt
- 1/2 teaspoon black pepper
- 1/2 cup soy sauce
- 1/2 cup mirin (sweet rice wine)
- 1/4 cup brown sugar, packed
- 2 tablespoons honey
- 1 tablespoon grated fresh ginger
- 2 cloves garlic, minced
- 1 teaspoon sesame oil
- 1 tablespoon cornstarch
- 2 tablespoons cold water
- Sesame seeds, for garnish
- Sliced green onions, for garnish
Instructions
- Preheat your oven to 425°F (220°C). Line a large baking sheet with foil and place a wire rack on top of the foil.
- Pat the chicken wings very dry using paper towels. This step is crucial for crispiness.
- In a medium bowl, toss the dried wings with baking powder, salt, and pepper until evenly coated.
- Arrange the wings in a single layer on the wire rack, ensuring they do not touch.
- Bake for 25 minutes. Flip the wings over and bake for another 15 to 20 minutes, until the skin is golden brown and crisp.
- While the wings bake, prepare the sauce. Combine soy sauce, mirin, brown sugar, honey, ginger, garlic, and sesame oil in a small saucepan.
- Bring the mixture to a simmer over medium heat, stirring until the sugar dissolves. Reduce the heat to low and let it simmer gently for 5 minutes to slightly reduce.
- In a separate small bowl, whisk together the cornstarch and cold water to create a slurry.
- Whisk the slurry into the simmering sauce. Continue to cook, stirring constantly, until the sauce thickens enough to coat the back of a spoon (about 1-2 minutes). Remove from heat.
- Once the wings are fully cooked and crispy, transfer them to a large bowl.
- Pour about half of the teriyaki sauce over the wings and toss gently to coat them completely. Reserve the remaining sauce for serving.
- Return the glazed wings to the wire rack on the baking sheet. Bake for a final 5 minutes to set the glaze. Watch carefully to prevent burning.
- Remove from the oven. Toss the wings again lightly with a little more of the reserved sauce if desired. Garnish with sesame seeds and green onions before serving.
Notes
- For extra crispiness, use a higher oven temperature like 450°F (230°C) for the initial bake, but monitor closely.
- If your sauce seems too thick after cooling, thin it slightly with a teaspoon of hot water before serving.
- Do not skip drying the wings thoroughly; excess moisture prevents crisping.
Nutrition
- Serving Size: 4 wings
- Calories: 350
- Sugar: 18
- Sodium: 750
- Fat: 18
- Saturated Fat: 5
- Unsaturated Fat: 13
- Trans Fat: 0
- Carbohydrates: 25
- Fiber: 1
- Protein: 22
- Cholesterol: 90