

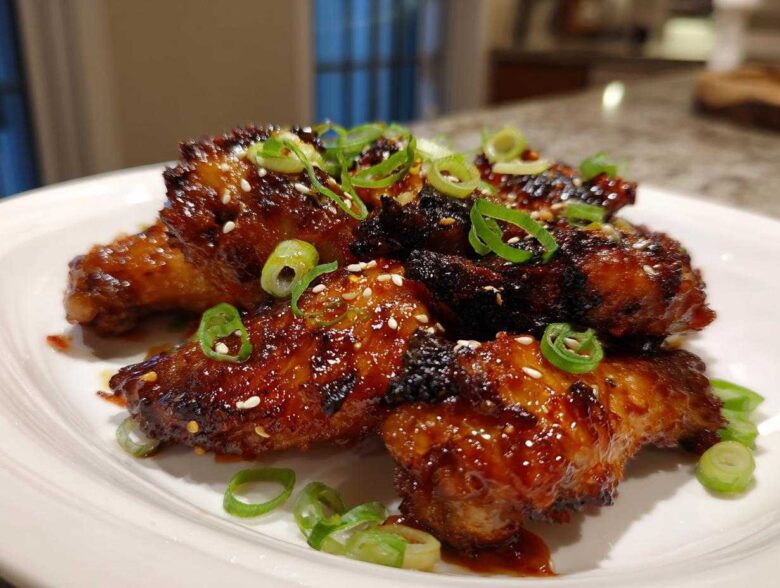
Oh, finally! I swear, finding the secret to truly sticky chicken wings when you use the oven—not a deep fryer—used to feel impossible. Most recipes give you soggy skin or burnt sauce, right? Not ours! Today, I’m handing over my absolute favorite method for **Sticky Teriyaki Chicken Wings Oven Baked**. I spent way too many evenings wrestling with trays of lukewarm, half-crispy wings until I cracked the code.
The magic comes from a brilliant two-stage bake combined with shaking on a little baking powder—trust me on that one! By controlling when and how much sauce goes on, you get that savory, sweet, thick glaze clinging perfectly without turning your crispy skin into mush. When you pull these out, smelling that rich teriyaki aroma, you’ll know you’ve made it to wing perfection, too!
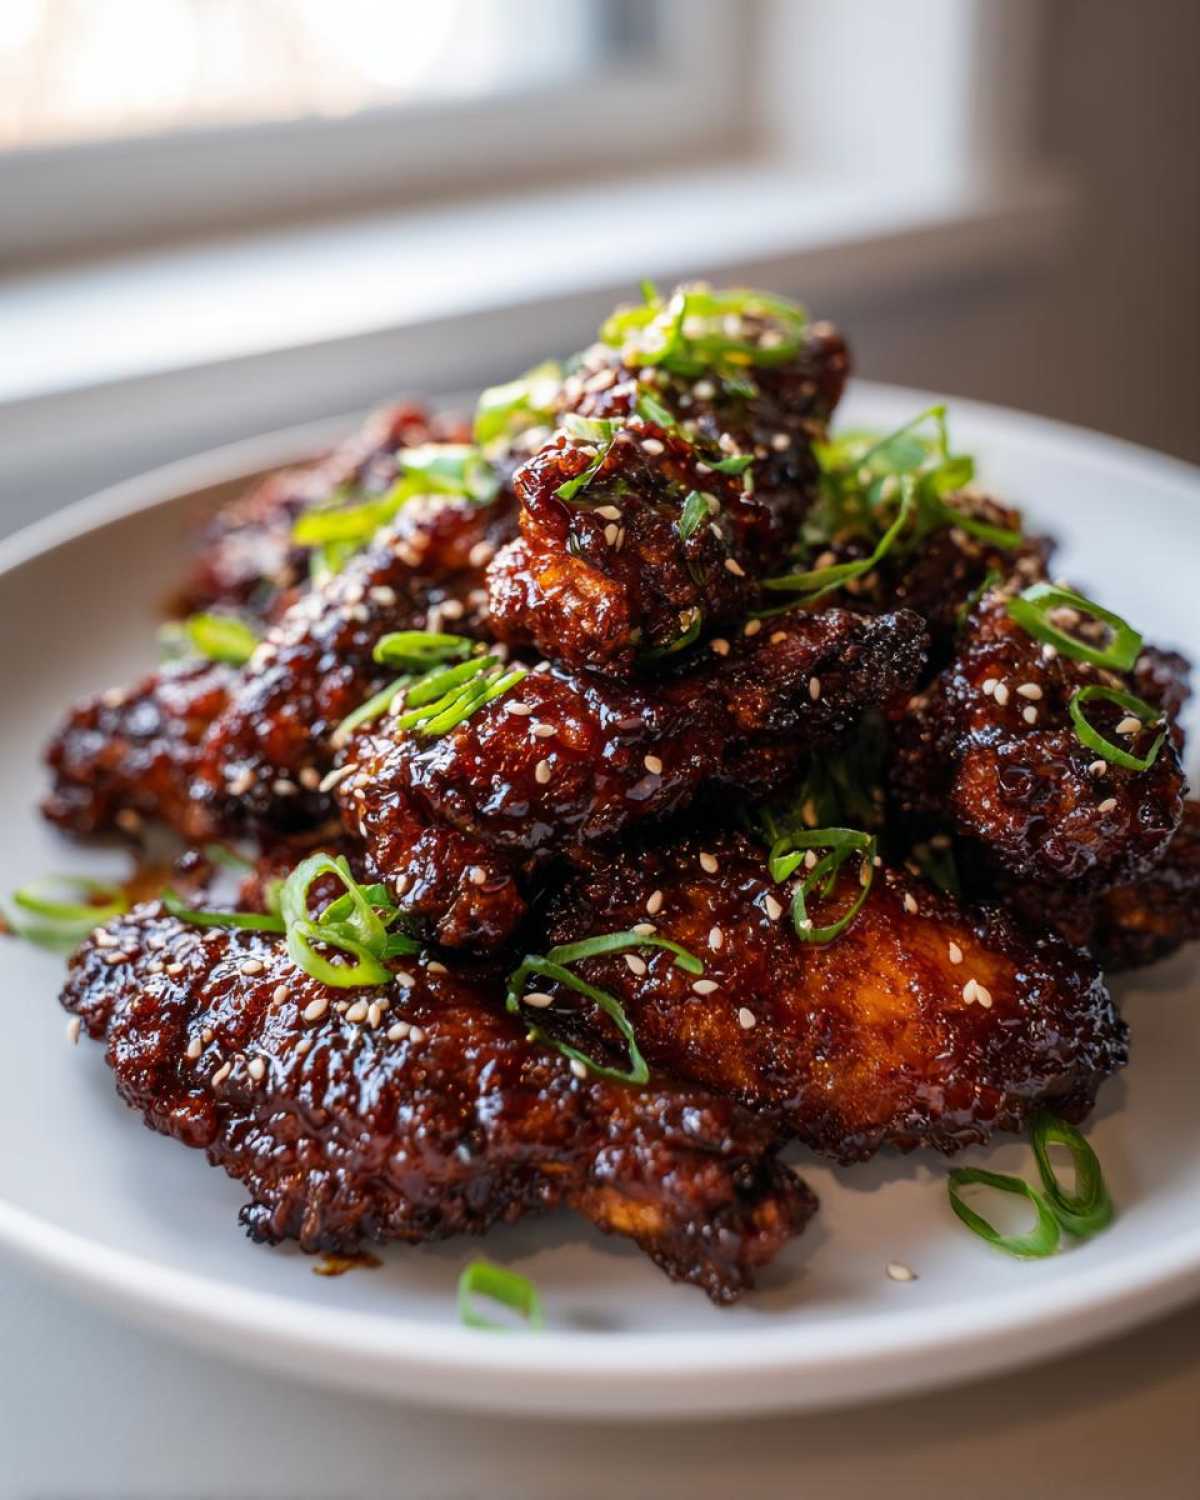
Why You Will Love These Sticky Teriyaki Chicken Wings Oven Baked
I know you’re going to obsess over this recipe because it solves all the typical oven wing problems. Seriously, these are restaurant-quality without needing a giant pot of oil! Here’s why I kept making, messing up, and finally perfecting these **Sticky Teriyaki Chicken Wings Oven Baked** until they were perfect:
- The skin gets legitimately crispy! We use a secret ingredient toss that gets the texture right before the sauce even comes out.
- The teriyaki glaze is ultra sticky—it actually clings to the wing when you pick it up instead of sliding right off.
- It’s surprisingly hands-off! Once they’re seasoned and in the oven, you’re mostly just making the sauce.
- The flavor is just spot-on: perfectly balanced sweet, salty, and that hint of fresh ginger hits beautifully.
- This recipe is fantastic for big batches since the oven handles everything, making it ideal for game day parties.
- You get that deep caramelization you usually only find in deep-fried wings, but with way less mess!
I’ve linked to more of my favorite wing adventures right over here if you want even more inspiration after you try these!
Essential Ingredients for Sticky Teriyaki Chicken Wings Oven Baked
Okay, for this recipe to truly shine, we need to grab the right gear. Don’t worry, it’s mostly pantry staples, but those baking powder and mirin details are non-negotiable if you want the best **Sticky Teriyaki Chicken Wings Oven Baked**!
For the wings themselves, you’ll need about 2 pounds of chicken wings, separated into those perfect little flats and drumettes. Then comes the key to crispiness: 1 tablespoon of aluminum-free baking powder, plus salt and pepper for seasoning.
For the sauce—the heart of the flavor—we need low-sodium soy sauce, sweet mirin (that rice wine!), packed brown sugar for depth, rice vinegar, fresh ginger (grated, please!), minced garlic, and just a hint of sesame oil. Finally, we thicken it all up with a simple slurry made from cornstarch and cold water. Don’t forget the fresh green onions and sesame seeds for garnish!
Ingredient Notes and Substitutions for Your Sticky Glaze Chicken Wings
Let’s talk turkey… I mean, chicken prep! The most critical step before anything hits the oven is patting those wings bone-dry. Seriously, use an entire roll of paper towels. Moisture kills crispiness, and we want those **Sticky Glaze Chicken Wings** to snap!
For the sauce, that mirin is important because it adds sweetness without being cloying. If you absolutely cannot find it, you can try mixing white wine with a teaspoon of sugar, but I really haven’t perfected a great substitute yet. Also, make sure your soy sauce is low-sodium; we control the saltiness with the brown sugar!
Equipment Needed for Perfect Oven Baked Chicken Wings
You don’t need any fancy gadgets for these, thank goodness! That’s what I love about making **Sticky Teriyaki Chicken Wings Oven Baked** at home—it uses what you already have. But listen closely to this one setup, because it’s the difference between a good wing and an amazing, crispy wing.
First, you absolutely need a good, sturdy baking sheet. Don’t use your old warped one; we need even heat distribution. Then, the game-changer: a wire rack that fits nicely inside that baking sheet.
Why the rack? Because we aren’t frying! The rack lifts the wings up so that the air can circulate all the way around them, even underneath. This lets the fat drip away, and it dries out the skin evenly. If you put the wings directly on the foil, the bottom steams in its own juices, and that’s how you get soggy bottoms on your otherwise perfect wings.
Beyond that, just make sure you have a couple of mixing bowls—one for tossing the initial seasoning, and a saucepan for simmering that thick teriyaki sauce until it gets beautifully sticky. And please, grab some good paper towels because drying the wings properly is half the battle!
Step-by-Step Guide: How to Make Sticky Teriyaki Chicken Wings Oven Baked
Alright, here’s where the real wizardry happens! Making truly **Sticky Teriyaki Chicken Wings Oven Baked** is all about timing. We are not going to dump the sugary sauce on too early and watch it turn into black charcoal. We bake them mostly naked first, and then we glaze them at the end. It takes a little longer, but the results are unbeatable.
First things first: crank that oven up to 425°F (220°C). Set up your baking sheet by lining it, and then put that wire rack on top. Now let’s get these wings ready to crisp up!
Prepping the Wings for Maximum Crispiness
Remember what I said about drying? Get those wings as dry as a bone! Use paper towels until you can’t squeeze any more moisture out. After they are dry, toss them thoroughly in a bowl with that baking powder, salt, and pepper. The baking powder is my little secret ingredient that helps create those wonderful little bubbles on the skin, which turn into maximum crunch when baked. Arrange the seasoned wings on your wire rack in a single layer—no crowding allowed! Bake them for 25 minutes, flip them over carefully, and go another 15 to 20 minutes until they look golden and are starting to get nice and tight on the skin.
Creating the Thick Homemade Teriyaki Sauce Recipe
While the wings are doing their first round of baking, we whip up our glorious homemade sauce. You want to combine the soy sauce, mirin, brown sugar, vinegar, ginger, garlic, and sesame oil in a small saucepan. Bring that mixture to a nice simmer, stirring until the sugar is totally gone. Now, here comes the stickiness: whisk in that cornstarch slurry we prepared. Keep stirring over low heat for just a minute or two. You’ll watch it transform right before your eyes into a thick, glossy sauce that coats the back of a spoon. That’s your perfect **teriyaki wing sauce recipe** right there. Take it off the heat to let it cool slightly.
The Final Glaze and Caramelization Bake
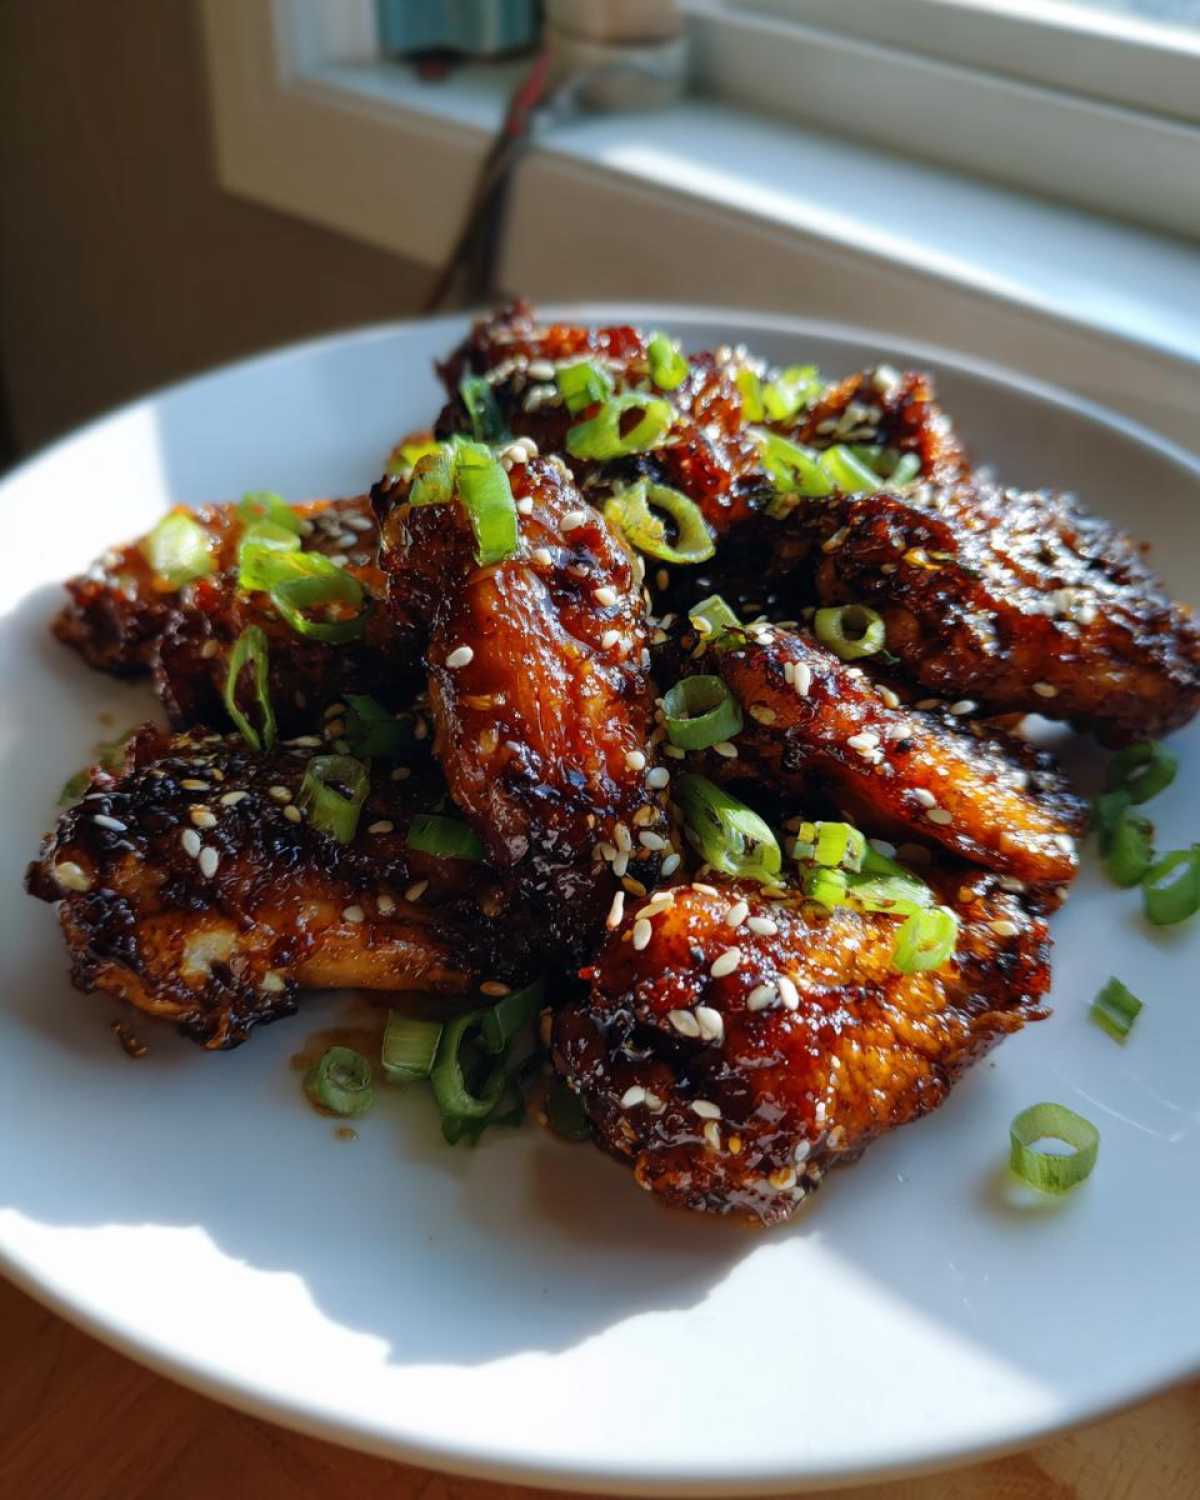
Okay, wings are looking good at about the 40-minute mark. Pull them out, but don’t relax yet! Crank the oven temperature WAY up to 450°F (230°C). This high heat is essential for quick caramelization. Take about half of that sticky sauce you made and brush it all over the wings—front, back, sides, everywhere! Put them back in the hot oven for about 5 to 7 minutes. Then, pull them out one last time, brush generously with the rest of the glaze, and bake for just 3 to 5 minutes more. You have to watch them closely here, because that sugar burns fast, but once they look dark, shiny, and incredibly sticky, they are done! I even looked up my tips for Korean wings to double-check my timing on the final glaze!
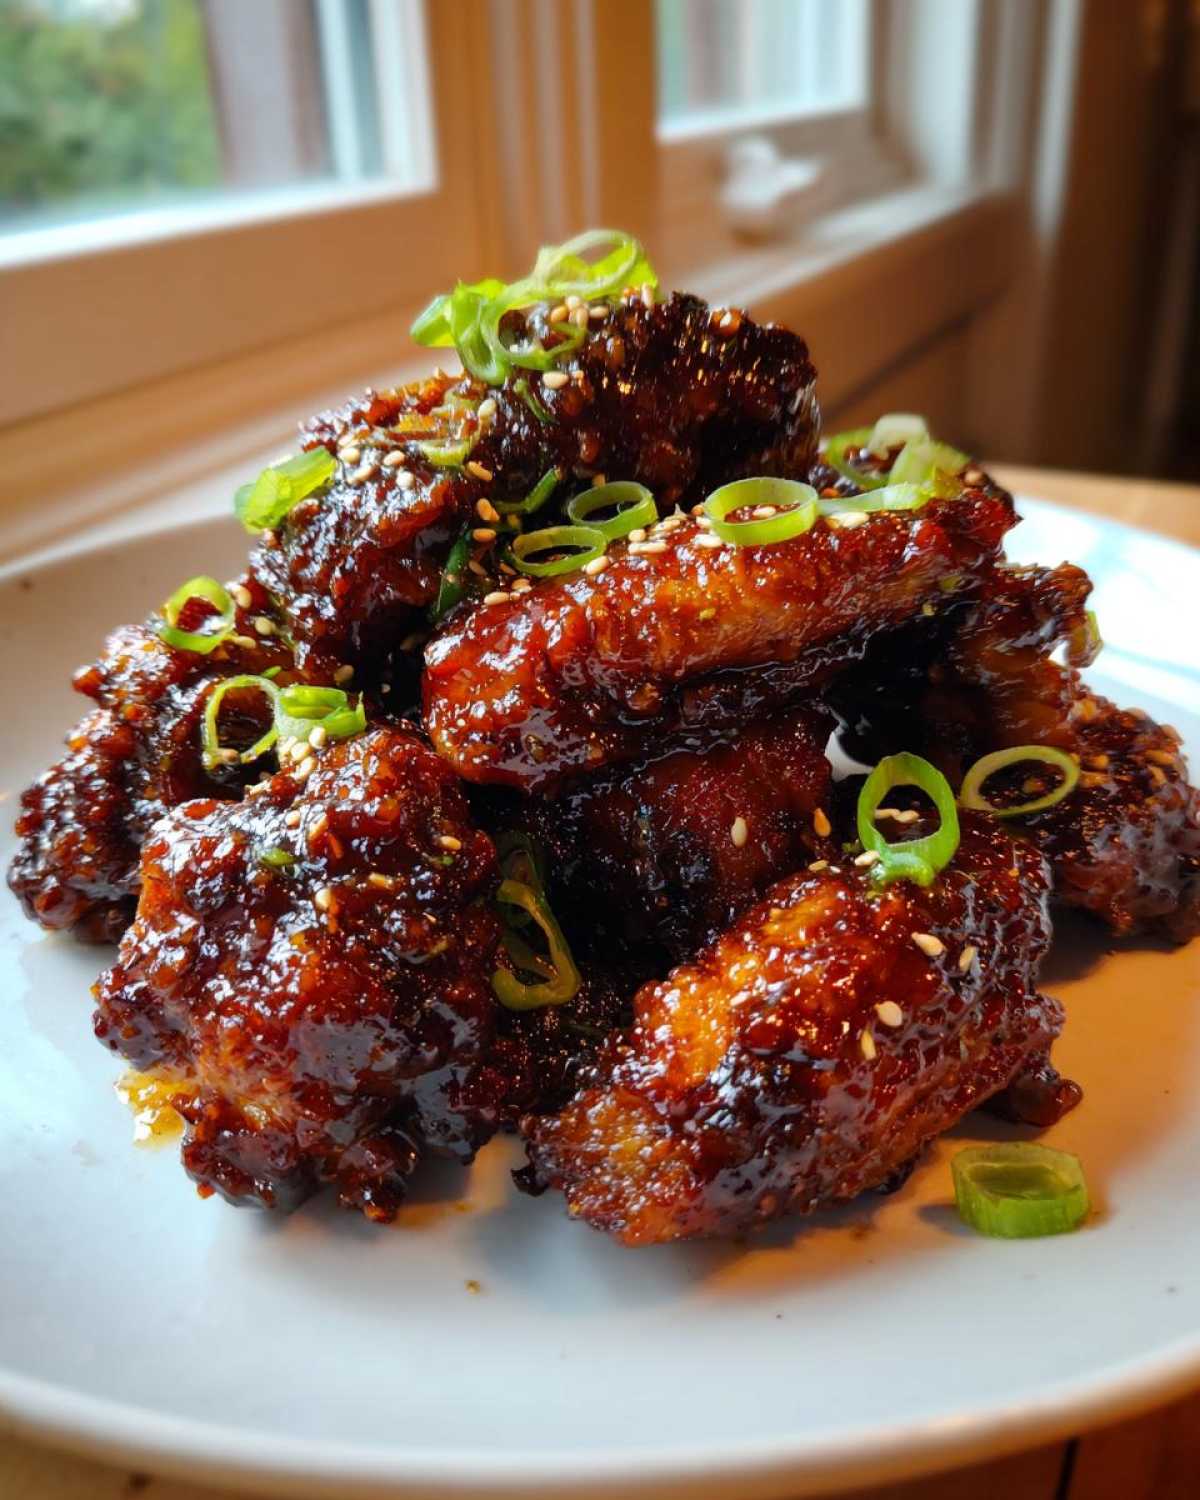
Tips for Success with Baked Sticky Wings
I’ve made these wings so many times that I know exactly where people usually run into trouble, especially when trying to perfect the oven-baked method. Since we are aiming for the best **Sticky Teriyaki Chicken Wings Oven Baked**, listen to these quick tips—they separate the good wings from the legendary ones.
First, let’s circle back to the temperature management. That two-step heat adjustment is critical. We start at 425°F to render the fat and dry out the skin, which needs time. But that final glaze bake? That demands 450°F. If you skip that final temperature jump, the sauce will just sit there slightly wet instead of caramelizing into that beautiful, thick, sticky layer. Don’t be shy about turning the heat up for those last few minutes!
My second big piece of advice relates to the sauce application timing. You saw in the instructions that we only apply the glaze during the last 10–12 minutes of cooking. If you try to coat these wings in sauce right when you flip them (around the 40-minute mark), you are inviting disaster. That brown sugar and mirin will burn before the meat even finishes cooking, leaving you with bitter, scorched wings. Brush it on late, and brush it on thick!
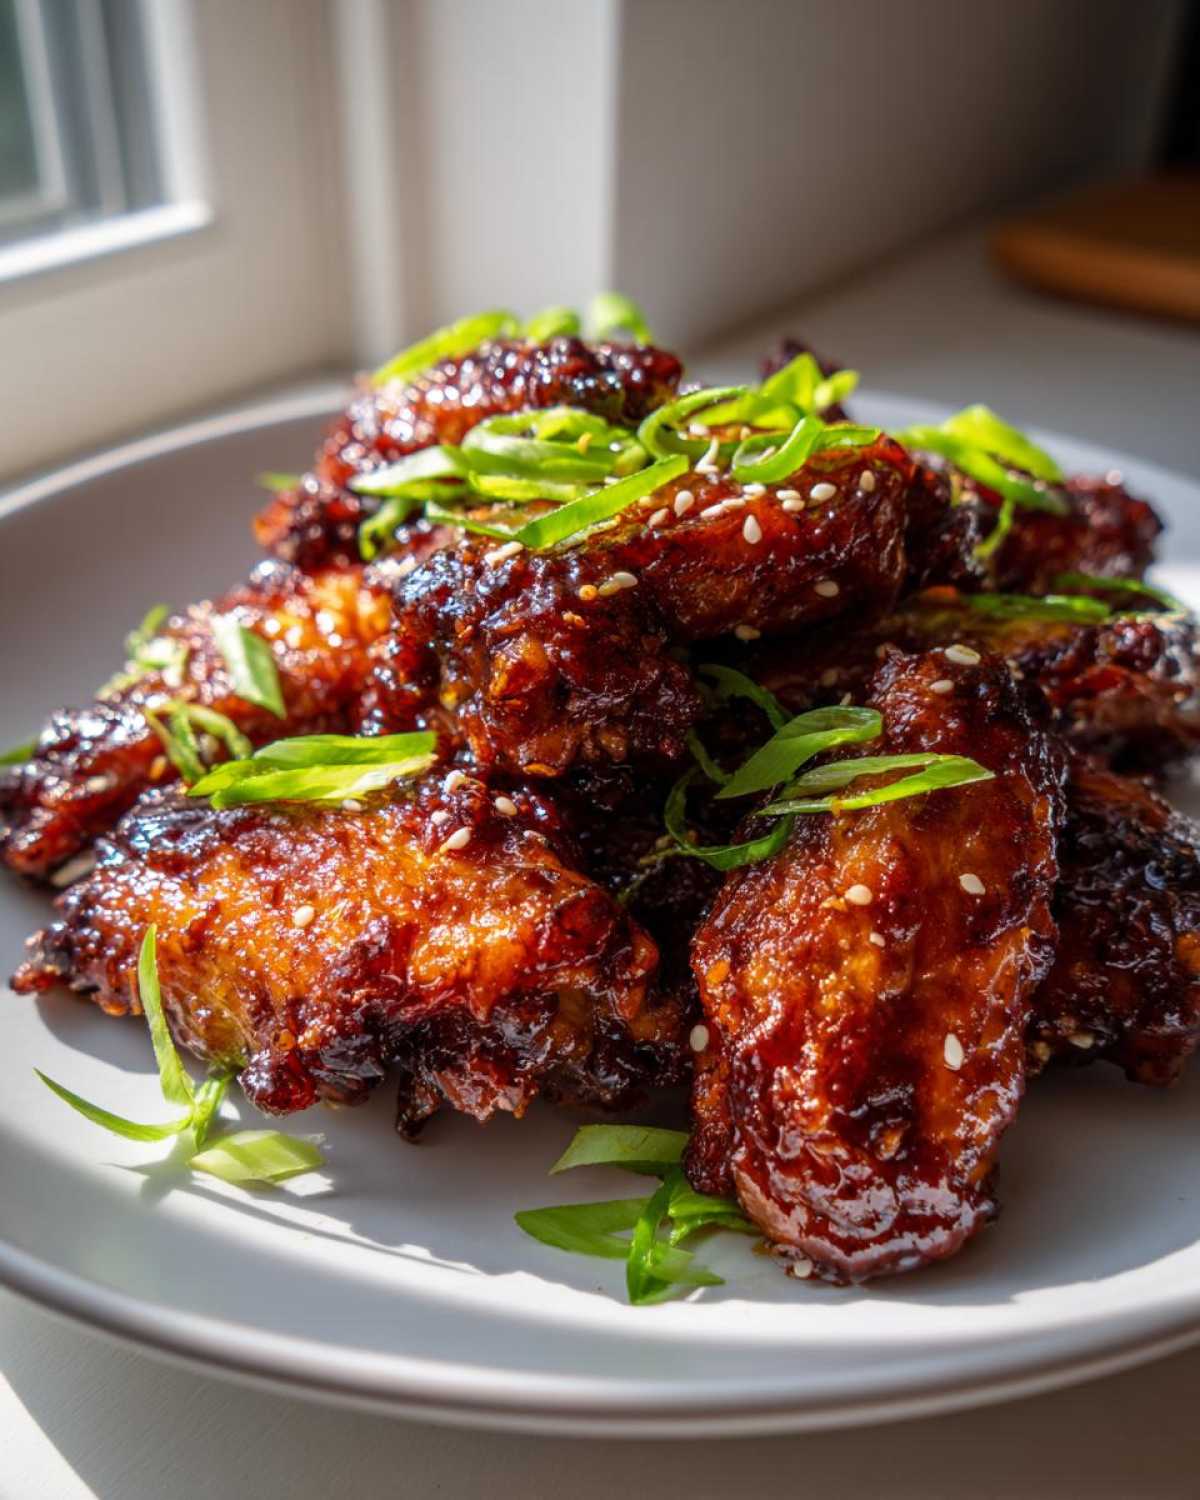
Finally, if you’ve ever felt your wings were too small to handle properly, use a baking sheet setup that gives you space. You need that single layer on the rack. If the wings are touching, they steam each other, and suddenly you’ve got a batch of mild, rather than truly crispy, **baked sticky wings**. Give them room to breathe and crisp up!
If you want to see how I apply this same crispiness logic to a completely different flavor profile, check out my recipe for Buffalo Cauliflower Sliders—the technique for the exterior texture is surprisingly similar!
Storage and Reheating Instructions for Your Sticky Teriyaki Chicken Wings Oven Baked
Nobody wants leftovers of sad, soggy wings, right? Because these **Sticky Teriyaki Chicken Wings Oven Baked** have that glorious thick glaze, they actually store better than most wing recipes, but you still have to treat them gently! If you actually manage to have any left over (ha! good luck!), you need to handle them with care to keep that sticky coating intact.
First things first: let them cool down completely before you try to store them. Putting hot wings into a sealed container is just asking for condensation city, and that moisture will instantly ruin the little bit of crispiness we worked so hard to achieve! Once they are totally cool, stack them loosely in an airtight container. I actually like putting a little piece of paper towel between the layers if I have a lot—just to wick away any stray moisture.
You can safely keep these in the fridge for about three to four days. Any longer and that beautiful teriyaki glaze starts losing its punch.
How to Reheat for Best Results
Now, let’s talk reheating. I have to give you a warning upfront: DO NOT use the microwave! I know it’s fast, but microwaving sticky, sugary food just turns the exterior into hot, damp rubber. We are going to respect the crispy skin!
My absolute favorite way to bring these back to life is using an air fryer if you have one. Pop the wings in at about 375°F (190°C) for just 3 or 4 minutes. It brings the heat right back into the meat and quickly re-crisps the skin without overcooking the inside.
If you don’t have an air fryer—no sweat! The oven works almost as well. Set your oven temperature back up to about 375°F (190°C) and spread the wings out on a foil-lined baking sheet. Bake them for about 8 to 10 minutes. They probably won’t get quite as snappy as the air fryer version, but they will definitely warm through, and that sticky glaze will soften up beautifully again so you don’t even miss the original batch!
Serving Suggestions for Asian Baked Chicken Wings
You’ve managed to bake the perfect **Sticky Teriyaki Chicken Wings Oven Baked**. Congratulations! Now, what goes best with them? Since this is a super flavorful, rich, and slightly sweet dish, you want sides that are light, refreshing, or act as a perfect base to soak up any rogue glaze.
I like to keep things simple and true to the Asian flavor profile for a quick weeknight feel. First up, you absolutely need some perfect steamed rice—jasmine or sushi rice works best. The rice is the best cleanup crew for any of that sticky sauce that drips off the wings. Trust me, you’re going to want to mix your leftover wings with rice the next day!
For something crunchy and cooling, I usually whip up a super quick slaw. You don’t need anything heavy or creamy here. Think thinly shredded cabbage and carrots tossed with maybe a teaspoon of rice vinegar, a drizzle of sesame oil, and a tiny pinch of sugar. It adds a necessary textural contrast to the rich, sticky wings.
If you’re trying to make this feel like a real dinner spread, a simple green vegetable is great, too. Steamed edamame is fantastic because it’s easy, and you can season it with just a sprinkle of salt. If you’re feeling ambitious, try making my Greek Chicken Nachos with Pita Chips as a side dish another night—though they are a big departure in flavor, they are another great party food!
Ultimately, keep the sides simple. These **Asian baked chicken wings** are the star, so let them shine without overwhelming the plate!
Frequently Asked Questions About Crispy Oven Baked Wings
I know you might have a few lingering questions once you see the instructions for making truly perfect **crispy oven baked wings**. It’s all about these tiny details! This recipe is my go-to for **easy teriyaki wings**, but I totally get that you want assurance before you commit to the full bake time. Here are the most common things people ask me when they’re trying to master this style of wing.
Can I skip the baking powder for these easy teriyaki wings?
Oh, please don’t skip it! I know it feels weird to put a leavening agent on meat, but trust me, eliminating the baking powder is the fastest way to guarantee soggy skin when you’re making **sticky wing glaze chicken wings** in the oven. Baking powder (the aluminum-free kind is best!) raises the pH level on the chicken skin. This encourages the skin to brown and crisp up much faster without needing high heat for too long. Without it, the skin stays soft and moist—the exact opposite of the crispy, sticky texture we are aiming for!
How do I get the sauce sticky without burning it?
This is the million-dollar question! The key to gorgeous, thick, **sticky teriyaki chicken wings oven baked** is heat control and timing. You have to remember that the sauce ingredients—soy sauce, mirin, and especially the brown sugar—are going to burn quickly at high temperatures because they contain sugar. That’s why we bake the wings almost entirely *without* the sauce first. We only introduce the glaze in the final 10 to 12 minutes of baking, using a very high oven temperature (450°F in our recipe) for a quick, final blast.
If you coat them too early, the sugar melts, turns black, and tastes bitter long before the chicken is cooked through. By waiting until the end, the crust is already set, and the high heat just caramelizes that thick, reduced sauce on top. It’s a delicate dance with sugar!
If you still have questions about technique or troubleshooting, please don’t hesitate to reach out to me on my contact page! Happy cooking!
Estimated Nutritional Data for Sticky Teriyaki Chicken Wings Oven Baked
When you’re cooking something as delicious as these **Sticky Teriyaki Chicken Wings Oven Baked**, you might be wondering how they stack up nutritionally. I always like to share the estimates for our recipe because we work hard to keep this version healthier than the deep-fried takeout stuff! Remember, these figures are based on the specific quantities listed in the recipe and using standard grocery store ingredients, so your numbers might sway a little bit based on the brands you grab.
For a standard serving size of four wings, here is what you can generally expect from this recipe:
- Calories: Around 350
- Total Fat: About 18 grams (but remember that much of that comes from the chicken skin, which renders out during the baking process!)
- Protein: A whopping 25 grams—these are fantastic for keeping you full!
- Carbohydrates: About 22 grams (most of this comes from the sugars in the sticky glaze, naturally.)
- Sugar: Approximately 18 grams.
- Sodium: This one is higher at around 750mg because of the soy sauce, which is why we strongly encourage using low-sodium soy sauce in the recipe!
We also managed to keep the saturated fat fairly low, hovering around 5 grams per serving, which is a huge win for a glazed chicken wing!
Just one quick word of warning: these numbers are estimates only. If you want the full scoop on how we calculate these figures, you can check out my general policy on nutritional disclaimers here. Now go enjoy those wings—you earned them!
PrintSticky Teriyaki Chicken Wings Oven Baked
Make flavorful, sticky teriyaki chicken wings using your oven. This recipe focuses on achieving crispy skin and a thick, adhering glaze.
- Prep Time: 15 min
- Cook Time: 50 min
- Total Time: 65 min
- Yield: 4 servings
- Category: Appetizer
- Method: Baking
- Cuisine: Asian
- Diet: Low Fat
Ingredients
- 2 lbs chicken wings, separated into flats and drumettes
- 1 tablespoon baking powder (aluminum-free)
- 1 teaspoon salt
- 1/2 teaspoon black pepper
- 1/2 cup low-sodium soy sauce
- 1/4 cup mirin (sweet rice wine)
- 1/4 cup packed brown sugar
- 2 tablespoons rice vinegar
- 1 tablespoon grated fresh ginger
- 2 cloves garlic, minced
- 1 teaspoon sesame oil
- 1 tablespoon cornstarch mixed with 2 tablespoons cold water (slurry)
- Sesame seeds, for garnish
- Sliced green onions, for garnish
Instructions
- Preheat your oven to 425°F (220°C). Line a baking sheet with foil and place a wire rack on top.
- Pat the chicken wings completely dry using paper towels. This step is key for crispiness.
- In a medium bowl, toss the wings with baking powder, salt, and pepper until evenly coated.
- Arrange the wings in a single layer on the prepared wire rack.
- Bake for 25 minutes. Flip the wings and bake for another 15-20 minutes, until the skin is starting to crisp.
- While the wings bake, prepare the sauce: Combine soy sauce, mirin, brown sugar, rice vinegar, ginger, garlic, and sesame oil in a small saucepan. Bring to a simmer over medium heat, stirring until the sugar dissolves.
- Reduce the heat to low and let the sauce simmer for 5 minutes. Whisk in the cornstarch slurry and cook for 1-2 minutes until the sauce thickens significantly into a glaze. Remove from heat.
- Remove the wings from the oven. Increase the oven temperature to 450°F (230°C).
- Brush about half of the teriyaki glaze generously over all sides of the wings.
- Return the glazed wings to the oven and bake for 5-7 minutes.
- Remove wings, brush with the remaining glaze, and bake for a final 3-5 minutes until the glaze is very sticky and caramelized. Watch closely to prevent burning.
- Remove from the oven, toss lightly if desired, and garnish with sesame seeds and green onions before serving.
Notes
- Drying the wings thoroughly before seasoning helps the baking powder create a crispier surface.
- Do not toss the wings in the sauce until the final stages of baking to prevent the sugar from burning too early.
- If you prefer a thinner sauce, use less cornstarch in the slurry.
Nutrition
- Serving Size: 4 wings
- Calories: 350
- Sugar: 18
- Sodium: 750
- Fat: 18
- Saturated Fat: 5
- Unsaturated Fat: 13
- Trans Fat: 0
- Carbohydrates: 22
- Fiber: 1
- Protein: 25
- Cholesterol: 90